Toggle Background Color
September 17th, 1944
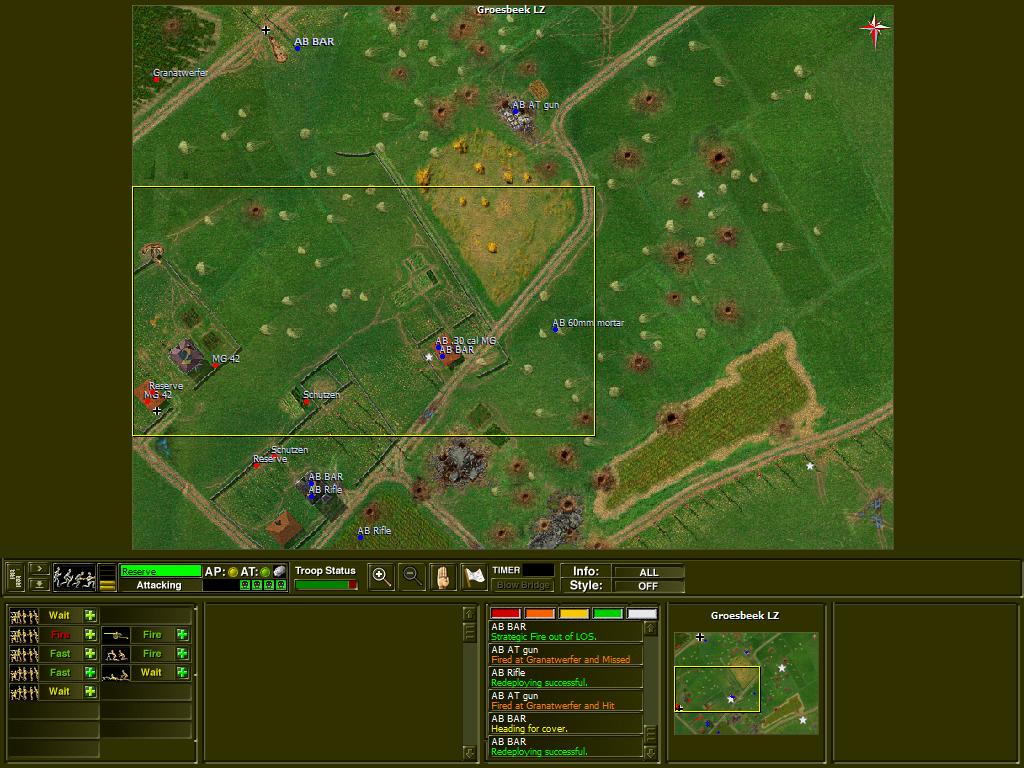
Groesbeek Landing Zone, South of Njimegen
Intro video for the 82nd operation at Njimegen
The All-American 82nd Airborne has secured their drop zone, and is pushing into Njimegen. With XXX Corps expected to arrive in 2 days, the GI's establish a defensive perimeter around the DZ and wait for their resupply drop. Meanwhile, the Wehrmacht is scrambling to counter the Allied invasion throughout Holland. A scout unit is dispatched to the Groesbeek Heights to evaluate the forces dropped there...
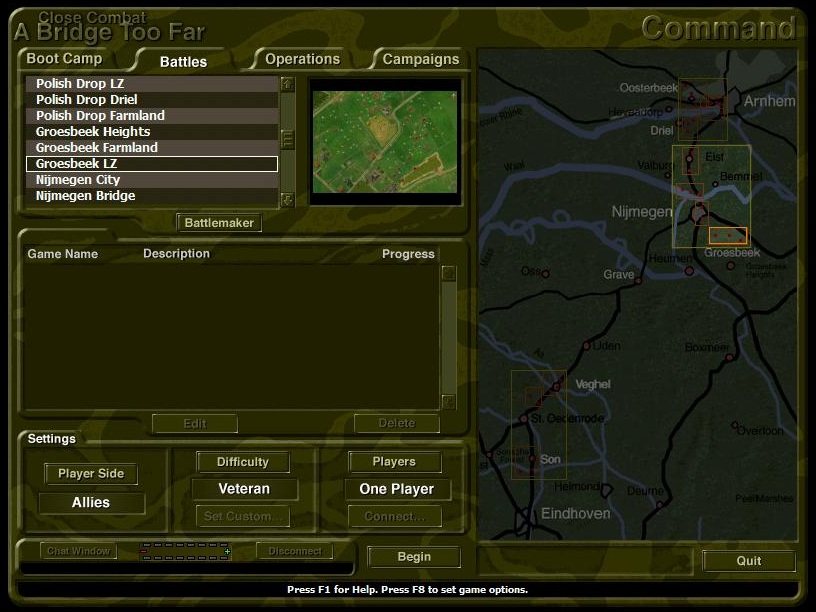
In preparation for the full Market Garden campaign, let us have a quick look at how Close Combat plays. To do so, we will take on the Groesbeek LZ Battle- Battle's are single engagements that give you a set of pre determined and sometimes randomly selected units. Both sides are reasonably balanced, so there will be no German shenanigans with Panthers or Tigers here... hopefully.
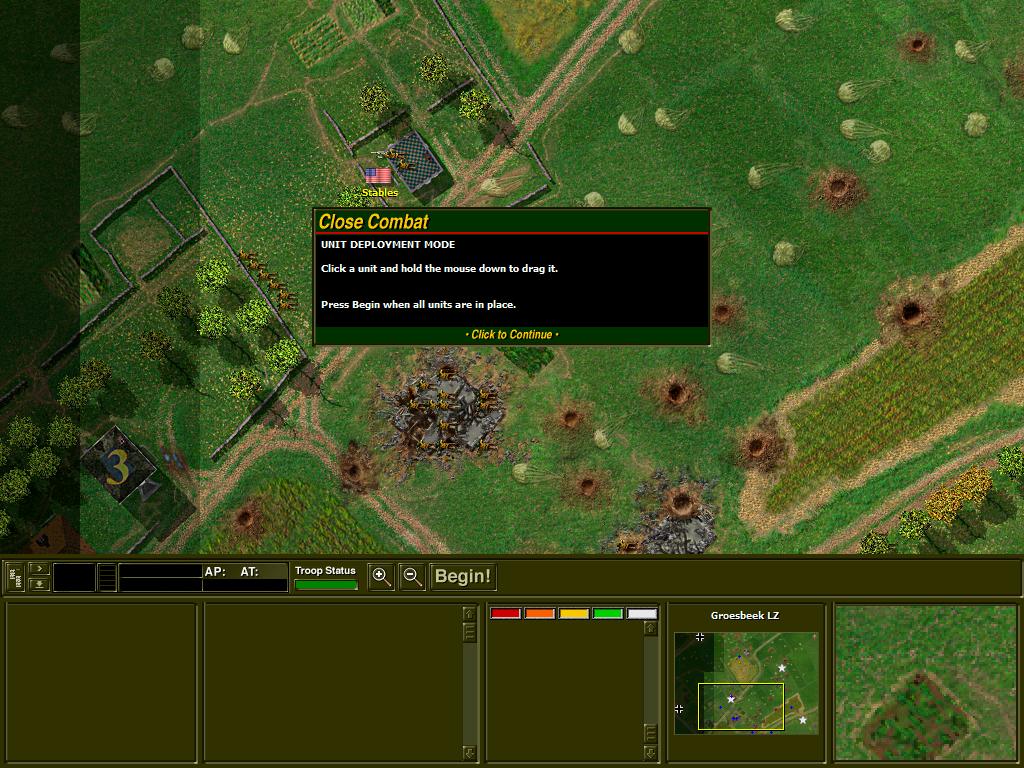
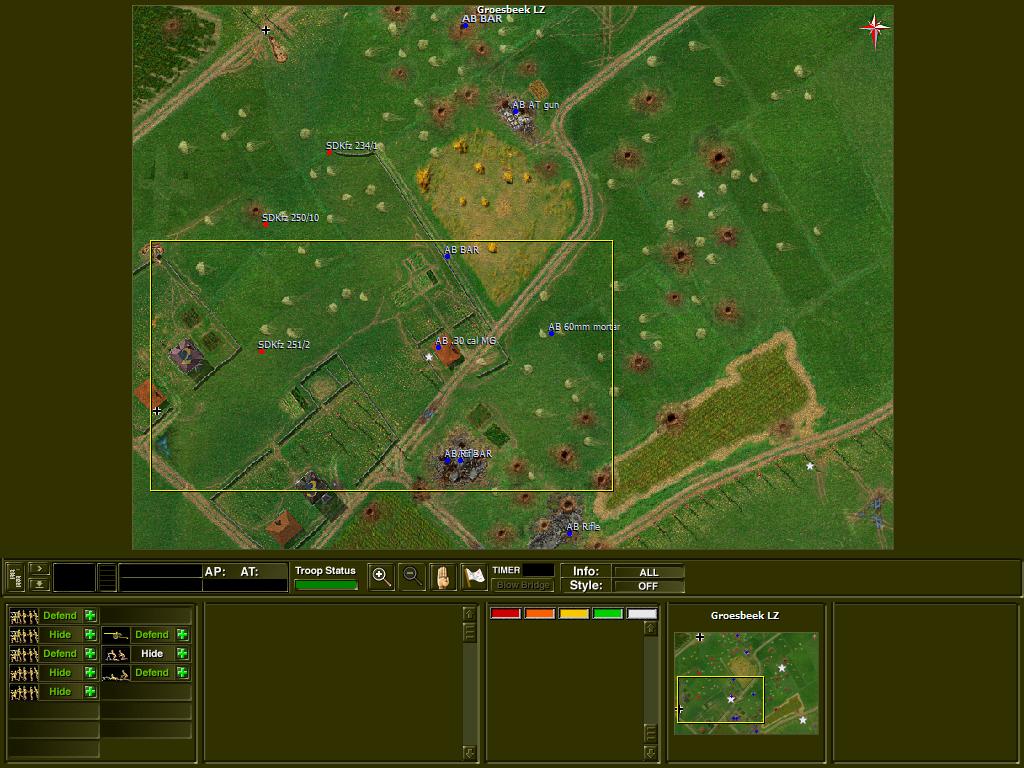
Since there is no unit selection, we jump straight to Unit Deployment. So lets see what we've got available...
(NB- Because the maps are rarely up = north, compass directions wont be used at any point)
3 BAR Squads
2 Rifle Squads
A Light MG Team
An AT Gun Team
A Light Mortar Team
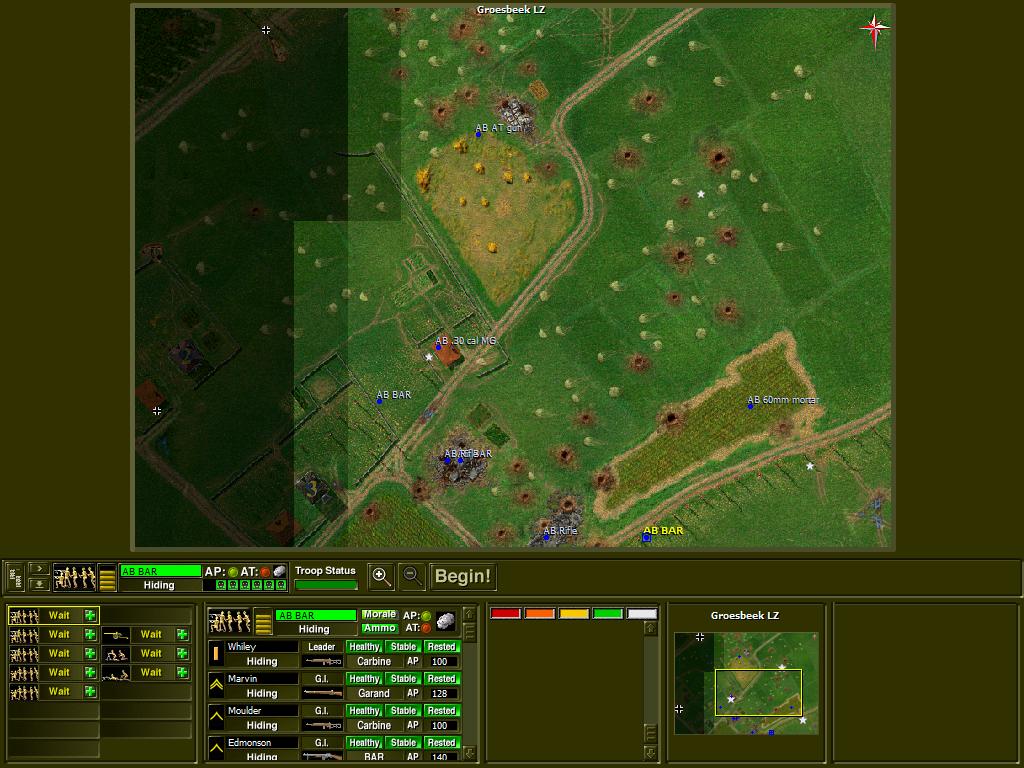
Not the largest force, but there are plenty of line grunts to take those German objectives- the goal of any Battle is to inflict damage on the enemy, and secure the strategic locations. The US hold 3, the Germans hold 2. My plan is simple- deploy my forces to blunt any attacks, before hitting the top and bottom with full force. To that end...

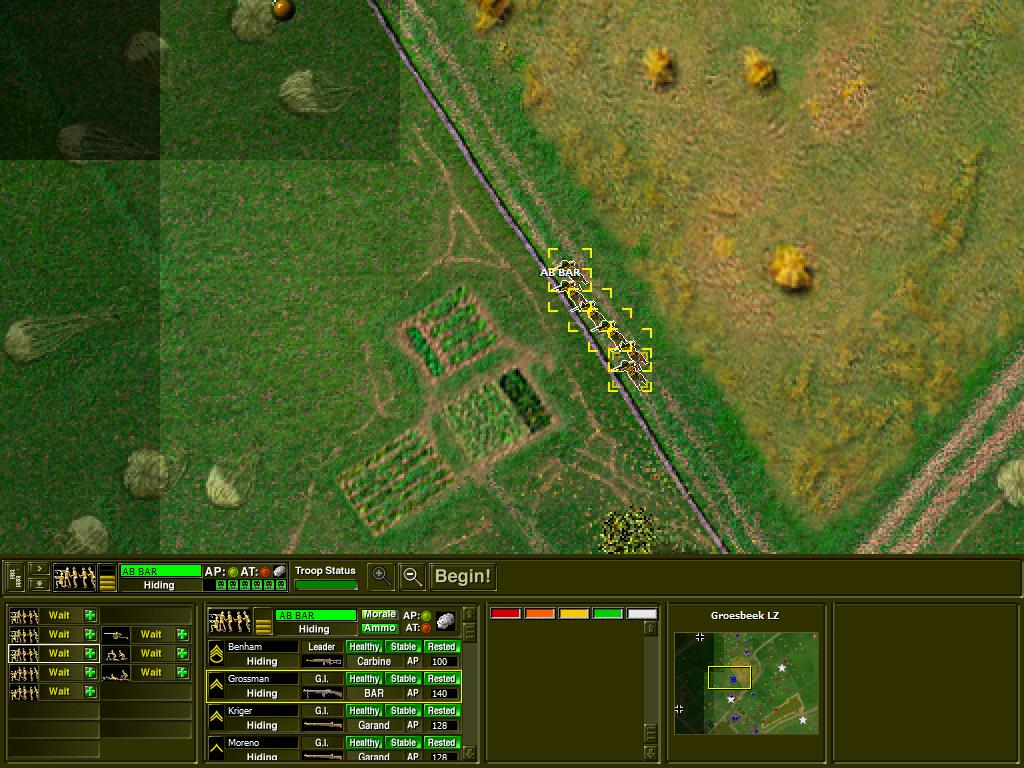
From the top, we have Lt. Whiley and his BAR Squad. They will hold their ground in case any Germans attack from the gunpit to their left before pushing along the top themselves.

Unit- BAR Squad, US Airborne
Standard 'heavy' unit for the US AB, they are centred around a BAR automatic weapon, with the other soldiers armed with M1 Garands and Carbines. General-use squad specialising in fire support.
Primary weapon- M1918 Browning Automatic Rifle
Designed by Browning as the Great War was coming to a close, the BAR was to be a mobile infantry machinegun to improve a riflemans firepower. While definitely lighter than the M1917 .30 cal, it was still a heavy weapon and the small 20 round magazine hampered it's ability to give suppressive fire. Despite this, the BAR found a place as the primary light support weapon of the US Army during WW2.
Below Lt. Whiley is Sgt. Cooper, and his M1 anti-tank gun. AT guns are best setup where they can engage as much enemy armour as possible- in open maps like this, that means somewhere with a wide field of fire. Their deployment should give them line of sight across the entire German line.
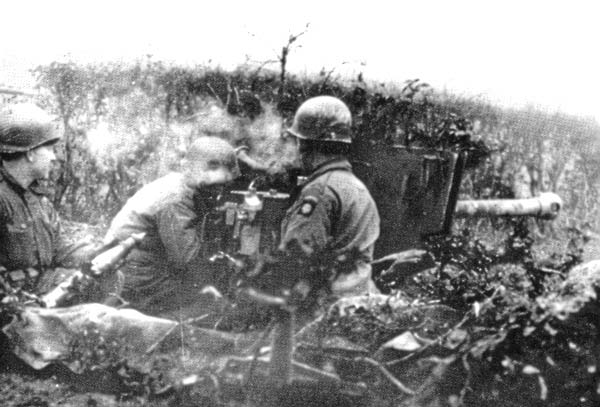
Unit- AT Gun Team, US Airborne
Deployed via glider, Airborne anti-tank teams only have light weapons, and often limited ammunition. However they are often the only long-range fire support available against armour.
Primary weapon- M1 57mm anti-tank gun
At the outset of WW2, the US Army lacked any light anti-tank weapons. To make up for this oversight, once America entered the war they turned to the British and their QF 6 pounder, which the Americans termed the 57mm Gun M1. Firing a relatively small 57mm shell at extremely high velocity, the 6 pounder was deadly to most German armour at the beginning of the war. By late war, it was ineffective against heavy armour such as the Panther, but was still valued for it's light weight and ability to knock out anything up to a Panzer-III medium tank.
Below them, holding the center, is SSgt. Benham and his BAR team. They are in the most vulnerable position, but they will be needed to stop any attempts to brute-force the middle. They will also be available to give suppressing fire all along the line, if needed.
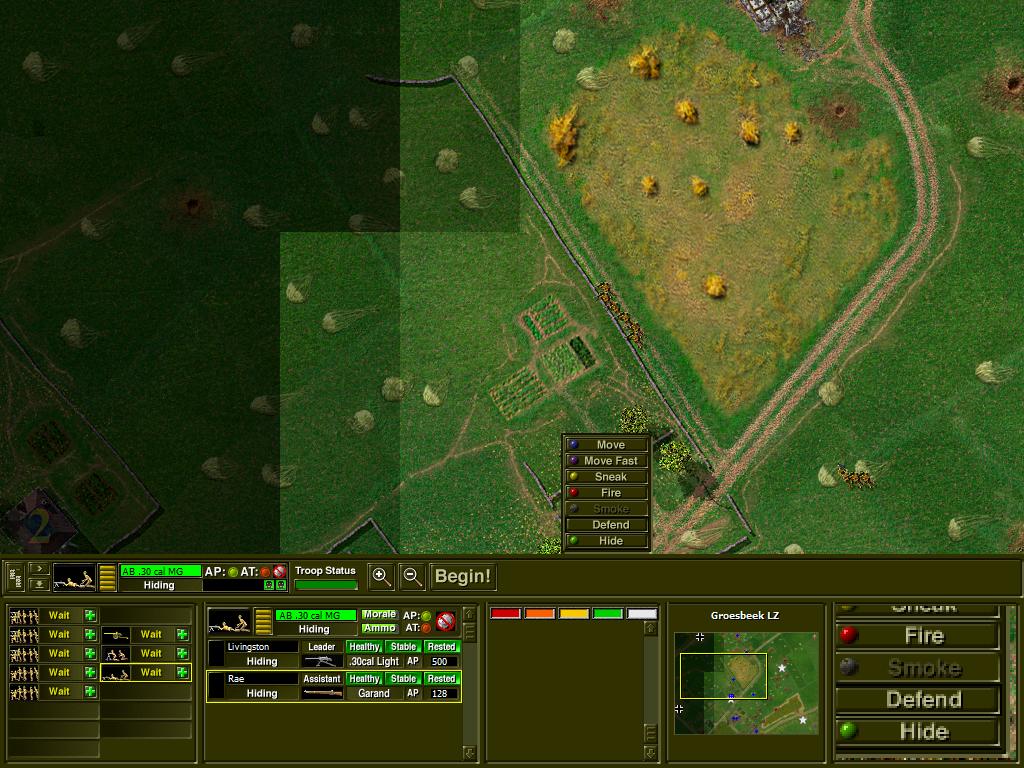
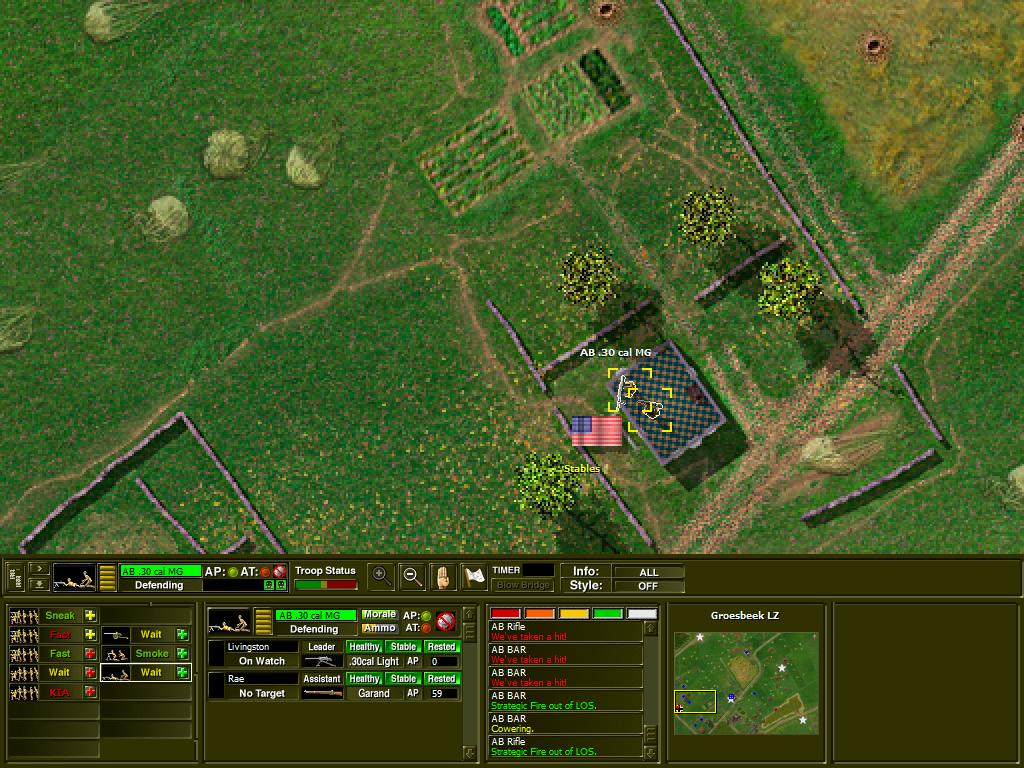
Holding the Stables objective is Livingston and Rae, of the .30 cal MG team. That building will give them cover and a good field of fire against the German objectives, meaning they should not need to move at all.
Unit- Light MG Team, US Airborne
Consisting of a gunner and loader, the Airborne MG teams are used to provide suppressing fire for the rifle teams. They are best kept away from any close-combat fighting
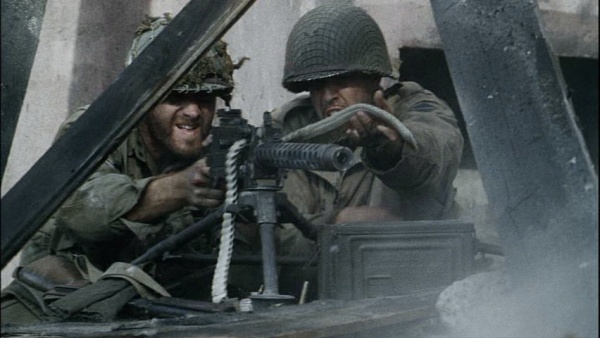
Primary weapon- M1919A4 .30 cal machinegun
A redesign of the trusty M1917 water-cooled machinegun, the M1919 instead uses an air-cooled barrel, making it much lighter and more mobile by comparison. The M1919 was the primary support weapon for all US forces, including the Airborne with the A4 model- the main alteration was the removal of the buttstock, making it more compact.
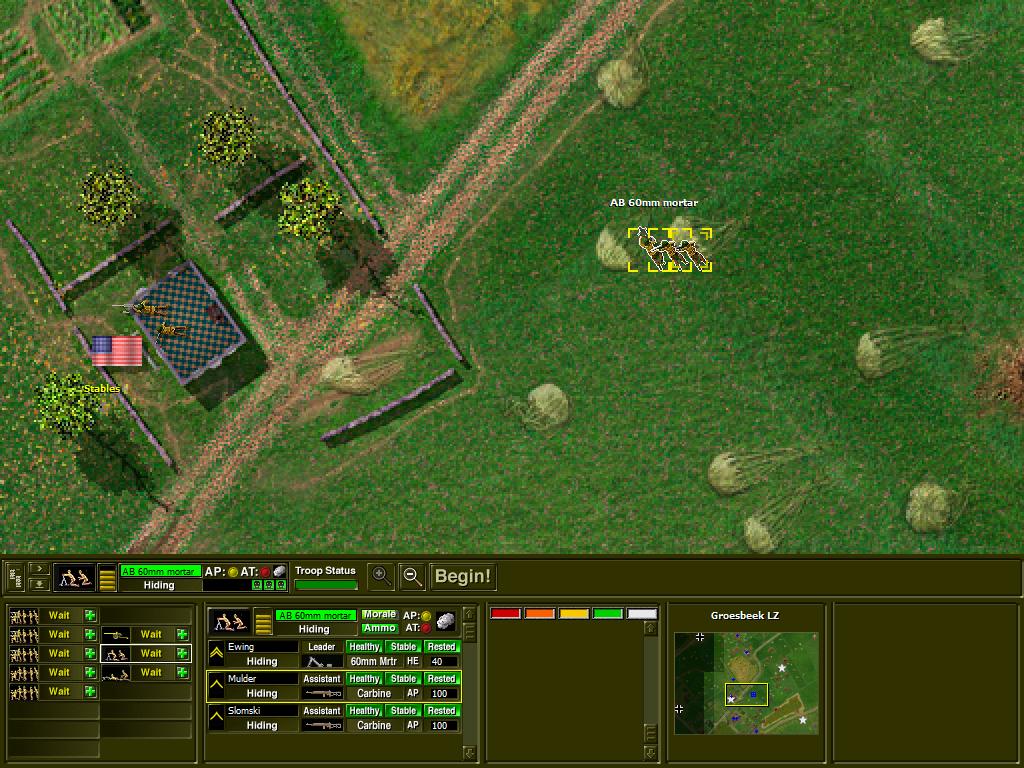
Just right of them, hidden behind the building and stone walls, is Corporal Ewing and his mortar team. Mortars can fire indirectly without any line of sight, and can fire across the entire map. Doing so makes them inaccurate however, which is why I've kept them close to the objective.

Unit- Light Mortar Team, US Airborne
The only indirect fire teams you can readily get for the US Airborne, the light mortar teams have a good fire rate and a considerable amount of ammo, of both explosive and smoke rounds.
Primary weapon- M2 60mm mortar
Based on the M1 81mm mortar, the M2 is much lighter and smaller. While it fails to deliver as much damage as it's larger sibling, the smaller rounds used let a M2 crew carry more ammunition, which in turn allows them to deliver longer bombardments, useful for suppressing enemy infantry. It was also often the only heavy fire support available to US Airborne forces, who used them to great effect.

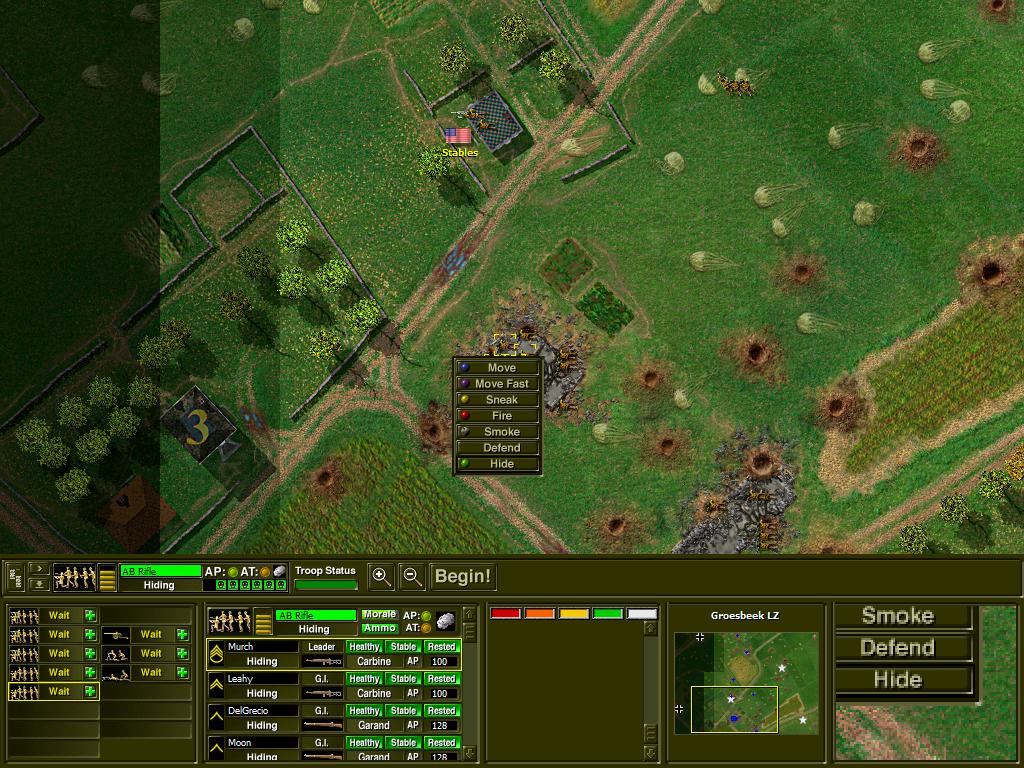
Below the Stables are the last BAR squad led by SSgt. Stallings, and a Rifle squad commanded by SSgt. Murch. The houses to the bottom are expected to have the heaviest resistance, so they'll be on standby to meet any attacks before assaulting the area themselves.
Unit- Rifle Squad, US Airborne
The mainstay of the Airborne, Rifle squads come armed with M1 Garand and M1A1 Carbine rifles and grenades. They are trained in holding a defense line and assault enemy positions, though they are not as effective at either as dedicated fire and assault teams
Primary weapon- M1 Garand
A truly unique weapon developed before the War, Garands semi-auto rifle uses an 8-round en-bloc clip to load, ensuring a much higher rate of fire than any other nations bolt-action rifle. Indeed, America was the only nation during WW2 to have a semi-auto rifle as their primary weapon. The only downside was the tricky method of unloading a partially empty clip from the magazine, which prompted most GI's to simply fire off any remaining rounds and let the clip eject itself once empty.
Primary weapon- M1 Carbine
Originally built to give artilleryman and tankers a better weapon than a pistol, the M1 Carbine is a light weight magazine fed rifle, firing a .30 cal pistol round. Although it is much less powerful and has less range than the Garand, the Carbine still found it's way to the frontlines. A number of Carbines were also built specifically for the US Airborne- the M1A1 replaces the wooden stock with a folding-wire one, further reducing it's size and weight.
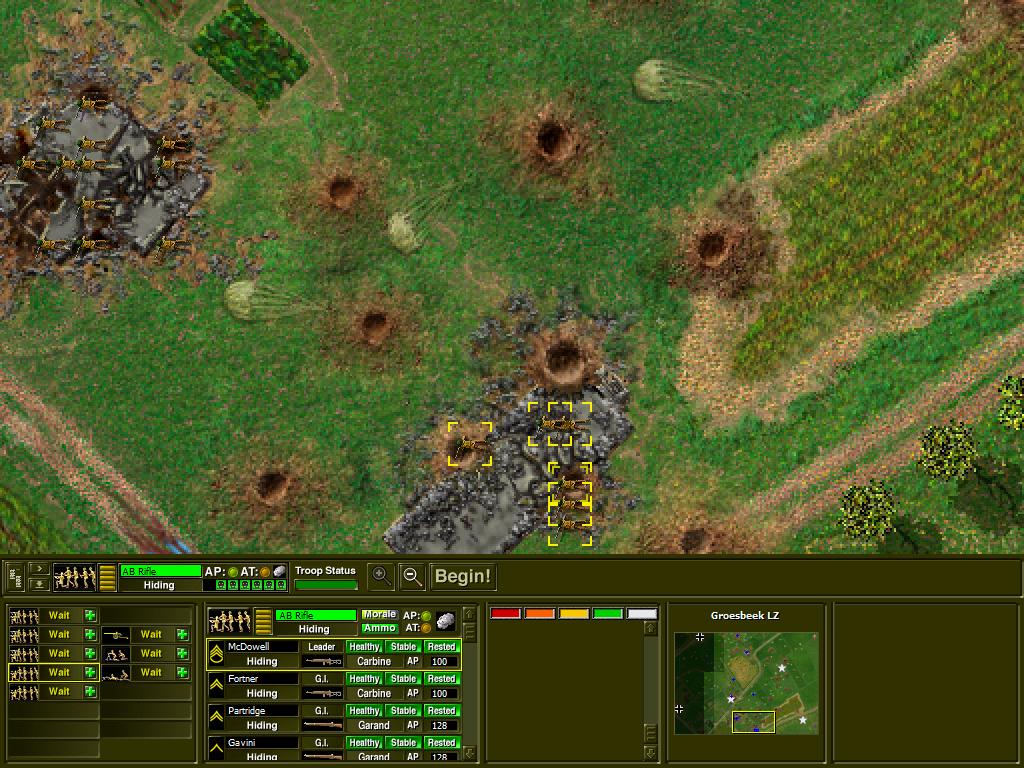
Finally, SSgt. McDowell has the far bottom with his Rifle squad. Their goal is to directly support Stallings and Murch as they first hold, and then advance. If they manage to take the area to their left, then McDowell can move up as well.
Now that the units are deployed, it's time for Battle right? Nope, not just yet...
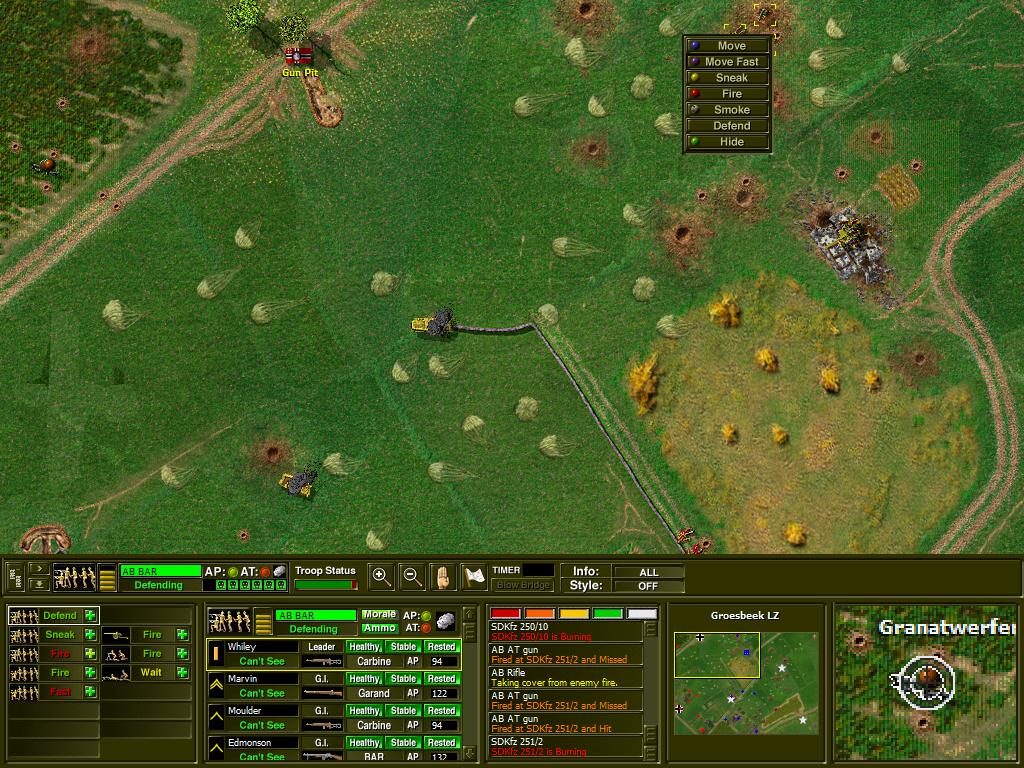
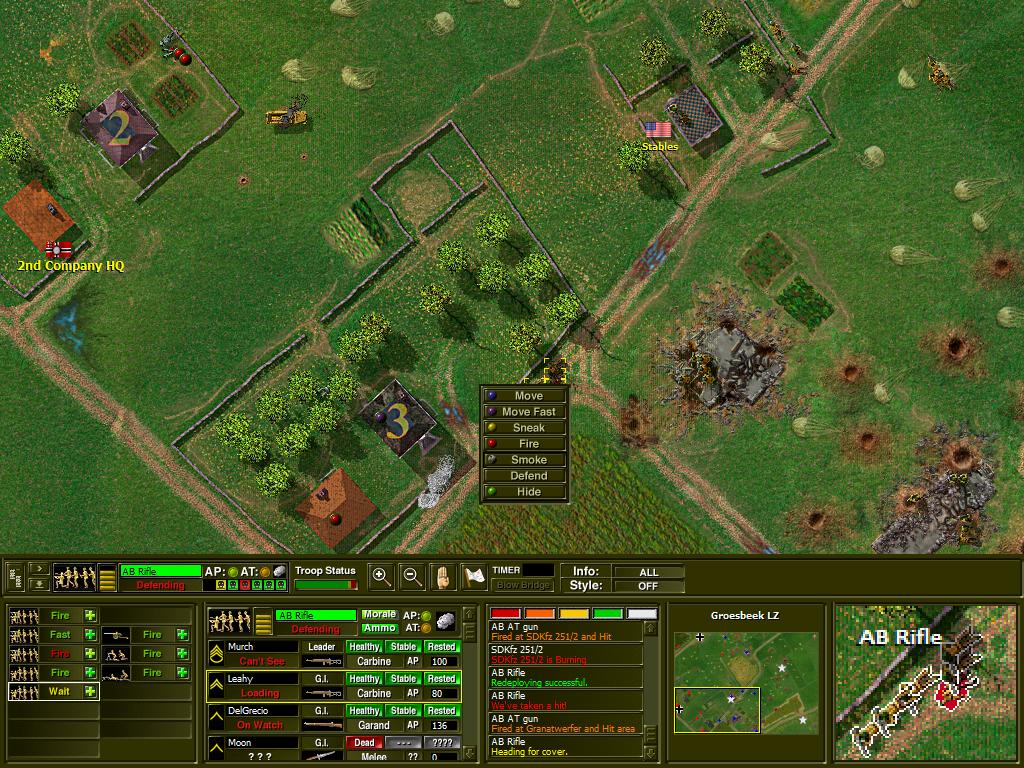
During deployment, you can give orders to every unit, which they will then follow once the fight starts. In this case, I'm going to order all teams above and including the MG team to Defend- they will open fire on any Germans they see. This is especially important with the AT gun, since if there is an enemy tank parked in their line of fire, you want them to shoot and knock it out ASAP.
Down below, the remaining 3 squads are set to Hide, using whatever cover they can to be undetected. If the Germans have an MG in the bottom house, I don't want it mauling my units from the get go. The mortar team isn't given any orders, instead I'll wait for the battle to start before giving them a target.
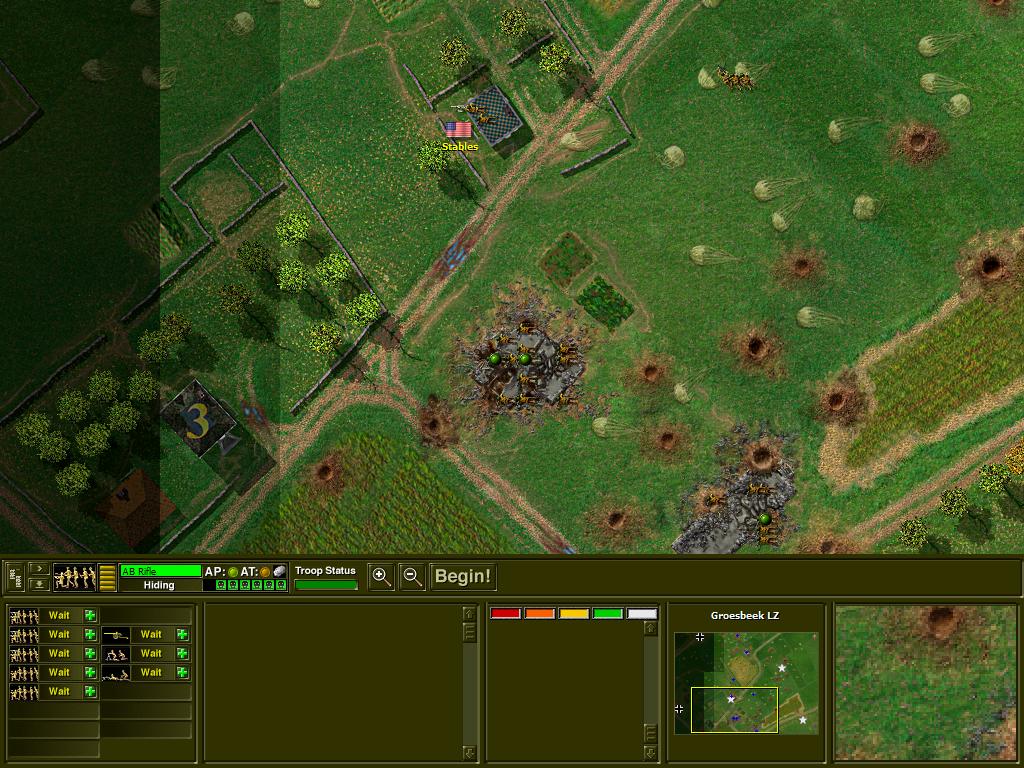
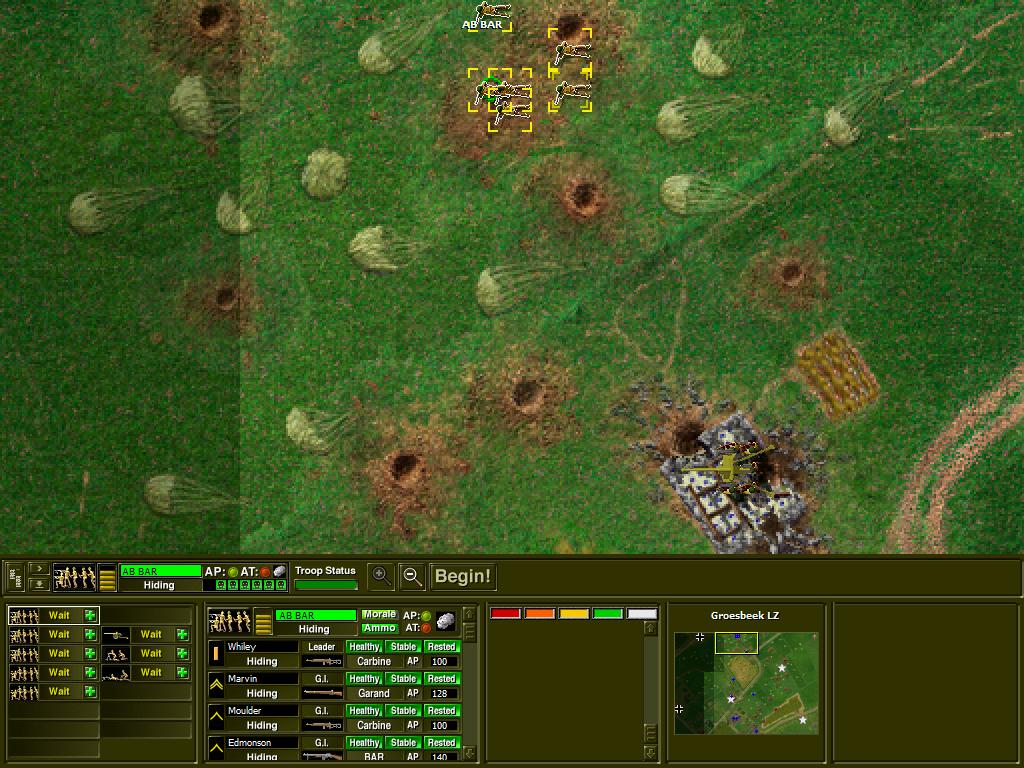
Oh, before we start, one more thing- the orange dots you see are from my Hide order. Giving orders with cause dots to appear, allowing you to see which enemy units are being fired upon (red dots) and if any squads are moving forward (blue dots) Defend doesn't give such an icon, I assume because 'return fire' is the default state of your soldiers and Defend is just an expansion of that (ie. shoot everything)
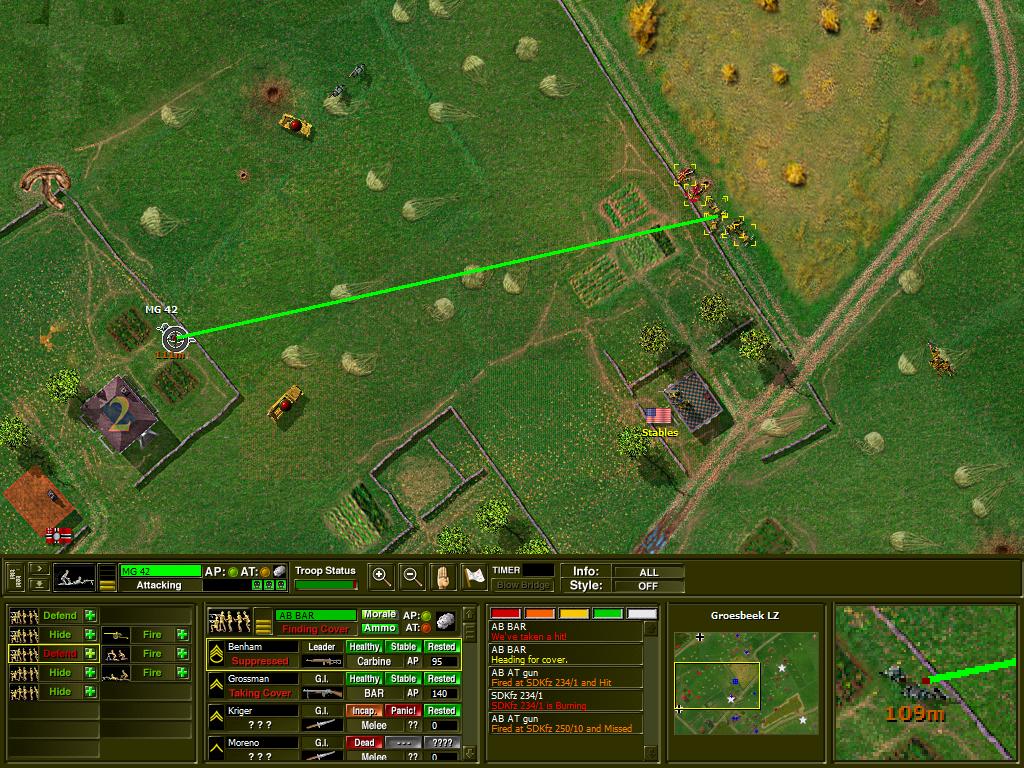
BATTLE BEGINS
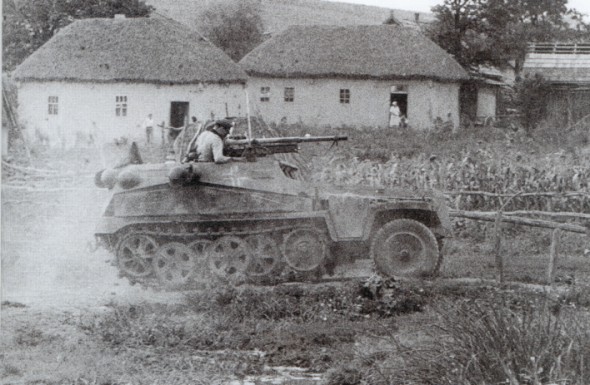
Ok, so the Germans have a few vehicles- SDKfz generally means armoured car/half track, not a threat to tanks but because I just have infantry they are all the way bad.
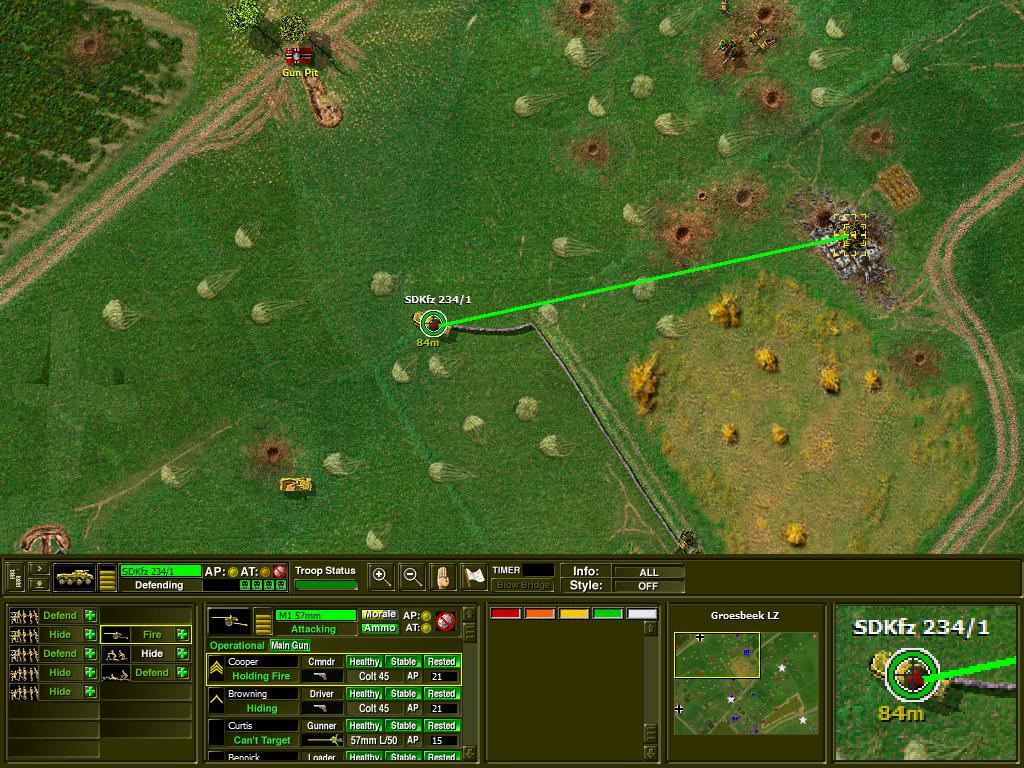
First up, lets KO the 234 at the top, while we wait for the German infantry to show themselves. Since the 20mm cannon is capable of taking out my AT gun, it's the obvious choice for first blood.
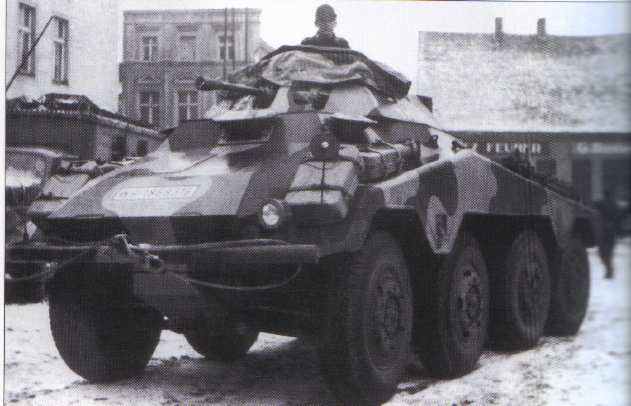
Unit- SDKfz 234/1 Armoured Car, Wehrmacht
Primary weapon- KwK-30 2cm autocannon
The Sonderkraftfahrzeug 234 was an eight-wheeled armoured reconnaissance car used by Germany from 1940 onwards. Originally built for the African campaign, it was not in service in time to be of any use there. Service in Russia and western Europe did prove it a successful design however. The 234/1 was the first remodel, a simplified design with an open-topped turret housing the 2cm cannon.
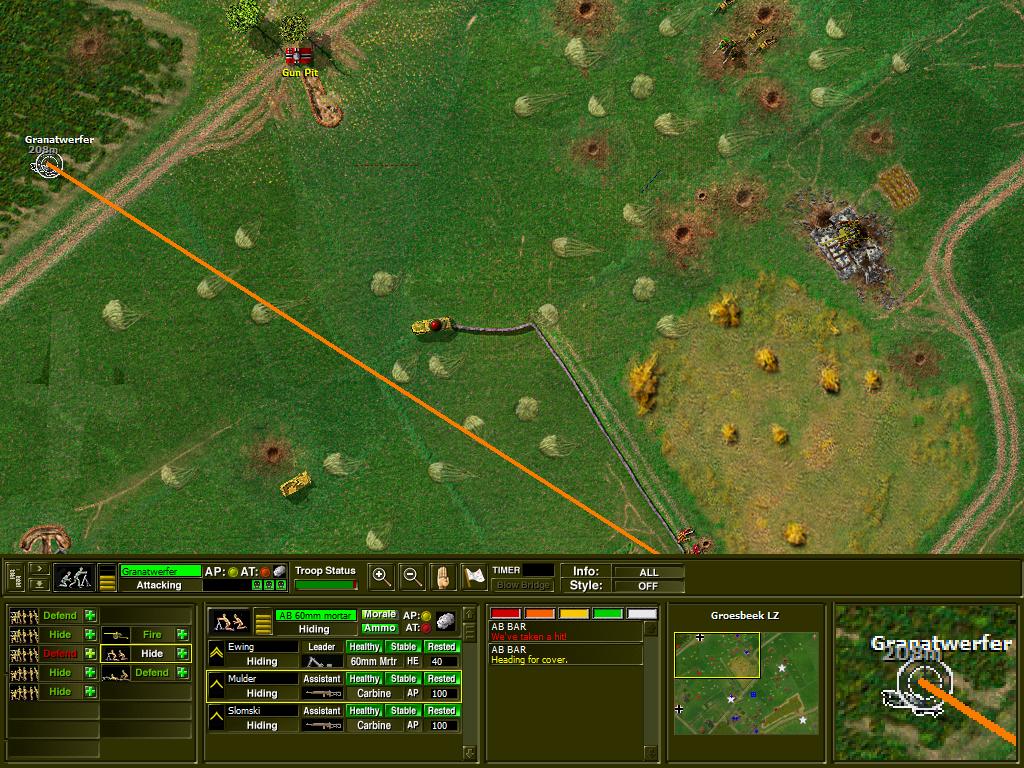
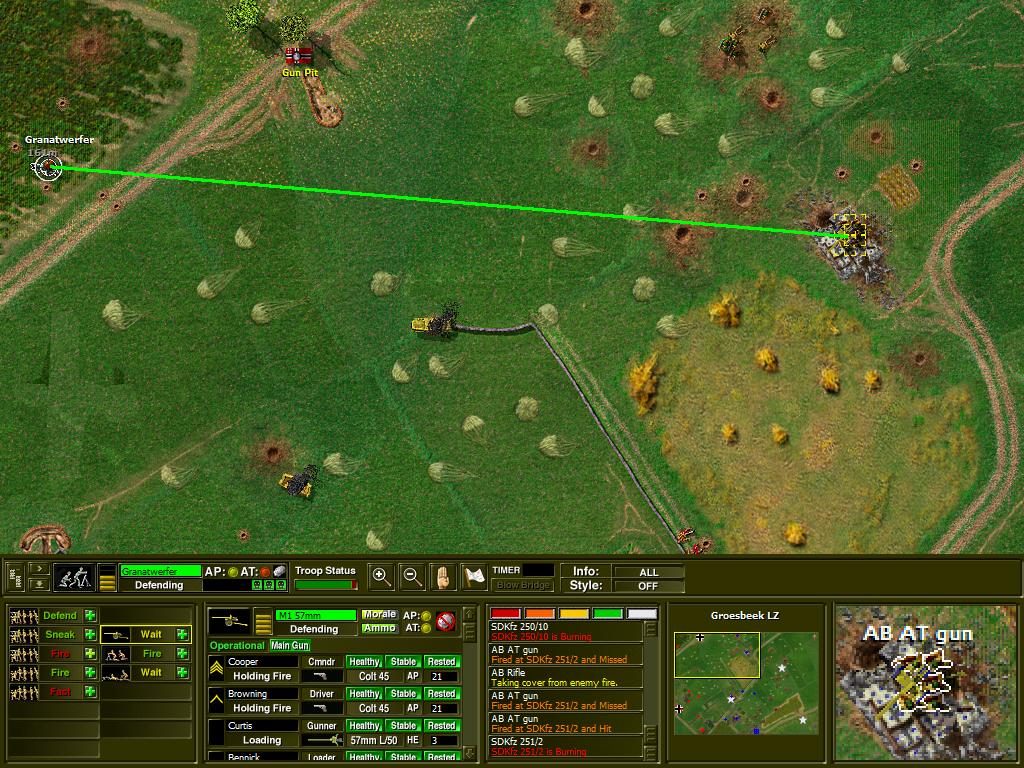
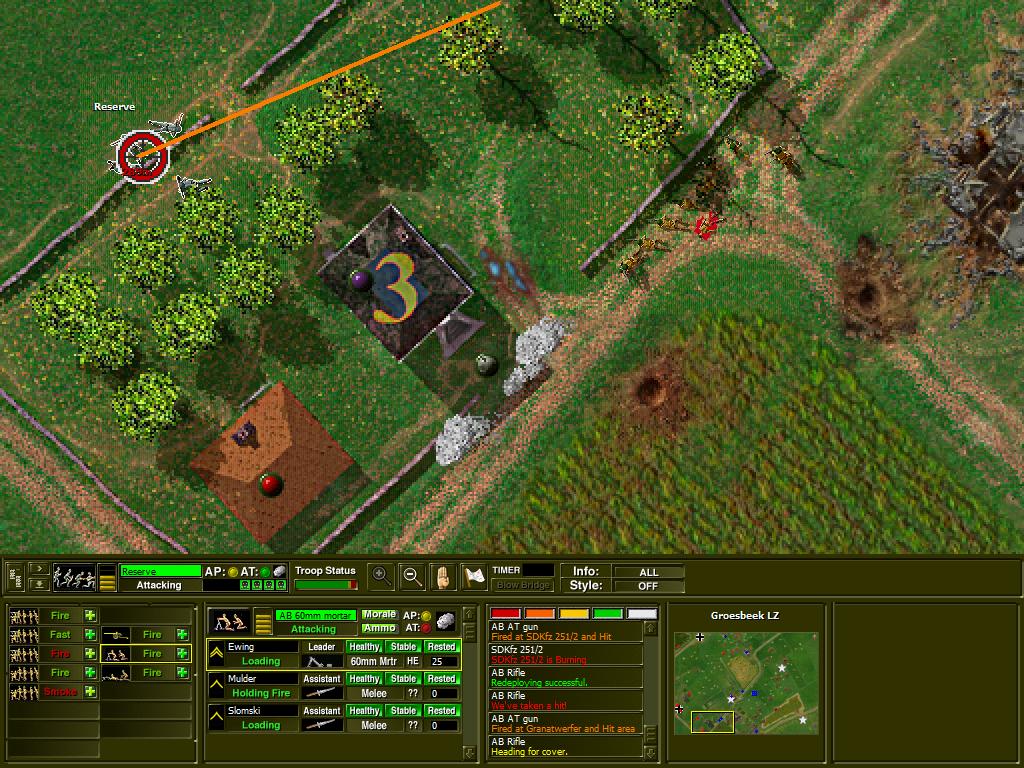
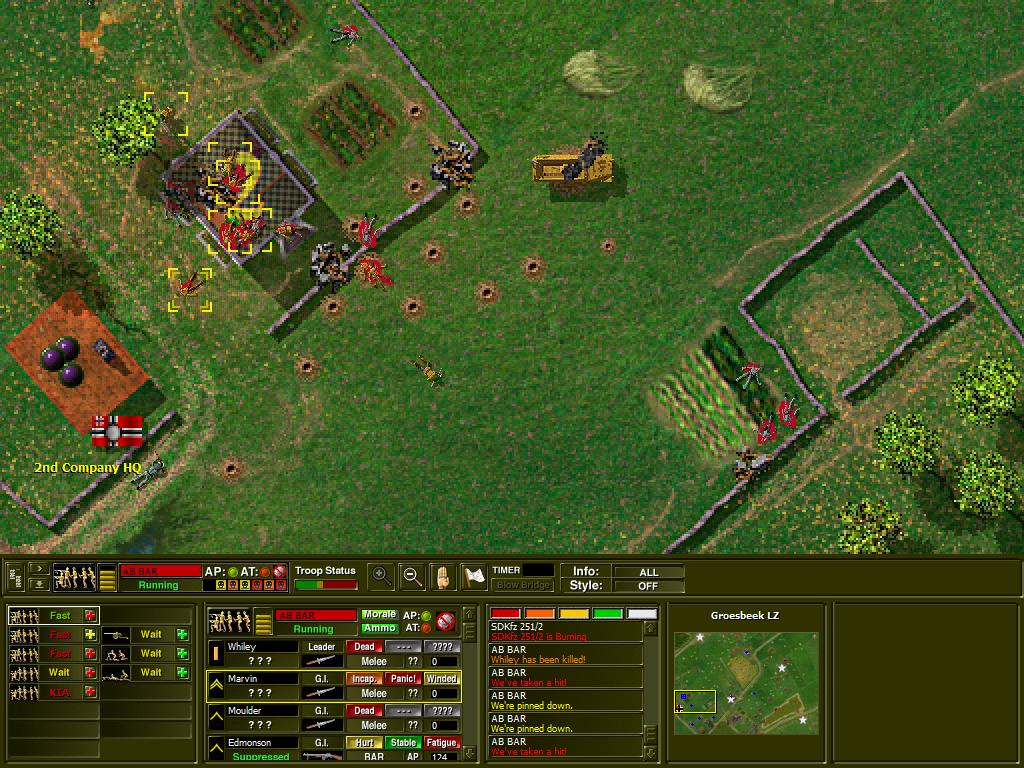
Sadly, first blood goes to the Germans, combined fire from the half tracks and their mortar team in the top left hit Benhams team. I order my own mortar team to hit the Germans.
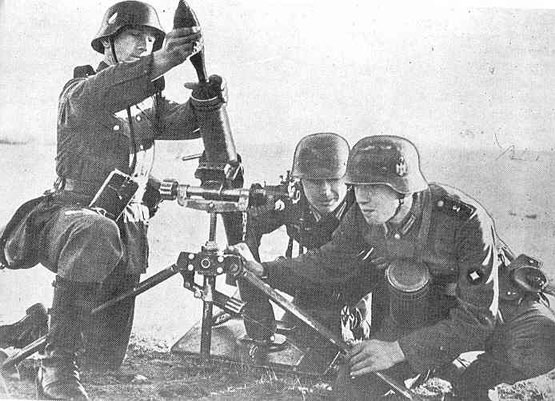
Unit- Granatwerfer team, Wehrmacht
Tasked with lugging the heavy 8cm mortar and it's 81mm ammunition, Granatwerfer teams are a low mobility, high firepower unit capable of sending a heavy barrage in a short time frame.
Primary weapon- 8cm GrW 34 mortar
The standard infantry mortar for the German military, the GrW 34 was a fast firing and accurate 8cm support weapon, capable of laying a heavy barrage from over a kilometre away. A smaller version, the GrW 42, was also developed as a lighter and more compact alternative, though it did not see as much service.
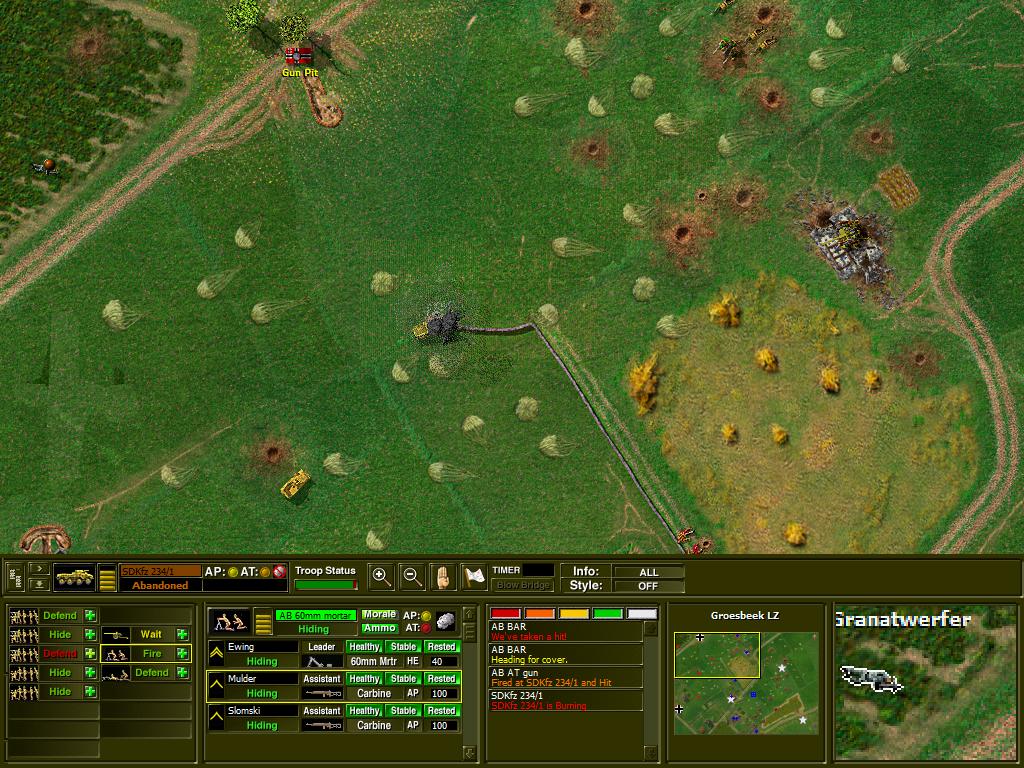
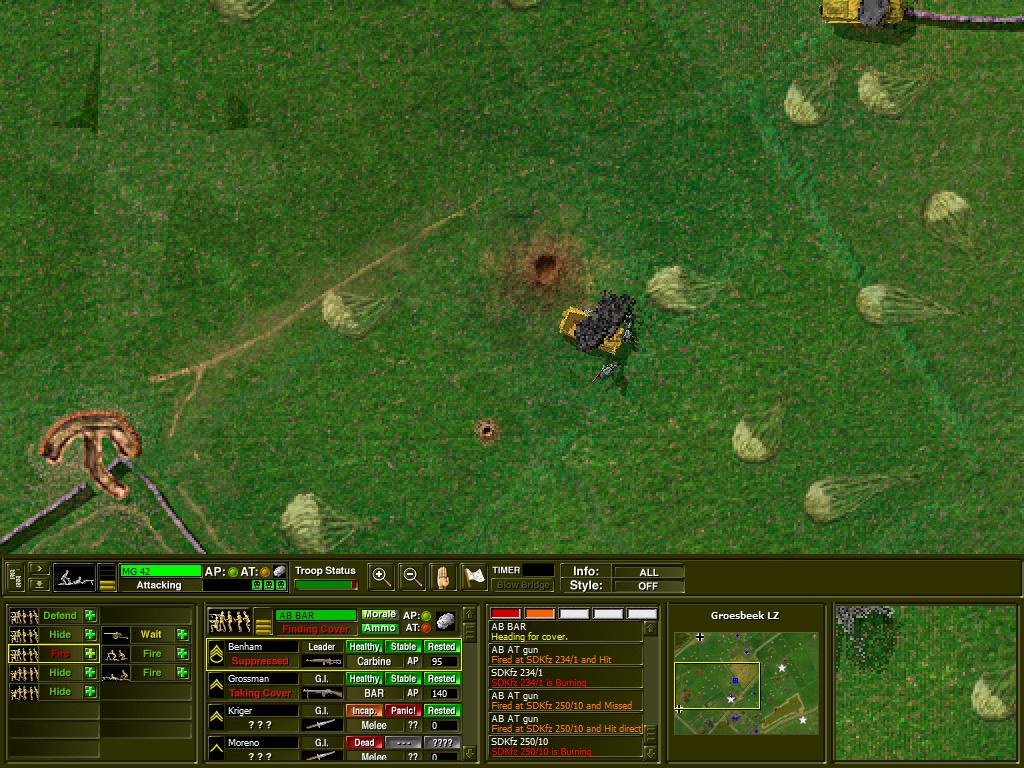
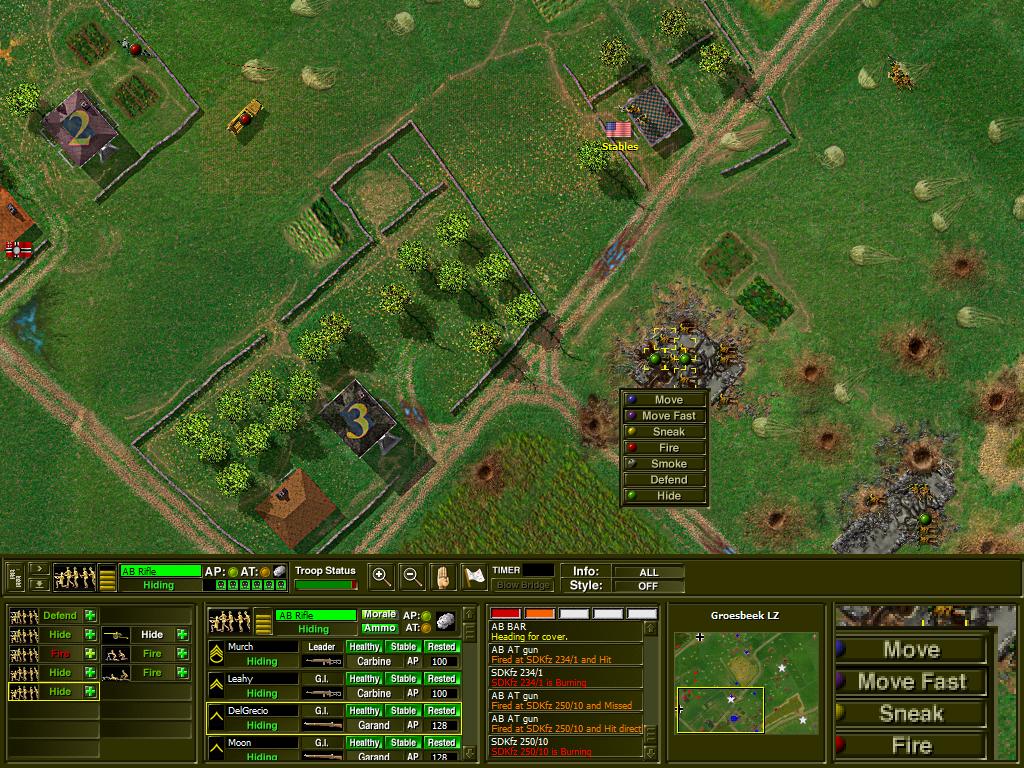
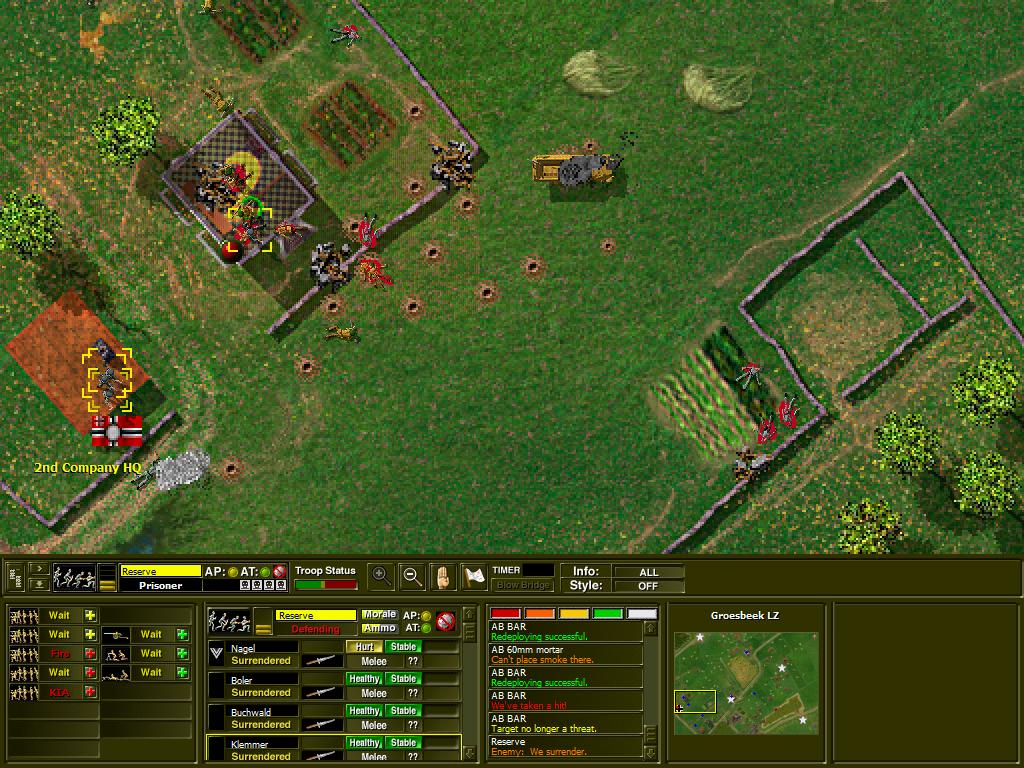
As Ewing sets up, Cooper scores the first kill- with the armoured car burning, the German crew bails and retreats across the battlefield.
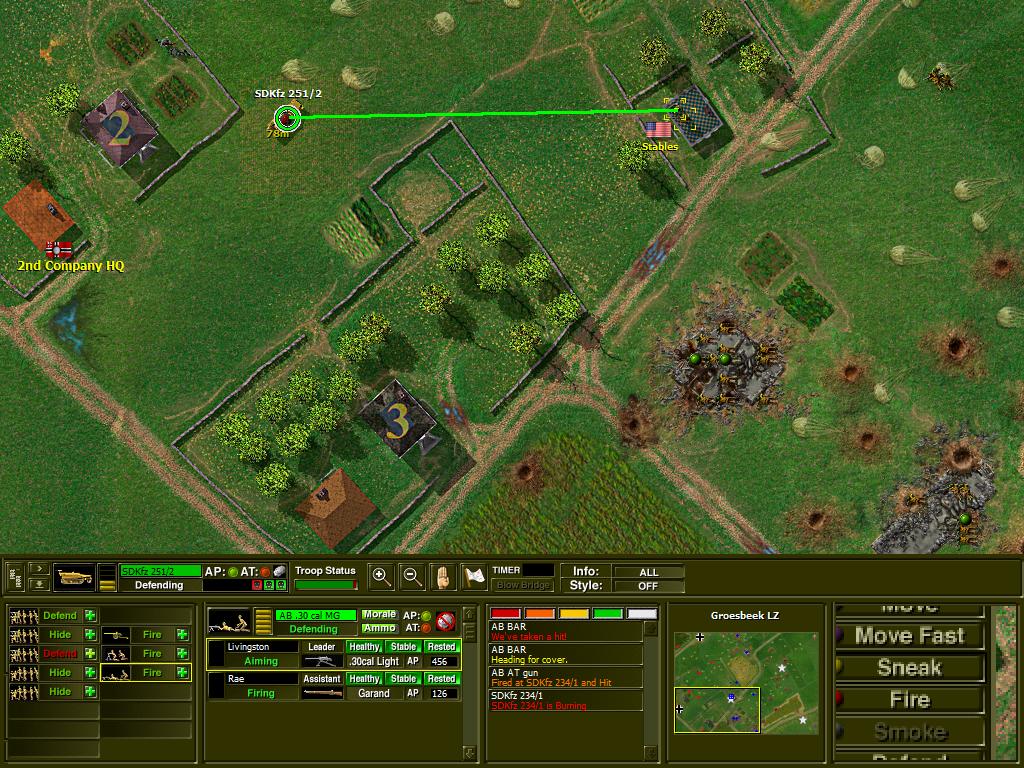
With Cooper attacking the middle halftrack, the .30 cal team is ordered to fire on the bottom one- while they can't damage it, halftracks are generally open-topped meaning they can at least wound the crew... an assumption that proves correct, as can be seen.
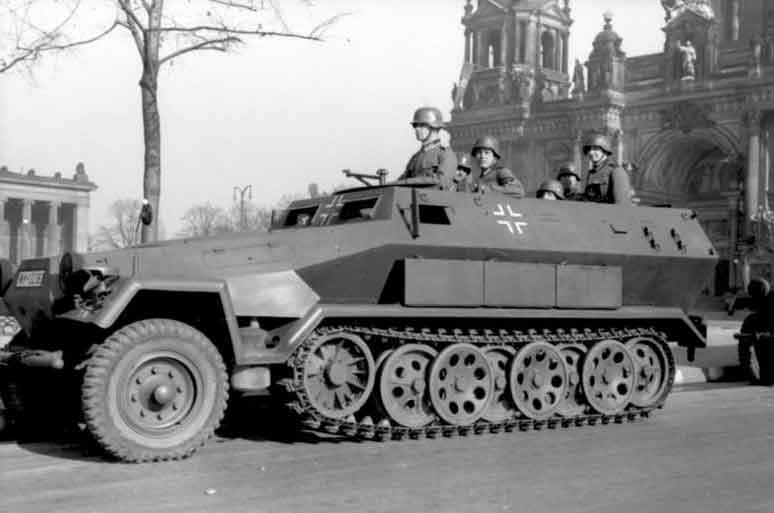
Unit- SDKfz 251/2 Mortar Halftrack, Wehrmacht
Primary weapon- 8cm GrW 34 mortar
Often called the 'Hanomag', the 251 was the largest, most heavily armoured and most produced half-track for the Germans. The 251/2 version was designed as a mortar carrier, giving mobile fire support for infantry with it's 8cm mortar.
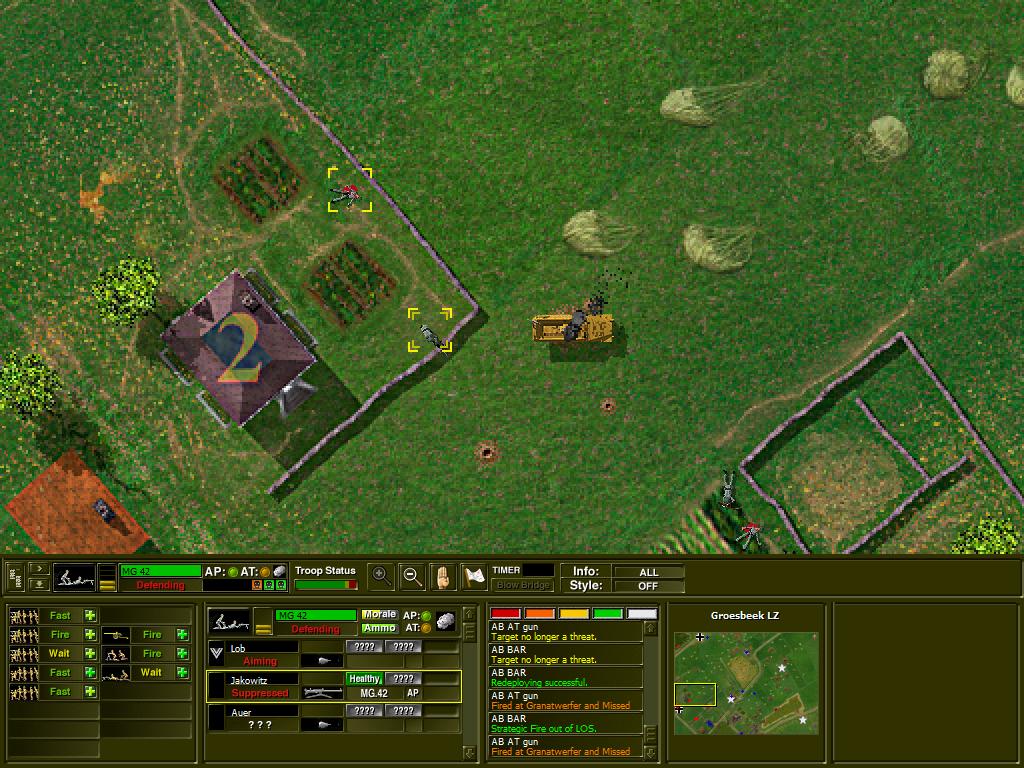
The Germans respond to my MG team with one of their own. With Benham still under fire, I order him to engage the German MG 42 team- being suppressed, they won't be able to do much, but once the pressure is off they should get right to it.
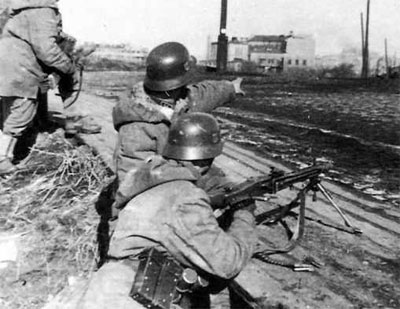
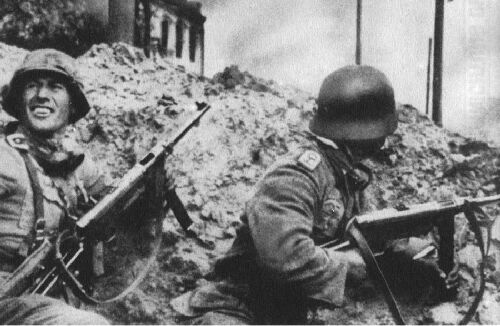
Unit- Light MG Section, Wehrmacht
German infantry tactics put the MG teams in command of a firefight- while other squads may be ordered to hold no matter the cost, the MG section is free to move wherever they are needed to put as much fire onto the enemy as possible. Most German platoons contain several MG teams to augment their firepower.
Primary weapon- MG 42 medium machinegun
First built as a cheap replacement for the overly designed MG 34, the MG 42 was built from stamped steel, and built by the thousands. By the end of the war, the Germans could arm almost every squad with an MG 42 as their main weapon. The most distinctive feature of the MG 42 was it's extreme firerate of over 1200 rounds per minute, which produced a sound that was at best unnerving to enemy soldiers, who dubbed it 'Hitler's Buzzsaw'.
Meanwhile Cooper scores another kill, knocking out the scout halftrack and again causing the crew to bail and leg it along with the 234 crew.
Unit- SDKfz 250/10 Halftrack, Wehrmacht
Primary weapon- PaK 35 3.7cm anti-tank gun
A very light armoured halftrack built to transport recon units, the 250 wasn't as mobile as it's larger cousins but was much better all-terrain than the all-wheeled vehicles it replaced. The 250/10 was designed for scout leaders with a 3.7cm AT cannon to knock out enemy scout vehicles and light armour.
With the center under heavy fire, the bottom was more/less quiet, so it came time for Murch to earn his paycheck- his Rifle team was to make a dash for the 3 story house in front of them (numbers on buildings = how many stories- infantry are automatically considered to be on the top floor) while Stallings and McDowell setup to fire on any Germans they saw.
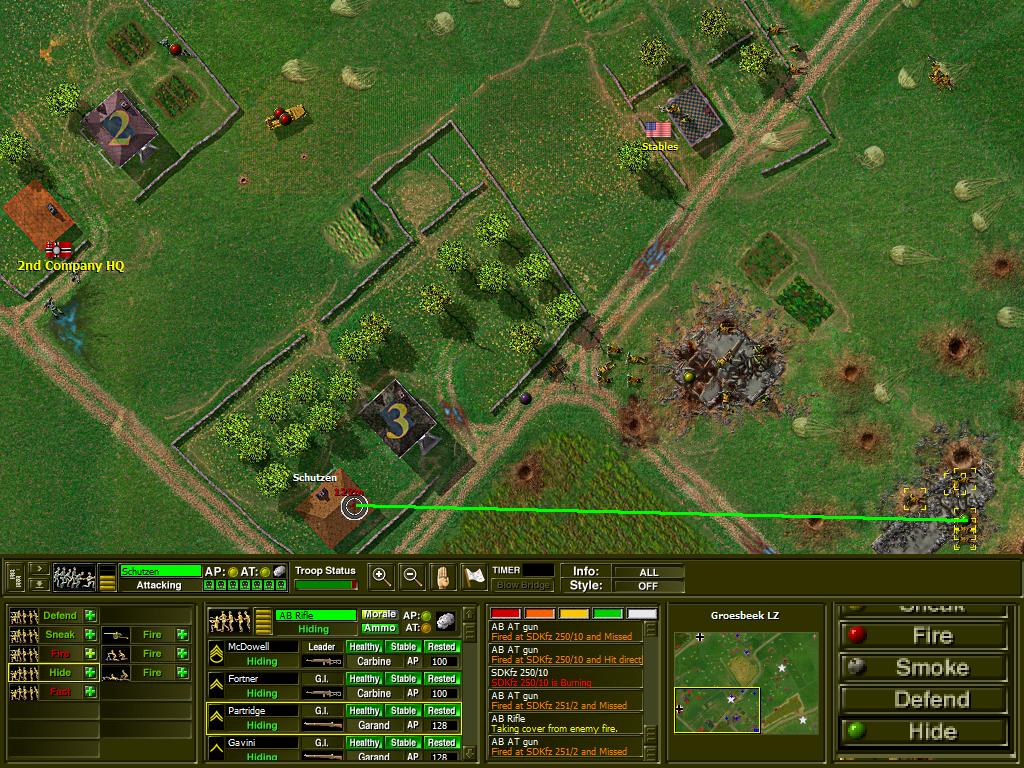
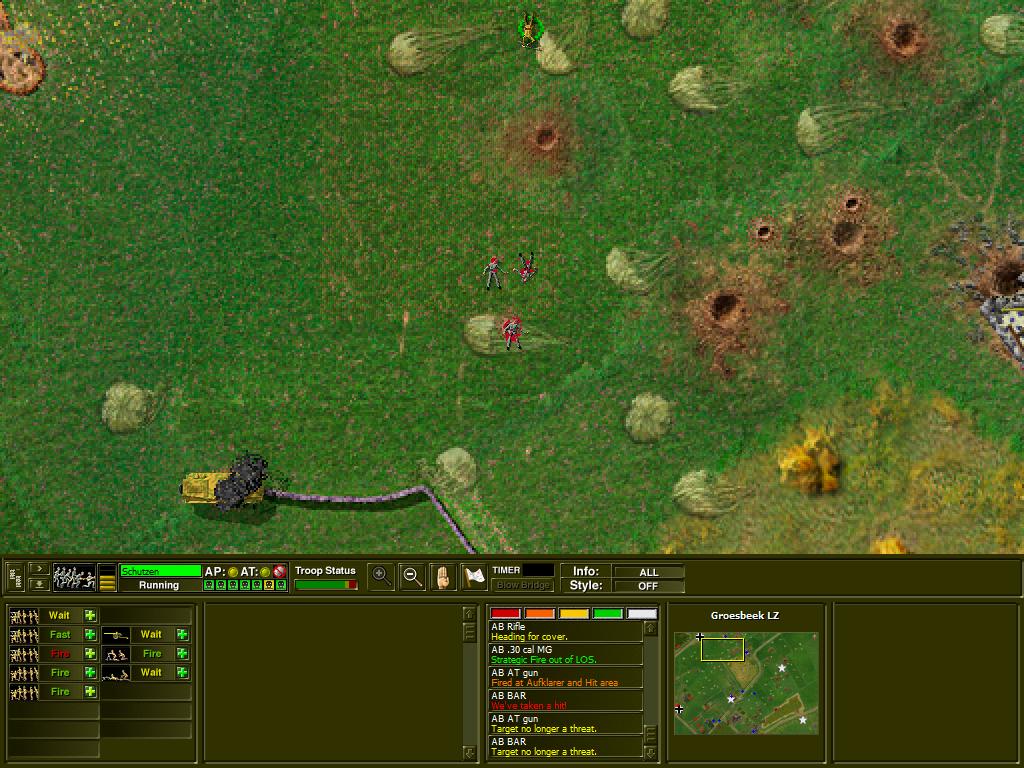
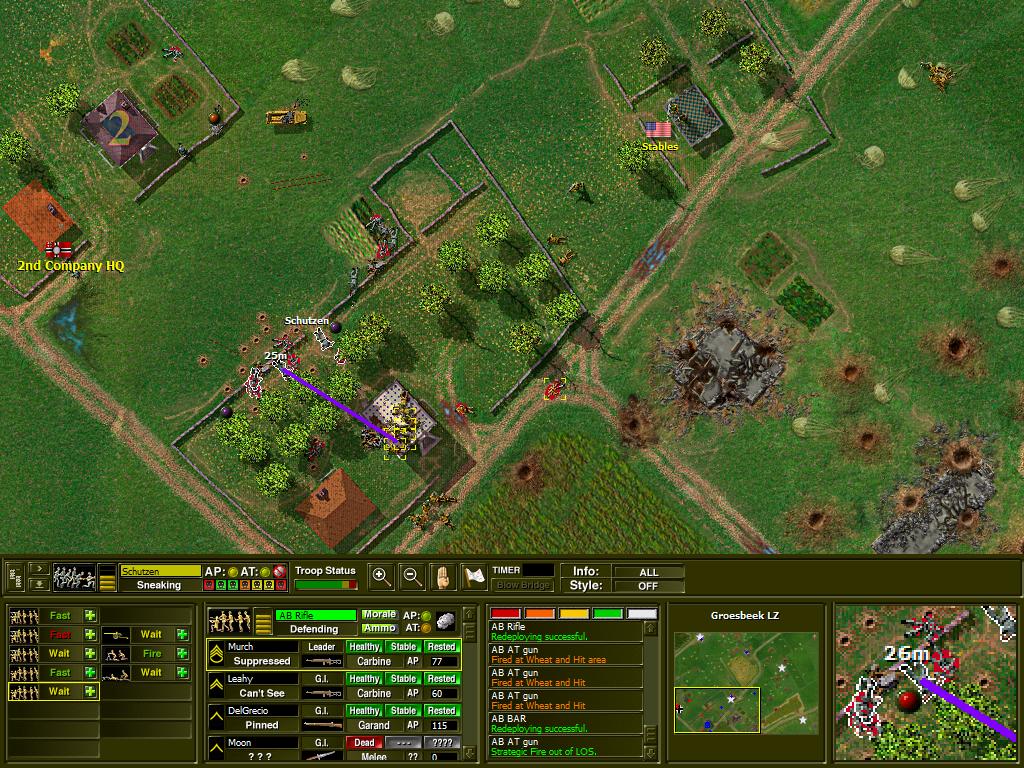
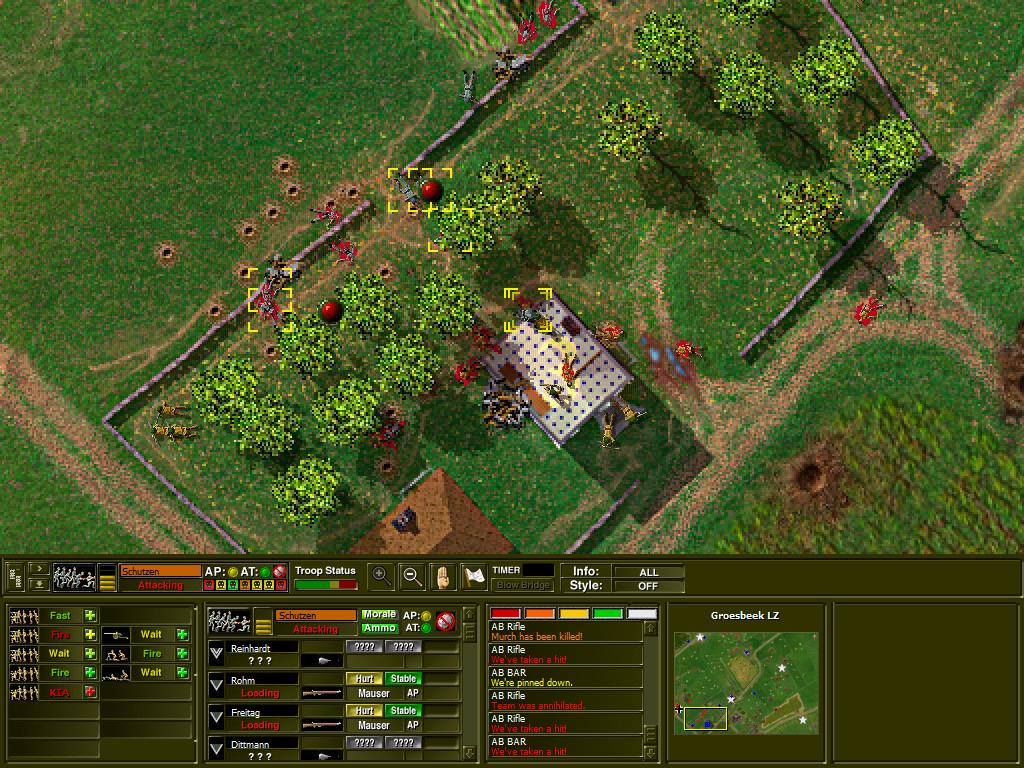
Sure enough, a German Schutzen squad begins firing on Murch. McDowell and Stallings now have a target to concentrate fire on, and by god they'll get it done.
Unit- Schutzen Squad, Wehrmacht
Making up the bulk of the German army, the 'Shooters' are your average rifleman, armed with Kar98k rifles and grenades plus an MP40 for the squad leader.
Primary weapon- Kar98k rifle
A slightly shortened version of the Gewehr 98 rifle, the main weapon of the German military of the Great War, the Karabiner 98k was produced from 1935 to the end of the war. A very accurate and long ranged weapon, it's only downside was it's rate of fire, especially compared to the British SMLE bolt-action and the American M1 Garand semi-auto. Despite attempts to phase it out for the newer G41 semi-auto and later the MP-43 Sturmgewehr, it remained the Wehrmachts primary weapon until the very end of the war.
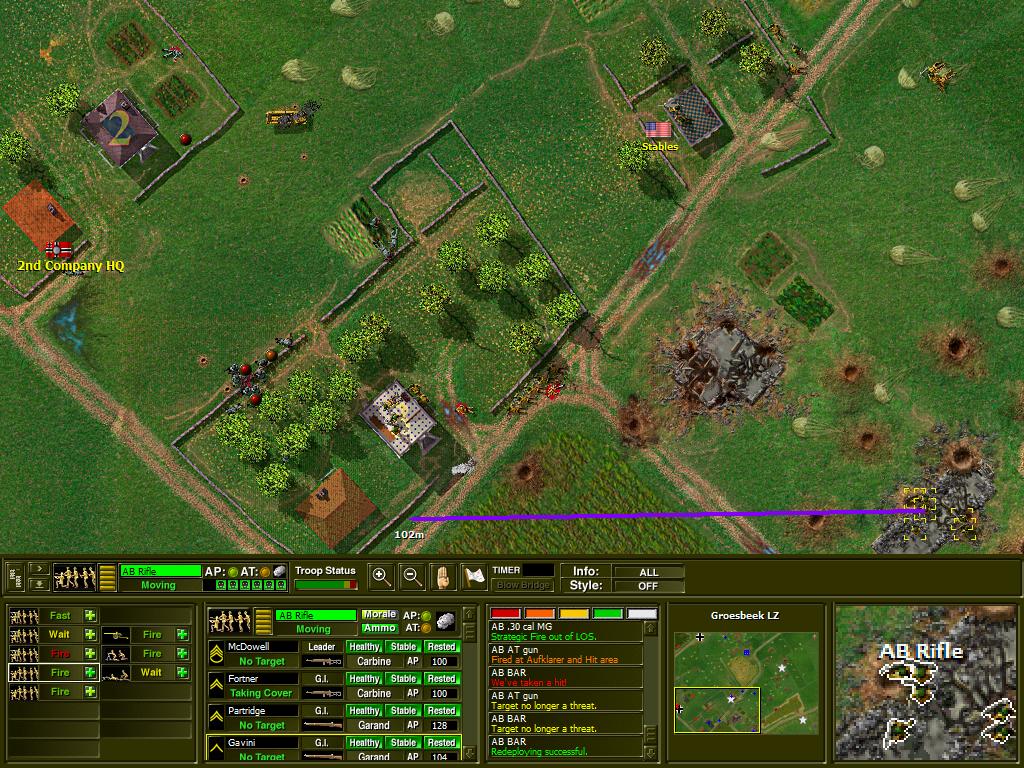
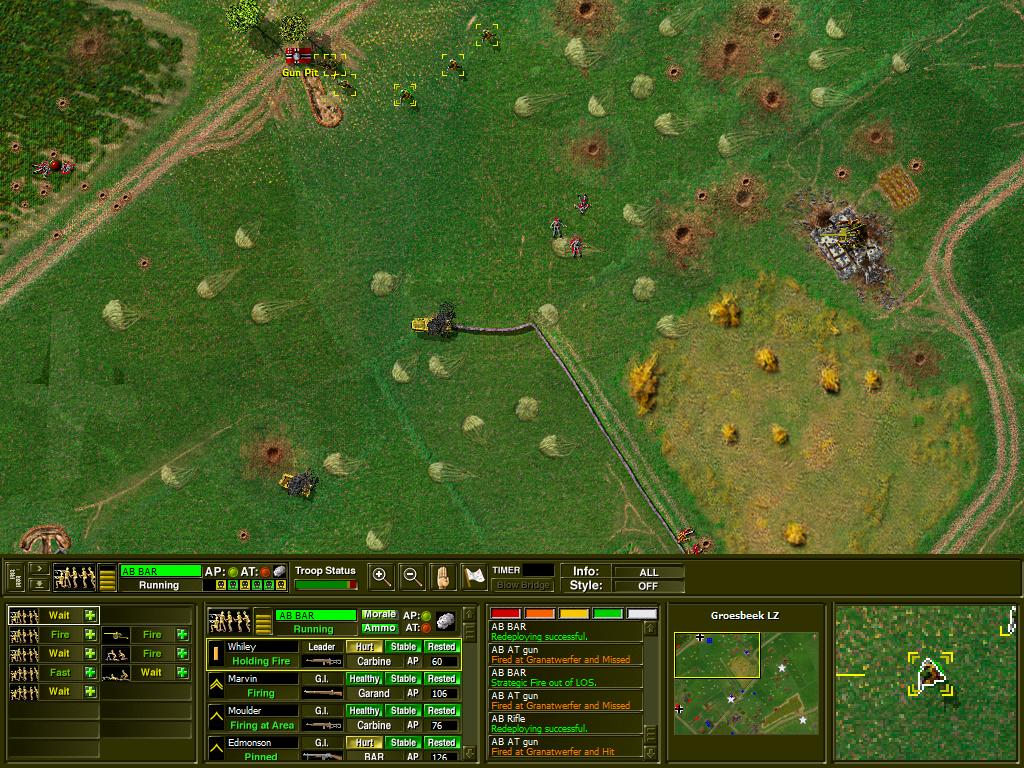
After a few misfires (likely due to dodging mortar shells) Cooper finally nails the last halftrack, and shifts fire to the German mortar team near the Gun Pit.
At the same time, Whiley moves his squad out to capture said objective, since the top front is essentially all clear...
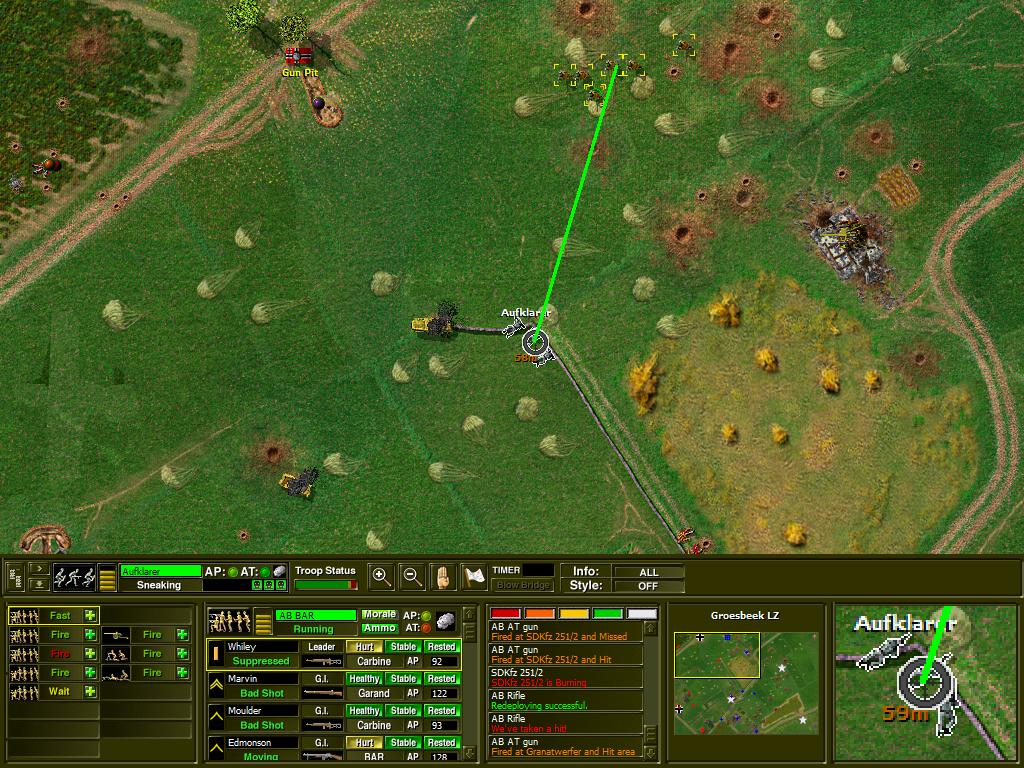
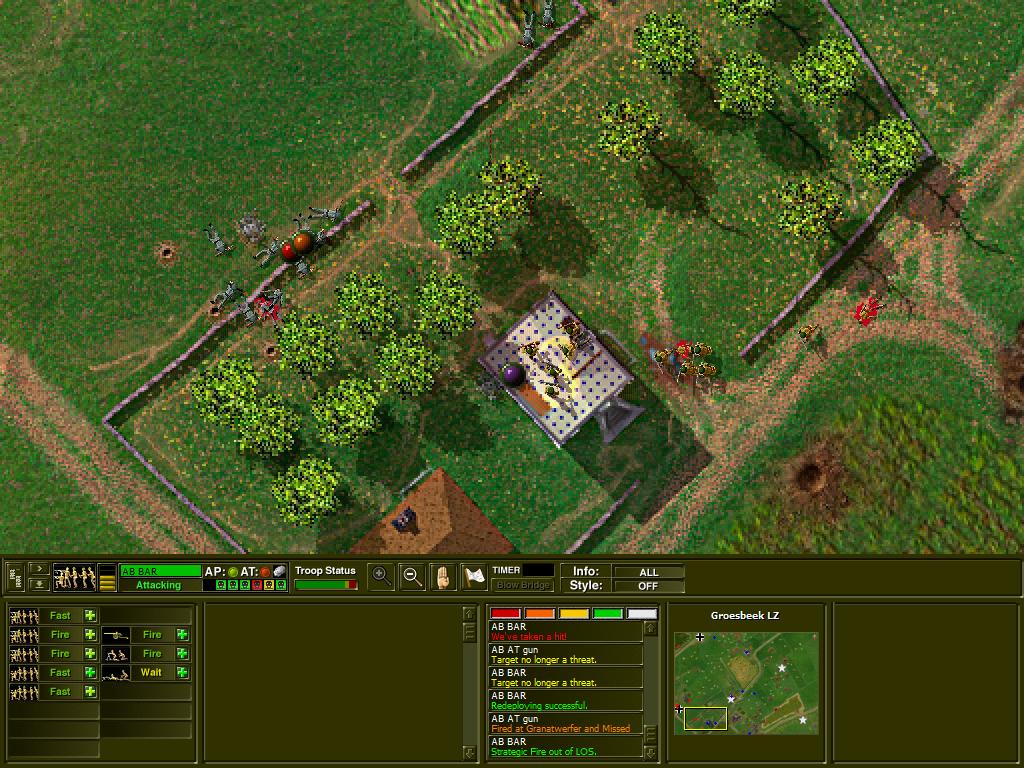
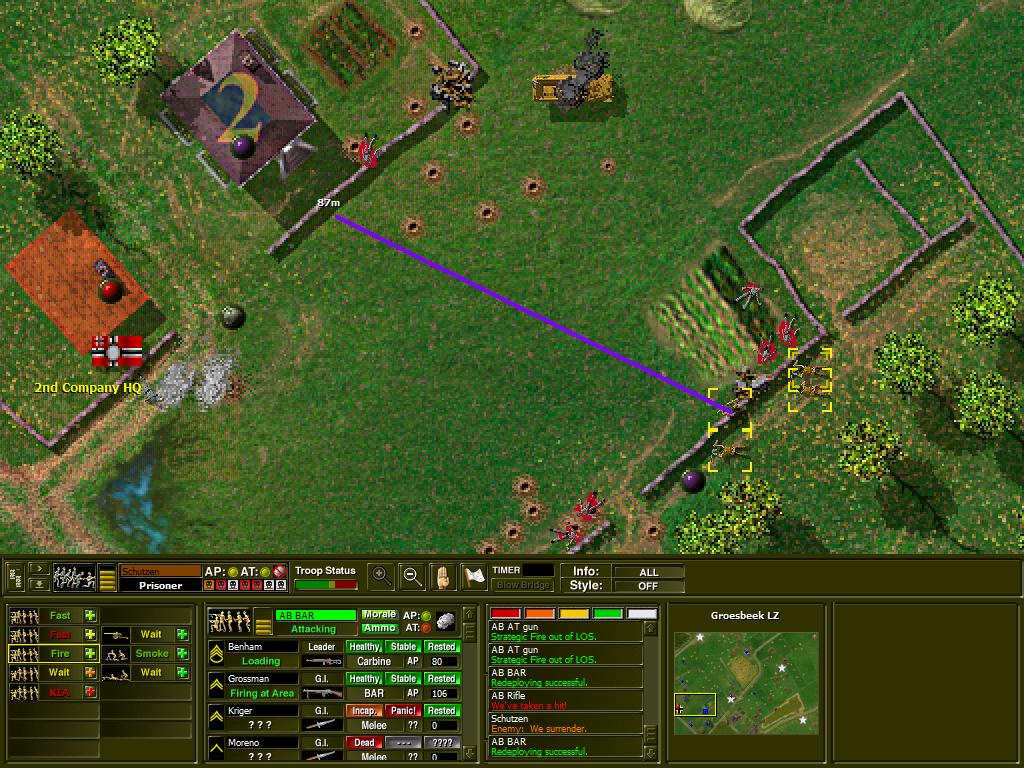
Or not. A German scout team has managed to sneak all the way to the stone wall Benham is holding. The LT responds to this new threat- at this range, his squad should have no problem killing or routing Jerry. But for good measure, the 57mm is also put on the job, with what few HE shells they have left.
Unit- Aufklarer, Wehrmacht
Literally 'The Enlighteners', Aufklarer are intelligence gatherers. Specifically, they are forward scouts, trying to find enemy positions and occasionally exploiting gaps in a defence line. They are armed with MP40 SMGs, making them deadly in close fighting but vulnerable at range.
Primary weapon- MP40 submachinegun
An updated version of the MP38, the MP40 was a cheaper and lighter option for squad leaders. Firing 9mm rounds at a moderate fire rate, it wasn't as powerful as the .45 Thompson or as fast firing as the Russian PPSh-41, but it was also much lighter and more accurate. Often dubbed the Schmeisser, despite the fact that weapon designer Hugo Schmeisser had nothing to do with this weapon.
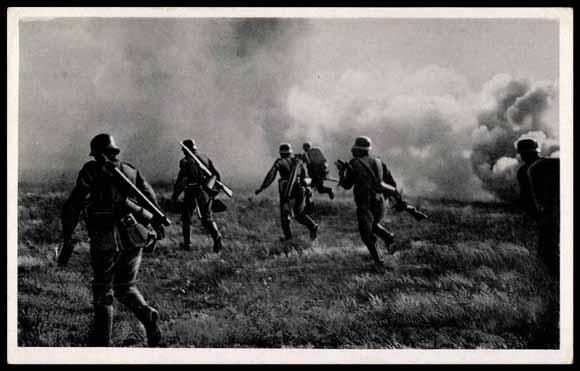
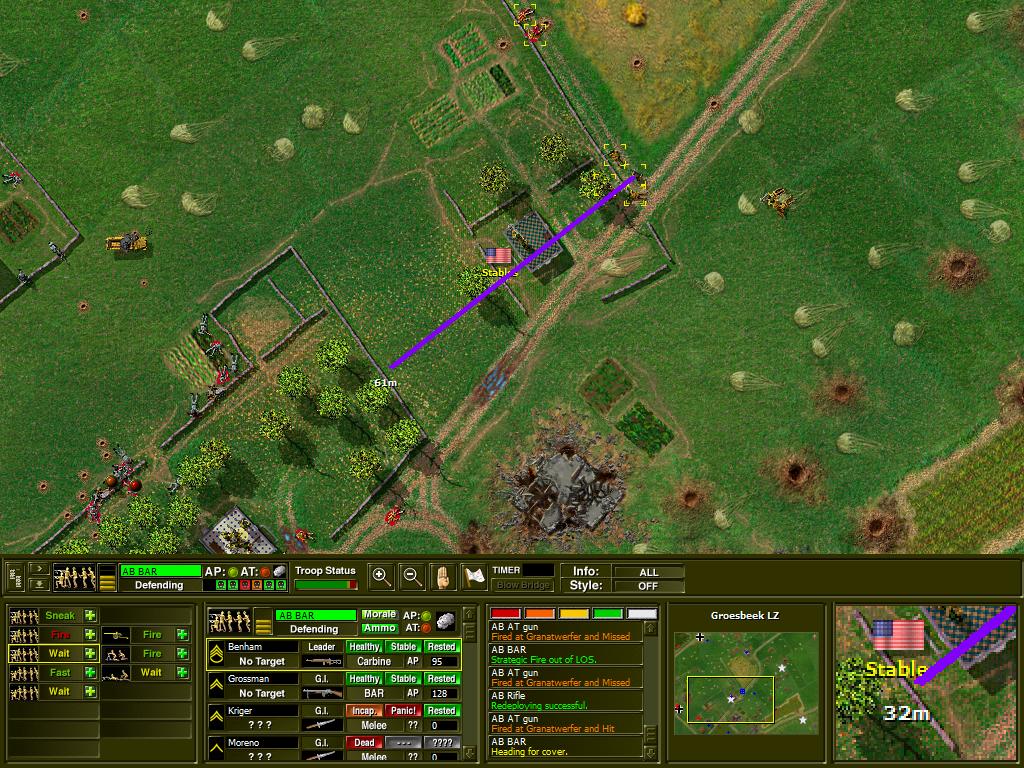
With Murch pinned down, despite McDowells fire support, I order them to use Smoke to cover Stallings advance- once the smoke grenades are down, the Germans will be less accurate at spotting and engaging my troops.
Stallings makes it to the wall without issue, but he spots a German rifle team on the far wall. Ewing is ordered to shift fire to supress the Germans as Stallings makes the final dash.
Unit- Reserve Squad, Wehrmacht
A half team of German Schutze, armed solely with Kar98k rifles. Useful for helping secure a defence line and objective locations, and not much else.
Primary weapon- Kar98k rifle
Meanwhile Lt. Whiley finishes off the German scouts, and continues to the Gun Pit.
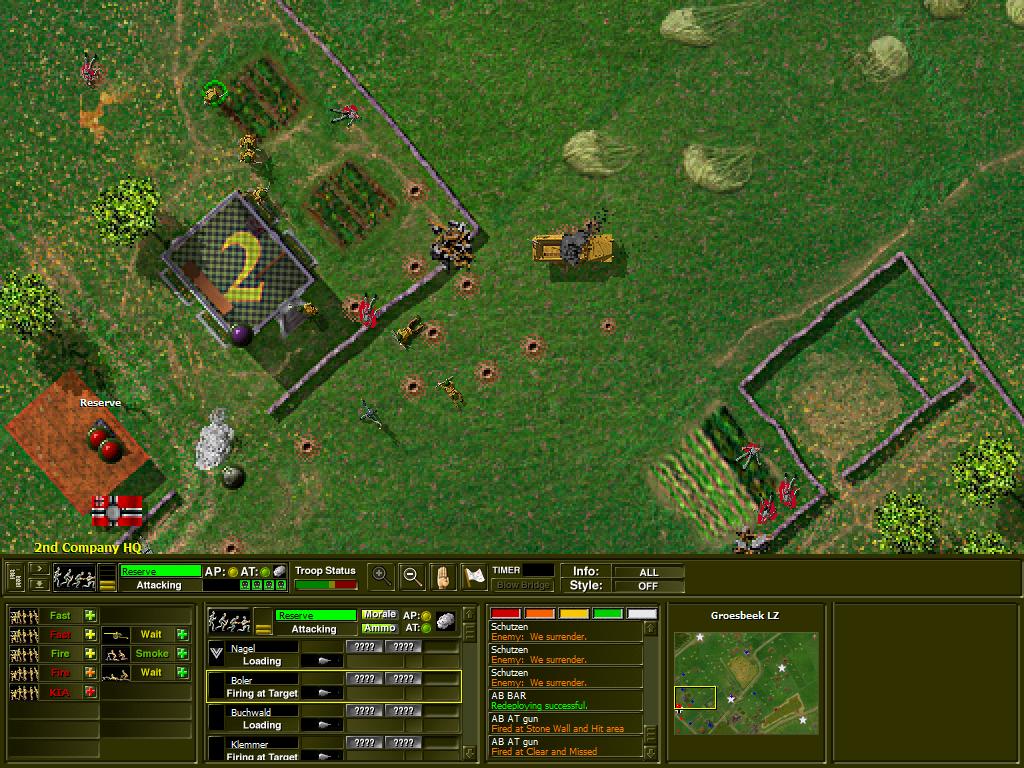
As Stallings takes the house, the Germans decide they've had enough and pull back... directly into my mortar fire. McDowell is ordered forward to support...
... while the other two squads get themselves setup and lay into the Germans.
Meanwhile, the MG team continues to pin the German MG 42, though they still get a few bursts into the Americans.
Up the top, Whiley finally reaches the Gun Pit, and establishes that the mortar team has fled the field. Next stage- move down to support the attack there. However the wounds he and his BAR gunner suffered have slowed them somewhat...
Benham, after having half his squad taken down and retreating under heavy fire, has finally rallied his men. Now it's time for payback- he'll advance to support the other 3 squads, and together they'll annihilate the Germans and put pressure on their last holdout.
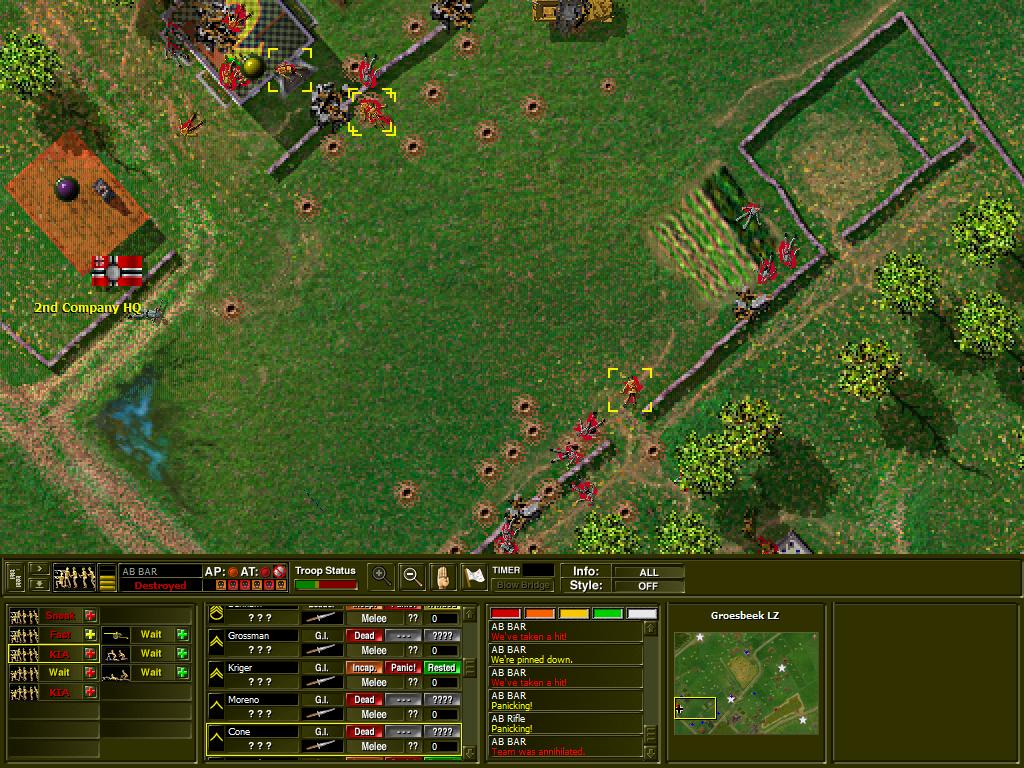
The situation after 5 minutes of fighting- the Germans have lost their armour and some troops, but they still have plenty left to hit back with- 2 MG teams, 2 reserve teams, and 2 Schutzen squads. The Americans have only taken light loses aside from SSgt. Benham's BAR squad. The top end is secure, the game insists the mortar team is still there but it's obvious the single survivor would have retreated by now. If he hasn't, he'll be in for a nasty surprise from Lt. Whileys squad.
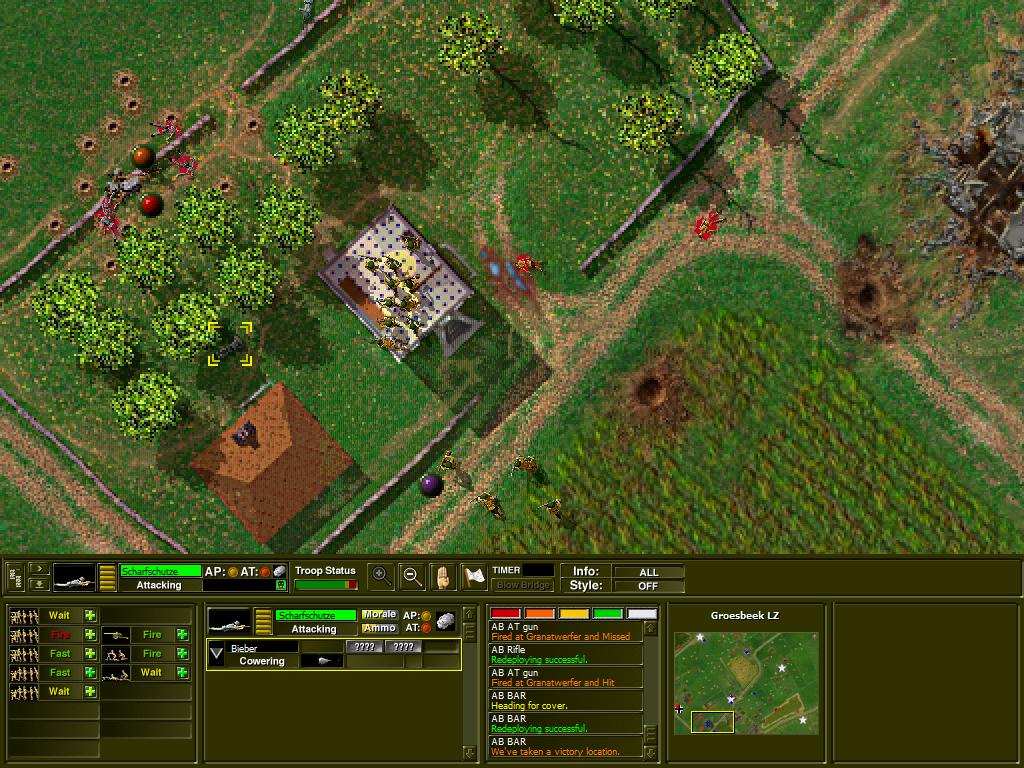
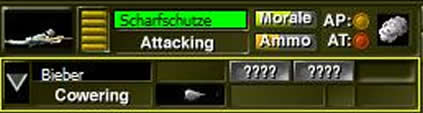
Suddenly a lone German sniper appears!
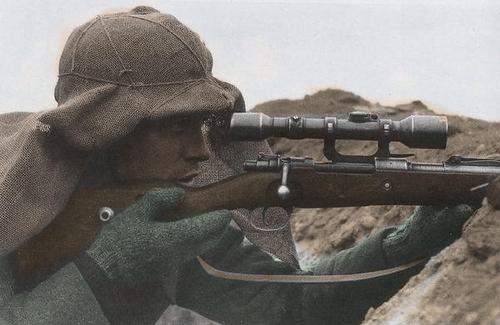
Unit- Scharfschutze, Wehrmacht
Those Schutze who show remarkable aptitude with a rifle are often taken aside from their comrades and made snipers- they operate alone, trying to spot and take out important personnel such as officers and machinegunners.
Primary weapon- Kar98k scoped sniper rifle
Of course he's outnumbered, and a few short...
... Wait...

... oh god...

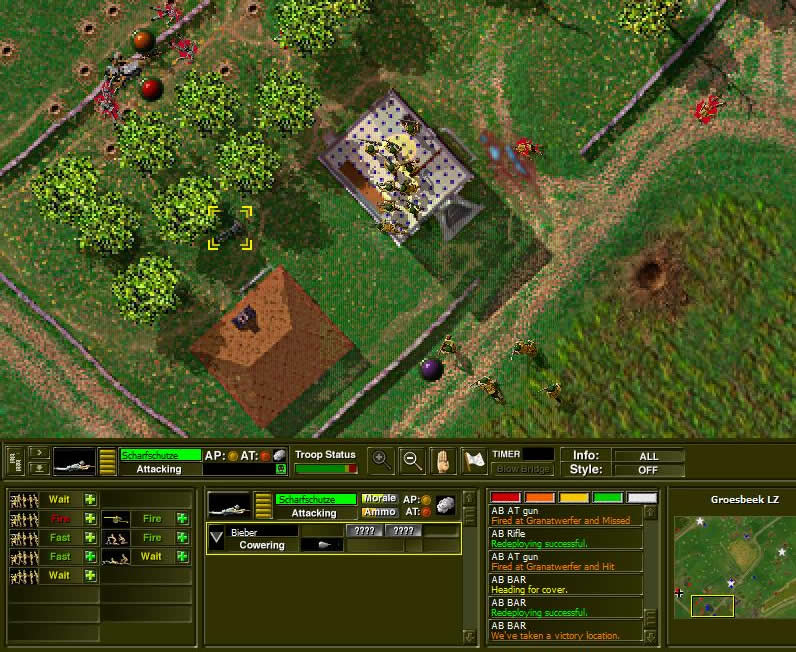
THROW THE GRENADES! ALL THE GRENADES!

With the crisis averted, the bottom teams continue laying into Jerry.
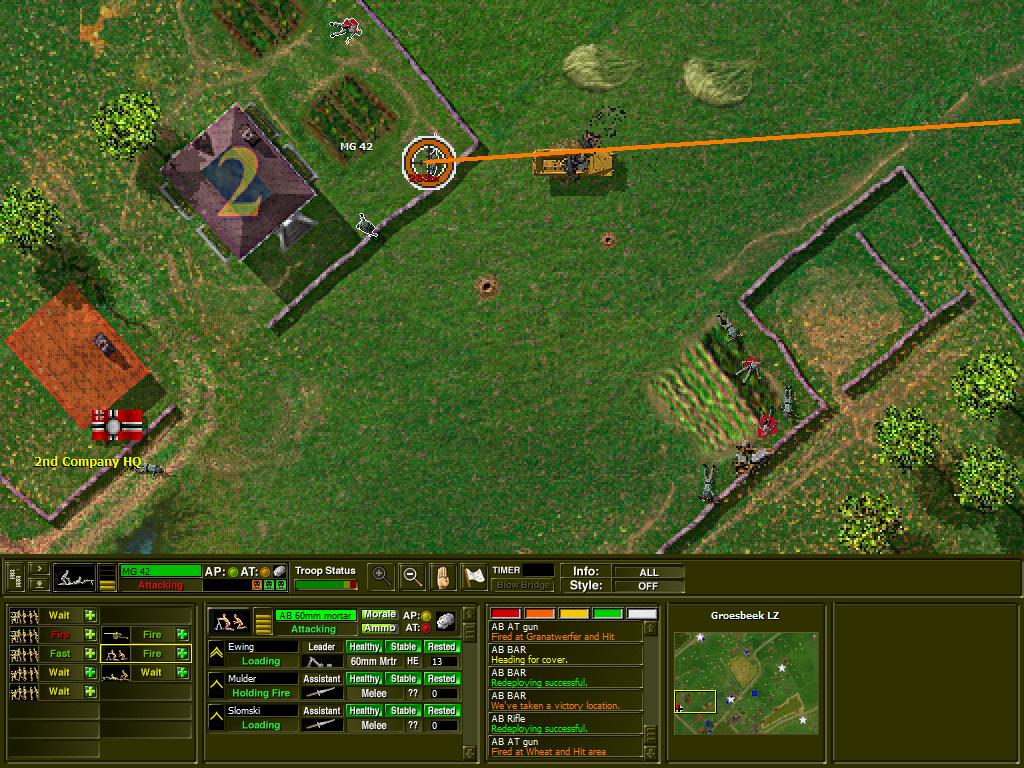
However, fire from the German MG 42s keeps them pinned. Ewing shifts fire again to supress the Germans, while Lt. Whiley begins his push from the top.
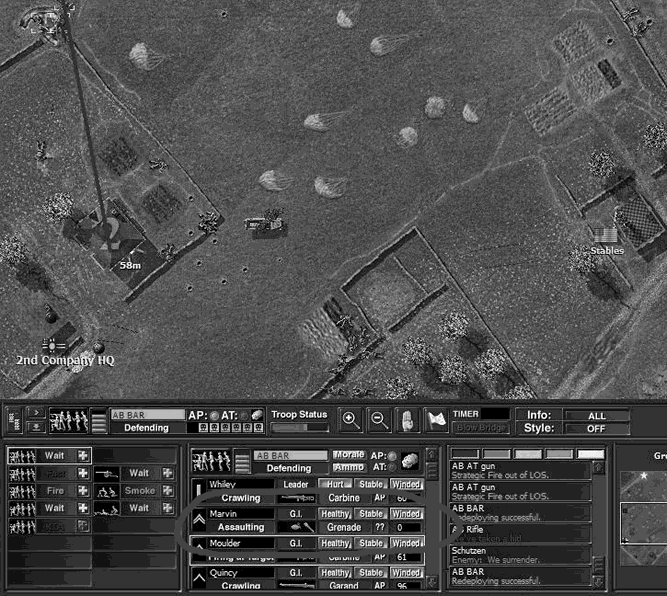
With Benham in position, and the MG pinned from mortar fire, the time for daring is now. Murch, Stallings and McDowell are ordered to charge the depleted German squads, and take them down with grenade, bayonet, and harsh language.
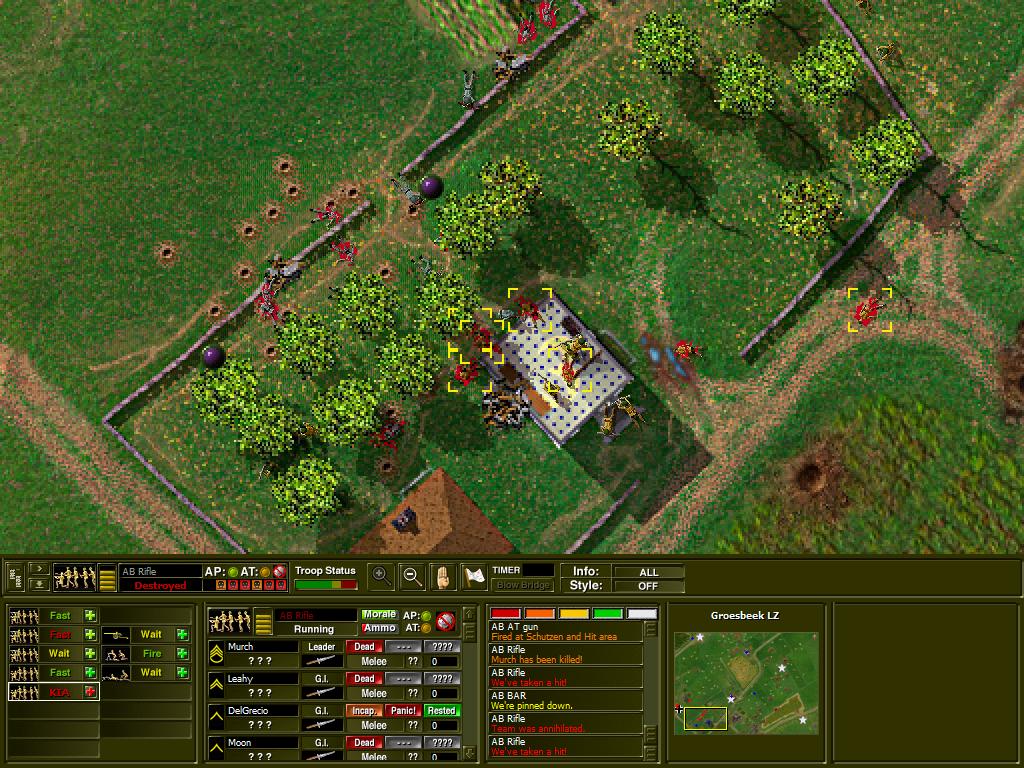
In the ensuing chaos, Murch and his entire squad are cut down by German grenades. The other two squads keep up the pressure...
... even as the Germans counter attack, running through one of the All-Americans before...
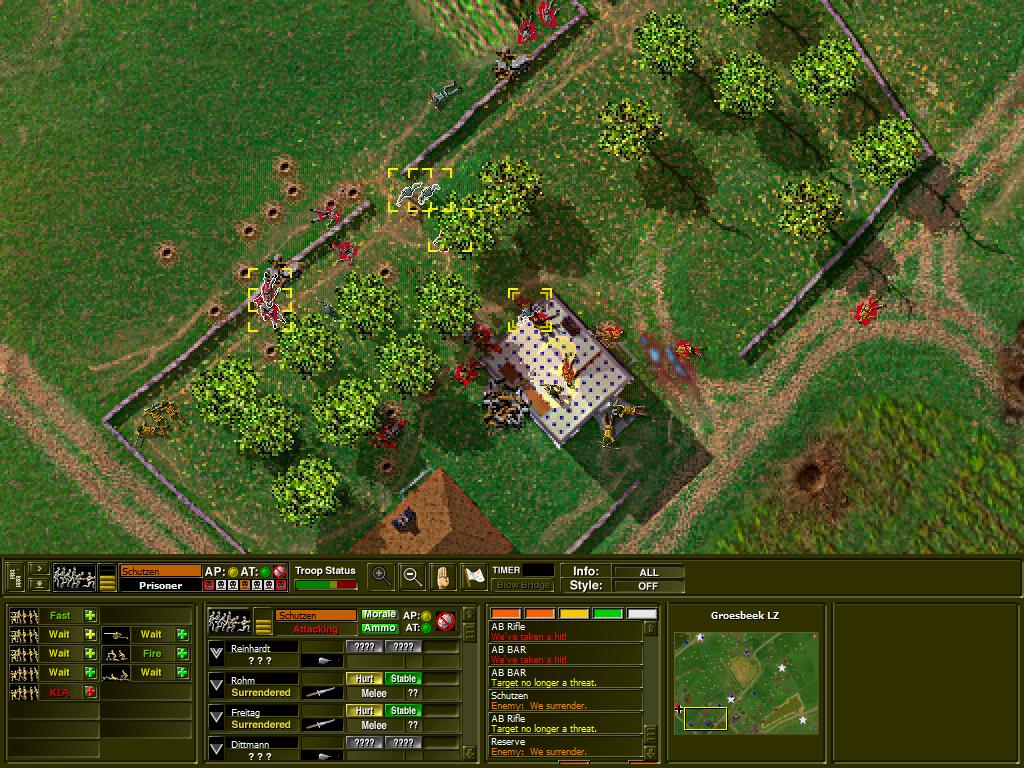
... promptly surrendering. Well... yes, good, just as planned! But there's still one German squad that is holding on.

With most of the Germans taken care of, more attention is given to their last hold out. And here we can see the big problem with AT guns- once they're deployed, they can't be moved. At all. And because of his position, a single small mound blocks Coopers LOS to the objective, meaning he is incapable of engaging any more Germans. It's a little bit strange, I mean the M1 comes
mounted on a wheeled carriage base and you could just push it, but... 

No matter. McDowell charges into the last Schutzen squad, losing one of his but forcing the Germans to surrender. With the bottom fully secure, it's time to end it!

The mortar team stops firing HE, and switches to smoke to cover the bottom teams. Meanwhile, the LT finally makes it to the scene, all his troops are winded from the long run but they're otherwise 100% ready. As they reach the wall, the surviving German from the first MG team comes racing out, hell bent on retreating.
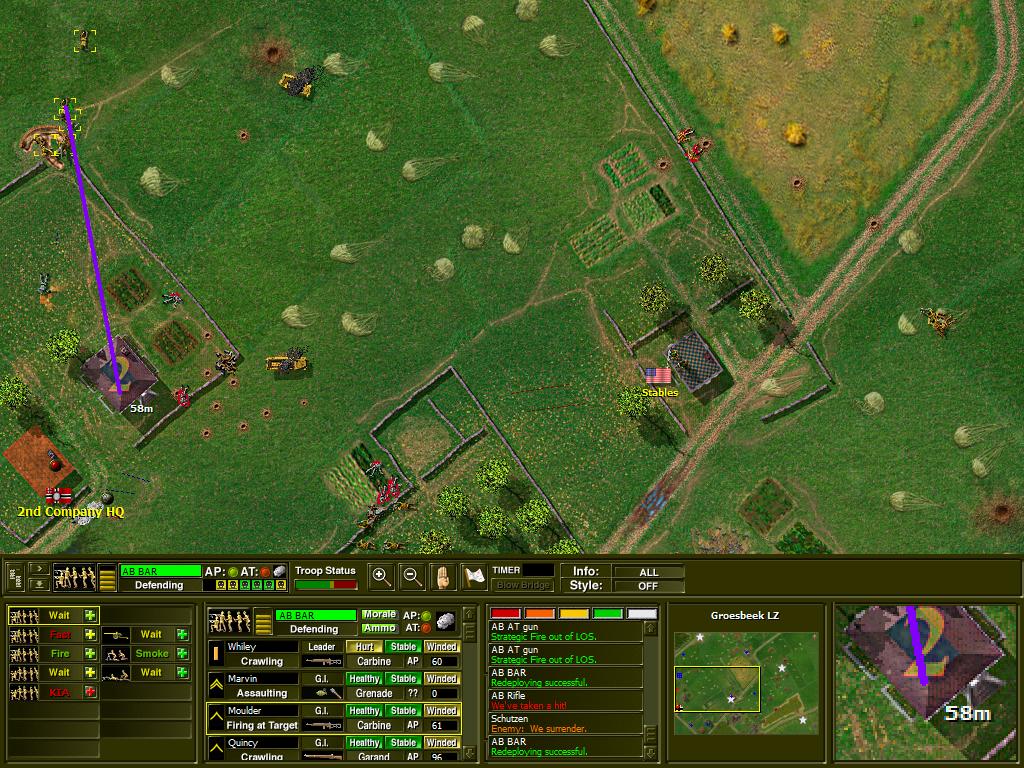
Well, no need to waste ammo- he's running, we need to get to the house, so lets ju... hey Marvin, what's that you got?
Oh.
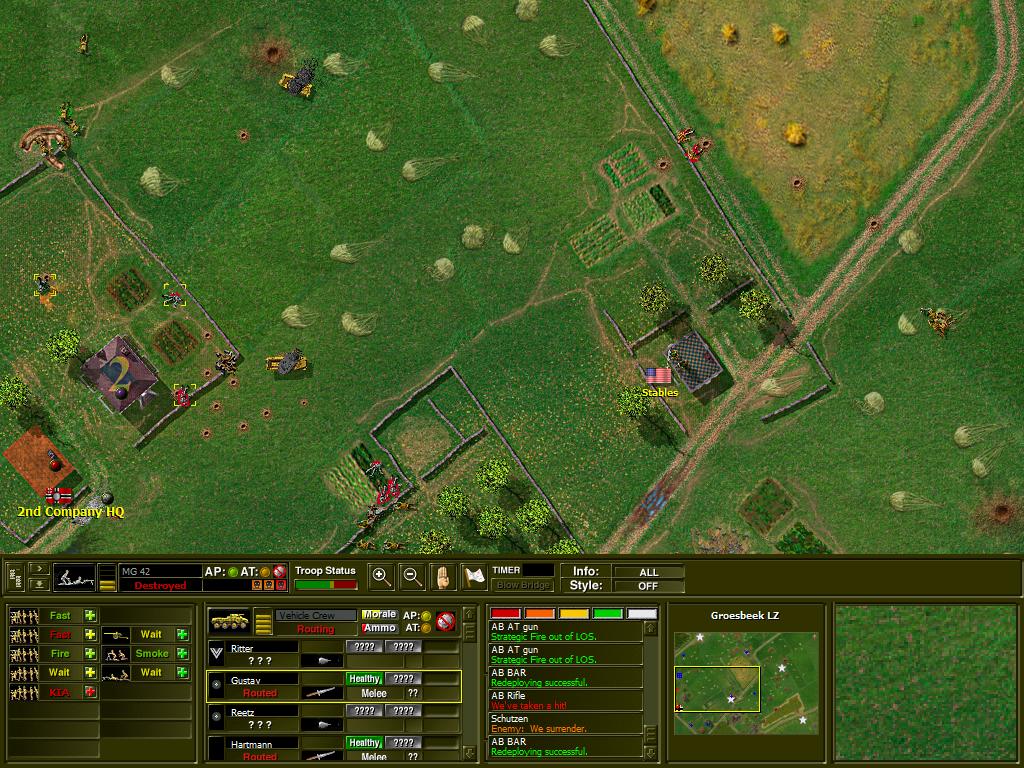
So anyway, the Germans are down to one Reserve Squad and one MG team, holed up in the HQ objective.
With the smoke building up, Benham is sent forward for revenge, which is just as well since his is the only team to have a good number of grenades left
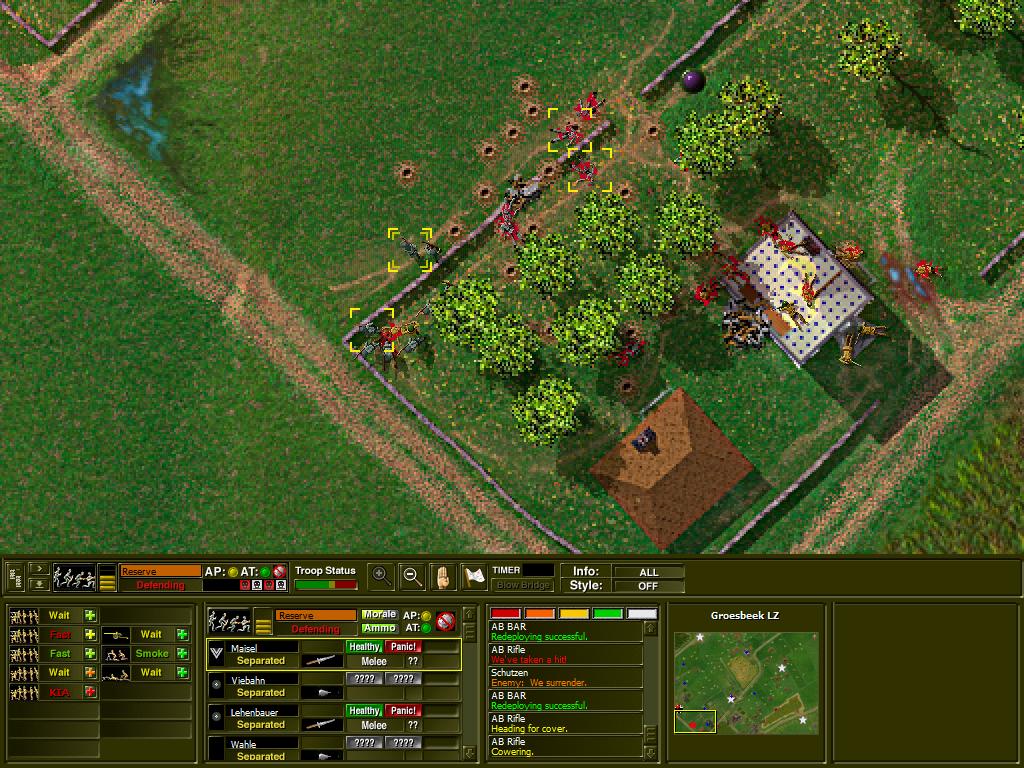
Suddenly, a dastardly scheme! The German prisoners suddenly counter attack! At least... I think they do...
Honestly all that happens is they stop surrendering, a bunch get bayonetted to death then they all surrender again. Anyway, as this goes on, the Americans take the two story building, and prepare to assault the last bastion of Nazism. Or at least Germanism.

Of course, since they've been sitting back this entire time, both squads are fully prepped for fighting, including a full compliment of grenades. Benham finally runs out of luck, and takes a hit serious enough to put him down. Not long after, McDowell is also mortally wounded.
Now at this point, one question came to mind- as my troops are charging this position, why is there no supporting MG fire? Answer- they ran out of bullets. The big problem you'll encounter in Close Combat is one of ammunition. While most squads pack enough small arms ammo, you'll often have issues with AT guns and rocket launchers, mortars, flamethrowers, and machineguns. MG teams will often pack a lot of ammo for a battle, but you'll find them firing near-constantly. And in a fight as long as this one, that can drain all their reserves. Armed with only a Garand for self defence, I keep the team where they are- they're not of much use now.
On to happier news- the Reserve squad finally decided 'screw this, we're out' and is taking the long walk home. The German forces now number 3, all in the lone MG 42 team. Time for the final blow.
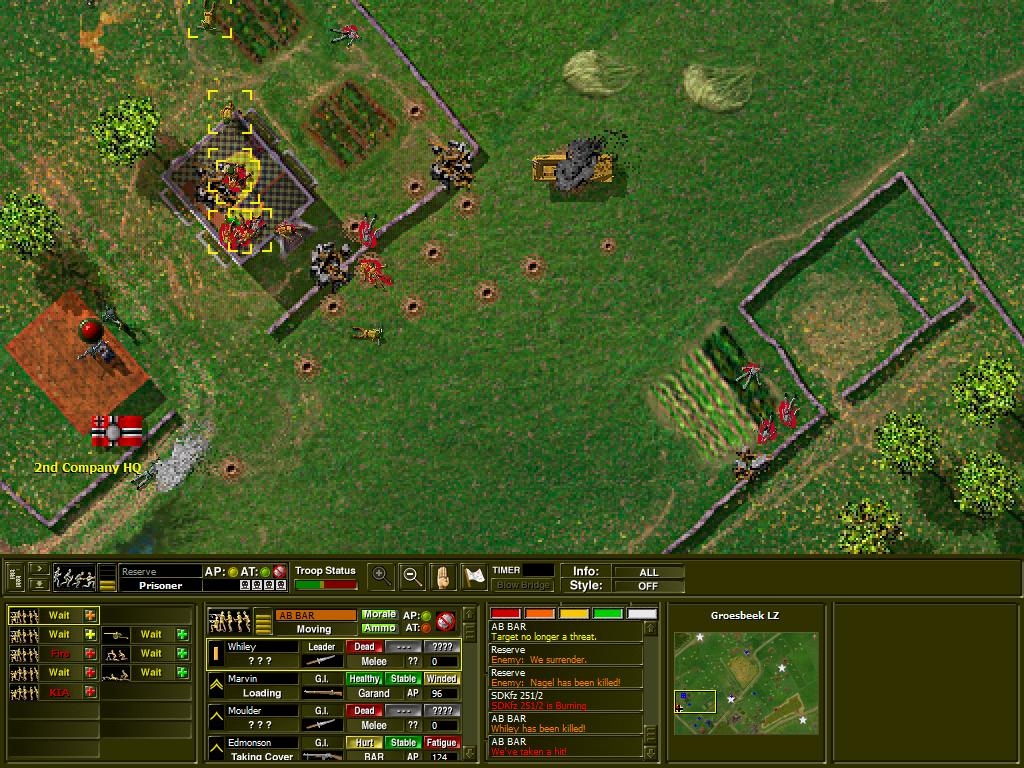
But unfortunately for the Americans, said team is fully stocked with ammo for it's machinegun. They tear into the command BAR squad, finishing off Whiley. The man who bravely mowed down a scout squad before running across half the map is no more.

...
But on the bright side, that means Stallings is now in command, being the only surviving NCO. Well, less dark side... whatever.
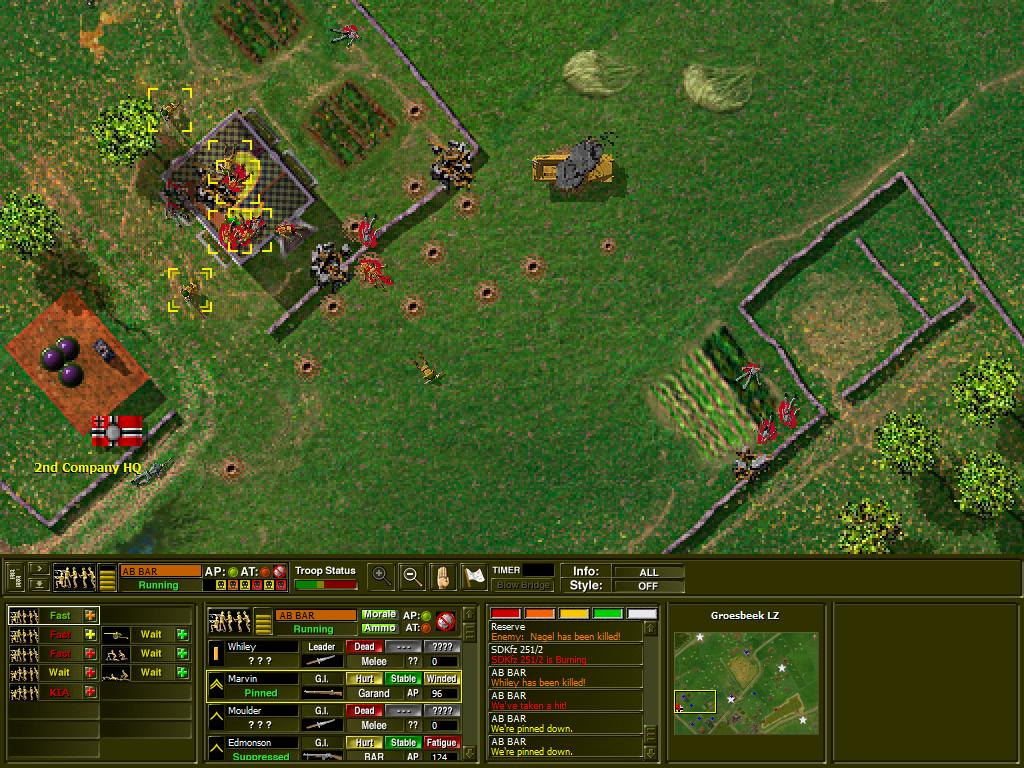
But even if the LT is dead, his squad lives on. Corporal Marvin vows revenge, and charges at the Jerry position. Despite his injuries, he gets into grenade throwing range. He pulls out a Mark 2 frag from his web... from... his webbing...
... Well shit.
However it turns out the nice German soldiers are willing to loan him one of their potatomasher grenades.
It goes as well as you expect.
With the final member of Benhams unit killed, and the Germans still pouring fire from their stronghold, it becomes clear that any further attacks would just result in further casualties. With a heavy heart, SSgt. Stallings issues a ceasefire, which the Germans honour.
Now unfortunately, I did not get a screenshot of the result screen, however the summary was-
27 US Dead
24 German Dead plus 3 Armoured Cars Destroyed
In addition, there were 29 Purple Hearts and 1 Combat Infantry Badge given out. The 'Winner' of the CIB is...

... Curtis?
Who made that man a gunner? Actually, forget it, he deserves the medal, with 3 shots managing to kill all 3 German vehicles. Interesting side note- the loader, Bennick, has 1 less vehicle kill. I believe the reason is the very first round KO'd that 234, which the game didn't classify as being 'loaded' by Bennick. For the other kills he did load shells for, they were counted. Something like that.
And that is how the yanks managed to hold their DZ. If this were the campaign, since the battle ended in a ceasefire there would be another follow up fight later that day, kicking off from whatever territory each side had 'claimed'- both sides would have time to get some replacements and reinforcements, plus restock ammo (though not as much as they had at the start of the day) but not enough to get back to 100% effectiveness.
*Fin*