Toggle Background Color

Update 6: I Can't Bloody See Anything, Goddamnit, Help


Seiryu City lies in a cave to the north of Wind Prairie, for some reason.


The music for this city is fairly grating, escpecially when heard at 2x the normal speed. (No, I'm not sorry. smile:


"It would be a waste if I didn't fight!"

For most people in East Sector (including this guy), you can Card Battle them instead of dueling them, but your Charisma has to be between 150 and 284. 285 and above, and you're duelling them with your Digimon. Well, some of them - others will refuse to do anything with you.


A neat new background! Tamer Chris has three Digimon, leading with his Kuwagamon. It's about twice as strong as a wild Kuwagamon, clocking in at ~270 HP.


Next he unleashes Flymon:


Flymon is considerably more powerful in the wild: Chris' Flymon is a bit more than half as strong as one would be in the wild. This one goes down without a hitch.
pre:
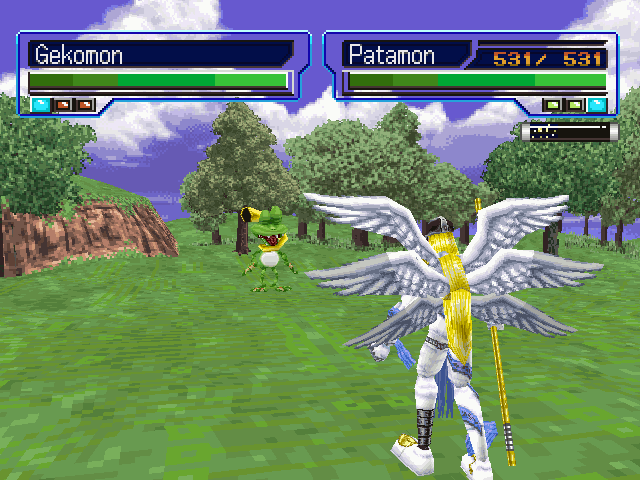
HP: ~420
Techniques: N/A
Physical attack: no element
EXP: 66
BIT: 130
Drops: N/A

And a recoloured Yanmamon.


From this battle, we get 109 EXP and 210 BIT! And yes, Grizzmon swept through all of them. It was a bloodbath. (Still don't like him much, though.)

The bridge to our right leads to a strange tower, which means we must investigate posthaste.


Maybe go look for her instead of standing there, I don't know.


Whoa.


Oh, it's sleeping 
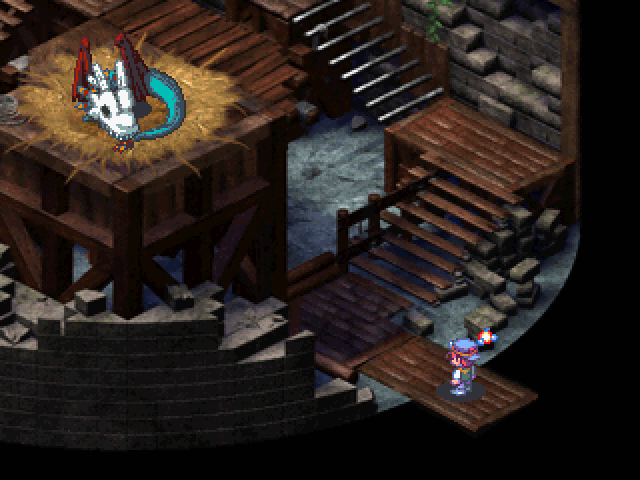
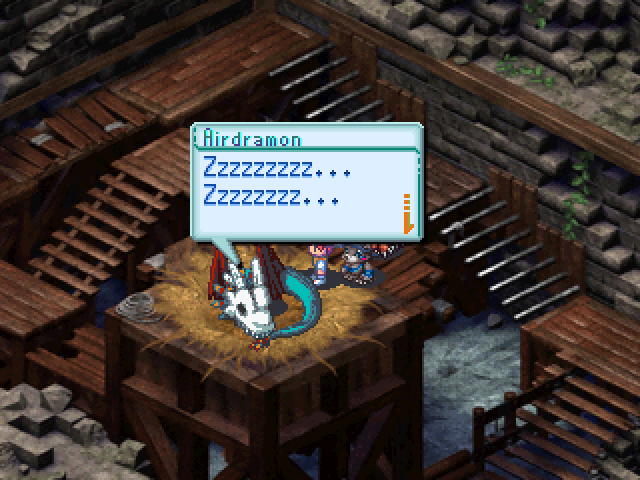
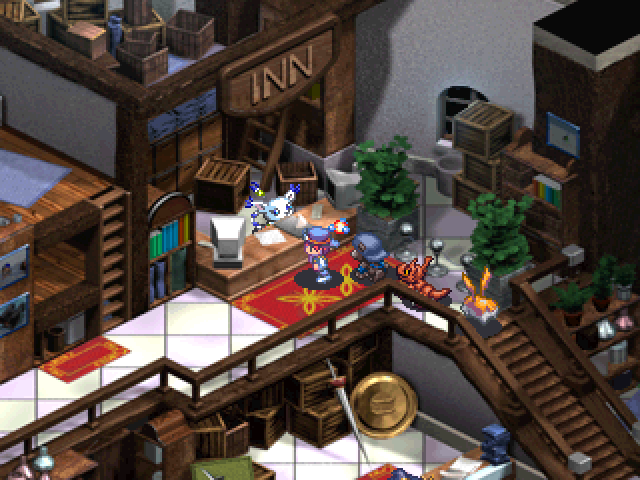
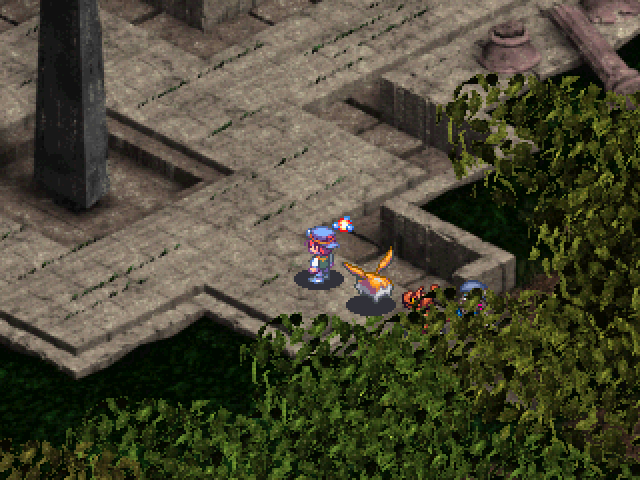
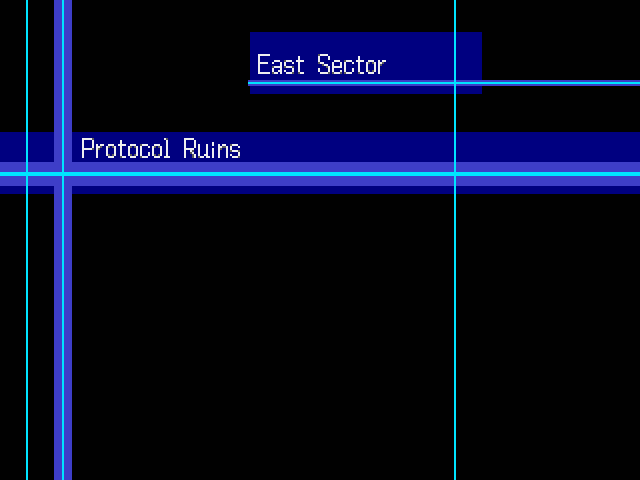
Guess we'll leave it alone, and go check out the building that was to our left earlier.


An item shop...


And an Inn! Convenient. There's also a Divermon, just to our left. We go back down to the item shop and re-outfit the Digimon with neat new weapons. Kumamon gets a Cat Glove (fist weapon), and both Guilmon and Patamon get a Shishioumaru (blade weapon). Now we're ready to Fuck Shit Up.


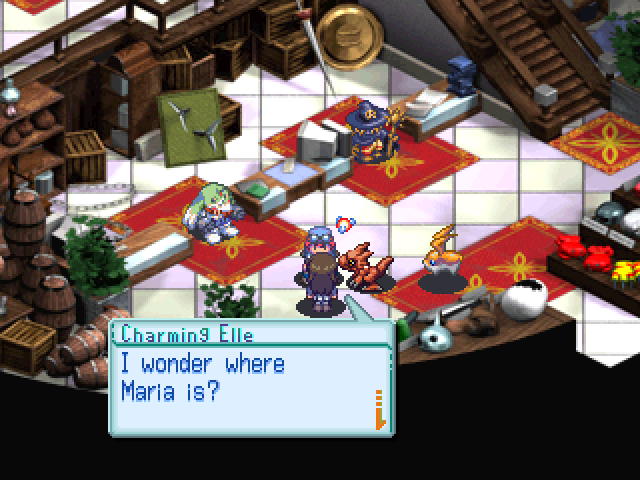
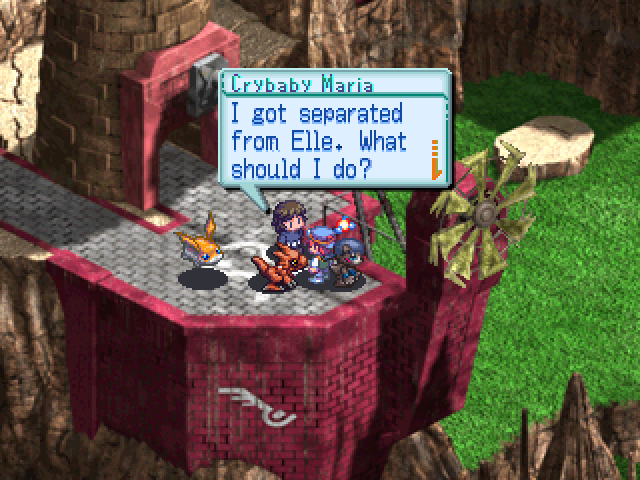
"I'm worried because she's such a crybaby."

For the longest time when I was a kid, I thought you were supposed to somehow reunite these two, and got really upset when I couldn't.

Back outside...


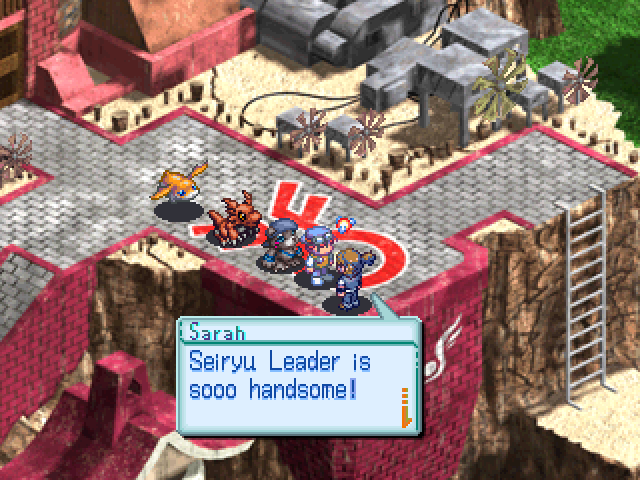
"Seiryu Leader is sooo handsome!"

We'll take your word for it. Anyway, there's nothing down that ladder, so let's check out that other building.


Guardromon and Piximon! This town's got it all. I think Asuka City could learn a thing or two from the whole "don't have to run around for 5 minutes just to get anywhere" design scheme.


Piximon serves the same function as Dr. Kadomatsu in Asuka City: managing your Digimon and their Digivolutions.

Up the stairs are some shady-looking fellows.


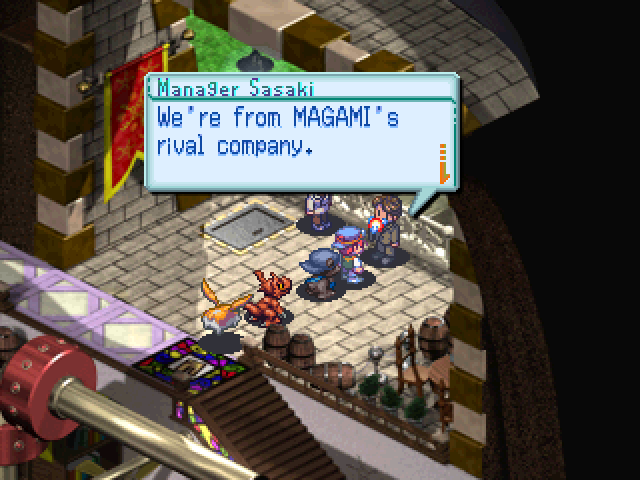
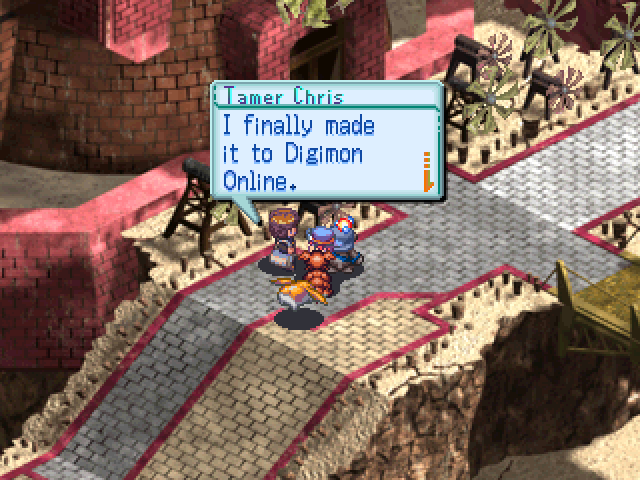
"Don't tell, but we're here to spy on Digimon Online."


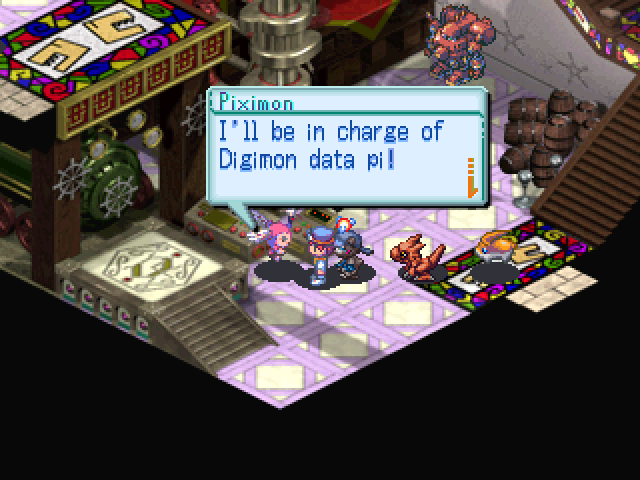
"This is so much fun, I'm disgusted!"

You know, I don't know why they would tell us this. Or anyone. You are so bad at your jobs


Oh goddamnit. Kudos to those who recognise the name, for yes, this DOES mean that we have to go all the way back to Protocol Forest. Groan.


The door next to us leads out here. I feel like it would afford a very nice view of the landscape were it real 
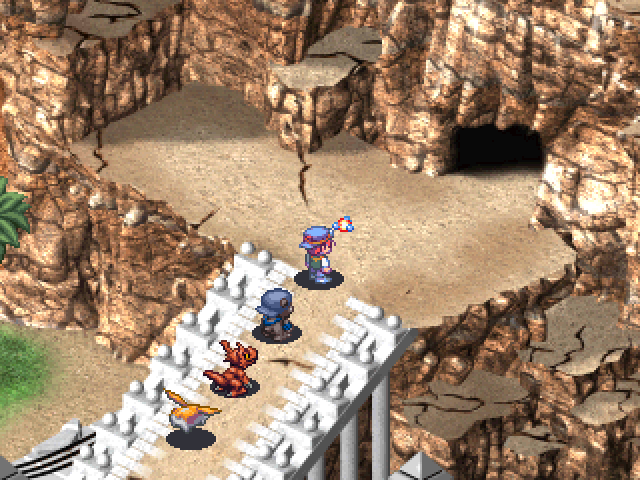
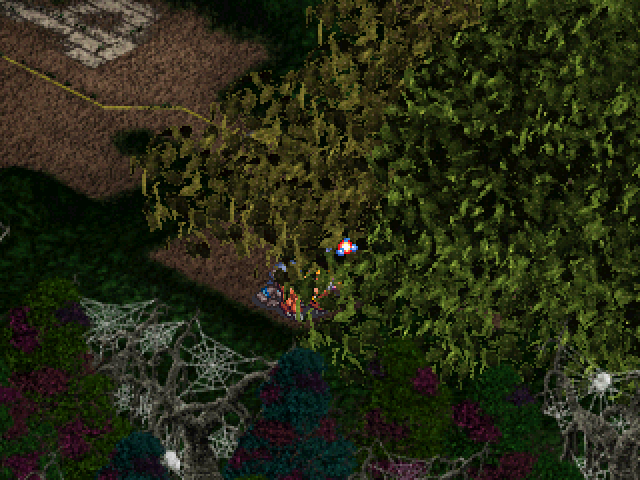
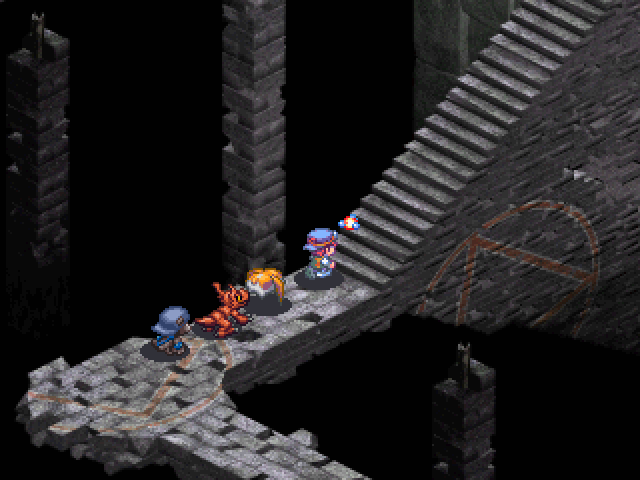
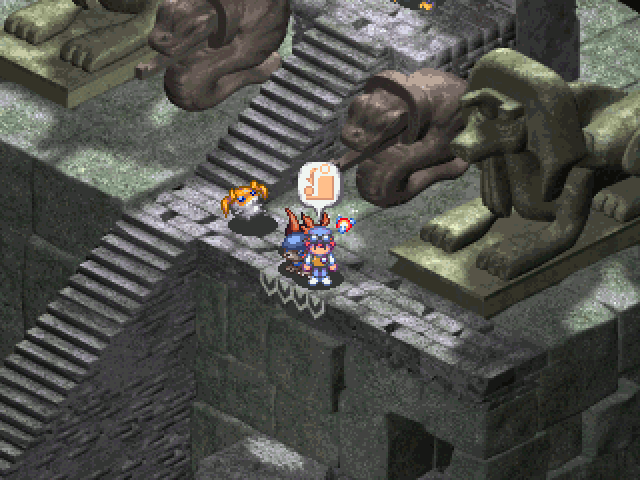
Anyway enough baby-ass landscapes, let's get going.

On our way out, all our Digimon hit level 10 on their Champion Digivolutions, which means that we have some new techs to play with!

Champion Techs, Part 2

Angemon gets Small Heal, which is a godsend, as Angemon has excess MP to burn and we won't always be around Inns. Grizzmon learns Whirlwind, which is neat but not terribly useful. And Growlmon learns Double Guard, leaving it with 2 techniques that will never be used. Terrific.


This overgrown section of forest is what we have to crawl through in order to get to the Protocol Ruins. As you can (or can't) see, the only indication of where we are will be our satellite, as the path is almost completely covered by foliage. Also, the path is basically a maze, so walking through here is a lot of trial and error.

It's fairly


fucking


annoying.


But we make it out alive, and only run into a few of these ugly buggers.


Goburimon (better read as "Goblimon") is baby stuff now, as we've got a team chock full of souped-up Champions. No sweat.
pre:
HP: ~190
Techniques: N/A
Physical attack: no element
EXP: 22
BIT: 45
Drops: N/A

To the north is a long set of stairs, which lead to the Protocol Ruins proper.


This area has some of my favourite music. Overall, the Protocol Ruins are really fuckin' neato.

Over a long, winding trail we go...


Oh my.


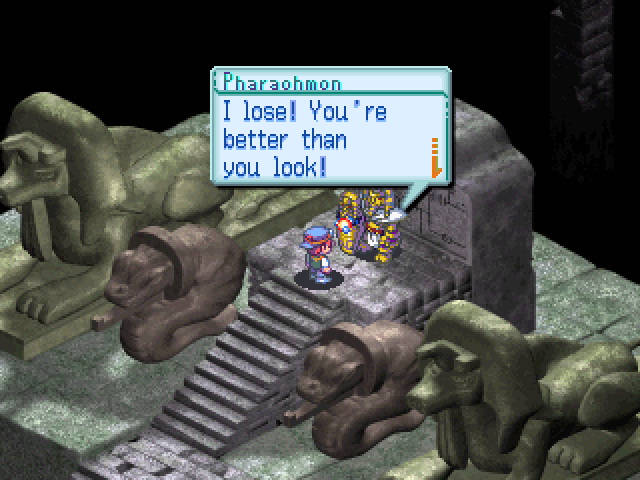
"I vow to the Digimon God that I won't lose!"
"Then I'll challenge you!"
"You show no fear! I must warn you. I am powerful!"
"We won't know until we do it!"
"...Good, you're ready. Then I'll go full force!"
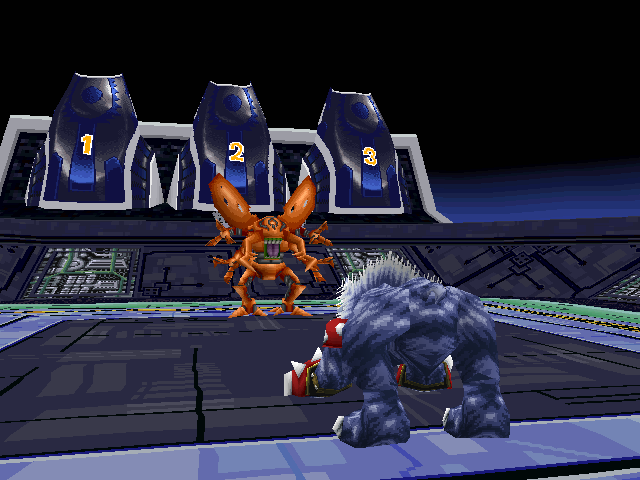
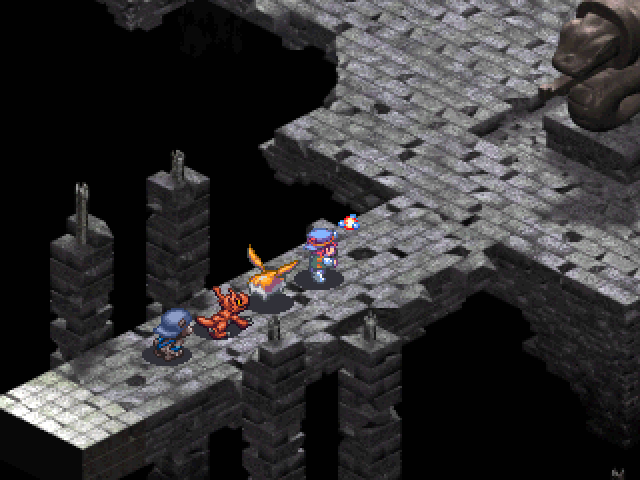
(Pharaohmon is an optional boss battle, and so isn't a requirement for finding the Seiryu Leader. But he's right along our path, so why wouldn't we, really?)


(I may or may not have forgotten that Grizzmon didn't have enough MP to DNA Digivolve. Whoops.)

Pharaohmon's one tough cookie. His physical attack's no laughing matter, even at our level. It hits us for 150-200 damage, and sometimes Pharaohmon is fast enough to get two of them out. The good thing is, these attacks boost our Blast Gauge by a hell of a lot. While his physical attack hurts something fierce, Pharaohmon's Necro Mist technique is the one to be feared the most. It poisons your Digimon, which deals around 200 damage to us each time we attack. Combine this with Pharaohmon attacking you, and you've got quite the mess on your hands.

pre:
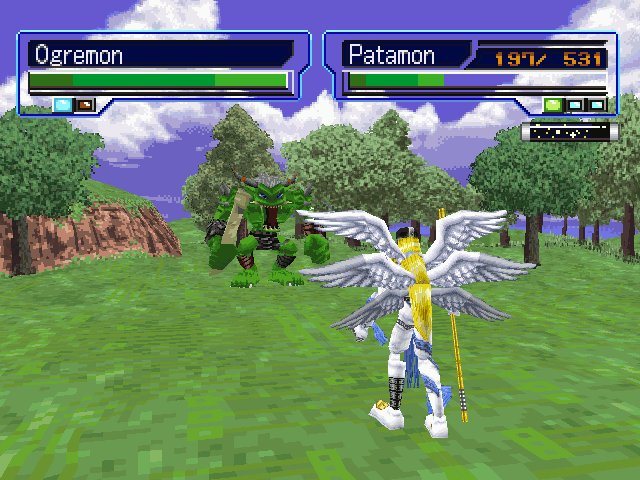
HP: ~810
Techniques: Necro Mist (deals damage and posions your Digimon)
Physical attack: no element
EXP: 120
BIT: 240


"Yeah, of course!"
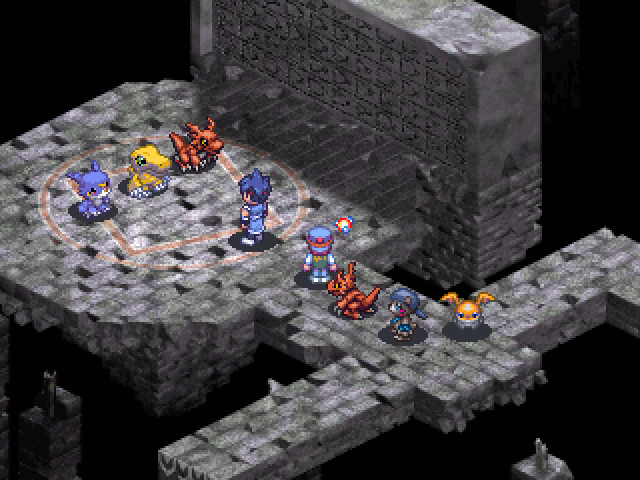
"As praise to you, I'll give you this."
"Yeah! I got the Old Wand!"
"You're strong. Our gods will be with you!"

The Old Wand is a weapon which boosts Spirit and Strength, and can be equipped by Patamon, so on it goes. Warning: If playing at home, don't sell this! It'll come in very handy eventually.

We can jump off this ledge here, indicated by 4 arrows.


And that hallway circles all the way around the pillar...


...until you exit on the left.


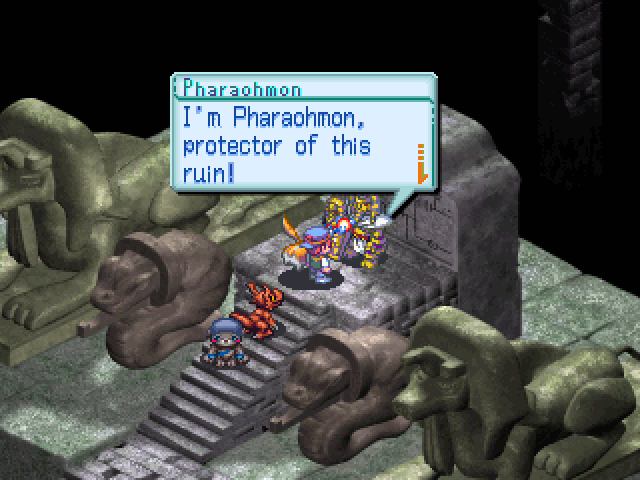
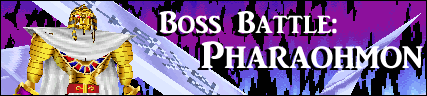
"...huh? You want to challenge me? I'm sorry, but I don't fight with the weak."
"But if you really want to then... Defeat MasterTyranno in Tyranno Valley first!"
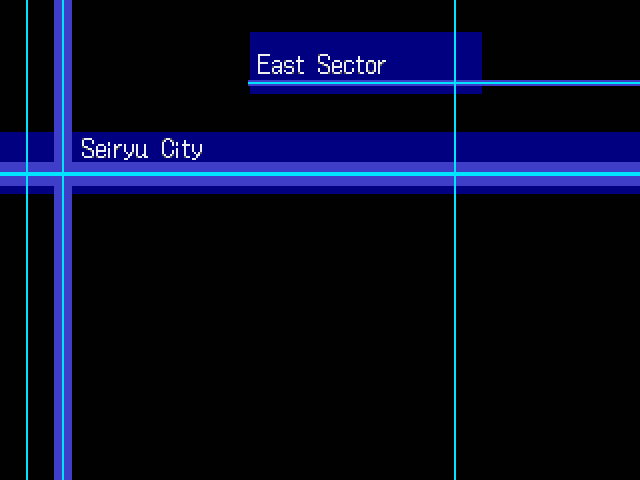
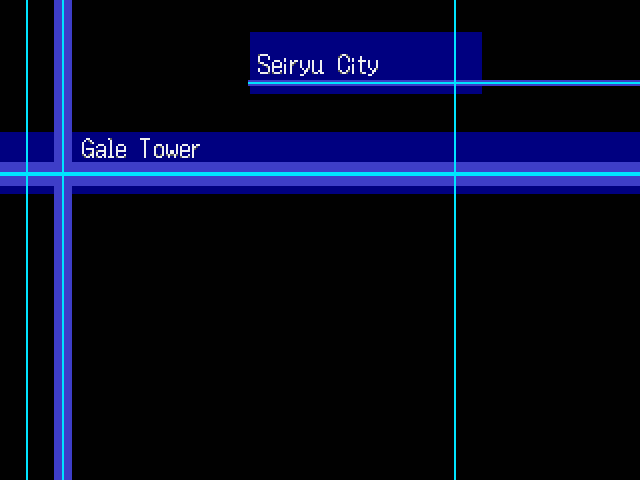
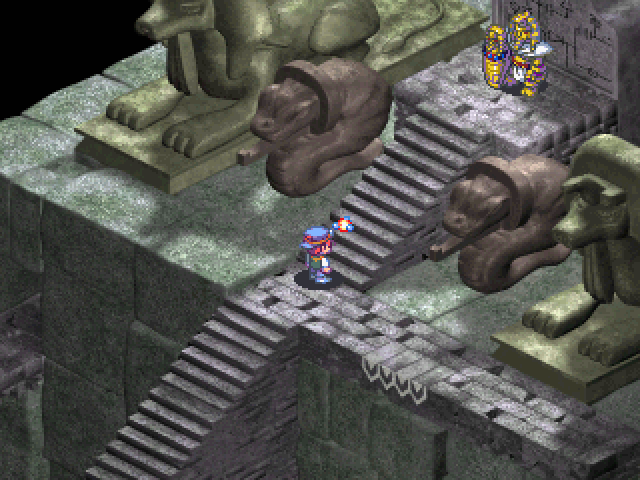
"Tyranno Valley is northeast of Seiryu City."

Well, at least we have a goal. We'll have to stop by Seiryu City for some R&R first, but hey.

"Uugh, I'm thirsty. I'm hungry."
"One and two, and one, and two."
"I'm training so I can digivolve to MetalGreymon!"
"...I'm OK! I'm going to be great in the next battle!"

Keep at it, boys.


It's kind of neat that Minotarumon infests these ruins, as they're somewhat labyrinthian. (Though there's some severe culture-mashing at work here.)


Minotarumon (from the Greek Minotaur) dwells in these ruins, along with a fair amount of Goburimon. Neither of them really stand a chance against us.
pre:
HP: ~245
Techniques: N/A
Physical attack: no element
EXP: 27
BIT: 55
Drops: N/A
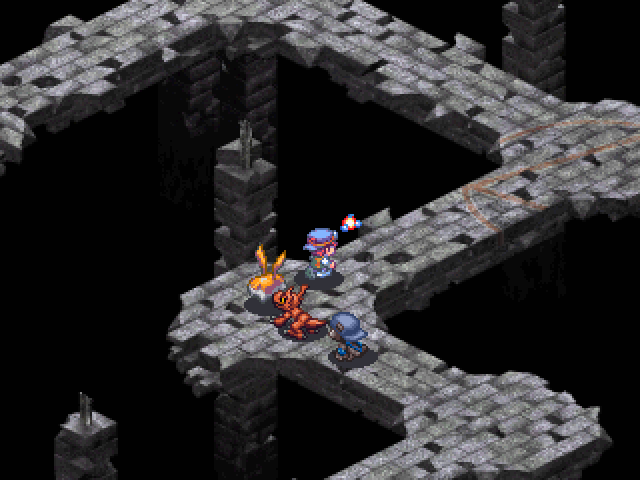
There's nothing left to do in here, so let's jet.


Now that we've got over 285 Charisma, we can Digimon Battle with other tamers who previously wouldn't! Their Digimon will often reflect the Digimon they use in their Folders.

Robert has a Crabmon, a Gizamon, and This Fucking Asshole:


Gekomon (from the Japanese onomatopoeia for croaking,
geko) is a massive pain in the ass. It's moderately easy to take down, but its technique Confuse Gas confuses your Digimon, making it almost impossible to attack. It doesn't help that Robert's Gekomon is about the same level as a wild one.


You see, confusion in this game doesn't work like Pokemon, where you just have a chance to hurt yourself each turn. Instead, your commands are replaced by a random set of bogus commands:


Some of these can translate into proper commands; "Boast" will sometimes allow you to attack, for example. Most of the time, however...


So God help you if you run into these things. Not really worth it.
pre:
HP: ~310
Techniques: Confuse Gas (confuses your Digimon)
Physical attack: no element
EXP: 41
BIT: 85
Drops: Ice Power 1

From this battle we earn 103 EXP and 200 BIT. While we're here, we may as well take on the other Tamers that are open to battle.


Tamer Lucia opens up with a Goburimon that does a whopping amount of damage, and can take out up to half of Angemon's health. Then, once you're through trouncing it, she sends out Ogremon:


Ogremon packs a real wallop! Hitting for around 200 HP a turn, this thing can take you out if you aren't careful. Thankfully, it's not too hard to defeat, and is only about half as strong as a wild one.
pre:
HP: ~600
Techniques: N/A
Physical attack: no element
EXP: 102
BIT: 200
Drops: Power Chip

We get 79 EXP and 155 BIT, and can move on to Catherine.


She carries two Kunemon and a Dokugumon, all significantly stronger than their wild counterparts, but still simple to take down. 125 EXP and 220 BIT are our reward.

Of course, we can't forget about Genji, back in Asuka City.


He has two Kuwagamon this time, and they're quite a bit beefier than last we saw them.


I rather like the green colour, what can I say 
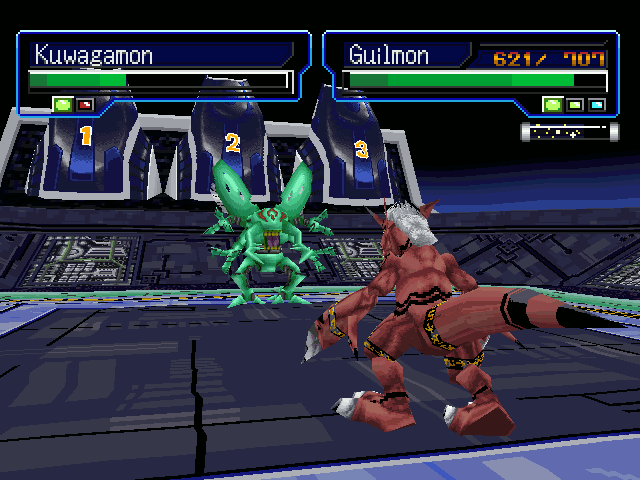
In any case, we get 63 EXP and 115 BIT. Now that we're all through here, we can head off in search for Tyranno Valley, in the next update!