Toggle Background Color
Keats Chapter 1 Beastiary
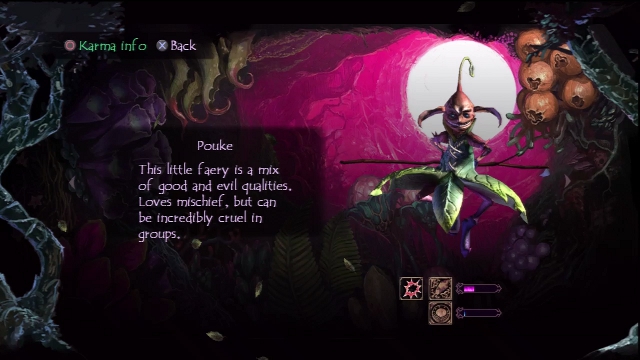
Non-elemental short range horizontal attack, combos up to four hits
Pouke is a weak attack, but costs almost no MC, making it an excellent standby attack. Its sweep can hit multiple enemies, and its speed makes it perfect for stunning Folks with little enough constitution to be stunned by such weak attacks, or leading into a combo with other Folks.
How to fight it: It would be hard to find a technique that doesn't work. Pouke telegraphs its attacks enough that dodging them should be easy, and when fighting a large group, they'll be flung far and wide by nearly any attack with a sufficient area of effect.
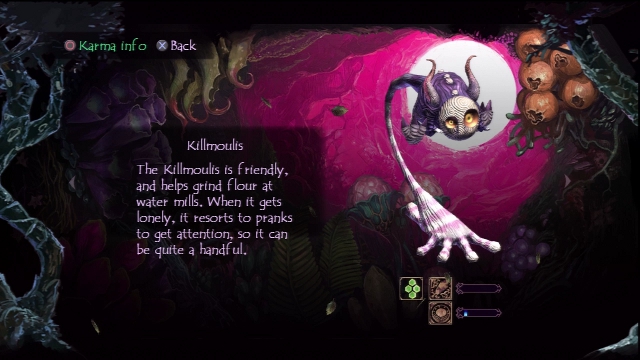
Omnidirectional shield
Killmoulis is a solid shield throughout the game. All three of its Karmas can be unlocked in the first chapter, reducing its MC to a very low cost for a shield, and it will block any single attack in the game, as well as some short combos. Its only weakness is that the shield will be destroyed by the attack, and you will have to wait for Killmoulis to fade before you can use the shield again. Great for buying time to dodge further attacks, though.
How to fight it: Another simple Folk to fight. It telegraphs its attacks a bit, but they're short-range, so you should be able to keep your distance. Killmoulis occasionally raises its shield, but if you're patient, you can catch it when its shield drops.
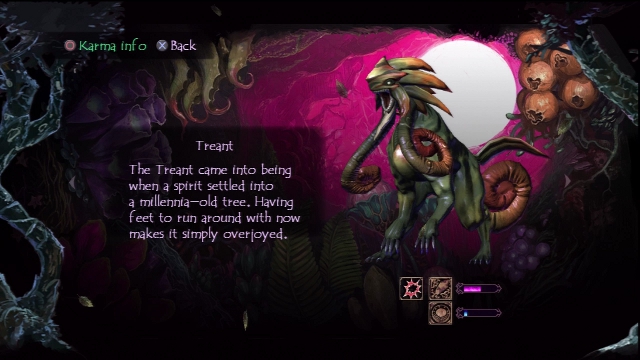
Non-elemental lunging attack
Treant is a very strong attack for low cost, suffering only in speed - it's pretty slow and doesn't combo well, particularly since it moves Keats forward and forces him to adjust his aim after each attack. It covers a fairly wide range as well, making it effective on crowds - if you don't mind being in the middle of the crowd at the end of the attack.
How to fight it: The general strategy of staying behind the enemy works well for Treant. From that position, almost any attack will be effective. Try knocking it off its feet with powerful attacks.
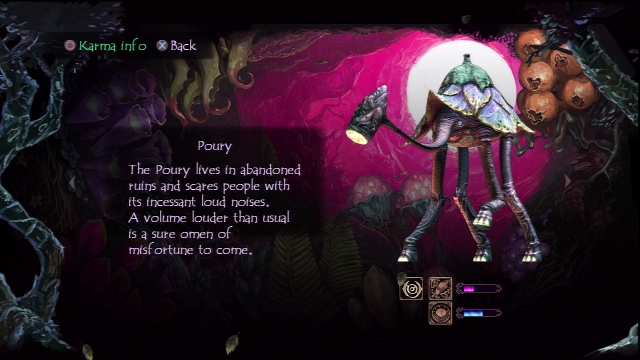
Earth elemental short-range overhead attack with a small area of effect
Poury is an expensive attack that's very weak for the cost and has a long recovery time. It might be more useful once its Karmas are unlocked, but we can't do that yet. We also don't fight any enemies particularly weak to Earth in this chapter, so its elemental property isn't useful yet. Its area attack could be useful, but little more so than a few other Folks in this chapter. Overall, it's not a very good attack yet. Watch this space for an updated opinion once I have its Karmas unlocked and other Earth elemental attacks to compare it to.
How to fight it: Poury can swing its hammer-like nose either downward to create a shockwave in front of it or sideways to hit a wide arc around it. In either case, distance is your friend. An attack with a long range is best, right after its attack leaves an opening.
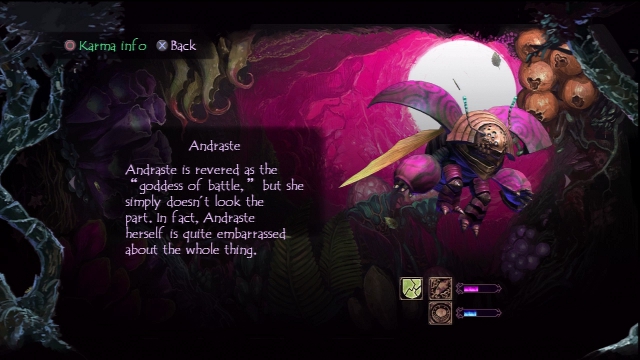
Destroy elemental medium-range rolling attack, chargeable and can hit multiple enemies in its range
Andraste is expensive and very slow, but it's the longest range attack available in chapter 1. The problem is aiming - you can't move while charging the attack, so any enemy with a bit of mobility can usually dodge it. It's best used against large groups, where its ability to roll over and through enemies usually means many hits.
How to fight it: Andraste is the first mini-boss type Folk Keats will fight, so be prepared for an extended battle. When Andraste is rolling, it's best to stay out of her way - keep your distance and dodge rather than blocking when possible, because she can change direction faster than Killmoulis can recover. When she stops rolling, you have the time for a few attacks - Treant or Poury can knock her off her feet and give you a second opening. When she takes to the air, she's less of a threat, but difficult to reach. Poury is the most likely attack available that will reach that high. Capture her with the Timing method.
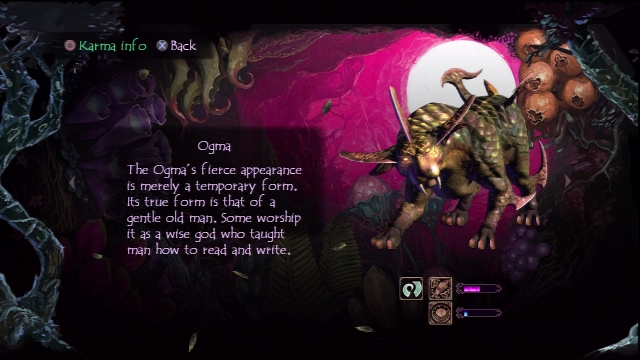
Slash elemental short-range vertical attack, can hit several times in succession
Ogma is the only Slash element attack available in this chapter, but in the absence of enemies weak to Slash, that's not much of an advantage. Ogma hits fast and hard, several times per attack, making it a good choice when you want to remain maneuverable. The short range can be problematic in some situations, though.
How to fight it: Staying behind Ogma is a good idea if you can manage it, but it's light on its feet and attacks quickly. The best strategy is probably to block its charge attack, which will knock it off its feet. Keep your distance to lure it into using that attack. Capture it with the Timing method.
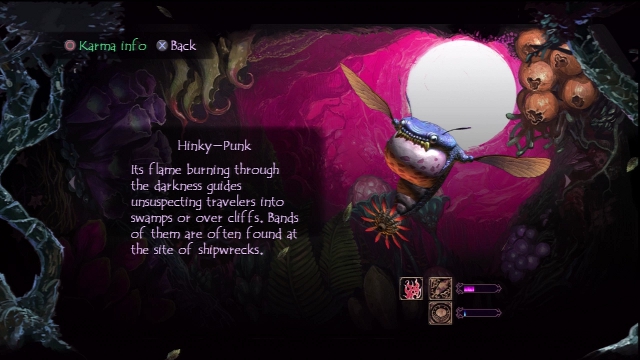
Fire elemental short-range attack, combos up to four hits
Hinky-Punk is probably the most useable elemental Folk in this chapter, which is good, because it's also the one you'll need to use most. It's the only source of fire damage this early in the game, and it will continue to be useful in situations throughout the game thanks to its quick combos and low MC cost.
How to fight it: Hinky-Punk only has one attack, a jet of flame, so keep your distance when you're not attacking it. Fortunately, it's easy to stun, so you can generally fight it using quick attacks like Pouke or strong attacks like Treant.
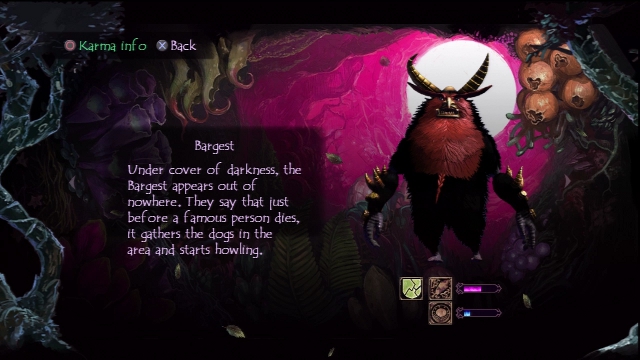
Destroy elemental short-range attack with a wide sweep
Bargest will remain a solid choice for Destroy element damage throughout the game. It's surprisingly low-cost, and its wide attack makes it perfect for crowd control while its speed makes it effective against moving targets that fight back. It will stun most enemies that can be stunned and aren't immune to Destroy attacks, and it isn't easily knocked out of its own attack.
How to fight it: Bargest is another mini-boss, and the first Folk Keats will encounter that can't be damaged by non-elemental attacks. You'll need to use the Fire element, which in this chapter means Hinky-Punk. Your best chance to attack is while Bargest charges up its inflation attack - go for a few quick strikes, then dodge out of range. Killmoulis is effective if you don't quite clear its attack radius in time. Killmoulis also works if you can't evade its diving attack, but when it swipes with its claws, you're better off getting out of range and trying to get behind it. The combo attacks will get past your shield and do a lot of damage, and it will usually continue to use its claws until you're out of range, defeating any attempts to close in and attack between strikes. Capture it with the Timing method.