Toggle Background Color
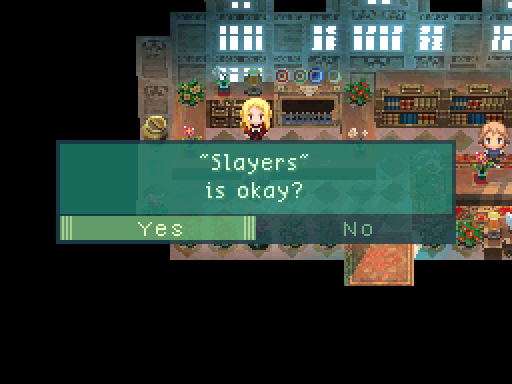
Test Update


 There's just one name there now, but you can add members at any time. I recommend finding 3 friends before you go!
In 7th Dragon, you can have parties of 4. Let's get some more members in.
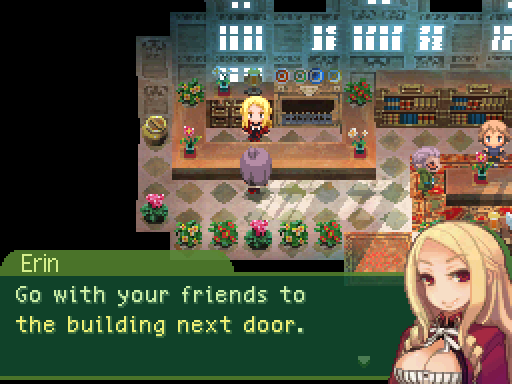
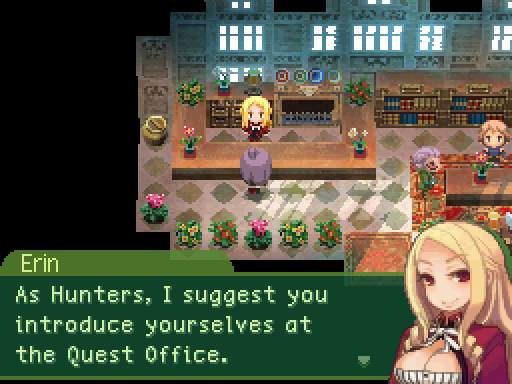
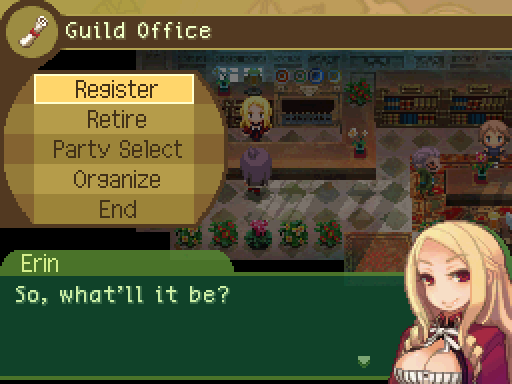
The Quest Office is the main place where Hunters can find work. Anyhow, best of luck. I'll be seeing you.
You have to talk to her a few times before you can start putting in more party members.
If you have questions, Menas should be able to answer them.


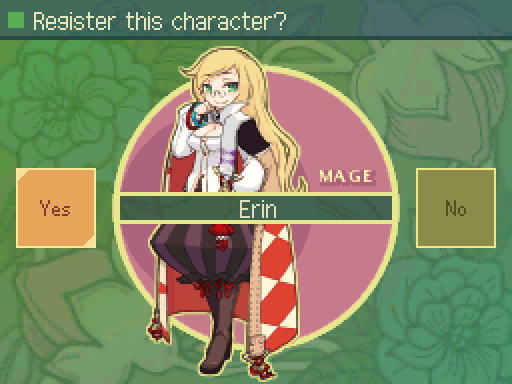
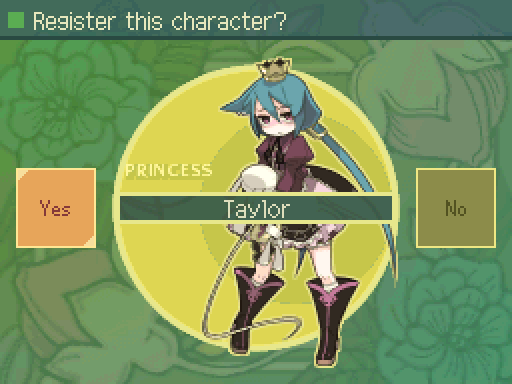
Registering lets us put in some more party members for our guild. You can only have 16 party members registered at once.

And here's the party I'll be going with.
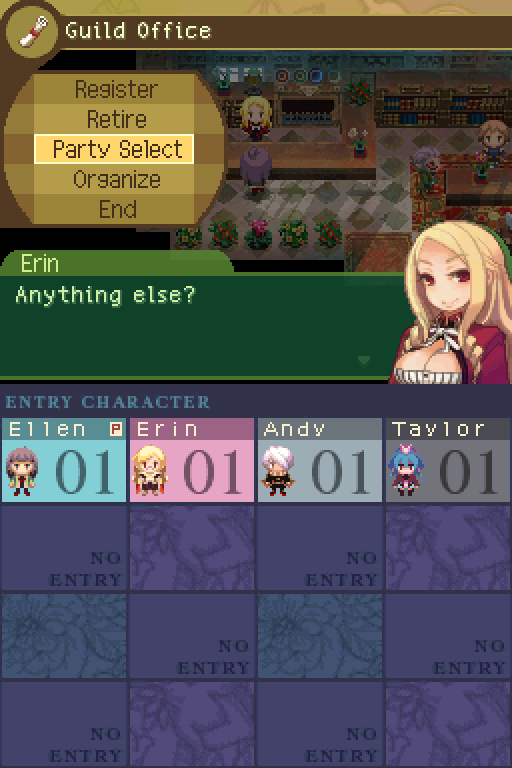
Party Select is where you go to put your guild members into your party.
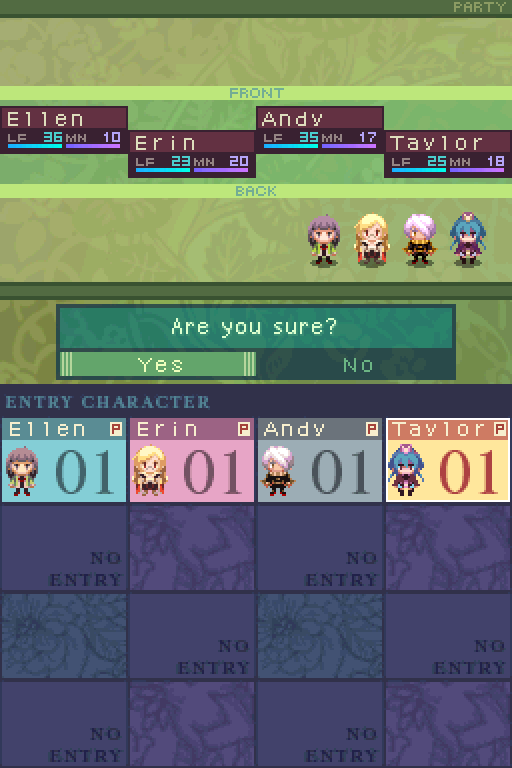
And from there you can decide if a party member is in the front row or in the back. Party members in the front row are more likely to be targeted but can deal full damage with physical attacks in this row, while party members in the back take half damage from physical attacks, but have their damage output on physical attacks halved if they're not using a bow.
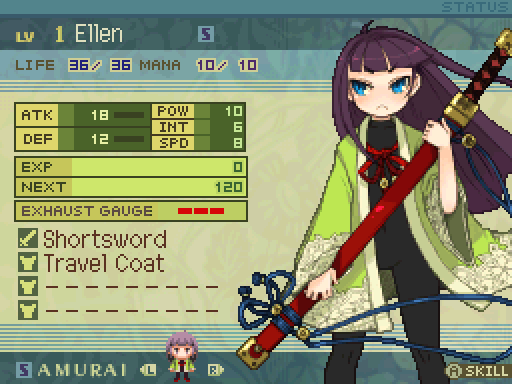

A more detailed look at our characters.
So these are their status screens. Let's go over their stats.
- LIFE is their HP. If they run out, they die and can't act in battle.
- MANA is needed to make use of skills, though not all skills use Mana.
- ATK is their attack power, which determines how hard characters hit with their physical attacks. It's determined by adding the attack power of the character's weapon and their POW stat together.
- DEF reduces how much physical and magical damage they take. Characters have an innate defense stat, but they can wear armor to add onto it.
- POW is simply one part of ATK as explained earlier.
- INT reduces how much magical damage they take. Mages mainly use this to determine how powerful their spells are.
- SPD determines the turn order, accuracy, and how often a character can evade attacks.
 Hey! What're you looking at?!
 O-oh, nothing.
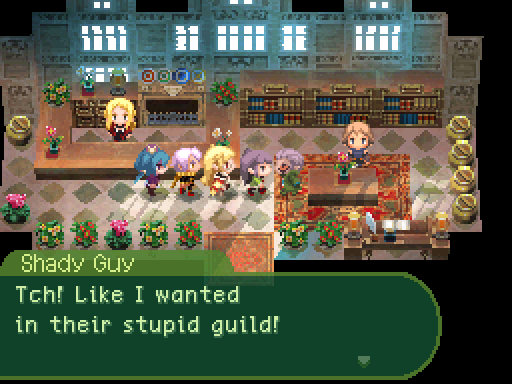
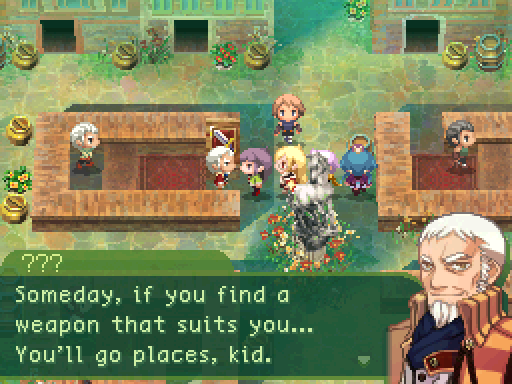
 If you don't believe in one another, someday, it's going to all fall apart.
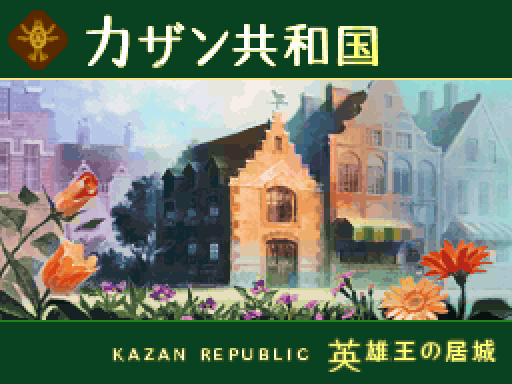
When entering a town for the first time, you'll get a picture and a short descriptor of it in Japanese. I have no idea what they say, though.
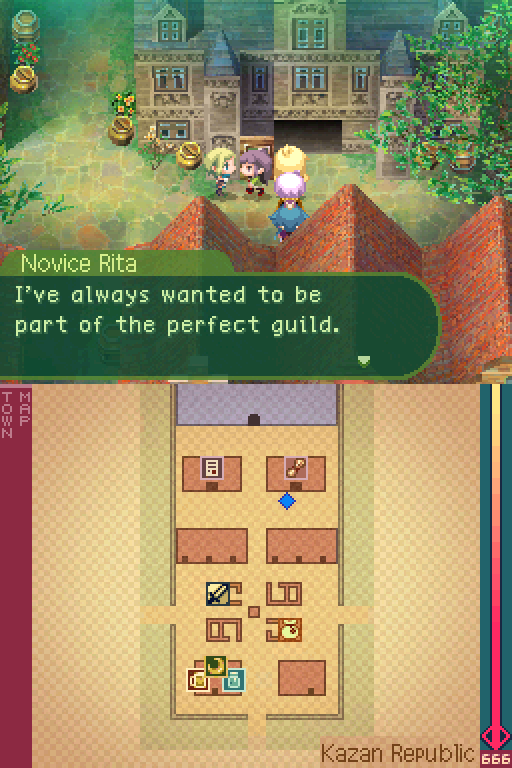
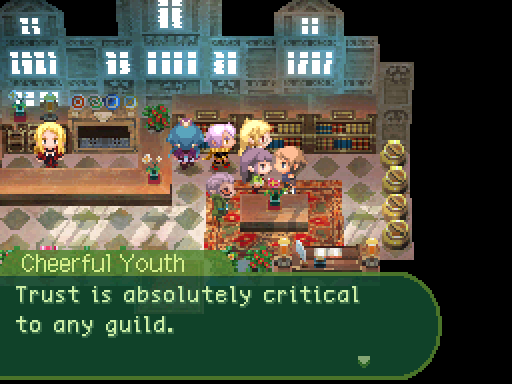
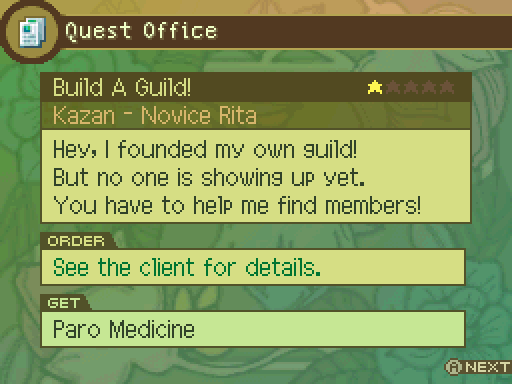
 So I'm going to build one with my own two hands! It'll be fun to see what kind of folks come to join up ♪
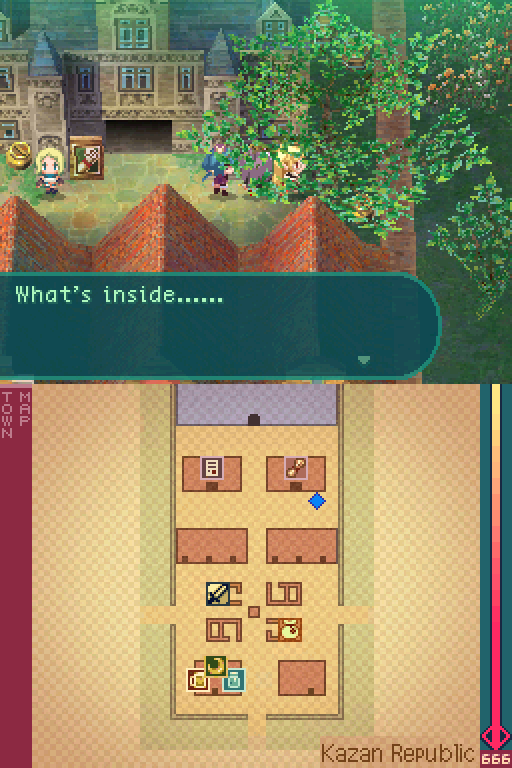
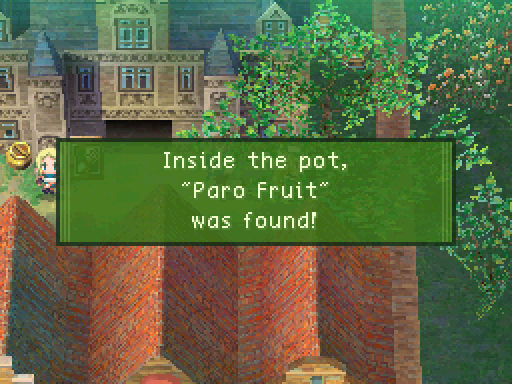
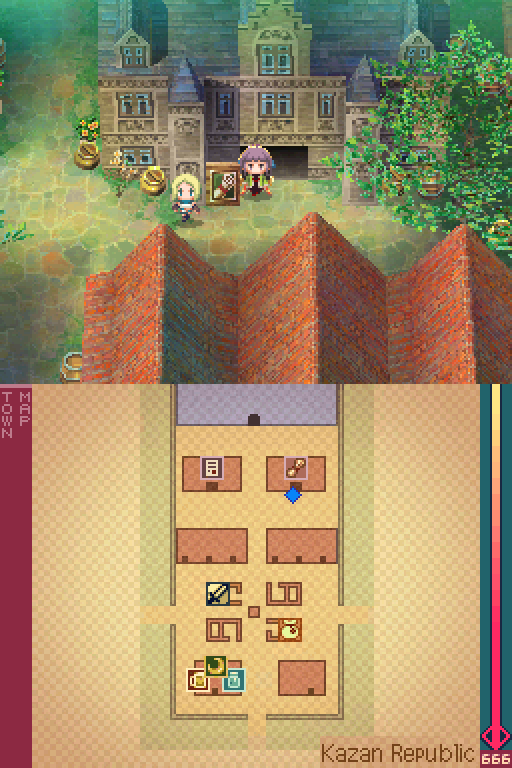
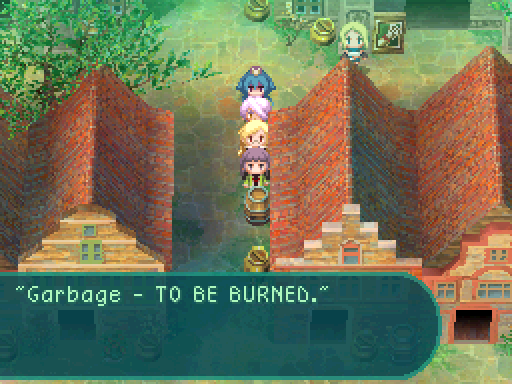
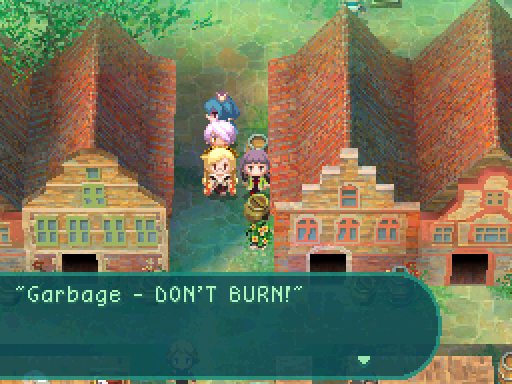
Sometimes there are items hidden in pots, crates or barrels.
Oh and if you're wondering what the deal is with the 666 on the bottom screen, it doesn't come into play until later.
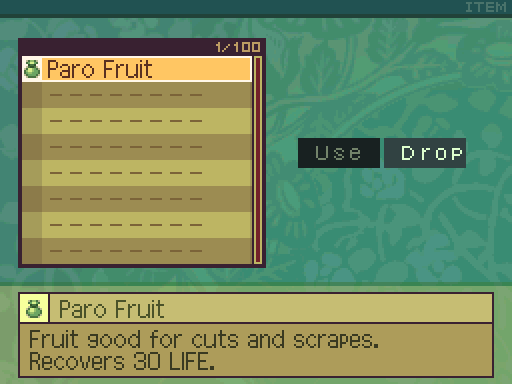
Paro Fruits are a very basic healing item. They restore 30 LIFE outside of combat, but can restore a bit more during it due to a programming quirk.
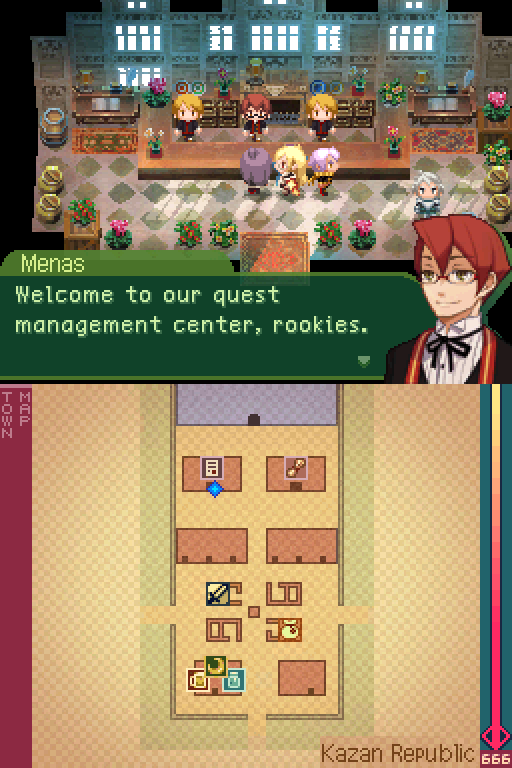
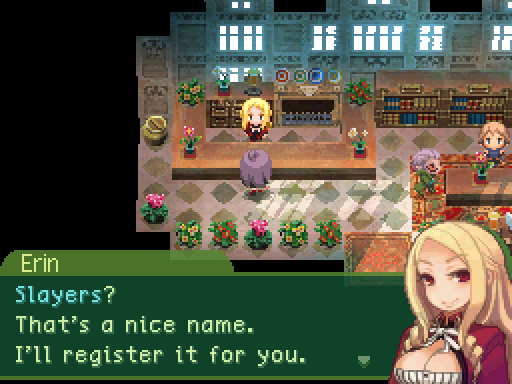
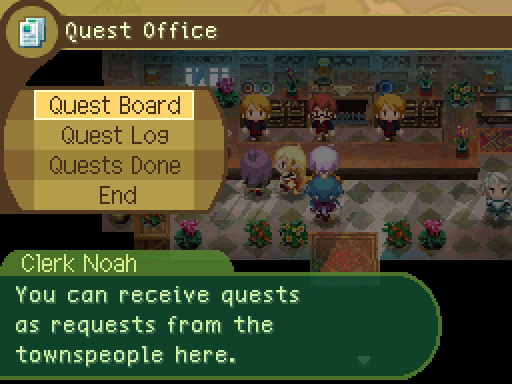
 This is where the world's Hunters come for work, and the rewards thereof. We mediate between clients and Hunters. clients and Hunters. Keep doing requests in order to build a name for yourselves as Hunters.
Yes.
Glad to hear it. You also might want to poke around town for any other jobs to do. We're happy to have promising rookies like you. Stay safe and good luck!
As we try to leave...
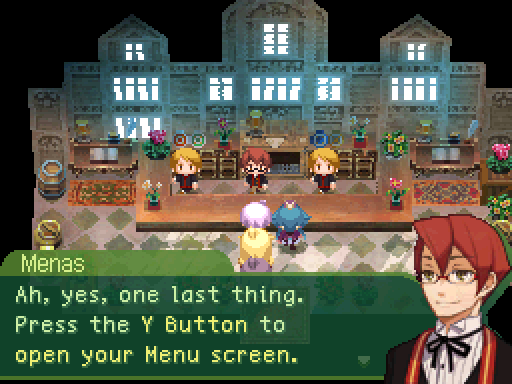
The "CUSTOM" option is very important. It lets you spend your SP on various skills. As you adventure, you'll gain more SP each time you level up. Anyway, those're the basics. So get to it!
A big part of 7th Dragon is customizing our character's skill builds to make use of in battle. Let's get around to doing that.
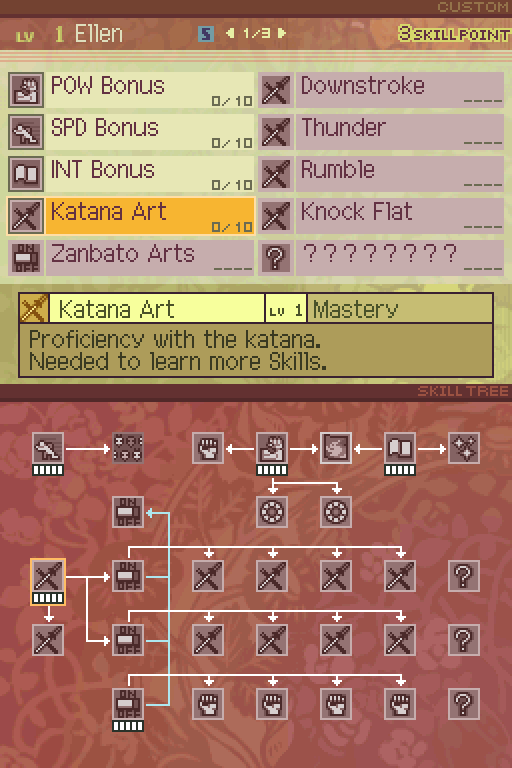
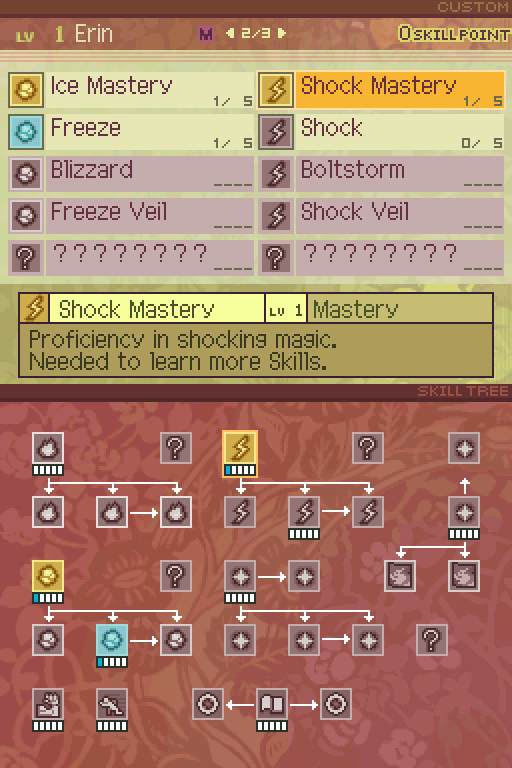
On the top screen, you can see can see the list of skills the classes have. Every class starts out with 3 skill points to work with, though there's a way to have them start out with 4. There are a couple of skills that can't be invested in, no matter what at this time.
On the bottom screen, you can see the skill tree and exactly what skills lead to what, and how much you've leveled them up by.
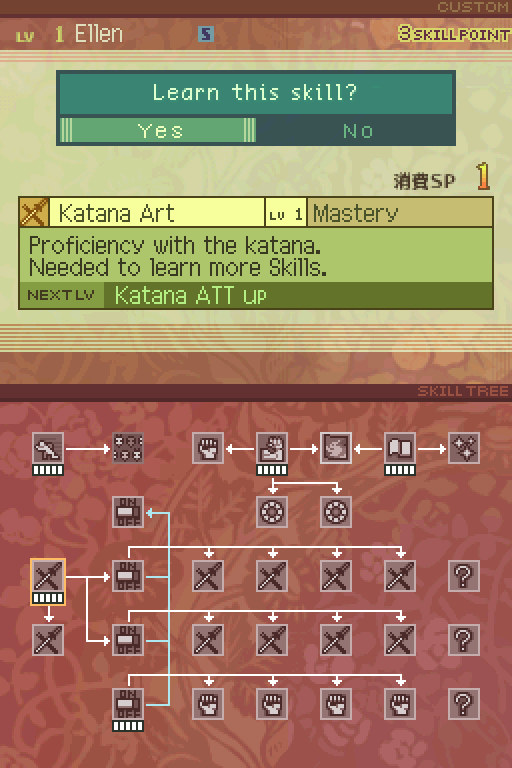
Choosing a skill lists out the SP cost and requirements if there are any, as well as what leveling up the skill does. Unlike in Etrian Odyssey, where every skill cost only 1 SP, certain skills need more than 1 SP to increase their levels. For example, POW Bonus actually needs a total of 20 SP to max out since every level costs 2 SP.
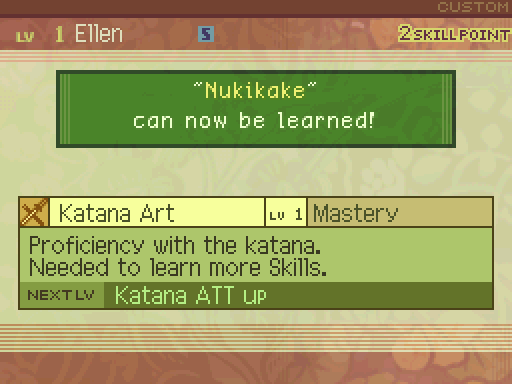
The game will also notify you if you can start investing in another skill.

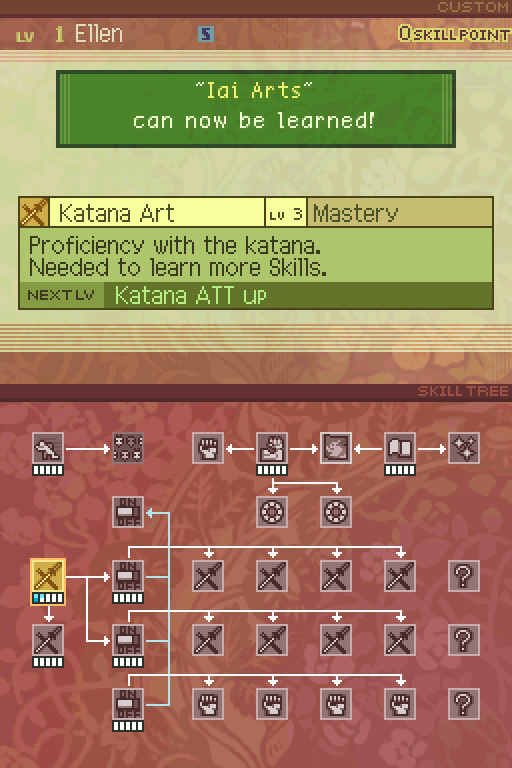
I invested all 3 of Ellen's starting SP into Katana Art, which unlocked those skills, which I will be getting later. Katana Art increases the attack power of katanas by 14%.
With that said, Samurai actually can't use katanas for a good while, and a lot of their skills need for them to have a katana for them to work. So generally people like to invest in the Barehanded skill branch so that they have some form of offense early on.
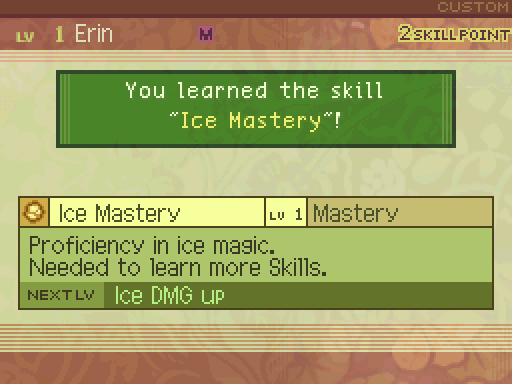
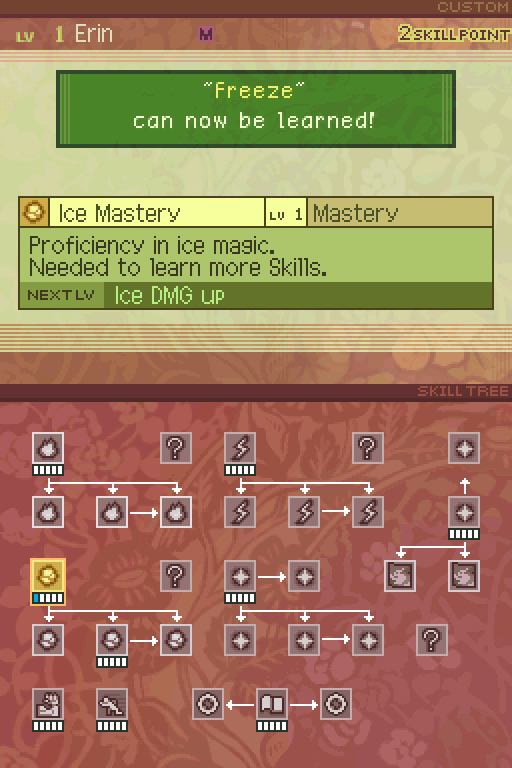
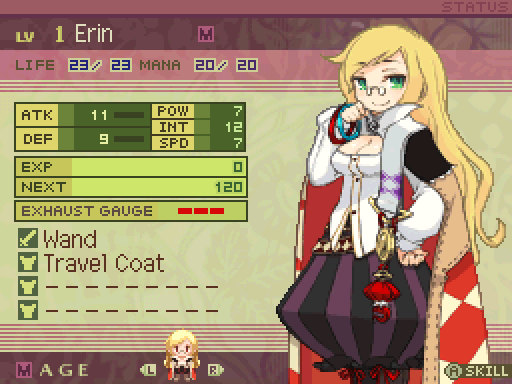
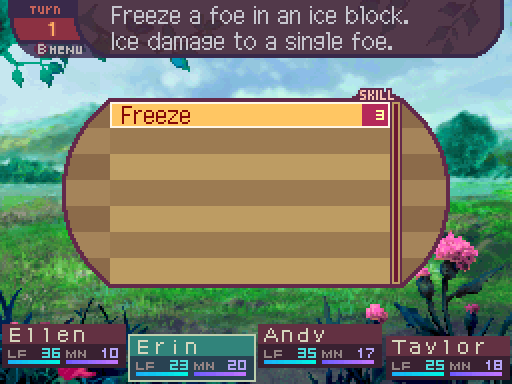
Now with Erin, I invested a skill point into Ice Mastery, which unlocked her first spell. At level 1, Ice Mastery comes with a damage bonus of 100. Which is then divided by 20, and only adds 5 points of damage to her spells in the end. Yeah, not really a good passive, just like the Alchemist's elemental masteries in EO1 (which also had a similar effect.) However, unlike those skills, the elemental masteries in this game also provide a cast speed bonus, so there is a reason to level these up. Though at level 1, it doesn't provide one at all.
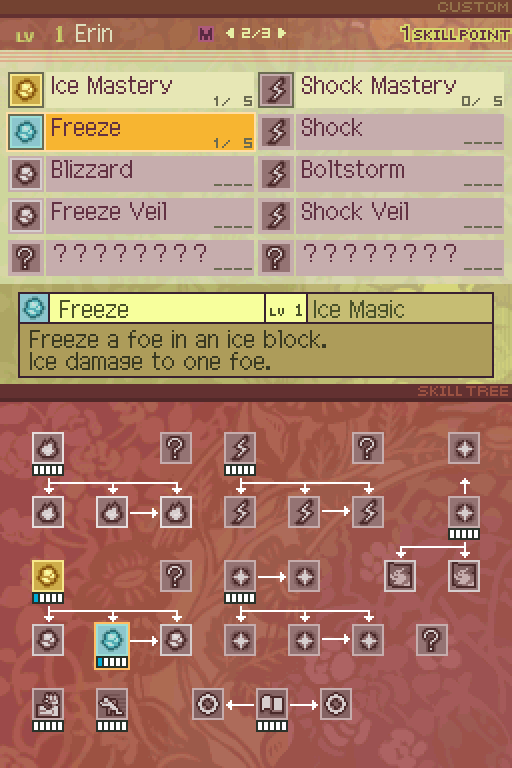
Freeze deals Ice damage to one enemy. Spells scale off of the caster's INT, and at level 1, Freeze has an INT multiplier of 300%, and a 150% damage multiplier on top of that.
Most of the Mage's spells are just palette swaps of each other, and do the same thing.
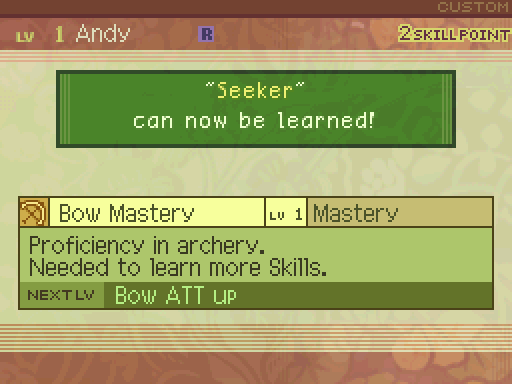
For Andy, I put in one point in Bow Mastery to unlock this skill.
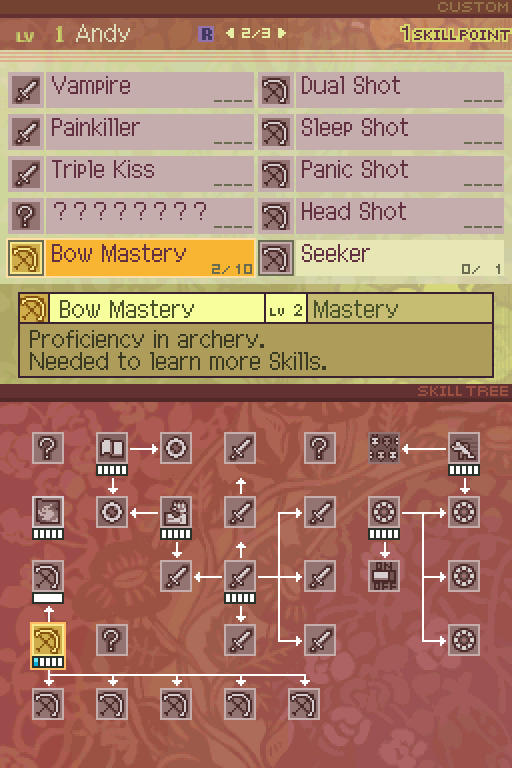
At level 2, Bow Mastery increases the attack power of bows by 14%.
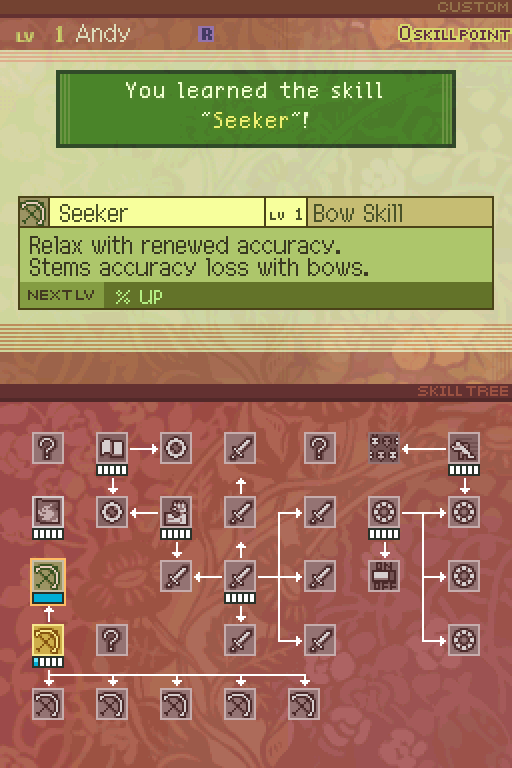
Seeker is a skill you really should invest in when using a bow Rogue. The game doesn't tell you this, but bows have a hidden property where every time the user makes a shot with the bow, their accuracy decreases by 7%, until the user's accuracy drops to 0%. Using Seeker (which has no mana cost, for the record) will reset the accuracy back to 100%.

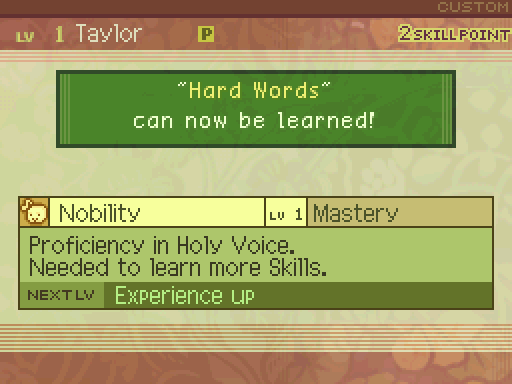
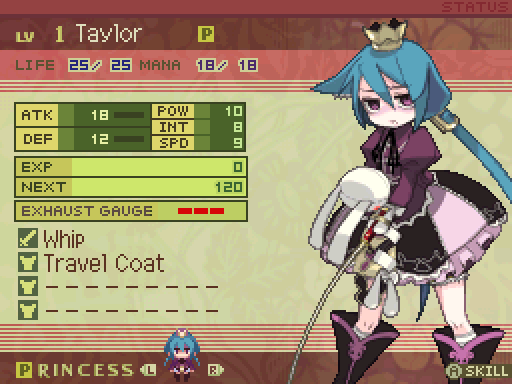
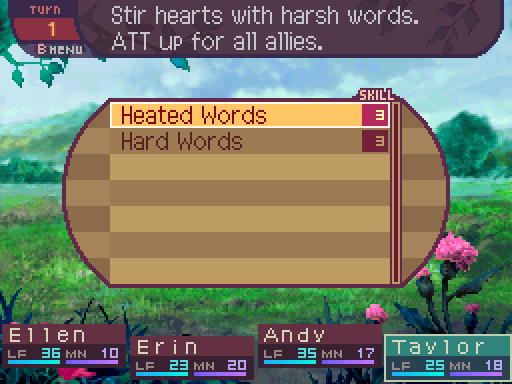
Investing one point in Nobility unlocked those skills. Nobility does nothing at level 1, but it does increase the Princess' cast speed when using Holy Voice skills.

Heated Words increases the damage output of physical and magical attacks by 10% at level 1.
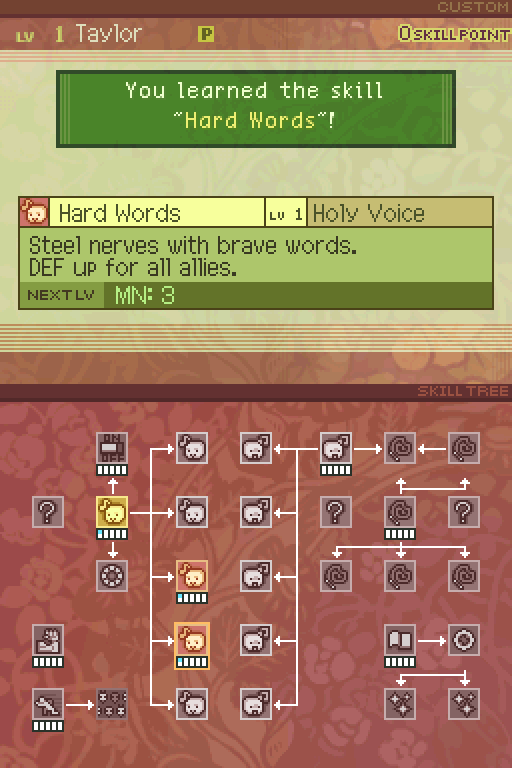
Likewise, Hard Words reduces the damage of those kinds of attacks by 10%.
Now with all that done, let's see if anyone needs our help.
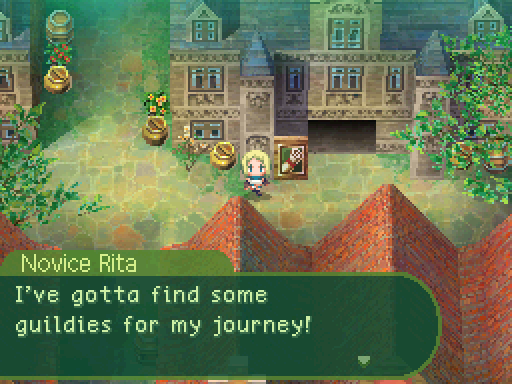
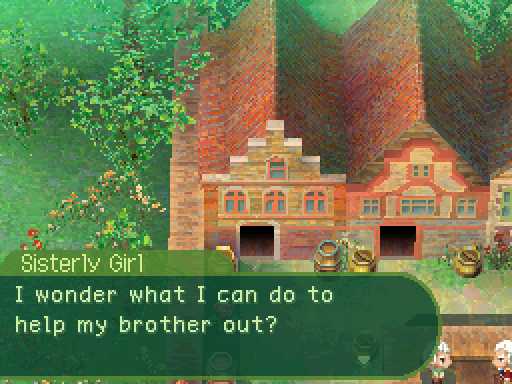
First, let's talk to the girl next to the guild.
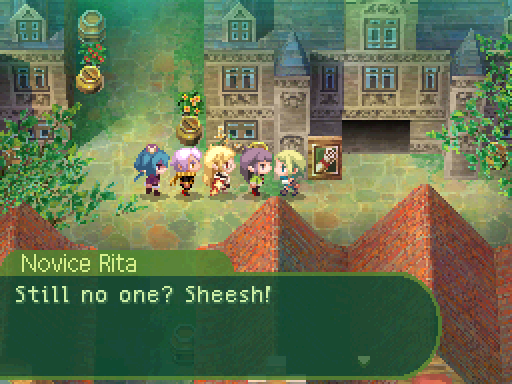
I start the guild I've been planning forever, and no one's coming to join up? Hellooo? Anyone?? Somebody please, please, PLEASE join my guild!

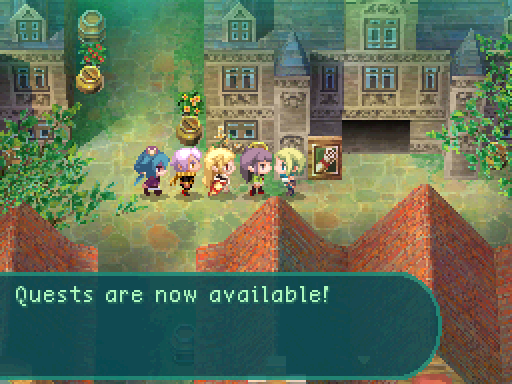
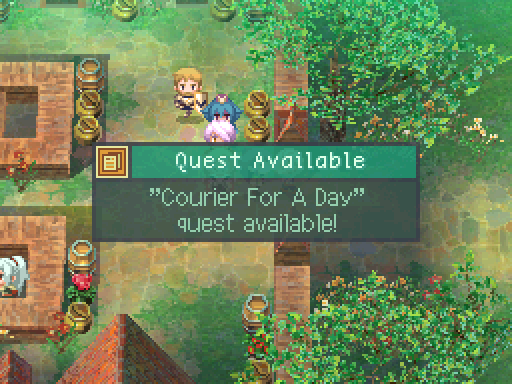
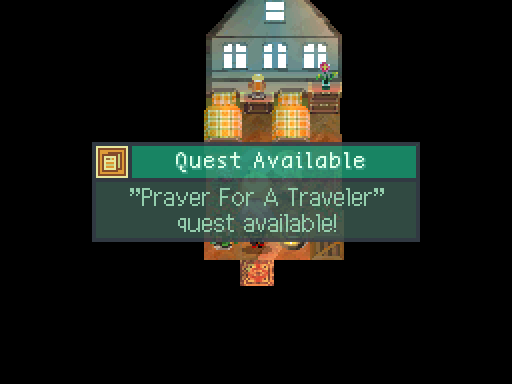
Once a quest opens up, you can accept it any time from the Quest Office. Kazan's quest clerk is at the left desk in the Quest Office. Go and take a look!
Talking to certain NPCs will unlock quests at the quest office. Quests in this game are really badly handled, but I'll go more into that later.

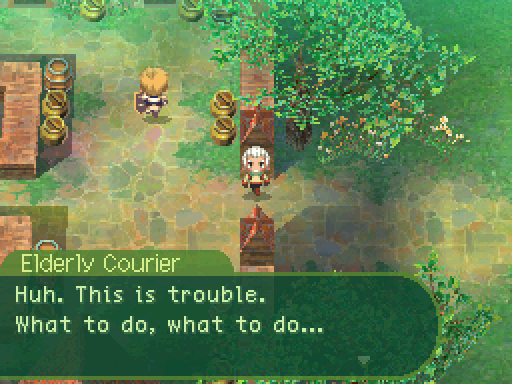
 I can't carry that thing. At this rate, I'm going to be tossed out of the guild.
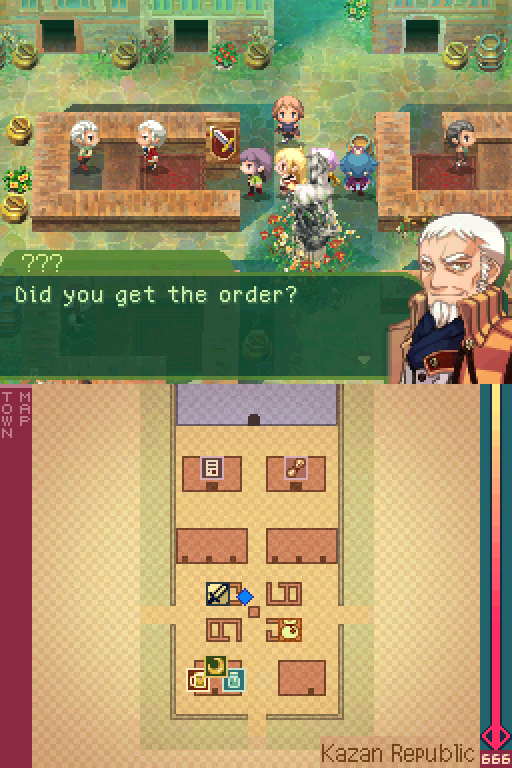
Yes, of course we heard from Mr. Menas.
 Can you fulfill it?
It won't be easy to find that much gear... but we'll do our best.
I appreciate it. By the way...
Yes... I know what you're looking for. Rushe swordsmiths have a fine reputation.
Hmm... My, this is impressive. You weren't kidding.
Is that all you wanted?
Well... you were able to get a good deal on it, right?
On this sword? It's as expensive as you'd expect.
Okay, I get it. Can't blame me for trying.
Thank you very much.
Thanks. I'll see you later.
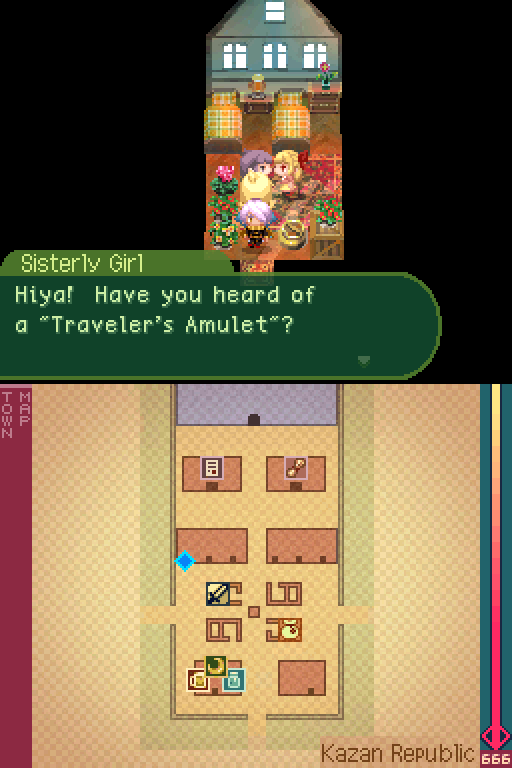
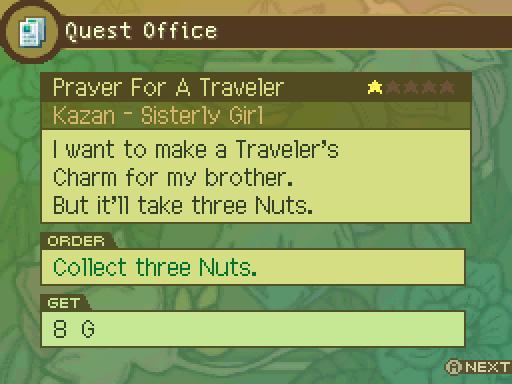
 It's something you make to keep travelers safe. Right now, my brother's away, journeying as a rookie Hunter. So I wanted to make a Traveler's Amulet for him! But... you absolutely need a certain kind of nut. He's leaving Kazan soon, though... What do I do?
Now that we've heard about their troubles, let's go back to the Quest Office so we can help them out.
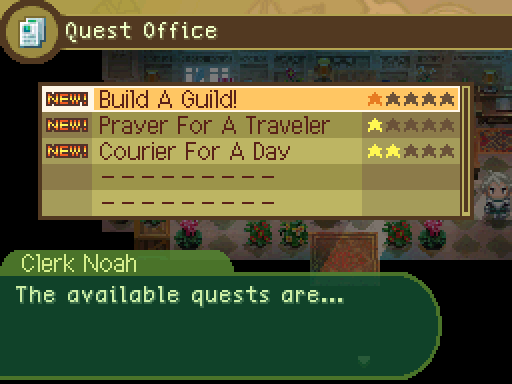
You have to accept the quests first before you can do them, and for some stupid reason, you can only accept 3 at a time. Most quests actually can't be completed until much later, and some of them you have to be in the post-game to complete. So all they serve to do is to take up quest space and annoy you when you find out partway through a quest, that you can't actually get it done. Yeah, the quest system isn't that well handled, and the quests themselves aren't really that interesting most of the time.
Anyways, let's get out of this town and have a look around.


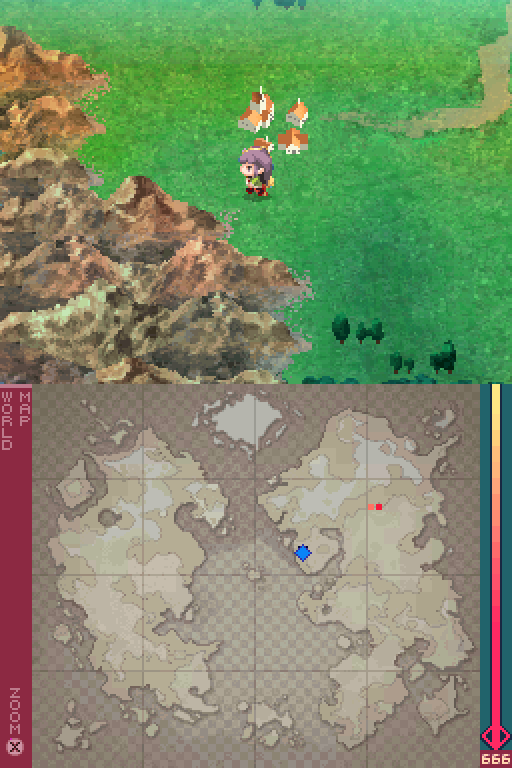
And here's the world map. There are quite a few places we can go to right now, but for now let's just take a look around.
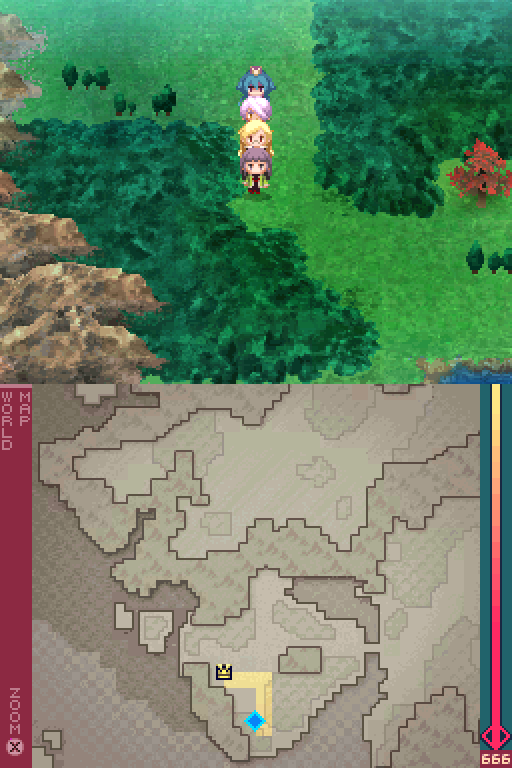
As we explore the world map, the map will get filled in with yellow.
And this is what it looks like when we get into a battle.
 Video: Combat
If you want to see what combat looks like in motion, give this video a watch.


This is what I would consider my favorite track in the entire game. Give it a listen!
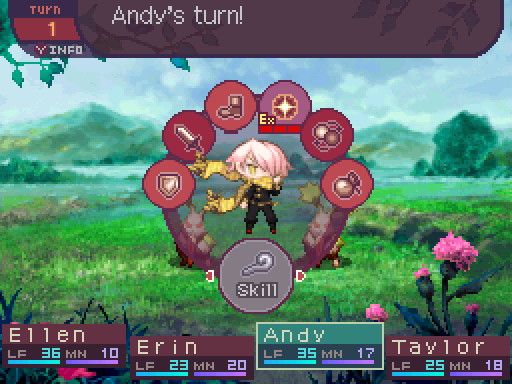
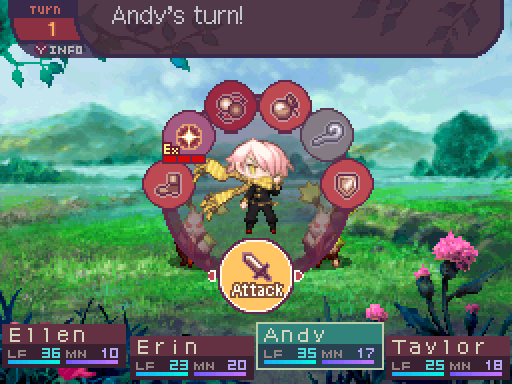
Battles are done from a first person view, though you do get to see some cute idle animations for your classes in the menu. As for what these options do...

Attack has your character do a normal attack on one enemy. No extra damage modifiers get applied when using this command.
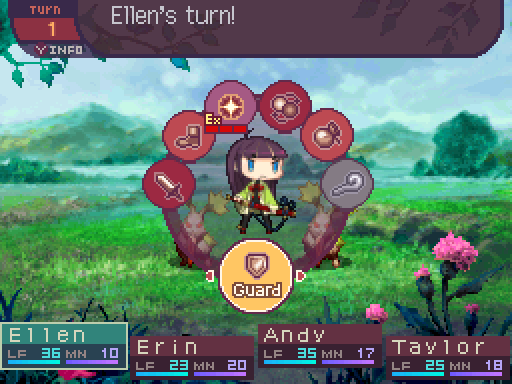
Defend reduces the amount of physical damage the character takes for the turn by 50%.
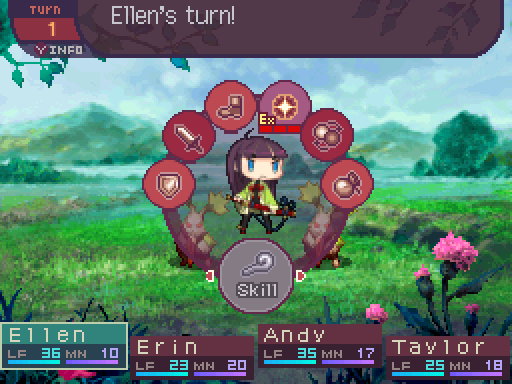
Skills, lets you use your skills. Though Ellen doesn't know any active skills so she can't make use of it.
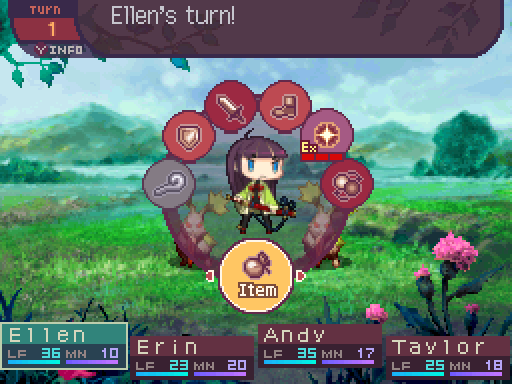
Items lets you use your items.

Front/Back swaps the character from the front row to the back row and vice versa.

EX consumes one portion of the character's Exhaust Gauge to give them priority (ensuring that they go first in the current turn) and increases their damage output by 50%. There is one other thing it affects, but that won't be seen for a while. You can only activate EX 3 times per character in one day. To replenish it, you have to rest at an inn.

Escape, let's you escape from battle.
Let's take a look at our enemies.

Rabi
Level: 2
LIFE: 20
ATK: 21
DEF: 5
INT: 5
SPD: 7
Attack Type: Slash
Size: Small
Exp: 21
Gold: 2
Item Drops:
-Normal: Rodent Teeth - 40% Drop Rate. 5 needed to unlock the Dagger. (Dagger, +14 ATK, +2 SPD.)
--Teeth of a Rabi.
-Rare: Light Meat - Kill with Slash damage. 5% Drop Rate.
--A small animal's meat. For carnivores. Increases SPD for the day.
Damage Multipliers:
Slash: 100% Blunt: 100% Pierce: 100%
Fire: 100% Ice: 100% Lightning: 100%
Ailment Susceptibility:
Death: 100% Masked Pain: 100% Petrify: 100% Skill Seal: 100%
Fear: 100% Curse: 100% Bleed: 100% Poison: 100%
Sleep: 100% Confuse: 100% Charm: 100% Paralysis: 100%
Blind: 100% Stun: 100%
Skills:
Sand Kick: 30% chance of inflicting Blind on one target.
For the record, there is absolutely no in game bestiary for any monsters whatsoever. I'm pulling out all this data myself. As for what this all means...
All the stats work the same way for the enemies as they do for us, though enemies don't have a POW stat. Not that they can equip weapons, so whatever. Enemies don't have MANA, so they can cast their skills all they want.
Attack type is the damage type their normal attacks are, which is only important to know if you're going for a specific Samurai build that counters specific types of physical attacks.
Size is a specific stat that only comes into play if you have a Healer on the team who knows the Microanatomy and Macroanatomy passives, which increase the party's critical hit rate against small or large enemies, respectively, though some enemies don't have a size.
Damage Multipliers are how much damage enemies take from various damage types. The higher the number, the better.
Ailment Susceptibility is the likely hood of an enemy getting hit with certain ailments your party has access to. Again, the higher the number, the better. Also, every single random encounter in the game has 100% susceptibility to every single ailment, so I'm only gonna list those out for the bigger enemies (such as bosses) from now on.
Anyways, Rabi are one of the weakest enemies in the game. They don't really do much aside from trying to blind you when they're not at full health.

By the way, you can't make use of certain skills if you don't have the right weapon type. Andy doesn't have a bow, so he can't use Seeker, even though using it now would be completely pointless.
Okay, let's get this started.

Despite the fact that the battles are in first person, you do get to see your characters taking action, which adds quite a bit of charm and personality to the game in my opinion. Also it helps that the animations are really brisk and don't last for a whole minute. (Looking at you, 7th Dragon III: Code VFD.)

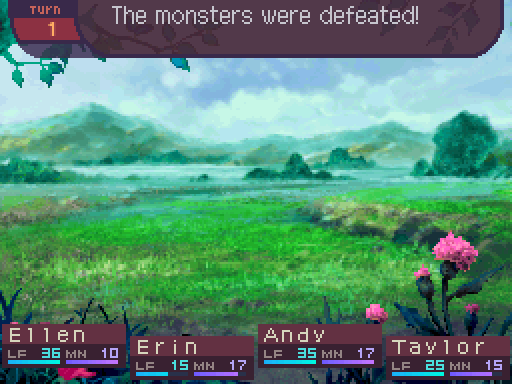
And down go the rabbits.


And after the battle is over, EXP and Gold are given out, but enemies don't drop gold unless you have a Rogue with the Rogue's Eye passive in your team. Now EXP gain actually scales depending on how high your party members' levels are, which is where the enemy's level stat comes in. If your party members are under the enemy's level, you'll get more EXP so you can catch up where the devs want you to be. If you're way over the enemy's level, you'll get far less EXP from them. The total EXP gained is divided among the remaining party members. The less party members alive or aren't petrified, the more EXP the survivors gain.
You can only get one item drop from an enemy at a time, with the game checking for the rare drop first before it checks to see if you get the common drop. Though with some enemies, there is a specific way you have to kill them in order to get their rare drop.