Toggle Background Color
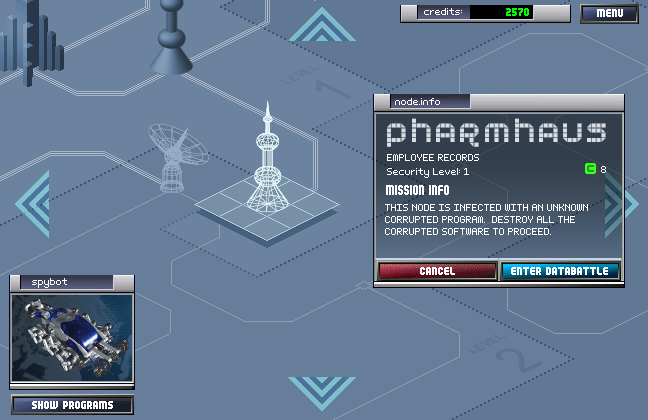
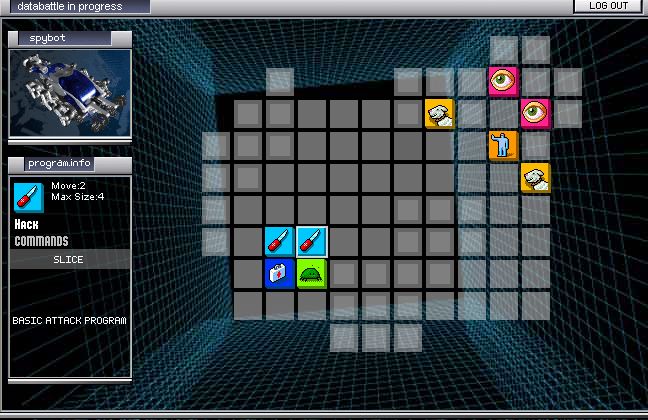
So, at this point we're going to dive into this level that by all accounts is completely optional. It doesn't unlock anything new for us to do, we don't get any new units out of it... but it's there, so why not?
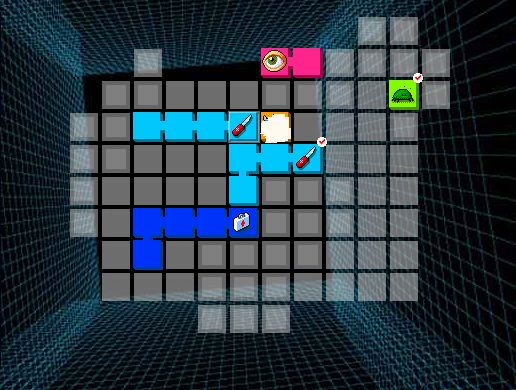
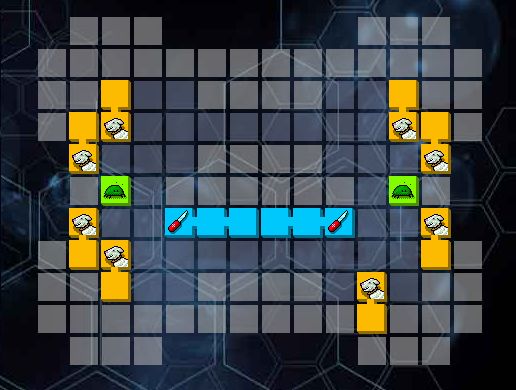
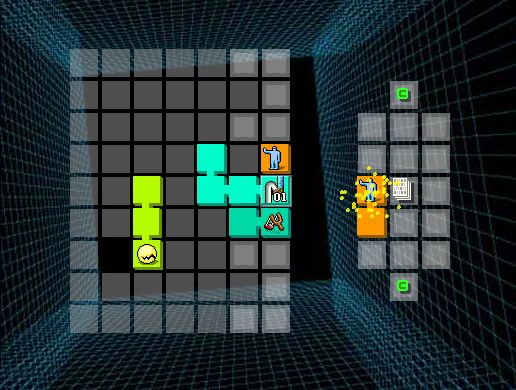
Entirely by coincidence, it's a damned good way to see what that Bit-Man unit can do. And I even brought 2 of 'em for good measure. The Hack's there because we need something that can deal damage and not get oneshotted.

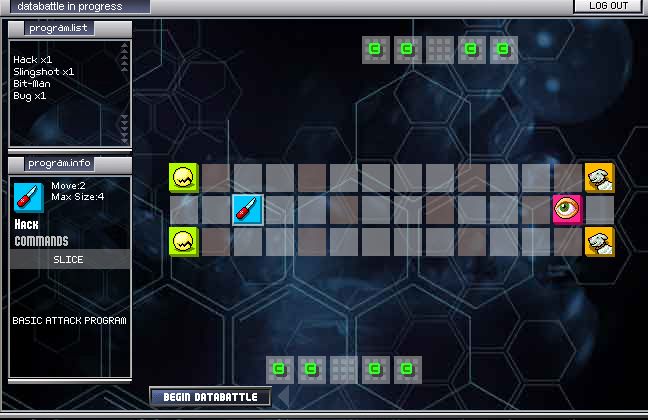
It's primarily a unit based around control of the map itself. It can outright delete any tile that exists, regardless of whether or not it was originally there.

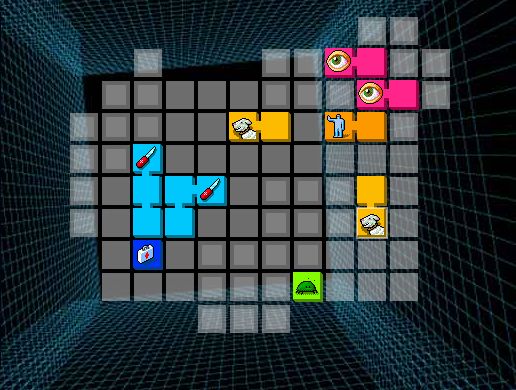
We can use that ability to funnel enemy units effectively. You might think that I should have put the gaps a little further in, but they're actually fine where they are. Possibly ideal, even.

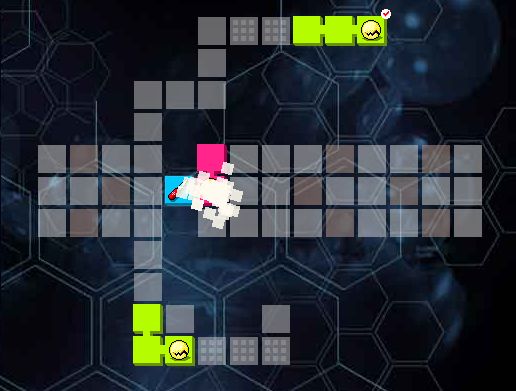
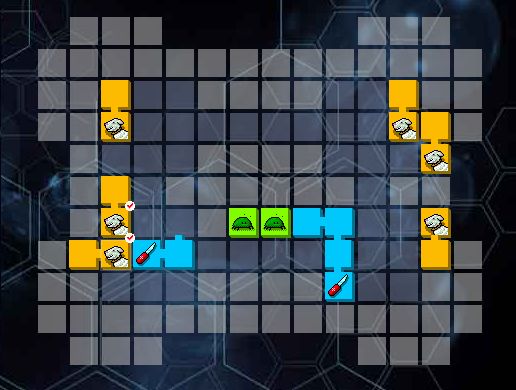
As you might have guessed, the other thing not-Pacman can do is create tiles wholesale. Yup, we can create our own paths to give us an advantage and destroy pre-existing ones to keep things from moving. This sounds incredibly useful and broken (and it probably is if you do it right) but I can't remember there being that many times where it comes up.

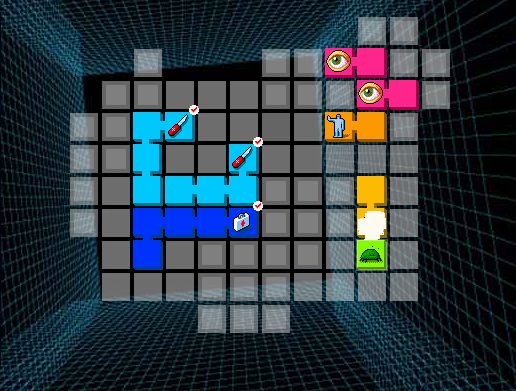
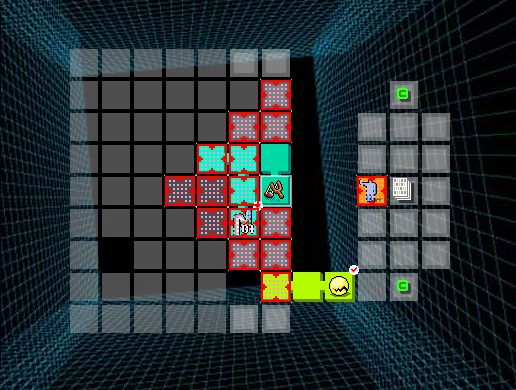
So at that point we've essentially almost won. It's just a matter of chipping away at the enemies as they make themselves open.
Though, the current positioning leaves something to be desired. Once we take out this dog, the next turn its buddy will take its place and cut 2 of the Hack's HP out. After that, we can kill it but then the Watchman'll move across and take us out. If that happens, we're stuck in an unwinnable situation.

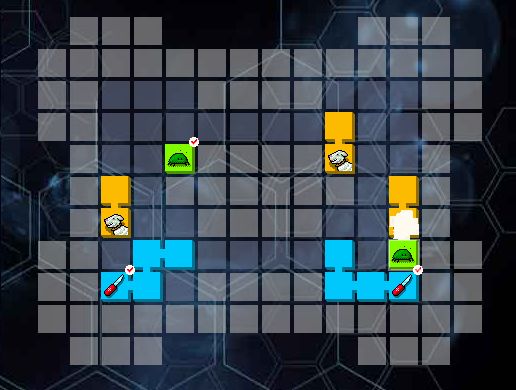
We can get around that, and not killing it too soon here, via moving around carefully. We can gain 1-2 extra HP per turn (upto a max of 4 in this case), and keep anything on that side of the "funnel" essentially trapped by never letting it get any further in.
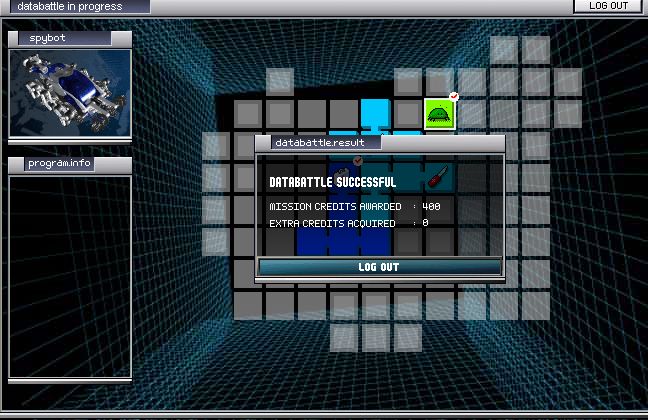
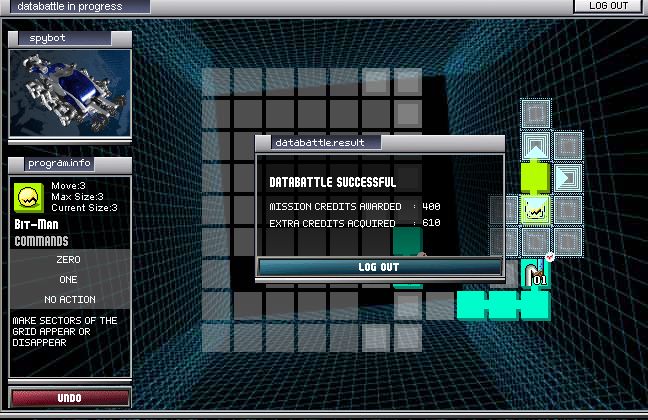
At that point, it's just a matter of waiting it out until all the extra cash has been collected. That done, we can immediately finish off whatever's left over.

I think the amount of extra money we pick up from this makes it worthwhile. It's more than enough to singlehandedly fund our shenanigans for the next few maps to say the least!
The other benefit to this is that it gives us a bit of a preview of what's going to happen later. Whether or not it's really necessary... well, I'll let you decide that soon enough.

Now that we've done that, we've gotta do this mission if we're not interested in grinding for more money. We can see the one further to the right but it's not accessible just yet.
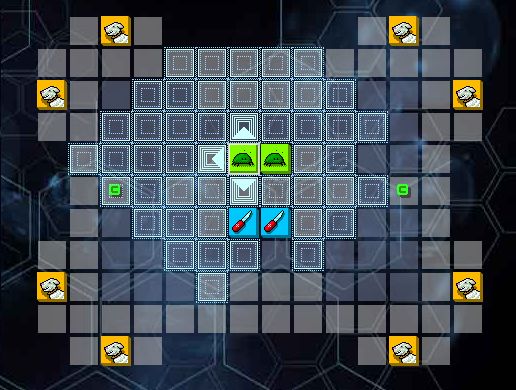
Compared to most previous missions, this one's incredibly straightforward. There's no things out of the way to worry about getting, there's no credits lying around to need to focus on... we just have 3 different enemy types we're used to by now.
So I'm being redundant and bringing a dedicated healer even though it's sort of unnecessary. 
Since this type of level's nice and simple I'm sort of winging it here. Splitting my units to send a lone Bug seems like a bad idea, but it pays off rather well. All that came its way was a single Watchdog and that's a non-issue. If even a second unit opted to go down with it, then it'd be problematic.
As is, the dogs (which are the only really threatening unit right now) were completely neutralised without even having to worry about repercussions. Neither the Watchmen nor the Sentinel can move more than a single tile per turn after all.

The only issue is how to move in the next turn. I can take out the Sentinel, but I'd lose a Bug in kind.

So, the safest thing to do is to move just outside their potential attack range taking their movement into account as well. Since they can't move far enough to avoid any of my units, nor can they move far enough to endanger me this leaves a fantastic opening.
One that lets me send the Bug up the rightside of the field to take out a Watchman and be sat just far away enough that it can't be taken out either.
Our hacks can then also take out the Sentinel but as you might've noticed they aren't so lucky.

It's completely unnecessary and useless but before I ended my turn I sent the doctor to sit adjacent to both. It didn't really matter which got hit anyway, though this way he can pretend to help.
In itself, the doctor isn't a bad unit concept though it's not as good as it could be right now. It adds 2 to any given unit's size, upto their maximum (so the Bug's still stuck at 1) which sounds good in theory but is only really useful in turn 1 right now.
The only unit it helps is the Hack who can move 2 tiles a turn, and nothing we can fight deals more than 2 damage yet either.
But they'll be much more useful later on, I'm sure. "Kill it quickly" works right now, since the missions are easy and all, but later ones get a bit more complex.

And, yeah, we get the static-y stuff after this one too. Because, y'know, plot.
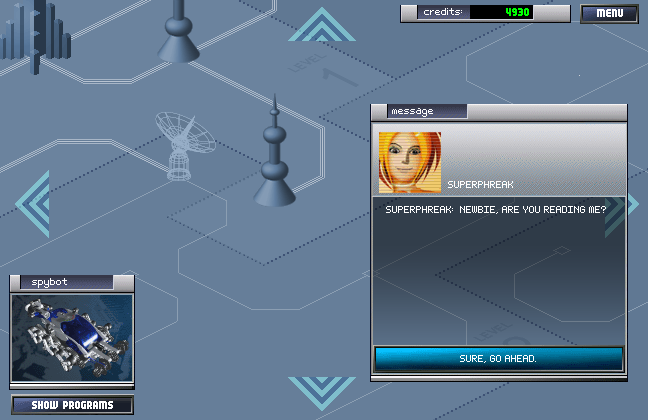
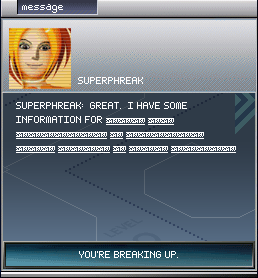
 Hmm
Hmm  Something weird's going on. I think I breaking up. Look, you've got get the Access Codes. We've put program there help out. You can find

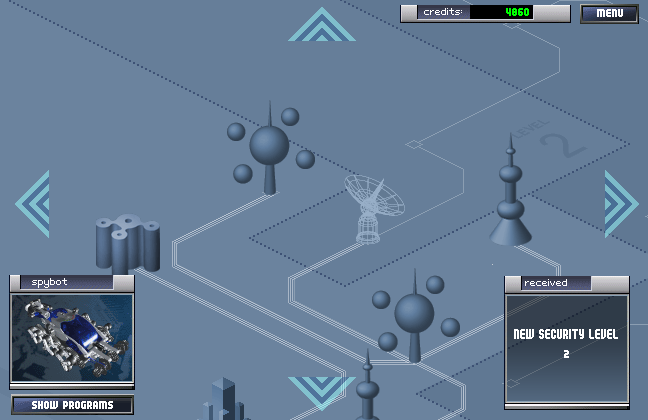
The important thing to take away from that was still readable, thankfully. Out of the two missions this one unlocked, one of them needs Level 2 access and the other one gives Level 2 access.

So, naturally, we're leaving that one for last and doing this one that some guy told us about. It gives a new unit, and it's arguably going to be worth it.

...Oh, and it's quite a tricky one. At face value it seems simple, sure, but coming up with a plan that got both the credits and didn't lose a unit was harder than it should have been.
Which, looking at it now may have been my fault because I beelined for the money.
Y'see, the Bugs have just enough movement to reach the one they're closest too. By pure coincidence, this also puts them just too far away for any Watchdog to hit.
On the other hand, it ends up giving what can be described as somewhat worrying. There's a couple that can be taken out without an immediate death following it, but the Bugs being stuck at 1HP is problematic here to say the least.
So, they're going to be living bait. We can start on the offensive in the bottom left corner by taking out 1 dog (taking out the other would've led to a Bug being killed immediately afterwards).
Since one in the bottom right corner was kind enough to stupidly isolate itself, that one can be removed too. We'll regroup the Bugs in the centre for now and then we're able to survive the next turn safely.
Afterwards, we can take out 4 of the remaining dogs but in doing so have made a bit of a goof! In retrospect, I shouldn't have killed the dog in the top-left just yet.

The dog on the left was given the choice between the Hack that was closer but unkillable, or the Bug that sat just in range and can be one-shot. Naturally, the game picked the latter.
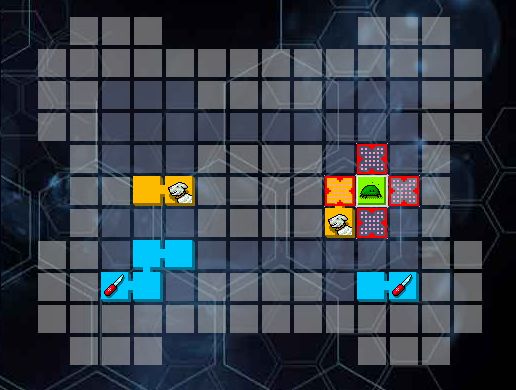
In doing so, it also sat just outside of the range of my Hack. At least its buddy was kind enough to still let me kill it.
On the plus side, on the next turn we're done. The cash wasn't really worth the hassle all things considered, but it's not bad either.
And, hey, we don't permanently lose units or anything. It's just ideal to try and keep as many as you can for obvious reasons.

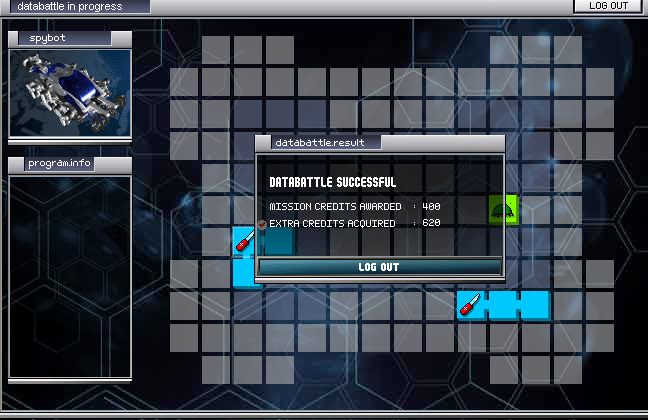
We also get our reward immediately, and it's quite good!
This does not unlock it in the store, unfortunately, so we're just stuck with the one. That's fine though, because for our next mission it's going to come in very handy.

Speaking of which, let's go do it right now. It has a slightly different win condition than usual.
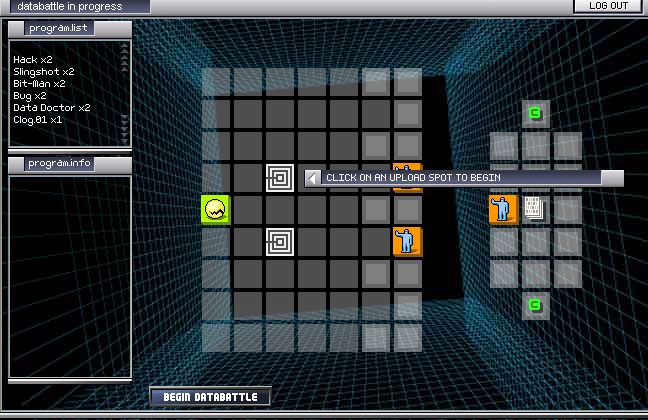
We only have 3 Sentinels to worry about, but killing them does not immediately grant us victory. If it did, we wouldn't need the free Bit-Man that we're given here.
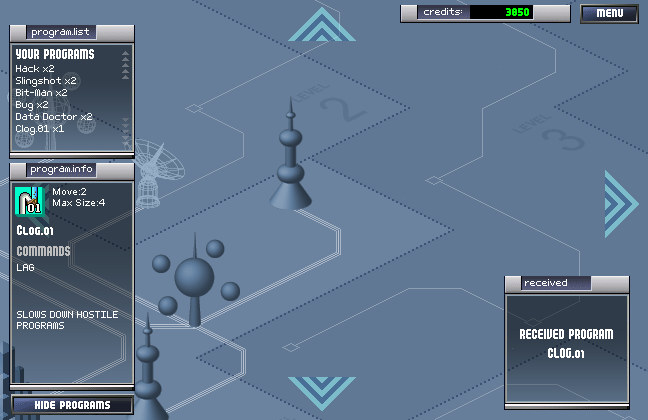
I opted to bring a Slingshot and the Clog.01 for this to help make it even easier. The Clog does something amazing and reduces any units movement by 1.
This can drop it to 0, so that Sentinel is now unable to move.

His buddy over there is still at 1 movement, though, so let's take care of that before it becomes a nuisance.
Since that guy over by the codes can still move, I decide to sort that one out before firing at it. I also completely blank on the Sentinel that's on our side of the field though!

It doesn't functionally matter, and we don't go any quicker/slower by doing it this way, but it does mean I took a single hit. A single, completely unnecessary and pointless hit.
And, just as a technicality, I opt to snipe the unmoving Sentinel just because I can. It's not going to get to ever hit me and even if it could it wouldn't matter at this point.
With that out of the way, we just need to grab the codes and we're done.

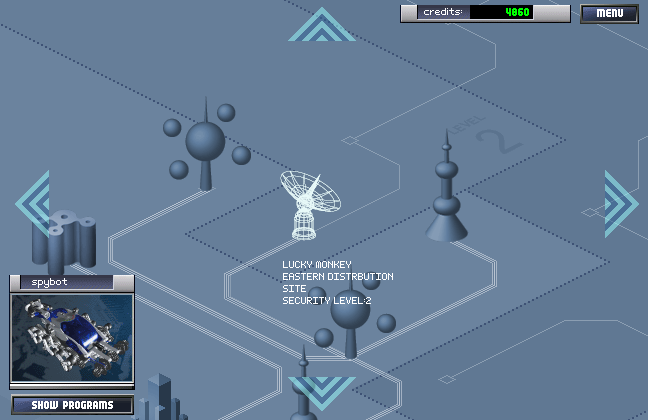
Someone's been screwing around with S.M.A.R.T. Some kind of corrupt program got loose in our network and I got cut off. For a second, I thought it was 12AM out here. That's what we call a total network blackout. No access for anybody. It happened once, a while ago, during the Worldwide Power Crisis. You wouldn't believe how bad it got before the netweork came back online. Anyway, someone directly sabotaged S.M.A.R.T and it's crippling our agents. But it's not affecting you because we haven't put your info into the S.M.A.R.T system yet. I'm not sure who yet, but I'm going to keep looking into it. With all of us popping in and out, I guess that leaves you as the only functional agent. I ran a trace on the problem that led back to the Lucky Monkey Eastern Distribution Site. Someone must have sent the corrupt program from there. I guess you should see if you can pick up the local records. I'll get back to you when I can.
And with that (relatively) giant wall of exposition out of the way, we're now able to access Level 2 areas. Hurray!
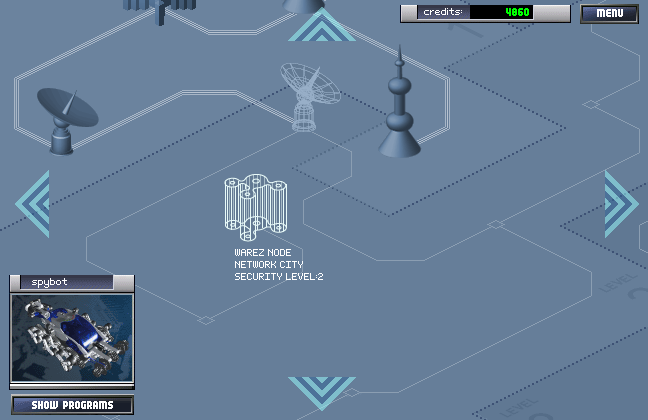
With a new level of access, comes a new shop but this one we can't access right away. It's behind two other missions before we finally get to it. The first of which branches out even further!
Of course, we also have the somewhat more immediately plot relevant (other) Lucky Monkey area right to the north. That one doesn't lead to quite so diverse a path, in fact it enters level 3 almost immediately, but we've gotta do it sooner or later.
Next time: we'll start level 2 via monkey satellite dishes.