Toggle Background Color
Day 2, On Track to Avranches
July 30th, 1944. Operation Cobra is coming to its conclusion. The last few days of fighting have seen Patton whip the 4th Armored Division to press forward with unchecked aggression, with no care for the security of our flanks. The Germans are caught unprepared by this reckless assault and are sent reeling. Hundreds of soldiers are taken prisoner and it is not uncommon for our men to pass abandoned enemy equipment such as fuel starved trucks, stuck tanks, or anything else that might slow down their retreat. Even SS divisions in the area seem to be able to do nothing but flee from our advance.
quote:
"Some goddamn fool once said that flanks have got to be secure. Since then sonofabitches all over the globe have been guarding their flanks. I don't agree with that. My flanks are something for the enemy to worry about, not me. Before he finds out where my flanks are, I'll be cutting the bastard's throat."
- George S. Patton, in a Conference with his officers, 1 August 1944.
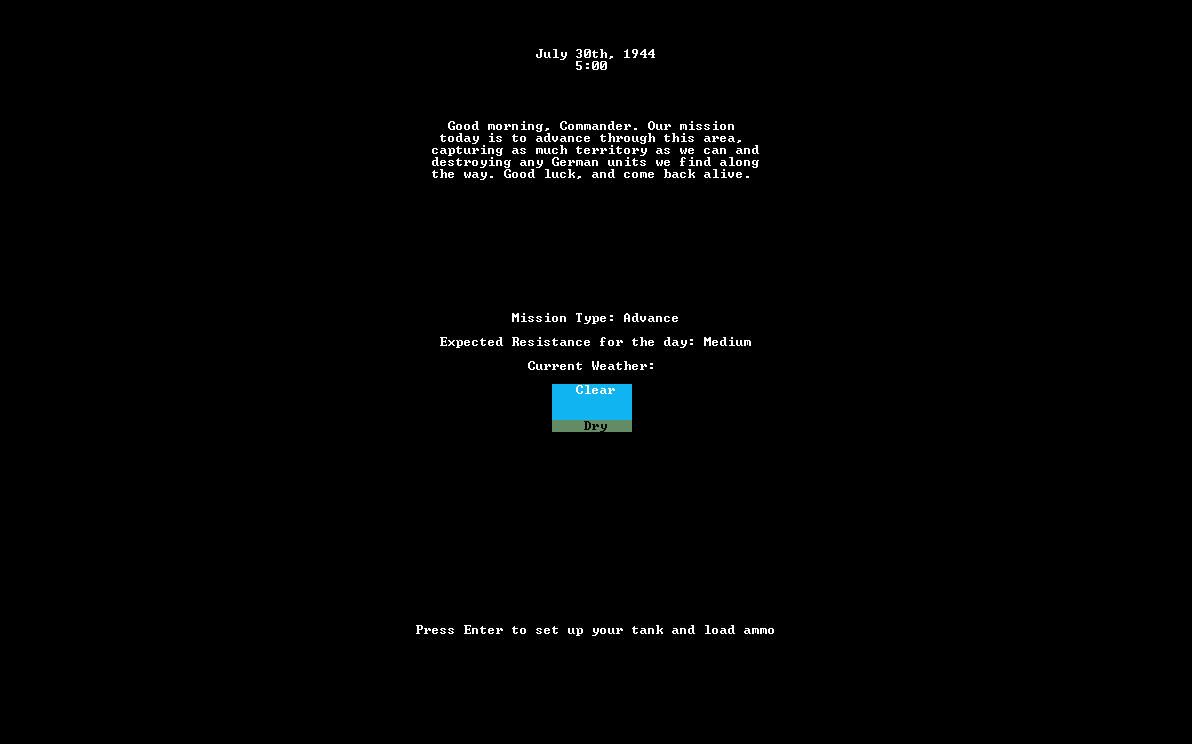
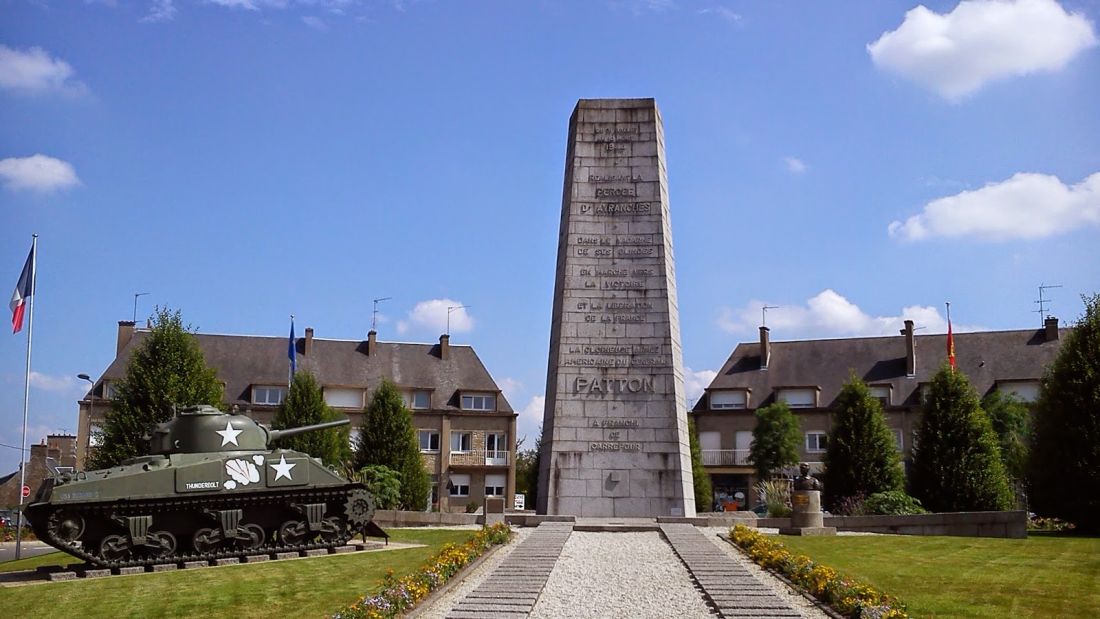
Today's mission is to secure the town of Avranches as we continue our breakneck advance into France from the landing zones. Years later this modest town would build a monument to General Patton and his tanks, celebrating the day we are about to participate in. After morning briefing, I rebalance our ammunition loadout to my usual standard and we begin, immediately spending 10 HE rounds during our 3 hour deployment to the mission zone.
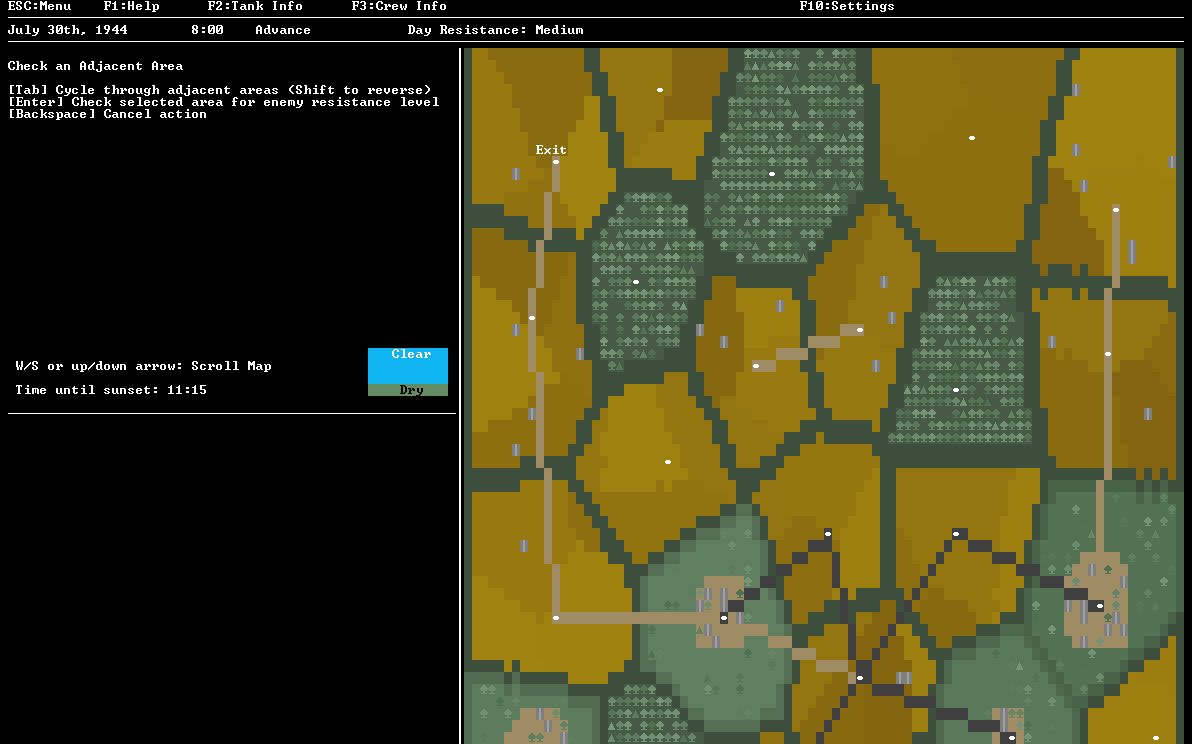
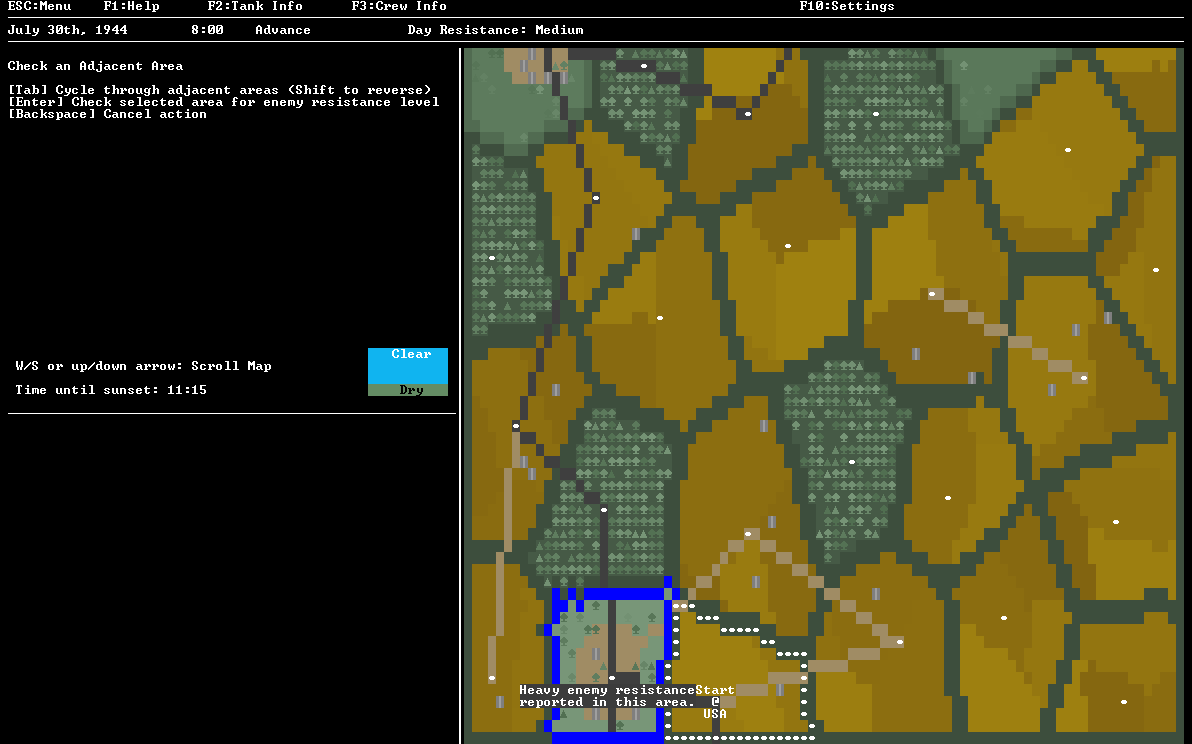
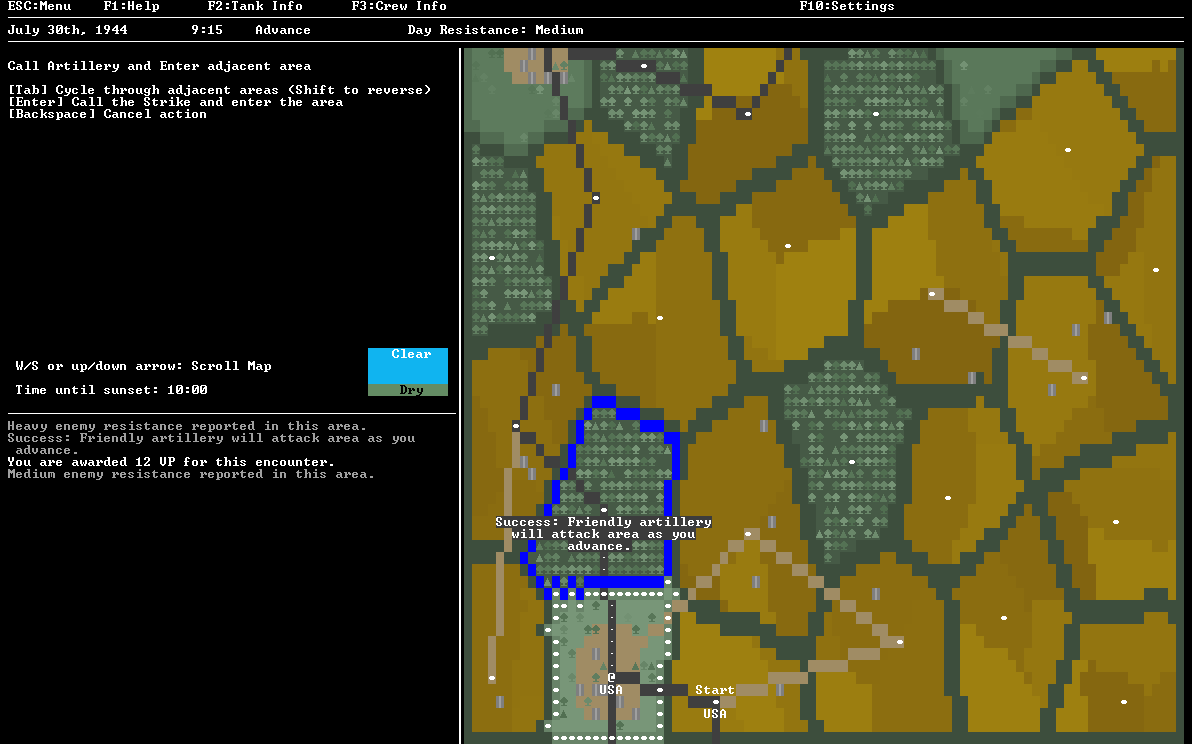
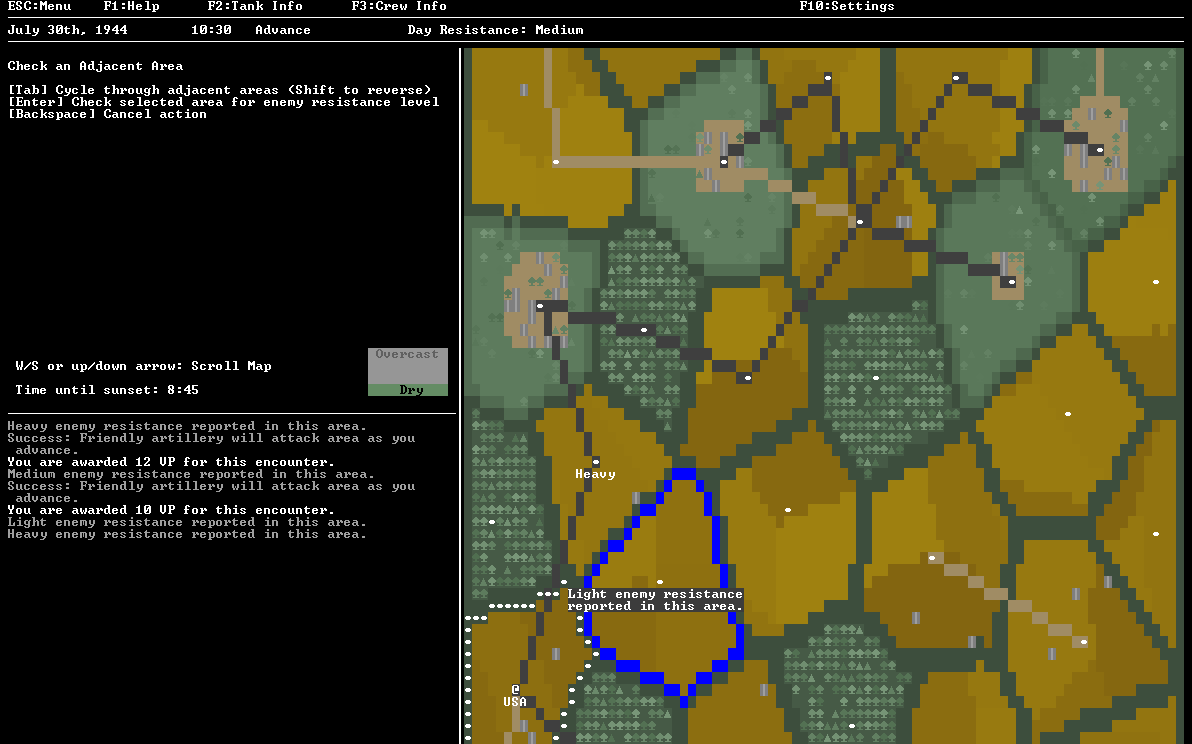
Resistance today was classified as "Medium", harsher than our first day and it is immediately apparent, as the first map sector I check, a neighboring village is listed as Heavy Resistance. I want that village though, as it lies along a series of roads that should take us all the way to the exit zone at a good pace. I call in artillery support for our advance and we head in, unsurprisingly, a battle encounter is triggered.
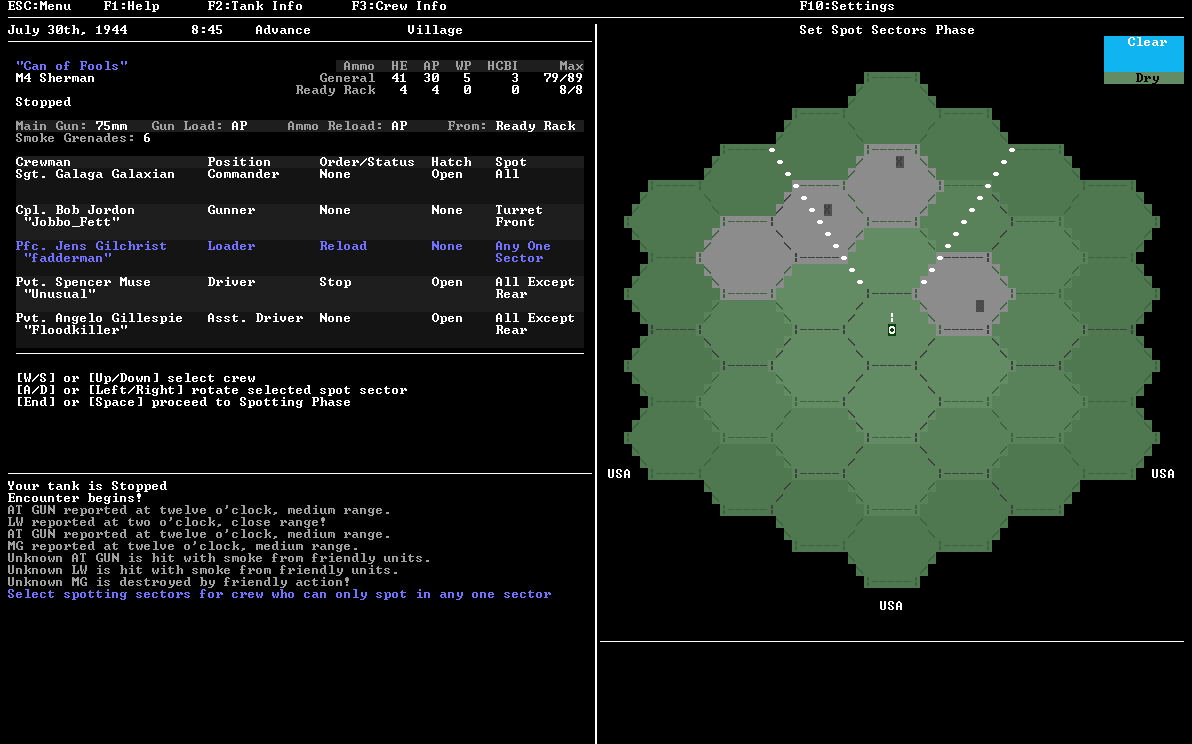
In a heavy resistance battle a full four enemy units are spawn initially and this time we get two AT guns, an infantry team, and an MG Team. My requested barrage immediately removes the MG team from the picture, but unfortunately the two AT guns remain.
I'm now playing version Alpha 7rc2. In Alpha 7, Rev Sudasana made some (IMO) sensible changes to AT guns. They can no longer move around freely on the map and are limited to just rotating in place to face threats. This seems more realistic to me since these huge guns required a separate vehicle to transport any appreciable distance such as what would be represented in this game. Anyways, we get lucky and the spotting phase informs us one of the AT Guns is "Hidden". This means no line of sight exists between us and the enemy, we cannot attack it and it cannot attack us. Since AT guns are now stationary, this means it can safely be ignored while we deal with the other AT gun, a Pak 40.
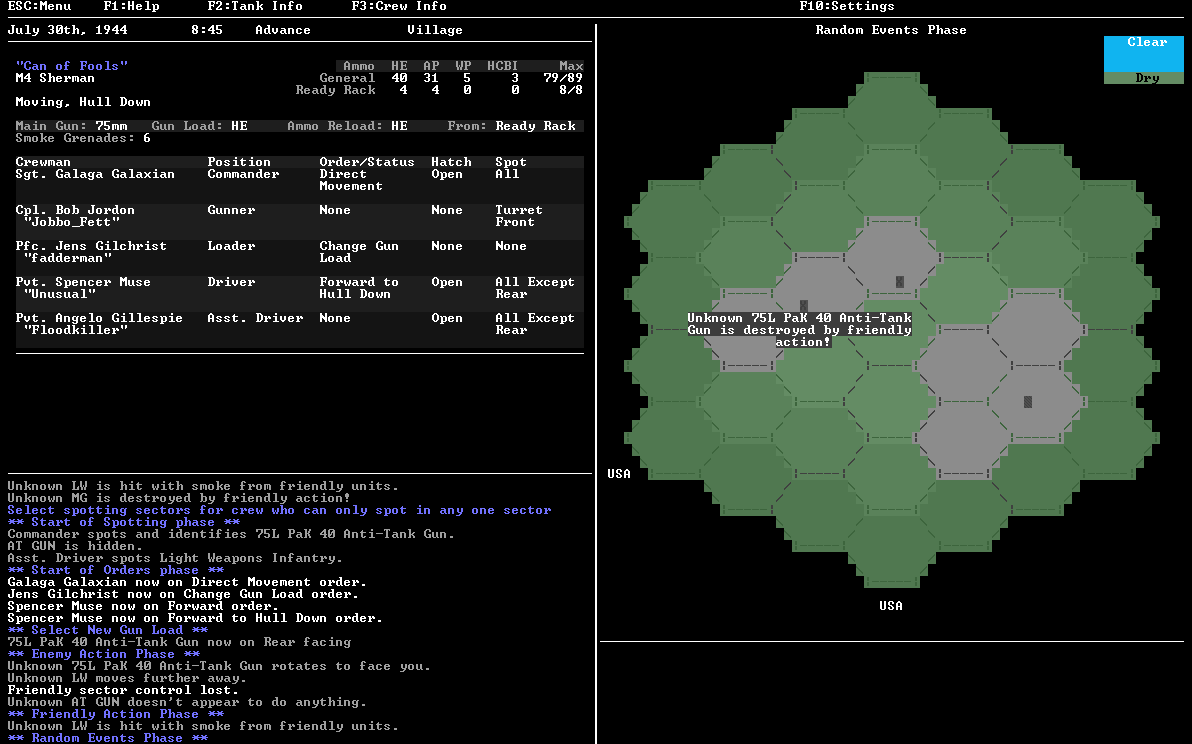
I order the gun changed over to HE while the driver advances to a hull down position. We get doubly lucky here, as not only do we secure a hull down position, but friendly forces wipe out the first AT gun for us. This just leaves the formerly "Hidden" one, which is hidden no longer thanks to us moving. I fail to identify it, but unless Rev_Sudasana has made some undocumented changes, its almost certainly another Pak 40. I open fire and take two shots before RoF fails. The first one hits, but fails to score a kill, while the second one was a miss. The AT gun responds by firing back at us.

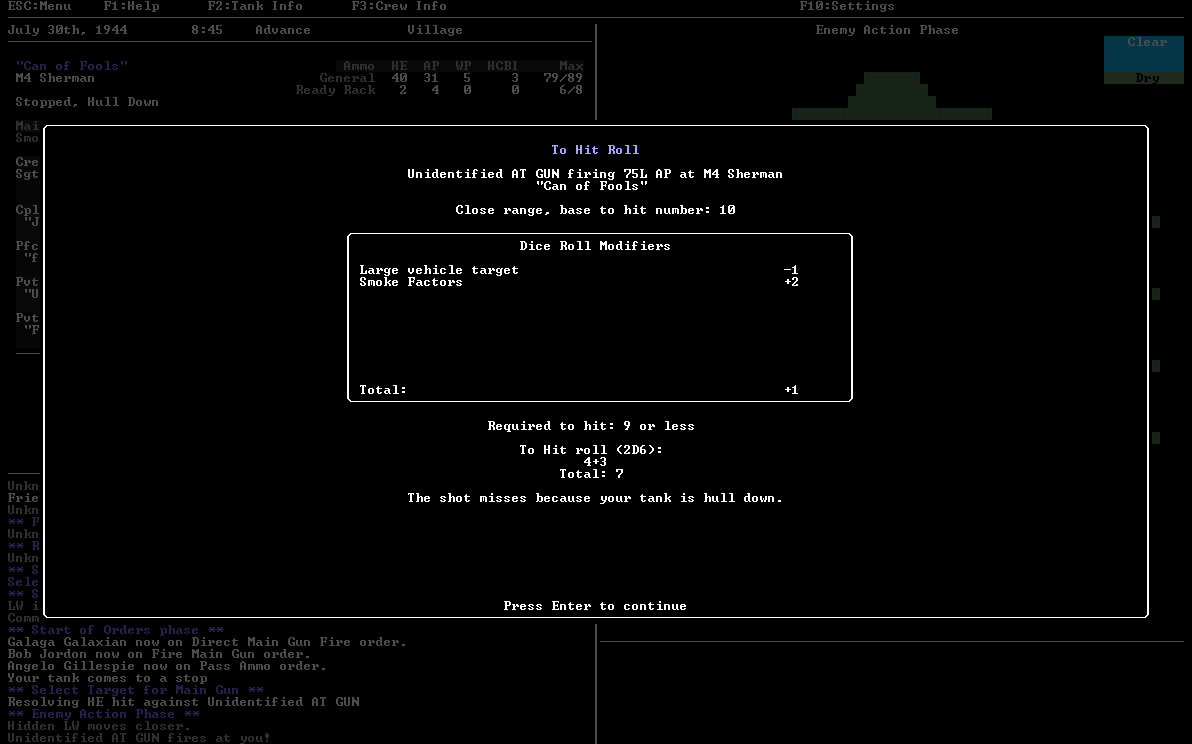
This is why you want to be hull down whenever possible, the AT gun scored a hit. If we hadn't been hull down, this likely would've been fatal. Instead the Pak's shot eats dirt and we resume shooting the crap out of it. Unfortunately we don't score a kill, but we do pin it.

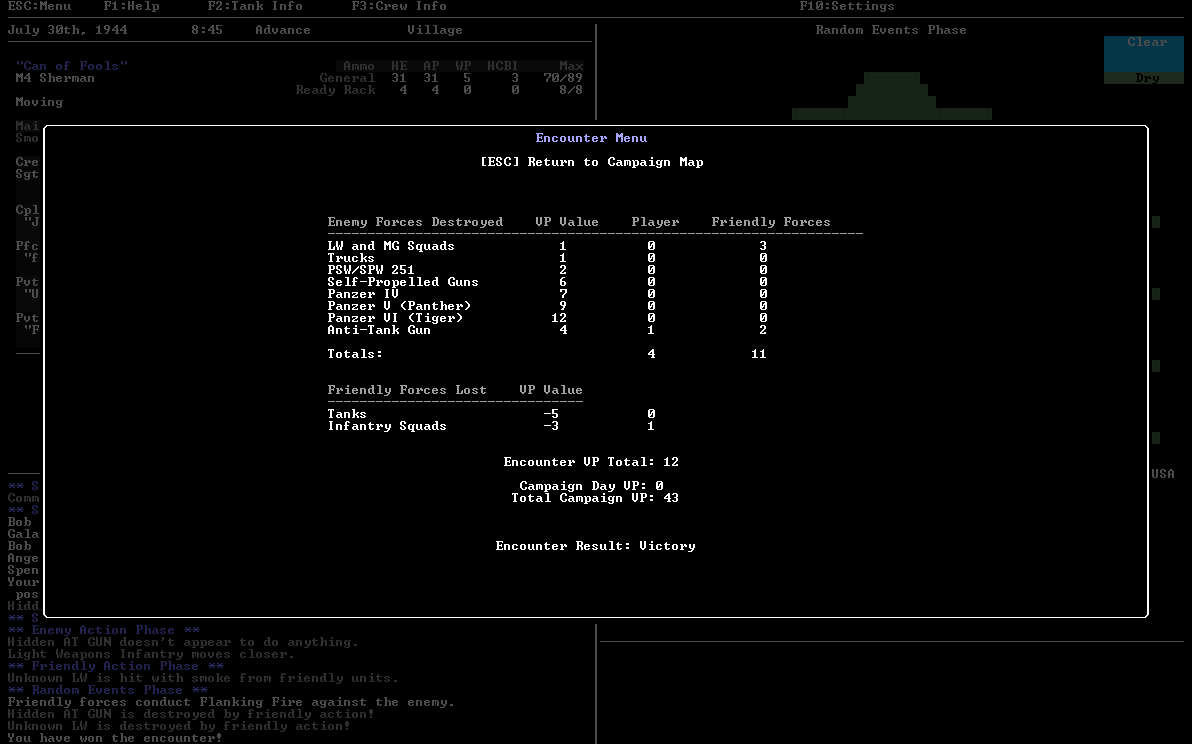
Pinning is another new mechanic Rev_Sudasana has introduced in Alpha 7. Infantry targets (which AT guns are considered) now have hidden morale scores and when they take hits that don't kill them, there is a chance they can be pinned. Pinning works just like a tank being stunned, with the exception that double-pinned units don't get abandoned, though Rev_Sudasana does plan to have infantry units break and flee eventually. Anyways, the AT gun takes two pinning hits and while it recovers immediately on its next turn, it doesn't get the chance to do anything else as we succeed in destroying it in our third turn of firing on it. Unfortunately a third AT gun is spawned in by enemy reinforcements. Lucky for us, friendly forces destroy both it and the enemy infantry squad a couple turns later, bringing our first battle of the day to a close. Friendly casualties were light, only a single infantry squad lost to enemy artillery fire.
The next Sector along the road is a forest with medium resistance expected. Business as usual, call in artillery and move in. Another battle encounter triggers and 3 enemy units spawn in, nothing dangerous, just some infantry (who get killed by the artillery), an MG team, and a light vehicle, either an PSW armored car or an SPW halftrack. An Ambush is triggered, but these things aren't dangerous. I get ready for a bit of a turkey shoot (while still being wary of more dangerous threats spawning in) when something exceptionally unexpected happens. The light vehicle shoots at me.
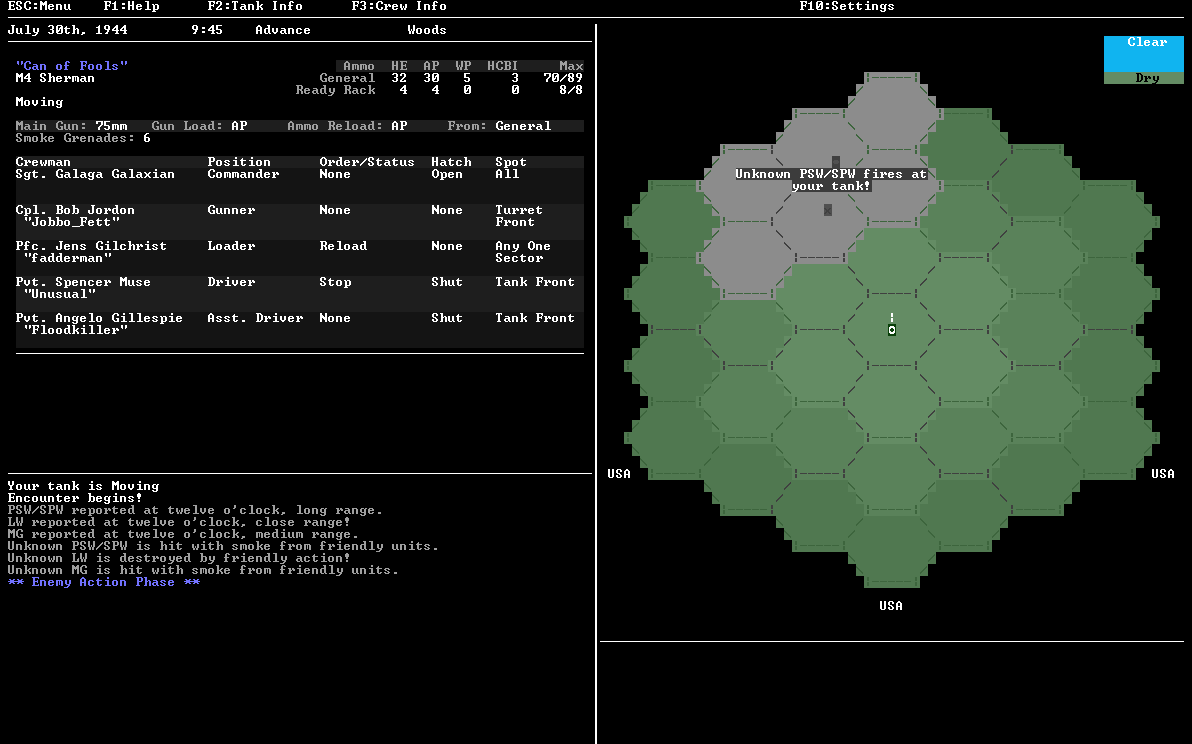
I've never had a Light Vehicle do anything other than move around, run away, or sit stupid before. I suppose this is another change Rev_Sudasana made. Honestly for a heartbeat as I see the attack message pop up, I have a momentary panic that he included Pakwagens, something I had joked to him about including. An example of a "Pakwagen" would be this:
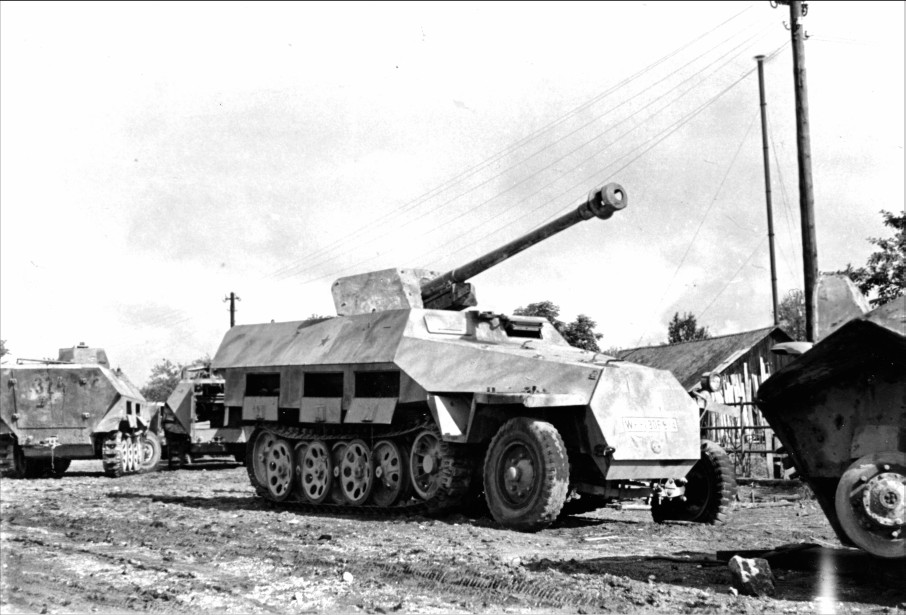
A Sd.KFZ 251/22, an SPW 251 with a Pak 40 mounted in the passenger compartment. "A Poor Man's SPG"
It very well could've been one, the attack doesn't specify what it was and it caused "no effect". I'm guessing it was just small arms fire though. Still, I'll have to be a little wary of them in the future.
The spotting phase reveals that the PSW/SPW, whatever it may be, is hidden. Yes, enemy vehicles can shoot from ambush, then be rendered hidden, safe from retaliation, during the spotting phase. This is a bit "cheaty", but hey, it is an ambush. I give orders to move forward to hull down while changing over to HE ammo with which to blow up Germans. Then another unfortunate event pops up in the events phase. A minefield.
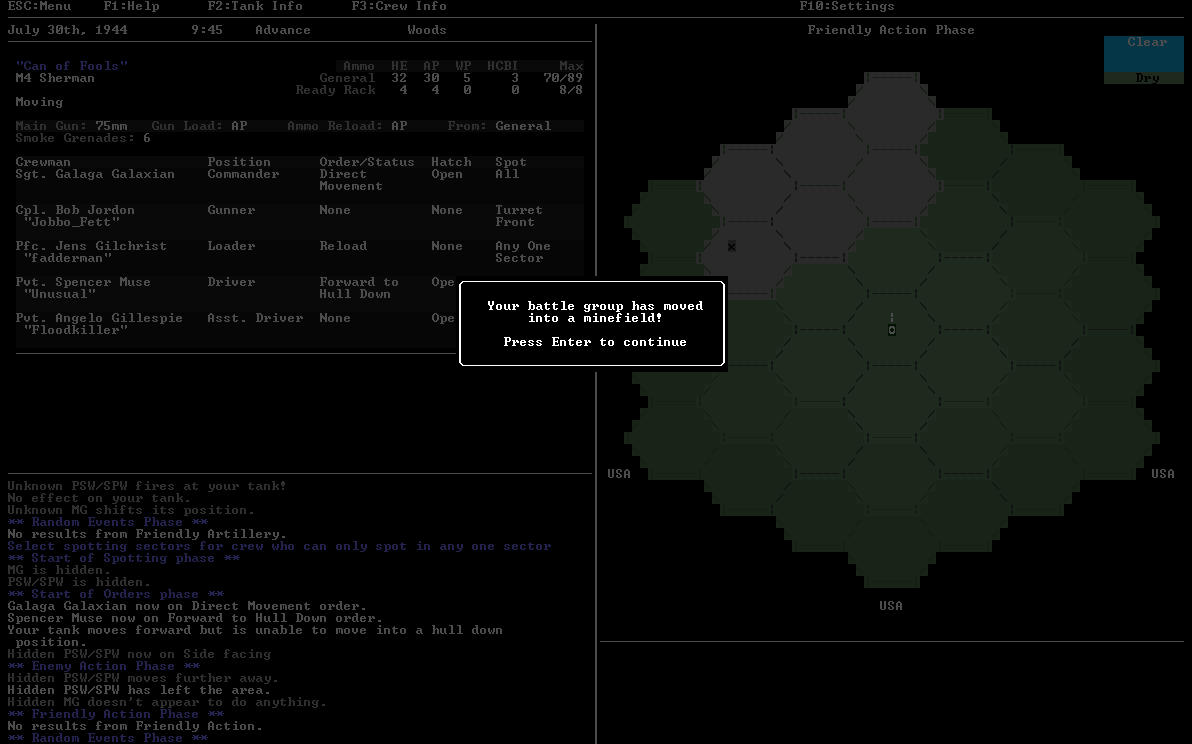
Because my tank was moving this turn, there is a chance I might strike a mine. Fortunately I do not, nor do I lose any friendly tanks to mines either. The unknown PSW/SPW meanwhile, retreats off the battle board. Now I'll never know for sure what it was (armed with). Undaunted by the mines (I'm pretty sure it only is in effect that turn) I continue to move forward into a hull down position. An AT gun spawns in to my far front right, but its hidden. So I elect to concentrate on the Infantry team to my left. Then another reinforcement results in an SPG getting reported.
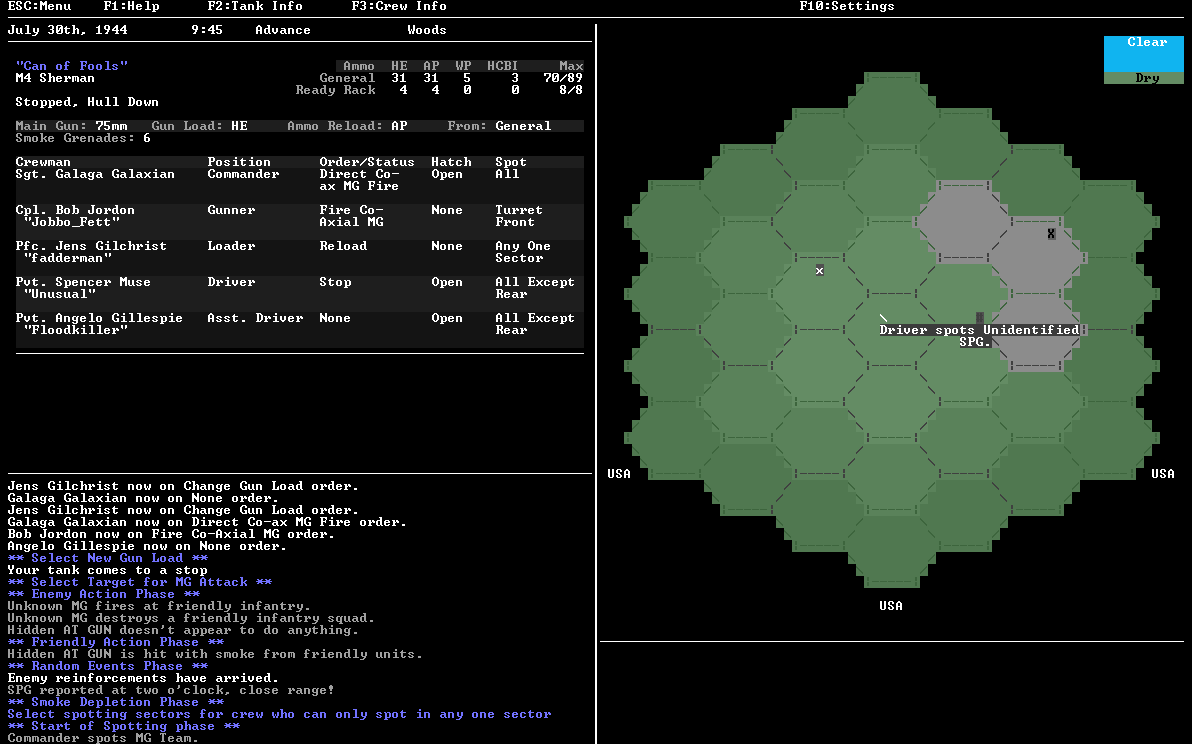
Crap, and I had just switched to HE! The good news is, I'm hull down, so I have my commander throw smoke while prepping the gun to engage this new threat. The SPG rolls around to my forward arc and my loader IDs it as a JgdPzKw IV. A Jagdpanzer.
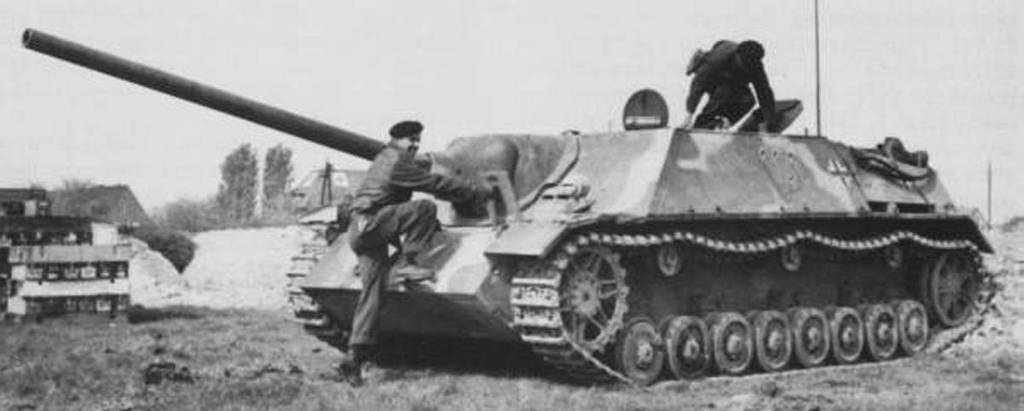
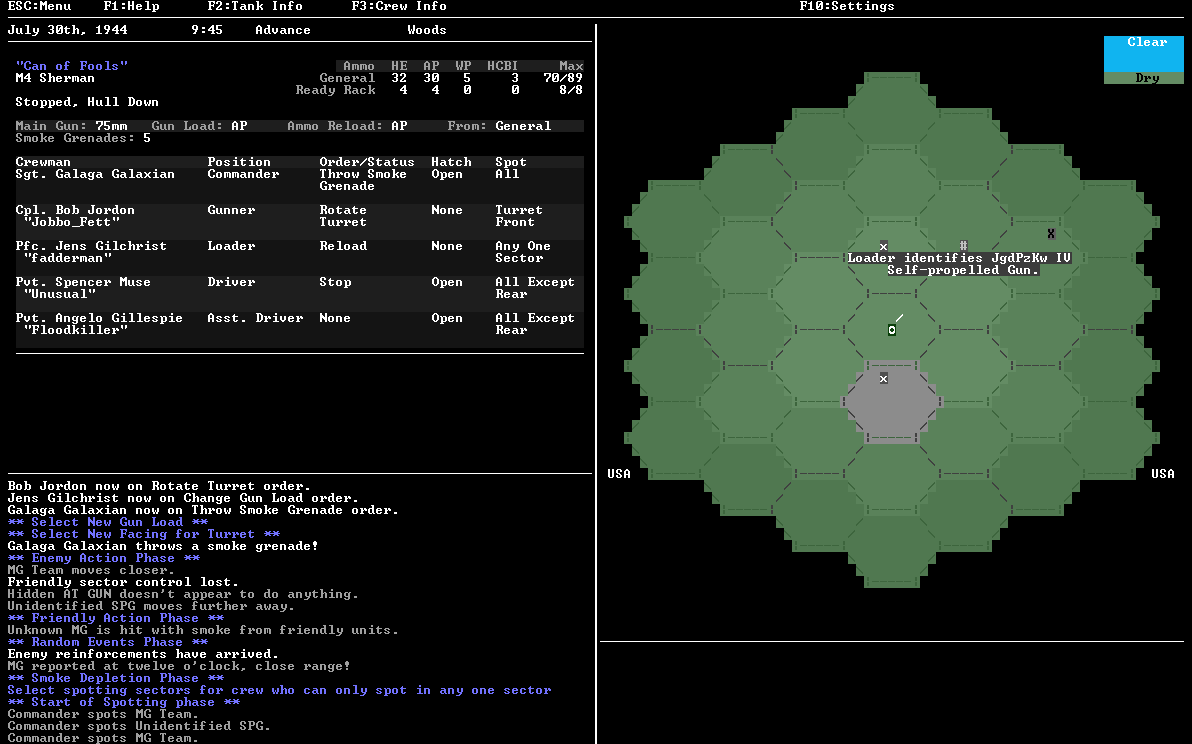

The Jagdpanzer IV Tank Destroyer is what you get when you remove the turret of a Panzer IV, shove a gun into the slightly heightened hull, then apply the same steep armor angling to the front surfaces as seen on the Panther. Like the Panther this thick and angled frontal armor makes it effectively immune to our 75mm AP rounds if we're trying to shoot at it head on. The good news, such as it is, is that while the Jagdpanzer was intended to use the same gun as the Panther (a 75LL in ArmCom) wartime shortages meant that most were armred with a weaker gun firing the same ammo as the Panzer IV's main gun (a 75L). Fortunately all JgdPz IVs encountered in Armoured Commander are of this 75L armed type, though I fully expect Rev_Sudasana to one day quietly slip in the JgdPz IV/70 armed with the Panther gun. Anyways, JgdPzKw IV summed up: Don't bother shooting it in the face, decent/good gun, will kill you pretty easy. Avoid or shoot from the sides/rear only!
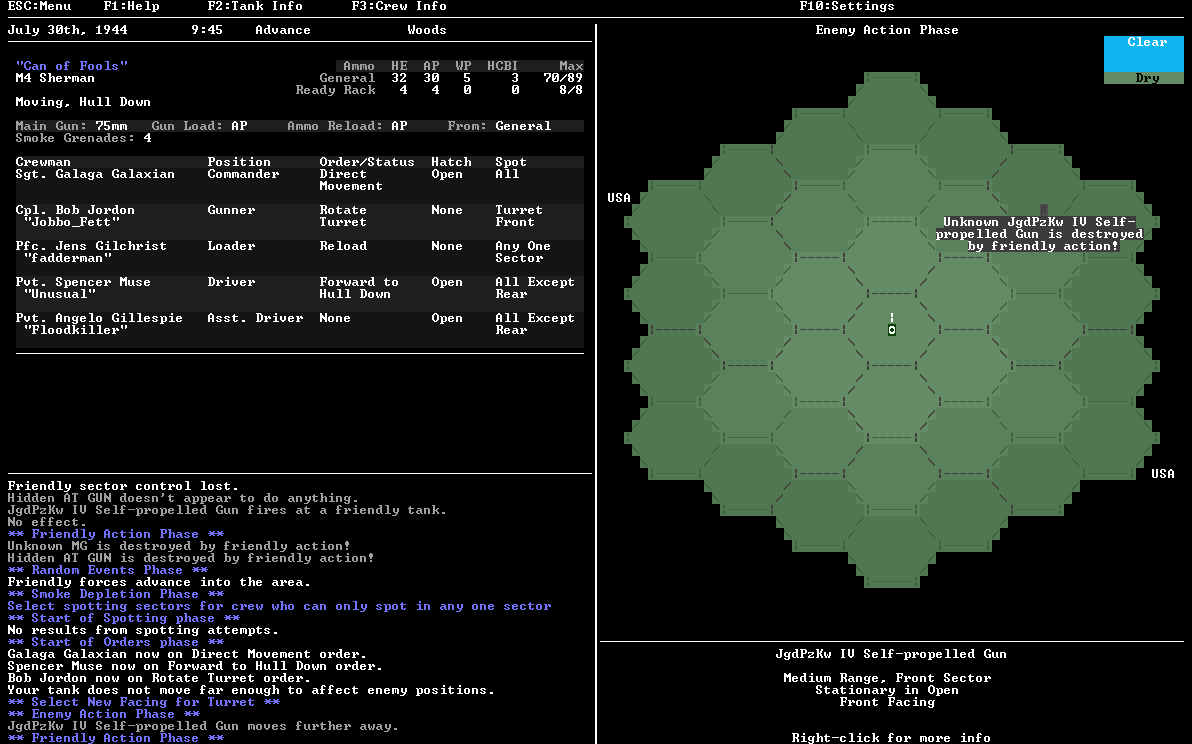
Lucky for us, while I'm busy reloading AP and attempting to flank it, this particular "Hunting Tank" takes one ineffective pot shot at friendly tanks before it falls back to long range, where it is destroyed by friendly forces. The Hidden AT gun and other enemies that spawned in were also destroyed by friendlies during this period, so the battle ends. Unfortunately I forgot to screenshot the victory screen, but I THINK we don't suffer any casualties!
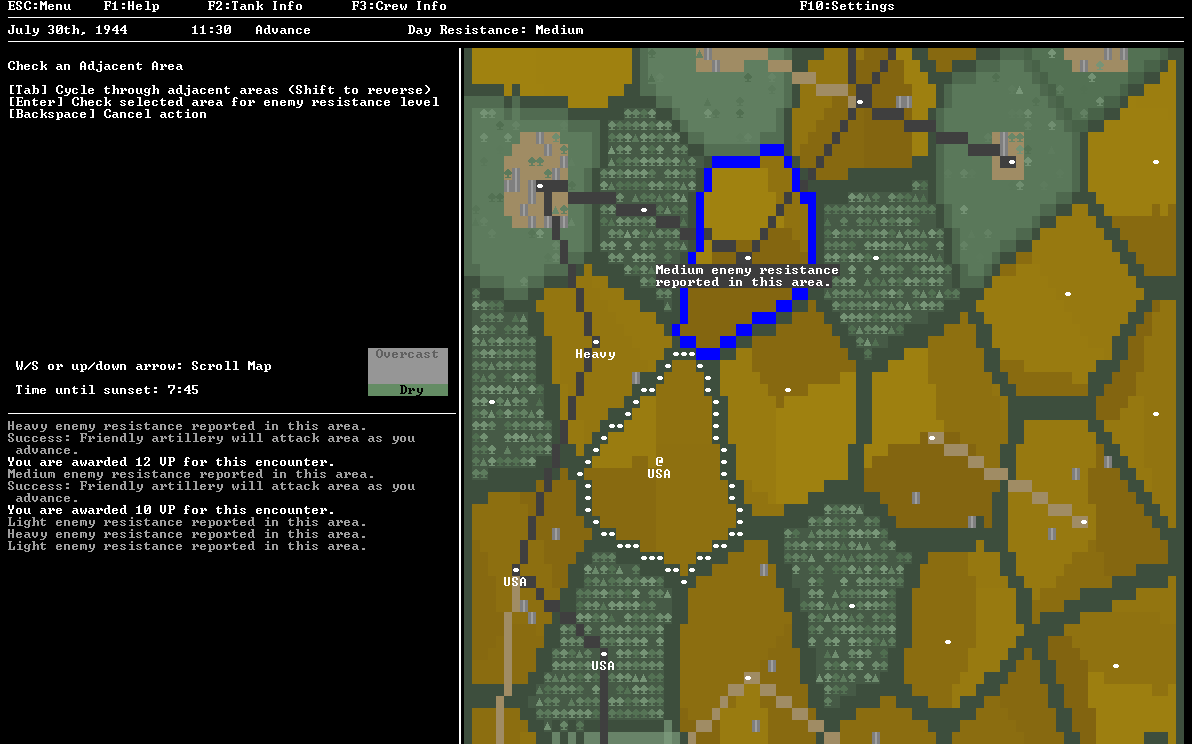
With the forest cleared we proceed down the road into a farming area with no resistance. Unfortunately the next segment of the road is predicted to be another Heavy pocket of enemies. Even though I said I wanted to stay on the road, I decide to bypass this zone and move into the fields next to it which are only "light" expected resistance. It'll cost me more time to move through, but I can hop back onto the road just "north" of this field zone and I don't actually lose much time (just clear less zones for less VP). The zone I plan to rejoin the road network on is listed as medium resistance. Not great. Still, I don't want to keep bypassing the road and waste too much time, so I call in artillery and move in.
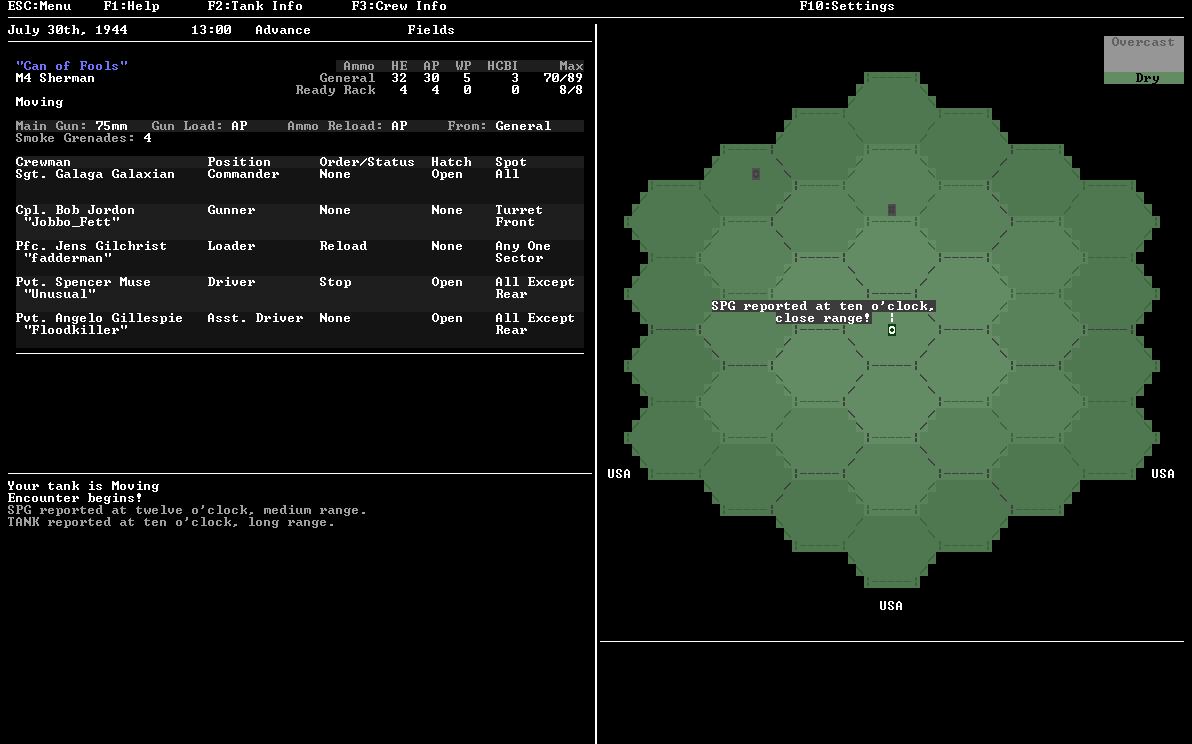
Two SPGs and a Tank, that is a pretty nasty 3 unit spawn for medium resistance! Fortunately the artillery request proves to be 15 minutes well spent as both SPGs are neutralized by my barrage. The enemy tank meanwhile wastes his ambush action by closing to medium range. My crew spots it, but fails to identify it. No big deal, we can probably handle one enemy tank. Driver, take us forward into cover! Just gotta flank him and get a shot in on that juicy side arm- wait, what is that terrible noise?
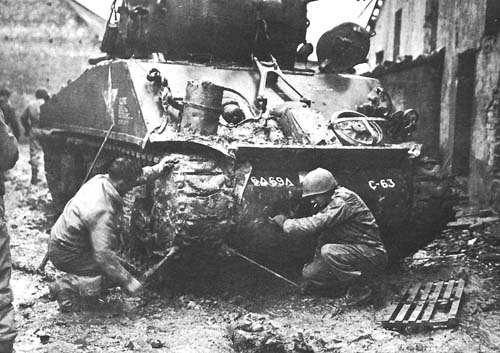
I tried real hard to find a good picture of a Sherman sitting there with a thrown track, but failed to find anything decent.
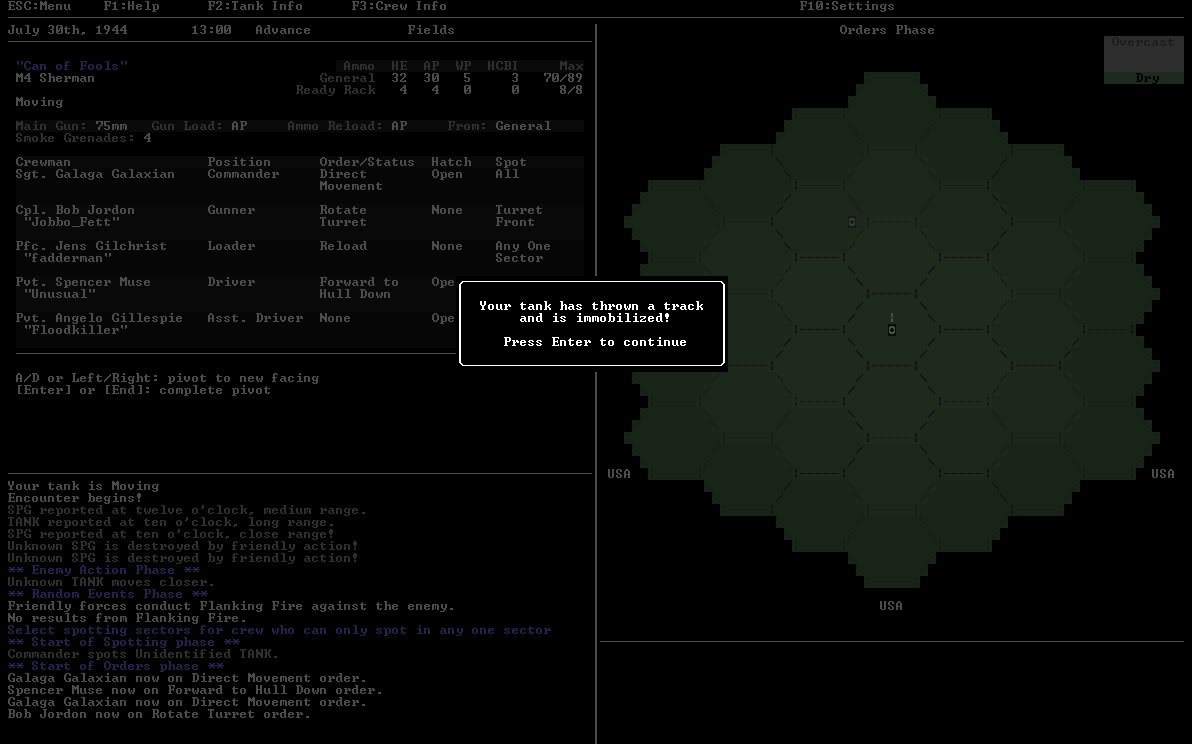
We've thrown a track! One of the tread tracks on our tank has become dislodged or has broken open, mostly likely as a result of a hard swerve on soft ground (maybe our driver was trying to avoid an obstacle). Either way, we're now stuck immobilized in the open with some kind of Tank bearing down on us! If it is a Panzer IV, I might be able to defeat it in a head-on battle, but anything stronger and I stand no chance. At this moment I was wondering if this was to be the first Tank KO of the LP!
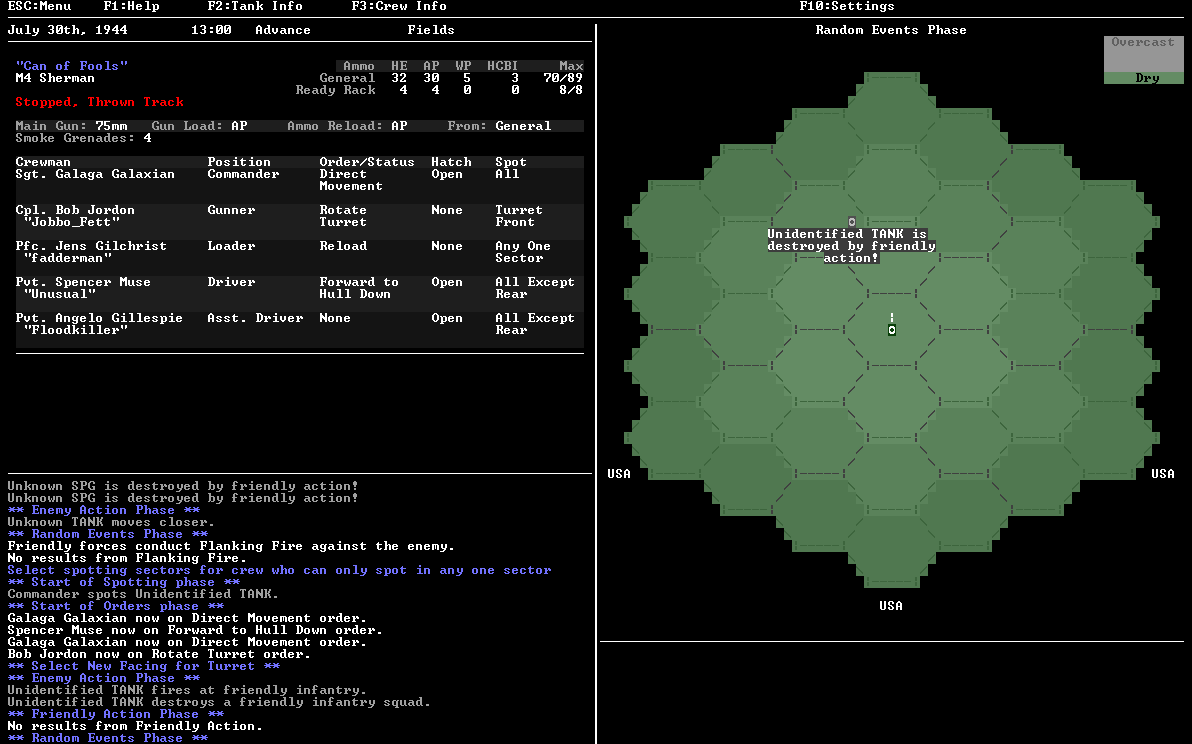
For better or worse, friendly forces have no sense of drama and help us out by destroying the enemy which, according to the victory screen, was a Panzer IV. That battle ends. The good new is we're alive, the bad news is that a thrown track is almost never a quick fix in real life and Armoured Commander represents this by immediately ending the combat day for us.
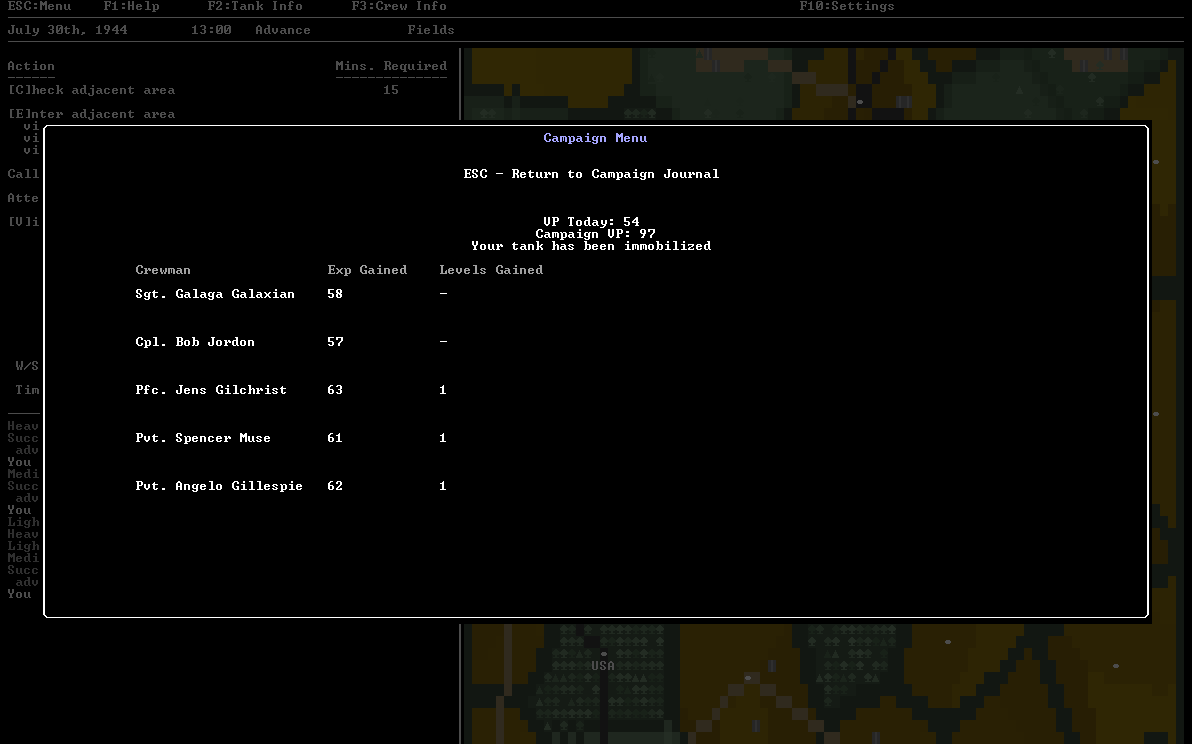
The thrown track is day ending, but (un)fortunately it can be repaired, so our tank will be back up and running in time for our next call to action (can we just have a better tank instead? Pretty pleeaase?) In addition, while today was another lousy day VP/XP-wise, it was still enough that our Loader, Driver, and Ast.Driver all advance to level 2. Looks like I'll be covering skills next time.
For now though,
We have a tank to fix. Avranches will be liberated, but it won't be by our hand...