Toggle Background Color
Part 2 - I CAST FIGHT
Last time we left our hero, he was lost in confusion. If a crab could give him that much trouble, what more could this world have in store? He was a man adrift in a sea of doubt.
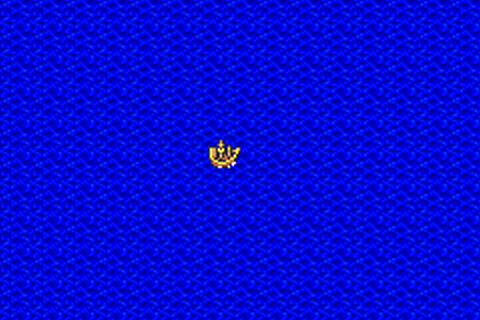
Also, adrift in a regular sea.
That's right, folks, it's time for the Train Ship Graveyard!
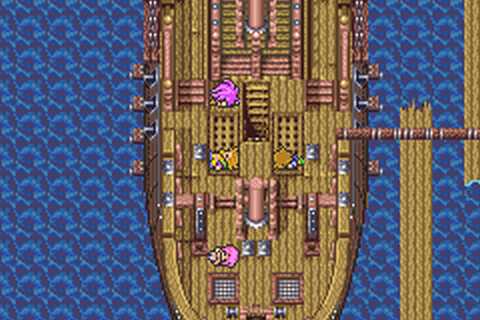
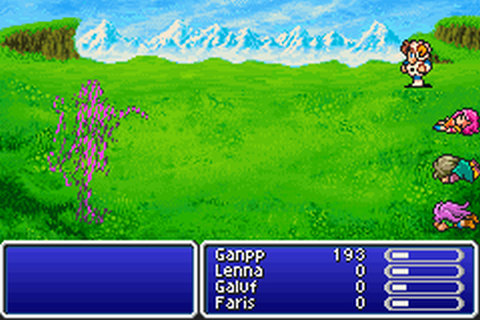
No, Ganpp! Don't be like those other losers! Don't succumb to the sweet release of death; you have so many other monsters to enslave befriend!
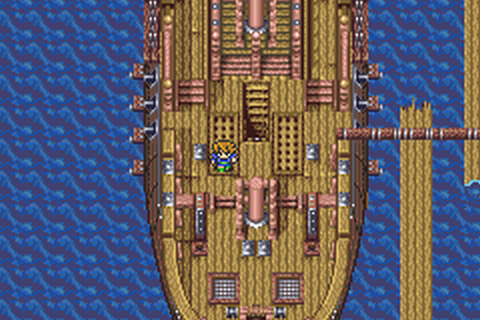
There we go, much better. Just load that sack of chumps on your back, and march onward.
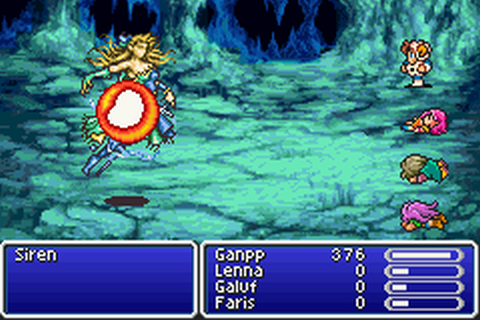
Now, having beaten this game a few times before, I know what's awaiting me on the horizon. Siren can be a bit tricky if you're not careful, but fortunately for us, Beastmasters are all about being careful. All it takes is proper planning, and the right resources. They're kind of like Chemists in that way, only absolutely worse in every imaginable fashion.
Speaking of resources, let's have a look at ours.
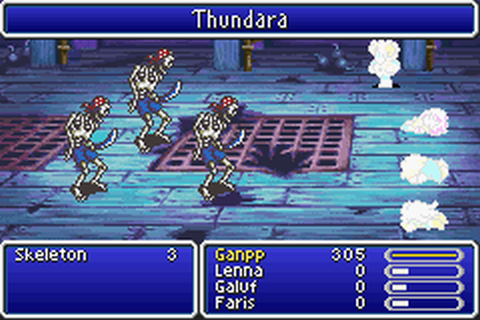
First up, Mr. Skellington. The skeletons here cast Thundara when Released; I could see it being useful against a lightning-weak opponent, but it really doesn't hit very hard for the amount of time I have to spend catching it. And of course, we only get one casting.
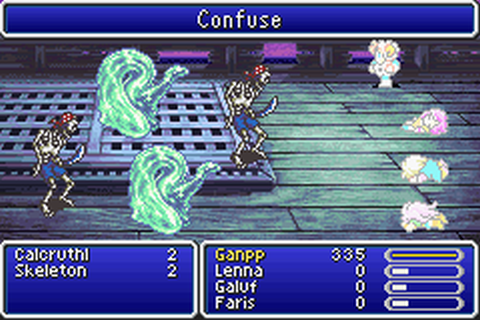
Secondly, we've got the floating two-head-tongue-thing, Mindflusher. These cast Confuse on a random enemy when released; highly situational at best, but maybe we'll be able to put it to some use.
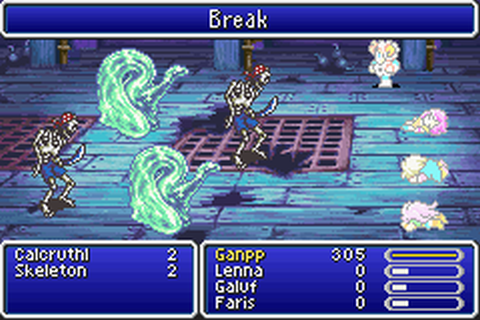
Third is our mean green breakin' machine, the Undead Husk. This casts Break on a random enemy. Knowing Siren, that... is actually really useful. He could end the fight in one round by himself! But, just to be sure, let's check our last option.
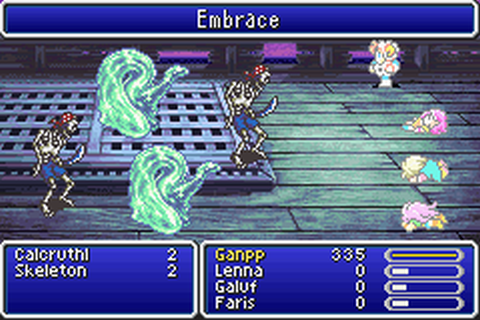
Last, but certainly not least, is Calcruthl. Yikes, try saying that five times fast. Calcruthi uses Embrace, a move that required a little experimentation to figure out its effects. Turns out it inflicts Petrify AND heals the caster fully. Undead Husk got beaten before he even had a chance to shine! Poor, pathetic Undead Husk. You coulda been the champ.
On the way to Siren, I decided to play around with !Control a bit.
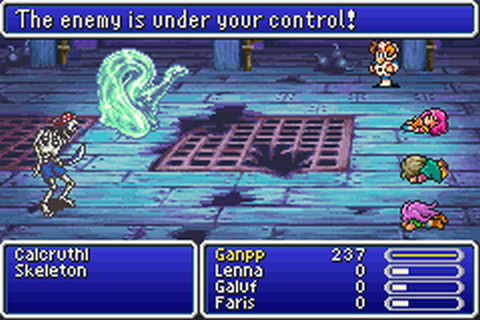
Most of the enemies didn't have anything of note; Skeletons had basic and special attacks, Husks could Break, Mindflushers could Confuse. But once again those Calcruthls came out on top...
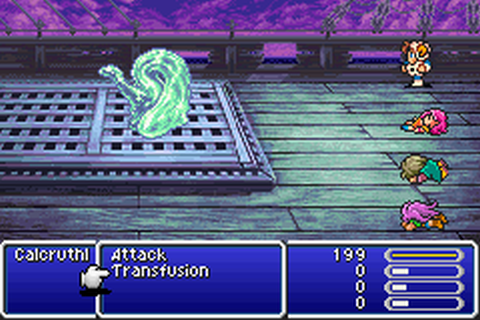
That, folks, is Transfusion. What it does, is sacrifices the user's life to restore one target's HP/MP fully. It's basically like blowing yourself up, except instead of fire and guts, you shower a friend in Elixir. This, combined with the fact that Calcruthls are such a common enemy in this place, meant that I never had to worry about my HP again. Good thing I bought 99 Potions before coming here! 
Anyway, on to Siren.
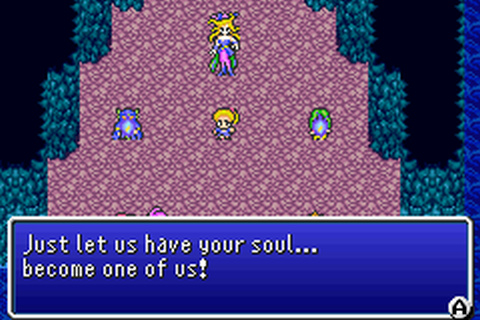
"How about you come join my monster army instead?"
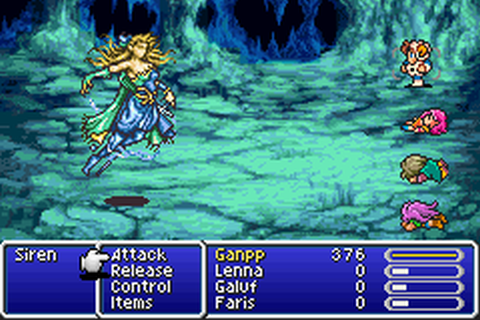
"No? Well, okay. You asked for it."
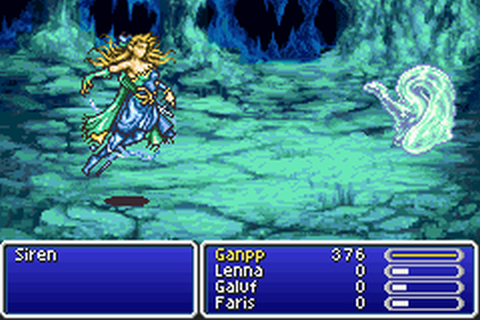
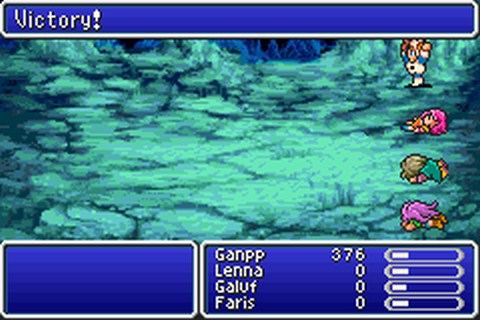
And that takes care of that.
FINAL LEVEL: 14
DEATHS: 0
BEASTS UNLEASHED: 7
I do love the smell of cheese in the morning.
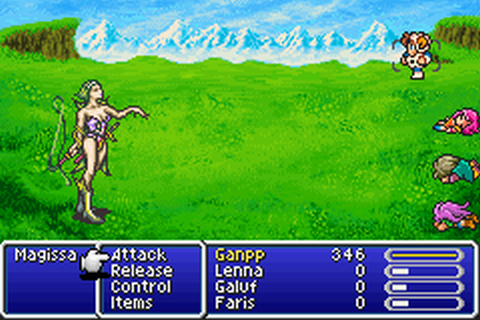
Next on the agenda is North Mountain, Magissa and Forza. There are quite a few enemies between here and there, so I'll stick to just listing my options until any individual becomes relevant. For the following area, we have the monsters of the Ship Graveyard as well as:
Gatling - Needle (50% chance to blind or silence)
Big Bull - Attack
Tatou - Attack
Rock Slug - Slimer (slow and sap)
Headstone - Flash (blind all enemies)
Gaelicat - Float
Cockatrice - Beak (petrify one)
The further Ganpp goes, the broader his options. And the broader his options, the more powerful he becomes. His arsenal is only missing one key item, and we should be getting that soon enough.
For my first attempt at the duo, I decided to try something a little unorthodox: I went and caught myself a Mindflusher, with the intent of making Forza murder his wife.
...wow, that sounds way harsher when you say it out loud.
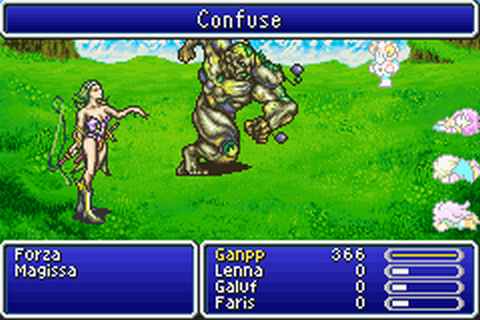
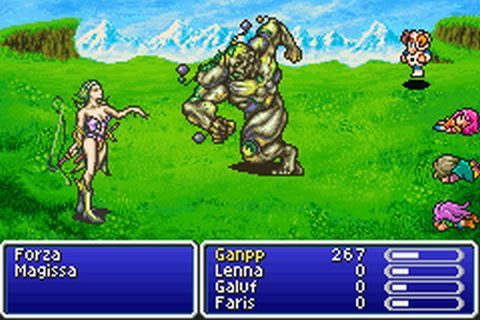
It took a little doing (which, really, should have been my first sign that this was perhaps not my best-laid plan) but eventually I got the Confusion to stick. I figured it would be a one-way trip to pound town, population Magissa, but then the unexpected happened.
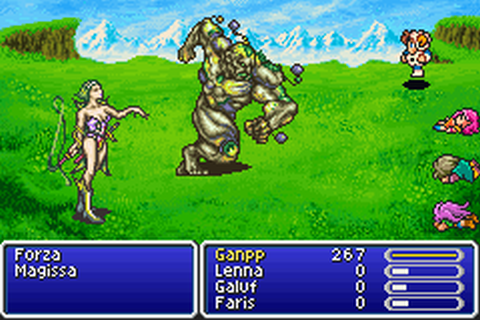
After taking what felt like forever to do anything at all, Forza punched himself for ~90 damage. Talk about a waste of a monster. So I ate my defeat and decided to come back tougher.
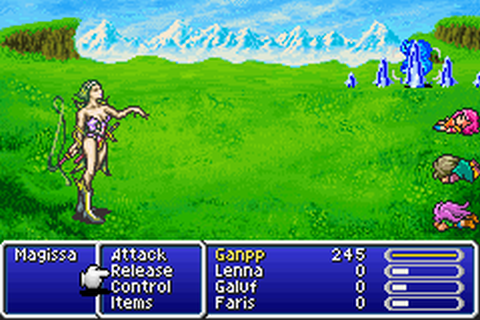
My first thought was to try the Rock Slug, and let its Slimer ability whittle Magissa's HP down while I focused solely on healing. The only problem is, once she hits ~300 HP, she calls in Forza and he steamrolls me. Needle wouldn't work, since it would only disable one of them and I had no control over which that would be.
That's when it hit me. I had been going about this all wrong! There wasn't come clever tactic here waiting to be uncovered, no ploy that could incapacitate them both and leave me going strong. It was a battle of wits, yes, but there was still one strategy I hadn't yet considered.
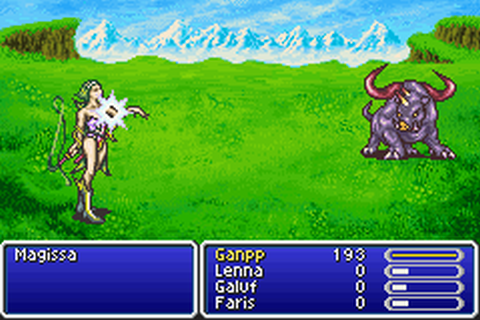
That's right. The way to beat Magissa and Forza, was to never let Forza enter the battle in the first place. A couple of strikes from my Dagger, a switch to the Knife to top it off, and a Big Bull release were just enough to clear the Forza threshold. One more victory for Ganpp! And to the victor go the spoils.

Ohhh yeah, that's the stuff. What kind of Beastmaster would Ganpp be without his trusty whip? Not any kind I've ever heard of, that's for sure!
FINAL LEVEL: 16
DEATHS: 5
BEASTS UNLEASHED: 14
OUR ARMY INCREASES. SOON, IT WILL BE UNSTOPPABLE.
And that's it for Ganpp's adventure today. Next stop: Walse Tower.