Toggle Background Color
Last time: I finished Thrudarr's quests and fed the mutated ratling his first two artifacts. This time: I explore the ancient pyramid and the dwarven graveyard as I hunt for more artifacts for the ratling.
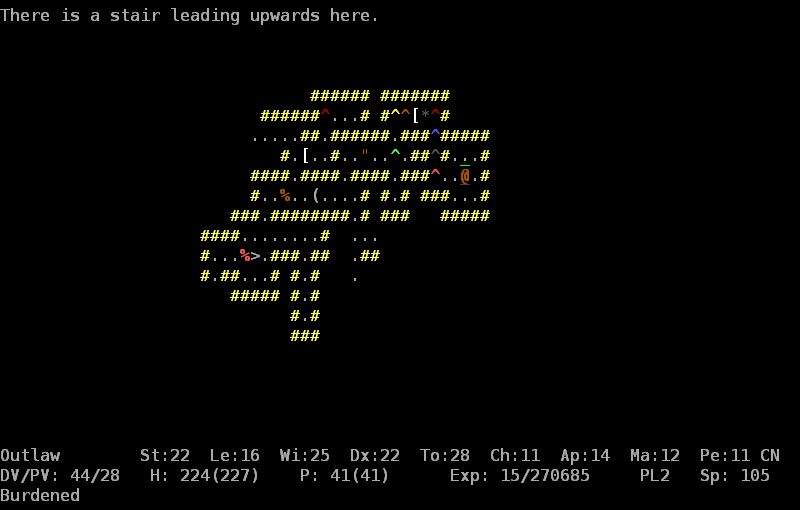
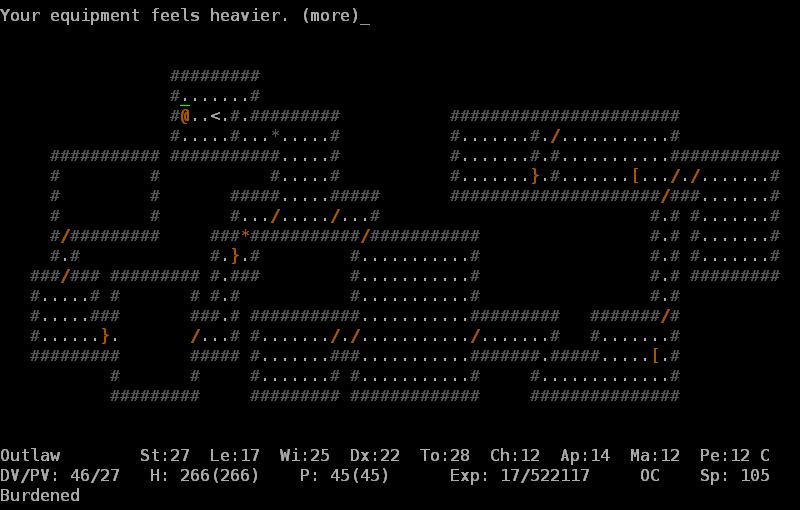
I head back up from Dwarftown to the surface. On the way a fire vortex drops me another potion of cure corruption. For now, I stash it at the dungeon entrance and head up to the surface.

To the east is the pyramid.
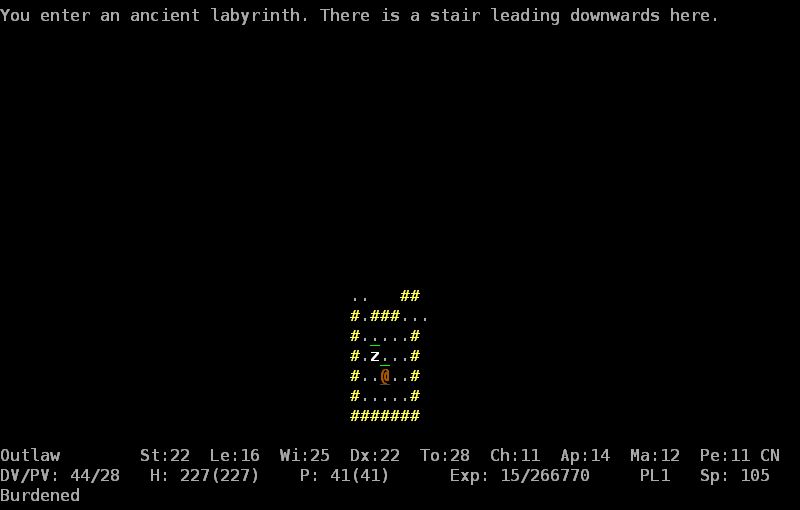
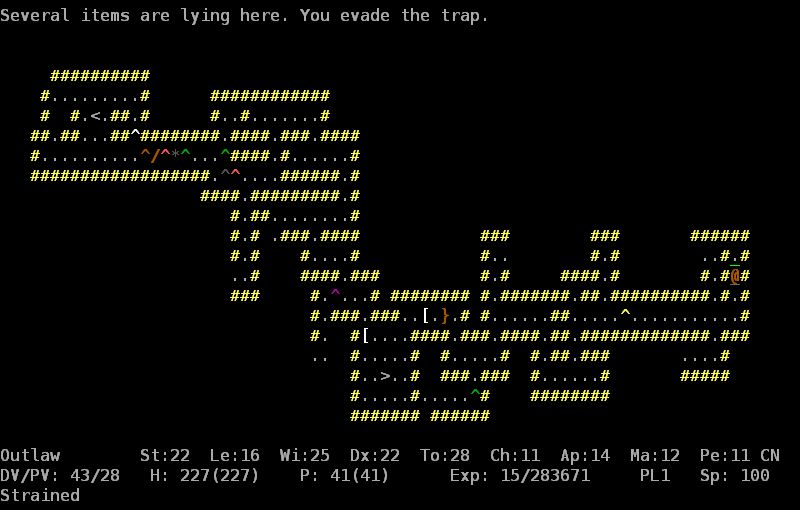
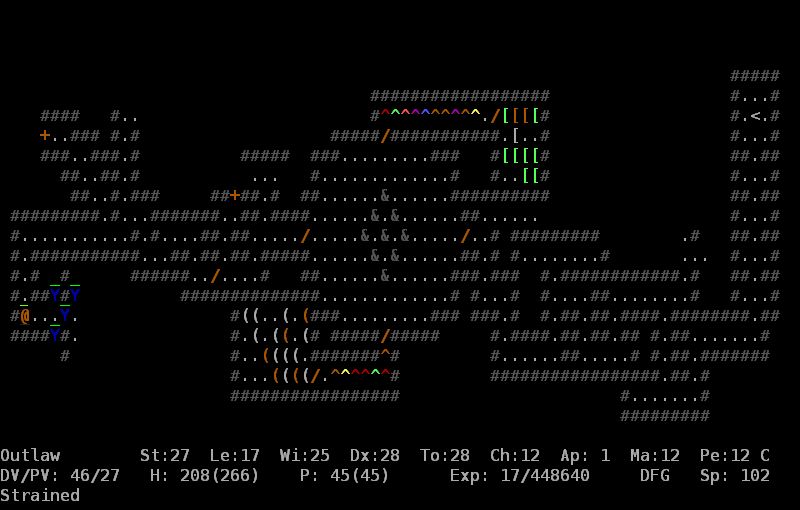
The pyramid has three floors, containing many traps and secret doors. I move one tile at a time, pressing 'w' then 's' each step to automatically search each surrounding tile for 20 turns until I find something or am interrupted.
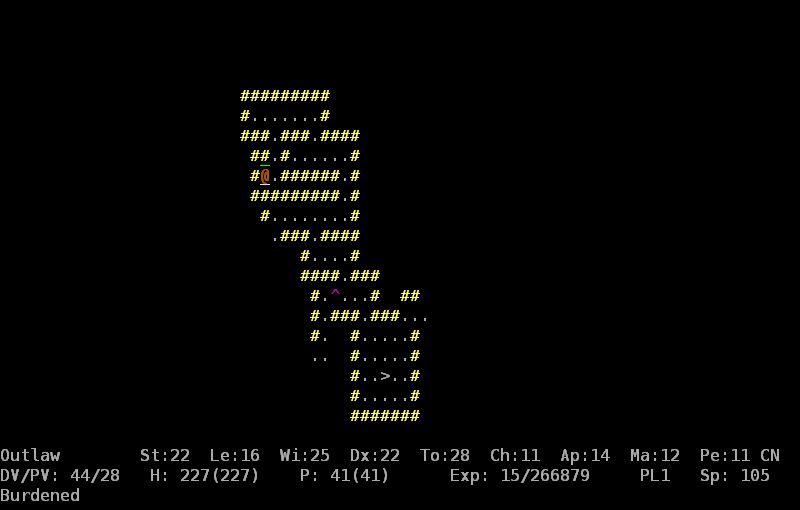
Unlike most dungeons in ADOM, the pyramid layout is not randomised. The rooms, corridors and secret doors will always be in the same place. Only the monster and some trap locations are random. At this dead end I'll find two secret doors which lead to a corner covered in traps. In this corner are two more secret doors which lead to a trap-filled corridor and the stairs. Detect traps is very helpful in the pyramid.
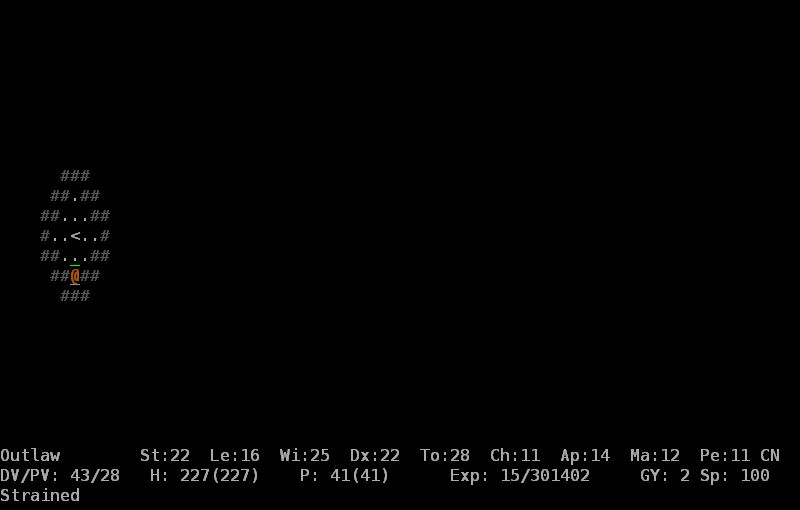
I reach the stairs and head up.
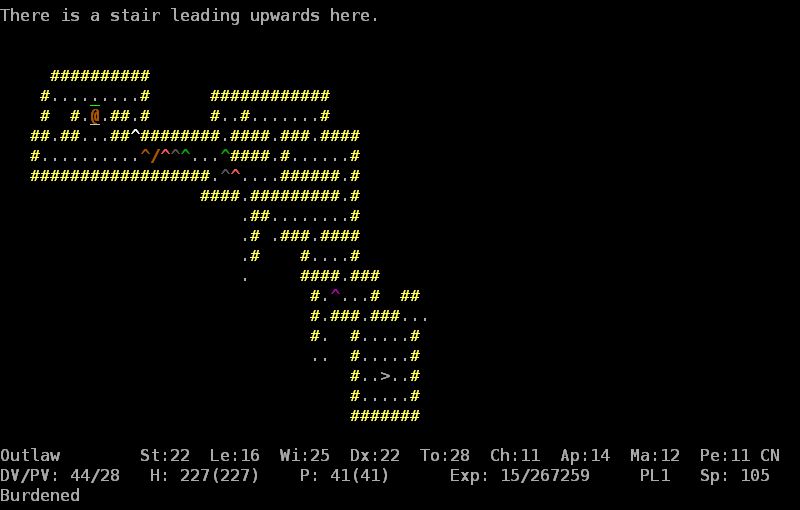
The monsters in the pyramid are all mummies, ghosts, skeletons, jackals, jackalweres (which summon more jackals), and jackal demons.
The next stairs lie beyond another trap-filled corridor and secret door. I head up.

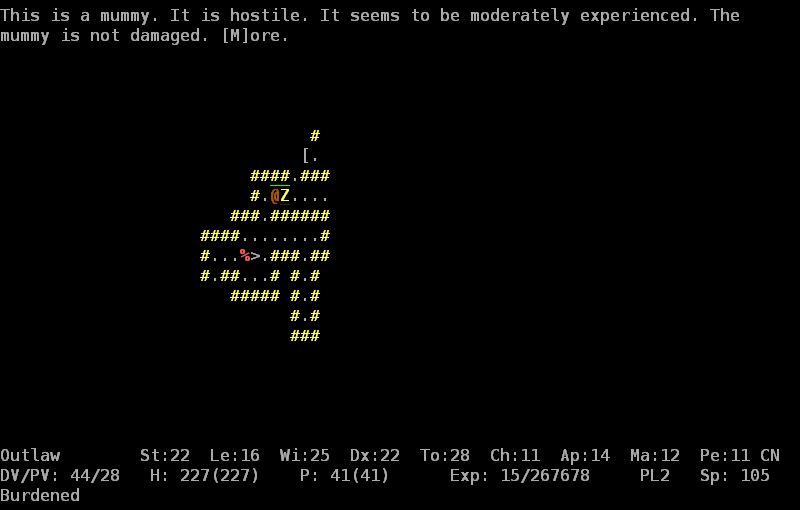
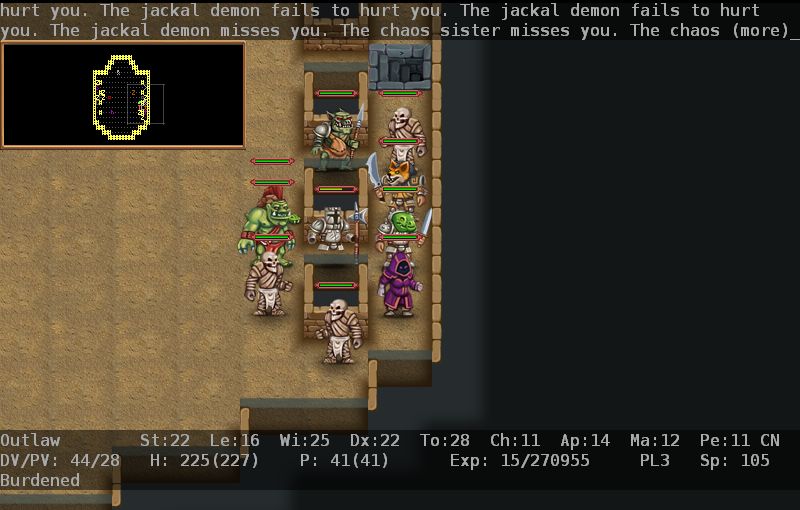
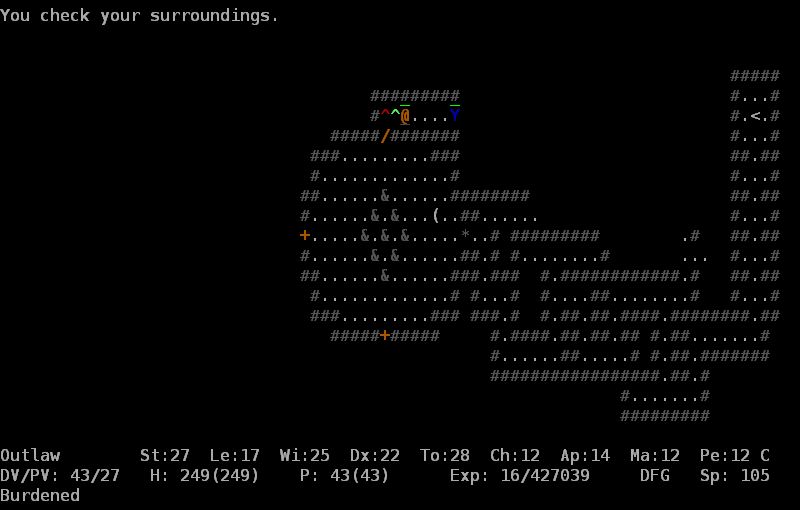
I reach the top level of the pyramid. The stairs close off behind me. At the northern end of the room is Rehetep, the mummy lord. Rehetep was the one who sent the note inviting me here. Surprise, it was a trap! Bet you didn't see that coming! Along the walls are an assortment of pyramid-themed and random monsters. I move to the eastern wall where I can use the pillars to limit the number of monsters that can get in to melee with me to 3. At first, most of the monsters, including Rehetep, don't notice me. When I attack one the rest awaken and Rehetep addresses me.
"Greetings, hero!
Permit Us to welcome thee in our chambers.
We have waited a long time for thee to arrive.
Thy skin will make a nice new wrapping worthy of Us.
Prepare to release the rights to thy skin!"
I get to work killing monsters. The pyramid gets its own sandy tiles!

Rehetep himself joins the fight.
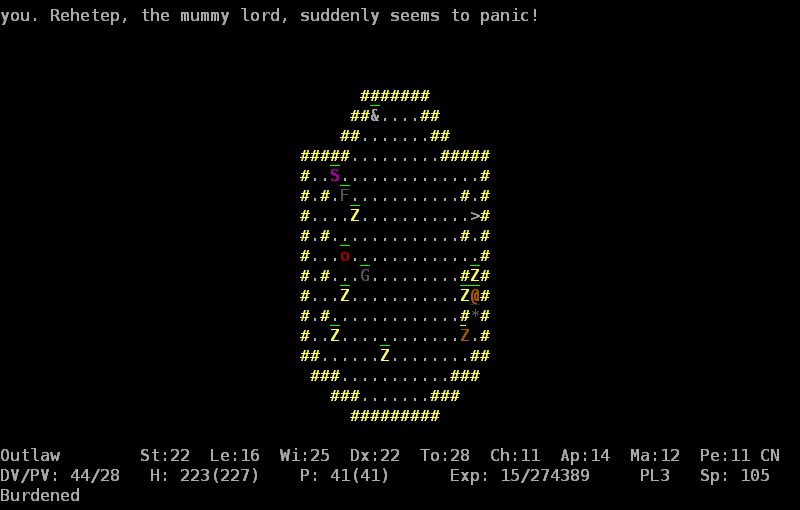
I hit him a few times and he runs like a bitch. Rehetep is kind of a pussy. I kill the rest of his minions and chase him into there corner where he's hiding and press the attack.
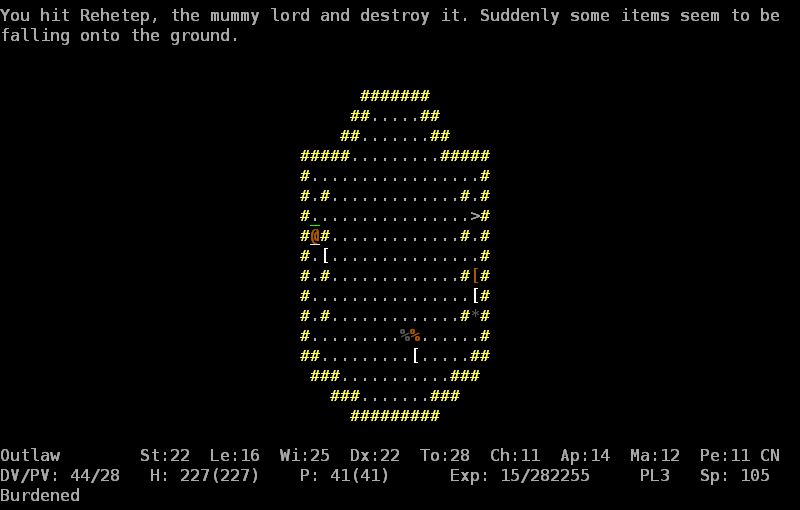
He tries to run again but I chase him down and finish him off.

Rehetep drops two artifacts, the ancient mummy wrapping and the ankh. The ancient mummy wrapping has stats of [+0,+5] and grants see invisible and cold resist. This makes it perfect for fighting ogre magi, especially the arena boss. Obviously my barbarian didn't need it but it can be a good idea for less tanky characters to do the pyramid before the arena boss in case they get the ogre magus. The ankh is [+2,+2] and grants lucky and fate smiles. I head back down to the first floor.
Before I leave I head east from the stairs. Beyond a series of secret doors is a pile of loot on top of a trap.

Here you can always find a pick axe, thieves' tools, climbing set and a bone. A climbing set is required to reach an an otherwise inaccessible area of the world map which you must visit to finish the game. The pyramid contains this guaranteed climbing set so you won't get stuck having to grind the ID for one. Unless it gets destroyed by an acid trap or something. The pick axe is handy too, as it allows you to dig through most walls, albeit with a chance of breaking (reduced by the Mining skill). I return to the world map.
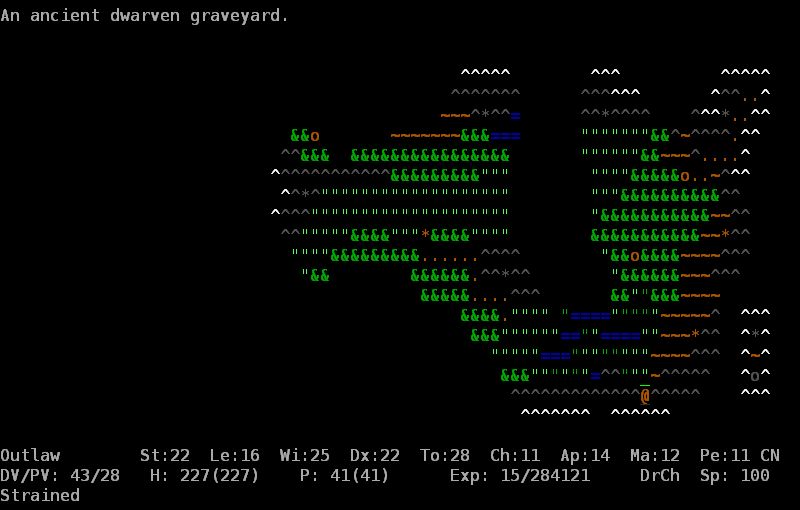
Next stop is the dwarven graveyard.
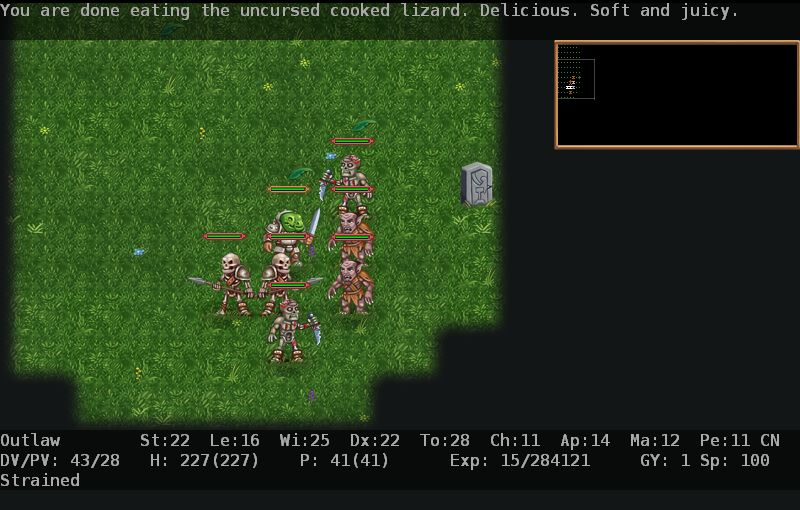
The graveyard is heavily populated with skeletons, zombies, ghuls, wights, and shadows. The last two have an attribute-draining melee attack but at this point can barely touch me. Nevertheless, I give them as few chances to as I am able.
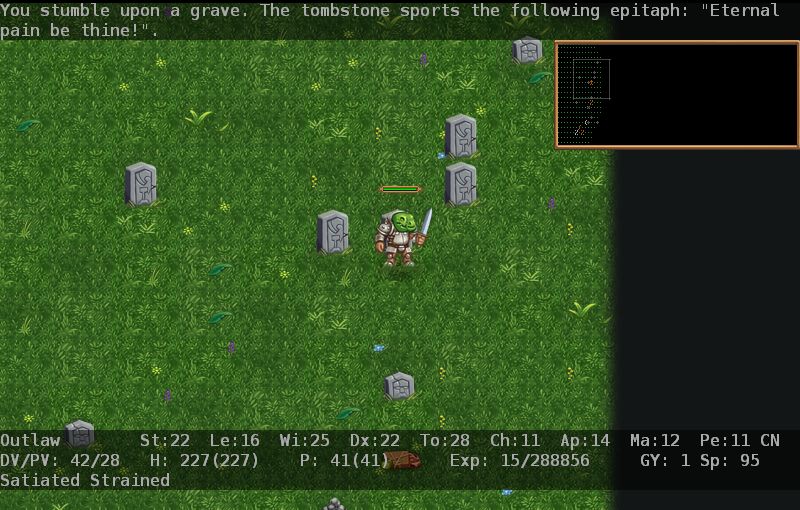
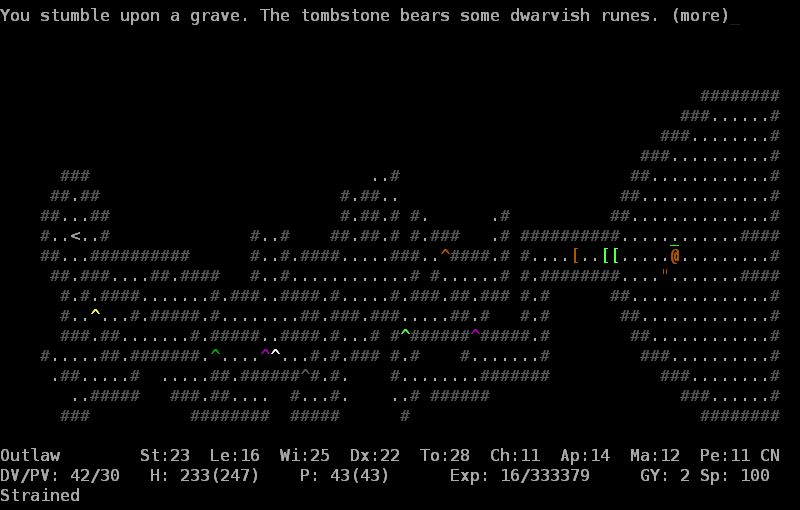
Gravestones are another feature of the graveyard. They have a variety of messages written on them.
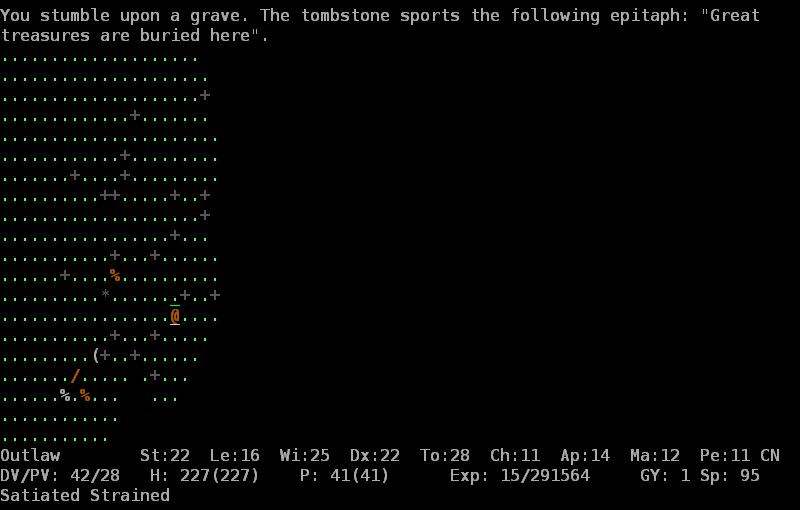
Graves can be dug up with a pickaxe or wand of digging. This is a chaotic act. The message on this gravestone indicates the presence of a stash of loot, along with a lich (undead wizard). This could be a regular lich, lich king, or emperor lich. Liches range from dangerous to extremely dangerous and can cast magic missiles, drain attributes and heal themselves. Additionally, emperor liches can summon random, potentially dangerous monsters. Fighting them is not recommended without an undead slaying weapon, or preferably ammo. The loot in the graves can sometimes be very very nice but digging it up is risky. I leave this one alone.
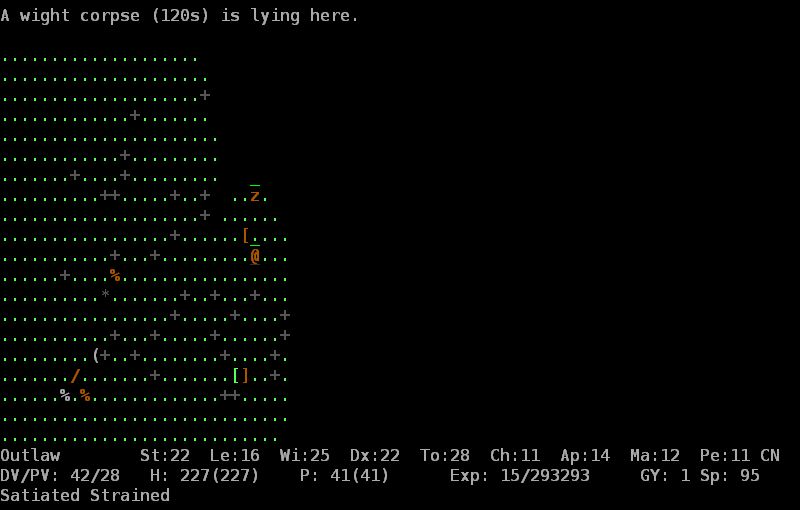
Wight corpses have a chance to increase Toughness when eaten, but eating them is a chaotic act. My toughness is already pretty high, so I likely wouldn't get an increase. I'd like to keep my alignment as close to neutral as possible so I can switch more easily once I finish Gaab Baay's quests. I leave the corpse to rot.
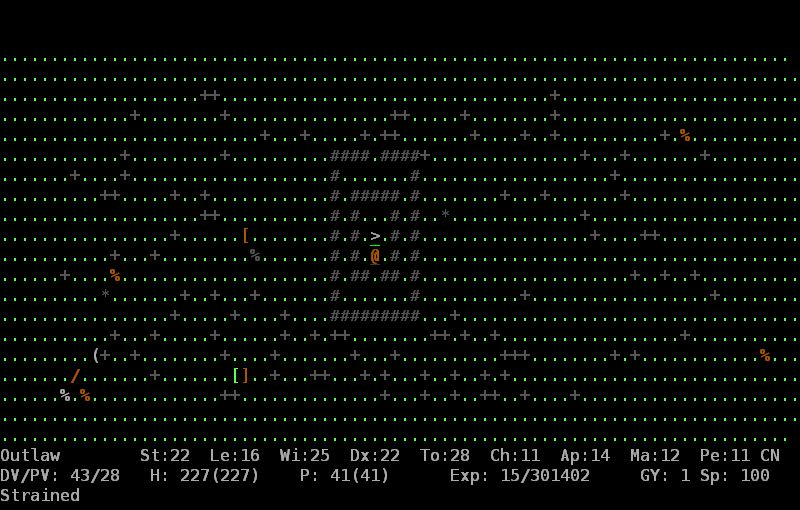
With the ground level cleared, I head down the stairs in the centre of the map.
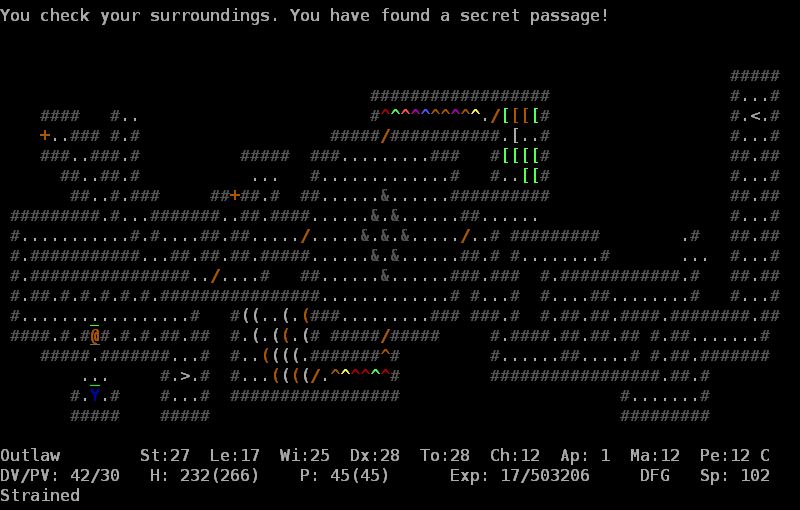
Like the Pyramid, the underground level of the graveyard has a preset layout and contains many traps and secret doors. Once again, I move a step at a time, searching as I go.
At the end of this hidden corridor is a large room full of undead.
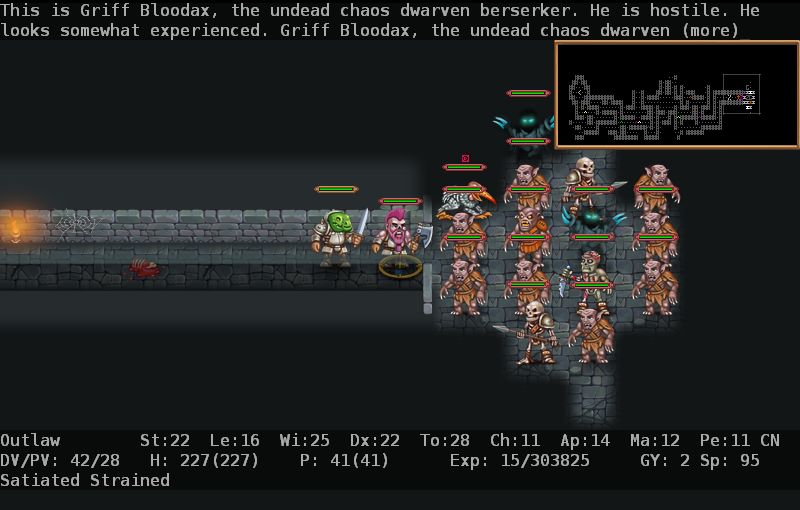
I kill a few and Griff Bloodaxe, the undead chaos dwarven berserker shows up.

He takes a bit of a beating, but other than one critical hit he doesn't do a lot of damage before he goes down.
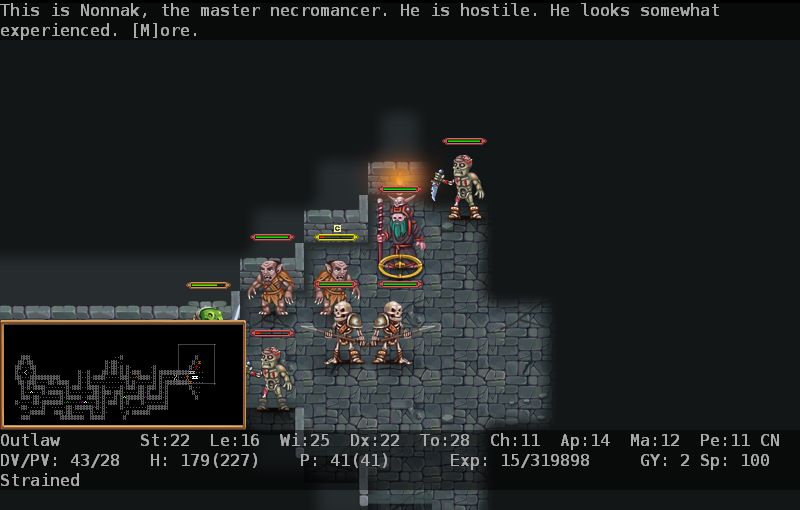
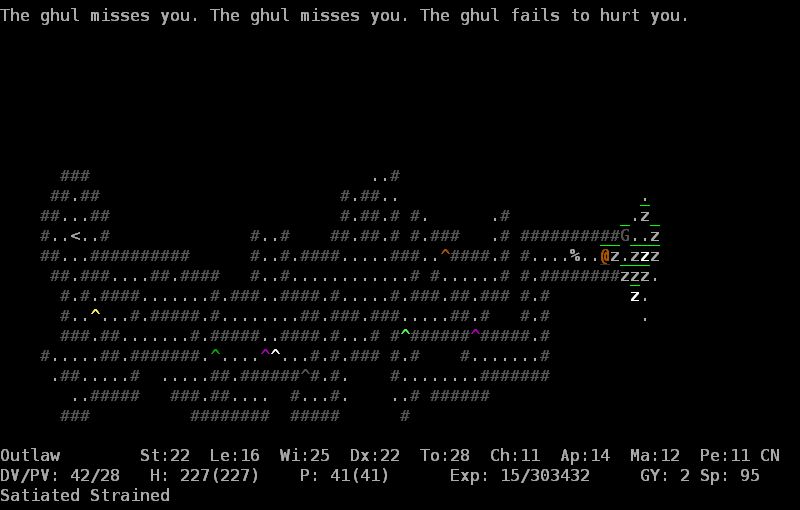
I hold my position in the chokepoint and whittle down the swarm of undead until Nonnak, the master necromancer shows up and chases me into the tunnel. He summons monsters, casts cold bolt, and regenerates.
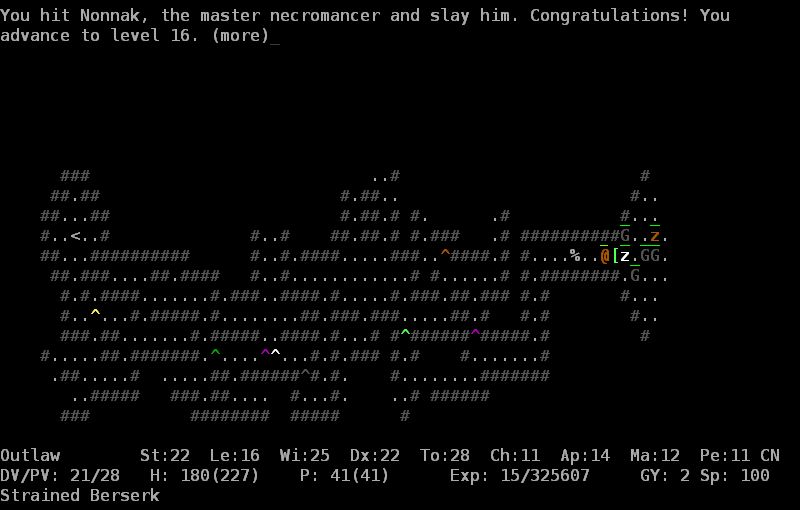
I kill him and hit level 16.

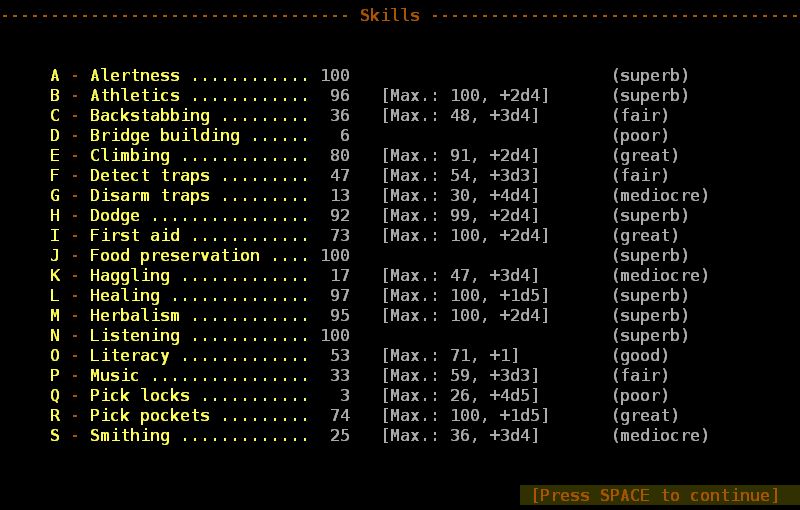
Two into Backstabbing (17) and two into Detect Traps (15). I also gain a point of Strength - back up to 23, hooray!

I kill the rest of the undead. Interestingly, I don't seem to be able to pickpocket anything on this level. I guess Biskup disabled it so we couldn't farm the undead Nonnak summons, but it seems pretty pointless. It's not like there isn't an infinite supply of monsters to pickpocket anyway. At the eastern side of the room is a secret door. Behind it is a bone golem which I kill easily. The bone golem is guarding a pair of artifact gauntlets. These are the elemental gauntlets (-1,+0)[+0,+3]. They provide resistance to fire, cold and lightning. Additionally, the glove slot protects your rings. Rings won't be destroyed by elemental effects as long as you have gloves on. All artifacts are indestructible, so by wearing the elemental gauntlets I effectively make my rings indestructible too. I head over to the lone gravestone in the middle of the room.
You can't decipher them.
Normally I'd include the text here, but apparently Biskup has made this gravestone much harder to read. Despite repeated attempts, my 53 Literacy doesn't seem to be high enough to translate Dwarvish. From memory, they explain something about Griff being buried there.
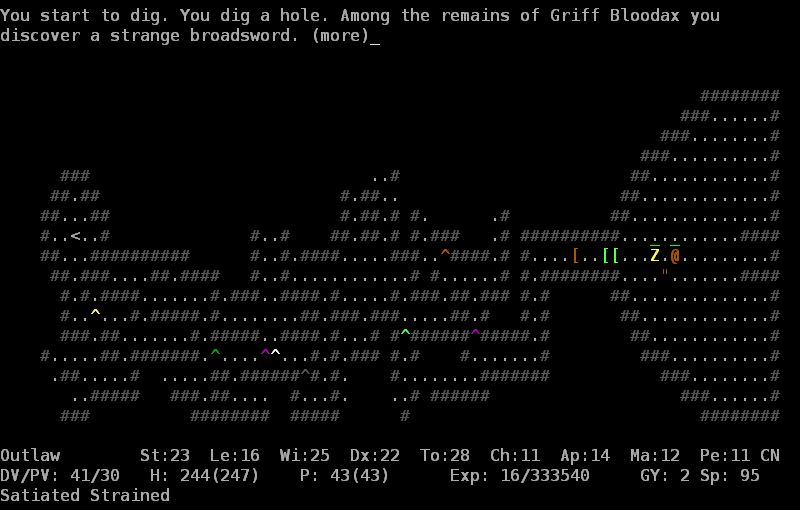
Wait, if the remains of Griff are here, who was that I killed in the tunnel? Anyway, the broadsword is the artifact weapon Sword of Nonnak (+2, 4d3+2)[+2,+2]{Wi+5}. The Willpower bonus is nice for mindcrafters, but this sword is pretty much junk for everyone else. I take it to feed to the ratling and head back to the surface. I return to the surface and head west.
You feel watched.
You shiver.
You shiver really bad!
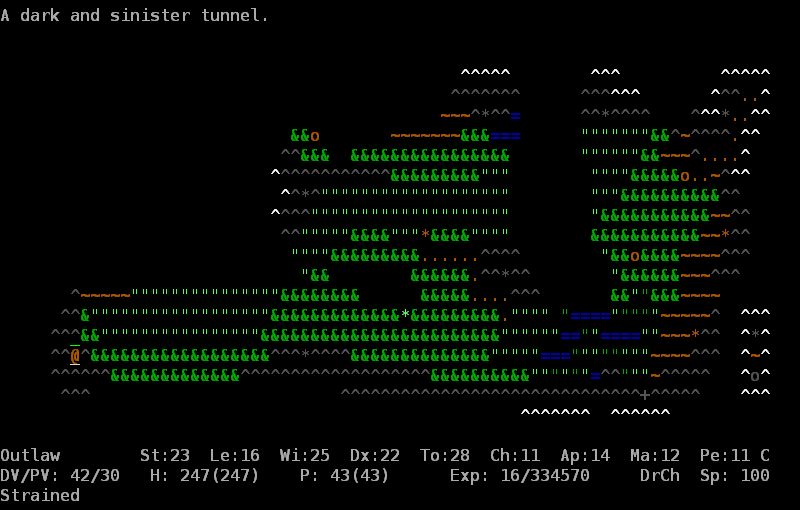
This is the Gremlin Cave. The entire level is dark so I equip an amulet of light.
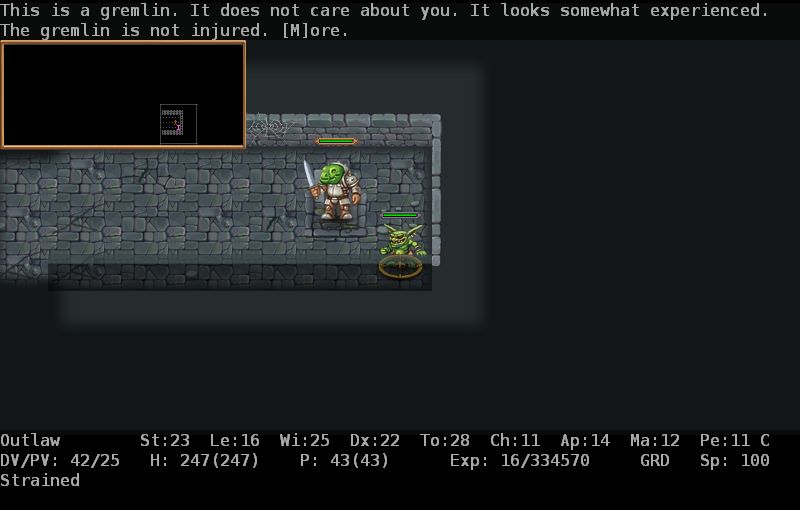
The Gremlin Cave has a normal random layout and is populated by gremlins and water traps. Gremlins in ADOM are based on the 80s comedy horror of the same name. Gremlins multiply when wet and as the cave is full of water traps, they get wet a lot. I kill this one and begin exploring.
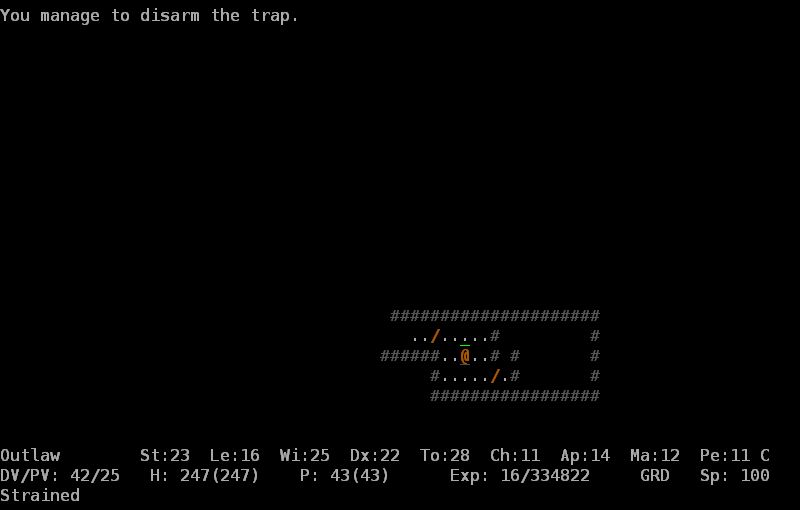
I disarm any water traps I find as I go.
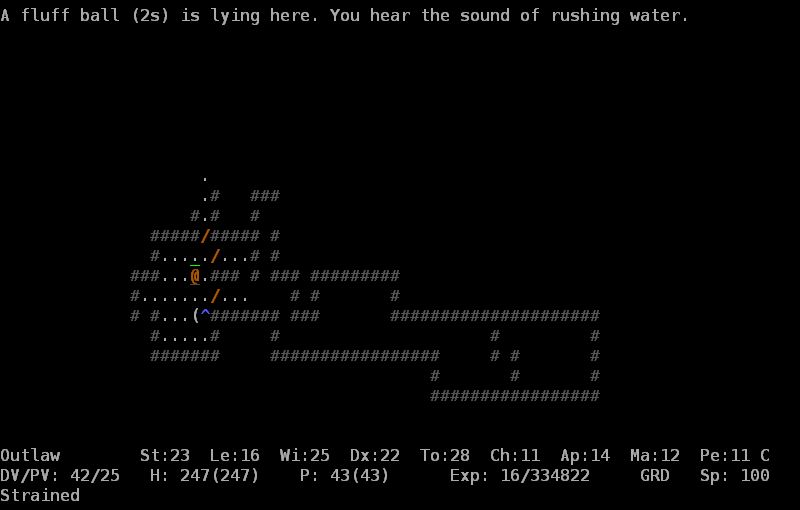
Fluff balls are dormant gremlins that will awaken when wet. I leave it on the floor.

I somehow make it to my goal without running into a single gremlin other than the one by the entrance. This is extremely unusual - normally I'd have to fight my way through dozens of the things by now, painstakingly working my way to trap tiles to disarm them to stop more spawning. I guess I got lucky and they all spawned behind a closed door somewhere. I've heard plenty of water traps going off so I know they're out there. Anyway, the crystal phial is the Phial of Caladriel, an artifact potion based on the one given to Frodo by Galadriel in The Lord of the Rings. It can be used to make light and blind monsters. I'll be using it as ratling food. I return to the surface and remember I earlier picked up a girdle of +4 strength, which I equip. I trade off 3 PV for this but it'll let me carry more and hit harder. I'm quite a packrat in ADOM so more capacity is always nice. For some fucking reason I haven't found a single girdle of carrying, which increase capacity by a huge amount. I've been looking for one all game, and they're not usually that hard to find. Has Biskup made them rare or removed them from the game or am I just really unlucky? While I change belts, I ID my loot from the pyramid and graveyard and find quarrels of both demon and dragon slaying. Excellent, slaying ammo is very valuable. I also find a ring of teleport control, which I'll hang on to in case I manage to lose intrinsic teleport control twice, and a potion of wonder.

When drunk, potions of wonder grant you the ability to cast a random spell. I get Create Item. It requires 470 power points to cast. I have 43. You can cast spells without enough PP, but the amount you're short comes out of your HP. Casting this spell would kill me. I've had Wish from potions of wonder quite a number of times, but have never come close to being able to cast it without dying. I don't play casters much in ADOM, but as I understand casting Wish is all but impossible for anyone but a seriously pimped out Wizard. Even then, getting to the point of being able to cast it probably requires running something called a Wish engine (basically you dip stacks of rings into potions of exchange until you get a stack of rings of djinni summoning and use some of the wishes from those to wish for more rings and exchange potions to turn into more djinni summoning, ad infinitum) which I think has been nerfed out of the game and in any case renders actually casting Wish obsolete anyway. Maybe there's another way to do it but I dunno. Not for barbarians, that's for sure.
Anyway, I head back to the Caverns of Chaos and down to Dwarftown. I feed the ancient mummy wrapping, phial of Caladriel, and sword of Nonnak to the ratling. One artifact to go. I grab my arrows of construct slaying from my stash and head back up to the world map.
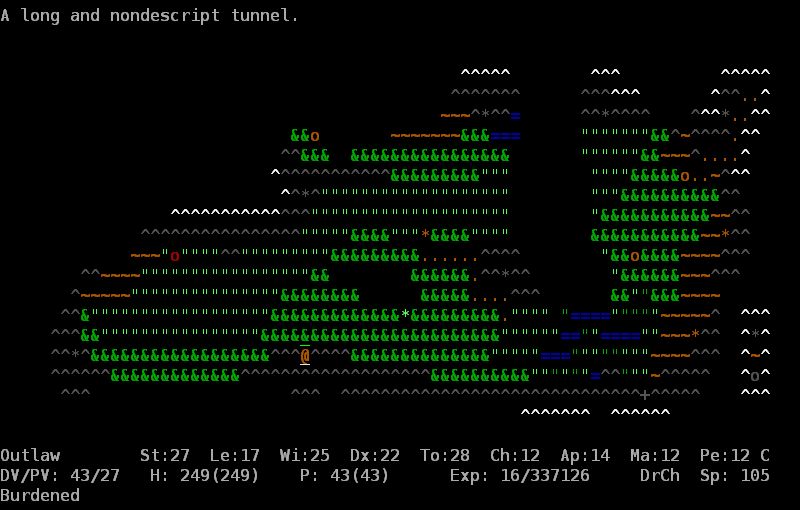
This is the Nondescript Cave, a mostly very normal dungeon level.

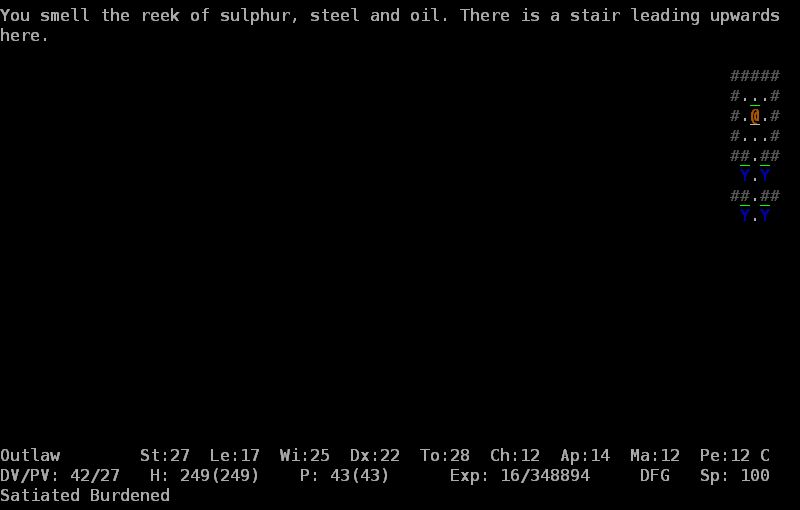
The only unusual thing about this level is the steel golem guarding the stairs. These guys have high PV, hit hard, and breathe fire.

I give myself some room and kill him with my construct-slaying arrows. It takes 3 arrows, one of which breaks on impact. Arrows will do this often (less so if you have the Archery skill) so ammunition is limited. I explore the rest of the level and kill a dwarven chaos knight as I do so. DCKs are nice to run into as they like to drop pickaxes, which this one does. With the level explored, I head down stairs.
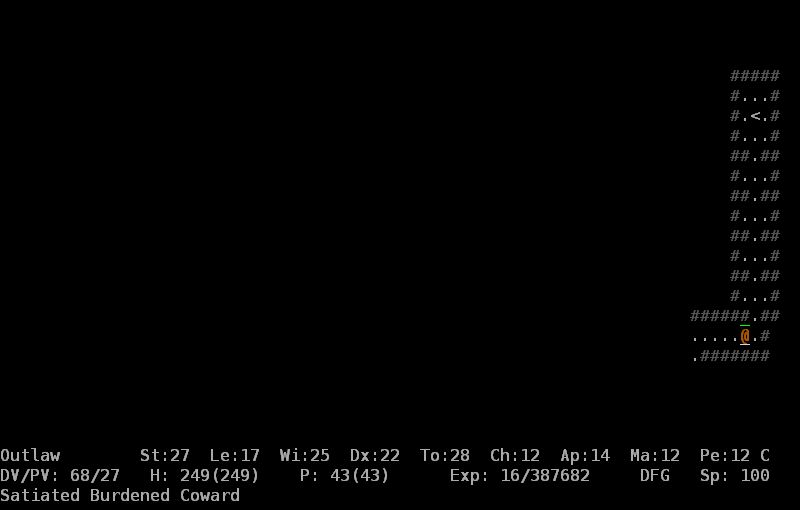
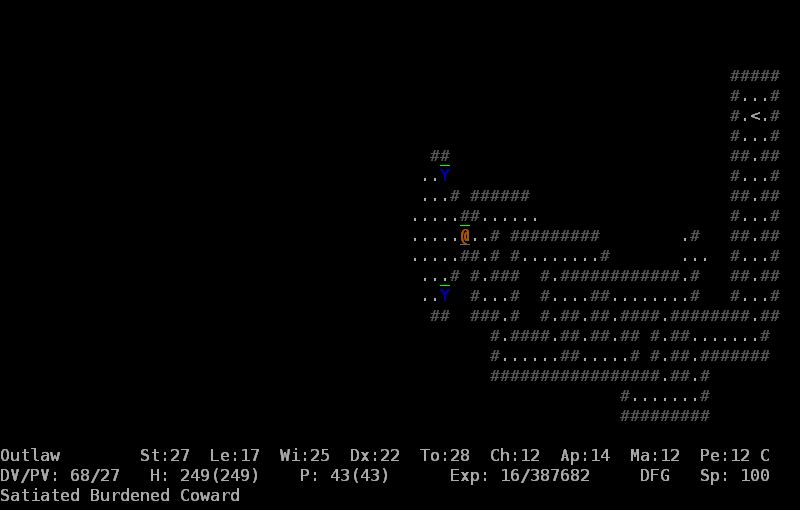
This is Darkforge, another special level with a predefined layout. Those blue Ys are steel golems like the one I killed upstairs. I get their attention and lead them back up the stairs one at a time where I kill them with my construct slaying arrows.

They're worth a nice ~5000 experience each. The icing on the top of the killing power of slaying ammo is that crits count for two weapon marks each and my bow skill quickly reaches level 6.
With the entrance hallway cleared I begin exploring.
Three secret doors later I reach a large room in the centre of the map. There are more steel golems guarding it. I kill them.

This is Kherab, he runs the place. He's friendly and will give quests to kill the Terinyo druid and Thrundarr if spoken to. The rewards are artifacts that will corrupt you when carried, even if not equipped. I have no use for them so I ignore him.
I clear the middle room and open the door to the north. It leads to a trap-filled corridor guarded by another steel golem.

At the end of the hallway is a room full of armour. You can often find high-end armour such as dragon scale or even artifact armour here but I get a room full of clothes and robes. Lame. There is an artifact robe in the game which weighs the same as normal robes, so I loot those just in case.
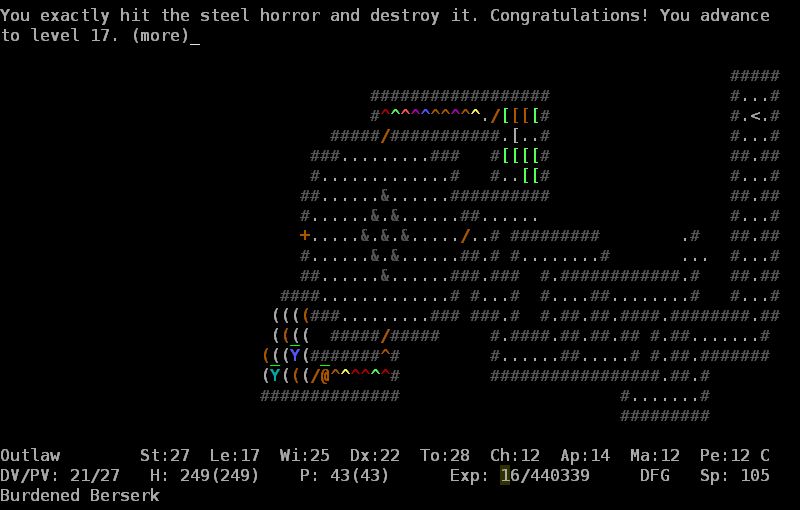
To the south is a similar room full of weapons. I hit bows 7 and level 17 as I clear it.
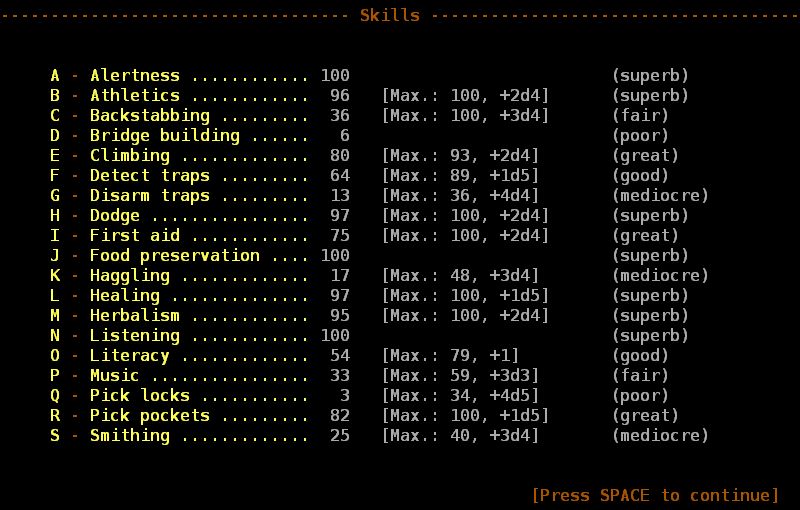
I forgot to do a "before" shot of my skills this time but I put one pick into Dodge (5) and the other three into Detect Traps (not sure how much). I loot a few higher metal items to sell, but barring any surprises when I eventually ID my loot, it doesn't look like there's anything too special.

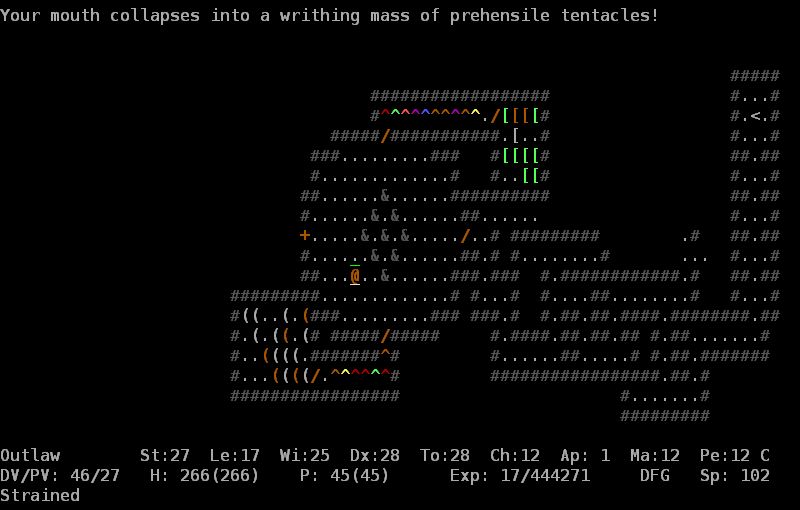
Darkforge has a higher than usual rate of background corruption and this results in my first mutation, a tentacle mouth.  This increases my Dex by 6 but lowers my Appearance by 15 and prevents me from talking.
I explore to the west and through a secret door is another hallway full of steel golems. I'm out of construct slaying ammo now, so I'll have to fight them in melee. I stash my 7LB in my pack where they'll be protected by my fireproof blanket and don my adamantium boots instead. My cloak of defense is burnt in the fight, but luckily I have a spare in my pack. I have to use a lot of healing herbs and (regular) healing potions but I clear the hallway safely.
To the south of the hallway is a trap-filled hidden room containing another steel golem and an artifact: the crown of science [+4,+8]{Le+9}. In addition to the nice defensive stats and 9 Learning, the crown grants fire immunity. However, it is auto-cursing and gives the wearer the doomed intrinsic. More food for the ratling.
The down stair at the end of the hall is currently blocked by an impassible wall of fire, so I head back the way I came.
I didn't explore all of Darkforge due to the high rate of corruption. There are a couple of rooms full of gold and one containing several pools. As briefly discussed earlier, drinking from pools has a variety of random effects. These include increasing or decreasing attributes and gaining or losing instrinsics such as Teleport Control and also including Lucky, Fate Smiles, Cursed and Doomed. They should be used cautiously as they can really mess with your character. The most compelling reason to drink from pools is that there is a chance they will grant you a wish. As I've found a wand of wishing, I have no need to mess with the pools.
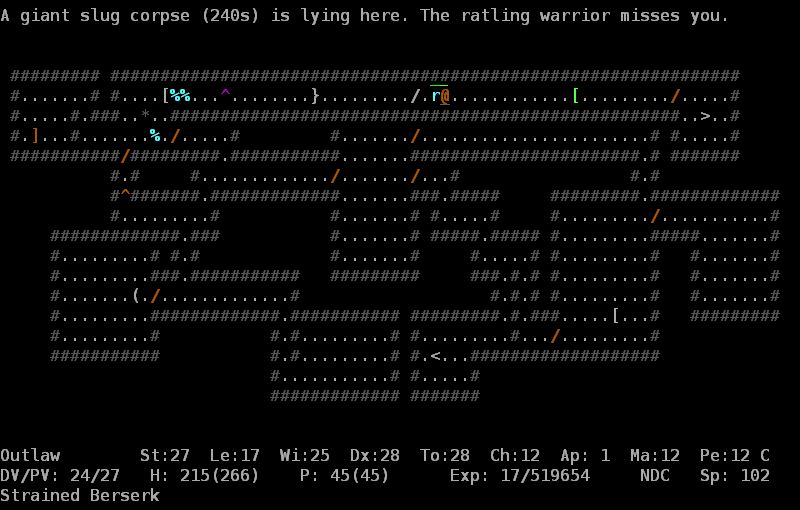
Oh hell yeah! On the way back I kill a giant slug and it leaves a corpse. Giant slug corpses grant acid immunity. Note that immunity is different to resistance. This is one of the less useful immunities but is nice to have nonetheless. When you get crowned, your god will grant you a random immunity that you don't already have. Getting acid immunity from a giant slug means I'll get something better when I eventually get crowned - assuming I survive that long. You can also influence your crowning immunity by wearing items that grant immunities when you get crowned.
I return to Dwarftown. I'll need to be able to talk to do the other quests so I grab one of my cure corruption potions from my stash and drink it to remove the mutation. I feed the ratling the crown and talk to him.
"Listen, blob.
Visit da ancient stone circle in da middle of da darkest night.
Den ye'll find ze entrance to a part of dat trinity.
Originaally it wuz build for all da alignmens...
...and it prubably has still zume other special effex.
But we are gonna uze it for us means, aye?"
The demented ratling winks to you.
"Get da part of ze trinity and try to win ze prize."
The part of the trinity he is referring to is one of three artifacts required to enter the chaos gate and fight the chaos god. The stone circle is a world map location which can only be entered between 23:00 and 00:00 on a new moon, or Darknight. This is where the game's calendar comes in. When I'm ready to fight the boss that lives in the stone circle I'll need to be there at the right time of month to be able to enter. You can't enter the circle without completing the ratling's quest first.
I identify my loot and while the robes were all crap, it turns out there was an artifact in the weapon room. What I'd assumed was an eternium halberd turned out to be the rune-covered halberd "Wyrmlance" (+15,4d8+10)[-2,+0]. Not quite as nice in pure damage as my spear, but it has that nice +15 to hit, stun resistance, and most importantly, dragon slaying. Guess what type of monster the stone circle boss is? Ideally I won't be meleeing him as he drains attributes but still, Wyrmlance will be good to have. I also find I've picked up an amulet of death ray resistance and a ring of the clear mind somewhere along the way. Death rays are, as the name implies, extremely dangerous. This is very important to have for certain boss fights. The ring gives confusion resistance, also very important for certain bosses and monsters.
Right, before I go any further there's something I need to do. I head to my stash.
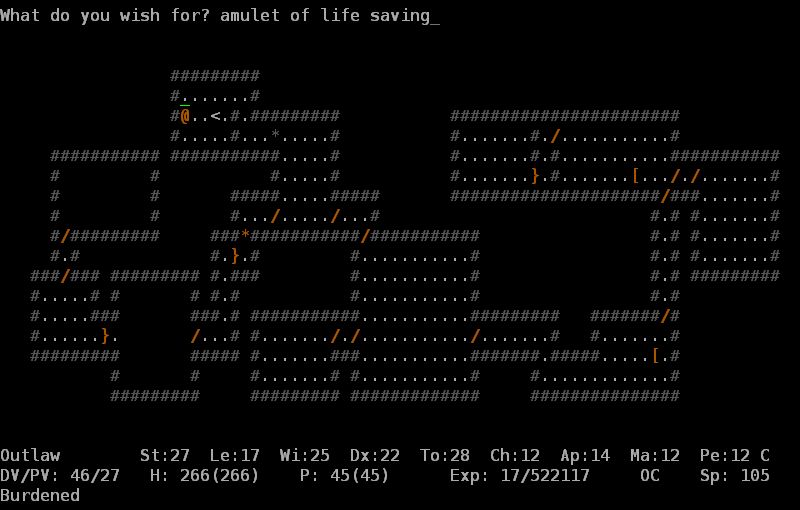
I retrieve my wand of wishing and use my first wish to obtain an amulet of life saving. If you die while wearing this amulet, it will be consumed and you will return to life with full health. I stash the wand and descend back to the Dwarven Halls.
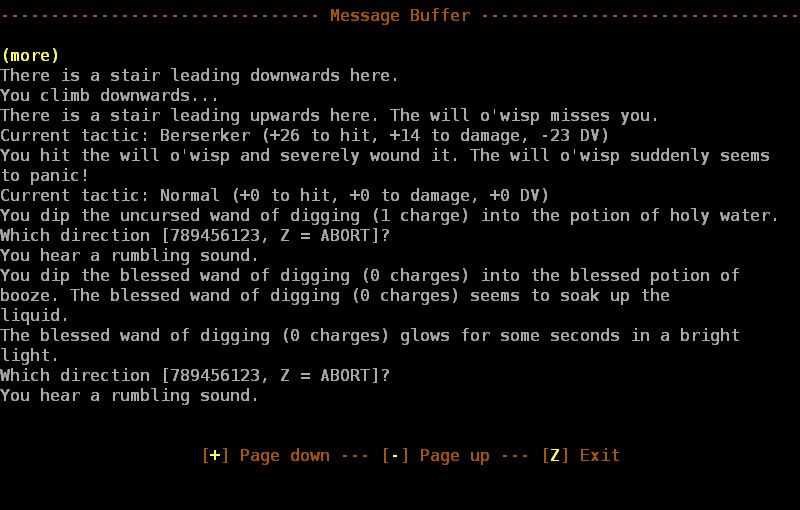
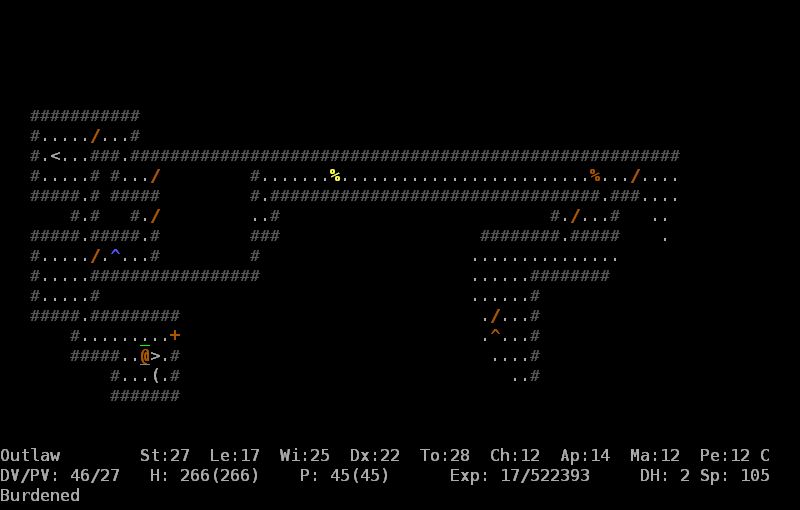
I bless my wand of digging and use it to create a shortcut to the stairs on DH:2. I proceed to Khelevaster and give him the amulet of life saving.
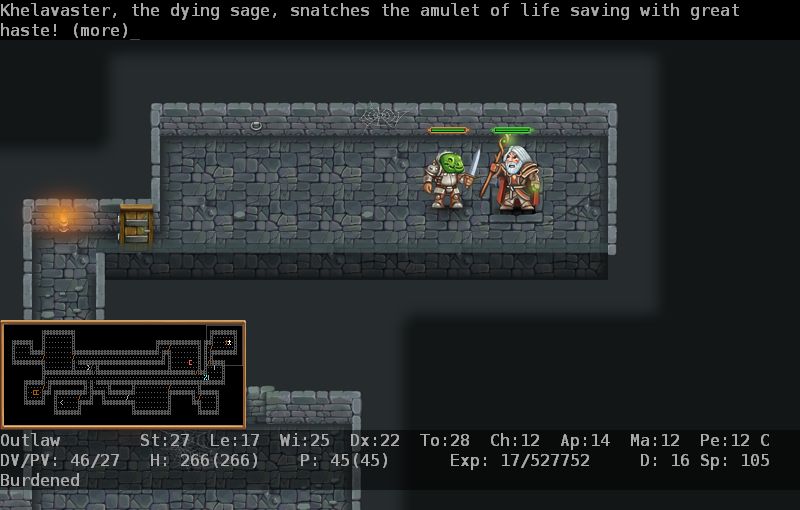
Khelavaster, the dying sage, snatches the amulet of life saving with great haste!
Khelavaster, the dying sage, puts on the amulet, gasps, shudders and suddenly slumps to the ground.
Moments later his body is surrounded by a bright light and he reopens his eyes.
His gaze once more is clear and all his wounds are gone!
Khelavaster looks at you.
"Aye, hero, at last some support.
I have done what I could, but I ain't no warrior.
Finally I have gotten to a stage where I'm no longer mighty enough to continue.
Nonetheless I'll be able to give you some information that might help you in your quest.
To defeat the threat of Chaos you will have to close the gate.
The gate is protected by...
...mighty magick cast to prevent anyone from entering.
Chaos corrupted the elements to fuel this magick.
The keys to break the lock are five powerful orbs...
Five elemental orbs --- once powerful artifacts of balance --- now corrupted by Chaos!
These orbs are the keys to the lock preventing your entrance to the metaplane, where the gate is kept.
Find those five orbs.
Four of them are kept under guard in four temples of elemental Chaos...
...in the levels below. You have to penetrate the walls to those temples...
Then you need to defeat the powerful guardians. Be careful. They are very strong and use mighty magicks.
Take the orbs and use them to find the source of Chaos.
Make sure that you look for the fiery one in the wilderness.
Also try to refrain from using the Chaos Orbs. While they contain powerful magicks, they also tarnish your soul.
I will depart now since I can't oppose these mighty forces of Chaos with my weak powers.
But you shall receive this. It hopefully will help you in your quest."
Khelavaster puts down some stuff and then disappears in a bright blue light.
You notice a whispering voice...
"We shall meet again... maybe."
The six scrolls are blessed scrolls of chaos resistance. These act like potions of cure corruption but are stronger, removing about 1.5 mutations. The dagger is an eternium dagger but otherwise nothing special. The spellbooks are Identify and Teleportation, two very useful spells I have no chance of learning let alone casting. If you talk to Khelavaster instead of giving him an amulet of life saving, he dies after a gasping and much less informative version of the same speech he just gave me and leaves only a wand of digging and some other crap, no scrolls or spellbooks.
Saving Khelavaster boosted me all the way from C up to N+. Damn, I didn't remember the lawful boost being so strong. Either Biskup buffed it or I just forgot. That kinda sucks because I'm just gonna have to go Chaotic again to do Gaab Baay's quests. I'd have been better off leaving saving Khel until after doing her quests when I wanted to change back to Neutral. I didn't bother starting her chain yet because I'm still missing one item that she will ask for - a scroll of danger. I figured I'd save Khel and proceed through the dungeon and hopefully find one on the way. In retrospect I should probably have hit the Infinite Dungeon up again for the scroll. Oh well, at least I can use the Dwarftown altar again in the meanwhile.
The scrolls are extremely valuable so I return to Dwarftown and stash them, keeping one in my inventory to get rid of any especially nasty mutations I might pick up. While I'm there I sacrifice 10000 gold to make sure I'm back in the neutral god's good books and make some more holy water and use some to bless my 16 quarrels of demon slaying. Blessed weapons and ammo do 50% extra damage to demons and undead. I'm going to need these soon.
Next time: I go hunting for Chaos Orbs. And a scroll of danger. Fucking thing.