Toggle Background Color
Part 01
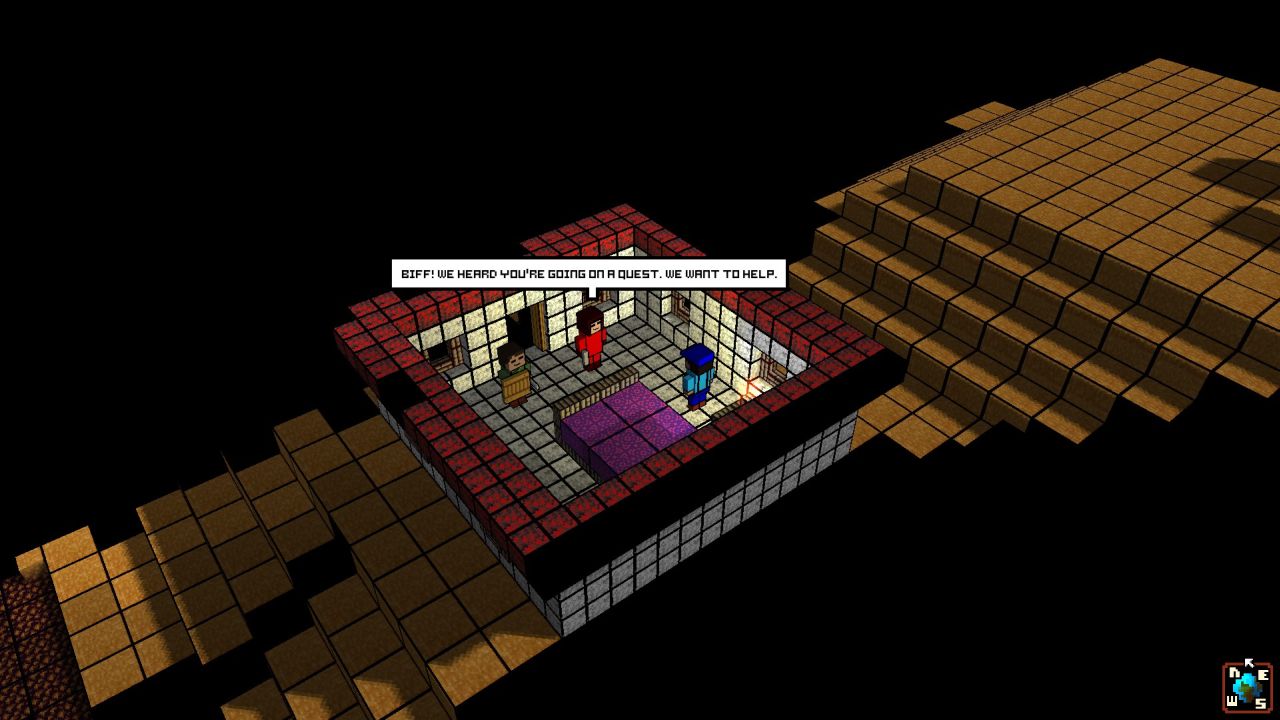
And we're in the game. You always start with two randomly chosen companions. Squad members aren't randomly generated, but chosen from a "pool". They always have the same names and backrounds/skill focus, but show up in random places and their level depends on yours at the time you meet them.
We start out with "Arthur", a melee fighter and "Hero", a ranged character. Both only have 2 points invested in their preferred skill. Arthur has 2 health and 1 mind, Hero 1 health, 1 mind, 1 reaction. They kinda suck, but they always do in the beginning. At least we have a nice mix of skills.
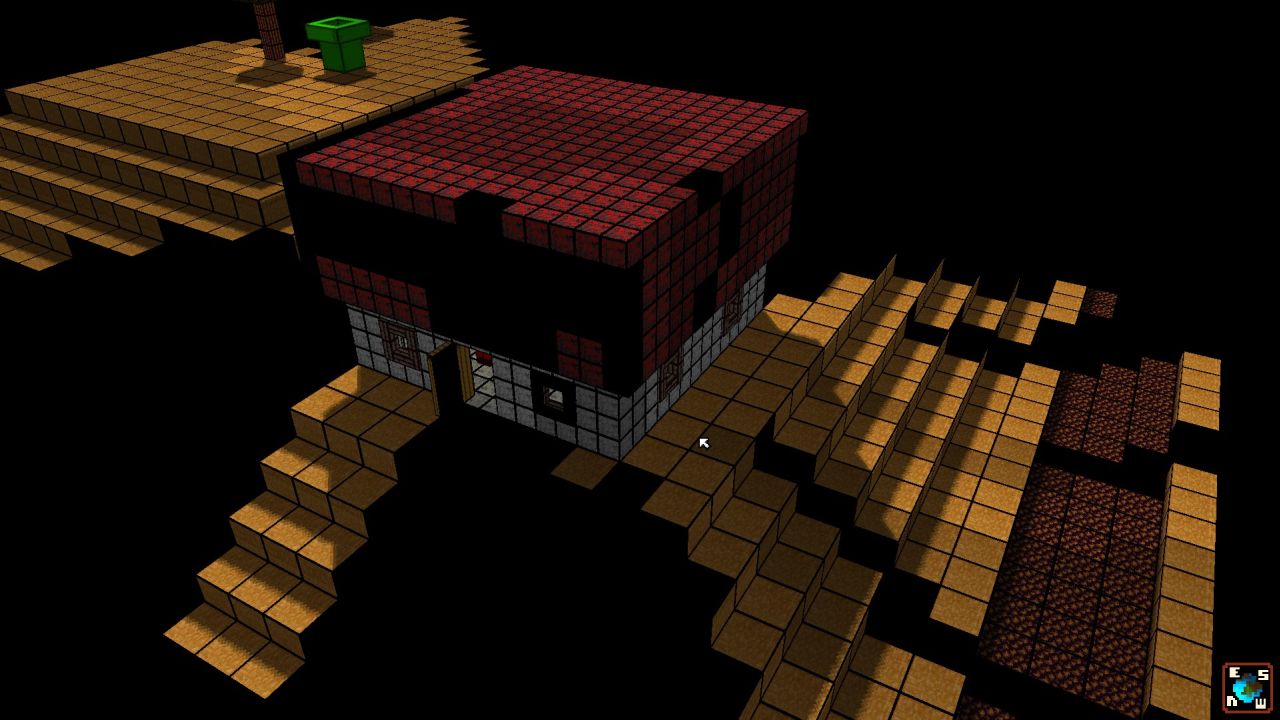
Since I went with the platformer background, we start out in a nice mushroom house. Naturally, we can only see what our squad can see, so there are lots of ugly black spots. Let's go outside and see if there's anything that wants to kill us.
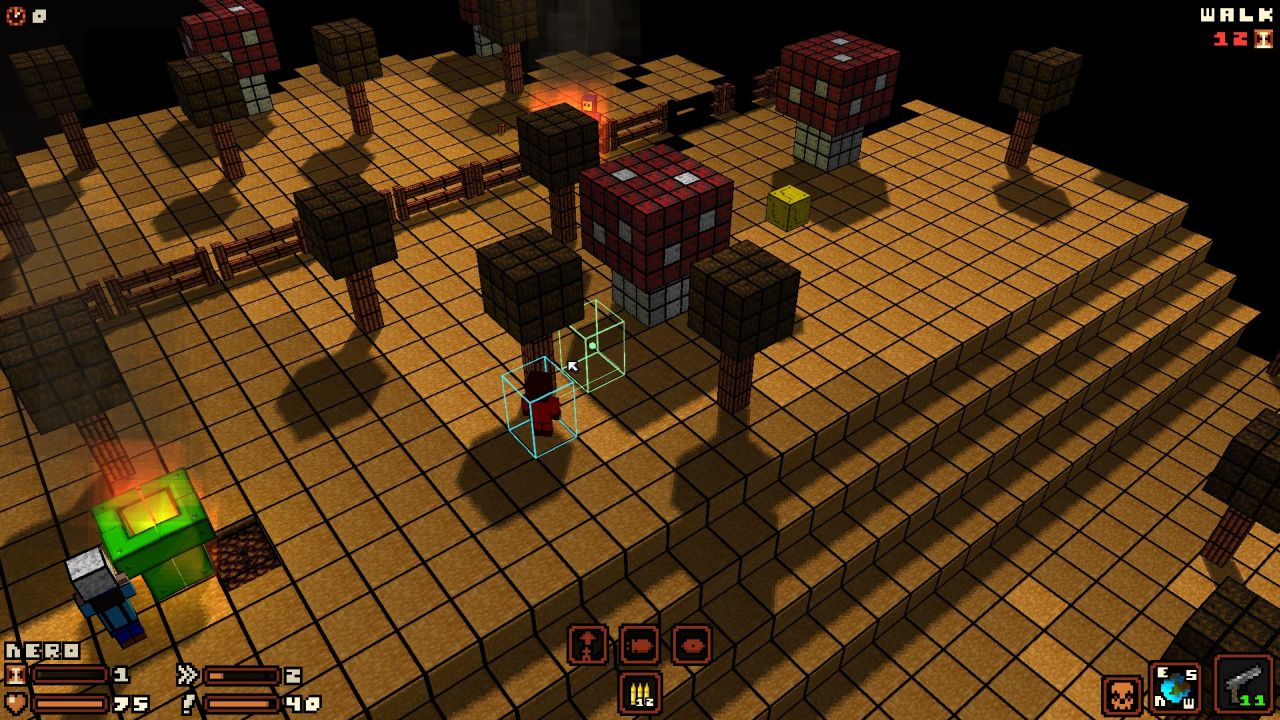
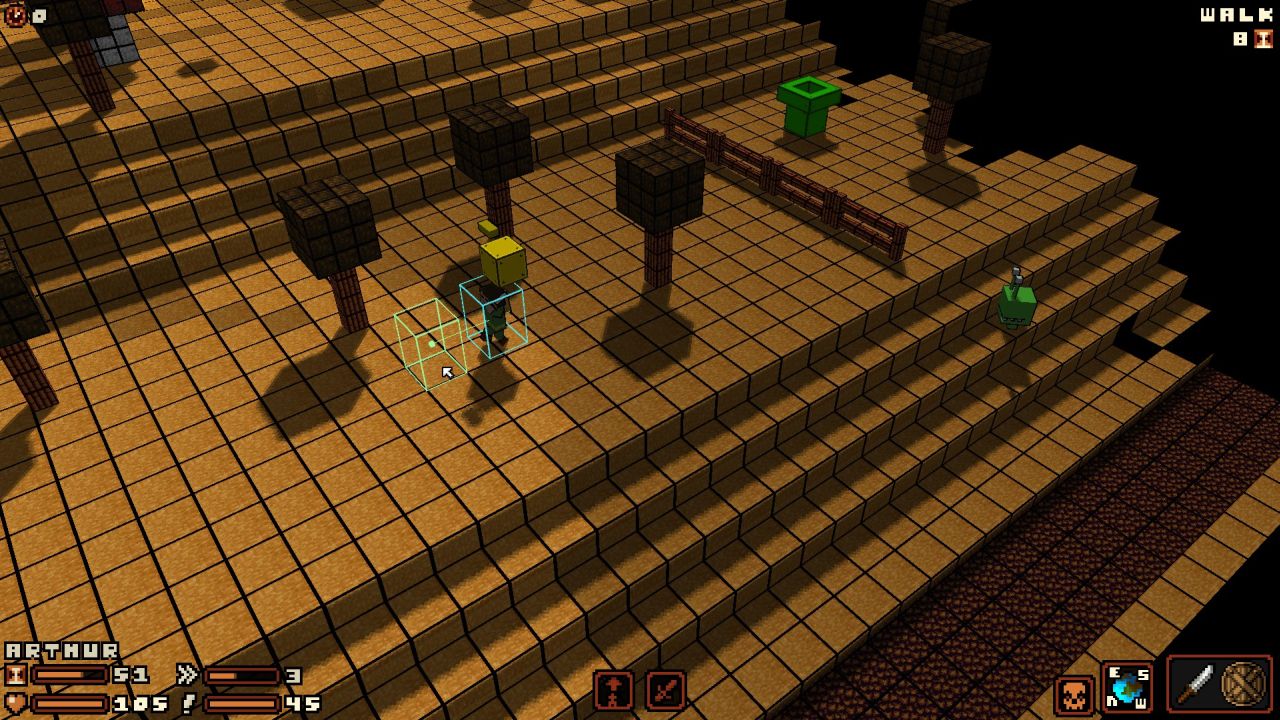
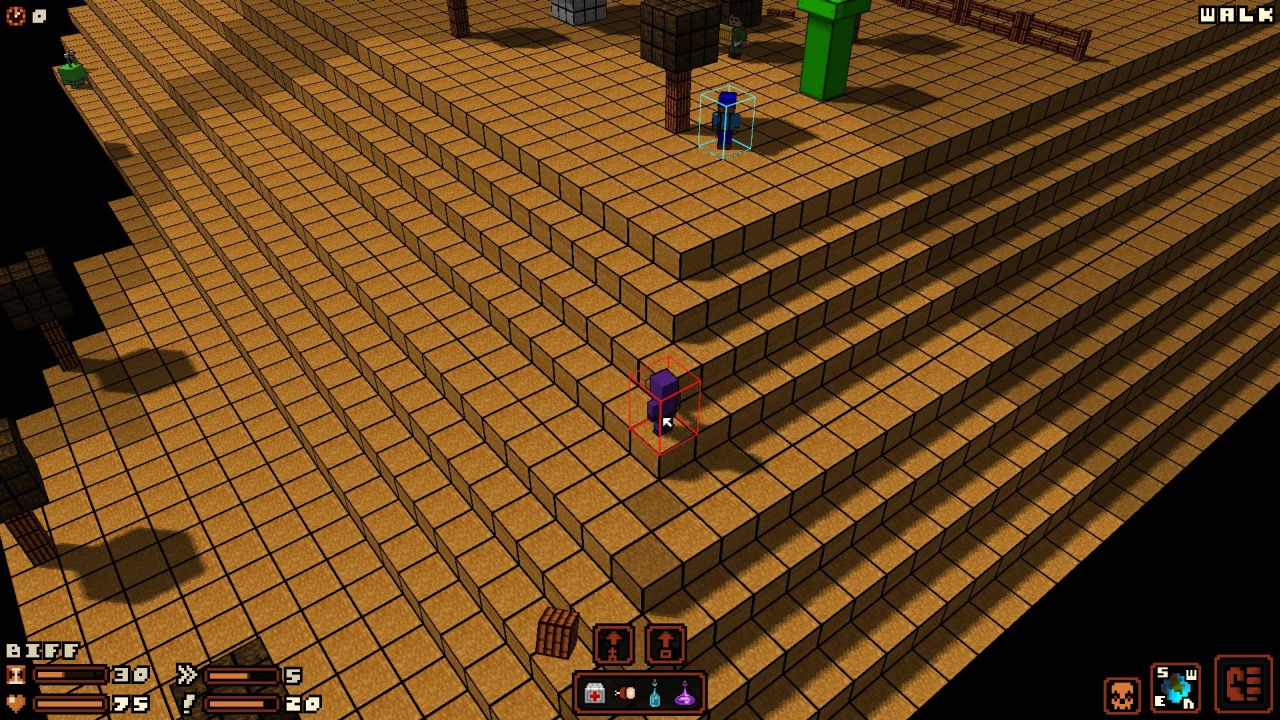
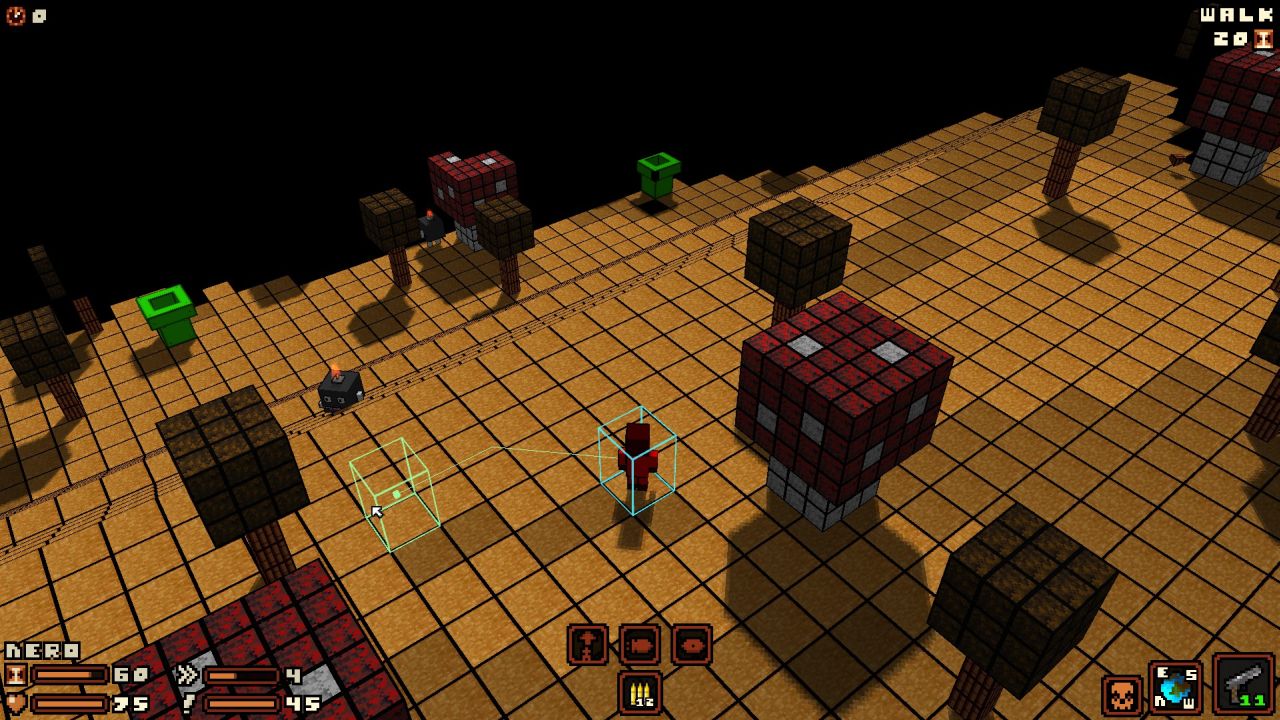
Arthur inspects the immediate surroundings and there are no enemies, that's a pleasamt surprise.
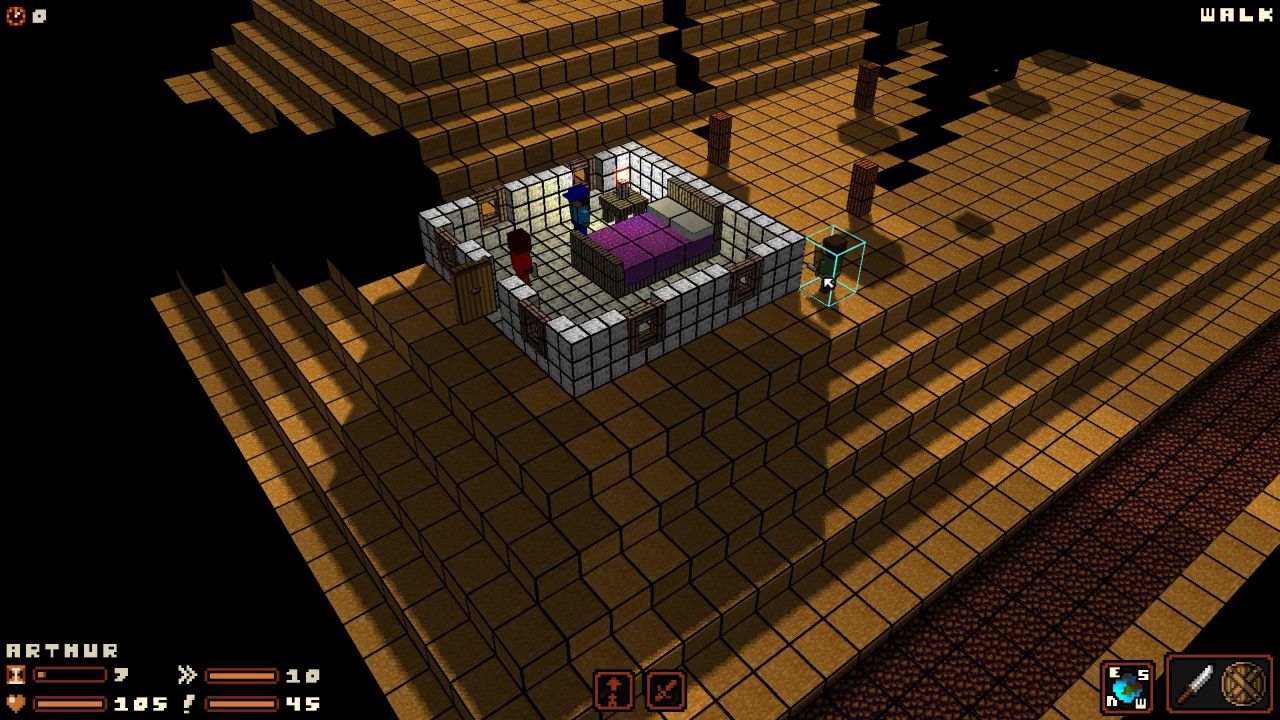
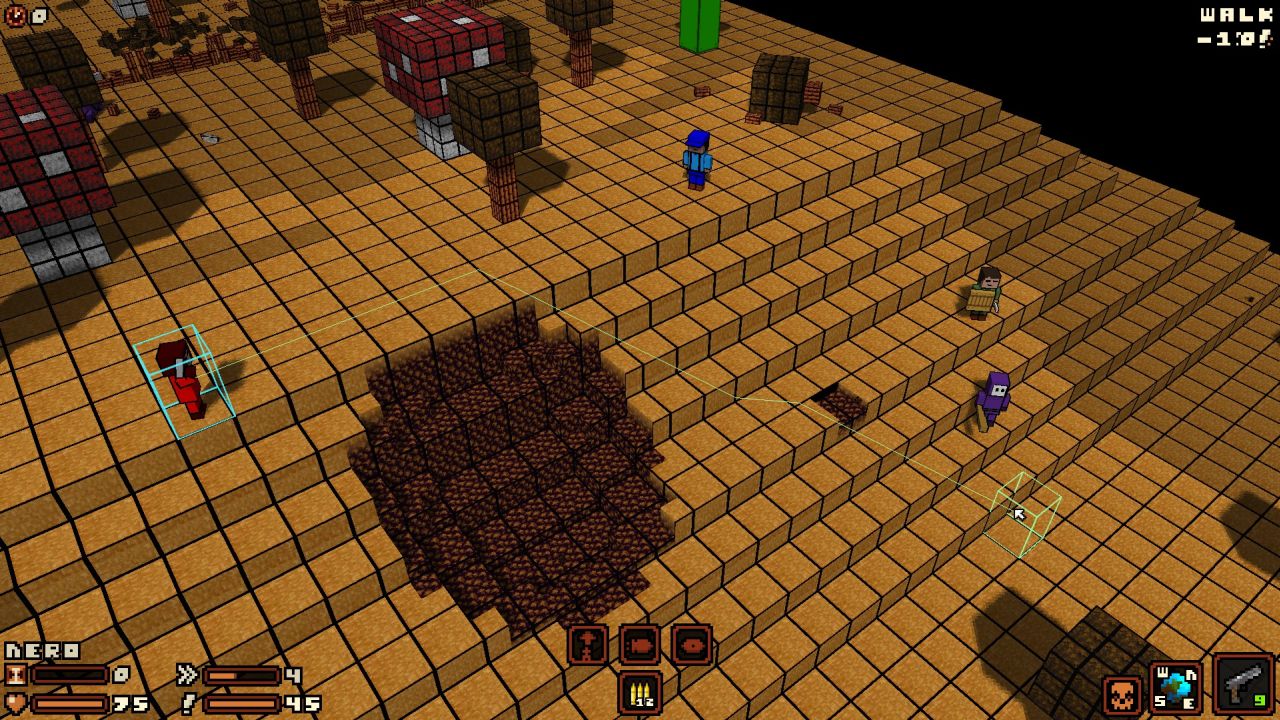
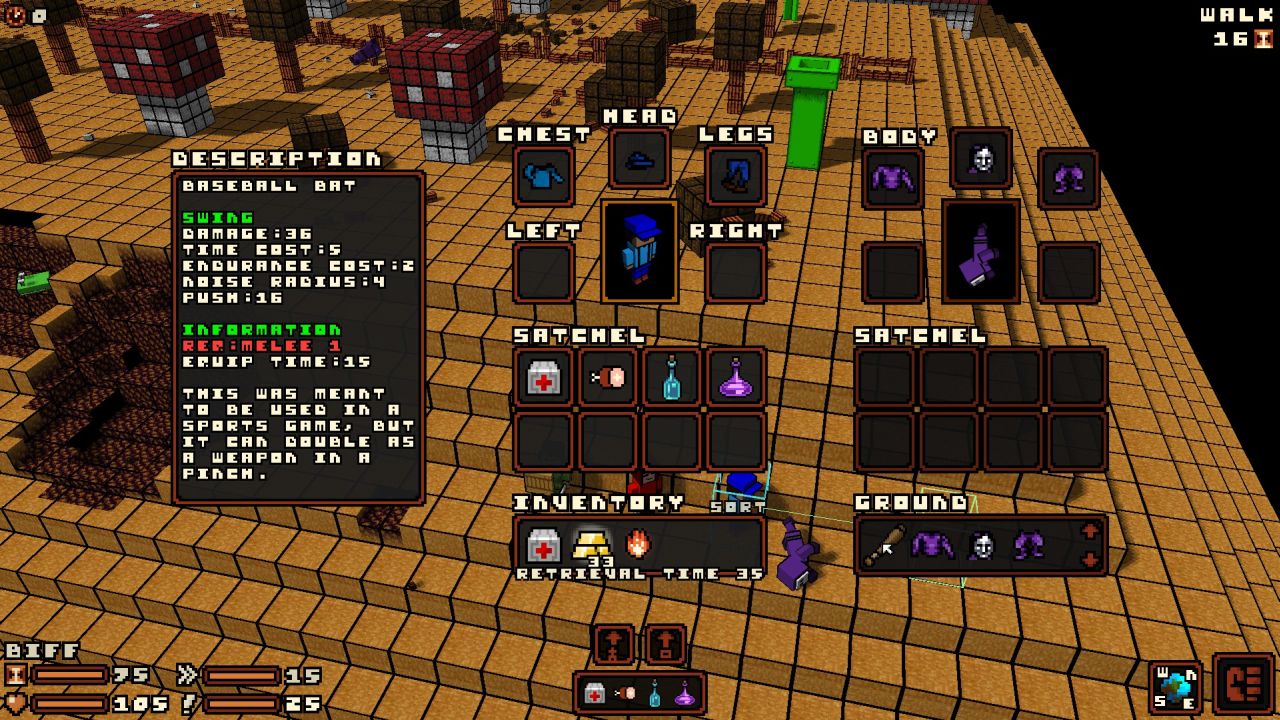
At the lower left there are four bars. The one with the hour glass that's almost empty is your time. You get 75 time units (TU) each round, unless you're wearing armor. The encumberance value is directly substracted from your TU. You use 4 TU for walking 1 tile, 18 to 35 TU for ranged/throwing attacks, 5 for close combat attacks. You can also run which depletes endurance (the >> bar right next to your time), but only needs 3 TU per tile. Crouching or getting up uses up 8 TU, walking while crouching uses up 5 TU, but you're less visible and more quiet. Below your time is your health bar. Next to that is your morale/mind (the one with the "!").
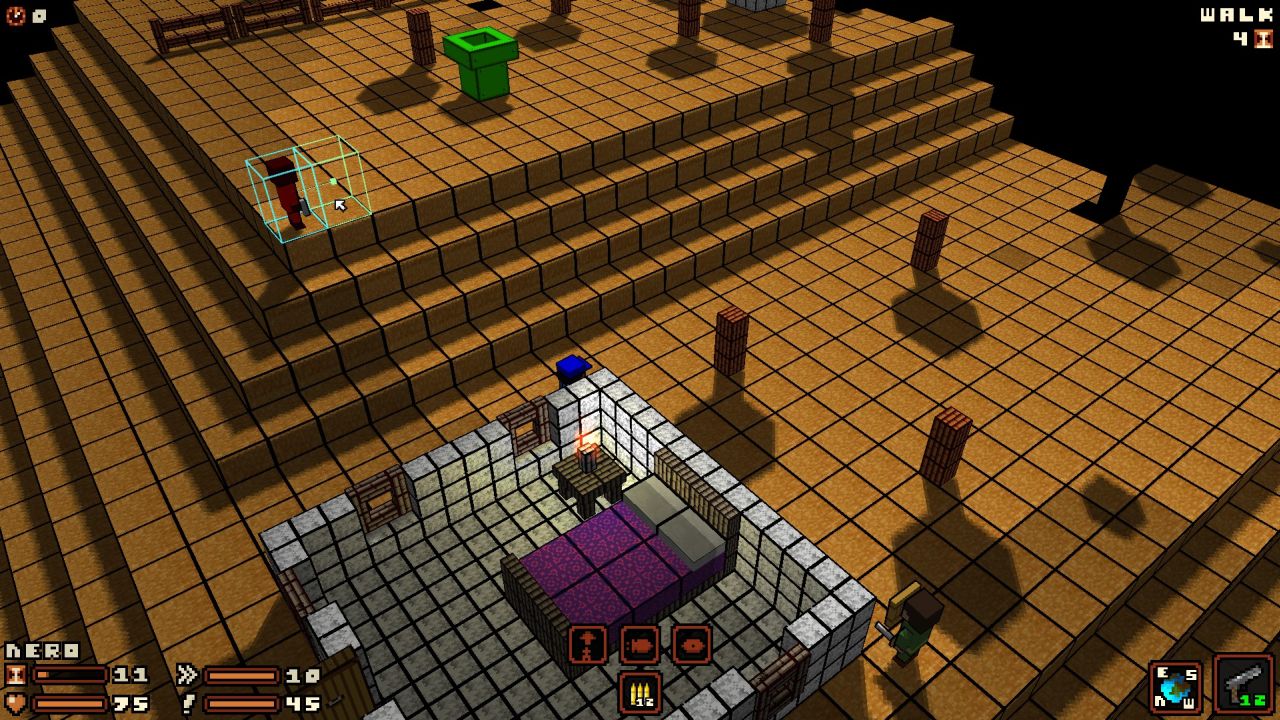
Hero moves to the top of the hill and, suspiciously, doesn't find any enemies either. If you look at the lower middle of the screen, there are four icons. The top row are all the actions currently available, they largely depend on your skills and equiped/carried weapons/items. From left to right they are "jump" (any character can do this), "shoot" (needs a ranged wepon equipped) and "aim" which can be done with most ranged weapons. Aiming uses as much TU as shooting your equipped weapon and increases your chance to hit.
The bottom row shows a list of all items carried by a character. Using consumables costs 5 TU. Biff is carrying a medkit, a ham to replenish Endurance, water if he catches on fire and a potion of invisibility. Hero is only carying ammo, reloading costs a whopping 50 TU.
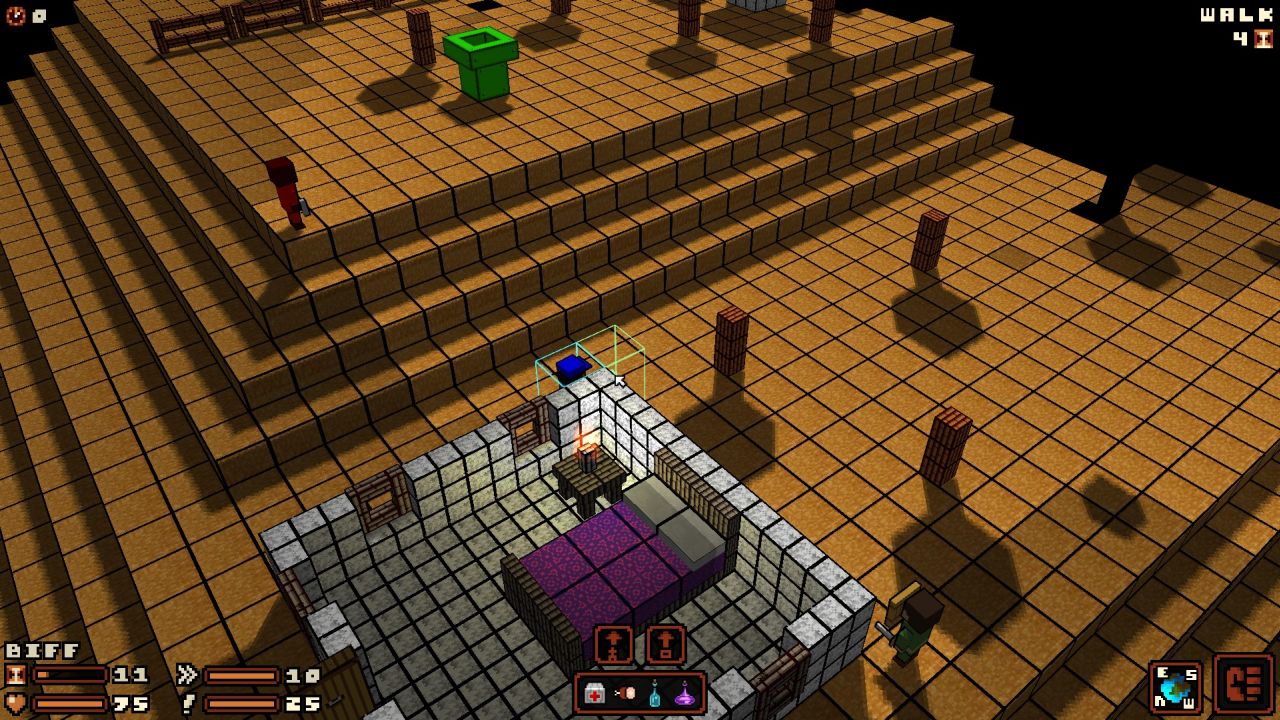
Arthur is carrying... nothing, so let's take a closer look at the inventory.
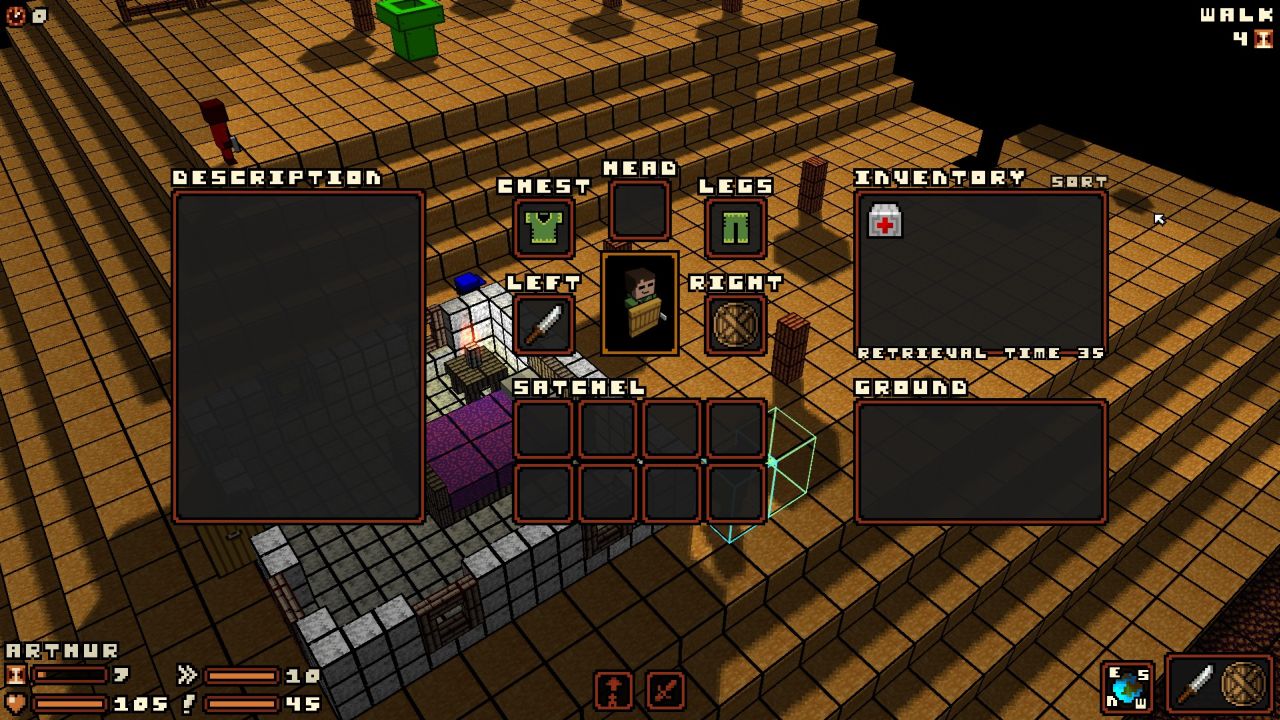
Every character can carry 8 items in his satchel. The party inventory on the right is infinite, but moving items to your satchel costs 35 TU, directly using them costs 45 TU and it can't be accessed when enemies are within sight.

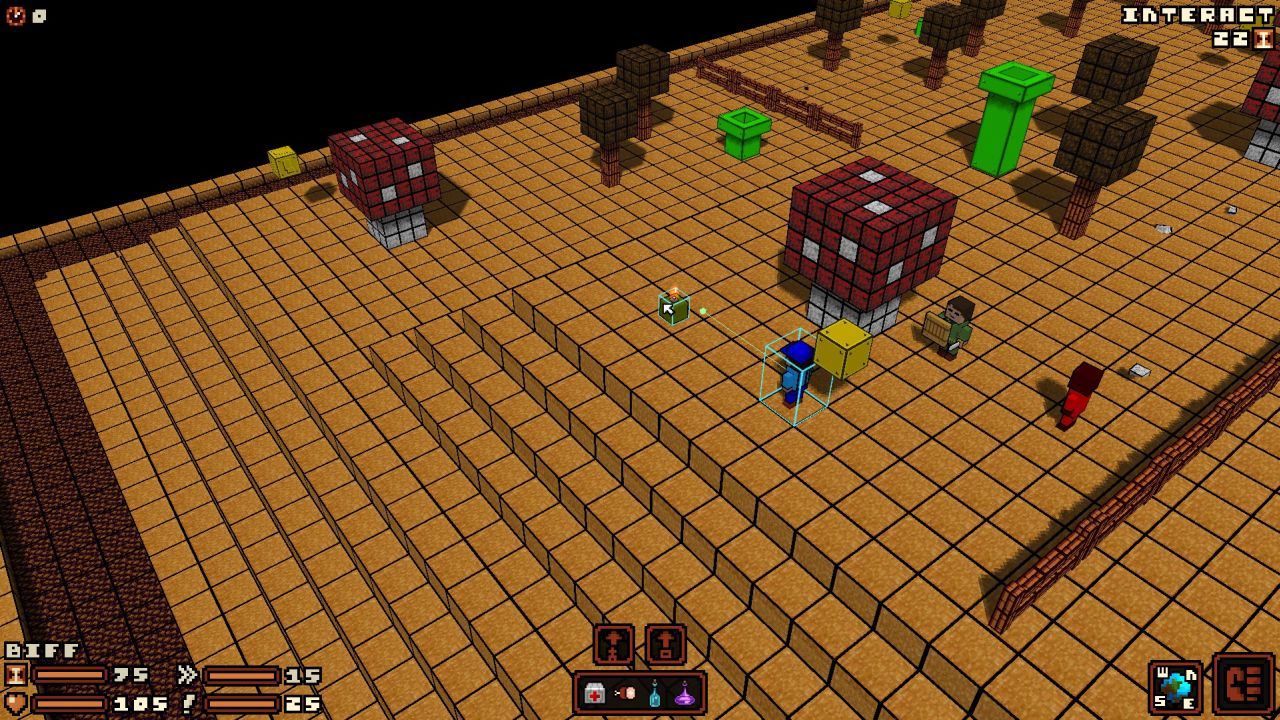
Let's see if we can finally find something we can hurt. Biff uses the pick-up command to...

pull a stone out of the wall, now we just need someone to throw it at.
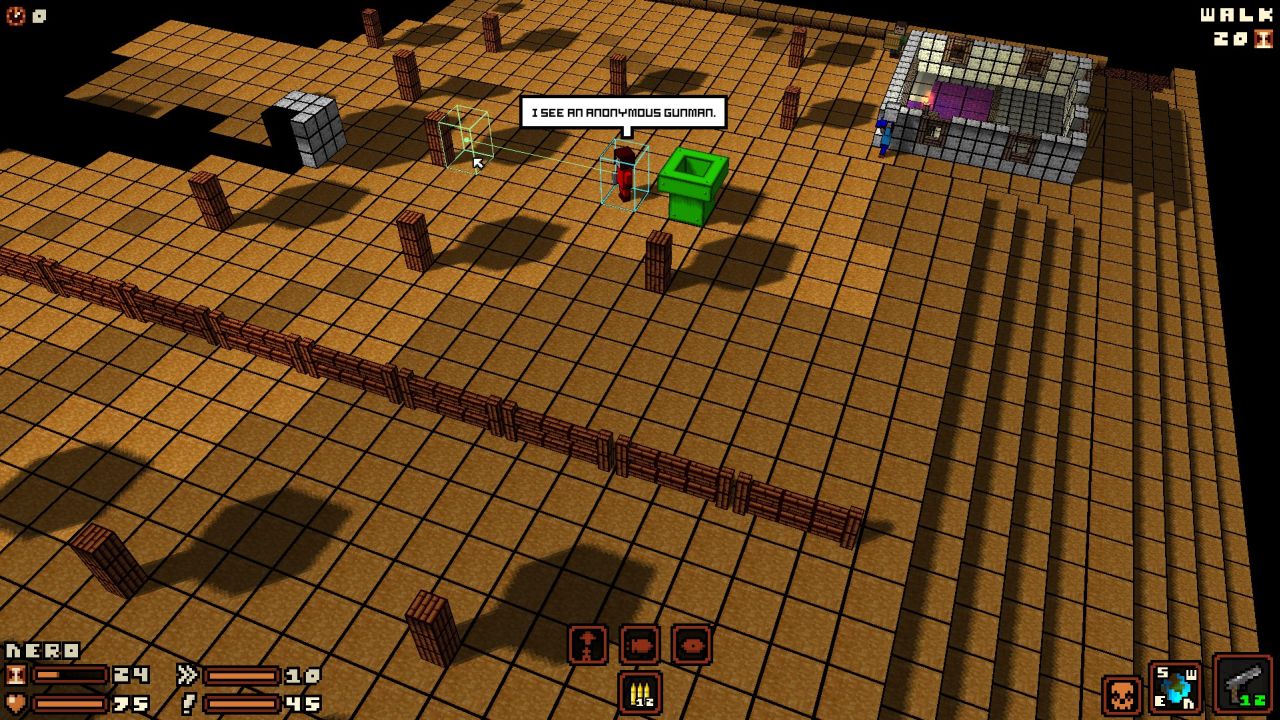
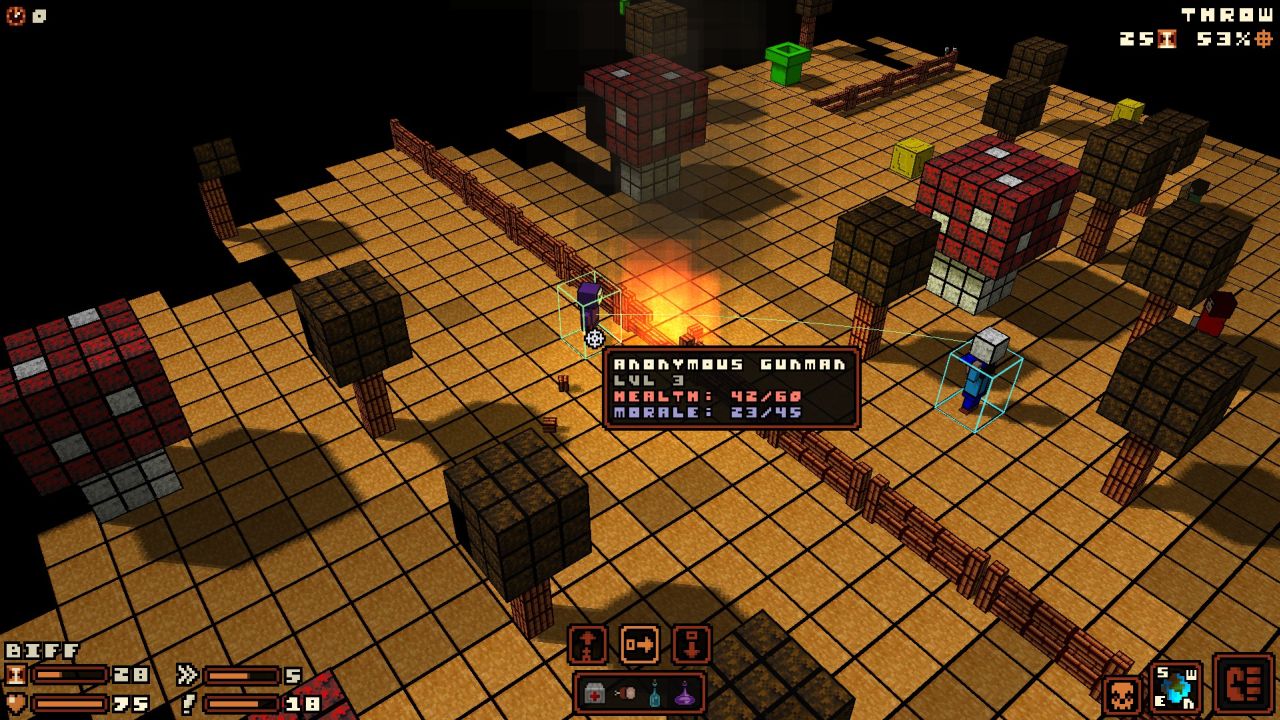
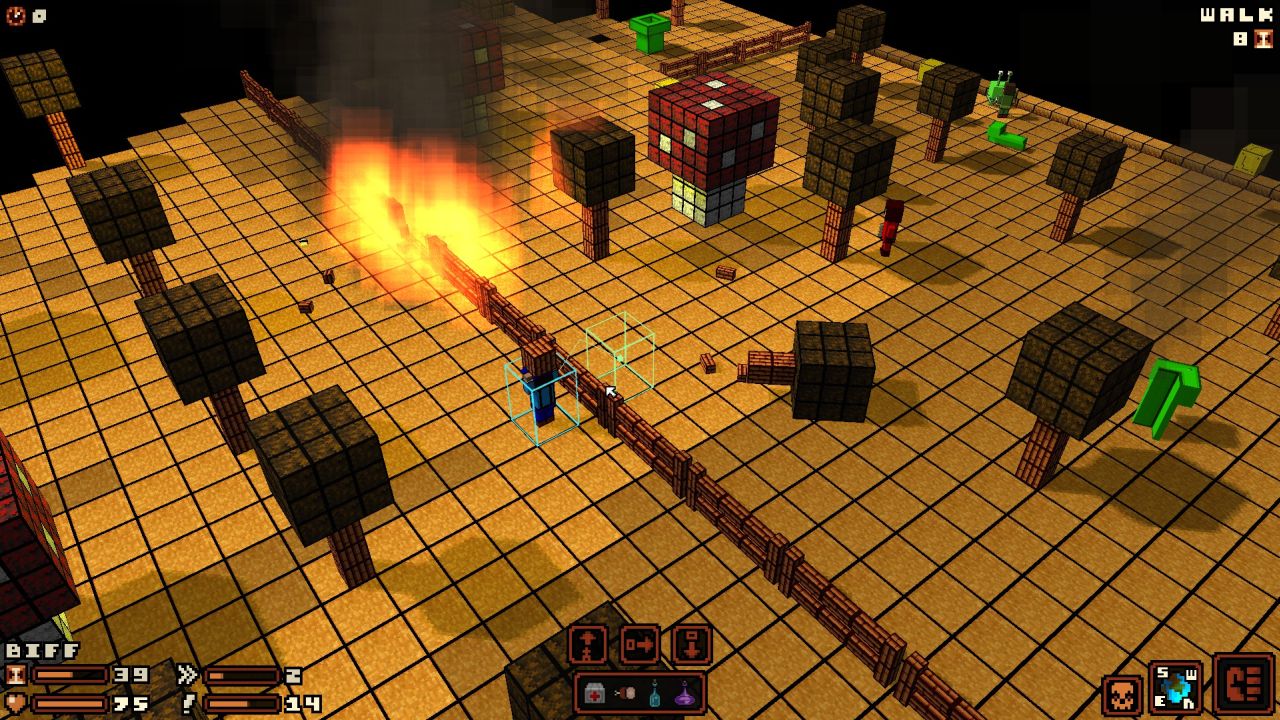
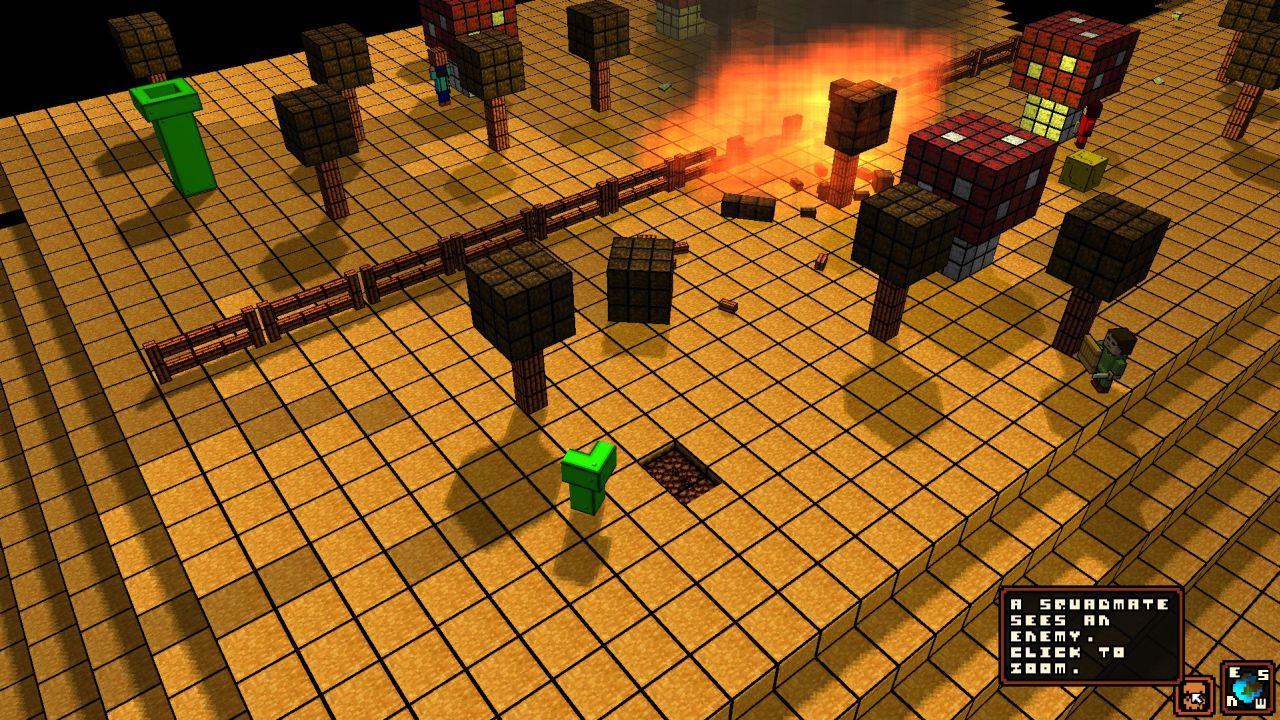
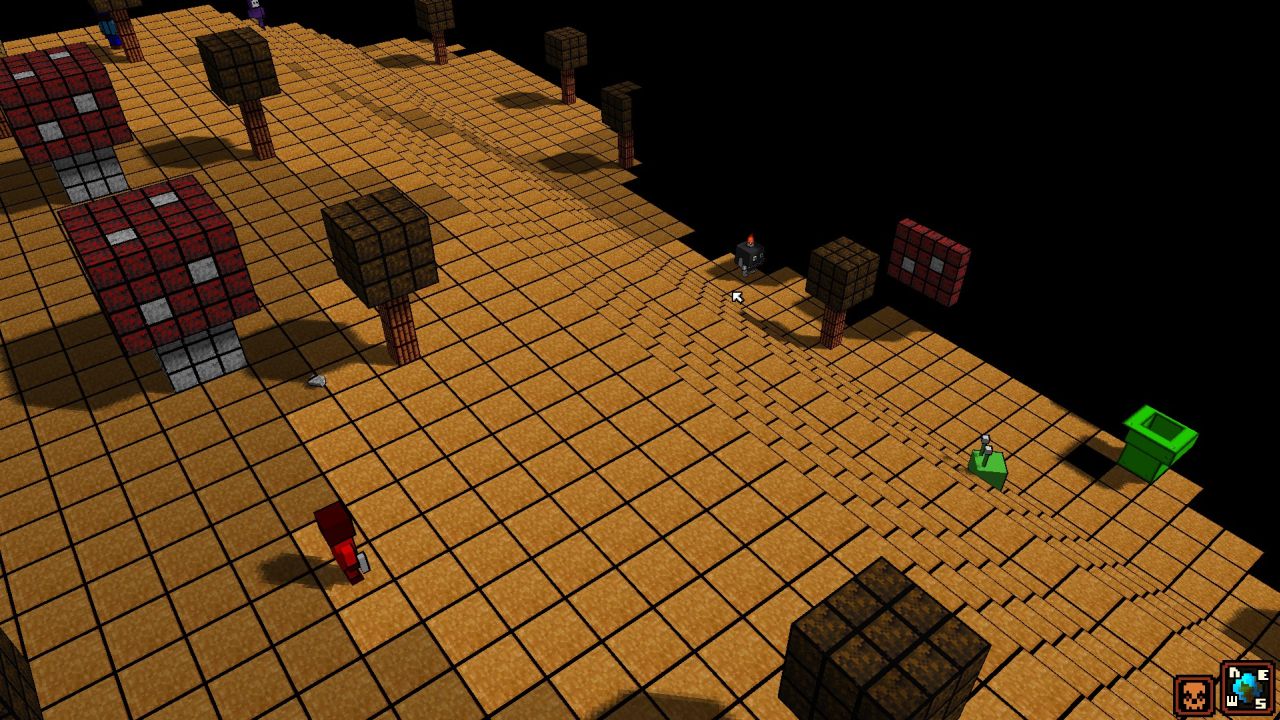
Hero moves on and spots an "Anonymous Gunmen"...

aka Shyguy with a gun "fire seed". These guys suck. They don't do a lot of damage, but they set things on fire which can be pretty dangerous, especially in the beginning when you suck at everything and are low on health. Moving closer, hero has only enough time for one shot, but because his ranged skill is still low and there's a fence in the way, his chance to hit is pretty abysmal. His chance to hit and time cost for the attack are shown at the top right of the screen. Note the helpful line that shows the path of your shot.
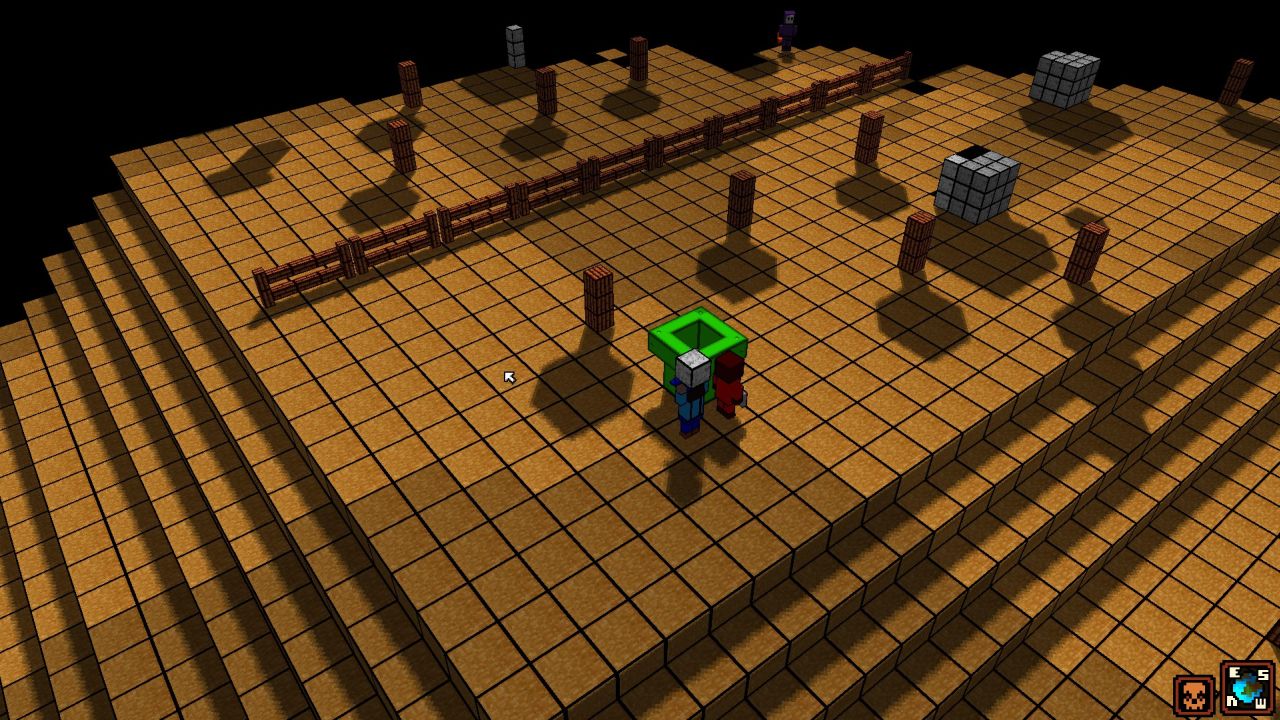
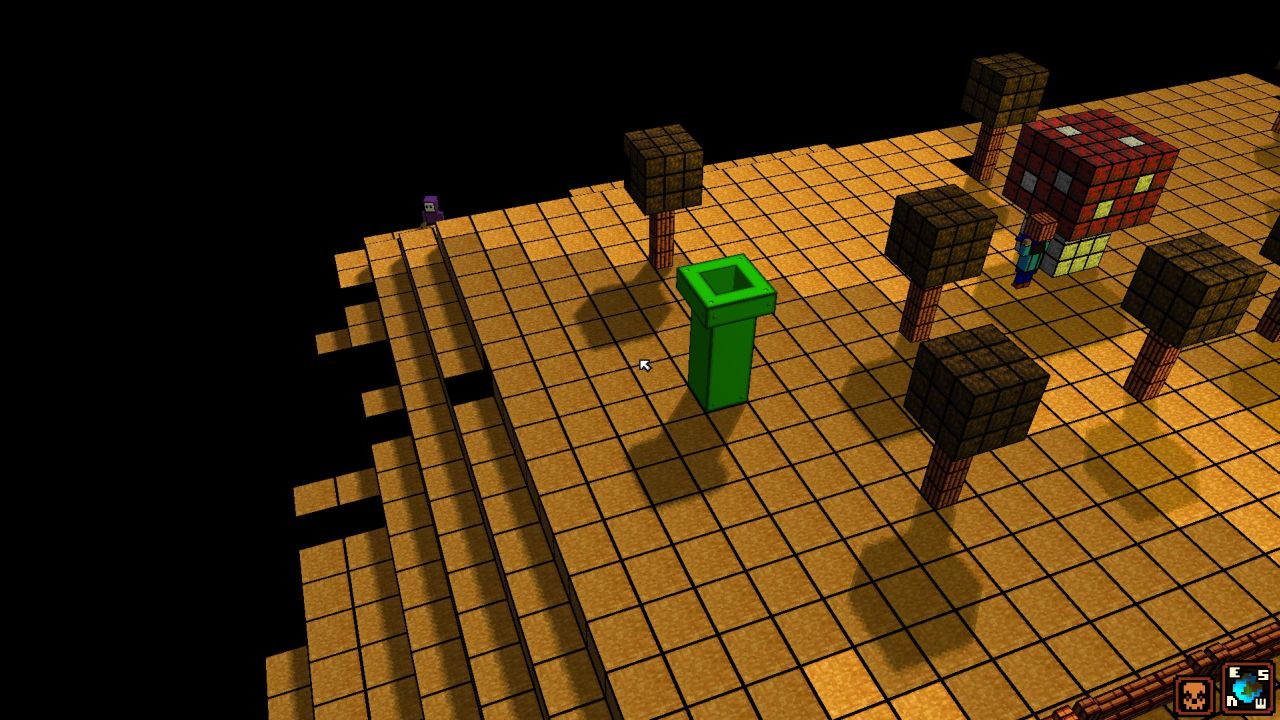
Because ther's no way he can kill the not-shyguy with one shot (even if it would hit) he retreats behind this very solid looking pipe and is joined by Biff. I won't show it of yet, because its too dangerous, but pipes work just as you'd think: If you jump into them, you come out of another one. at this point, this would basically be suicide though, so we'll use it for cover instead.

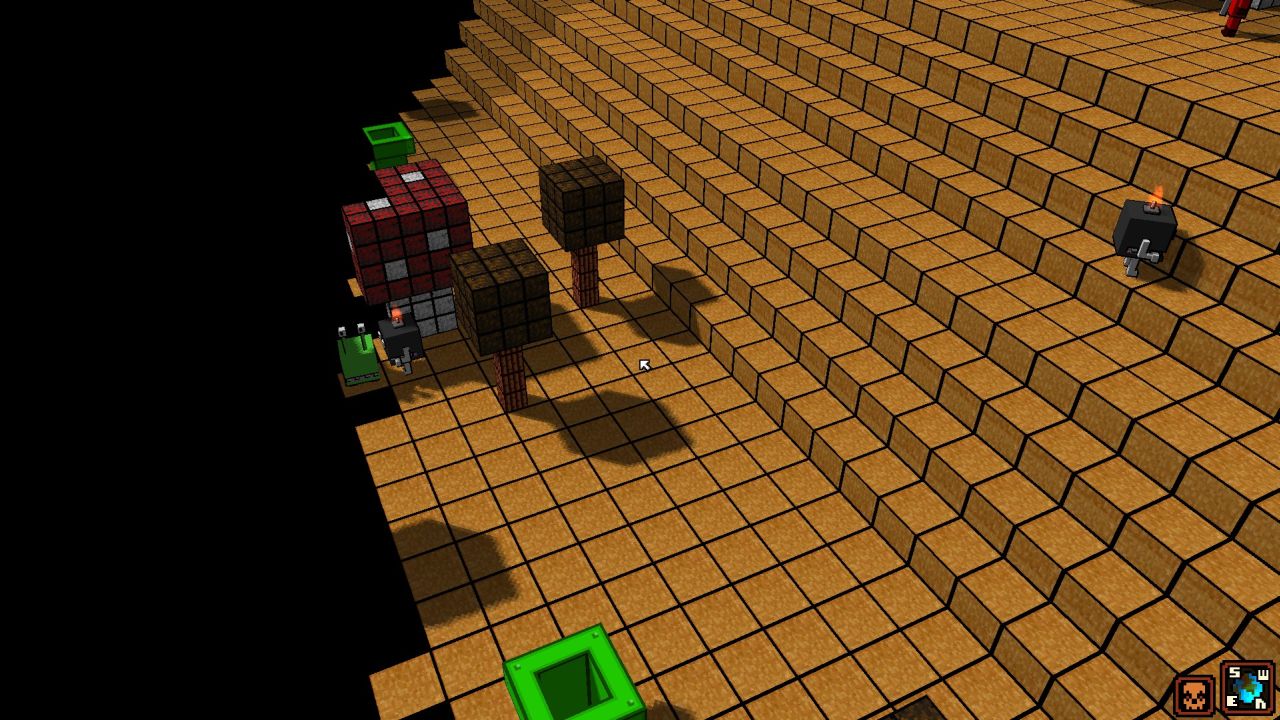
Biff stays below and makes sure we won't get surprised by enemies from the south. Did you notice the tree tops and stuff popping in? You can toggle the upper layers' visibility which greatly helps you finding your way and greatly increases the risk of throwing something into a tree and setting yourself on fire.
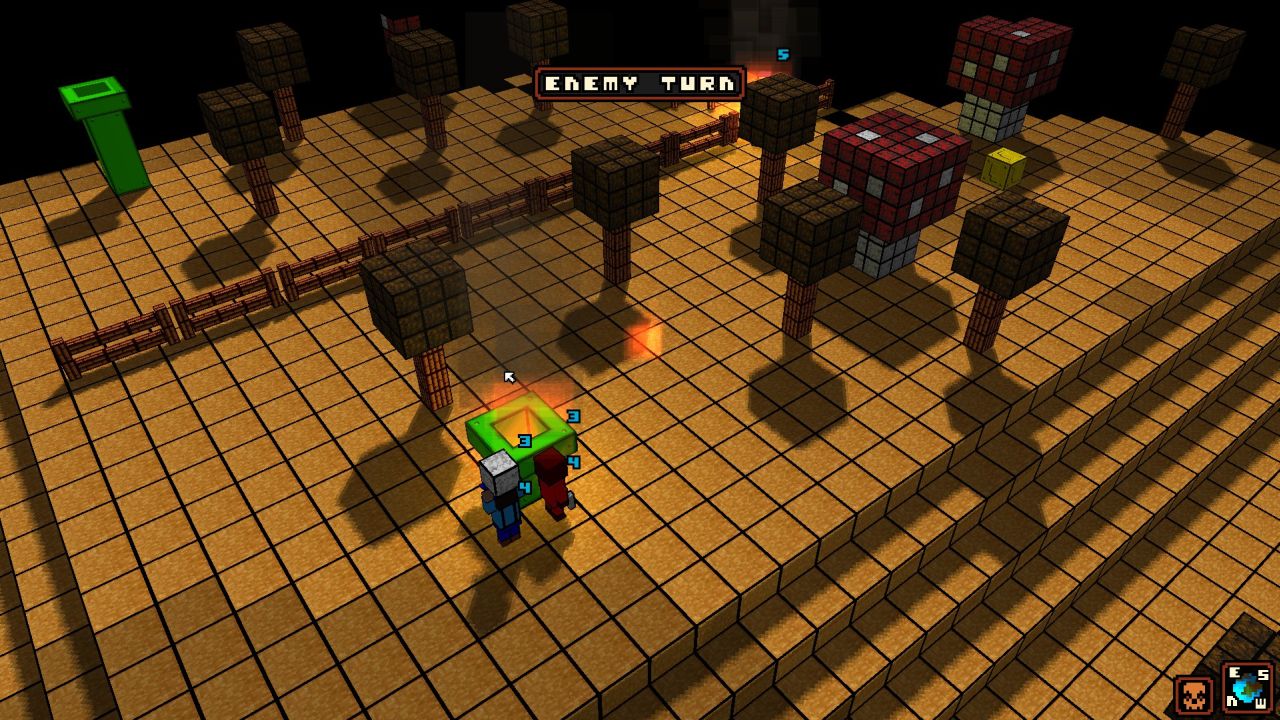
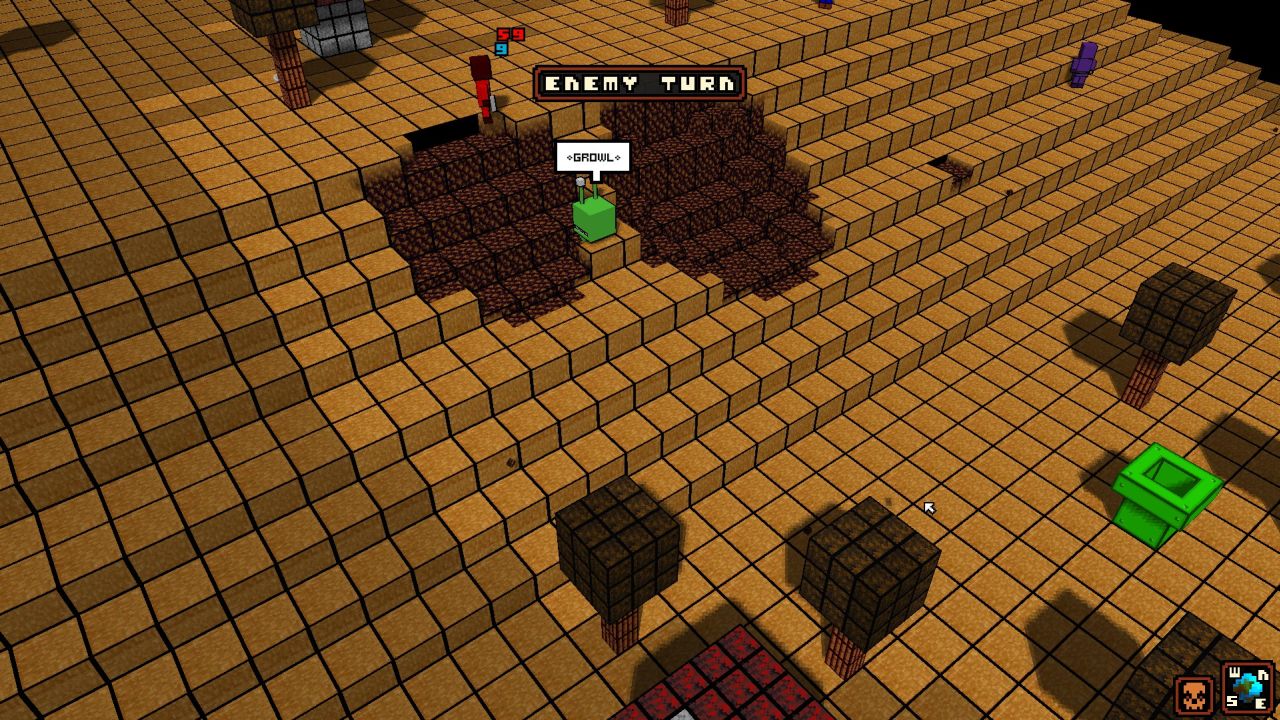
Ending our turn, the Gunmen immediately starts shooting. He doesn't hit, but the blue numbers floating around show our mental damage. Remember: whenever someone attacks you, or something bad happens near you, you take mental damage. In this case it's pretty low though, no worries. Also, the gunmen fired right through the fence in front of him, setting it on fire and giving himself some small mental damage  . Also also, pipes can burn, I didn't know that.

Meanwhile, an Eyestalk moves towards Arthur. Eyestalks are pretty much the weakest enemy, they're slow and only attack at close range*, so that's not a problem.
*Maybe they get ranged attack at higher levels, I'm not sure, but early on, they're pretty weak.
Hero moves out of cover and heroically misses! The second shot hits for a measly 18 points of damage and he's got one TU less than he'd need to shoot once more
At least he's got enough time to take cover behind this tree. Small trees like this are easily destroyed and make for bad cover (especially when fire is involved) but it's better than nothing.
Now it's up to Biff! As I said, throwing can cause a lot of damage, but despite putting most of the skill points into it, Biff is still kinda bad. the fence and the fire aren't helping eihter. Oh well, here we go!
 The rock hits the fence and shatters, leaving Biff open for attack in the next round.
Meanwhile at team Arthur. Arthur doesn't have enough time to move to the eyestalk and kill it, plus there might be more enemies in the fog of war, so he'll wait for the eystalk to attack. Maybe you've already noticed the "!" Blocks. You can jump against those to get items!
Hooray! Gold! Artur picks it up and waits.
Enemies' turn. Arthur had some time left and gets an interrupt.
He stabs the eystalk once to halve its HP. Probably should have waited, but it doesn't matter. Eystalks suck.
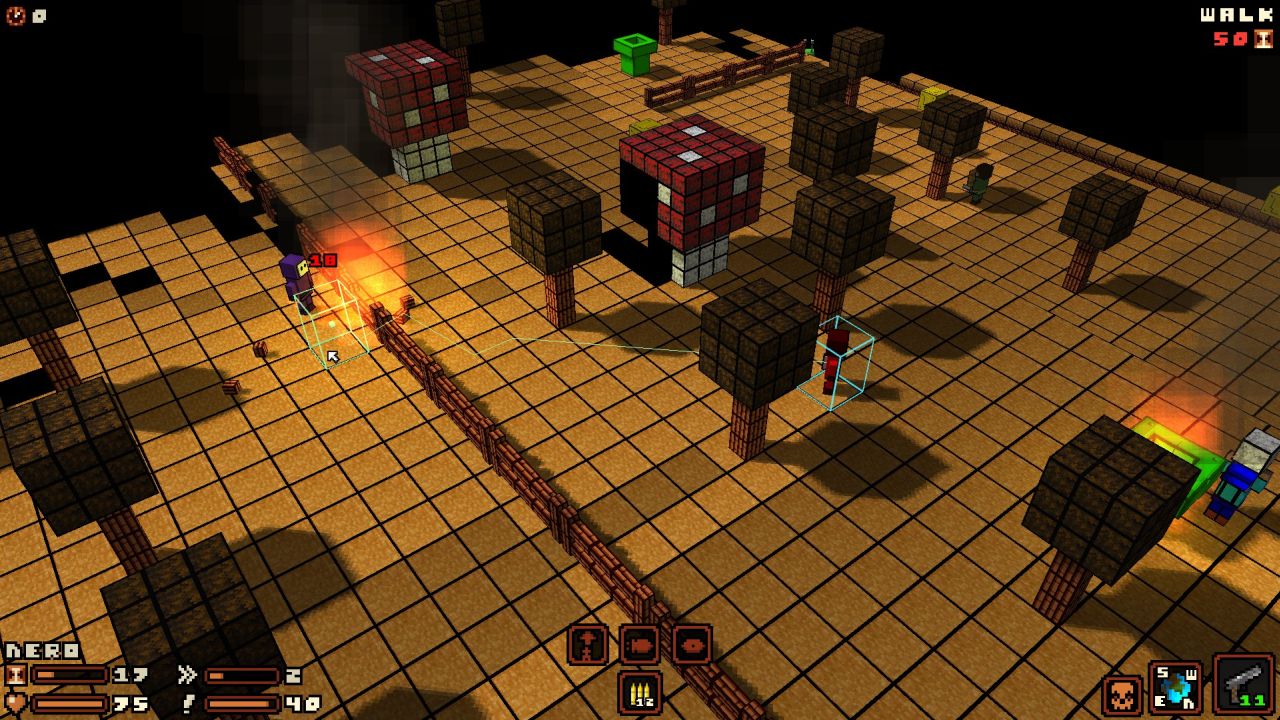
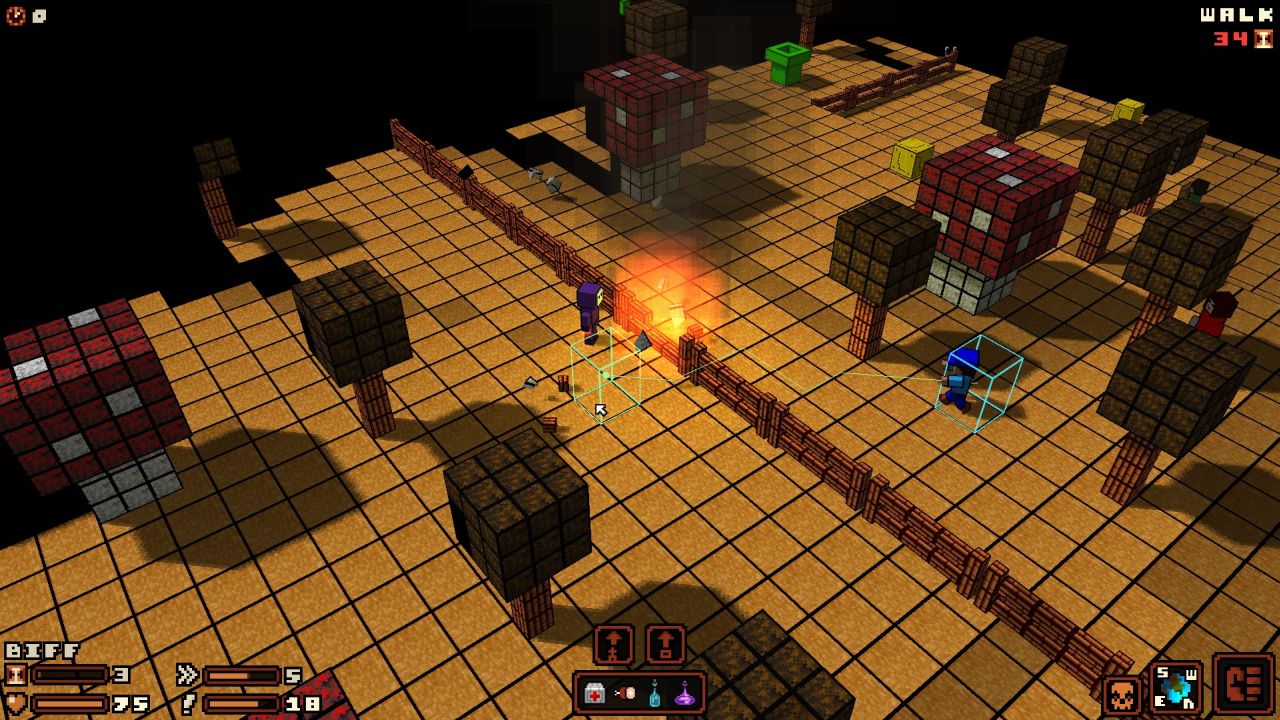
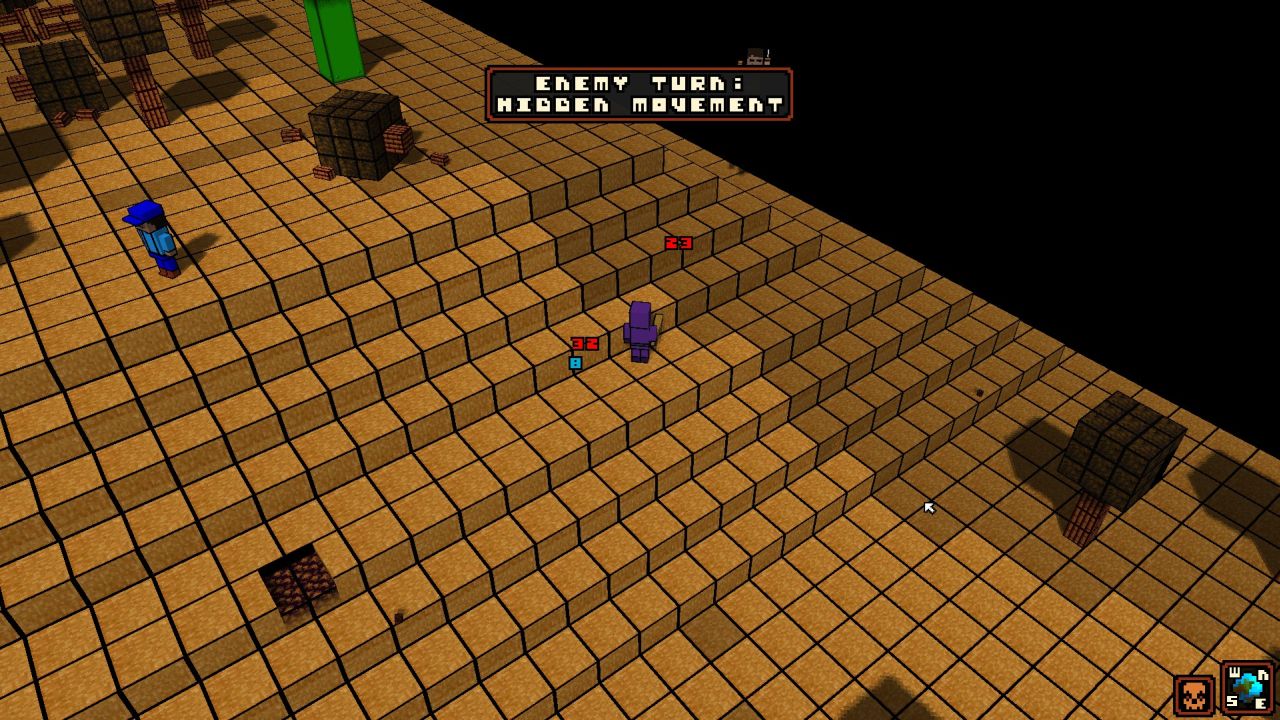
The gunman has moved out of sight and shoots. He misses Biff and Hero and shatters the pipe isntead! I should have known they were fragile - everything in this game is.

Biff is fed up with this bullshit and rips a piece out of the tree 

Get ready to die motherf
ffffff...fuck, where'd he go?
Biff shamefully retreats behind a mushroom and doesn't even have enough time left to turn around...
Hero also takes cover, but he has plenty of time left to shoot the gunman when he moves into sight. He's probably hiding behind the fire somewhere.

Arthur, unimpressed with large chunks of metal pipes flying around, kills the eyestalk. Who, for some reason, didn't attack during its turn despite standing right next to Arthur. The A.I isn't always that great, but I have never had anything like this happen before.

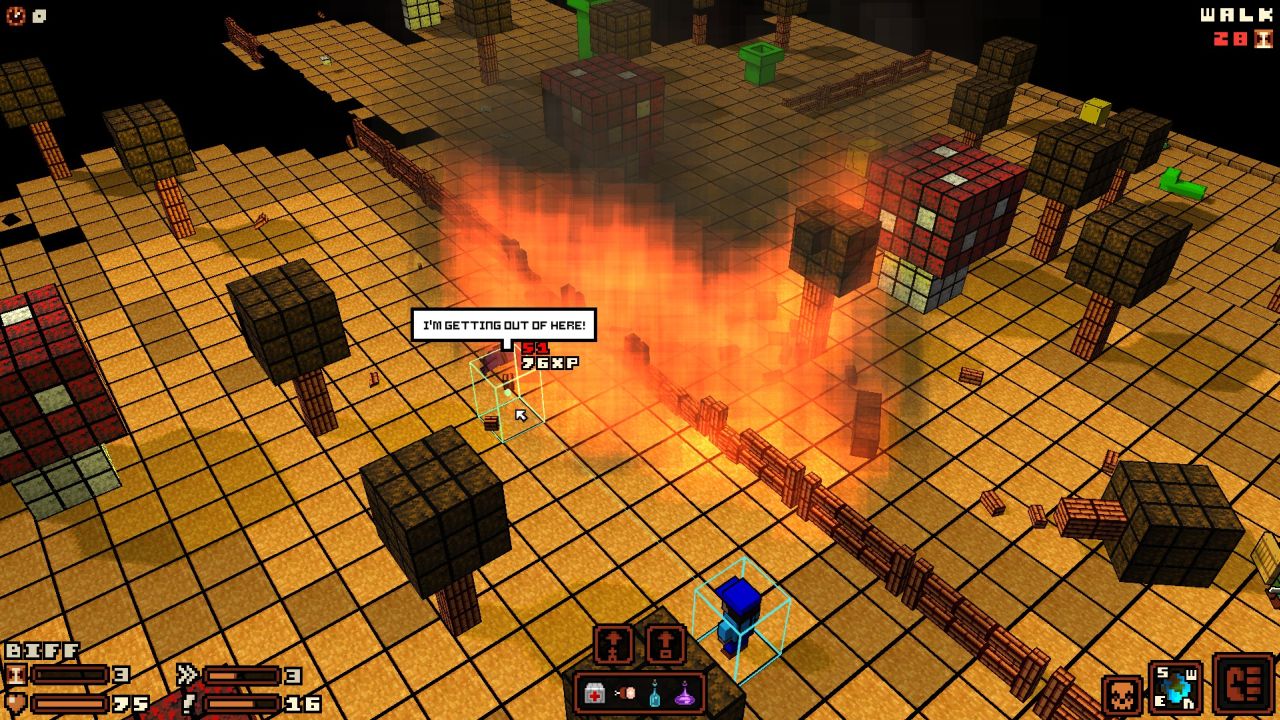
Arthur joins up with his mates again. Splitting up would probably work as well as in any horror flick, and maybe he can find that damned gunman.
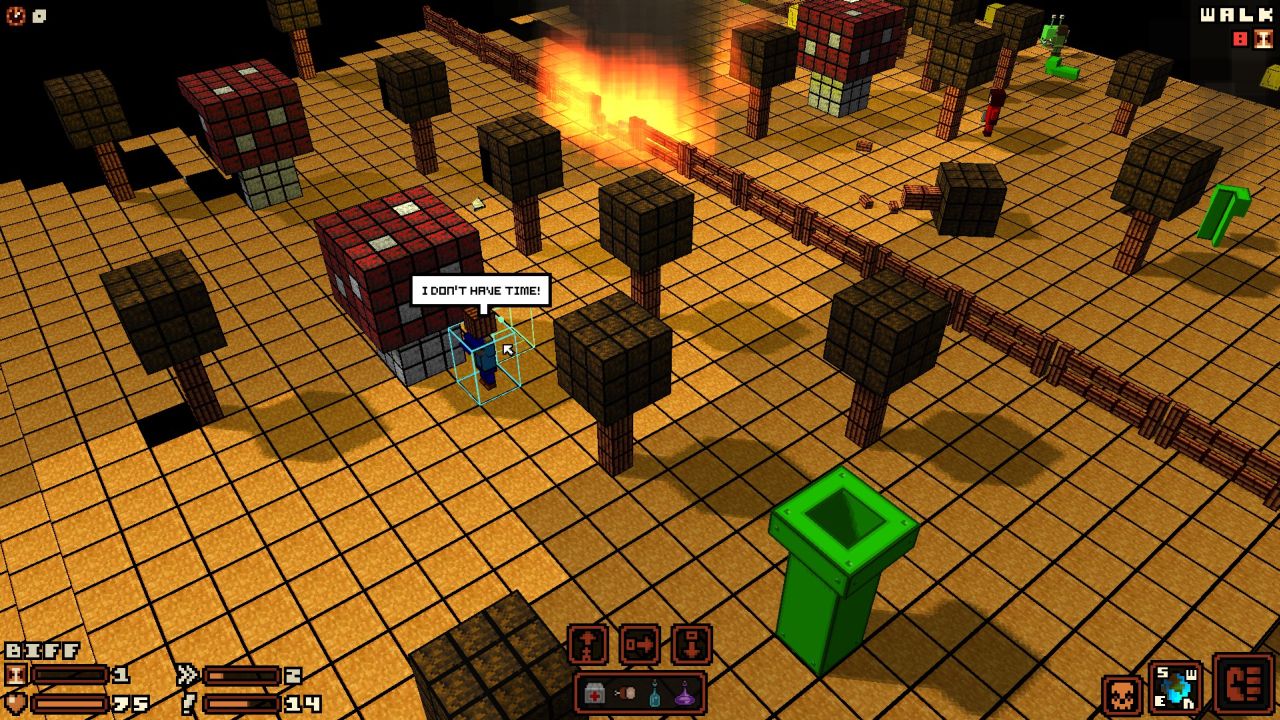
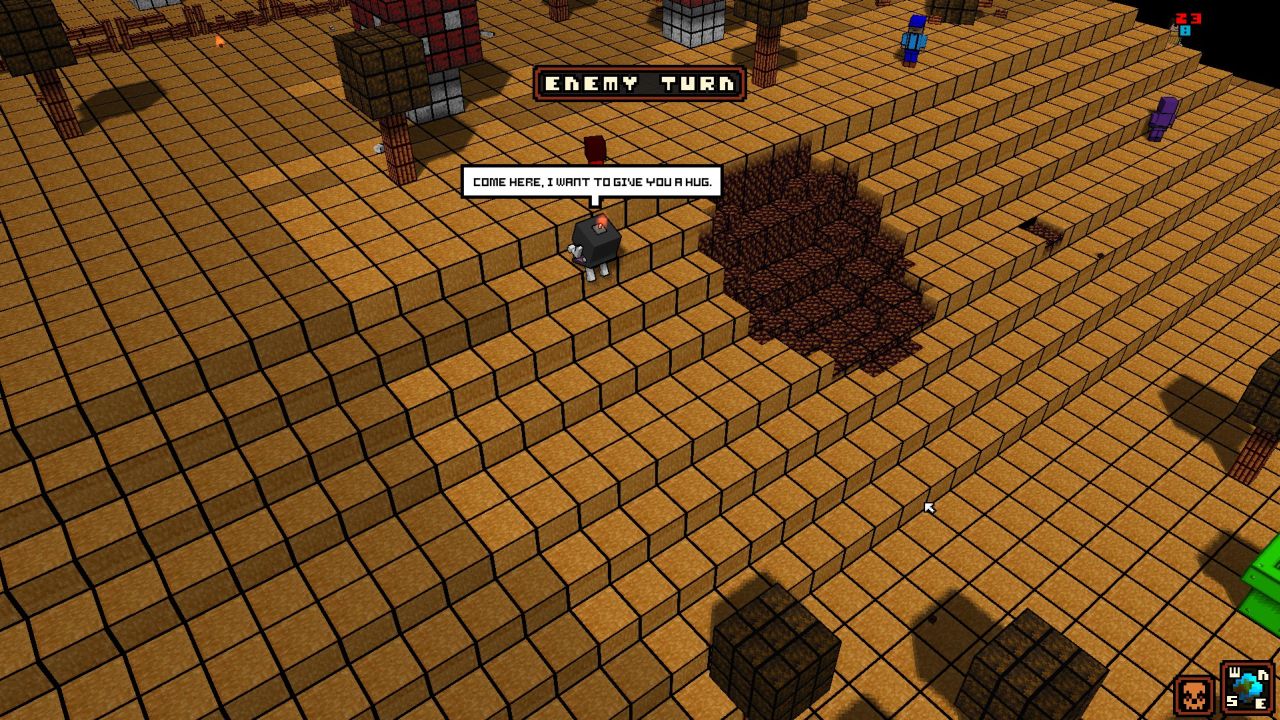
Uh, alright. Turns out he was hiding inside the fire, took enough mental damage to panic and now is running through the fire, taking environmental damage with every step.
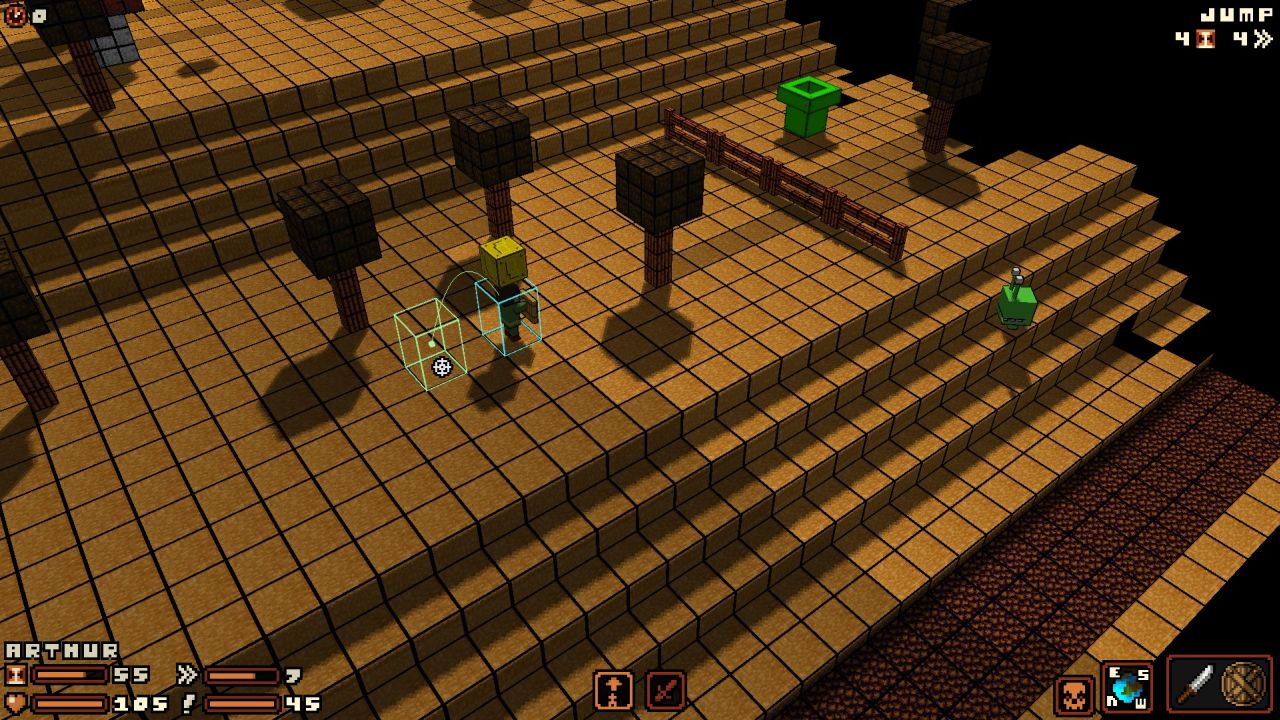
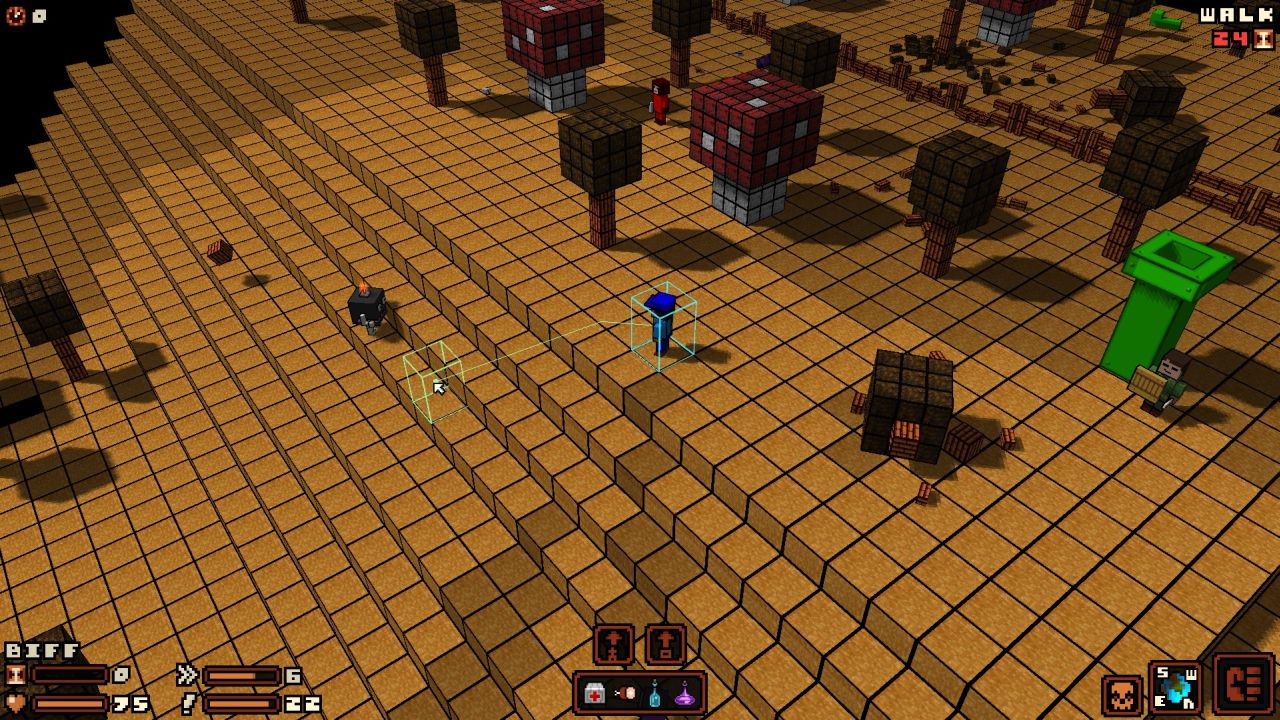
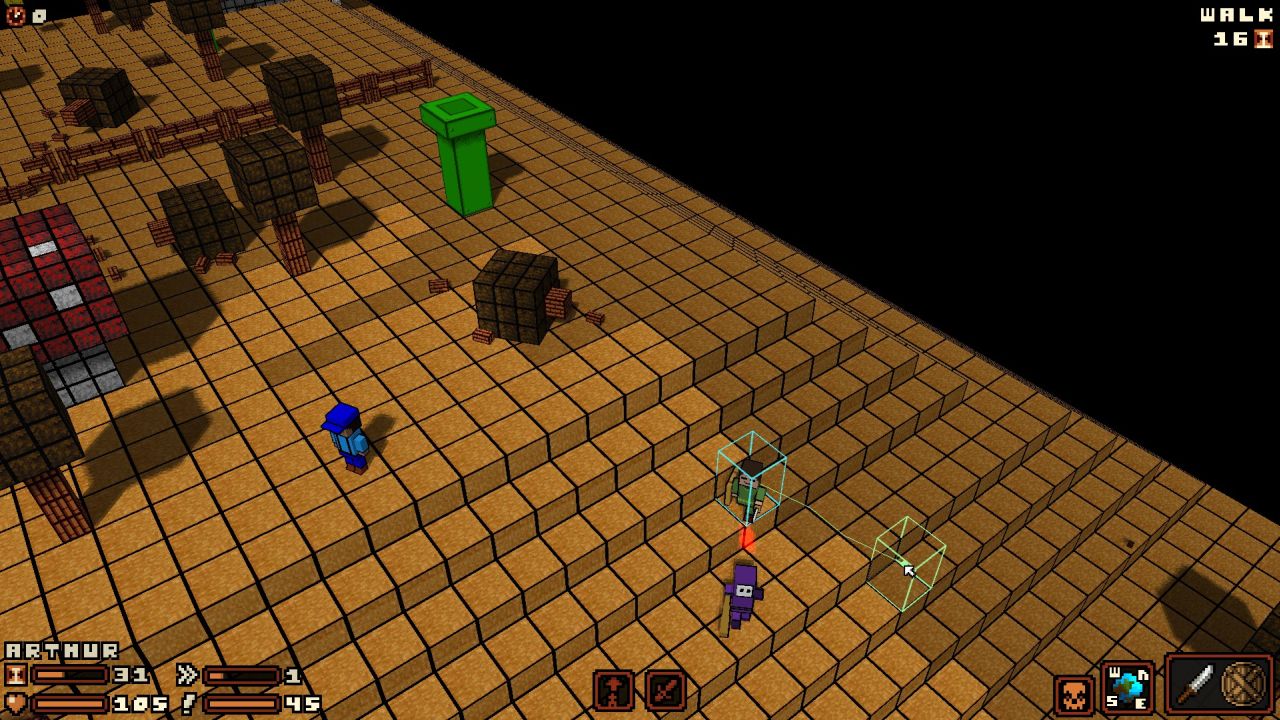
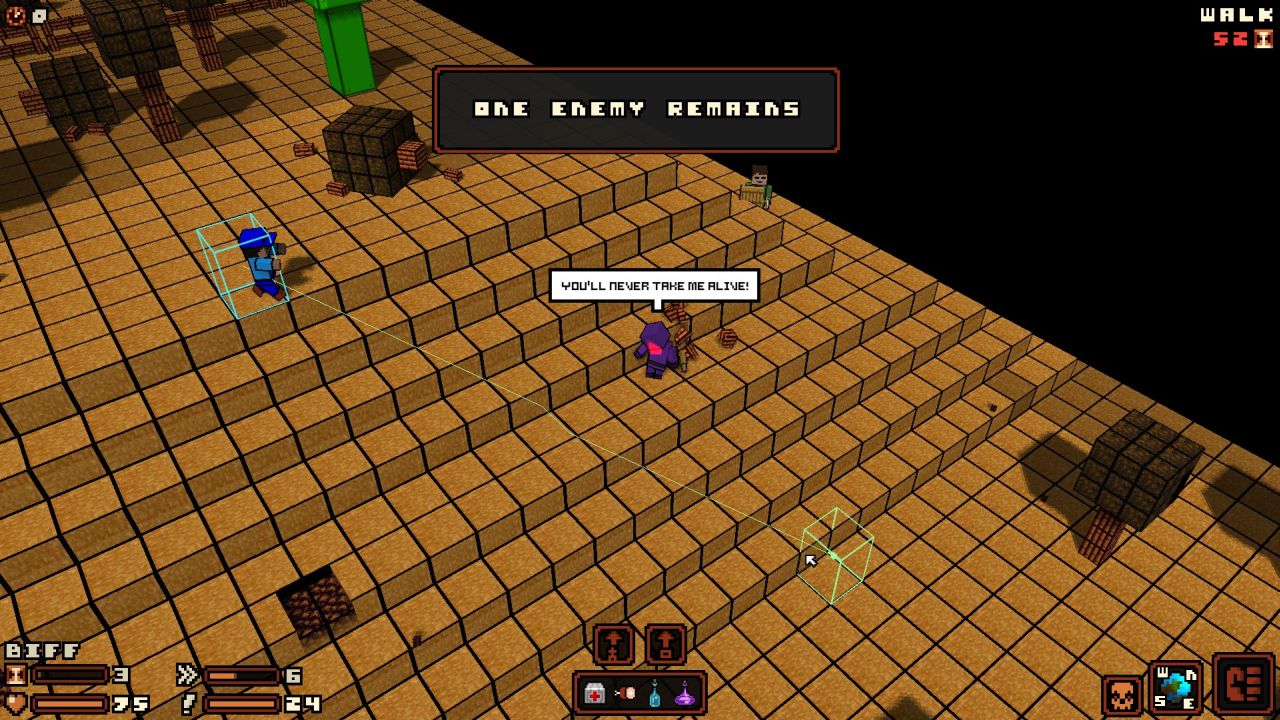
Arthur wants to move in, but stops immediately, because he's spotted another enemy somewhere. Whenever at least one enemy is in sight, this skull appears in the lower right corner. Clicking on it will move the camera from one visible enemy to the next.
A Bludgeoner is moving up the hill. He's no immediate thread, but we'll have to deal with him.
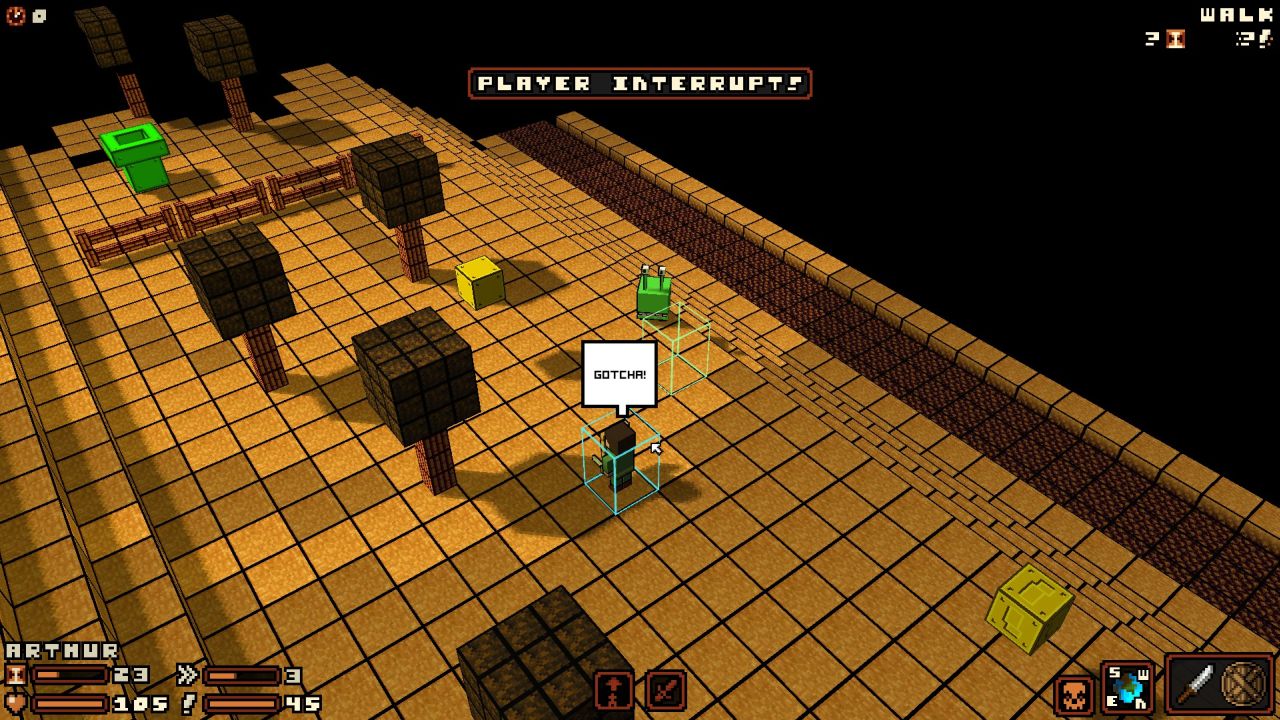
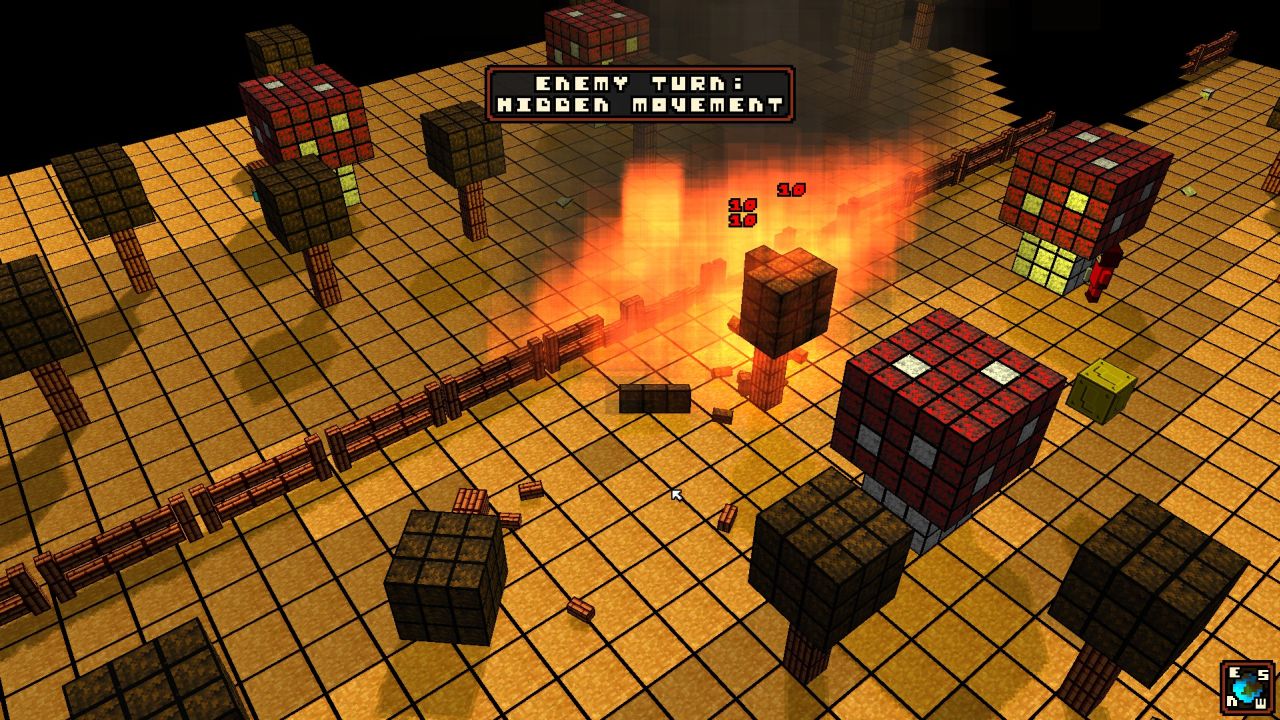
Biff finally lands a hit and kills the gunman. Since he had just panicked, he was still low on morale. Biff's attack caused him to panic again, just before he got killed hence the speech bubble. Note the sweet 51 points of damage! And that was with a medium sized piece of wood. The downside of throwing is that you can't use items while holding an object and picking something up costs 10 TU. Every squad member gains exp from every kill.
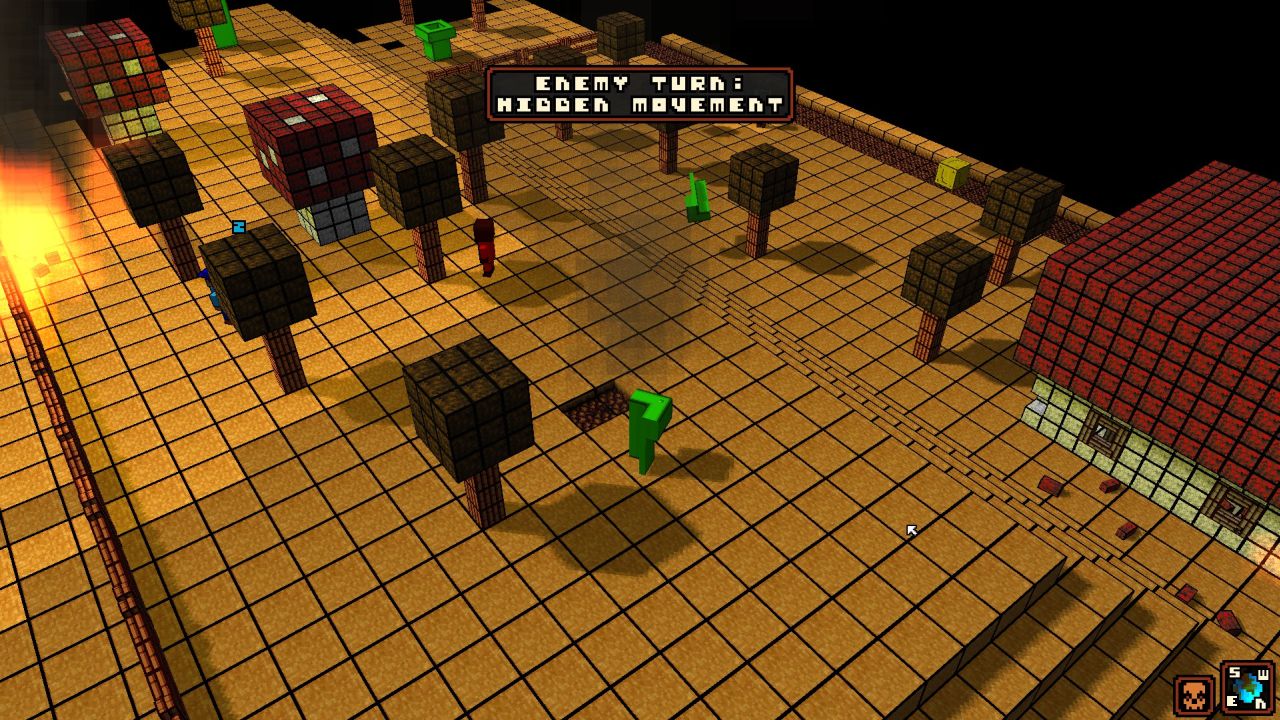
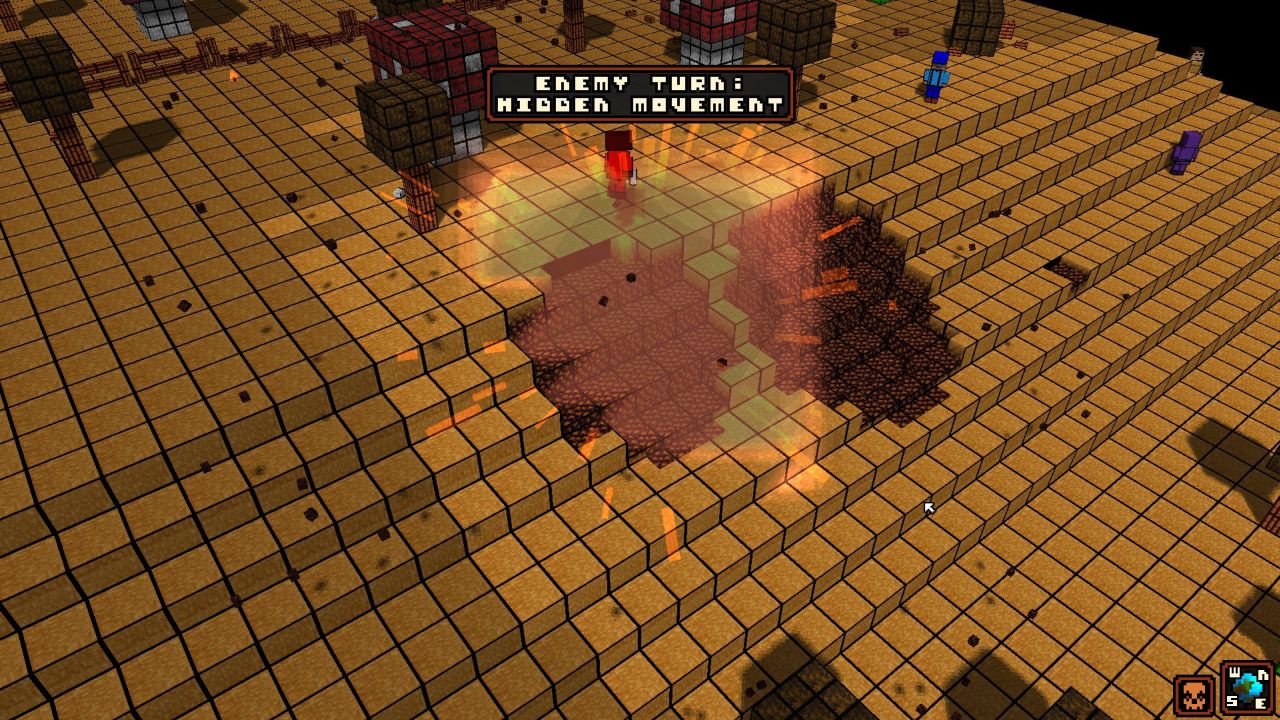
Beginning the enemy's turn, the fire goes out and a tree and parts of the fence crumble. Everyone moves closer to the edge of the hill, but no enemy is in sight.
Next turn. Biff spots the bludgeoner, but misses, only causing 10 mental damage.
Hero spots another eyestalk and an "Explosteve" (Bob-omb). These guys are dangerous. They jump wide and self-destruct, causing lots of damage. (Explosives of any kind are extremely dangrerous).
Since there are no good opportunities to attack, everyone moves closer together and, hopefully, out of range. The top of the hill might seem like a good position to fire from, but since most weapons fire in a straight line, it's easy to just hit the ground. You get a free aim option later, but I forget whether it's based on skill level or weapon. We don't have it now anyway and also lose sight of all enemies.
Next turn. Two enemies approach and Biff misses. Again. Biff and Hero are witihn jumping range of the explosteve, this is dangerous. Hero better be able to take him out.
Before taking even one step, Hero spots another explosteve...
...and another eyestalk. I knew it was a bad sign that no enemy spawned right in front of my face at the beginning of the map. Oh well, gotta try to deal with the biggest threat first.
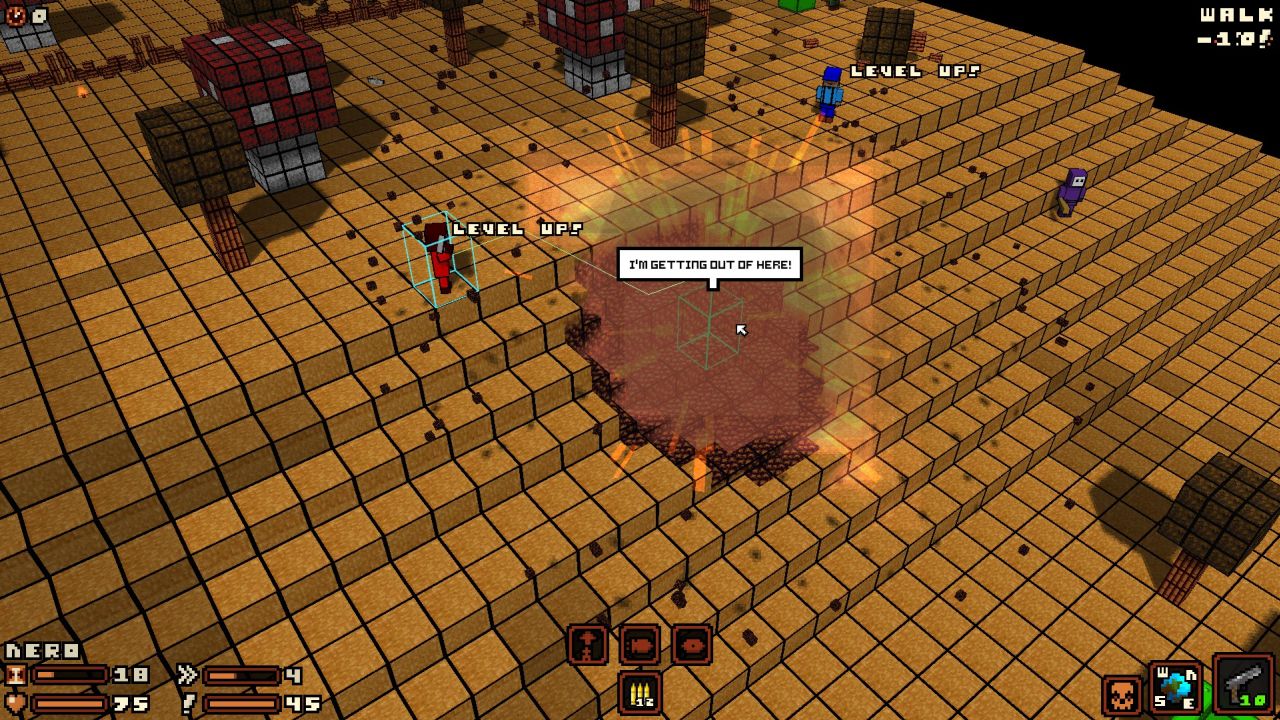
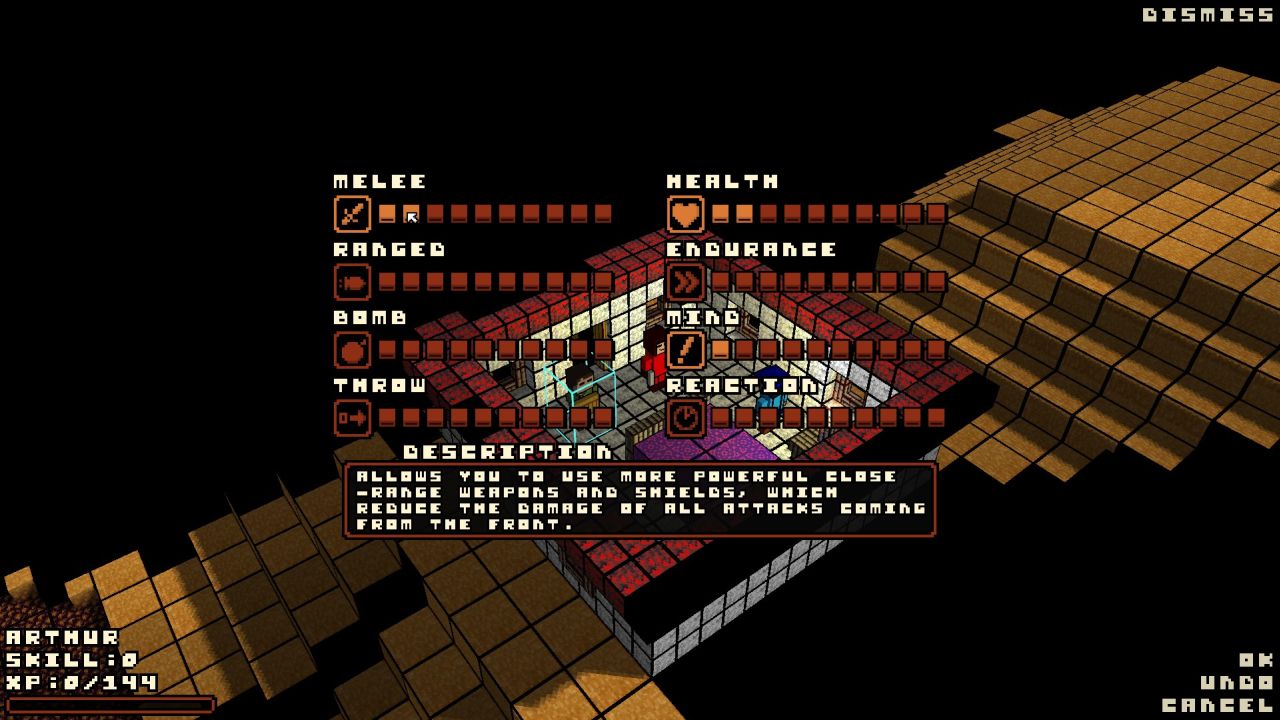
Yes! Hero one-shots the explosteve while barely staying out of range of the explosion. Also, everyone gains a level!. Gaining a level means one more skill point. Hero and Arthur improve their main weapon skill by one (ranged and melee), Biff gets one point in endurance.
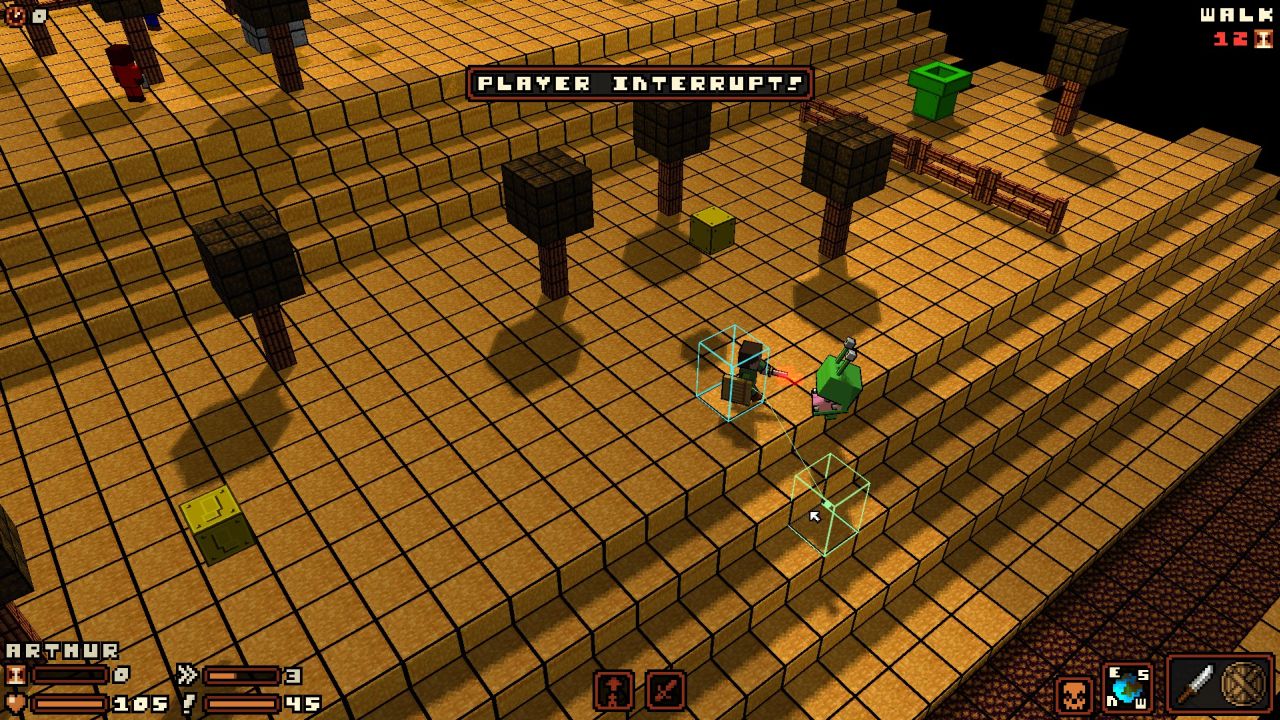
Next, Arthur tries to take out the bludgeoner and I'm reminded that the knife he started with is utterly terrible (damage: 14). Despite getting three hits in, he only causes 32 points of damage, leaving the bludgeoner with roughly half of his health.
Hero tries to finish him, but his shot hits the ground. (Though it might look like it, the line in this picture doesn't show the bullet's path, but Hero's path if he would walk here. The game switches back to "walk" after every attack).
It's bludgeoner's time to retaliate, and he hits musch harder than Arthur, reducing his health by half, despite his shitty shield. If you can't tell, Arthur's flying through the air, right behind the text bubble up there. Incidentally, melee weapons have a "push" stat  .
.
Aaand the second explosteve is better at jumping than I thought!
Crap!
Oh hey eyestalk, you're already here too? Awesome. Hero's down to 22 HP. Fucking Bob-ombs!
Biff decides to become useful again. With only the eystalk left, this will be easy, but we've taken more damage than I would've liked. When only one enemy is left and you can't see it, the game tells you which direction it's in, so you don't have to comb the entire map. We already know where the last one is though.
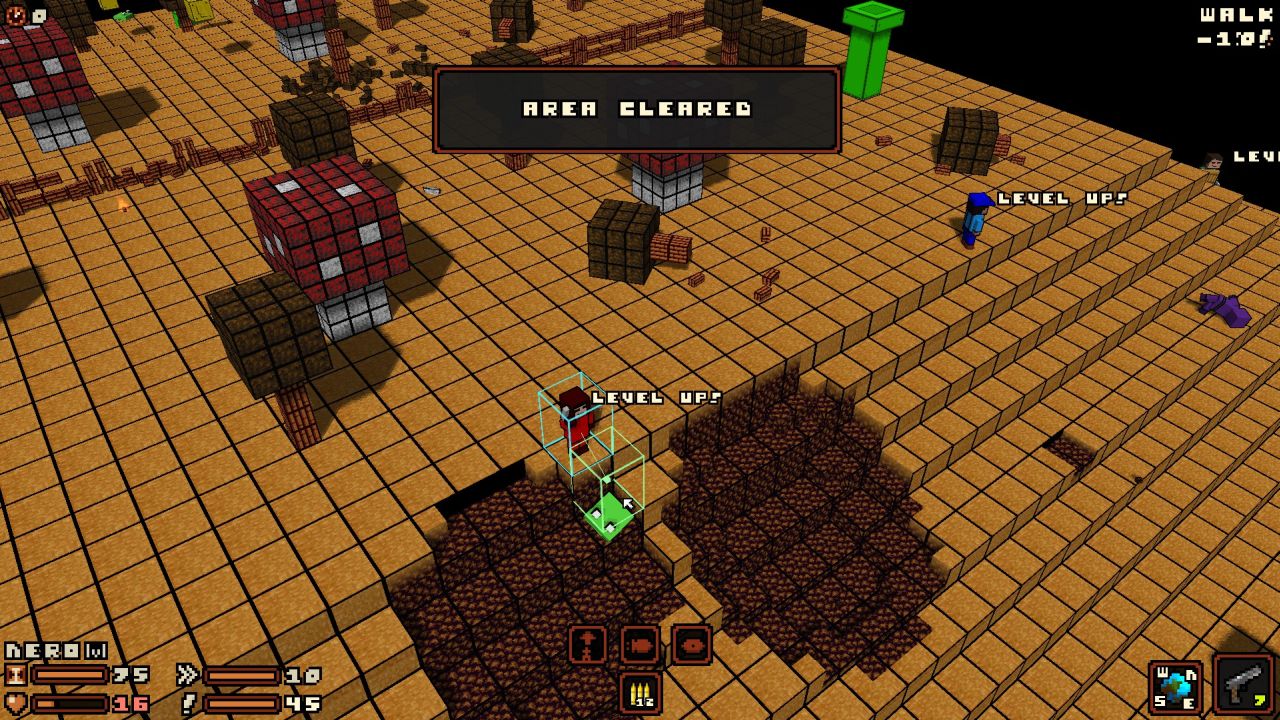
Hero kills it execution style, everyone levels up again and the first area is cleared! 
Arthur improves melee to 4, Biff and Hero increase health to 2.
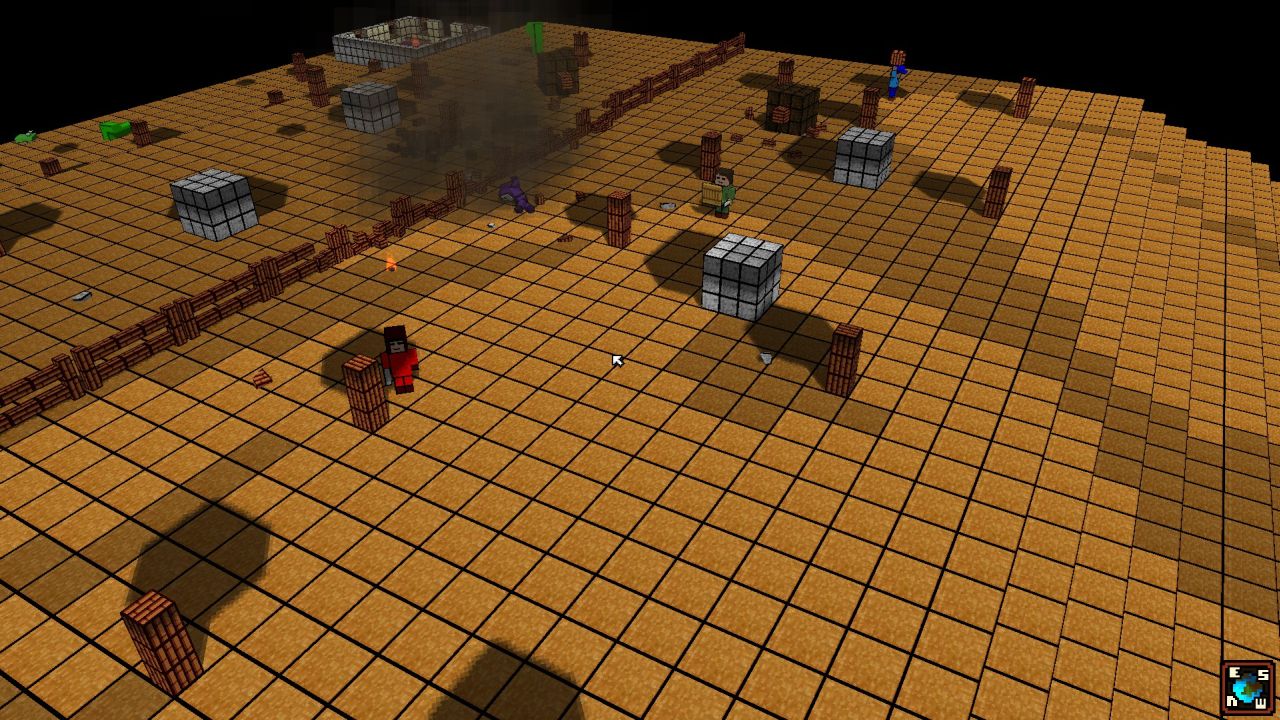
Once an area is cleared, everything becomes visible and you can move around freely. We only caused mild destruction and there are some bodies and blocks left to loot.
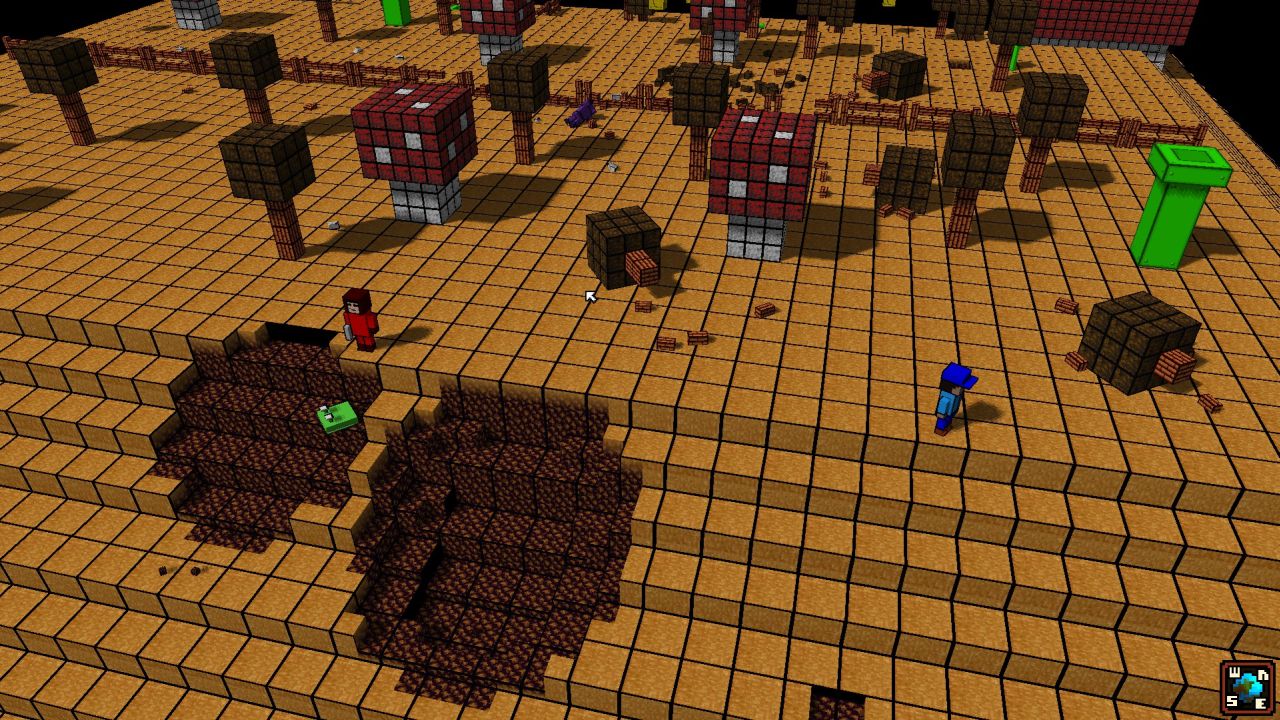
When you loot bodies during combat, you can only grab what they were carrying. When an area is cleared, everyhing is dropped on the ground and you can grab it from anywhere, so you don't have to search every corpse individually. We get a "fire seed" from the shyguy and a slightly less shitty melee weapon for Arthur. Here's also a more detailed breakdown of weapon stats, it's pretty self explanatory. We could also dress up as a shyguy, but fuck'em.
The remaining blocks only drop molotovs and smoke bombs. These would be useful if we had a "Bomb" character. Maybe we'll meet one soon.
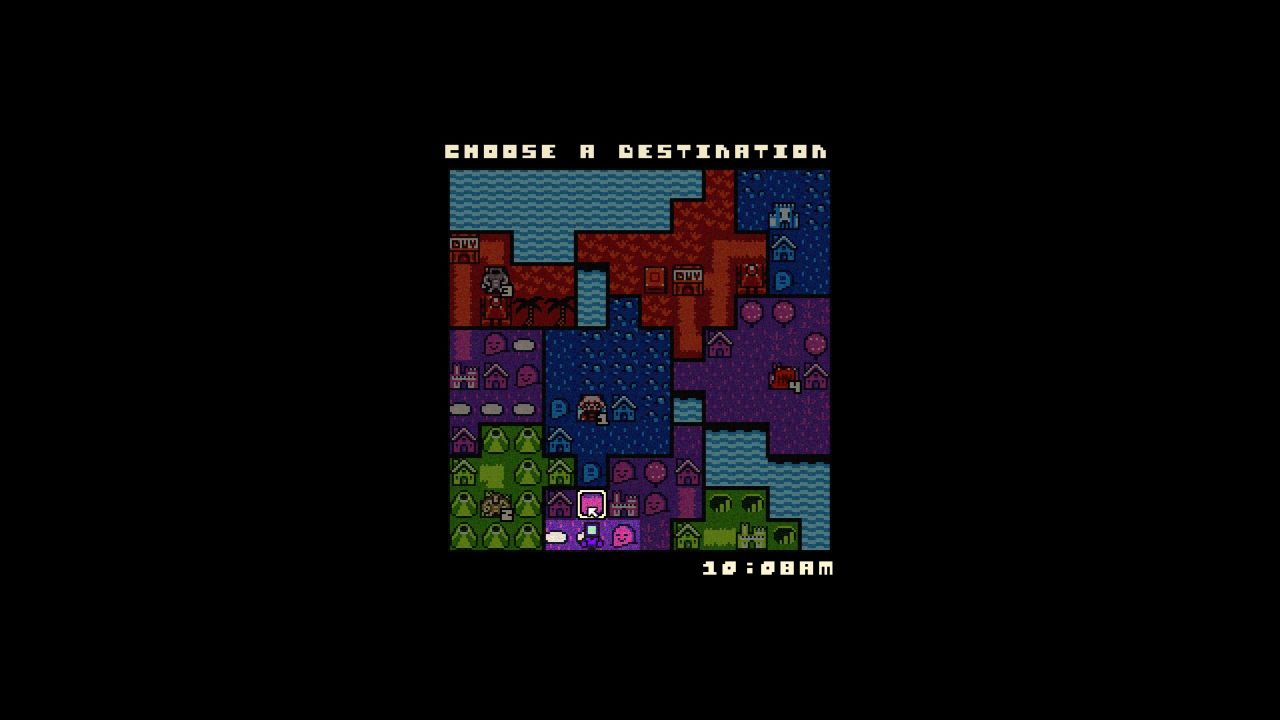
This is the world map. It's shown briefly at the beginnign of the game, but I didn't get a screenshot for some reason. When there are no enemies in an area, you can use the map screen to move around. We're at the bottom in the center. You can see various different areas and helpfully numbered bosses. You can only move one tile at a time (more when you've cleared the areas in your path). You have to fight on every tile except in cities (sometimes you have to fight in tose too). We'll head for the house northwest of us next. It might be a city where we can buy supplies - or a map full of houses and enemies. You can only move diagonally over cleared areas so we'll have at least one more battle before we reach the city, but we'll need it anyway because we don't have a lot of gold.
I won't cover the next battles in as much detail, but I wanted to give you a good idea of how the game flows and the basic mechanics.