Toggle Background Color
One of my favorite games of all time is Final Fantasy 5. I played it on an emulator when I was much younger (before the game ever saw a western release) and enjoyed it, but in the last couple years or so it has grown into one of my favorites because of all the fun and interesting ways to play it. The Job system is simple, but leaves a lot of room for experimentation and variation. There's all kinds of fun self-imposed restrictions you can put on yourself for extra challenge. I'm going to do one I've come up with, and write about my adventure. I've decided to do what I'm going to call a "Solo Fiesta Challenge." This will be a mixture of a solo character challenge (playing the game with only one character instead of a full party of four) and the charity Four Job Fiesta event, where a bot hands out random job classes for you to use. My character would swap to each of his new jobs as he received them, and at the end of the game would combine their powers as the Freelancer class.
So here are my self-imposed rules. Once I've received a new class, I must switch to it until the next crystal. I can only use previous classes to gain APB for them and unlock additional abilities for my current class. I will also allow myself to switch to a previous class if I need to grind out some levels and one of the previous classes can get it done faster.
I also would be ruling out a few jobs for this playthrough. From the Wind Crystal, I would be banning the Thief and the White Mage. Although these classes pass on extremely useful abilities like Steal, Capture, and White Magic, they are a real slog to get through the first few bosses. Yeah, I wouldn't have to do any of the truly insane fights like Byblos or Soul Cannon, but even just Karlabos, Siren, Magissa & Forza, and Garula would be a huge pain. Not looking for quite that level of challenge here.
As you might guess, I'm also banning the Berserker from the Water Crystal. No #BERSERKERRISK here. Even though I would be able to swap to the Fire Crystal job after only one boss fight, even just Liquid Flame with a Berserker is annoying. That, and they just plain aren't fun to play as in a solo setting.
None of the Fire Crystal jobs will have any restrictions, but from the Earth Crystal I'm going to ban the Chemist. As most people familiar with this game know the Chemist is just ridiculously broken if you know how to make his best Mixes. Even a solo Chemist can break the game under his knee. So I will refrain from using one, for that reason (and the fact that hunting down all the materials necessary for Mix gets pretty boring.) I will be allowing Samurai, which is also a pretty overpowered class, but I will refrain from using Zeninage (Gil Toss) if I end up with one.
I'll mostly be talking about the boss fights, and be making very little mention of the story or mundane travelling from place to place. The boss fights are where the action is at in these types of playthroughs. I will mention anything interesting that happens and any important items I pick up along the way. So, without any further ado, let's get this started.

I'll be pretty brief about the very beginning of the game. Nothing interesting going on until you get the first set of jobs from the Wind Crystal. I'll take this time to mention I'm playing the GBA version, which is the definitive version of the game in my opinion. Yeah, the sound and graphics are a little weaker than the SNES version, and some people don't like the flowery and goofy direction they took with the translation, but I am a big fan of it. As far as my settings, I mostly just changed things for extra speed and convenience. And that classic Final Fantasy blue gets a little hard on the eyes after awhile, so I switched the menu color to something a little more muted.
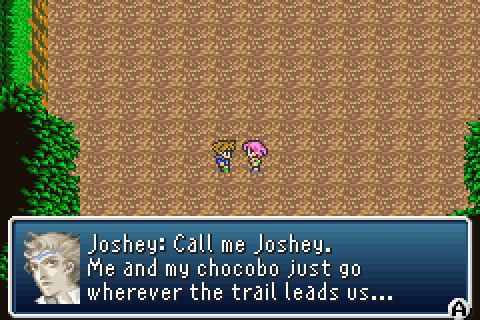
As for my character's name, no one knows how to throw a solo party like Joshey!
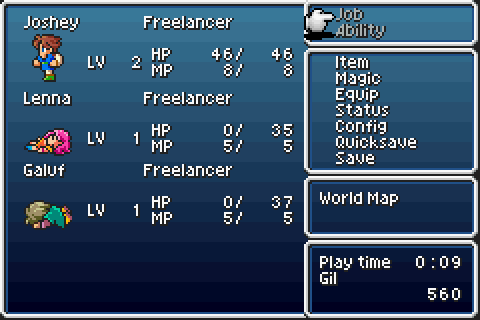
Another thing I should make mention of, I'm utilizing a code to keep all my other party members permanently dead. Just saves me a whole lot of hassle constantly killing them off when they get revived by story events or inns and such.

I really do enjoy this game's charm. I said I wouldn't talk much about the story, but I'll throw in some gifs here and there, mainly because I got too obsessed with making them once I remembered how.


After gaining Faris, she was kind enough to give Joshey her Leather Shield. It doesn't actually confer any extra defense, but the extra 10% evasion would come in handy.

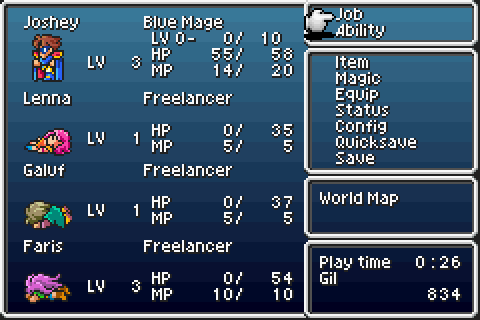
I made the usual pit stop in Tule before the Wind Shrine, grabbing the various free goodies lying around in barrels and such. Other than that, I made the standard trek through the Wind Shrine and beat Wing Raptor without breaking a sweat. The job I ended up rolling out of the Wind Crystal (using random.org) turned out to be the Blue Mage. That was fine by me, I think it's definitely one of the most fun and versatile jobs in the whole game. It may not have the raw power of a Knight or Monk, but if you know what you're doing, some of those Blue spells can be really powerful - as the next few of the games bosses were about to find out.
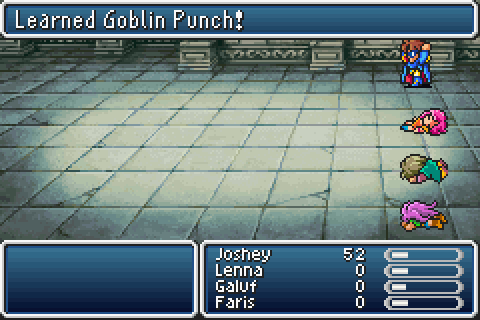
The next order of business was to pick up the first few Blue spells available. The first one I picked up was Goblin Punch, a staple of any of good Blue Mage's arsenal. At first glance it's fairly innocuous. It costs no MP to cast, and uses the strength of the weapon you have equipped to do damage, just like a normal attack. However, what makes it special is that it can be used from the back row at no penalty, and thus is almost always a better idea than just attacking. Better to have the extra safety of the back row without losing any of the punch off your attacks! And lastly, if the Blue Mage has the same level as the target, the attack gains a massive eight times damage multiplier. That's...a pretty big deal. With proper planning, that spell can carry the Blue Mage through much of the early game all on its own. But when you combine it with the next Blue spell I'm going to talk about...

Things start to get really ridiculous. The Steel Bats back in the Pirate's Cove teach Vampire. Vampire is similar to a Drain spell, draining HP away from the target and giving it to the caster. However, the damage formula is always the same: (Max Life - Current Life). This is actually a significant improvement over the SNES version of the game, where it did damage equal to (Max Life - Current Life) / 2. Therefore, in the GBA version it is quite literally twice as good! Any successful use of Vampire would restore Joshey back to full health. Pretty darn useful.

The other spell was Aero, a wind element spell which I picked up off the Moldwynd enemies in the Wind Shrine. If Joshey wasn't the same level as his enemy and he was high on health, this was generally the attack I would use for the most damage. It's a bit stronger than the first level Black Magic spells like Fire/Ice/Thunder (A spell rating of 20 as opposed to 15.) It was also useful for targeting large groups of enemies at the same time. I should have taken some screenshots of these spells in action, but you'll see them all against the next couple bosses.
Now that I had obtained the first three Blue spells, I was ready to head into the Torna Canal and fight the bane of so many solo variants...Karlabos.
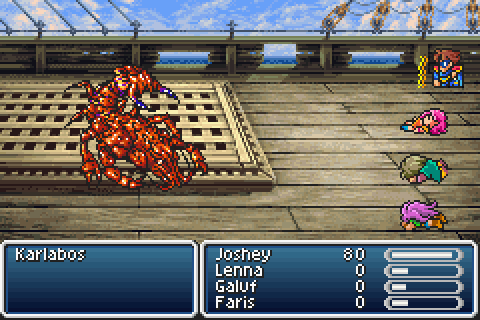
Normally this boss is hardly a speed bump for a full party of four, but things can get nasty really quickly when you have only one character. He's infamous for his cheap Feeler (paralyzes your character) Tailscrew (Drops HP to near death) Fight (regular attack) combo, whereby he can kill your character before you even get the chance to issue a single command. Doesn't matter if you're level 1 or 99, that combo will unavoidably spell death. A lot of times all you can do is lower your head and keep retrying til luck goes your way and he doesn't use that sequence of attacks. Of course, I had a plan to make things a lot easier. I'll level with you guys. I already knew I'd be getting a Blue Mage before I started. Although I would wait until I reached the next crystal to roll my next jobs, I rolled the first one right at the start. This was primarily to know whether I'd have a Knight and need to refrain from running from battle for Brave Blade purposes. Once I knew I had a Blue Mage, I made sure to hold Joshey at level 5. This would ensure massive damage against Karlabos, who is also level 5.

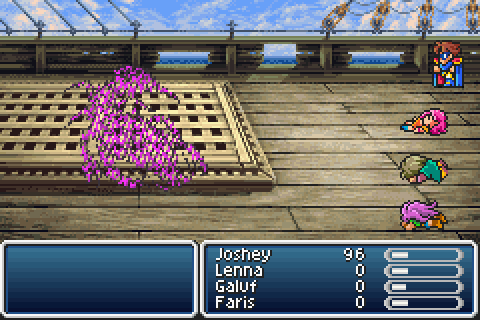
240 damage? Not too shabby at all. This would significantly cut down on how long I needed to survive to kill the boss, thus cutting down on the chances I'd have to get killed by the Feeler-Tailscrew-Fight combo. That was the only danger in the fight. Uses of Tailscrew when Joshey wasn't paralyzed weren't scary, because I could simply steal back the lost health from the boss with Vampire. That all being said, it still came down to the luck of the draw as to how many attempts this would take. So imagine my surprise when I actually beat him on the first attempt! Joshey was almost killed immediately after getting hit with Feeler and Tailscrew, but actually evaded Karlabos' regular attack at 10% odds thanks to the Leather Shield. He didn't attempt the combo again.
I'm recording just about everything I do, for the purposes of being able to capture any image I want for this report, as well as to be able to upload videos of boss fights. So, here's my fight with Karlabos.
https://www.youtube.com/watch?v=lAYcRxdCSrA
Guess it's a good thing I equipped that Leather Shield, huh? If you don't feel like watching the video, these two gifs as well as the one above pretty much sum up the fight.