Toggle Background Color

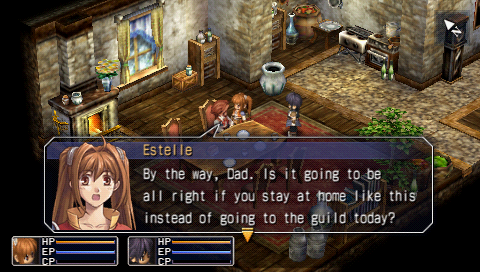
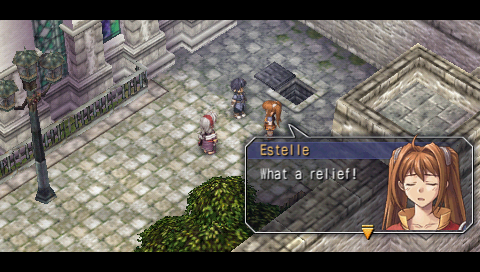
And we're back. Time to start our grand adventure! But lets see what dad has to say first...
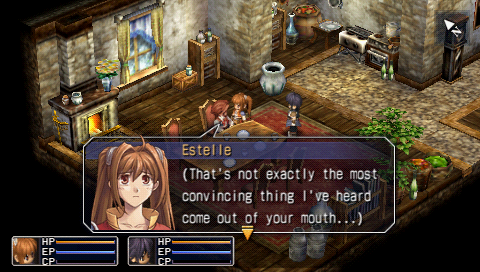
[IMG]e_shocked[/IMG] You haven't been there for a couple of days now.
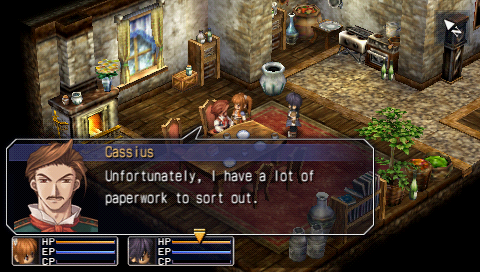
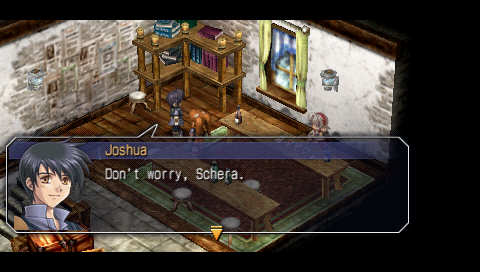
[IMG]c_normal[/IMG] But don't you worry. I'm carrying a big enough workload that the guild's not likely to fire me anytime soon.
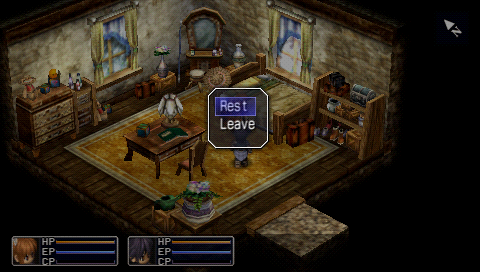
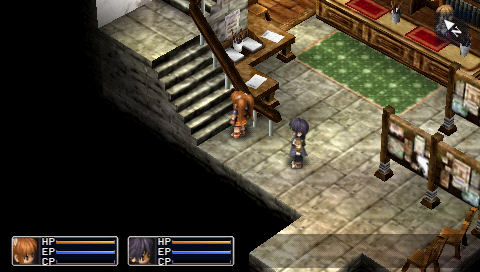
In the Bright house there is really only one room of interest, Estelle's. If we examine it, we can rest to recover all our HP/EP. Do they both sleep in the same bed?.....nah. Lets head outside.

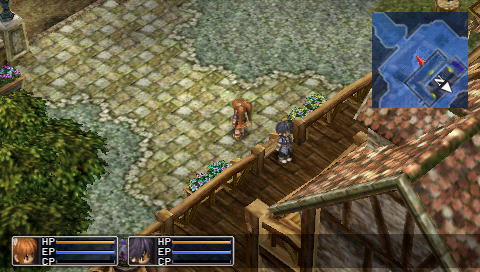
In most areas of the game you can rotate the screen a full 360 degrees by pressing L or R. This allows you to spot hidden treasure chests or monsters easier. Sadly, nothing outside of our home for the taking.

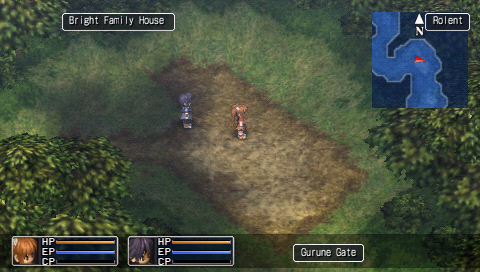
Moving southward from our house our objective is to get to the city of Rolent where the bracer guild is. By holding "square," all locale names will pop up that you can actually visit. As long as you keep holding the button the name boxes will move along with your screen so that you don't get lost trying to find your way. I prefer a different method though.
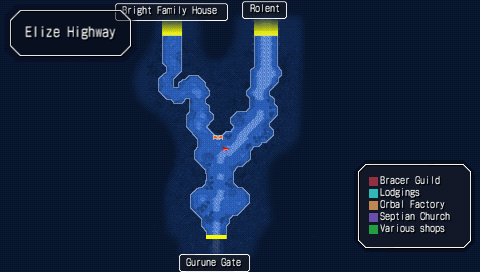
Just by pressing the "select" button we can get an overhead view of the screen we are currently on. All the yellow lines show transition points onto the next screen so you never have to worry about where one screen ends and another begins. Once again our destination is Rolent. Trying to go to Gurune gate just gives us the standard JRPG, "NOT THIS WAY INFIDEL!"

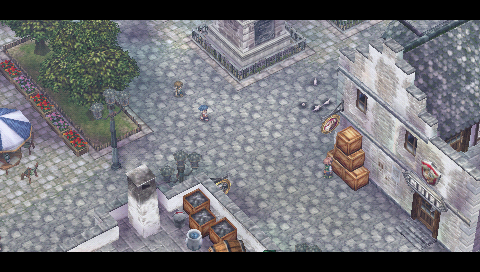

Welcome to Rolent. It is one of the five major cities of the Liberl Kingdom. Definitely not the biggest though. In fact, compared to other places we will be visiting it's quite small. That being said though, its bigger than most starting JRPG towns and.......are you ready for this...it doesn't burn down! Freak out! 
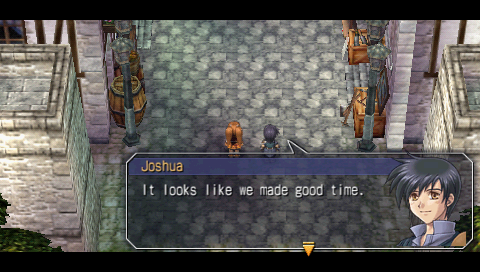
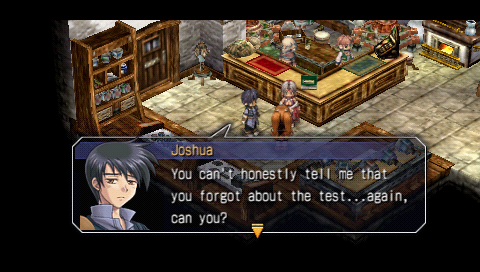
[IMG]j_normal[/IMG] Not too early or too late either.
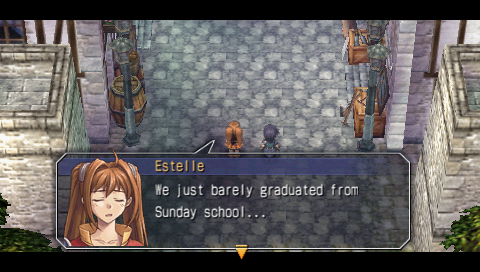
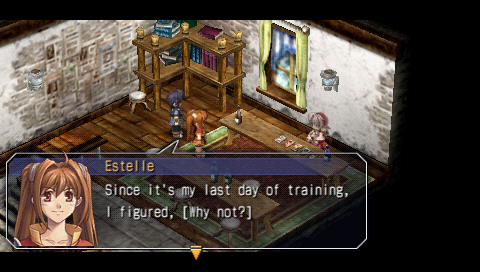
[IMG]e_depressed[/IMG] I never dreamed we'd have to study so hard to become bracers.
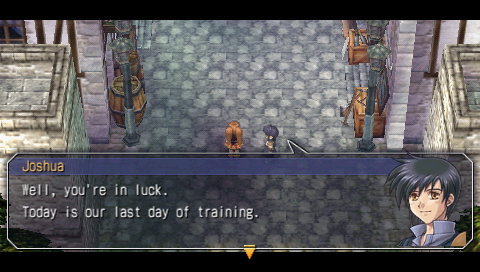
[IMG]j_normal[/IMG] Truth be told though, you're the one who signed up to be a bracer in the first place, so I don't know why you'd expect to get away with any less effort.
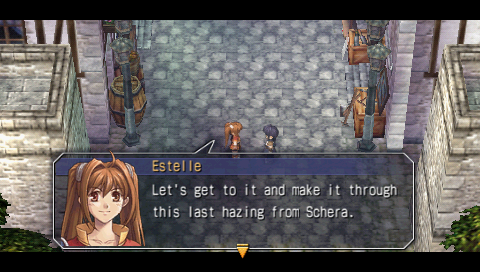
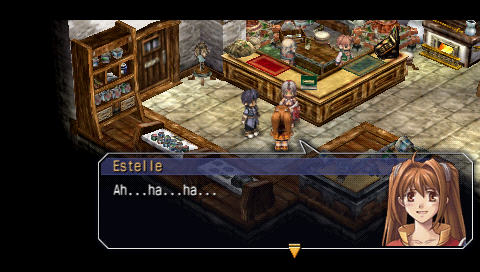
[IMG]e_normal[/IMG] All right then!
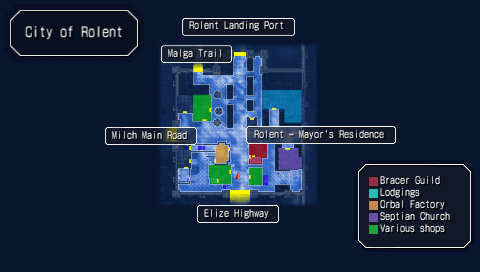
And we regain control. If we press select in town, all the locale are nicely laid out and color-coordinated for us. All the shops of interest are labled with their respective color and I truly find this a lot easier to find where I need to go then by holding down "square." If you do hold down square, half of the locale names can stack on top of each other making it hard to read. Our current destination is a whoping six paces ahead of us with a sharp turn to the right. Since we cannot do anything else...
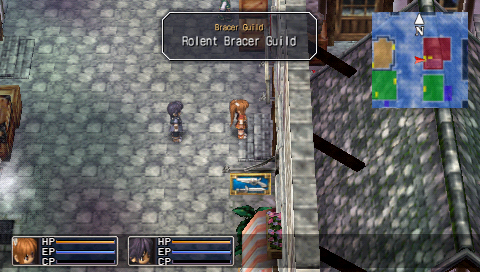
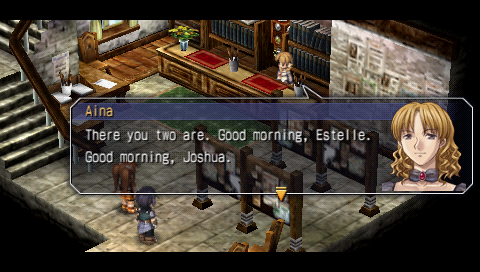
We are greated by the Rolent Bracer Guild Manager Aina.
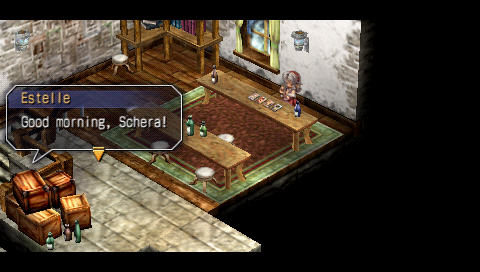
[IMG]e_happy[/IMG] Morning, Aina.
[IMG]j_normal[/IMG] Good morning.

[IMG]aina[/IMG] Once you finish today's training, you'll finally be recognized as members of the Bracer Guild. Good luck to the both of you.
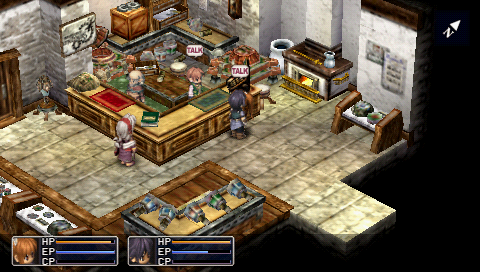
Nothing else to do on the ground floor so up the stairs we go. Oh, and before anyone asks, yes, Aina has one character portrait in the entire game. Thank God. No heavy editing for her portraits! 
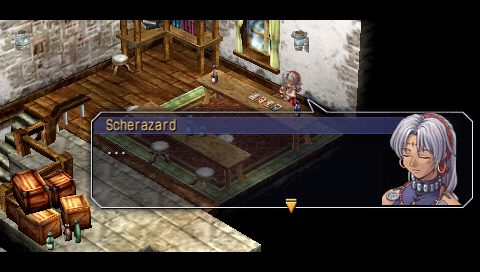
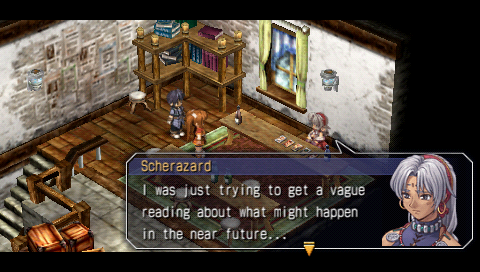
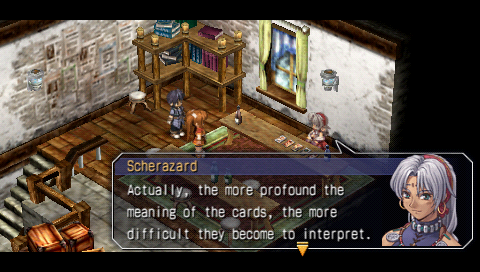
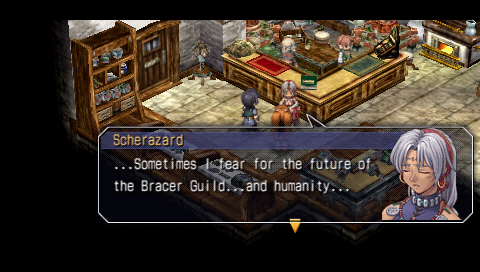
[IMG]schera_think[/IMG]The Star and the Hanged Man....The Hermit and The Magician...and last of all, inversion through the Wheel of Fortune...Hmm, this is a difficult combination. How should I interpret this?
Is this even an accurate tarot layout? If so, anyone who knows their tarot want to tell me what this means. I am oddly curious myself.

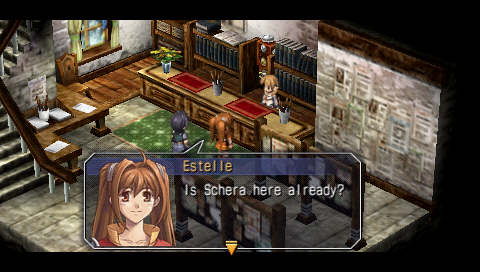
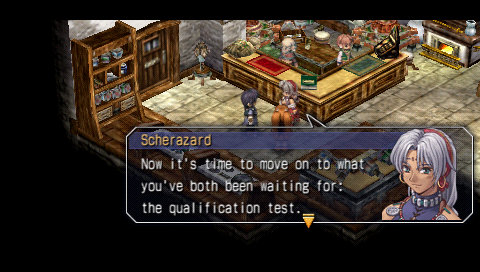
[IMG]s_shocked[/IMG] This is a rare occasion for the both of you to show up early.
[IMG]e_normal[/IMG] I'm ready to get this show on the road and become a bracer myself.
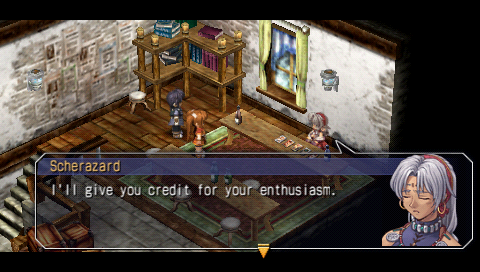
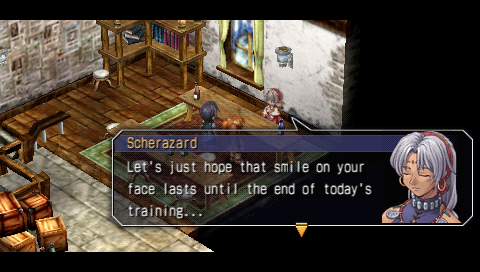
[IMG]s_normal[/IMG] But I'm going to work you hard today in every way I can think of to make sure that high-spirited attitude of yours holds up.
[IMG]s_annoyed[/IMG] Every time I teach you something you manage to forget it...This training is my way of trying to keep some of that information in your head instead of letting it dribble out your ears like it usually does.
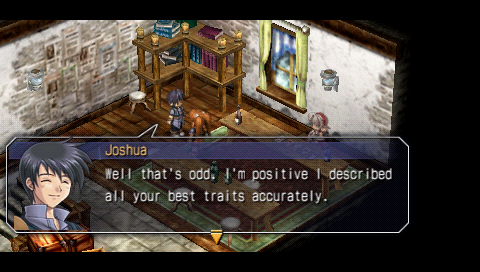
[IMG]j_normal[/IMG] While Estelle may hate studying and rarely does her homework......acts rashly, is overly naive, and has a tendency to stick her nose into everything...her instincts are sharp, so I'm sure she'll pick up on how to use an orbment with some practice. Eventually. Probably....
Yes, Joshua does say all of that with the same expression on his face. It's glorious.

[IMG]e_what[/IMG] Somehow I get the feeling that you weren't standing up for me...

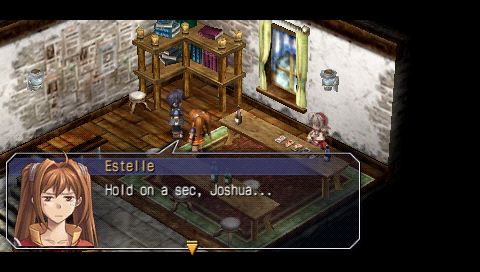
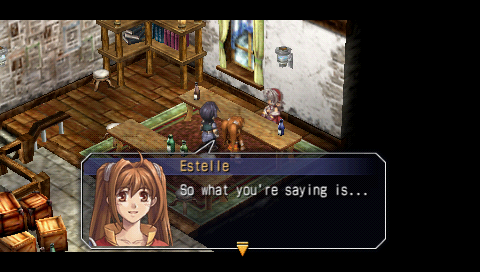
[IMG]e_normal[/IMG] By the way, Schera, what were you trying to predict with your tarot cards? Your face was really intent.
[IMG]s_worried[/IMG] Unfortunately, I don't seem to have been in the right mindset to interpret the cards correctly.


[IMG]s_normal[/IMG] But that's not important now. I think its time we start your final training.
Except I will be educating you instead because 
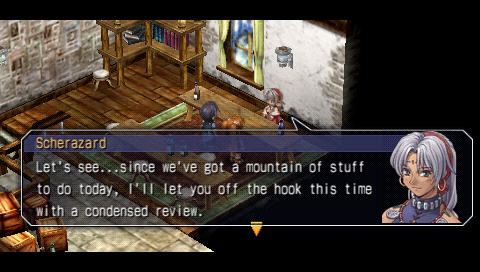
We have three topics we have to learn before we can move on. Actually we only have to read one and the game will let us move on, but I will tell you about all of them because backstory is important and it saves another 40 needless screenshots.

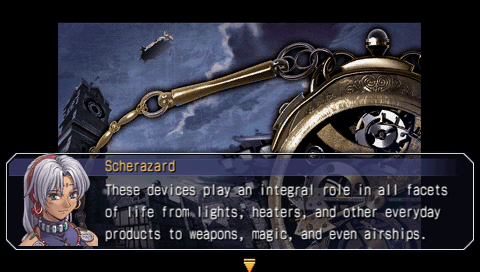
Orbments: Orbments are basically this game's word for batteries, A/C Adapters, and magic pendants/charms. They power almost everything in the Kingdom of Liberl and the country is known for its wide use on them. You can find orbments in almost everything as Scherazard says from lights, heaters, and even to warships. They also power magic or [Orbal Arts] as we will come to learn later. 50 years ago was when Liberl started using them heavily and this time became known as the "Orbal Revolution."
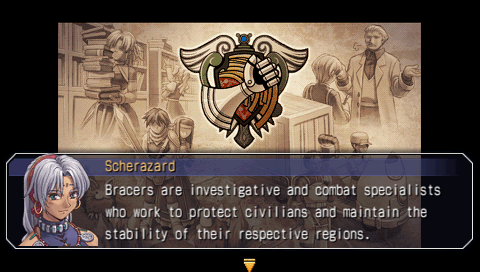
Bracers: Bracer's are the equivalent of FFXII/FFTA's Guild Members in a way. A bunch of members who take on random quests of varying degrees of difficulty. While their work is not always safe, it is always clean and honorable. No nasty assassinations or political usurps.....Or are there? There is a Bracer Guild Branch in each major city.
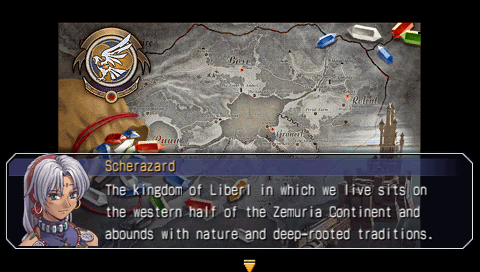
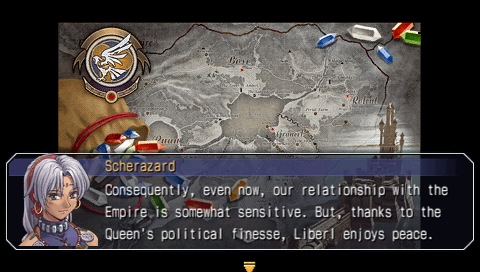
The Kingdom of Liberl: This is where our story will take place. It sits on the mid-western of half of the Zemuria Continent. It has a huge lake in the middle and there are five major cities. It basically looks like a giant donut. The Republic of Culvert lies to its South/South-East while the Erebonian Empire is to the North/North-West. 10 years ago the Empire invaded because of reasons unknown but the primary believed method was to control Liberl's ample supply of Sepith. However, due to Liberl's excellent orbal arms and arts, they were repelled. Relationships have been rocky since but the queen has kept a good control over relationships with its neighbors. In other words....we still control the spice....I mean sepith.  We will get to see a larger World Map down the line so don't worry about this small one in the background now.
[IMG]s_normal[/IMG] I'm going to speed things up now and move on to the practical portion of your training.
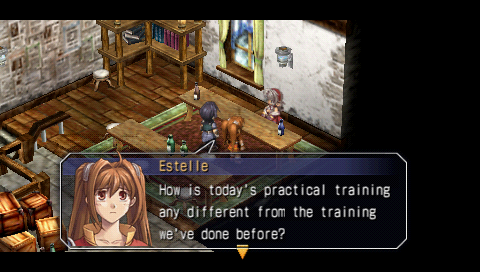

[IMG]s_normal[/IMG] Therefore, I am going to have the both of you run through everything as if this were a real bracer job.
[IMG]e_content[/IMG] There won't be any studying at a desk involved?
Fact. According to studies from bored kids, researchers find that if more teachers could be like this maybe primary school wouldn't have been so god damn boring. Insert made-up source here, but truth non-the-god-damn less.

[IMG]s_smug[/IMG] This time you'll have to go out and make a physical effort to accomplish your task. I'll make sure to have you work up a sweat, so I hope you're ready for it.
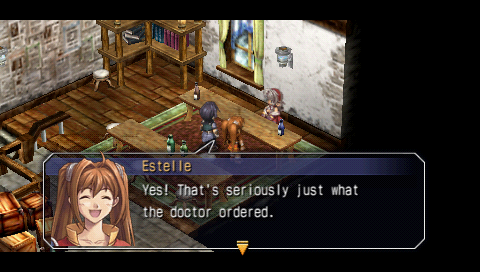
[IMG]e_happy[/IMG] I didn't know what I was going to have to do if I had to sit another day with my tush parked at a desk. I guess I got all worried for nothing.
I agree. Screw desks. I am from the old days of school when desks were pure wood and absolutely uncomfortable. So hard, squeaky, broke easily, splinters in your ass and.....never mind.
[IMG]s_normal[/IMG] Okay. Let's get cracking on your first objective, shall we?
Downstairs we go....
[IMG]s_normal[/IMG] ...But before that, there is something that we need to give the both of you. Aina, are they ready?
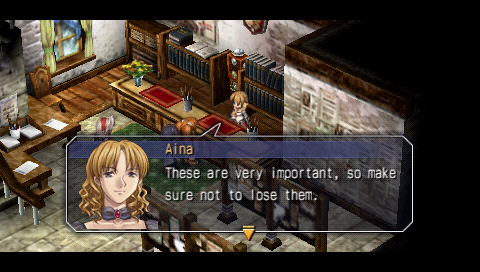
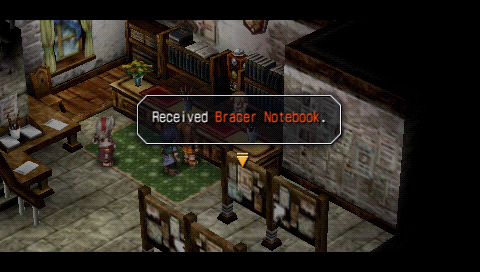
The Bracer notebook is basically this game's Bible. No seriously. The manual that came with the game is not very detailed and really leaves a lot of gameplay mechanics, orbment slotting, quart styles, and so on out which really needed to be explained. This however goes into complete detail by showing you all orbal art combinations, status effects, stat paramters, and even tracks ALL your quests like an MMO would. First time users will be referring back to this book several times over the course of the game. It can be accessed by either holding "Triangle" and pressing "left" or by going to Start-->Items-->Books-->Bracer Notebook. Use the first method. Next update will be a bonus update showing how we use this book and explaining where much of the thread participation will come in. Understand junior bracers?
Sigh....
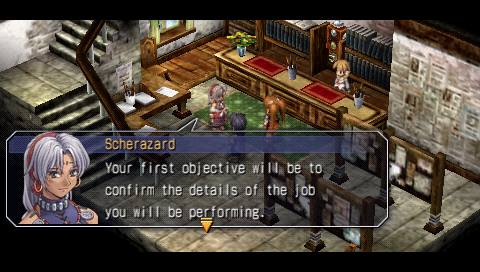
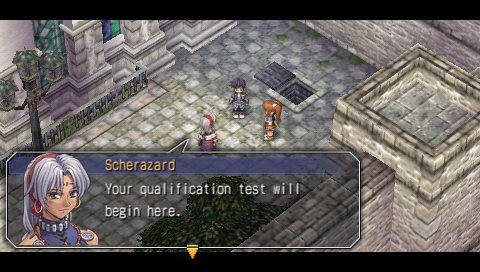
[IMG]s_normal[/IMG] Look over by the door. You can see that there's a bulletin board standing there. First, I want you to check the job description posted there.
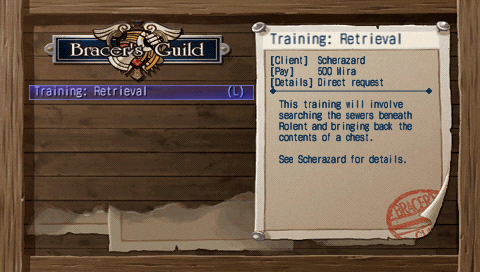
WANTED: HERO. NO EXPERIENCE NECESSARY. VISIT BEAUTIFUL SPIELBUR.... Wait that's wrong. Yes, the bulletin board is where we will pick up almost all major and minor Bracer quests in the game. Each quest will give you a brief overview of your assignment as well as who you need to speak with to initiate it. The rewards will also be shown.
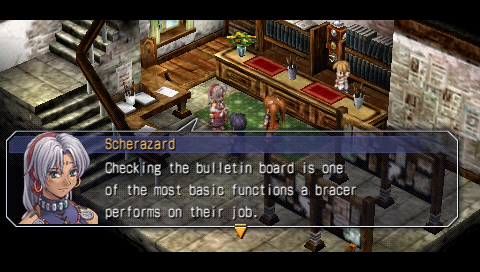
[IMG]s_normal[/IMG] Checking regularly to see whether or not there are any urgent tasks which need immediate attention is also an important duty for bracers.
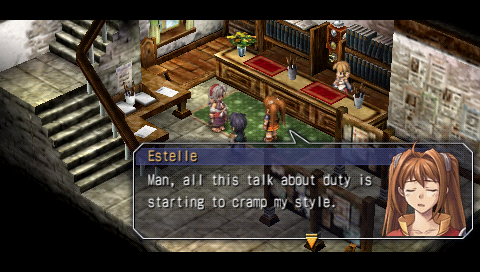
While not entirely accurate, all side-quests need to be completed before certain main plot points of the story pass. If you go to far in the main quest without completing some side-quests, they will expire and you will not be able to 100% the game. Don't worry I got this.
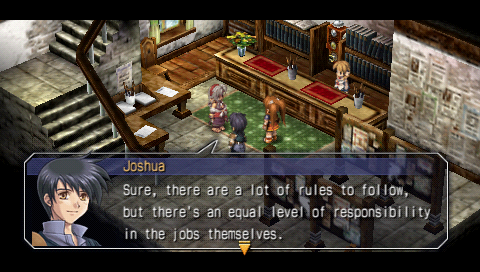
[IMG]j_normal[/IMG] I think being a bracer calls for much more than just someone with a half-hearted attitude.
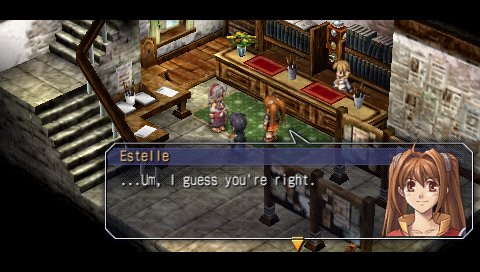
[IMG]e_normal[/IMG] I'll just have to be more motivated.
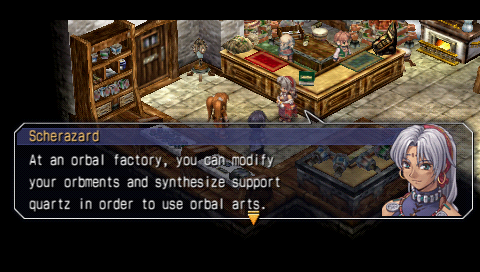
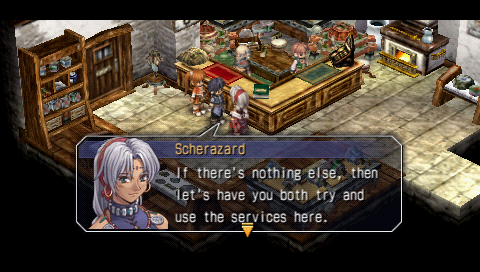
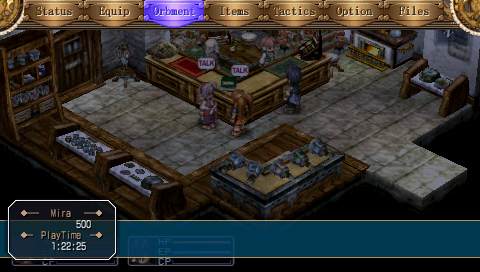
[IMG]s_normal[/IMG] We'll be heading across the street to Mr. Melders' orbal factory and learning about how to use its services.
From me because that will save another 60+ screenshots. We instantly jump over to the factory after a brief fade to black.....
[IMG]s_normal[/IMG] The bracer business is a pretty risky occupation, so the guild has had a long-standing relationship with these orbal factories. So Mr. Melders, if you wouldn't mind taking over from here.
 I said I was explaining god dammit. Let's get to it. We have four topics to cover. Of which one we've actually already gone over.
Orbments: Just as we were told across the street, they are used in everything in the Kingdom of Liberl. Every character in the game has their own unique Orbment. The only new thing that we learn here is that equipping quartz into orbments allows our characters to learn [Orbal Arts]. Speaking of which....
Orbal Arts: Orbal Arts are basically what this game calls "spells." In order to use Orbal Arts, you must equip differnt types of "quartz" in your Orbments that contain slots. What are quartz? Glad you asked....
Quartz: Quartz are refined pieces of Sepith (think Materia from Mako a la FFVII) that are installed on your characters Orbments to give you access to Orbal Arts. There are many flavors of quartz including: Brown (Earth), Red (Fire), Green (Wind), Blue (Water), Hear..... Ahem, Black (Time), Gold (Space), and Silver (Mirage). The elements are self-explanatory. Time Quartz is all about speeding you up, slowing enemies down, and causting status ailments. Space Quartz deals with movement and reducing EP costs. Finally, Mirage quartz is a support quartz that pairs with other quartz to make stronger spells. We will see how later. So finally, quartz is made of condensed Sepith which is...
Sepith: Also known as septium fragments, are small pieces of minerals that are quite abundant in the Kingdom of Liberl. They can be mined as a profession and monsters even drop them. Naturally there are seven flavors of them to make the seven different types of quartz.
And we are done!
[IMG]s_normal[/IMG] For that you're going to need some sepith.
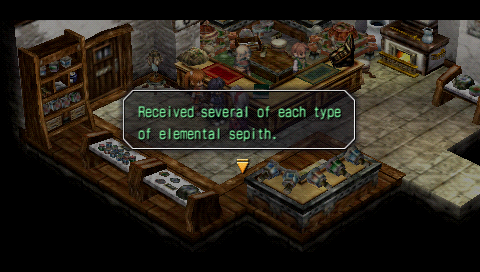
[IMG]s_normal[/IMG] Now, I want you to begin by first making an elemental quartz that will work with each of your particular orbments. In your case, Estelle, any elemental quartz is okay, but for you Joshua, it has to be a time elemental quartz.
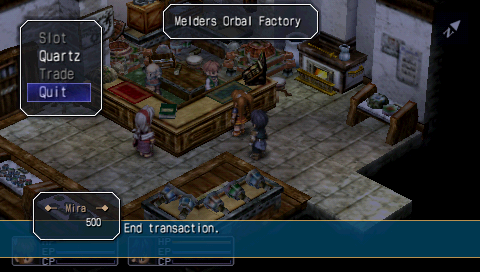
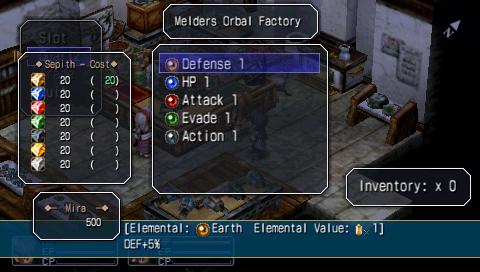
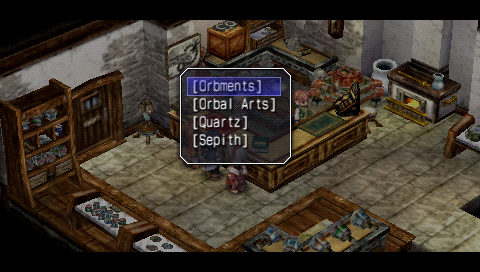
The only option we have at the shop right now is to trade/refine our sepith we just got from Scherazard into some new elemental quartz. As stated above, there are currently five different quartz we can buy. Defense 1, and earth quartz. HP 1, a water quartz. Attack 1, a fire quartz. Evade 1, and wind quartz. And finally an Action 1, a time quartz. The sepith needed to produce each quartz is listed on the left. So the Defense 1 quartz takes 20 Earth Sepith to produce/refine. Estelle could install any of these available quartz into her orbment she wears. However, as Scherazard said, Joshua can only use time quartz for now. I pick up an HP 1, Attack 1, and Action 1 quartz. Now lets install them.
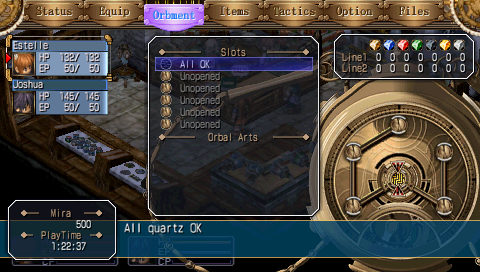
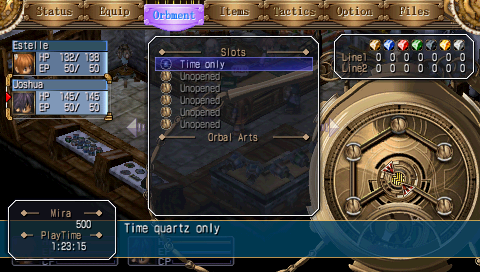
Press start to open the menu, then select "Orbment." Here we see Estelle's. You will notice in the middle of the screen her first slot is opened and to the right is says "All OK." Again, this means any quartz can go into this slot. Below that you will see that her other five slots are still unopened, and she currently has no Orbal Arts because we have no quartz installed. If you look to the right at the diagram you will see her 1st slot is situated in the center of the orb and is open. The rest are closed. Don't worry about the "Lines" at the top right as well as why slot #1 actually looks like it should be #3 or #4 on the orbment. The bonus update will explain all. Besides, the game doesn't explain lines to you right now anyway.
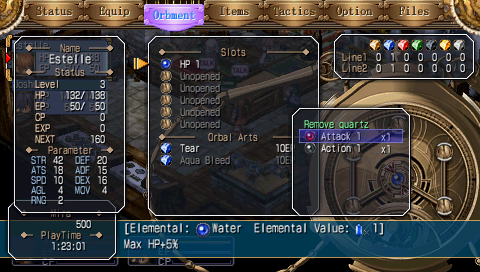
I go ahead and install the HP 1 quartz in Estelle's first orbment slot. This does a few things. First, the HP 1 quart gives a passive +5% boost to a characters max HP. Estelle was at 132 max HP, now she is sitting at 138. This also gave her access to the orbal arts "Tear" and "Aqua Bleed". Two other things to notice but not worry about right now are the following; note that the HP 1 quartz has an elemental value of [Water]x1. Also note that in the top right both Estelle's "Line 1" and Line 2" now have 1 under the water quartz mark. These will both be explained in the next update.
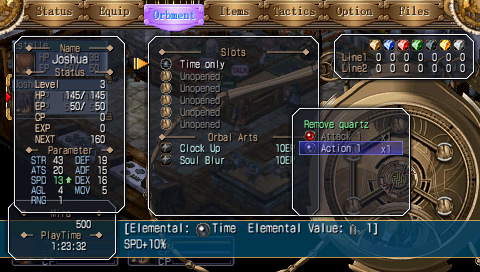
Joshua is a little different. Not only are the lines on his orbment in different places (well only one section), but his 1st slot can also only be equipped with a "Time Only" quartz. Notice how Attack 1 (a fire quartz) is greyed out? Therefore, the only choice is to install Action 1 into this slot. Notice it's passive. It gives a +10% boost to your SPD stat. It, like HP 1, has an elemental value of [Time]x1, and Joshua's "Line 1" and "Line 2" will have a 1 under the time quartz mark once its installed.
Note that Schera will not let you continue with the game until you have one quartz installed on each character. This actually caused me some confusion when I first played because I bought multiple quartz but only installed one on Joshua.
[IMG]s_normal[/IMG] The more slots you have available to you, the broader range of choices you will have.
Not only that but opening slots is the ONLY WAY to increase your MAX EP in the game. Leveling up only increases your HP. Therefore, it is beneficial for you to open up as many slots as you can early on. She only gives us enough Sepith to unlock one of the characters slot's despite her saying she wants us to each open up one.
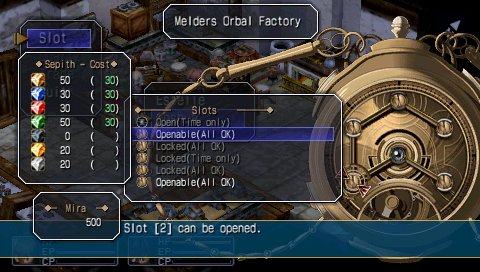
This time instead of choosing the "Quartz" option we choose the "Slot" option. This option allows us to spend our Sepith to open up more slots on each character's orbments. In this case I choose to open up Joshua's 2nd orbment slot and it costs 30 of each elemental quartz. Also notice how slots 2, 3, 5, and 6 are open to any quartz available. However, Joshua's 1st and 4th slot must always have a "Time Only" quartz in them. Also note how the only two slots I can open are the ones that are adjacent to his already open slot. Once again here, I choose to open Joshua's 2nd slot and since ANY quartz can be installed in it I put in the Attack 1 quartz we bought earlier.
Look at Joshua's EP bar at the bottom of the screen. We almost gave him double his current EP by doing so. He had 50/50 but is now at 50/80. Estelle remains at 50/50 because she still only has one slot unlocked. Also, each character gains a different amount of EP when unlocking slots. Some more than others.

[IMG]e_unsure[/IMG] Now that you mention it, I vaguely remember some sort of talk along those lines at the breakfast table...
[IMG]s_normal[/IMG] Oh well, no sense in worrying about that now. Let's head over to the testing area.

Estelle gets dragged out by the collar. Poor thing, I hated tests myself.
[IMG]e_annoyed[/IMG] I'm going to remember that you left me high and dry like this, Joshuaa!
We fade into the crew standing right outside a grate opening
[IMG]j_normal[/IMG] What's wrong Estelle?
[IMG]e_confused[/IMG] Um...Schera?

[IMG]s_shocked[/IMG] You just read what it said on the bulletin board not that long ago, right?
[IMG]e_confused[/IMG] Yeah, and?
[IMG]s_normal[/IMG] I'm pretty sure the job listing mentioned searching for and retrieving an item from the sewers...Ringin' any bells yet?
[IMG]e_happy[/IMG] Oh, Divine Aidios...I give thanks to thee for thy infinite grace in bestowing upon us such wonderful gifts as sewers.
[IMG]e_smug[/IMG] Ahhh, I can already feel the nostalgia. All those horrible days stuck in a classroom are starting to feel like grand memories indeed...


[IMG]s_annoyed[/IMG] Just so you know though, if you do happen to flunk the test, you don't even want to imagine the kind of homework that I have in store for the both of you.
[IMG]s_normal[/IMG] Your objective is to retrieve the contents of a chest which has been placed somewhere in that area. The layout of the sewers is extremely simple, so you don't need to worry about getting lost, either. However...There are real, living, breathing monsters down there, so if you get careless and let down your guard, you WILL be sorry.
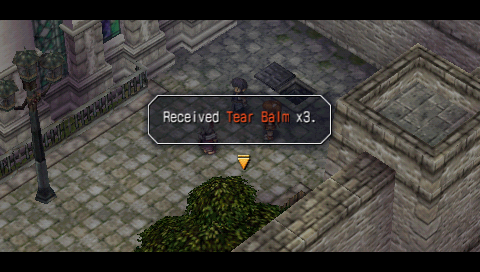
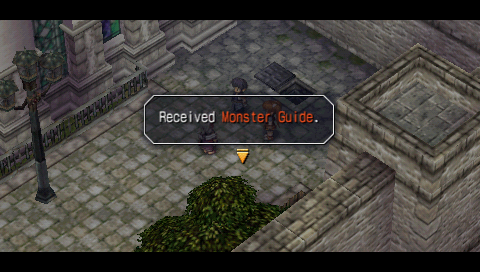
Tear Balm's are this games [Potions] from other games. They restore 200HP to an ally. Didn't we just get a Orbal Art on Estelle earlier with the name Tear in it? Take a wild guess on what it does. The "Monster Guide" is exactly what it says, a guide. It will catalog every monster we DEFEAT, not encounter. Once we have done so we can review its name, exp, weaknesses, and item it drops assuming we actually get them. It is completely empty right now though so this doesn't really do us a whole lot of good. Once we take down an enemy though and figure out its weakness, then that will help us in future battles to finish them quickly.
That is correct good sir.

And with that we end update #2. Join us next time as we actually set off to complete our firs learn about basics to gameplay.