Toggle Background Color
Chapter LIX: The Things We Do for Cheese
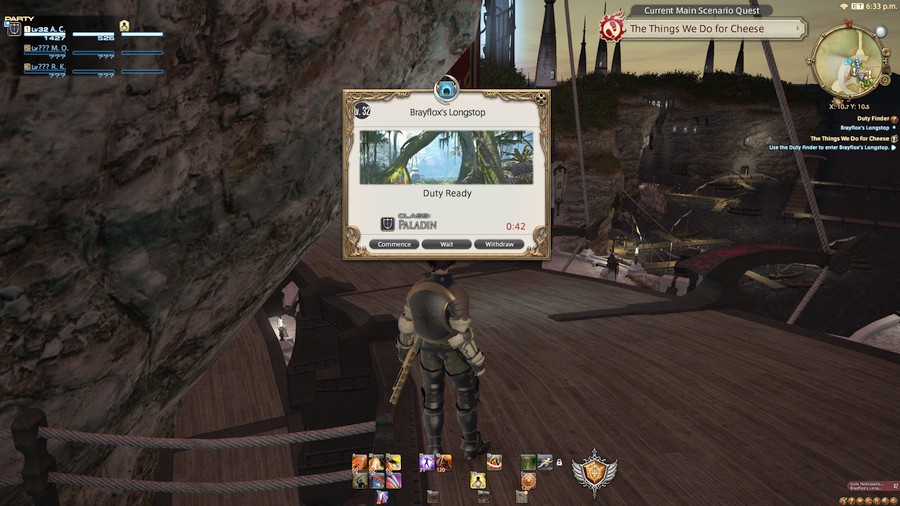
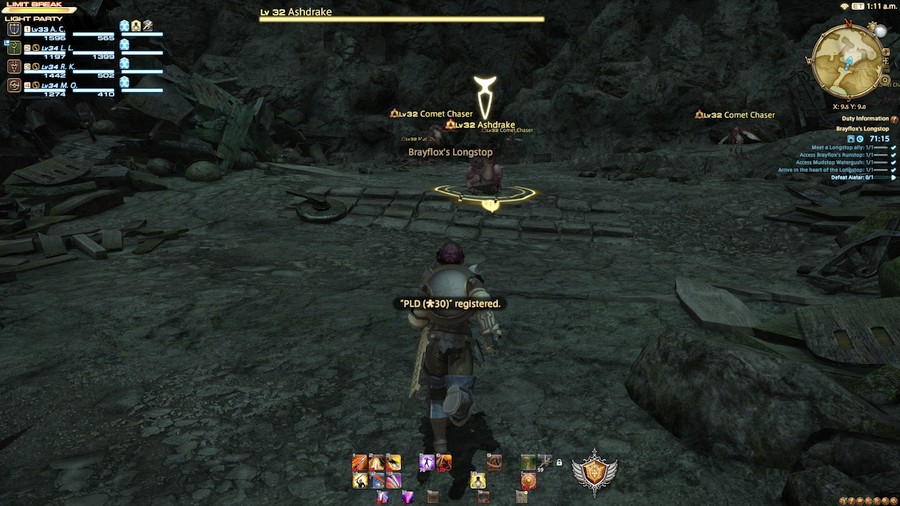
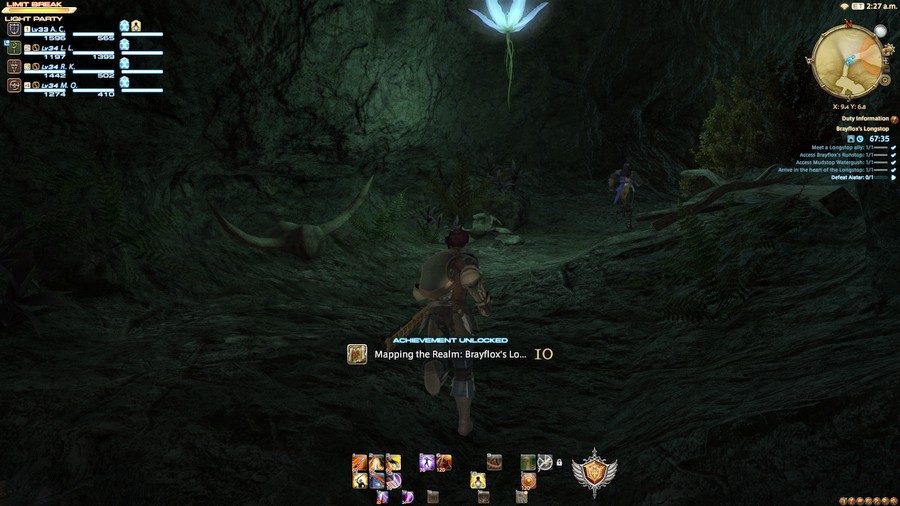
On her hunt to defeat the next Primal, Aggro has been sent on errands. We're talking, "can you pop over to the shops for me?" level of errands, as she collects ingredients for a banquet she isn't to attend. Something's gone wrong, and now she needs to acquire a third ingredient. This requires a foray into the dungeon Brayflox's Longstop. I'm not making this up. This is real. The goblins were forced out by a "flighty-beast", so let's go and end this errand nightmare.

New Music: Lipflaps on Longstops
We've heard the battle music before, so I'm just going to stick with the new dungeon track for today.


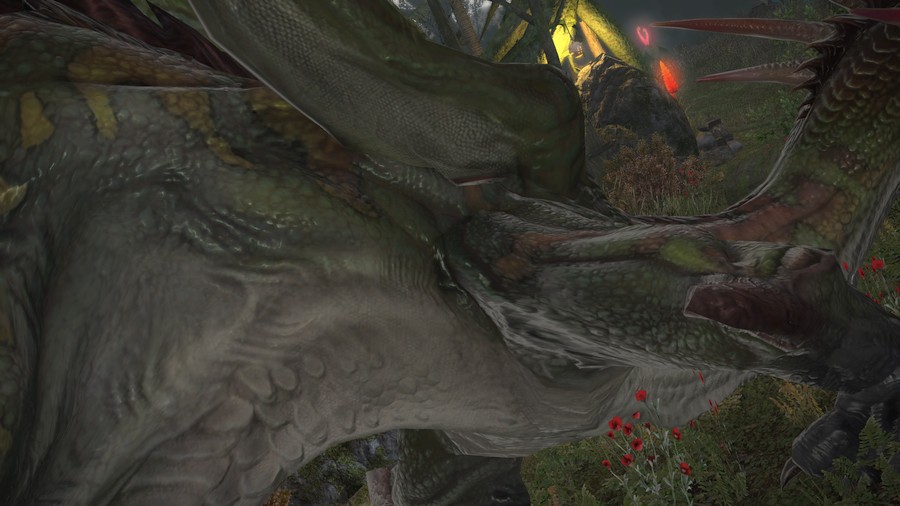
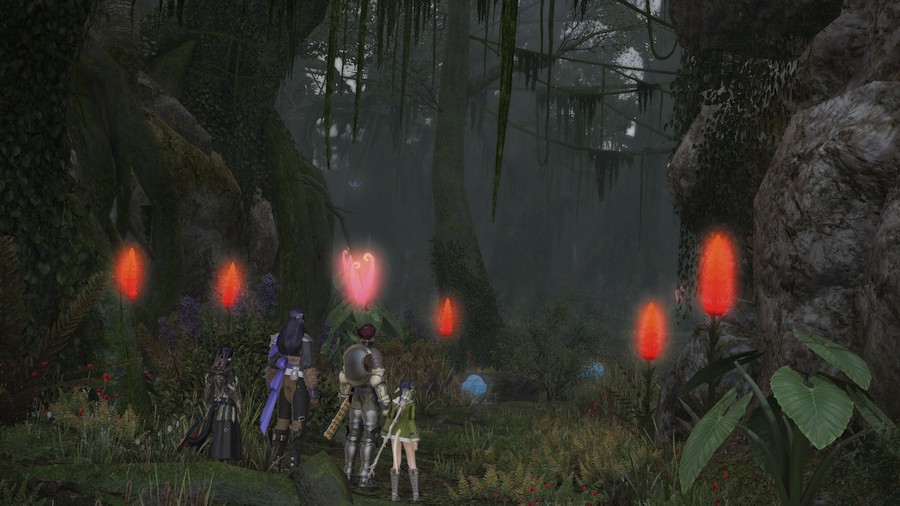

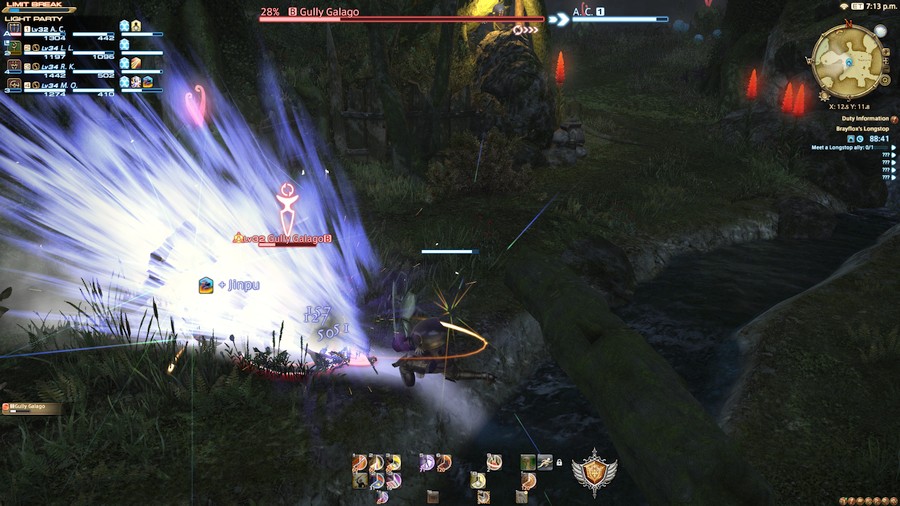
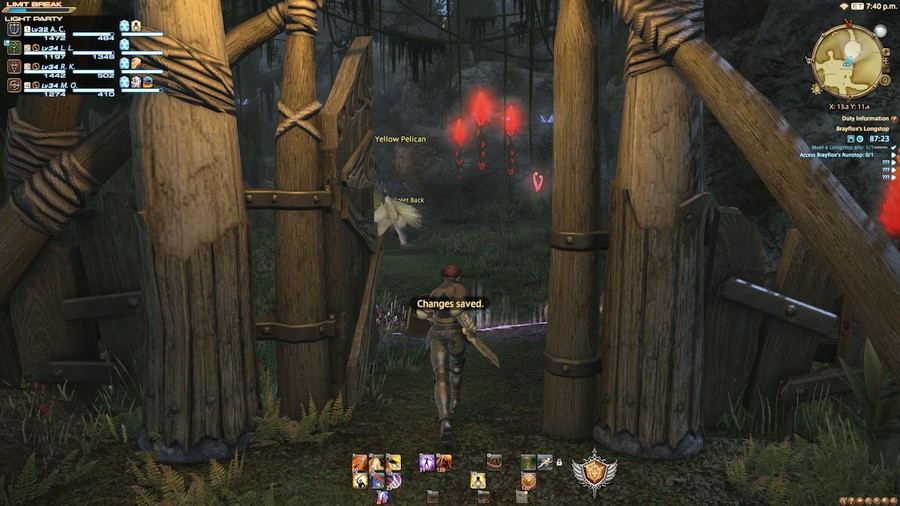
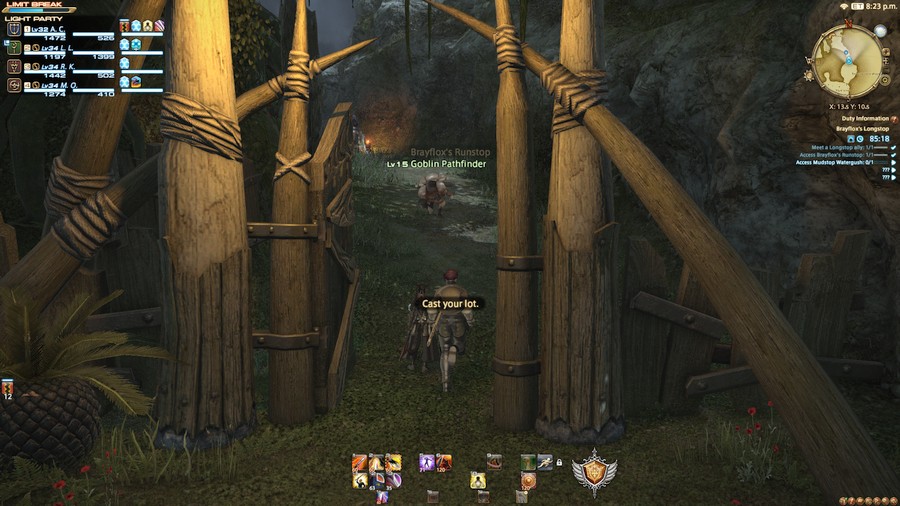
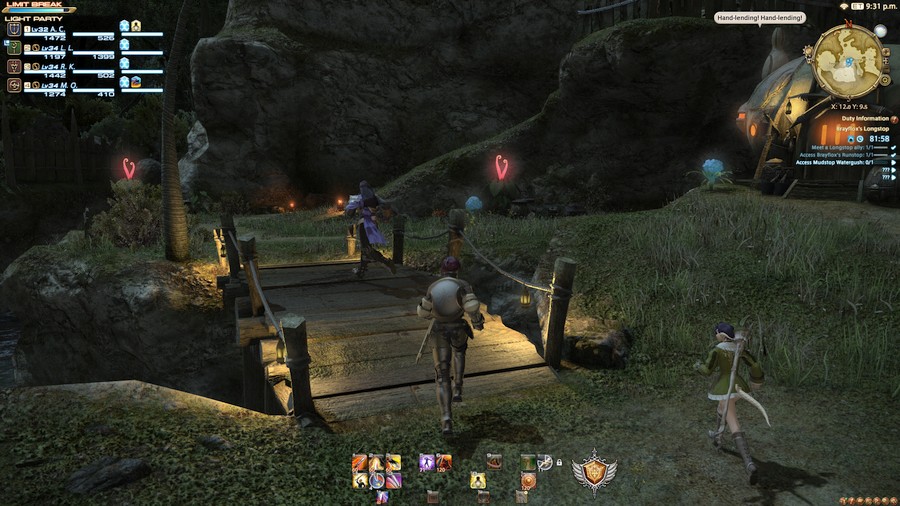
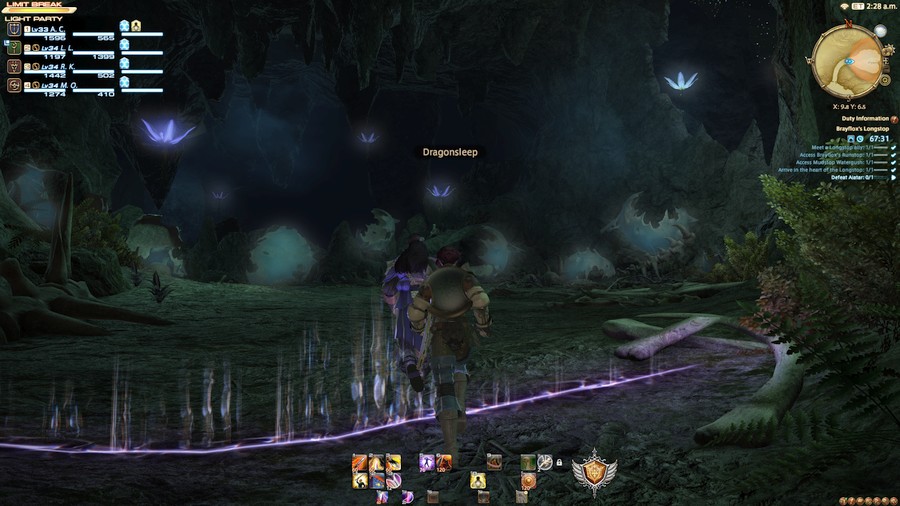
So, the "flighty-bird" is a dragon. That's totally not what Aggro signed up for, but I guess this cheese isn't saving itself. Time to take on one of the most dangerous creatures in Eorzea so someone else can have a banquet. The life of an adventurer. The dragon leaves while we approach, so we'll need to delve deeper in.
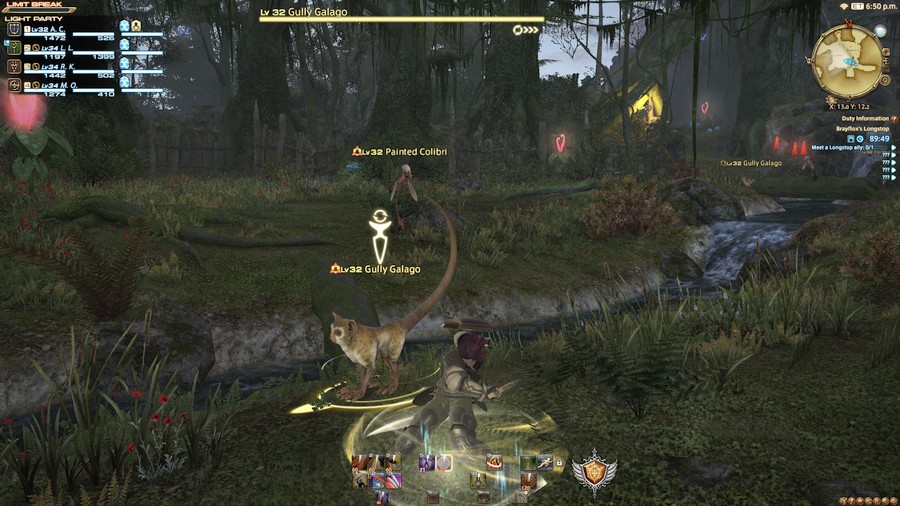
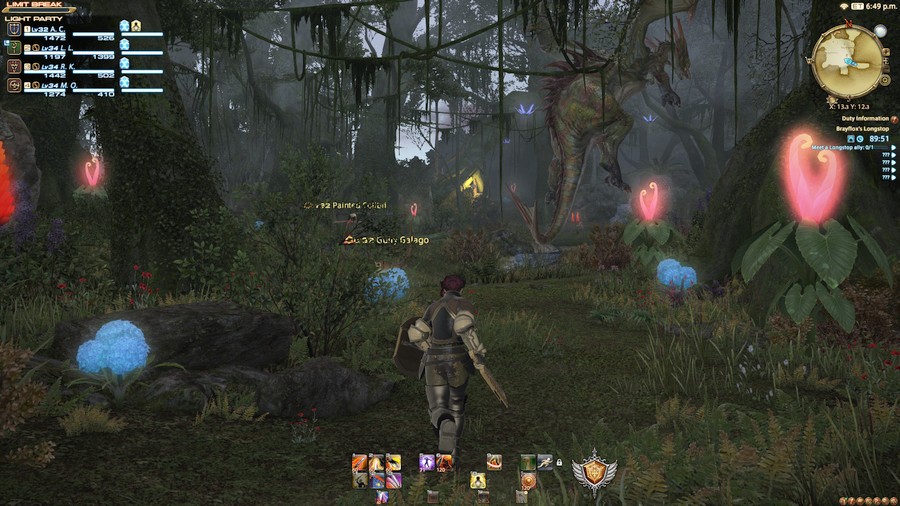
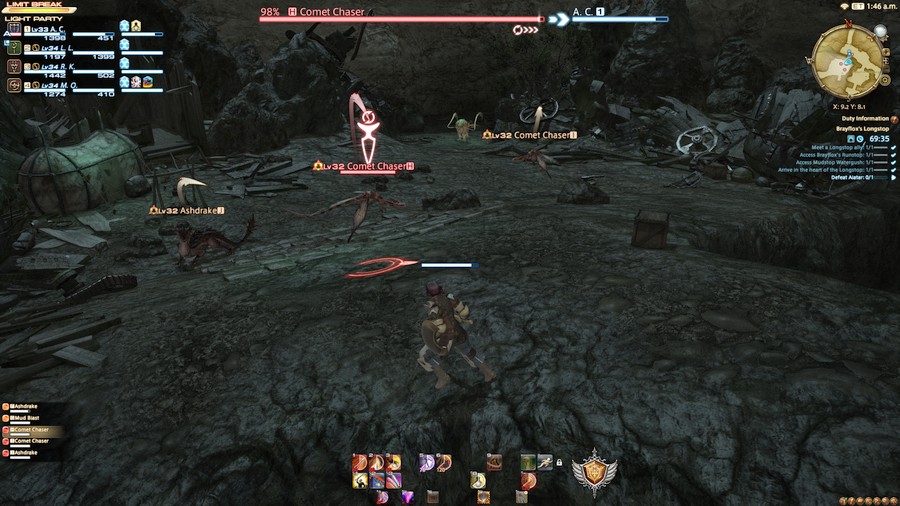
I recall this pull being a little bit tricky for some.
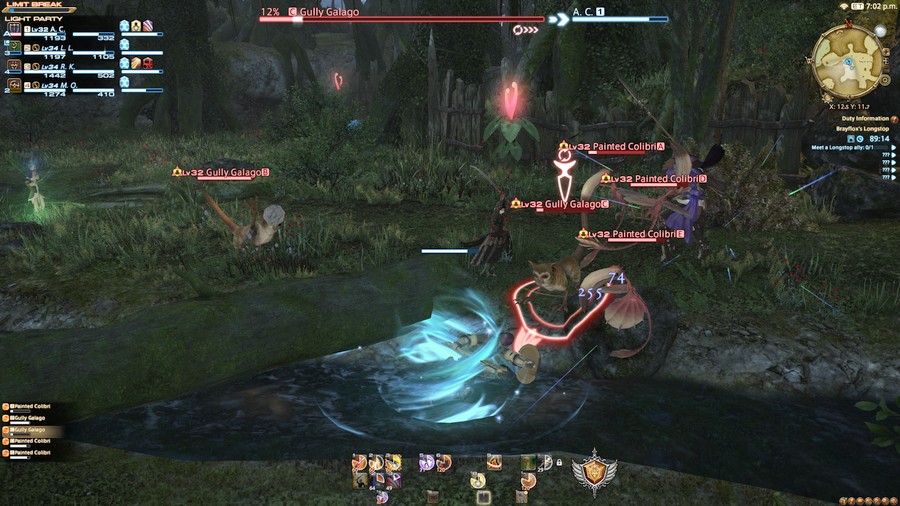
The Gully Galagos are physical ranged enemies, throwing what I hope to be rocks. Anyone wanting to pull more than a single group of enemies will especially need to be aware of this, since it requires a little bit of push and pulling to bring the group together. I suppose it's also worth saying that every enemy in this dungeon has 2, 437 HP. They melt.

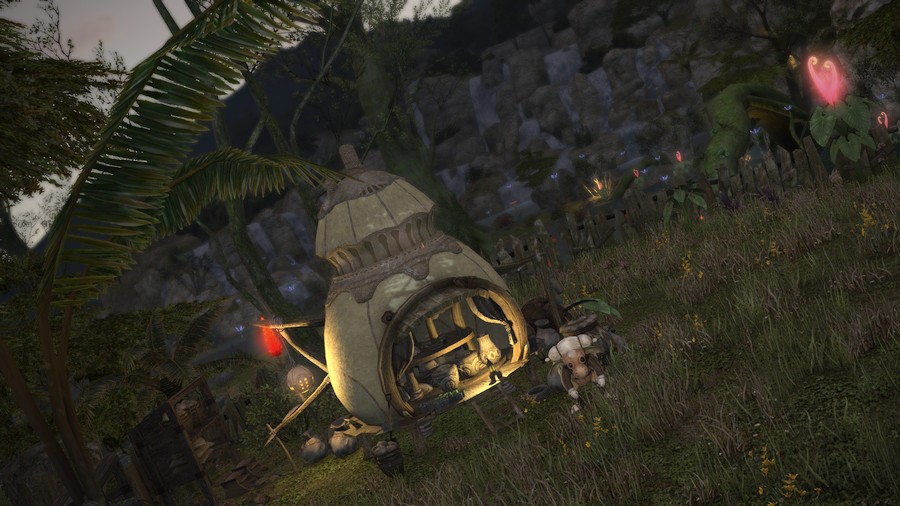
Up the hill behind them, we can find a Goblin Pathfinder lookout.
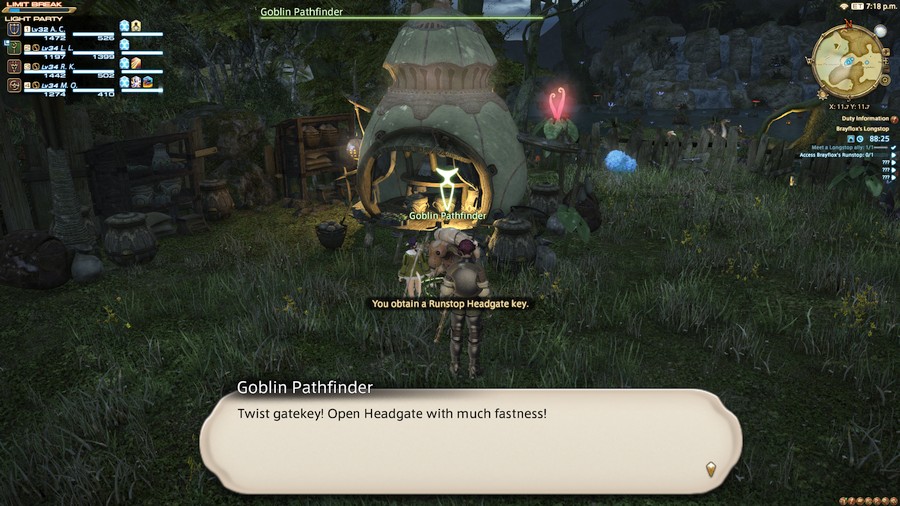
They give us a key, which we'll be needing soon.
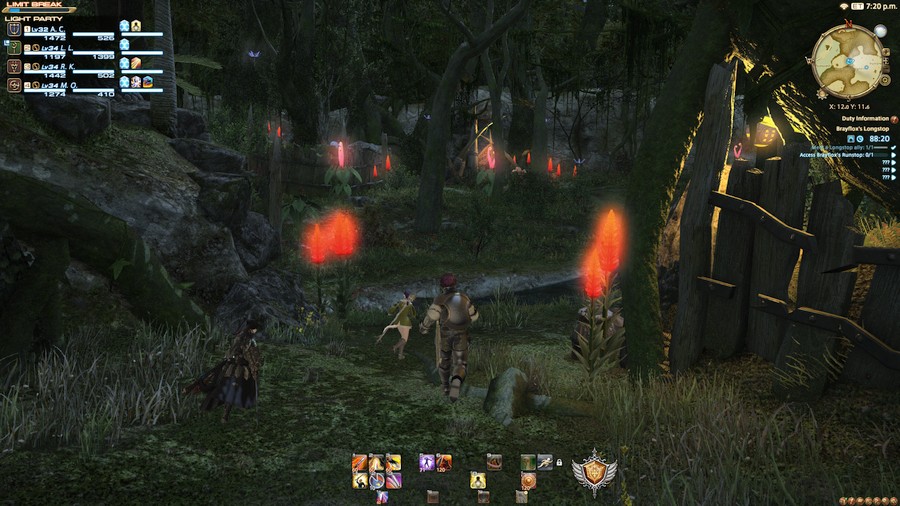
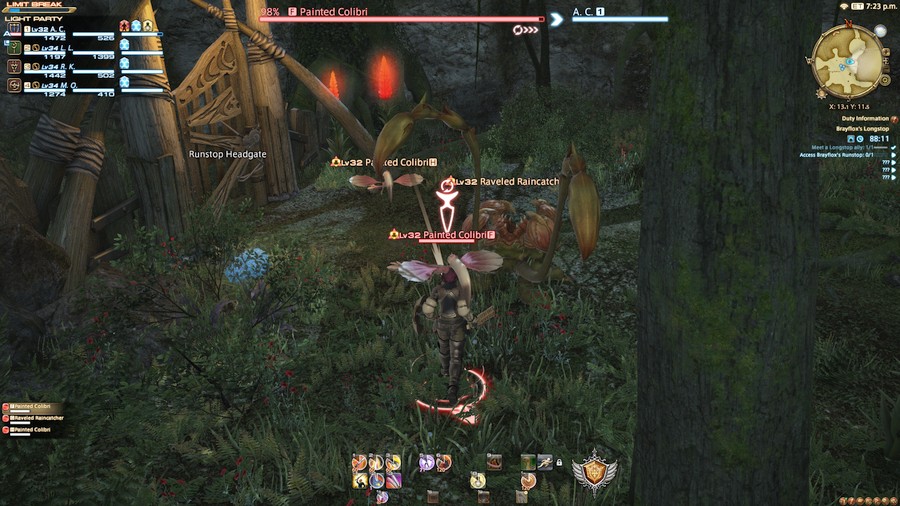
Back down the hill, we find one last group guarding a gate—a gate equipped with a lock that matches our key. Also, I think this is the only Raveled Raincatch in the dungeon. Those can chuck out poisons to anybody nearby, so Healers should be ready to cast out an Esuna to cleanse it. Alternatively, everyone can carry antidotes but they're incredibly unnecessary.
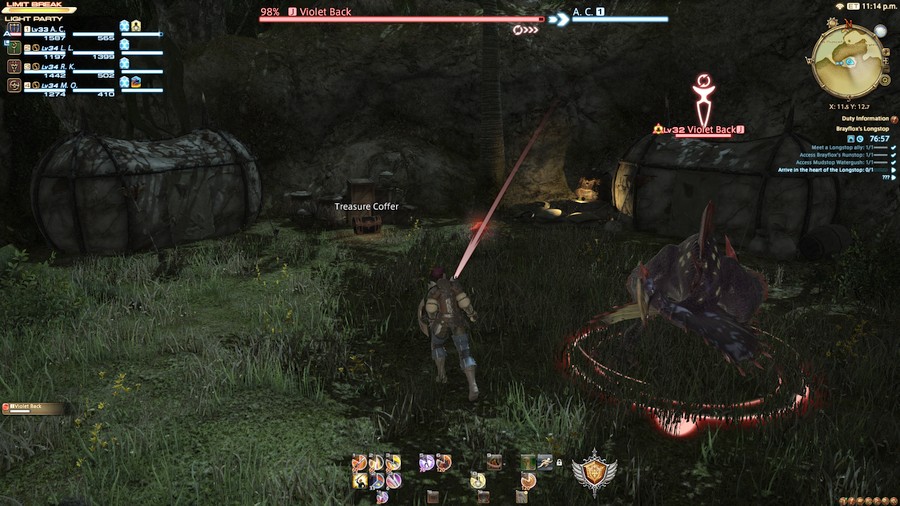
Opening the gate reveals the first boss room.
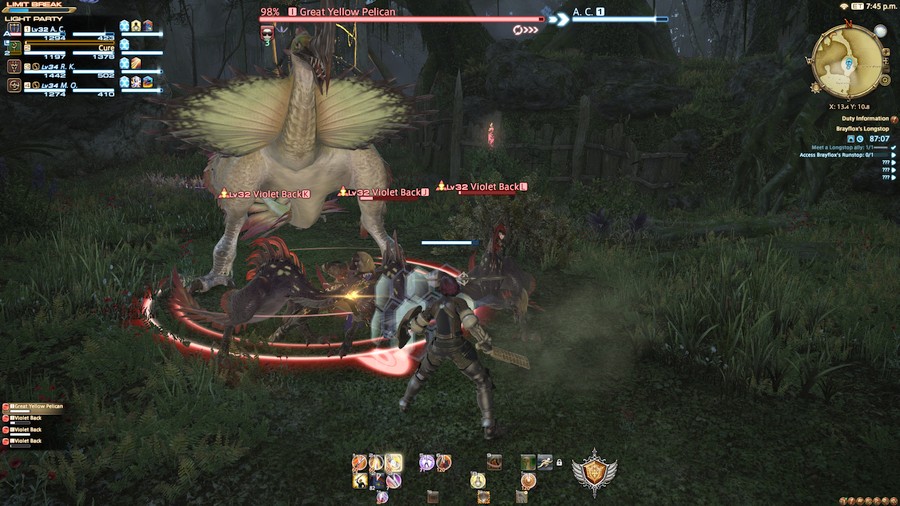
Our boss is the Great Yellow Pelican (18, 054 HP), but the focus should first be on the Violet Backs (702 HP each). Each one is capable of inflicting poison. Tanks that lose enmity on these guys shouldn't worry about it too much, since DPS players will burn them down before they actually get hurt.

The poisons also stack. Healers will want to Esuna them off. It feels like that unique Raincatch was there to warn players they may need to use it.
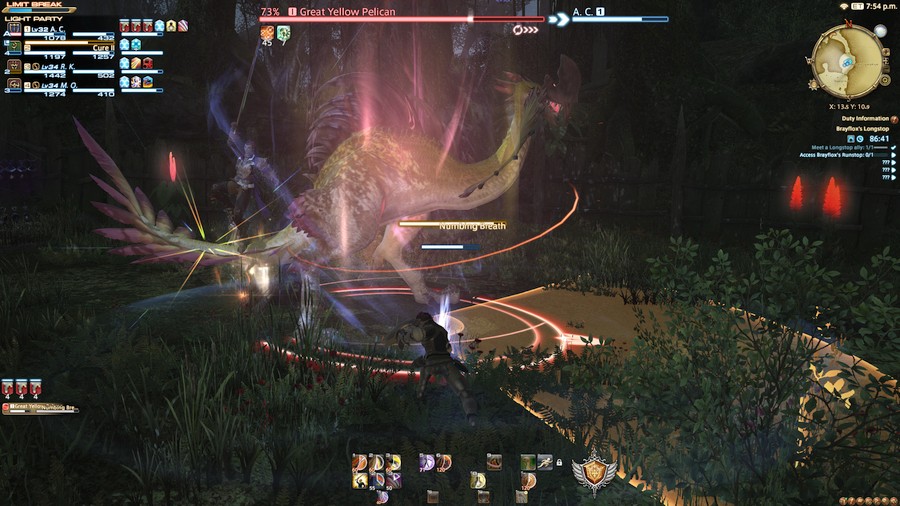
With the Violet Backs down, we're left focusing on the boss. It's just a back and forth beating between Aggro and the Great Yellow Back, but we need to be careful to dodge the Numbing Breath conal AoE. If that hits, then Aggro gets paralyzed. It's not the end of the world, but it still sucks to get afflicted with. Like the poisons, it can actually be cleansed.
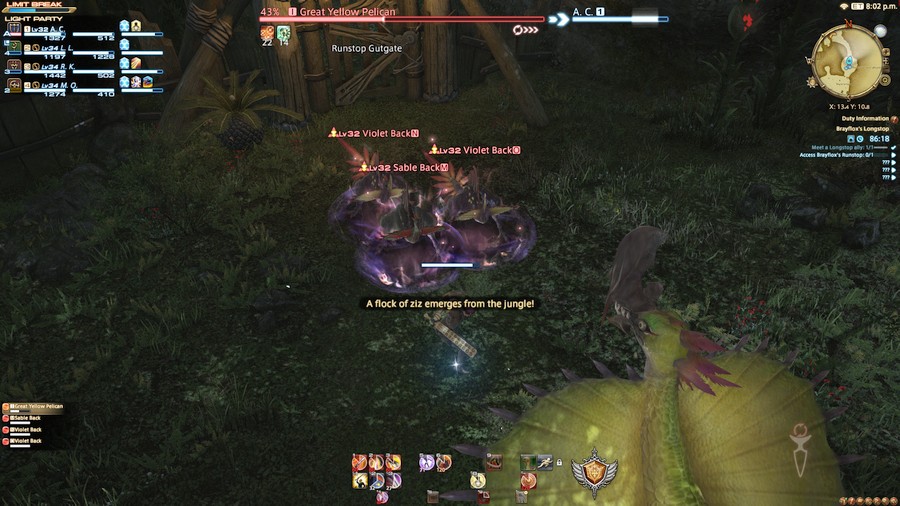
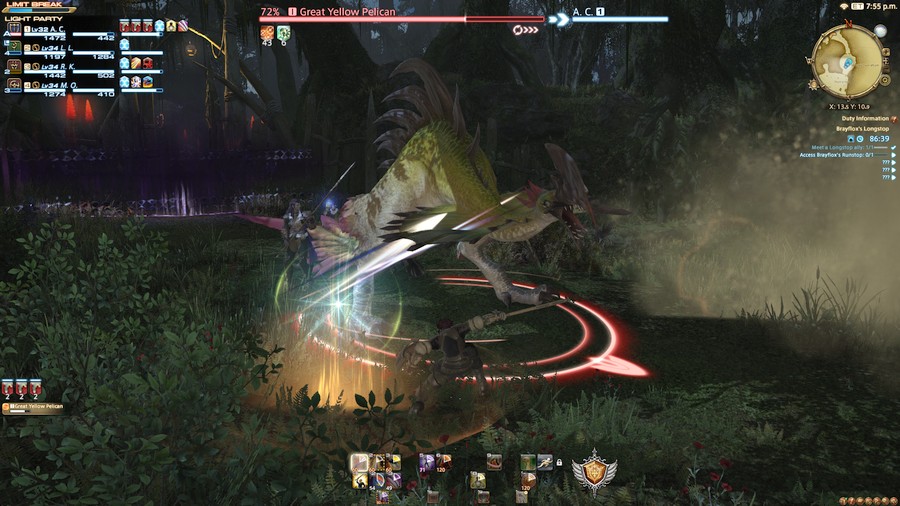
At 45%, the boss calls in three more monsters. This time, there's a Sable Back (702 HP) joining the group.
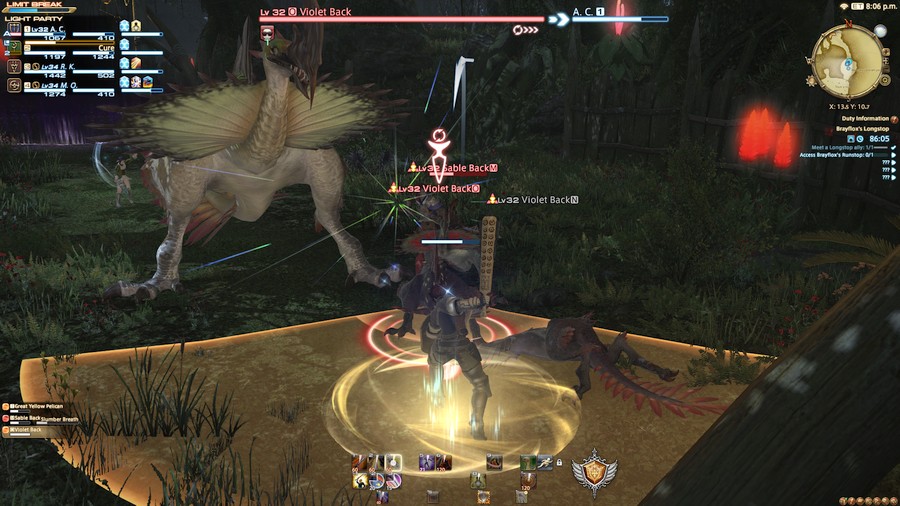
Unlike the other monsters, the Sable Back has a cone AoE called Slumber Breath which, surprise, inflicts Sleep. As with any game ever, Sleep prevents you from doing any actions.

Once we're done with the smaller monsters, all that remains is killing the boss. It'll drop a random aetherial weapon at iLevel 32 when it dies. It's basically pot luck as to whether the weapon is good or not.
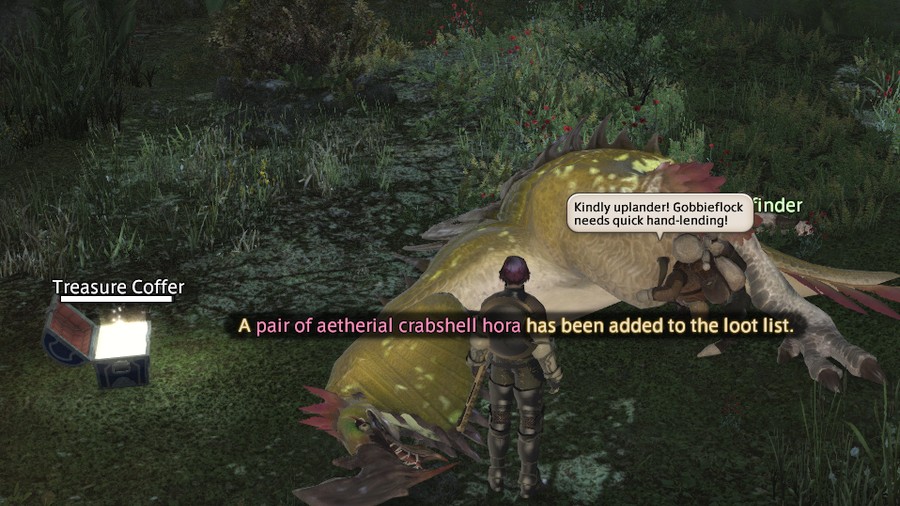
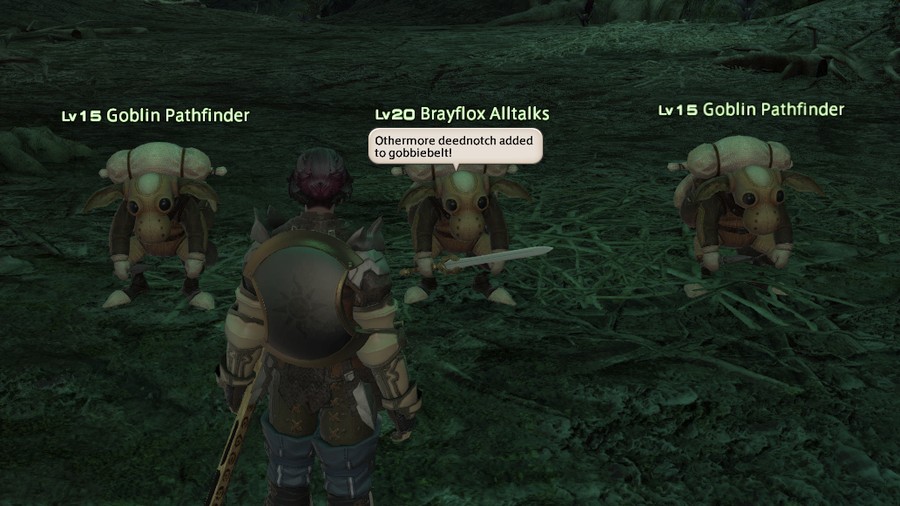
Aggro doesn't get lucky as a Monk weapon drops. Also, the Goblin Pathfinder from area comes over and thanks us too.
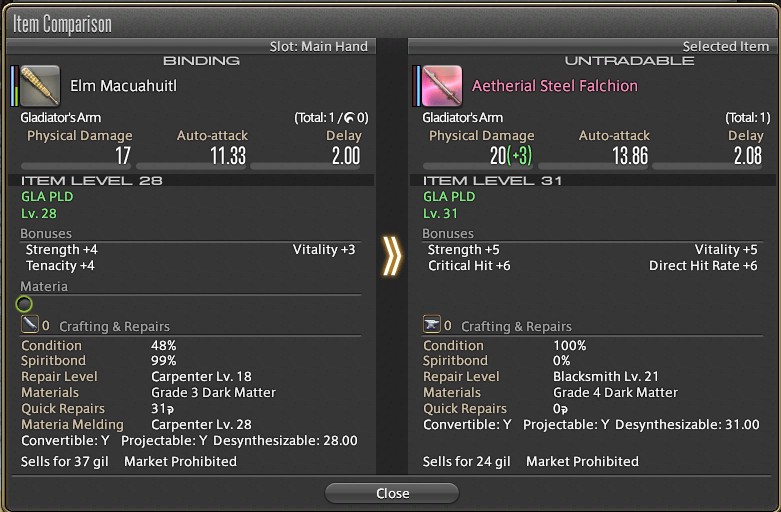
On another run, Aggro does manage to get a better weapon though. It's a pretty good upgrade. The randomly generated secondary stats couldn't have worked out too much better either.
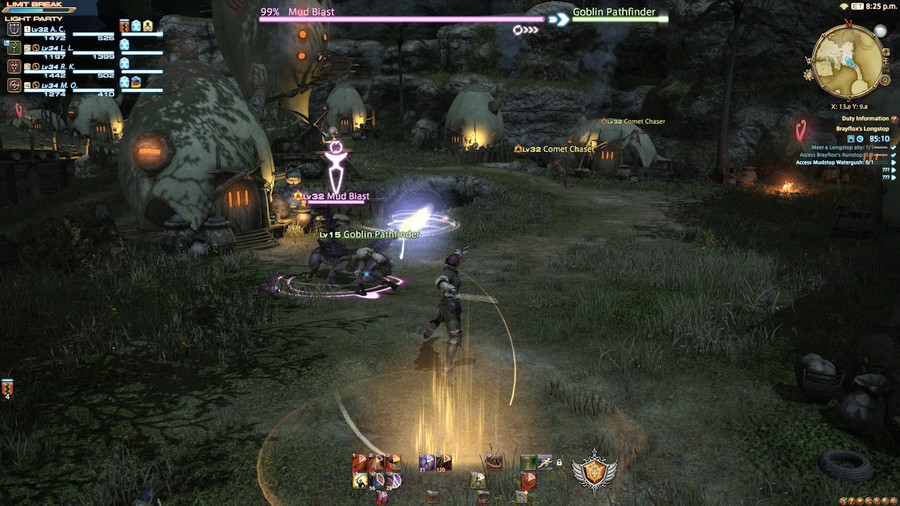
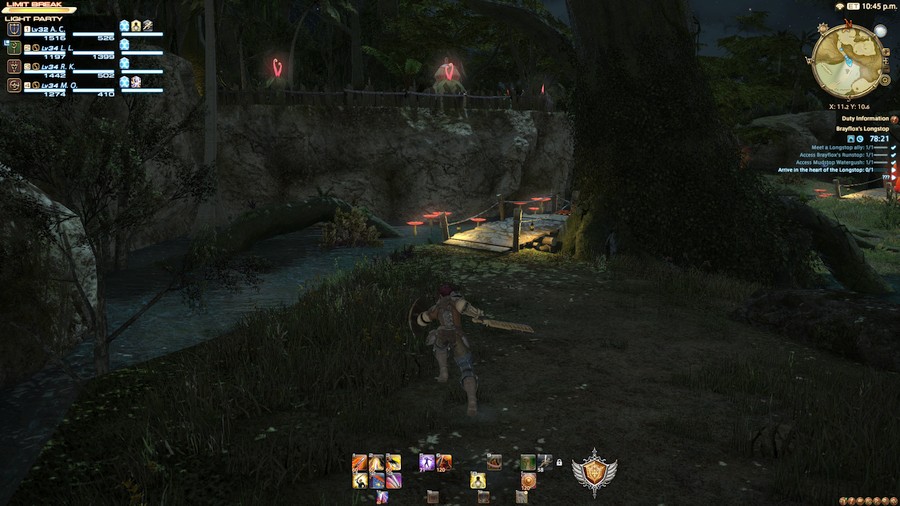
The next area is Brayflox's Runstop, which has an optional gimmick we can take advantage of.
Protecting the Goblins will actually result in some more Treasure Coffers containing aetherial equipment. Aggro could upgrade her entire left-side equipment (ie. the visible stuff and the waist gear) by time she finishes this dungeon, if she gets lucky enough. Pathfinders will have 2, 871 HP, so they can take a few punches before dying.
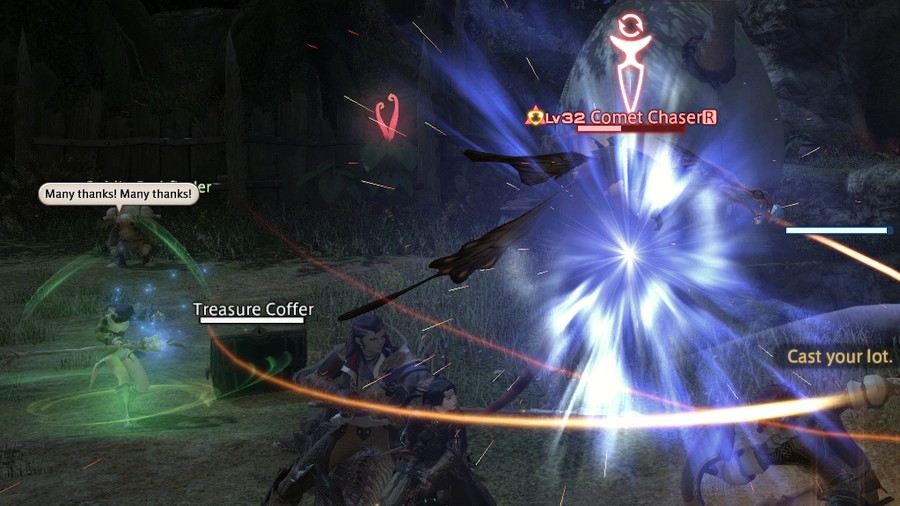
There are four possible chests in total, and approaching any of the Goblins in the area will spawn in the monsters we need to defeat. If we leave them alone, the Goblins will die. This is a rescue mission after all, so Aggro gets to work.
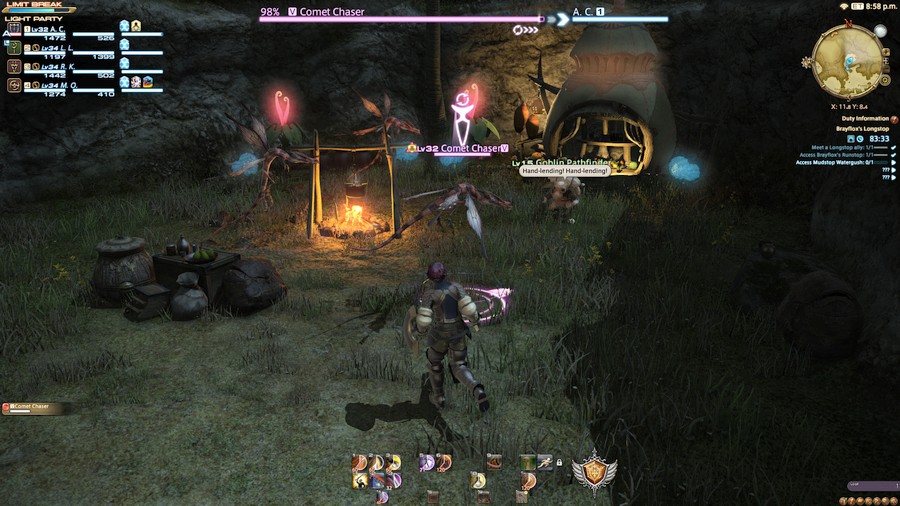
Leaving the area, Aggro comes across a hill leading to the final chest. This one doesn't drop the same pool of equipment as the others.For Aggro, this means she can get a body piece or a shield. On the right path, we get to the next boss room.
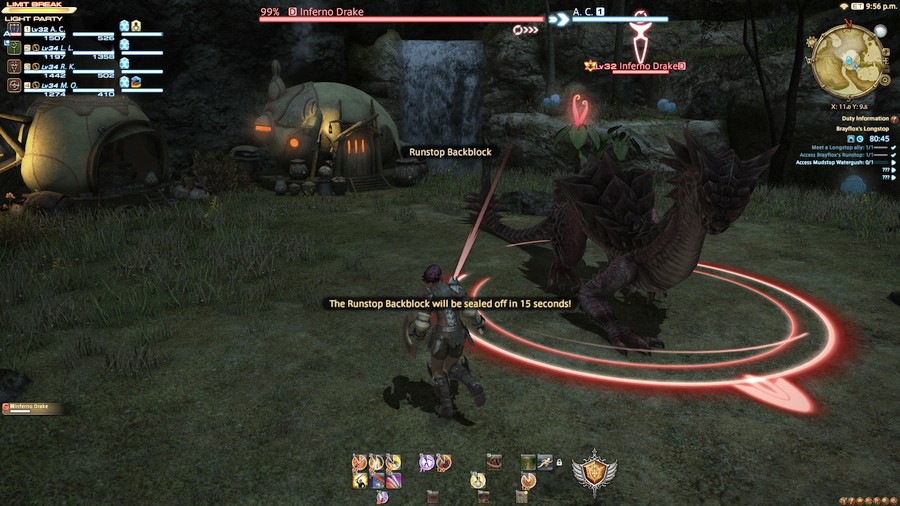
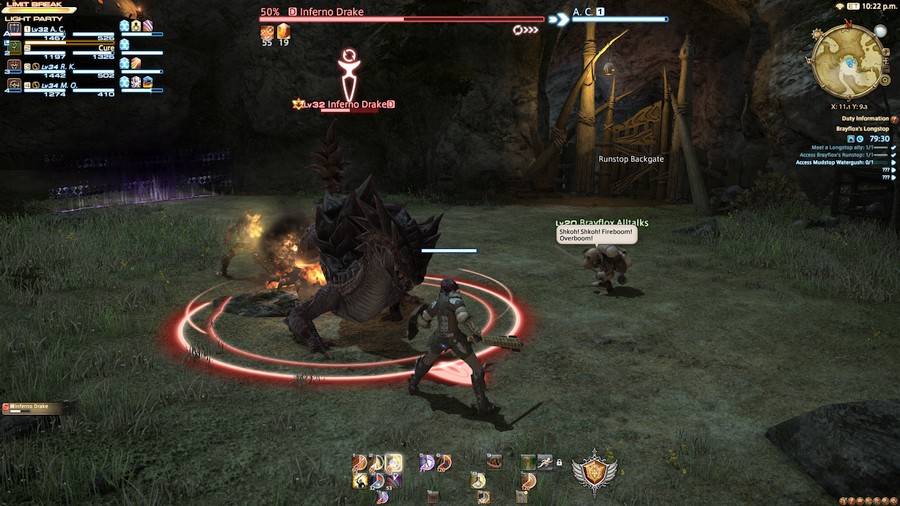
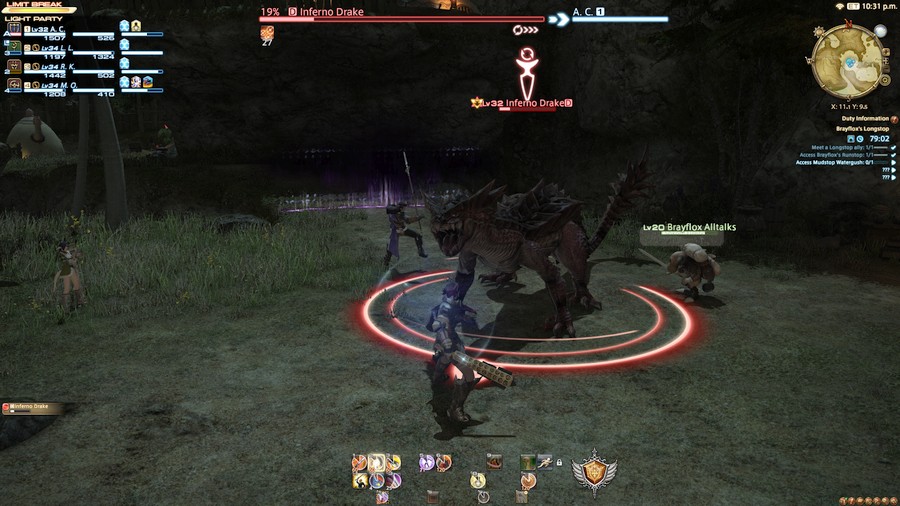
The next boss is an Inferno Drake (19, 558 HP). The fight isn't very exciting at this point, leaving everyone to just beat on the bugger.
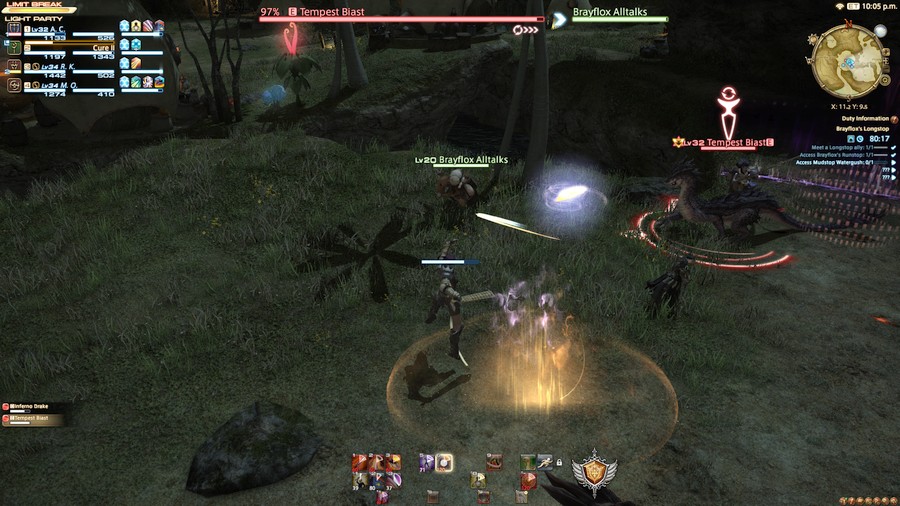
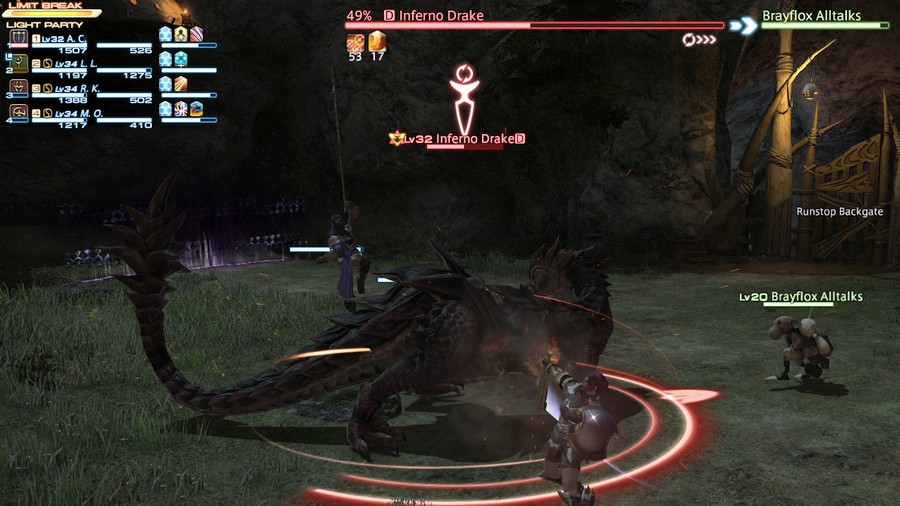
Once the boss reaches 80% HP, Brayflox will attempt to join the fight but is pursued by a Tempest Biast (6, 018 HP).
It's best to focus the Biast down first. This is when Black Mages and White Mages can actually make use of their Sleep spells on the boss. If your party has neither then you can probably get away with using a Sleeping Potion. Alternatively, who cares? Sleep wears off if you hit them, and this is still a leveling dungeon anyway. Healers should be able to keep up on the damage either way. Just murder them both, starting with the Biast.
The fight actually changes up a bit once the Biast is defeated and we enter the final phase. Firstly, Brayflox will lob some bombs at the boss.
In turn, the boss will start focusing on Brayflox.

Even with the most enmity in the party, Aggro won't have..., well, aggro. At this point, all you can really do is do damage for now.
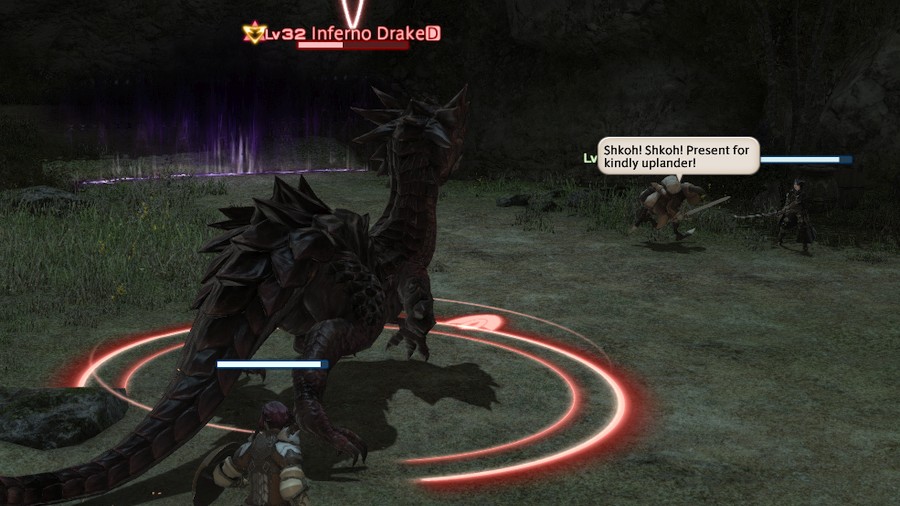
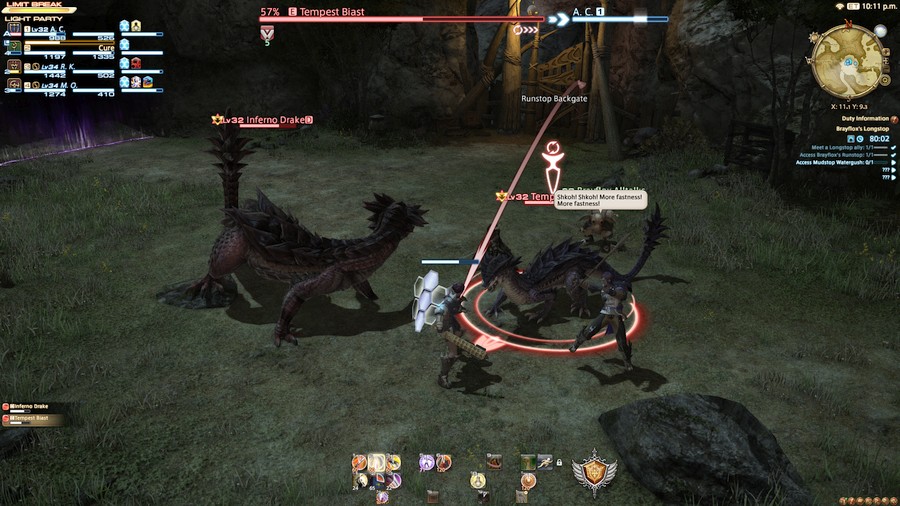
When she starts getting attacked, Brayflox will immediately pick a member of the party and try to run behind them. The boss will follow wherever she goes, so you probably shouldn't run away if you're selected. Melee players will have a hard time keeping up.
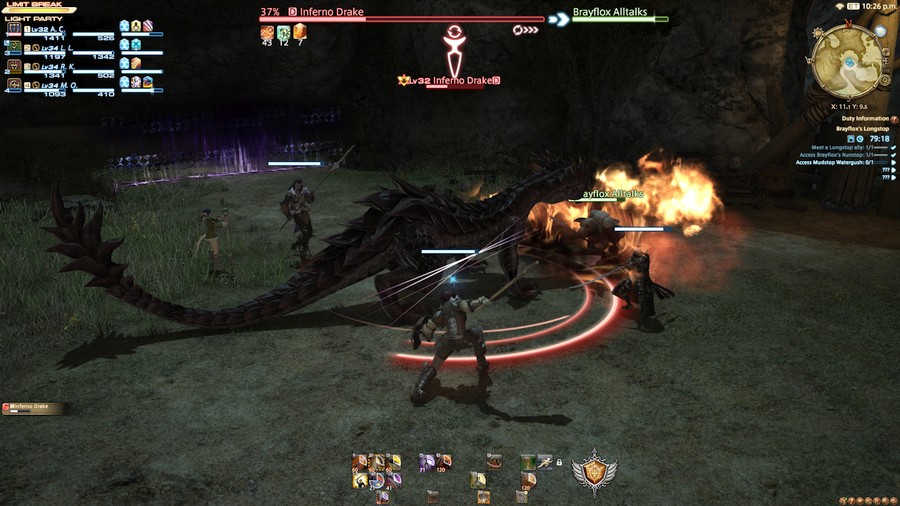
The boss will also repeatedly cast Burning Cyclone on Brayflox and any member of the party near her in a cone. Anyone who Brayflox isn't using for cover should avoid the cleave by staying out of the way. The cast is short and doesn't give you enough time to dodge. The damage isn't small either, hitting the Samurai in our party with about 400 damage. Brayflox doesn't even need the cover; she has 13, 350 HP!
After a while, the boss will return to attacking Aggro. At this point, the fight basically loops the final phase, so there isn't much else to see here.
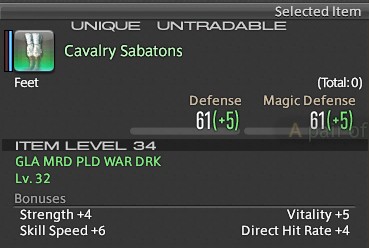
From here, bosses will be dropping equipment belonging to one of three left-side sets: Cavalry, Infantry, and Battlemage. As a tank, Aggro will be rolling with the Cavalry set. All casters, healers included, equip the Battlemage and the remaining DPS jobs get Infantry gear. It's best possible equipment available at Aggro's current level.
Our next area is fairly open, with lots of possible fights.
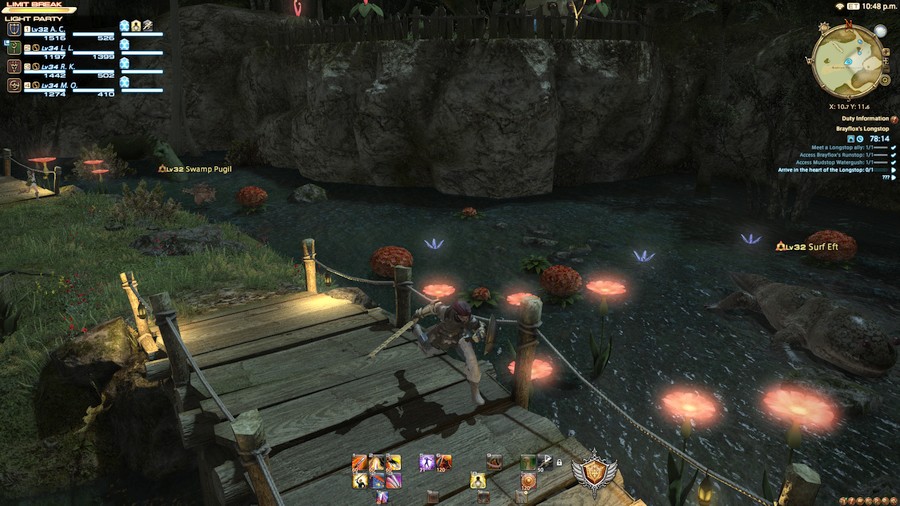
Fortunately, the enemies here rely on sight, so they're fairly predictably dodged. Underneath the bridge is another Surf Eft, but it'll leave us along so long as we use the bridge.
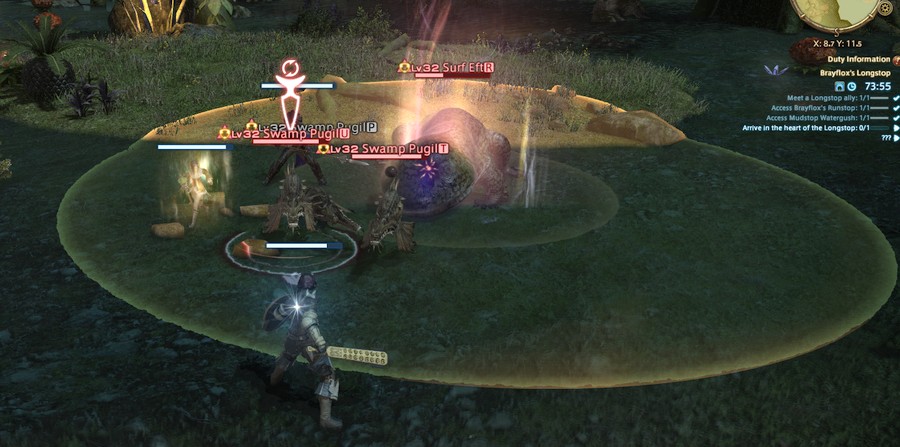
The less of them we need to fight in a single battle, the better. They have a large AoE that surrounds them, inflicting damage and a magical defence debuff.
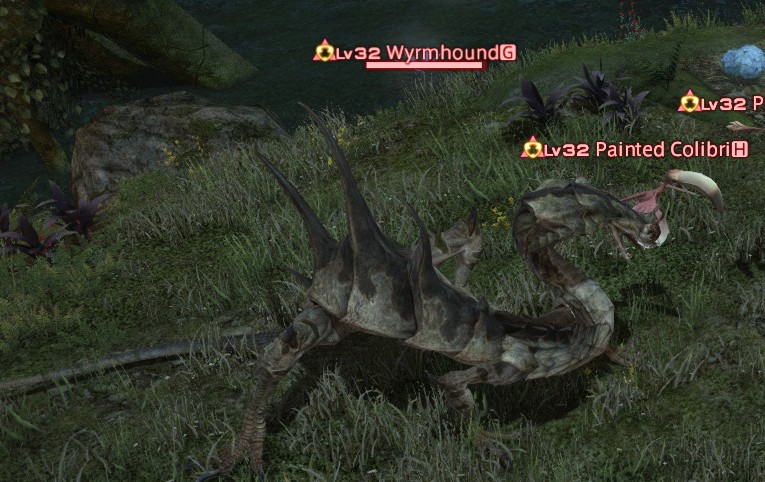
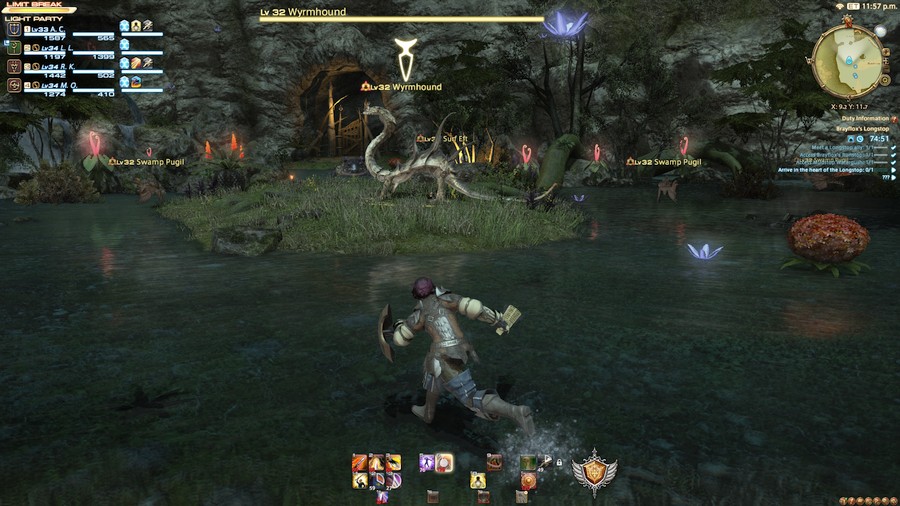
Further ahead is a Wyrmhound.
It can cast an AoE with an additional Gaze property, so we can actually stand inside the indicated area so long as we're looking away and not using any global cooldown actions at the end of the cast.
The southern wall has two small paths that lead to different rooms, each one with a chest. Honestly though, unless you want the exp from the fights then you're better off skipping these. The only drops you can get are potions and ethers.
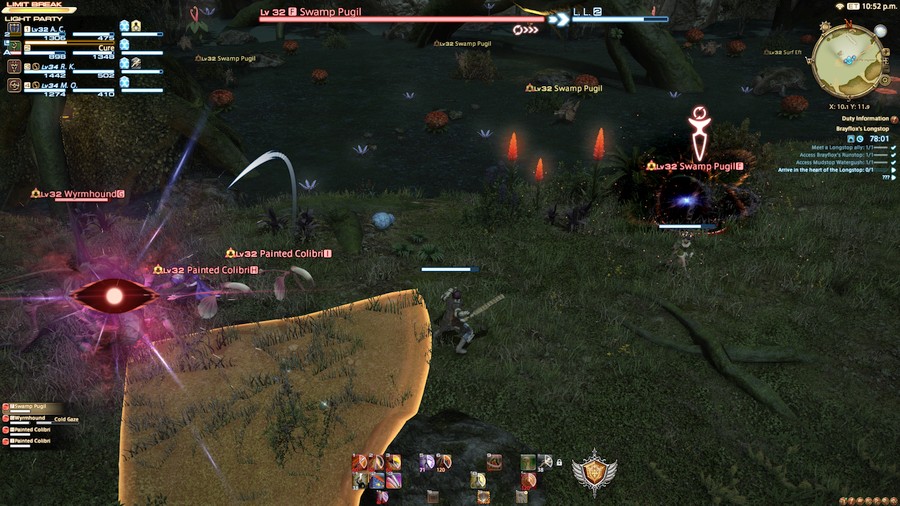
If you're like most players and would rather get to the boss fights, then your best bet is to stick to the small islands. There are less monsters to fight. Just jump between Wymrhounds and you'll be okay.
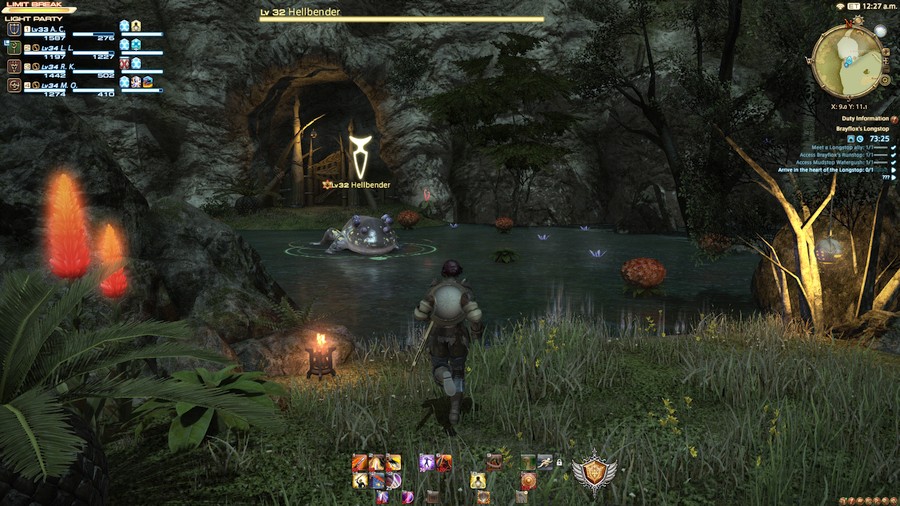
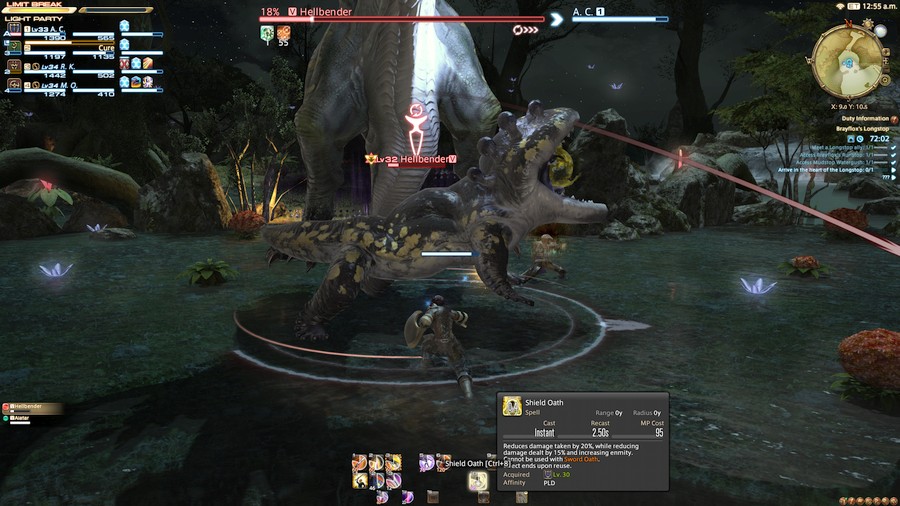
That takes us into the third boss room. It is not a dragon. Brayflox's Longstop is one of those rare dungeons that feature more than three bosses. I think I've said before, but early dungeon designs in the alpha suggest they were playing with having optional ones. Well, whatever. Our next boss is Hellbender (19, 558 HP).
It's basically just a giant Eft.

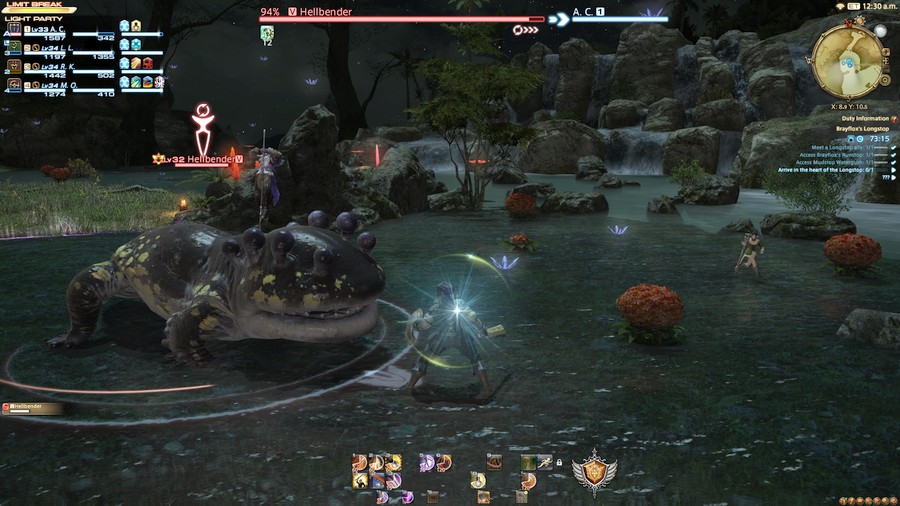
The Hellbender even comes with Eerie Light, to inflict magic resistance down on anyone within the radial AoE.
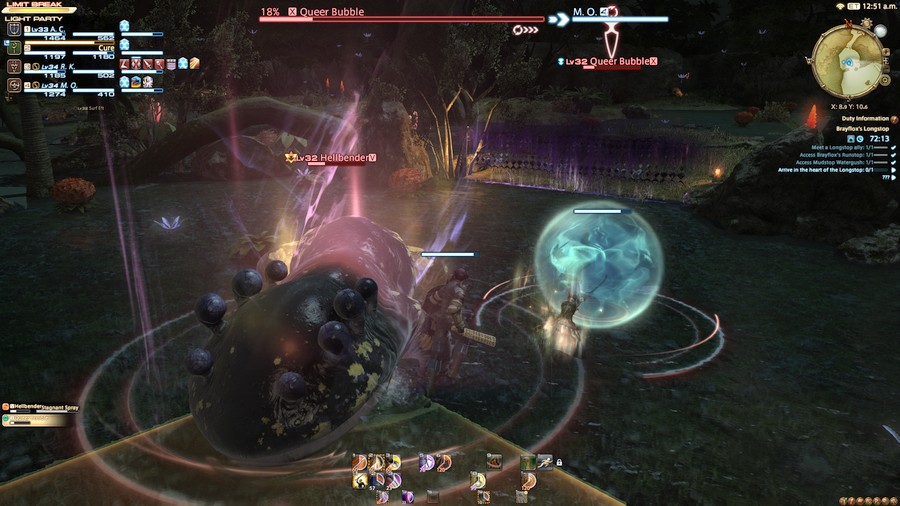
There's two last mechanics to deal with—one of them is somewhat unique to this boss. Stagnant Spray is an easily avoided frontal-cone AoE, but are reason enough to ensure the Hellbender is facing away from the party. Meanwhile, Queer Bubbles (5015 HP) may spawn around members of the party. This prevents them from moving or even turning, while slowly drowning them with a DoT and reducing magical and physical damage. Basically, you want to pop them right away. They suck to have.
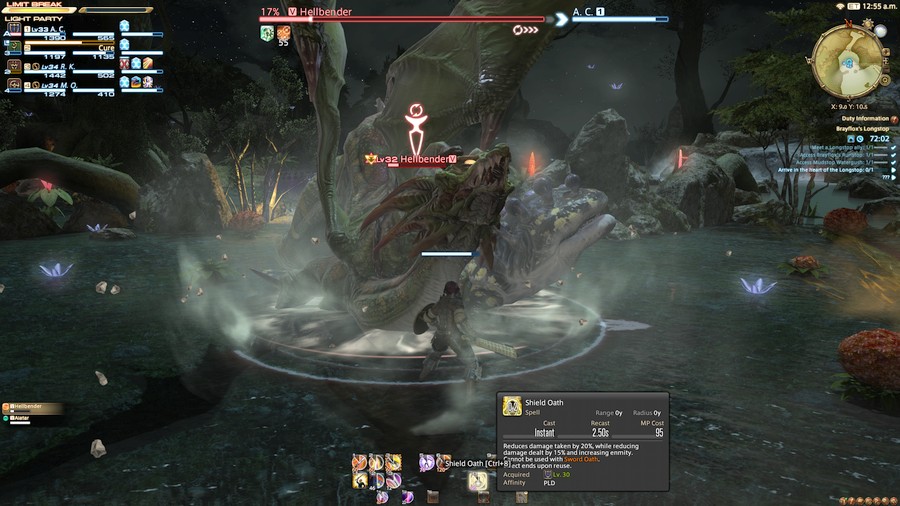
We get a visitor once the Hellbender's HP drops below 20%.
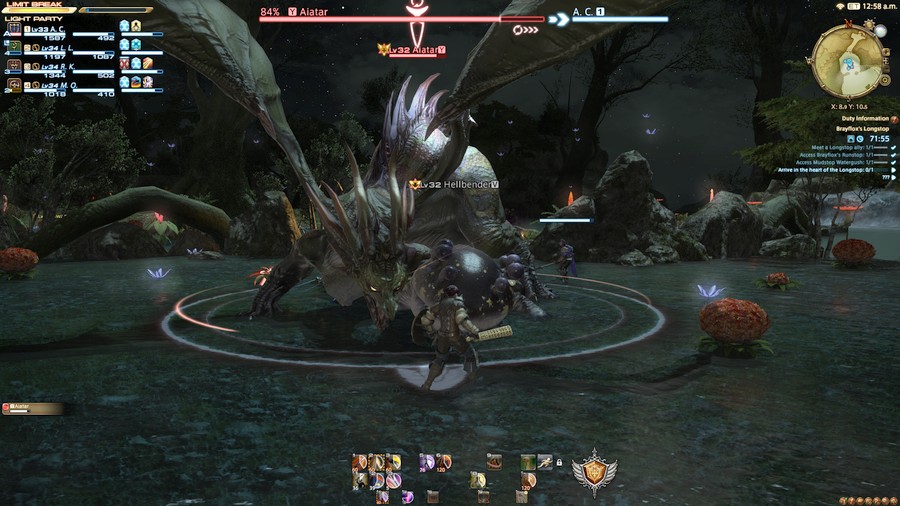
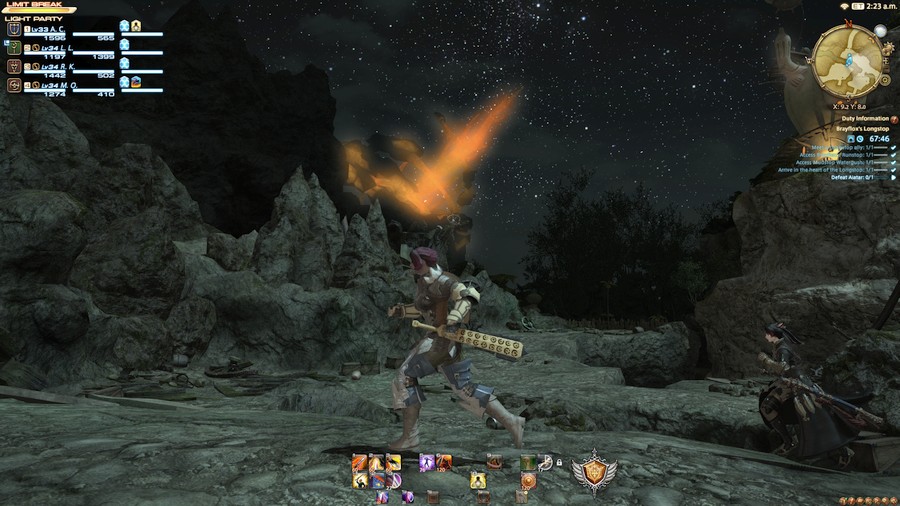
Unexpectedly, the Aiatar has decided to show up in the middle of our fight, killing the Hellbender. It's time to slay our flighty-beast, which shouldn't be hard given that it has 10, 030 HP.
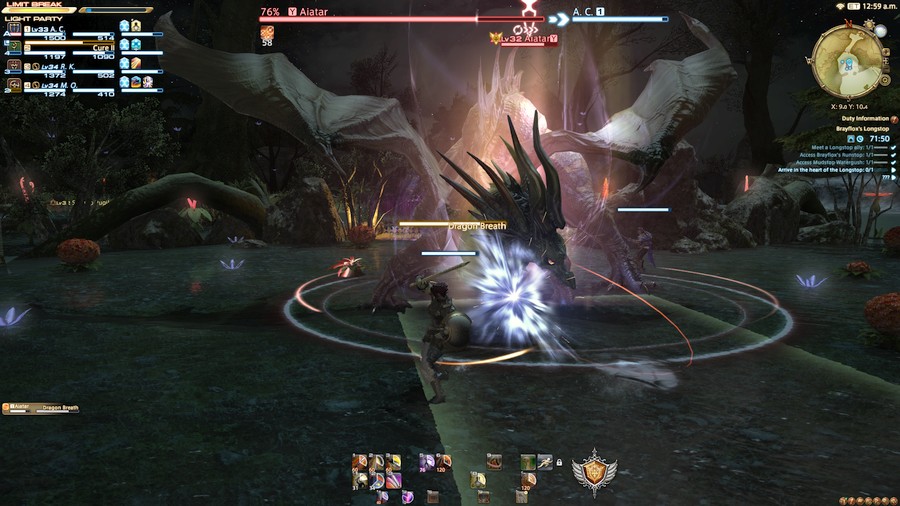
The dragon's only move is to cast Dragon Breath, which has surprisingly more range than it appears.
Beyond that, it'll disappear once it reaches below 75% of its max HP. You didn't think the dragon would really only have 10k HP, did you?
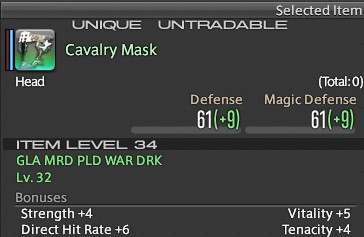
Aggro gets a nice helmet for her effort.
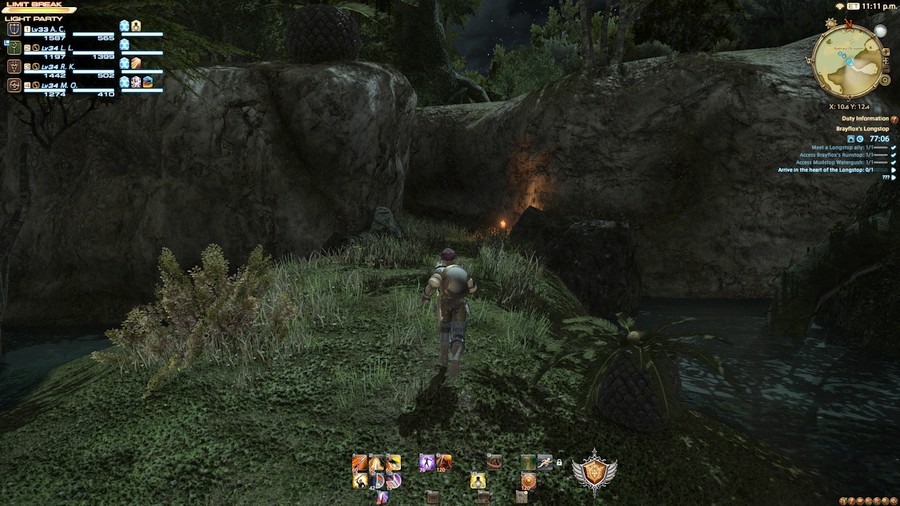
Our next area has a small detour we can take for some unique rings.
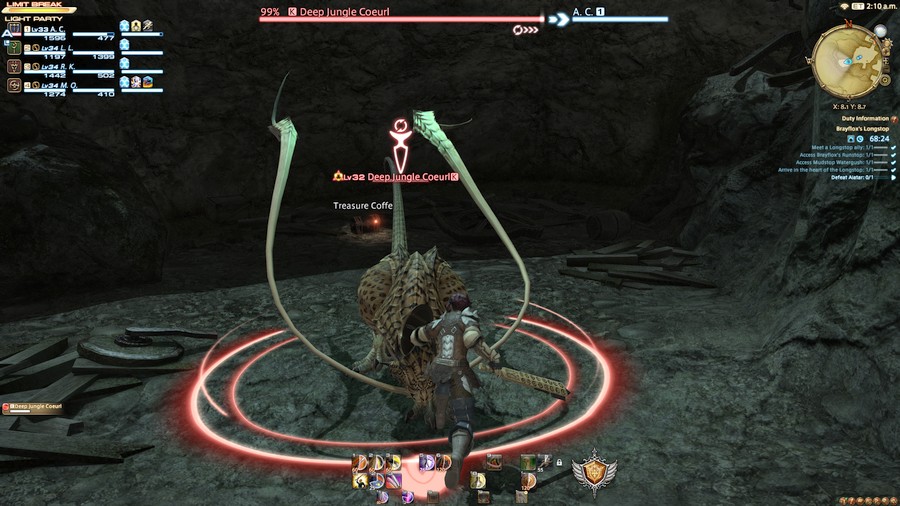
Defending the chest is a lone, Deep Jungle Coeurl, with 4, 694 HP. I'm pretty sure it can use a paralyzing AoE that surrounds it similar to the Efts, but both attempts to record footage failed to capture it. The chest fails to drop anything besides an Ether or Potion. I didn't check which. If you're lucky, it can drop one ring from a collection for each individual class. Jobs aren't included.
I really like when they add elements of the open world into the dungeons. It doesn't feel like we're in some random void somewhere.
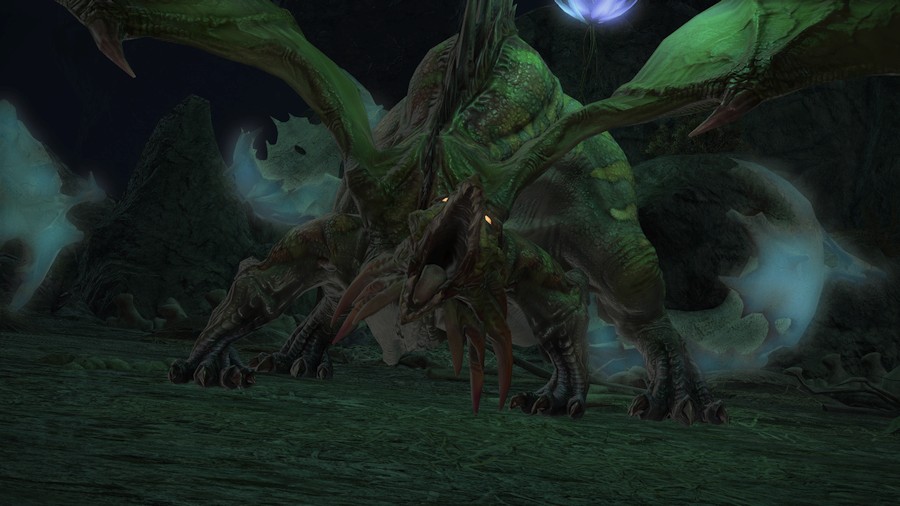
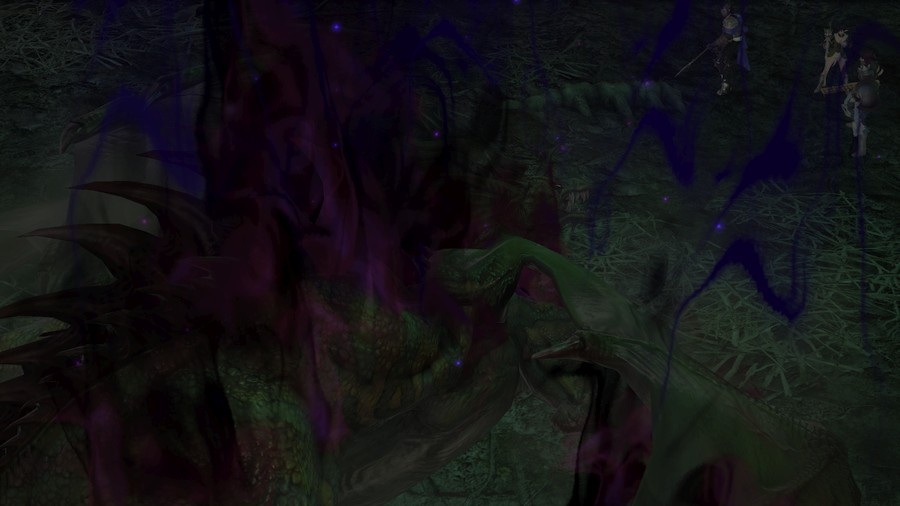
We're finally into Aiatar's den.
Music: Nemesis
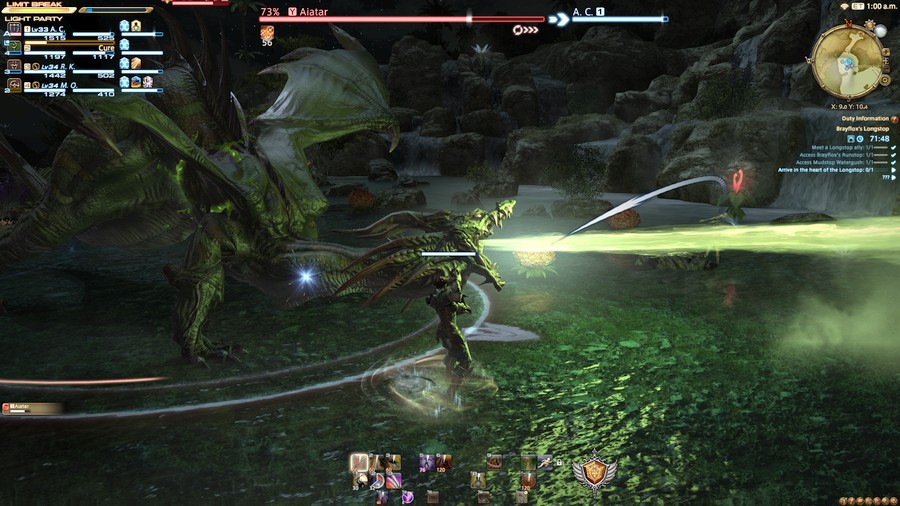
The dragon immediately swoops in once we enter its home. It's pretty bizarre for a dragon to be found all the way on Vylbrand, but it looks like its made its nest here.
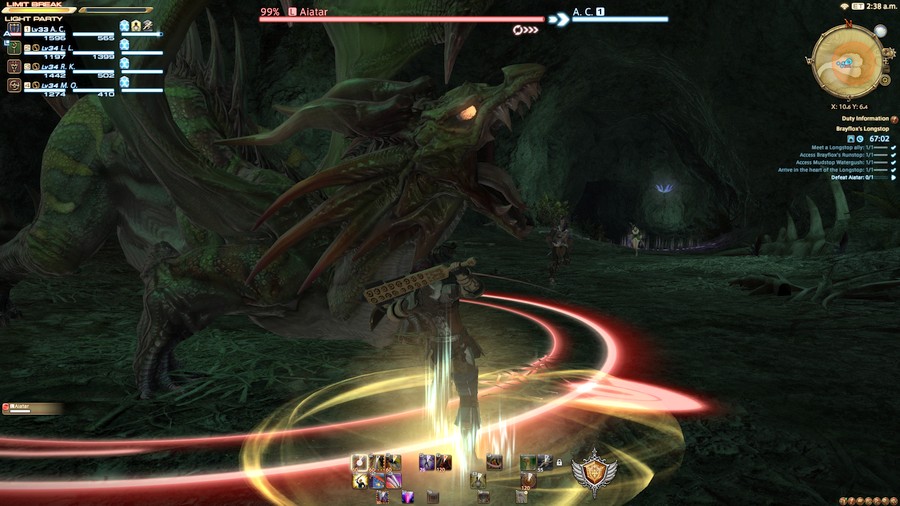
It's our final confrontation with the flighty-beast, and we've already seen half of the mechanics. This time, though, Aiatar has a whopping 33, 099 HP.
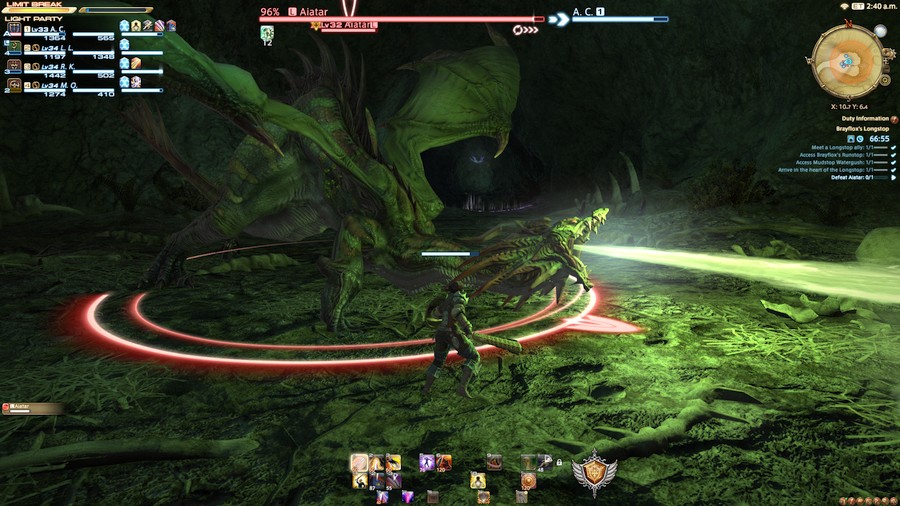
Avoid Dragon Breath and beat her up for a little bit.
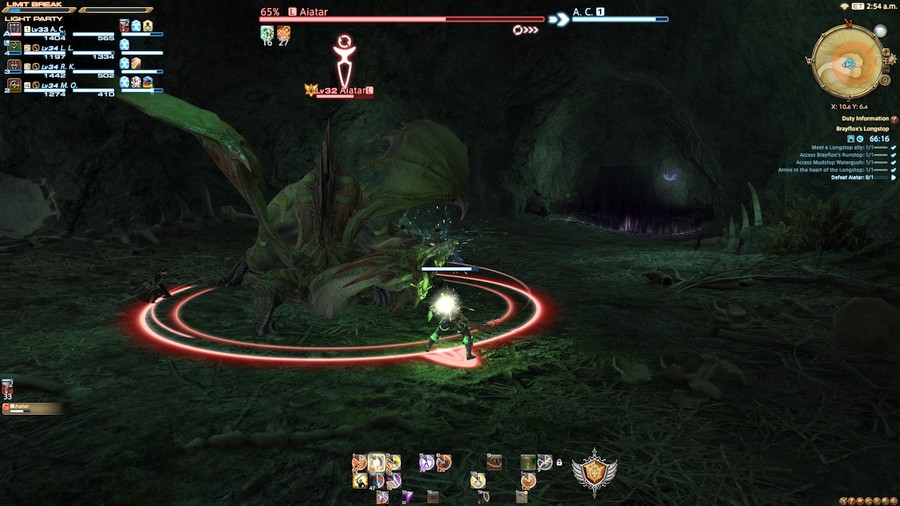
There's also a new poison bite that'll show up here and there. It'll inflict Aggro with poison, and it can stack.

Some healers may struggle with this, but it can be cleansed. Before the Stormblood Heavensward expansion was released, Scholars couldn't actually cleanse at this level, so it was a little bit of trouble. The White Mage in our party seems content to just ignore the ailment and heal through it though.

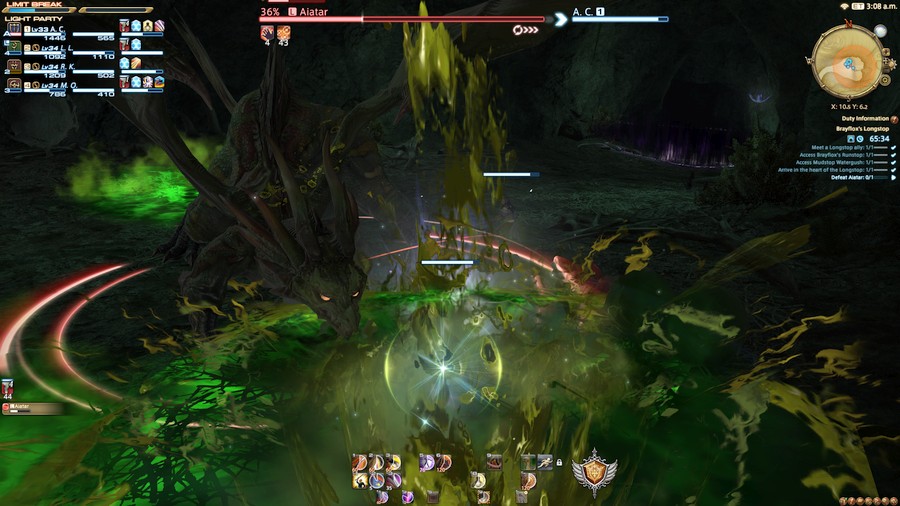
After a couple of dragon breaths, Aiatar will cast Toxic Vomit on a random player in the party. This leaves a pool of poison that'll do damage over time while you stand in it. The effect isn't permanent, but the pools can pile up.

Additionally, the toxic pools will also restore Aiatar's HP with a Regen effect. Everytime Aiatar vomits on a melee player, Aggro has to drag the dragon away.
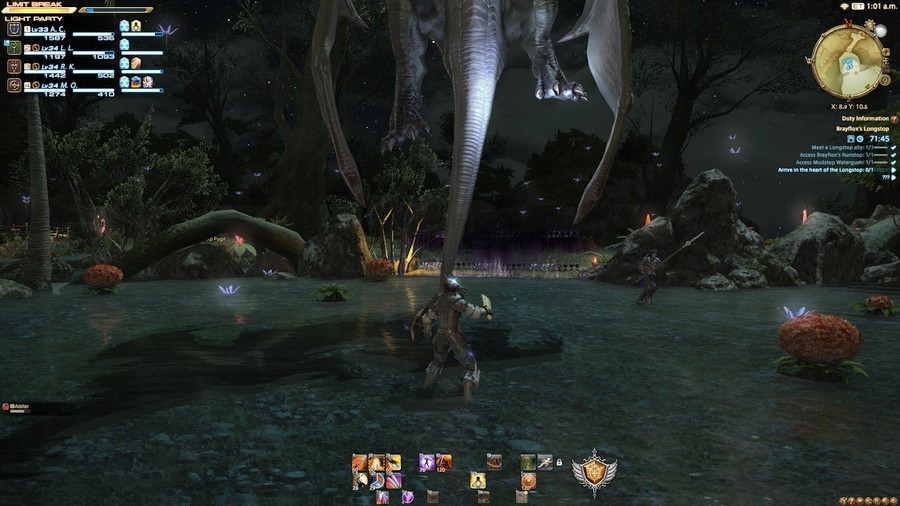
Aggro isn't immune to being targeted either.
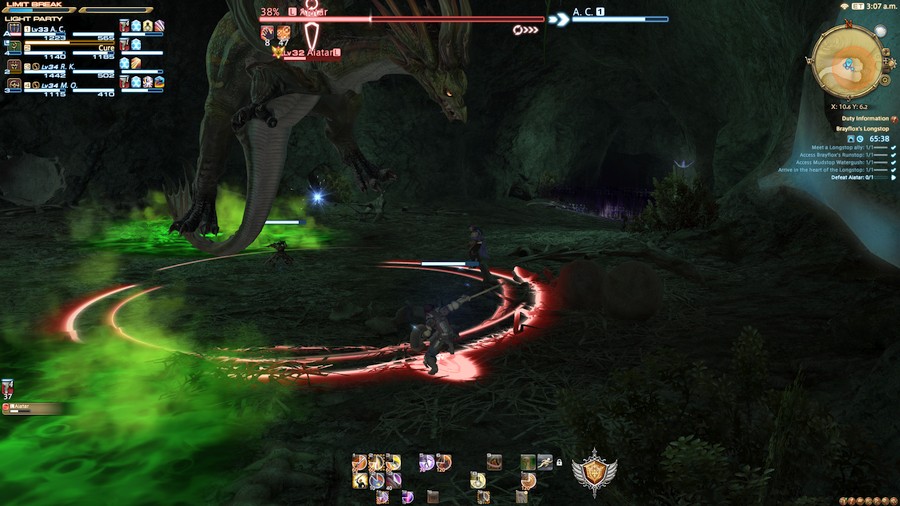

As if that wasn't enough, Aiatar can also use the attack it used to defeat the Hellbender, knocking players back and potentially landing them in more toxic pools. This should probably be taken into consideration when positioning the boss to avoid her from passing through their own regenerative puke.

If you're not careful then you can find yourself cornered, too.
Music: A Victory Fanfare Reborn
And we're done. It's not a hard fight by any means, but the difficulty has definitely amped up in this dungeon. A lot of new players struggle here, and this actually knocked me pretty hard on my own first run through it. Honestly, I think it was around here that I really learned to tank a bit better.
Right after our cutscene, Brayflox charges in and then claims the credit for the kill. Is this a Company of Heroes thing or what? On top of that, the Battlemage Breeches drop, so Aggro gets nothing. Well, whatever the case, we've secured the Longstop. That should be our errand complete.
See you all next time when we get to find out just how stupid this questline really is.

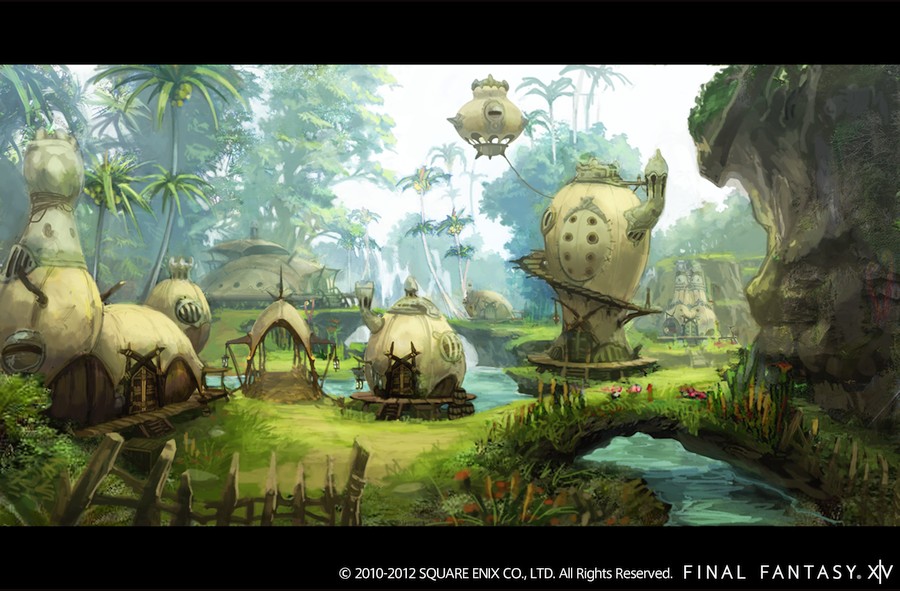
Have some Brayflox's Longstop concept art.

Chapter Summary

This dungeon was actually a bit harder in older versions of the game, and it really screwed with you. For a start, Scholars couldn't cleanse the poisons. The Heavensward expansion changed one of the abilities for one of the Scholar's fairies so it could cleanse, but pet management isn't something a lot of players seem to handle very well. Stormblood finally gave them Esuna with the Job Role actions.
Another big deal was Paladin's lack of Shield Oath. This was originally a level 40 stance, leading to severe enmity issues at the time. Since then, there's been enmity buffs so it's been more manageable, but Stormblood finally gave the Paladins their tank stance once they were unlocked.

I really should use this banner more often. Some real world lore on Aiatar (Ajatar in Finnish) describes her an evil woodland spirit. She is suspected to spread disease and is in the form of a dragon (or some sort of serpentine figure). The name likely comes from the Finnish word "Ajaa" meaning to drive, or to pursue. Interestingly, she kind of leads us along in this dungeon. I wonder if Aiatar was deliberately leading us into her den? In any case, thanks Wikipedia!