Toggle Background Color
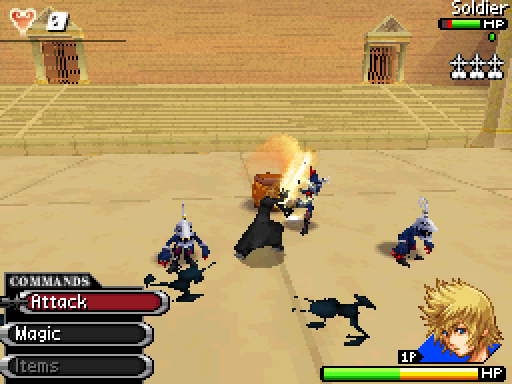
The rest of the challenges involve the bosses we've previously fought, so this update will basically be a boss rush.
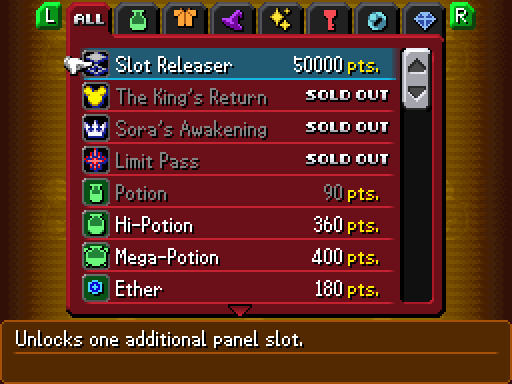
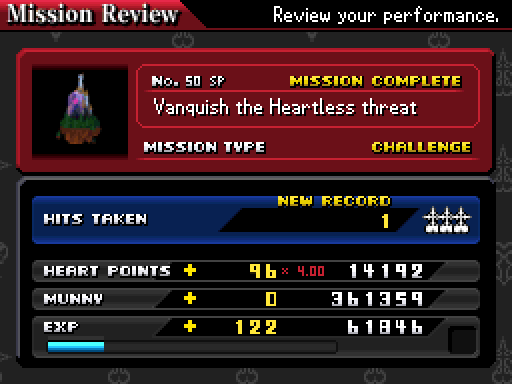
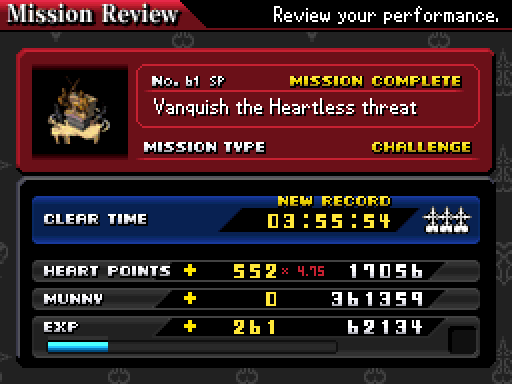
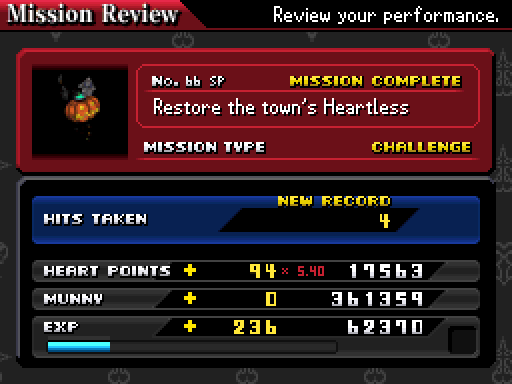
Because of the last Hearts-collecting mission (Dustflier  smile:, we got enough to buy this Slot Releaser.
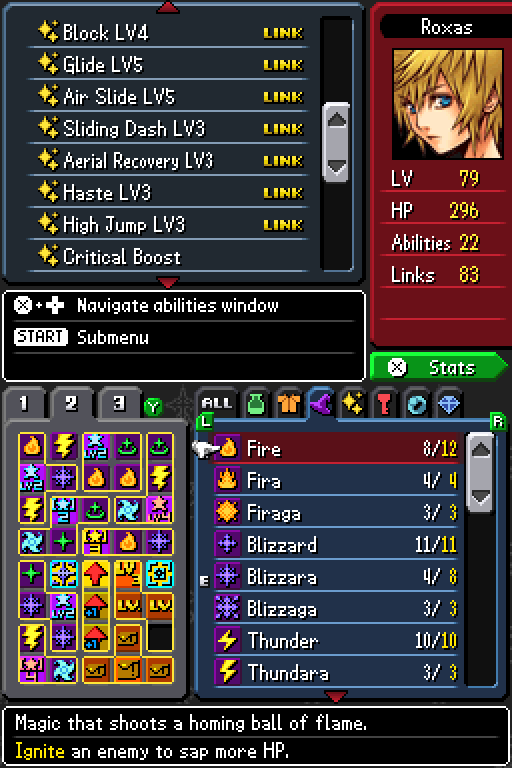
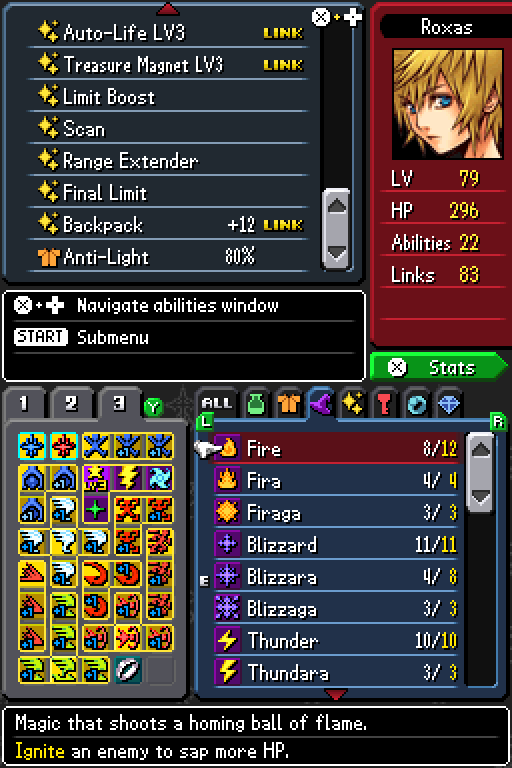
With that new Slot Releaser, we've managed to fit everything, including the new LV Tripler. No room for items, though.

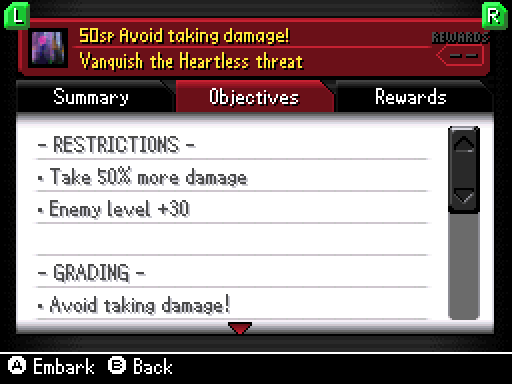
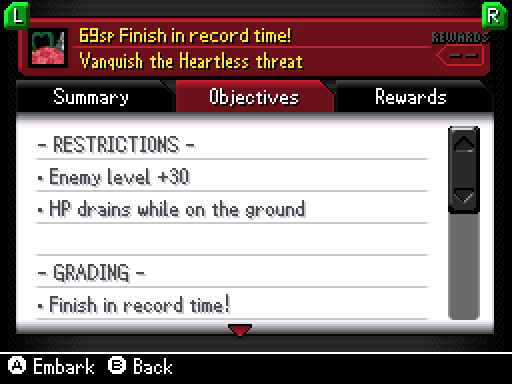
We were level 3 when we originally did this mission.
There's nothing to say here, so let's switch to...
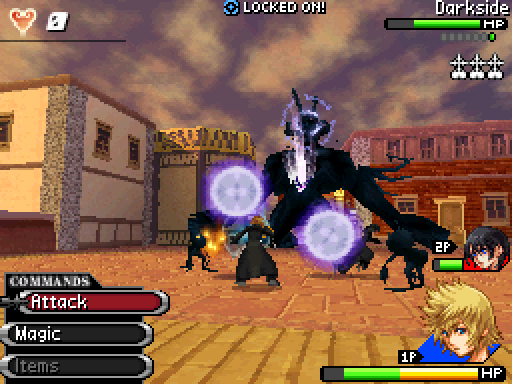
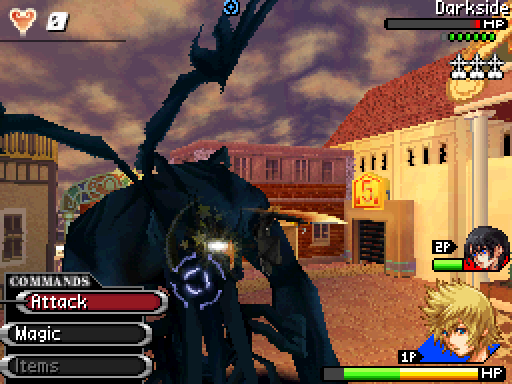
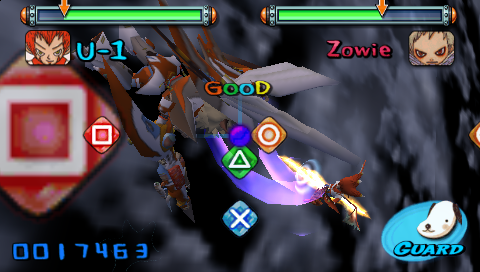
Oh wait, yes I do. Stop missing, Darkside! I can't block the orbs back to you if you do!
What are you even doing, aiming for an empty space like that?
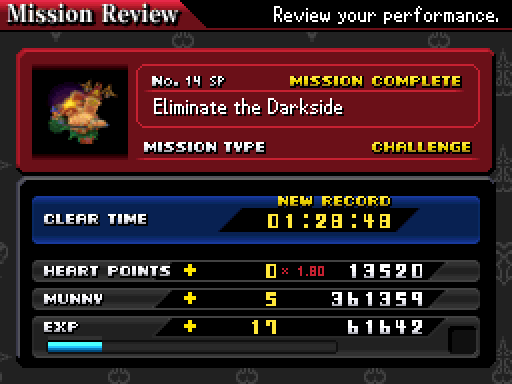
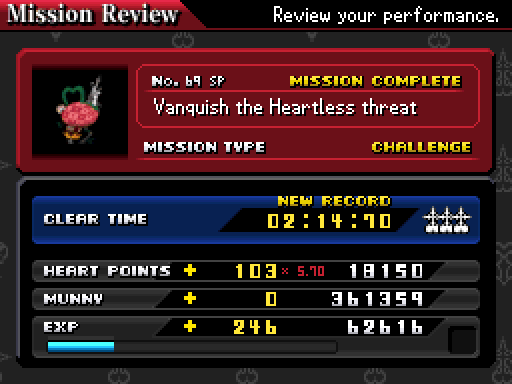
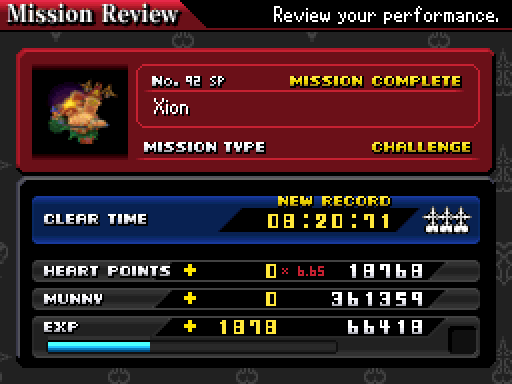
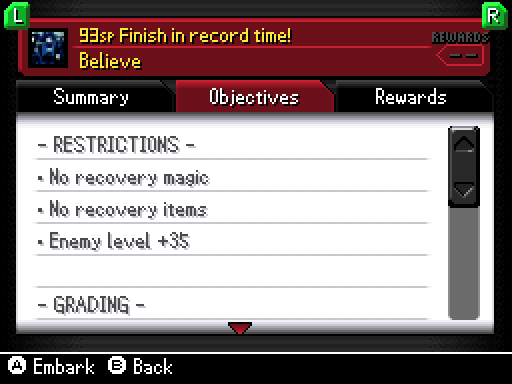
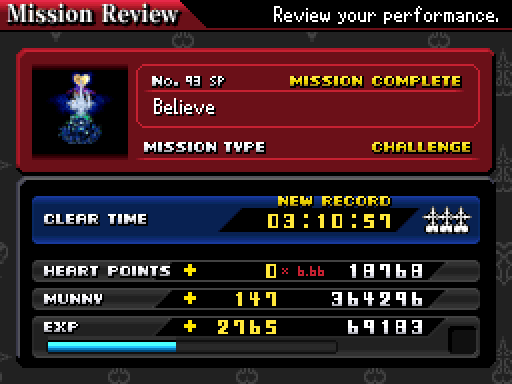
1:45. Not a tough one, but you kinda need to have completed the game to even have a chance at completing this.
That applies to all challenges here, which is why I've been putting them off until now. We were level 13 when we originally did this mission.

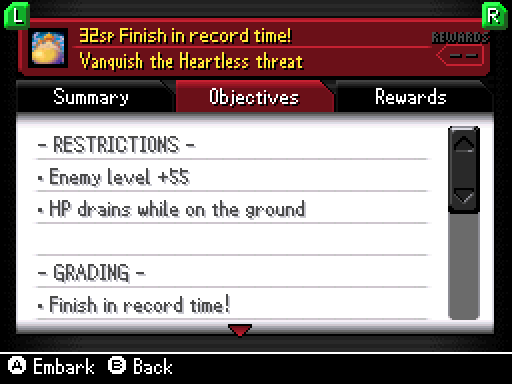
Remember when we did the previous challenge with this mission? Where we used Thunder? That still works very well here.
Continue to use Thunder even when it sends sand pillars.

Make sure to do that while standing between the Antlion and a ruin, so it'll run to a wall and we have a chance to use even more Thunder.
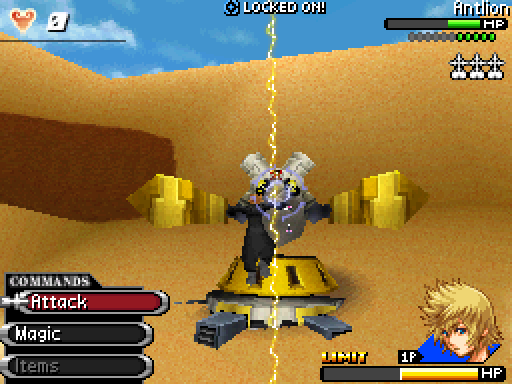
1:20. If Antlion goes into its tornado phase, you're basically fucked.
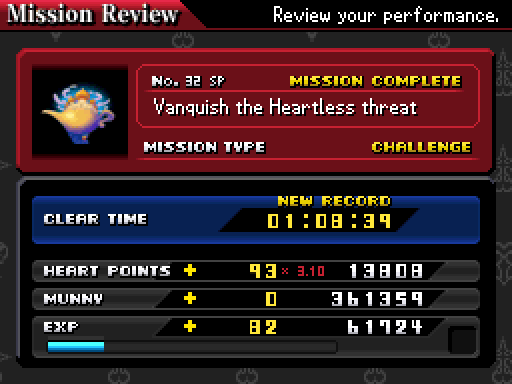
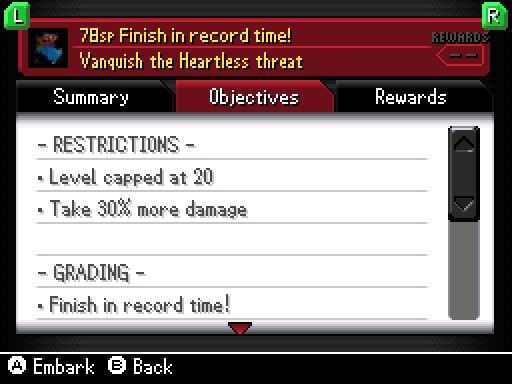
We were level 23 when we originally did this mission. Now I actually have nothing special to say about the challenge.
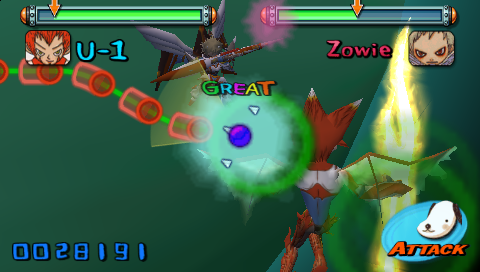
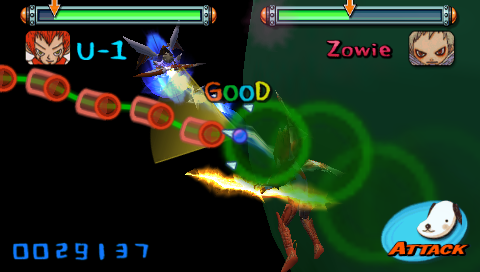
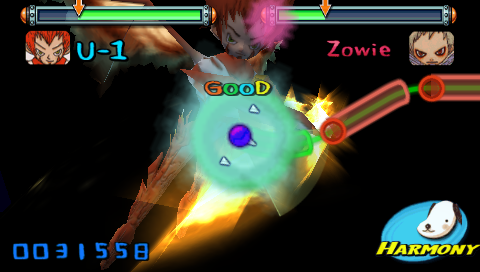
So let's check back here. This stage is the final one, so of course U-1 goes into his super saiyan form. It's only natural.
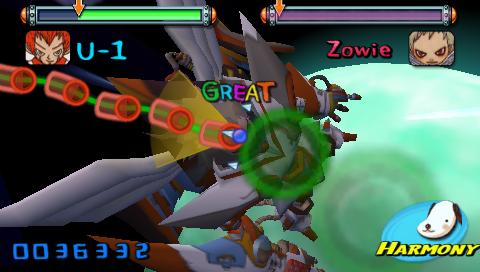
We start in full HP but immediately to Battle Phase, just like in Stage 4 and 6 (Ben-K 1 and Kirah 1). Unlike those stages, this one actually has 2 variations. It's completely random as to which one we'll get, so at least I don't spend 200 attempts to try and fail to get them all like in Stage 7 (Sanbone).
The stage itself is just like its normal mode, which is balls hard there but easy if you even manage to get past Stage 8 (Gregorio). The only difference is that you get penalized more for missing.
There's charge phase littered within the parts of the battle phase. They have piss easy notes. They are, however, completely useless as it only fills a tiny bit of HP in total that's negated by one missed note.
The variations in this game all only applies in battle phase. Some of them can be very hard to get, but we can hear them all in versus if no one go below the HP threshold, which means you need to play with another competent person. Unfortunately, I don't have anyone who can actually play this game, so I can't try it out.
That means I can't showcase all the variations in Stage 7, and I can't even guarantee that I showed the variations in the other stages.
Normally, in charge phase we get to hear the opponent playing their instrument which implies that they're charging too (though the HP doesn't actually increase). That implication is confirmed in versus mode, where the player playing the opponent actually charges during those times.
In this stage Zoey's instrument isn't actually heard in story mode. It exists only in versus mode, and it's simultaneous with U-1's charge instead of taking turns (just like battle phase).
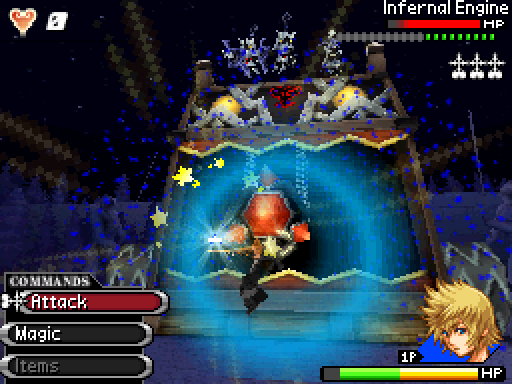
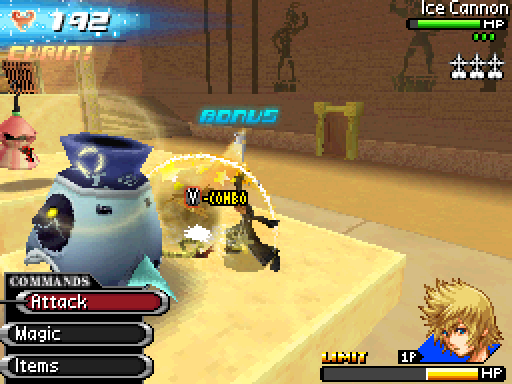
The main problem is the archers. We can bait Infernal Engine to use the cannon attack so we can kill them.
We can get hit 3 times. Another option is to bait it to use the charging attack so we can kill it quickly. It has what I'm sure is the highest amount of HP, but its defense is low especially when charging.

We were level 30 when we originally did this mission.
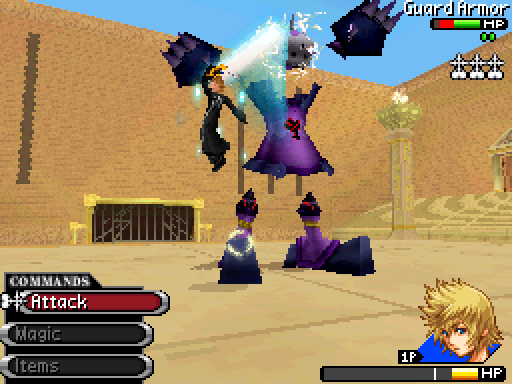
I really hope you know how to go through this group quickly by now.
Use barrels for these rounds and hope they hit the Heartless instead of another barrel.
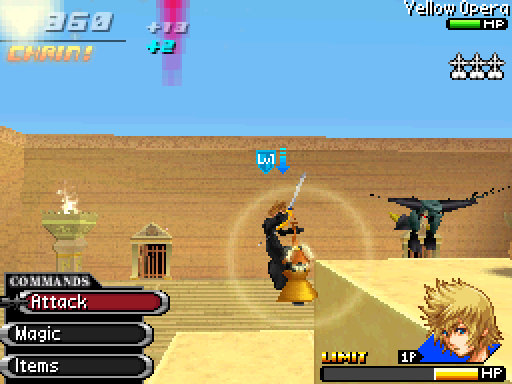
Kill the Yellow Operas, then use a barrel for the Tailbunker.
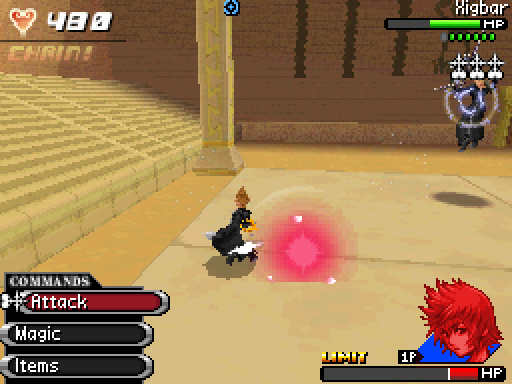
Go after Xigbar and hope he doesn't teleport. Good thing this isn't the "Don't get hit" missions, huh? 
Use Limit. We've done this plenty of times already.
6:55. There's plenty of time here, so there's no rush. The tighter time limit here is your patience, really.
We were level 40 when we originally did this mission. That means we're the one woefully underleveled this time.
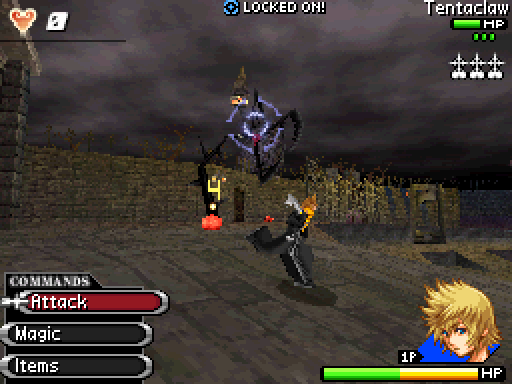
That also means the Tentaclaws are a massive pain in the ass.
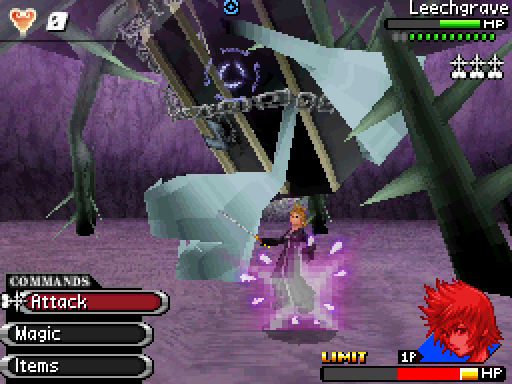
That's why we need to use Limit against Leechgrave. We can get hit twice by this attack and it'll put us right in the comfortable range, so we just have to avoid getting hit by the other attacks.

The poison bullets are the second most dangerous attack here. Each of those bullet count as a single attack, and we can only get hit 5 times. 3 times if we count the time we purposefully got hit.

Anyway, do this 4 times and we're done. Yes, a whopping 4 times, even after abusing Limit.
This challenge is another example of "Who the hell thought this challenge is a good idea?"
We were level 41 when we originally did this mission. At least this means we're at roughly the appropriate level.

I got nothing to say about this one.
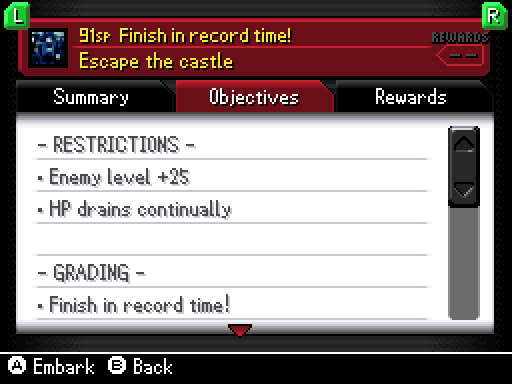
This challenge is interesting in that it has an INCREDIBLY strict time limit. Like, I have less than a second left to spare (it's 2:15).
I got no clue how to finish this mission faster. Get lucky with critical hits? You can't actually inflict any status effect on it, so that's out.
Our next challenge involve Ruler of the Sky. It's somehow better than Leechgrave's. We were level 49 when we originally did this mission.

Before we take a look at that, we'll check back here. The final part of the battle phase has only one attack and guard phase, but each is extremely long.
I don't think there's any chance of this part looping. Not just because we'd die before that can happen.
As I said before, this level was the true test of your abilities in normal mode. In master mode it's just a rehash because 
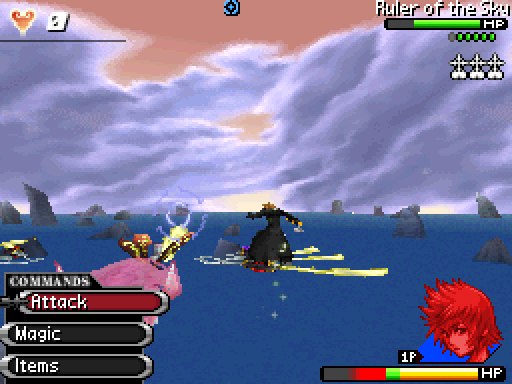
Alright, let's look at the challenge now. The hard part is surviving. We're extremely underleveled, so 3 hits while it's berserk will kill us.
7:45. The time limit is very generous, but if you die you have to start over all the way from the beginning. Good thing I have savestates 
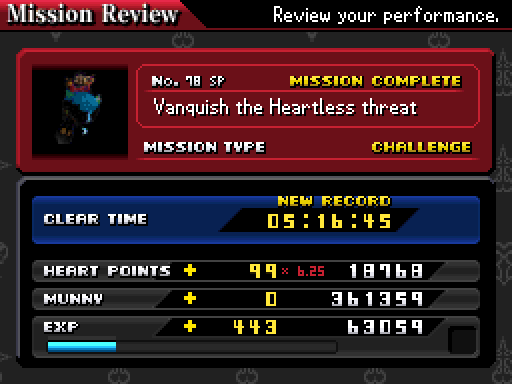
We were level 57 when we originally went through the rest of the game. This challenge is one of the best.
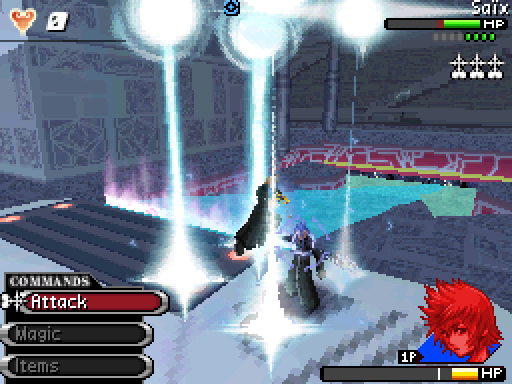
Pretty much the only reason for that is because all we have to do is humiliate Saix.
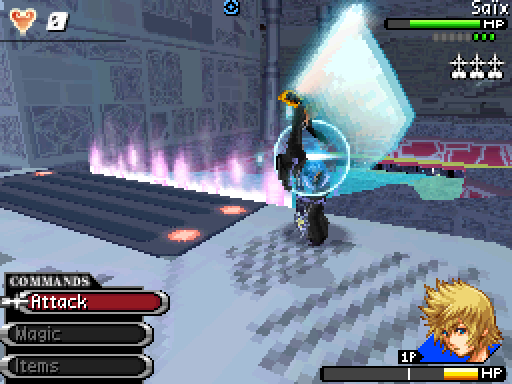
He might try to block our attacks, but a feeble block is not enough to stop our rampage. 
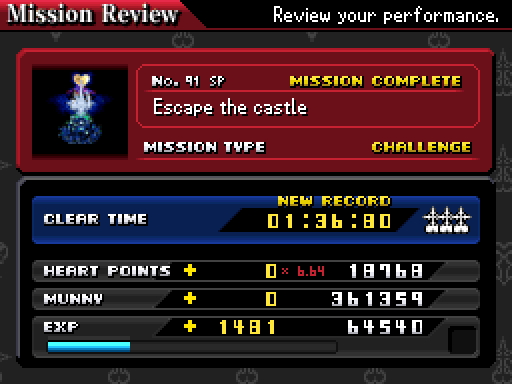
1:55. This mission is still the best mission in the game.

I was kinda wondering, is Xion ever foreshadowed at all in this game? It's strange that SE went back into using some unforeshadowed strange being as the final boss.
This is our last challenge update, so this is also our final Lite's Play update.
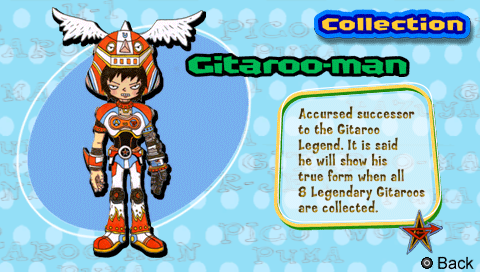
Gitaroo Man is a great game. You should play it if you like rhythm games.
I don't think I mentioned this before, but there's 3 items to be gained from each stage: by completing it normally, completing it on master mode, and completing it with A rank or above.
I can't found the descriptions for these items. In fact, there seems to be a lack of information in this game other than gameplay/soundtrack videos. There used to be a website, but the link doesn't work anymore.
Even after years of playing, I still can't tell what caused the variations. Score? Number of "Great"s? HP?  Not to mention that the variation can change in the middle of the song. At least we can hear the variations played at once here.
Remember me mentioning versus mode several times? Well, there's also a coop mode only on PSP. It only has 2 stages, but both are unique. My point is that I don't even know how many variations exist on those stages.
Anyway, that's the end of the very long final phase. There's no "You win!" this time 
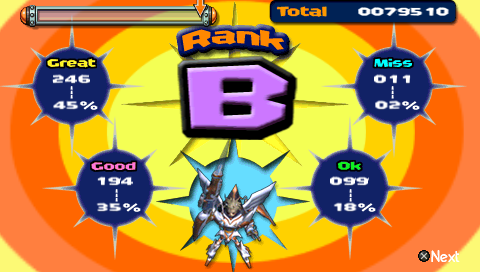
At least I do know what causes the rank: score. I know this because I messed with the score with Cheat Engine and got A rank easily that way. We can't miss in order to get S rank, so it's much harder.
If you bothered to read these updates, thank you for reading this Lite's Play and my ramblings, both about this game and the challenges. I'll post the reports we get from completing Master Mode next update.
Right. Back to the challenge. There's absolutely nothing special about them. The end.
Well, there is something in mind: you can't let it heal. Not that you'd ever want to.
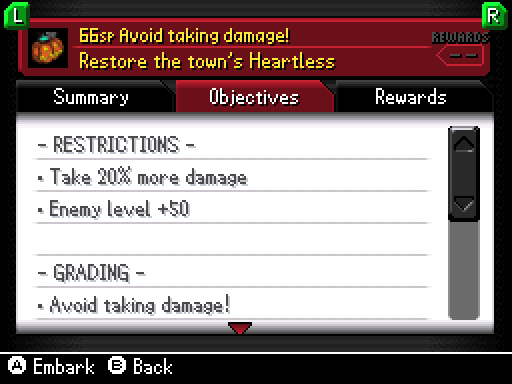
10:00. Just bring plenty of Hi-Potions/Elixirs since we can't use cure magic.
We can't heal at all here, so the challenge is to survive on top of doing this quickly.
The Neoshadows die very quickly, so the challenge lies with Riku. Don't bother using Limit. Just hope for critical hits instead.
4:42. That's a strange number, but it's lenient nonetheless.
And with that, WE'RE FINALLY DONE WITH ALL THE MISSIONS! 

We'll take a look at our spoils next update.
New reports: