Toggle Background Color
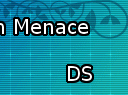
Update 17: Narmer
 Hunting down a catfish should be a piece of cake! I think.
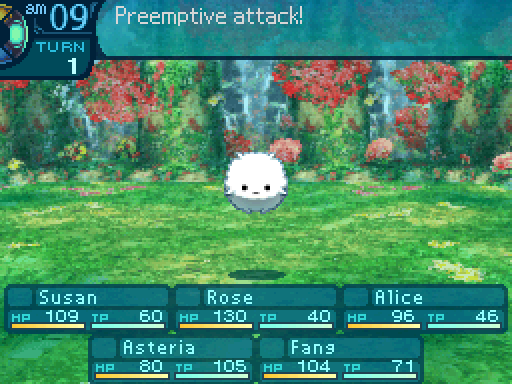
Anyways, let's-PASARAN!
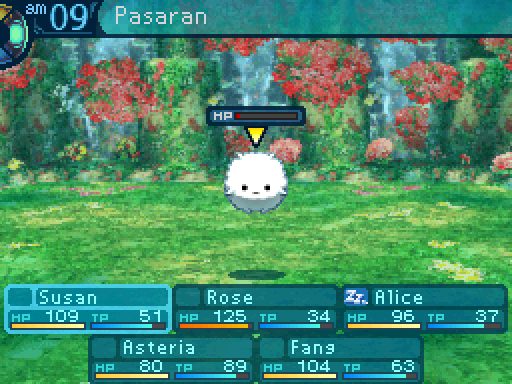
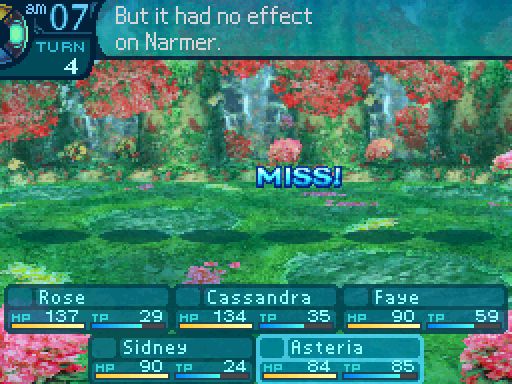
SO CLOSE!
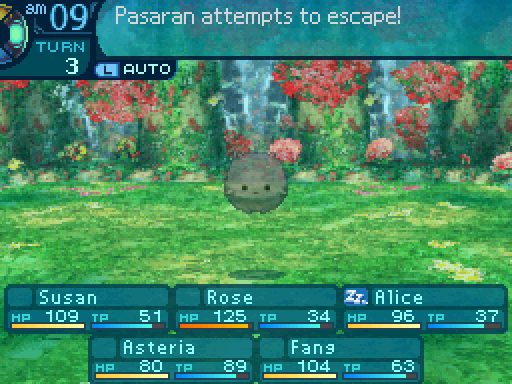
Crap.

And another chance arises.
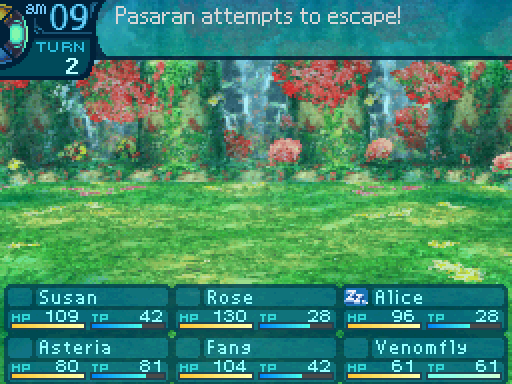
Dammit.

DAMMIT! 

You are not getting away this time.


 Okay, now let's get back to-

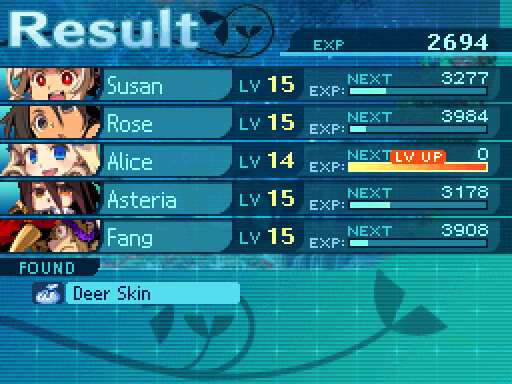
After I take a second to skill Asteria.
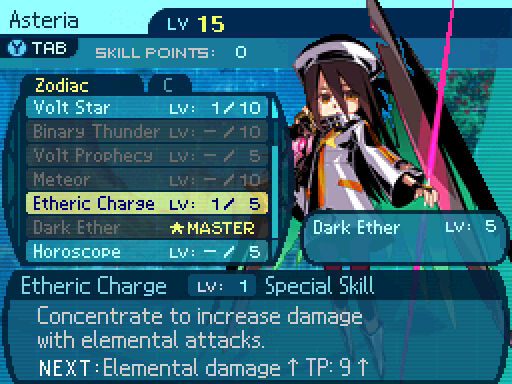
 If I just gather up some energy... Ahahahaha! Success!
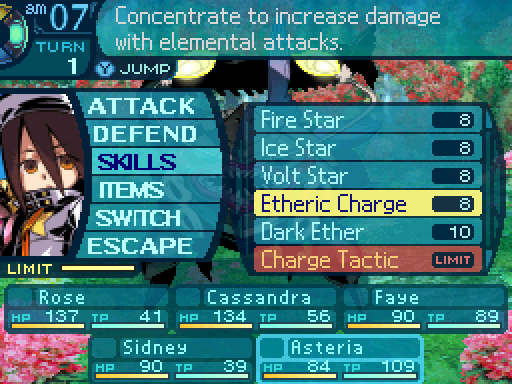
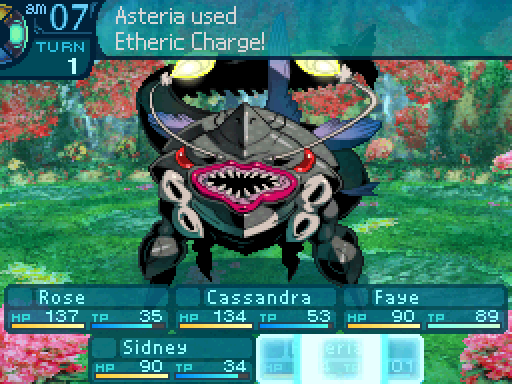
Etheric Charge is also a skill you want mastered as soon as possible. It works like the Gladiator's Charge skill, only Etheric Charge does so for Fire, Ice, and Volt attacks. The scaling isn't the same for the two skills, as Etheric Charge has bigger multipliers. For one thing, it boosts the damage output of the next elemental attack by 220%.


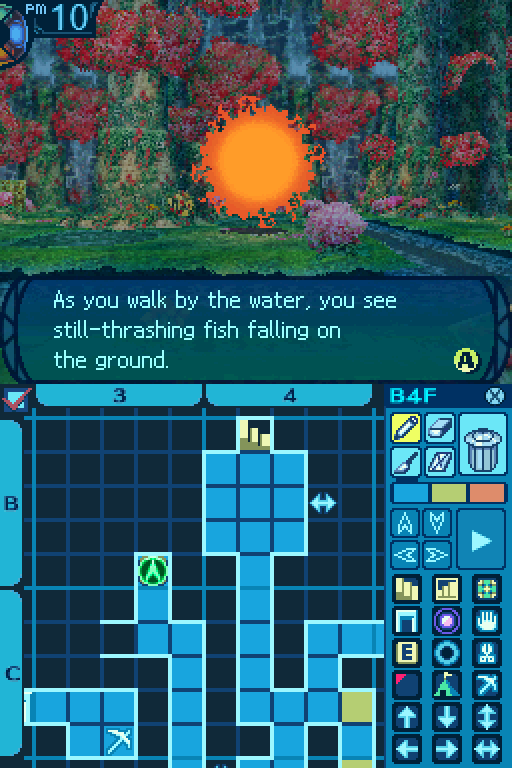
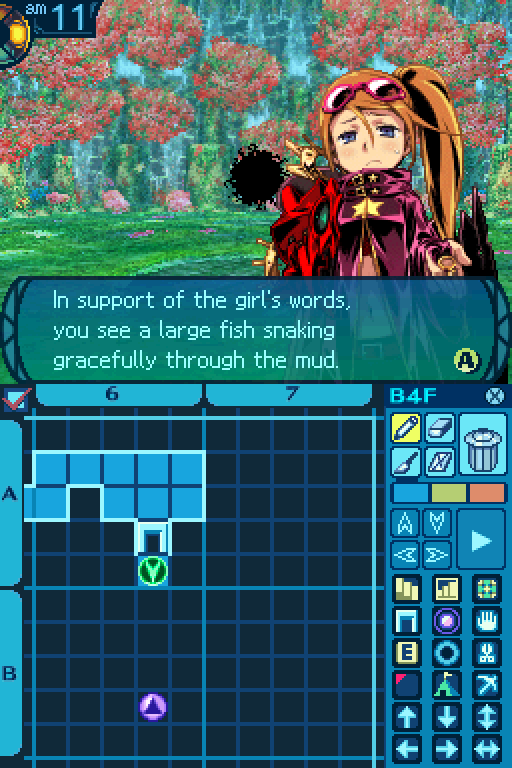
You reflexively turn toward their source in befuddlement and see a bear catching fish. The fish that came flying must have been part of its haul. Looking closely, you spot a bottle of medicine near the fish which another explorer may have dropped. You hesitate to reach for the medicine, worried the bear might interpret it as stealing the fish.
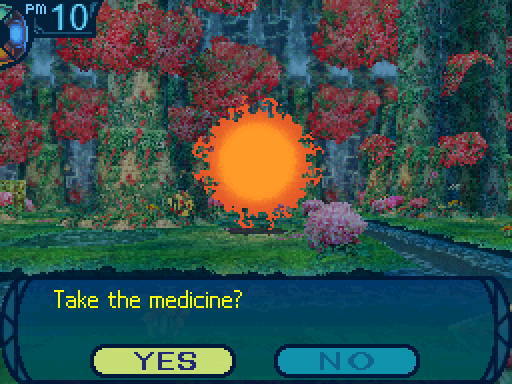
You stealthily approach the bottle of medicine and, screwing up your courage, you grab it! Unable to help stealing a nervous glance at the bear, you find it staring directly at you!
 Got it! Uhh... W-We're not trying to steal your f-fish.
It holds its stare for several agonizing seconds, but then goes back to the stream, disinterested. You let out a breath and silently thank the bear’s magnanimity before leaving the area.

 Good thing that bear didn't give a shit about us.
If you're wondering, the bear will never attack you or cause something bad to happen. You can't fight any bears in this game anyways.


Attack Order now provides a 27% damage boost.

Two FOEs move in this figure-8ish pattern. If you're wondering what happpens when two FOEs collide, they'll either slip past each other, or just overlap for 1 turn depending on their positioning. Nothing special happens.
The fights are nothing special either.

Go ahead, throw an army at me. I'll just cut 'em all down.
Rush is a multi-target attack that attacks the enemies randomly. Multi-target attacks will randomly hit enemies, but they can't hit the same enemy twice. So if there's only one enemy in battle, don't bother with those kinds of skills. Rush hits for 105% damage and hits 2 to 3 times.
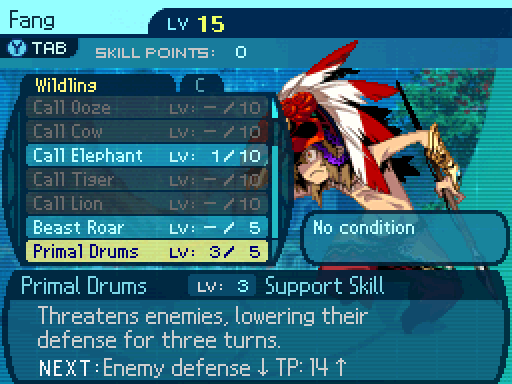
Primal Drums now lowers enemies' defenses by 25%.

Lullaby now inflicts Sleep 55% of the time.
Should be handy for the upcoming boss.

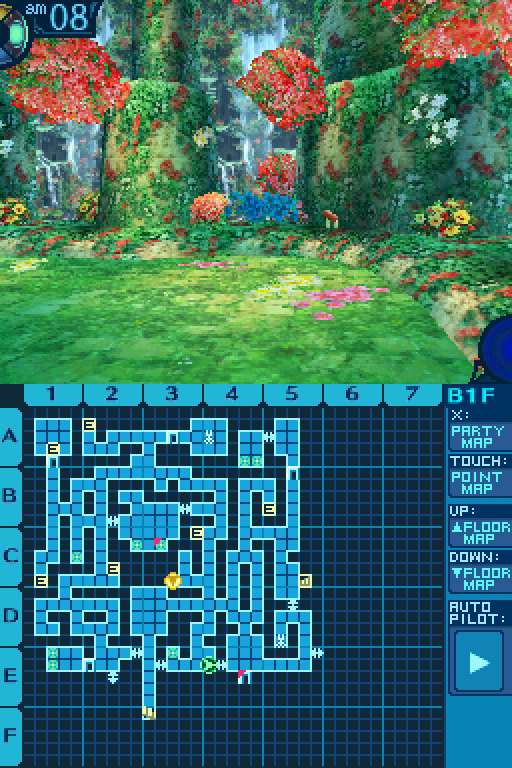
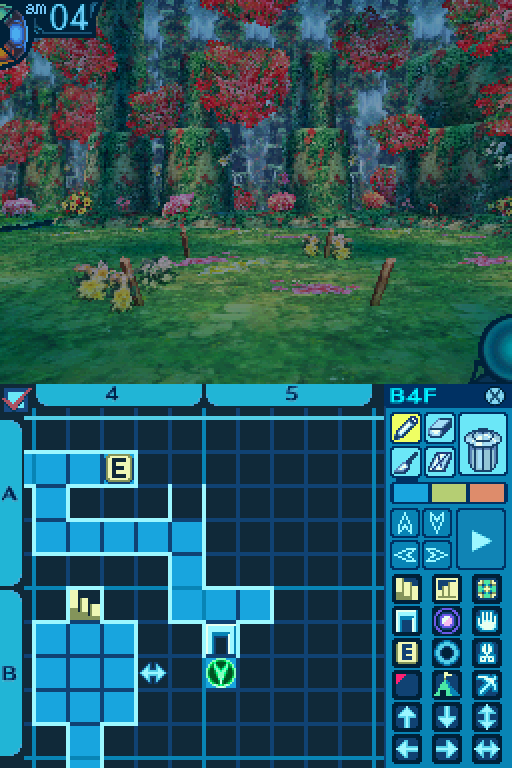
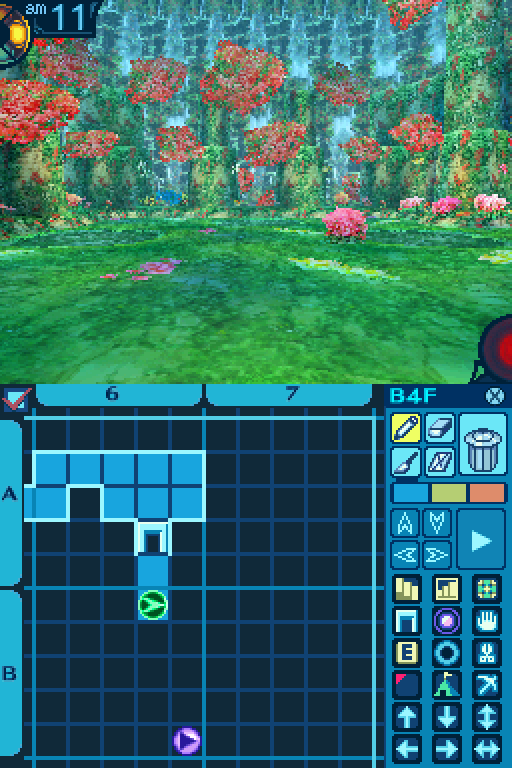
B1 Chop Point:
Supple Branch: 40% Gather Rate.
Soft Bark: 60% Gather Rate.
Palm Trunk: Rare.
Common Gather Periods: 1 to 6.
Rare Gather Periods: 0 to 3.
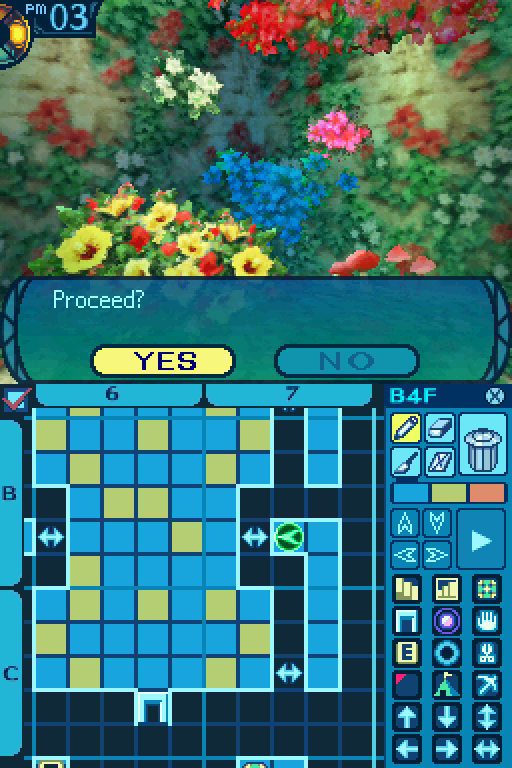
The final gathering point on this floor.

And a shortcut back.
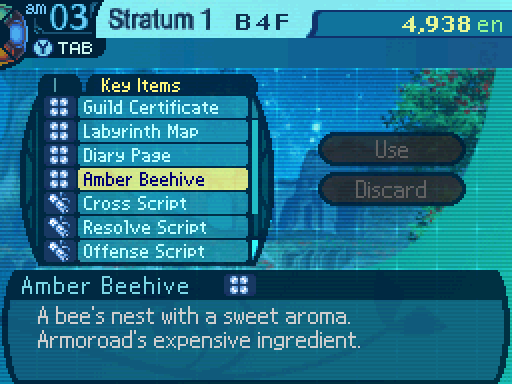
You spy a large beehive in a nearby tree, with beautiful, translucent bees all around it. You recall that a gourmand in the city requested a certain kind of bees’ nest... There’s no mistake... This must be an Amber Bee nest. You try to think back on what Missy told you about how to collect the beehive...
H-Hey, Susa-
 AHEM!
AHEM!
Ugh, I mean MEGAQUEEN, could you get that beehive for us?
Hmph, too scared to do it yourself? Well, since you called me by my proper name, I will oblige. Now, what did that bartender instruct us to do?
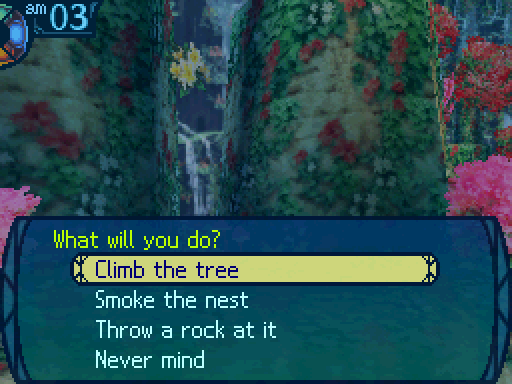
There's no best reward for the quest, so you don't have to get it all right in one go. But if you don't follow Missy's instructions, well...
Climb the tree:
Susan finds a convenient toehold and begins climbing the tree. But, around halfway up the tree, the bees notice the intruder and attack!
Oh dear. No, no STOP! I COMMAND YOU TO STOOAAAAAHHHH! 
Susan, surprised by the sudden assault, accidentally lets go and falls from the tree! Poor Susan makes a hard landing on the ground below and is stung all over by bees!
Susan lost 50 HP!
Throw a rock at it:
Those bees will pay for that!
 I don't think you should throw a rock at it!
Too late.
You find a rock on the ground and throw it at the beehive with all your strength. However, the nest is tightly secured to the tree, and it doesn’t budge an inch. The bees, however, have been whipped into a frenzy! The angry bees attack the party, clicking their mandibles madly as they sting all over!
Goddammit Miniqueen! Ow ooh ow!
It's MEGA-OW!
Everyone in the party lost 50 HP!
Smoke the nest:
Let me handle this before you aggravate them even more.
You decide to start a small fire at the base of the tree to smoke the nest out. After gathering some dry twigs from nearby and setting them alight, a choking smoke rises... The bees fall out of the air, stunned. It would seem this was the correct first step.
Kick the tree:
I'll take things from here. HIYA!
Susan backs up and runs at the tree at full speed before delivering a mighty kick! However, the nest is tightly secured to the tree, and the kick has no affect on it. Even worse, the vibration and noise awoke a monster that had been sleeping behind the tree!
At this point you get into a battle.
Shake the tree:
I think we had to shake the nest loose. Let's try that.
You put your arms around the tree trunk and begin shaking it with all your might. However, the nest is tightly secured to the tree, and the shaking has no affect on it. You were so preoccupied with this that you failed to notice a figure approaching from behind! At the last moment, you sense something amiss just in time to see a monster ready to pounce!
Yes, that was a really wise decision you made.
You're not any better. You got us stung by bees!
At this point you get ambushed by monsters.
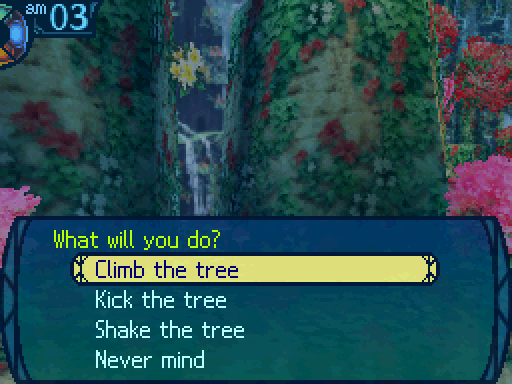
Climb the tree:
Susan finds a convenient toehold and begins climbing the tree. Thanks to the smoke from earlier, the beehive seems to be empty. Susan climbs up the tree with no problems.
Susan safely made it to the nest. This will be the last step. Think about what to do...
Please be careful.
Don't worry, I remember what to do next. ...I think. Let's see, I was supposed to...
Cut off the entire branch:
Yes, I remember! Whee!
That's really dangerous! You shouldn't do that, and you're going to damage the-
Susan jumps up and down on the branch, breaking it and knocking it down to the ground. The nest is now in easy reach, but the impact caused some of the sweet honey to spill out. You can see monsters gathering, following the sweet sweet smell of the Amber Bee honey.
...Hive.
A damaged hive is the least of our problems. Hey, get down from there and help us out! This is your fault!
Well, I suppose a queen must take responsibility for her mistakes. HA!
Susan hurriedly climbs down the tree to join the rest of the party to fight them!
You get into a fight, but the quest will be considered complete upon finishing the battle. Now if you take the other option...
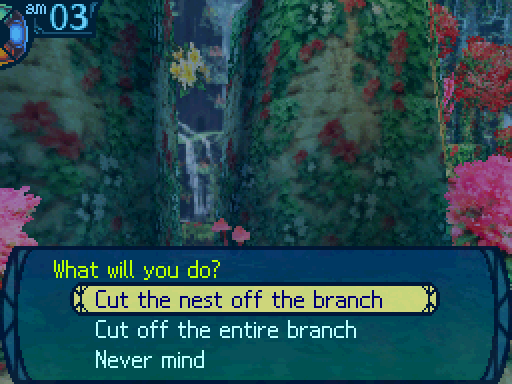
Cut the nest off the branch:
Yes, I remember. Okay, careful now...
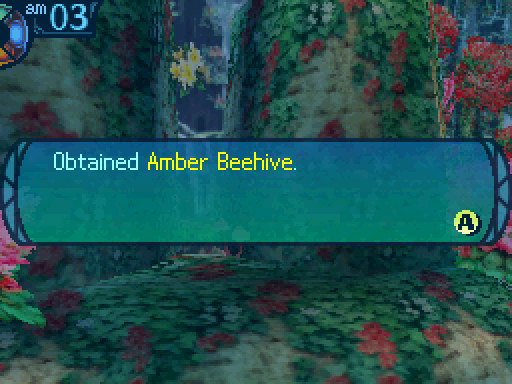
Susan holds the hive tightly before cutting at the base of the nest. It’s difficult to cut, but after enough work, the nest is eventually cut free. Susan carefully puts the nest in a bag before returning to the others on the ground. You now have the requested item. Take it back to the bar to fulfill the quest!
Before going back to town, let's keep exploring.
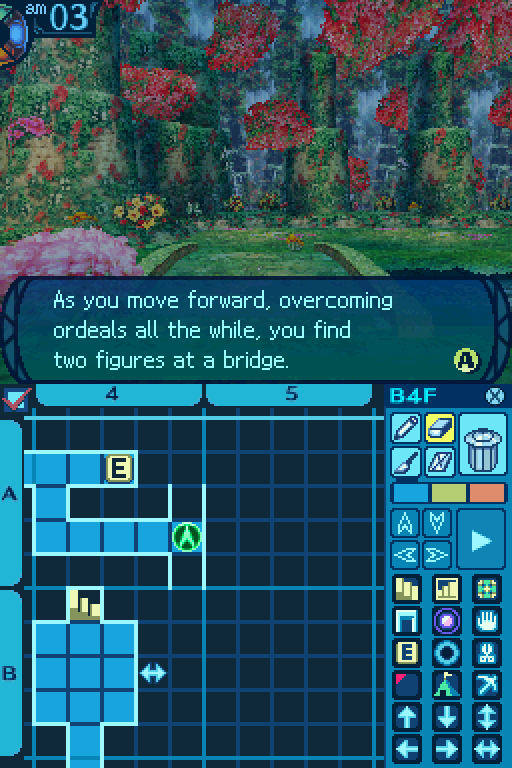
They seem to be the members of the Murotsumi guild. When you step toward them, the boy ninja meets you halfway.
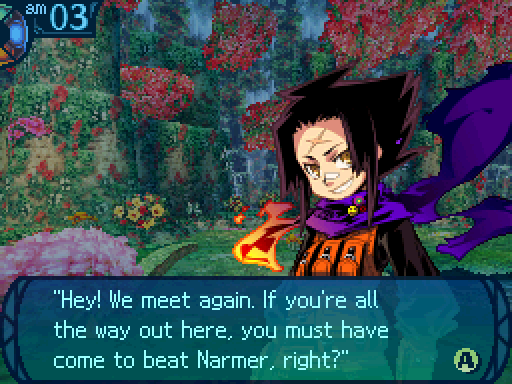
Agata’s smile is as wide and sunny as before. You’d hate to lie to the beaming boy...
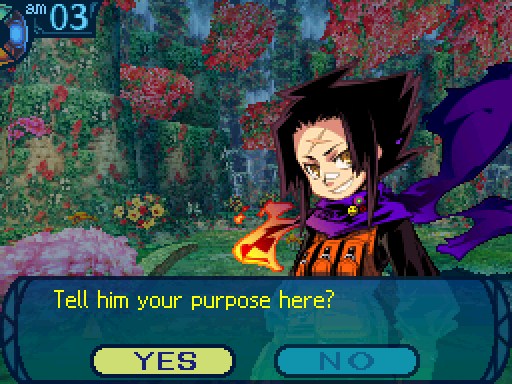
Yes:
Of course. Isn't everyone after it now?
 I knew it! Okay, then I have a suggestion for you. Wanna work together to beat that thing?
No:
No, I wanna make friends with it!
You liar! Everyone knows the Senatus put out an official request to defeat Narmer! Look, this is just an idea, but... You wanna work together to take Narmer down?
Then the conversation continues as normal.
I knew it! Okay, then I have a suggestion for you. Wanna work together to beat that thing? I hafta get to the Second Stratum, no matter what it takes...
A cloud passes over Agata’s face, but it clears quickly and his wide smile returns.
So, how about it? I’m begging you here!
It’s up to you whether to accept the boy’s request.
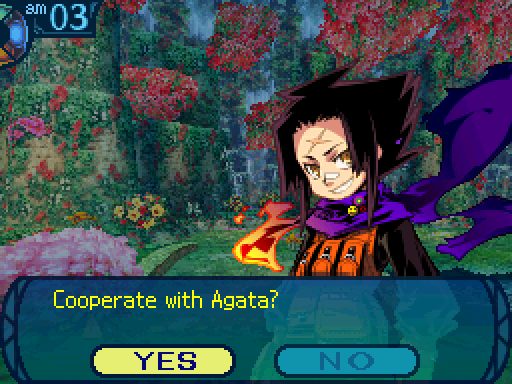
Not like there's any reason to refuse.
I suppose the more the merrier.
The boy’s delight on seeing your nod is palpable.
That’s what I’m talking about! We can go over the details once you get to Narmer’s lair. Hypatia will tell you what she found out about that fish’s behavior and habits! That wasn’t easy stuff to find out, you know! That’s why you’ll be in charge of the actual fight!
Wait, what!?
The boy then parts with you to rejoin the girl waiting at the bridge. The two of them leave. You feel irksomely used by the boy, but you must nevertheless proceed to defeat the fish-beast.
Tch. Working together, my ass!
It's not like we planned to fight with outside help. We should appreciate what we get.
Yeah, about that... We might not be the ones who gets to fight it. It's up to Faye to decide.
 Of course.

A campsite and a shortcut. I tried to go back to town at this point, but I realized I had a problem.

Um, where's the thread? I can't find it in here.
Wait, don't tell me we forgot to buy some.
Don't look at me, Asteria was in charge of resupplying us!
I thought you already bought some! You said that you had the money for some!
Yes, I said I had the money for thread, I didn't actually buy any!
Everyone, stop! I have a special Aridane Thread right here. I can use it as much as I want, so if we forget to buy some and I come along, there's no need to worry.
Wait, how did you get one of those?
Um, they're issued to all Farmers to make harvesting easier in the Labyrinth. But they're really hard and expensive to make, so other explorers don't get them.
Of course in cases like this, you can use the Farmer's To Market ability to go back to town. It has the same effects as an Aridane Thread. In fact, if you're mindful of your Farmer's TP, you won't ever have to buy Aridane Threads again.


Comes with a 3% boost to accuracy.

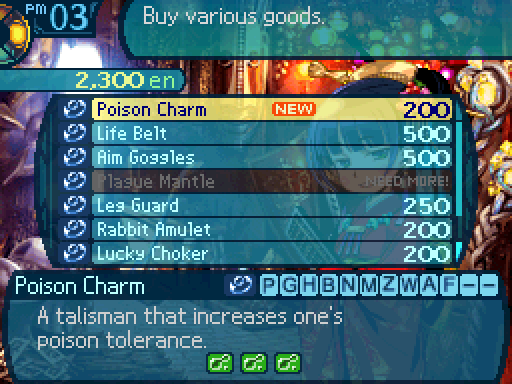
The Poison Charm provides a 30% resistance to Poison.
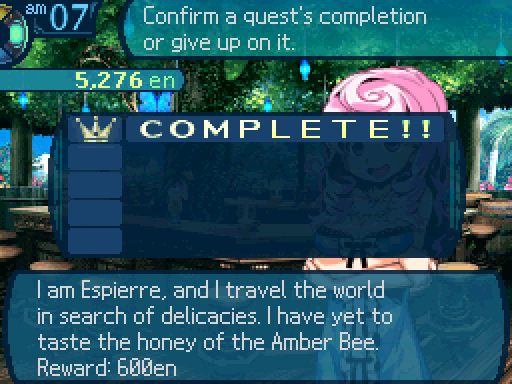
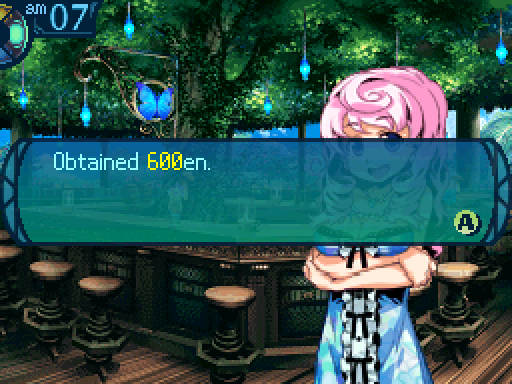
 How did the going go? Did you get the nest?
Yes, we have it right here. Ow.
Ah, I see you went through a dealing of trouble! I am sure Espierre will be happy. It has a very sweet smelling. I think I am obligated to check if this is the real thing, yes? I doubt Espierre will be noticing if I take a little nibble on it for myself...

...I am the joking! Do not glare at me so! I-I could never tamper with my merchandise! My reputation would be ruined! Here is the reward for you! Hurry and take it!

Now I switch to the team that people voted for to take on Narmer.
This is the team I'll be going with, so let's get to it.
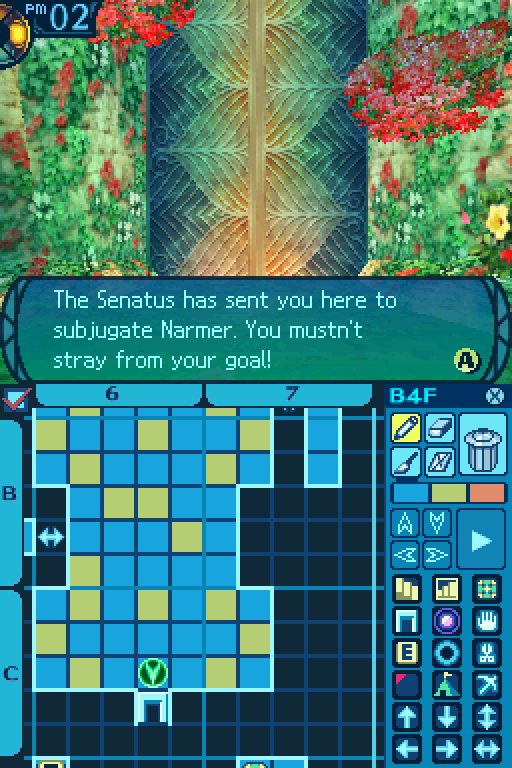
There's not much of the 1st Stratum left. Narmer has to be beyond here.

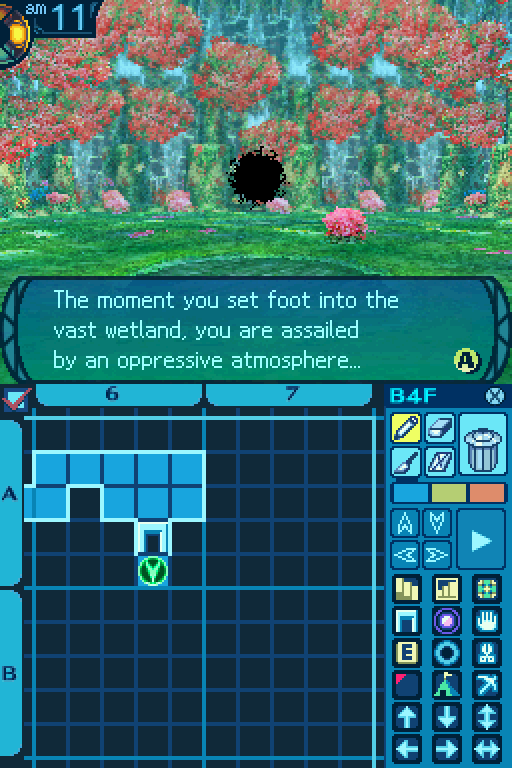
You look around in search of its source and spot the astrologer Hypatia, who appears beside you.

 Since Narmer is so at home in the wetland, you must grasp the topography to block its path.
The girl then distinguishes, for your benefit, between the muddy and clear areas.
Keep that in mind to drive it into a corner... Once it’s stuck, strike from behind!
To judge by the astrologer’s words, the key will be a clear grasp on this wetland’s topography.
The rest falls to you... Face the dreadful Narmer and live to tell the tale!
 They're not actually helping us fight it, right?
Nope. But I guess that's better than nothing.
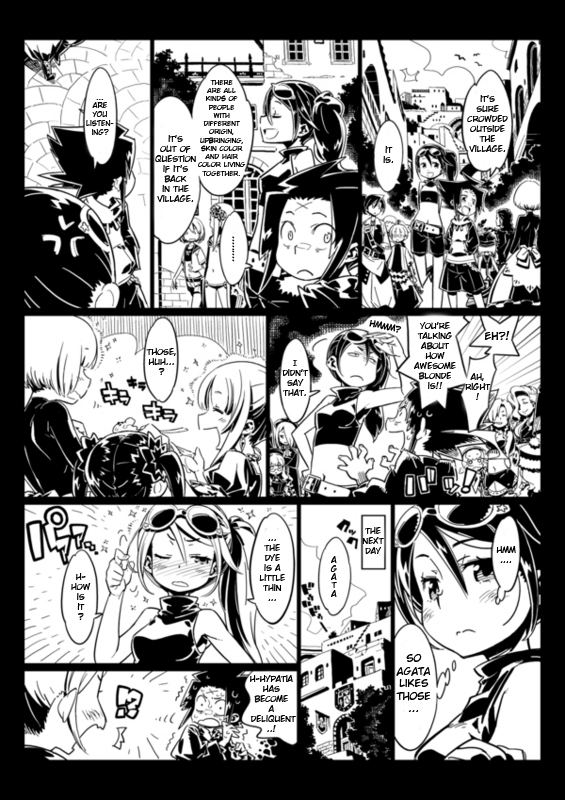
Fun little fact, an official comic showed that Hypatia's hair was originally black, but she dyed it since she thought Agata was into blondes.
Narmer will actively flee from us, and there are a bunch of mud tiles in the room. You need to figure out how to catch it in addition to fighting it.

Hmm.
 Heh, got you now!
Hey, wait! Come back!
There has to be a better way to catch it.
Oh, and you can't skip this fight in any way. Atlus learned their lesson from the first two games.
Figured anything out?
I believe I have a plan...

If you entered the room for the first time, that is the quickest route to catch Narmer.

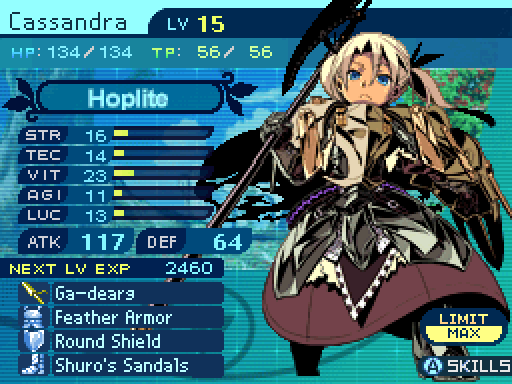
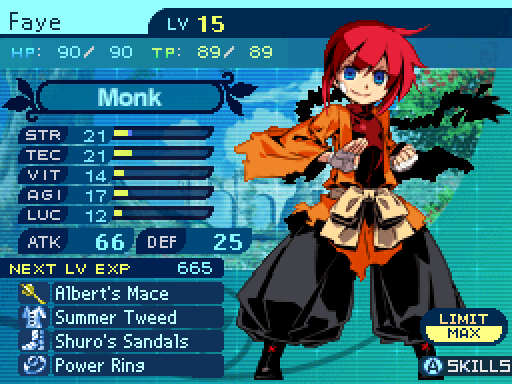
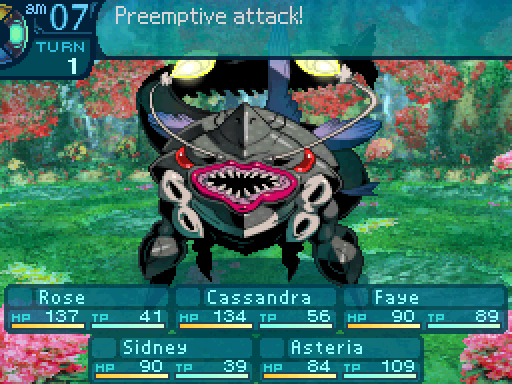
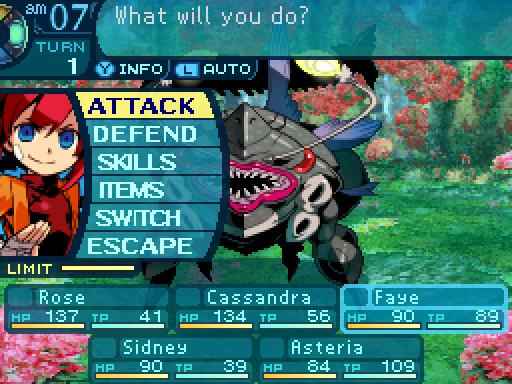
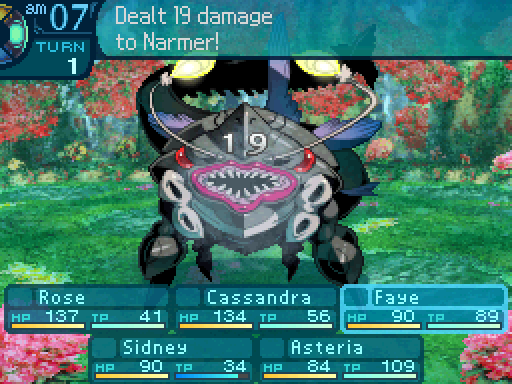
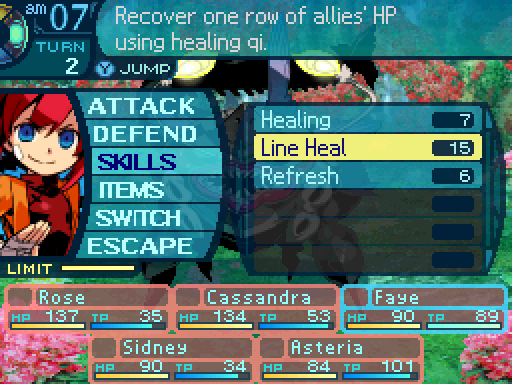
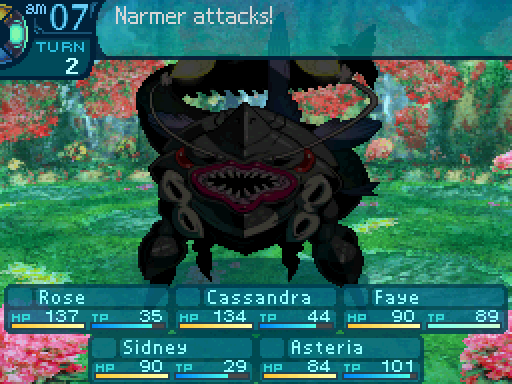
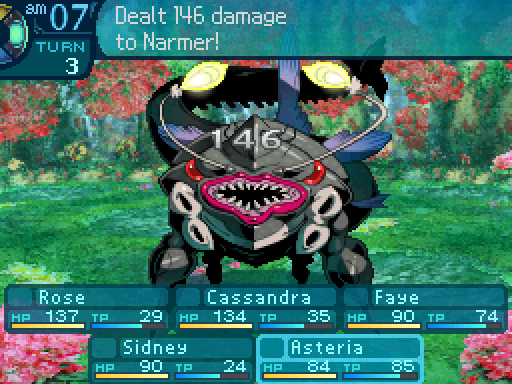
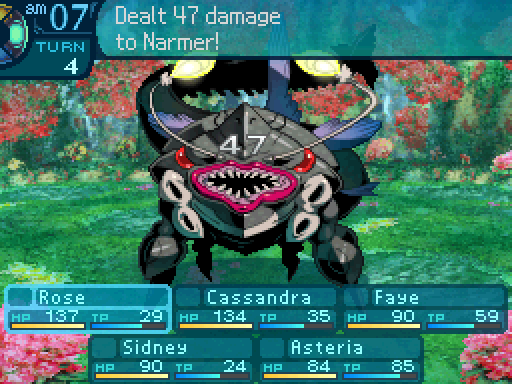
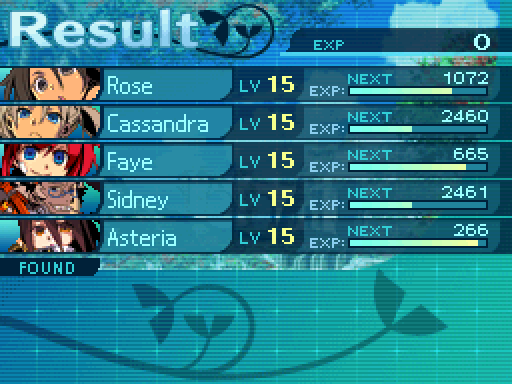
A look at our party's stats before we fight.


Hee hee, caught you!
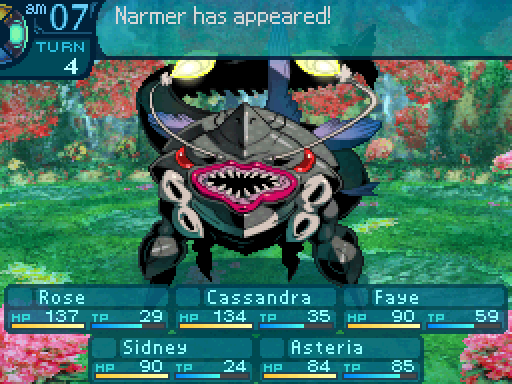
 Video: Narmer


Seriously, click on that music link. Hoist the Sword with Pride in the Heart is by far my favorite song in the game, and in the entire series. Though it doesn't have that threatening feeling going for it like the other boss themes had, which is kind of a shame. Oh right, the boss.
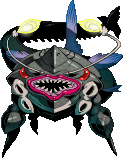
Narmer
Level: 16
HP: 3281
STR: 20
TEC: 18
VIT: 16
AGI: 17
LUC: 22
Attack Type: Strike
Exp: 5362
Item Drops:
-Normal: Volt Whisker - 100% Drop Rate. Unlocks the Reshef's Bow (Crossbow. Must be restocked.)
--Whalebone used to pinpoint its prey's location and attack.
-Gold: Trembling Fin - Kill with a 1-man party. 100% Drop Rate. Prevents normal drops. Unlocks the Yagrush (Club. Must be restocked.)
--Vibrates when it touches the ground, causing earthquakes.
Description: This king of the catfish awaits novice explorers in a marshland. It's very difficult to finish off.
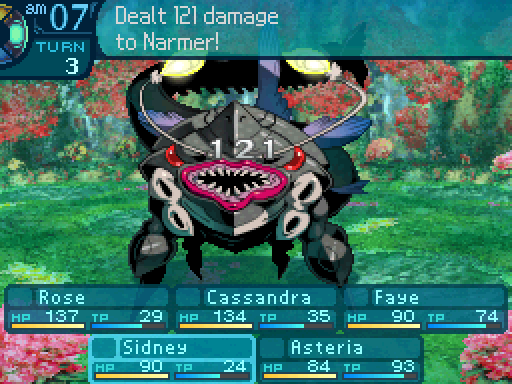
Damage Resistances: Slash: 100% Strike: 100% Pierce: 100% Fire: 100% Ice: 100% Volt: 150%
Ailment Resistances: Sleep: 20% Confusion: 20% Plague: 20% Poison: 20% Blind: 20% Curse: 10% Paralysis: 20%
Bind Resistances: Head: 50% Arm: 50% Leg: 50%
Other Resistances: Death: LR-50% Petrification: LR-50% Stun: 20%
Skills:
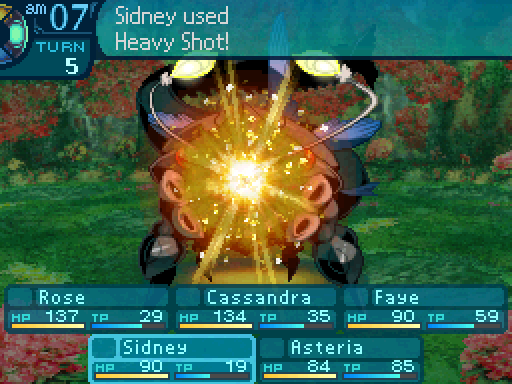
Fin Smack: Uses the Arms. Deals 150% STR-based Strike damage to one party member. Has a hit rate of 99%. Has an action speed modifier of +0.
Mud Throw: Uses the Legs. Deals 70% TEC-based Ice damage to one row, and has a 70% chance to inflict Blind. Has a hit rate of 99%. Has an action speed modifier of +2.
Marsh Dive: Does not use a body part. Places Narmer in the Marsh Dive state, purging all disables from Narmer, hiding them in a hole that provides complete invincibility to every action aside from debuffs, and adding decoy holes that will always evade attacks. Places 6 holes in the battle. The Marsh Dive state can be dispelled upon taking damage, or through the usage of Earthquake. The holes will disappear if the Marsh Dive state is dispelled. Shields the user from damage upon being attacked. Has an action speed modifier of -50.
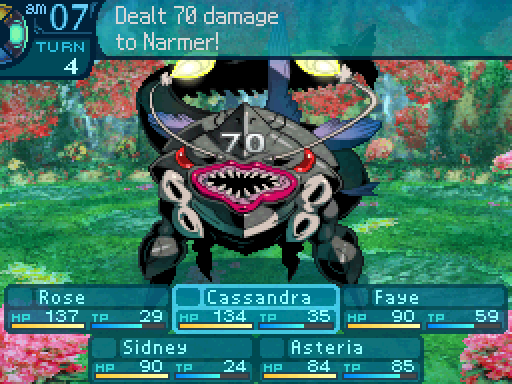
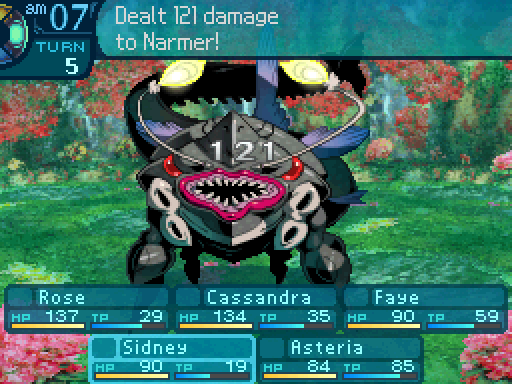
Talk about an overhyped enemy. Unreasonable task? Yeah right. Fenrir (Not in Untold where he's just a glorified tutorial), Chimaera, and the Berserker King (The first bosses of the other Etrian Odyssey games) really tested your team's damage output and really forced you to think on your feet. Narmer? Not so much. Narmer's attack pattern is really lacking, and its just not a difficult boss at all. It might take a while to deal with, but the catfish is barely gonna be a threat most of the time.
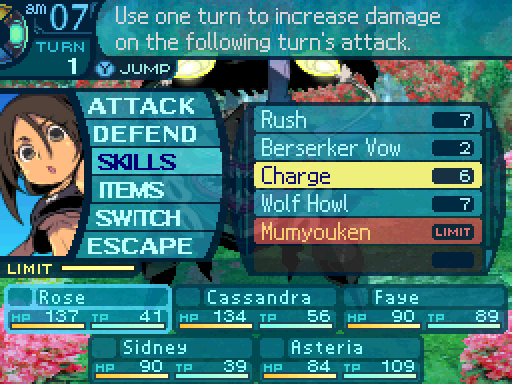
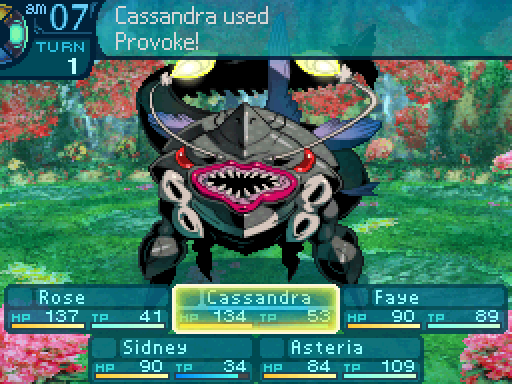
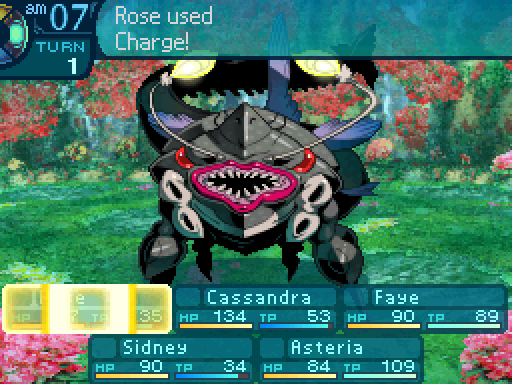
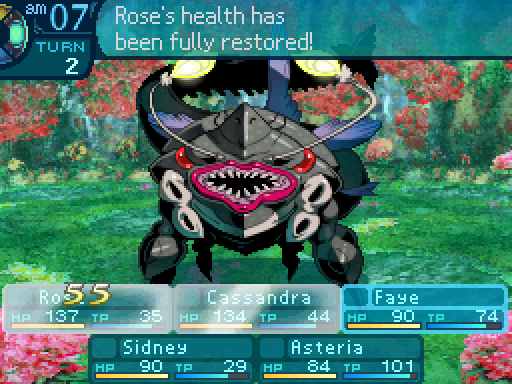
I'm using this free 1st turn to setup.


Pow! How do you like that?
...Maybe I'm really not cut out for bashing heads in.
I've said it before, but you should focus more on your healing arts.
Cowardly catfish!
I am so pumped up!
Expelling in 3...


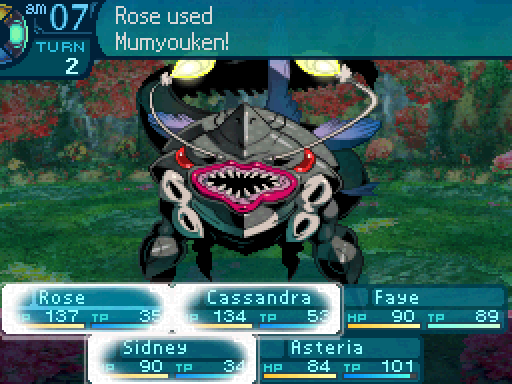
And now I let loose.

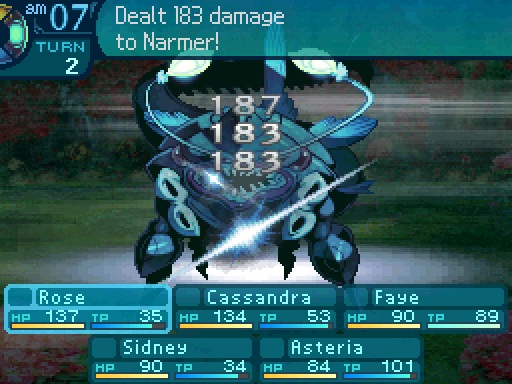
Launch the assault!
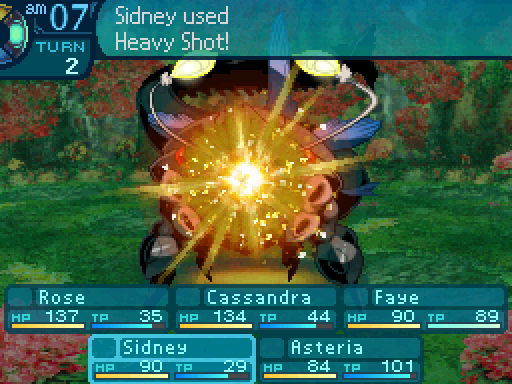
2...
Stab stab stab!


Try that again, I barely felt that!
Yeah, Narmer is pathetic. He does have Mud Throw which isn't physical and hits the front row, but it also doesn't do that much damage. It does inflict blind which is important to cure right away.
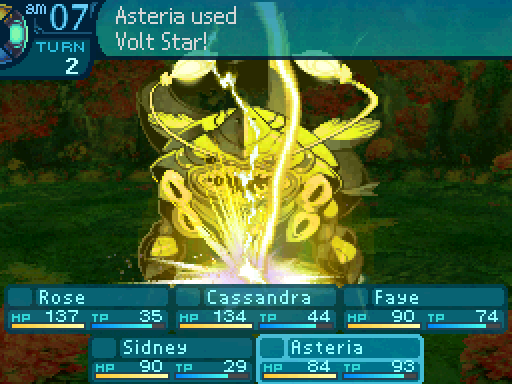

1! ZAAAAAP!

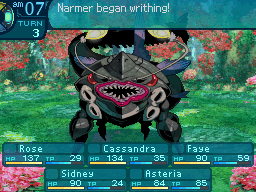
Once Narmer gets below 71% of its HP, it starts doing this.
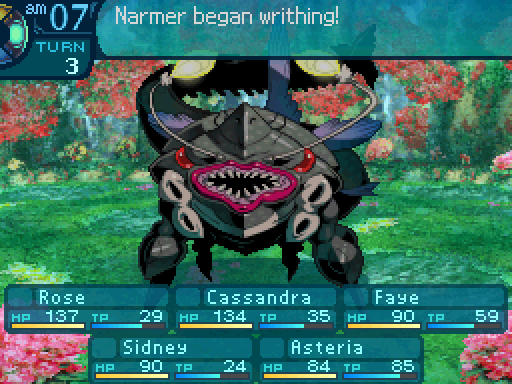
What the!? Where'd that fish go?
It's in the mud! What do we do now!?
I dunno! Fish it out or something!

At this point Narmer can use two new skills.
Submerged Move: Does not use a body part. Swaps Narmer's current position with a different hole. Has an action speed modifier of -200.
Earthquake: Does not use a body part. Causes Narmer to emerge from the marsh, dispelling the Marsh Dive state, and deals 250% STR-based Almighty damage to the entire party. Has a hit rate of 99%. Has an action speed modifier of -90.
So the gimmick of this fight is that Narmer will periodically dive into the mud, and you have to guess which hole its in. If you don't hit the hole Narmer is in for the current turn, it will use Submerged Move and move to a different hole. Narmer will do this up to 3 times, and if you still don't get it right when time runs out, it will use Earthquake, which will cause a party wipe at this point.
But the attack is really easy to prevent from happening, since Submerged Move will always move Narmer to a different hole. If that happens, just attack the same holes again. That said, the holes do have Narmer's stats and still have an accuracy check, so even if you guess correctly, you can still miss, which will not draw it out. This can get problematic if Mud Throw Blinded your party, so it's important to dispel Blind as soon as possible. An AOE can be used to skip the whole guessing game portion, and debuffs can still affect Narmer while its under the mud. Though they won't draw it out.

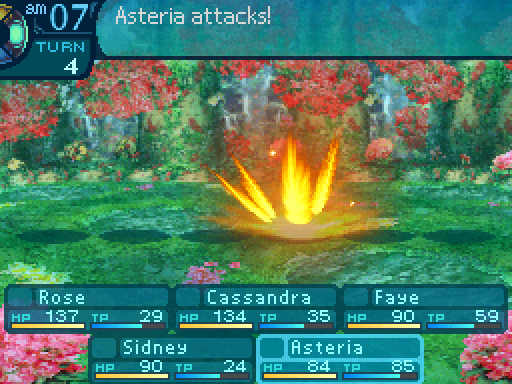
Got it!
Don't bother using skills for that portion of the fight unless you know you'll draw Narmer out. Even if you guess right, the attack used to draw Narmer out will not damage or affect it in any way.
If you guessed correctly, any remaining attacks that were queued up will be used on Narmer.

Once Narmer gets below 51% of its HP, it will use a new skill.
Ha, this thing isn't putting up much of a fight!

Escape: Does not use a body part. Causes Narmer to flee from battle. Has a speed modifier of +0. Only used in the first battle during the Proof of Will mission.


What?