Toggle Background Color
Update 19: Under the Sea
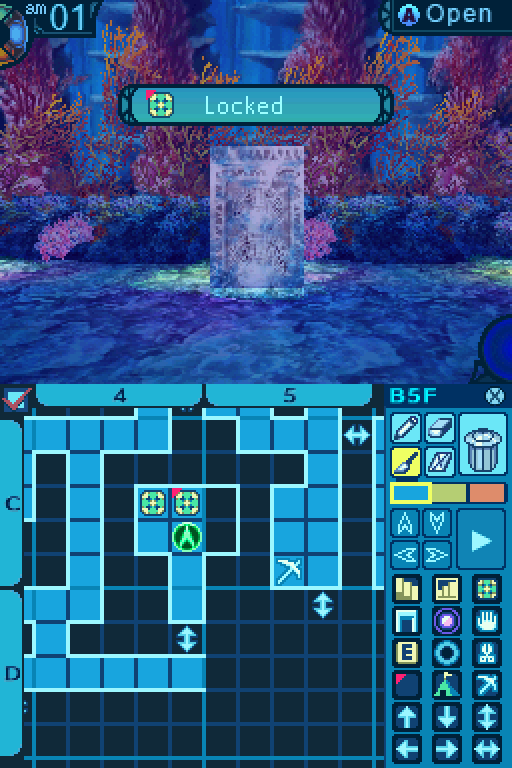
 Guild Murotsumi. They're in no shape to explore this Stratum.

This is the team that was voted in, but I won't start exploring the 2nd Stratum just yet.


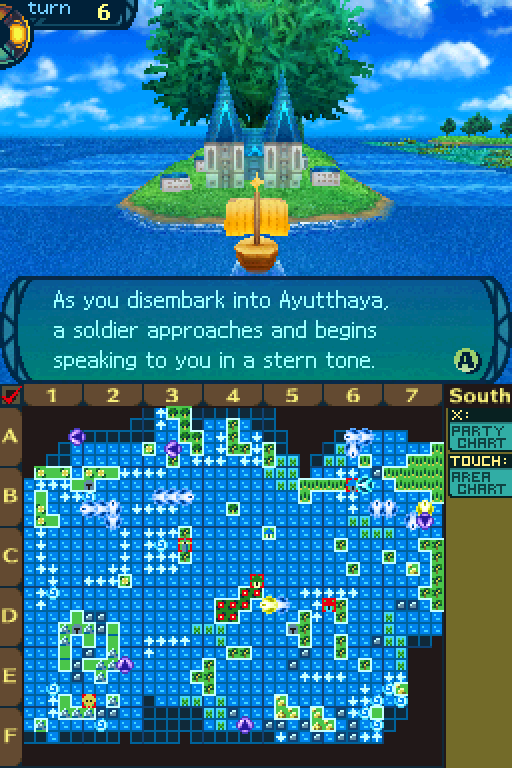

 A foreign merchant ship has arrived in Ayutthaya damaged. It is undergoing repairs, but...
The soldier falls silent and turns to look at the shipyard by the harbor.
...Ayutthaya’s top shipwright is highly skilled, but prone to wandering off and is missing. Without a lead to give orders, the repairs are going slowly. We need the Chief Shipwright found.
 Do you have any idea where he went? Is there anything you can think of to help us find him?
Oh, yes. He does love Sheep Cheese. He might be out somewhere getting a bite. If this foreign ship’s repairs take too long, it may become a diplomatic issue. We need him.
The soldier bows respectfully to you and leaves in the direction of the shipyard.
You can search for this missing shipwright, or you can put your own missions first.
Sheep Cheese. Hmm. Ah, didn't we-?
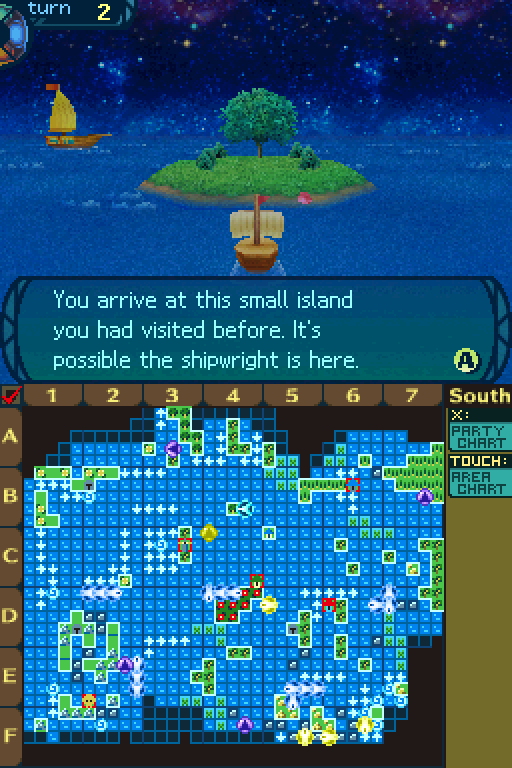
 One of the islands right near Armoroad, right? On it!
Leaving the ship, you come across a giant of a man strolling among the flock of sheep. He takes a bite from the hunk of cheese in his hand and silently stares at you questioningly. This must be the Chief Shipwright. He nibbles on his cheese as you ask him to return to Ayutthaya.
 Are you really going to abandon your city and your duties to snack on cheese!?
AH! Um, what she really means is...
After you explain the situation, the man patiently finishes his cheese and suddenly stands up. You cannot help but flinch at his massive presence as he walks to your ship. Although he remains silent, it seems your words have reached him. Relieved, you set sail.
Could you hang on for a sec? We need to make a pit stop back at Armoroad before heading back to Ayutthaya. ...Glad you understand.
Hmph. What an irresponsible man.
There's no need to be blunt and say it directly to him.

We're here!

The repairs can now begin in earnest. Thank you for your efforts. Please, take this.
The soldier hands you a silver coin and an old book, then turns towards the shipwright.
Let’s go, Sir. Everyone is waiting for you. There will be plenty of cheese later.
The shipwright nods firmly and trots off to the shipyard.

After hearing this, you board your ship and set sail from Ayutthaya’s harbor.
 I wonder if that happens a lot.
I wouldn't surprised if it does.


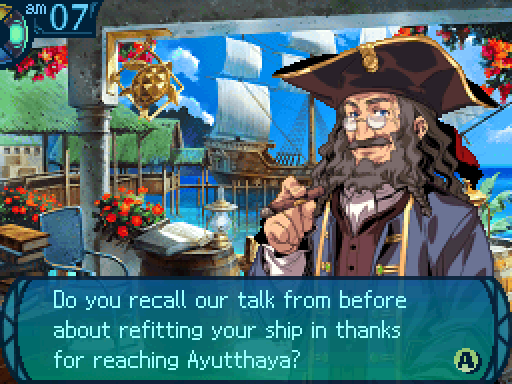
 Well, a skilled carpenter arrived, but it sounded like there was going to be some sort of problem. But when I told him the order was for Tidehunt’s ship, he got right to work. He’s on the ship now. This should make your voyages even more comfortable. But if you’re planning on passing through the strait near Ayutthaya toward the north sea... You’ll have to do something about the pirates who’ve staked those waters as their own.


So our reward for getting to the 2nd Stratum is an extra equipment slot. Which is great and all.
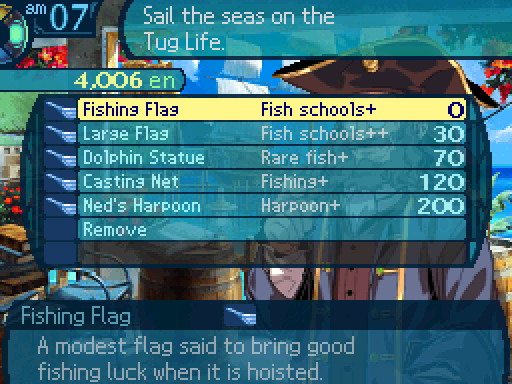
But the problem is that none of the equipment we have will help us advance further in the ocean. The Harbormaster hinted that we have to deal with the pirates first in order to do that. But Tortuga Island actually has to be liberated first before we can deal with the pirates, and guild isn't strong enough to pull that off at this point.
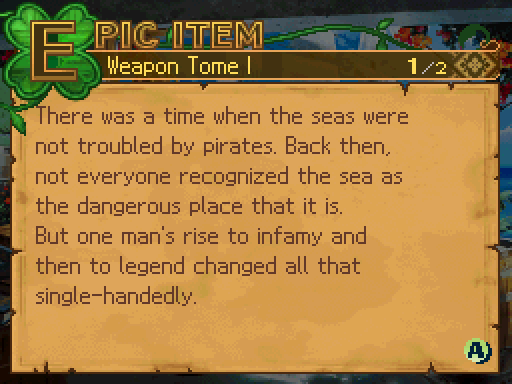
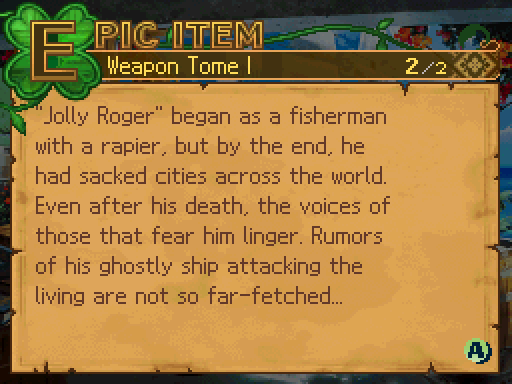
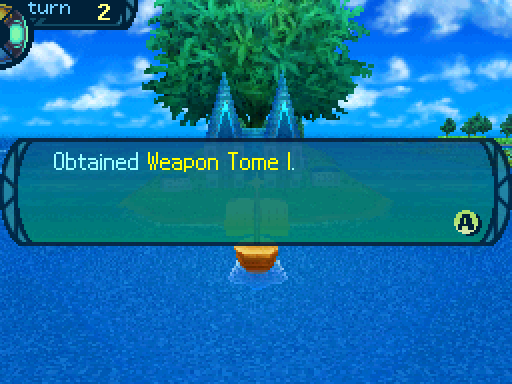
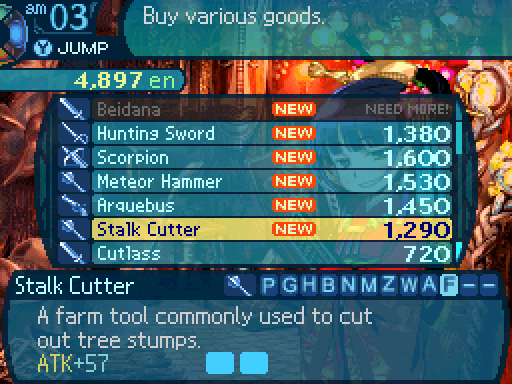
Here's the weapon tome we've picked up.
Is this saying his ghost is out there? I hope we don't run into it.
Oh please. Ghosts aren't real. There's probably another explanation for those rumors. If they're even close to true.
I dunno, Asteria. Plenty of tales about the sea have a drop of truth to them, and ignoring them is a good way to get into a watery grave.
Now back to the Labyrinth for us.
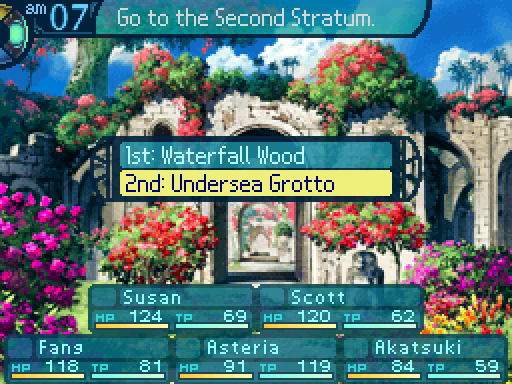
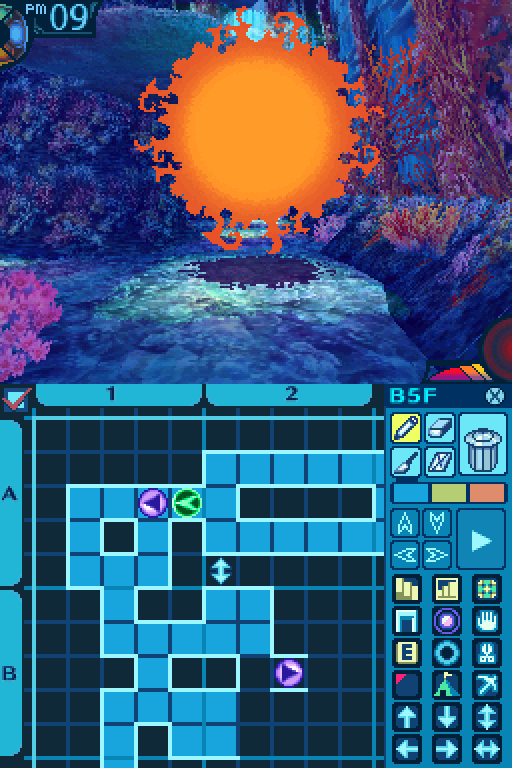
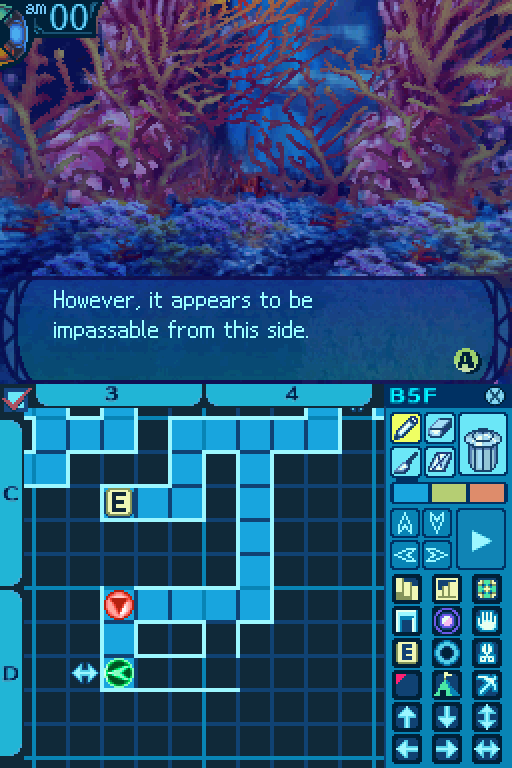
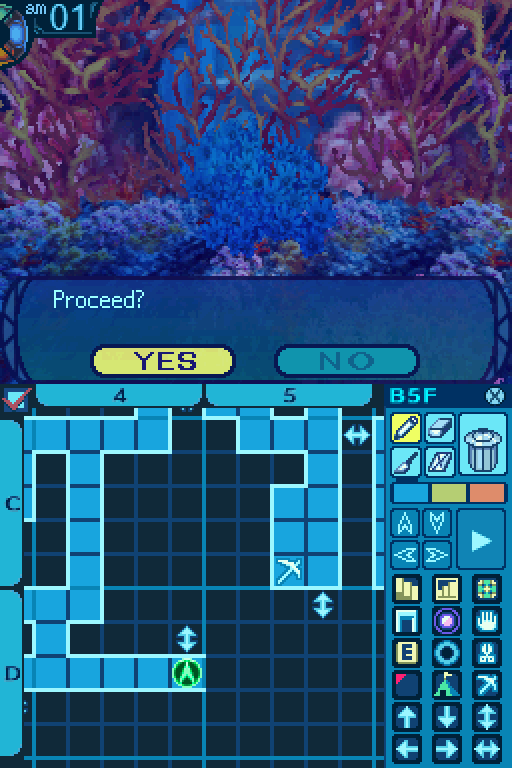
Now that we've opened up the way to the 2nd Stratum with the Submagnetic Pole, we can return back there anytime.


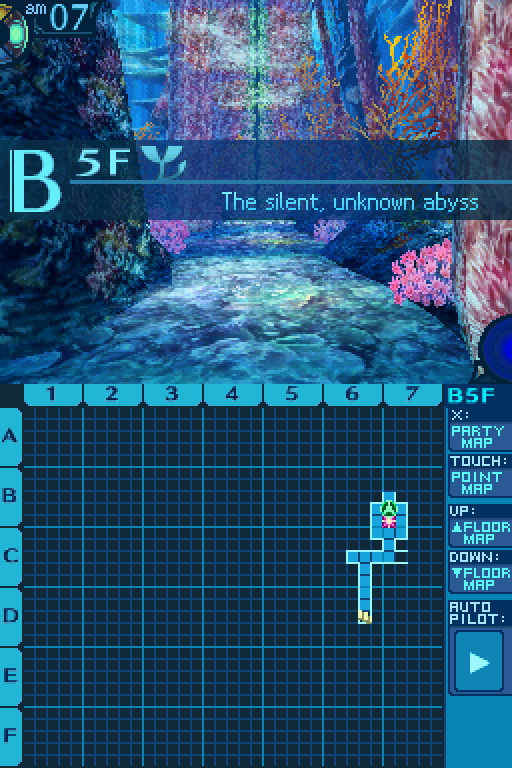
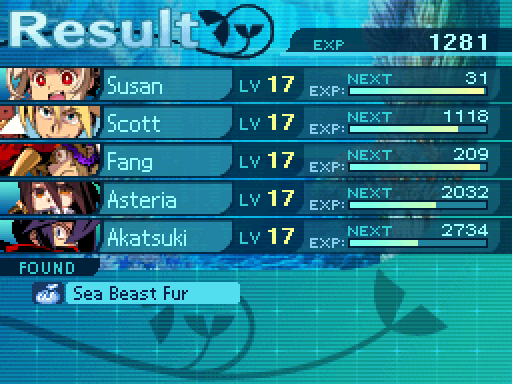
Amazing! So it actually works.
Wow! We're really underwater! Um, I hope my friends are okay down here. How are you guys doing?
They look fine to me. So, where to?
I see some unexplored territory down here. Let us go! AAHHH!
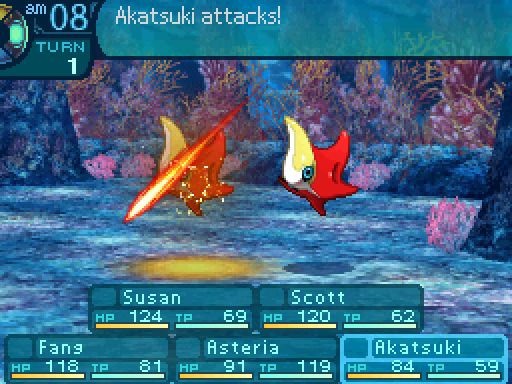
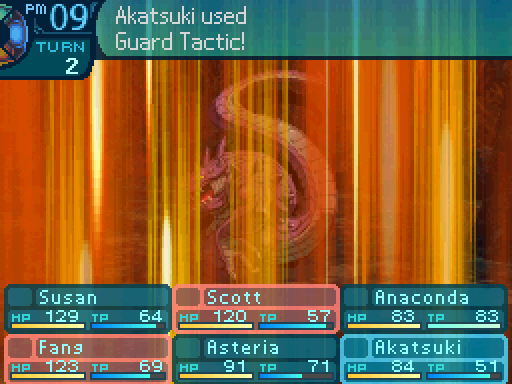
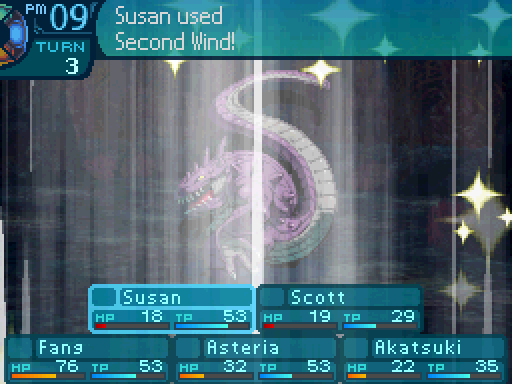
A new Stratum also means a new battle transition.


And new enemies! Though that was a given.

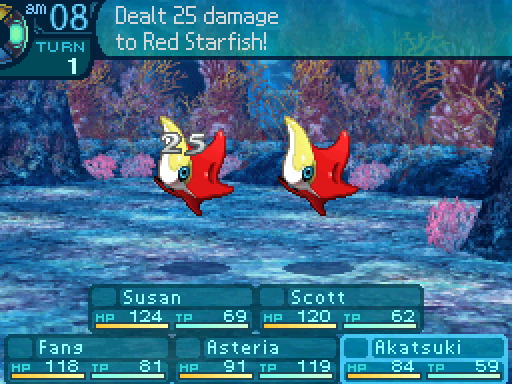
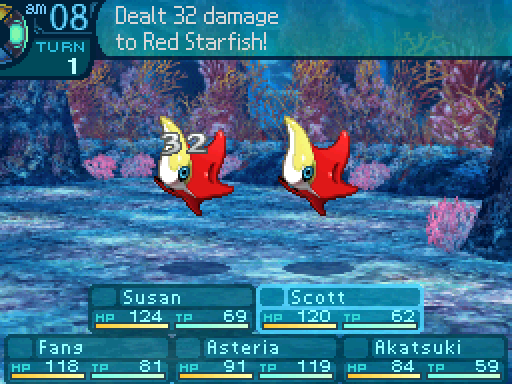
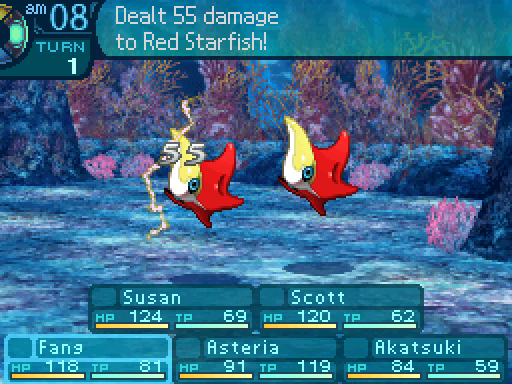
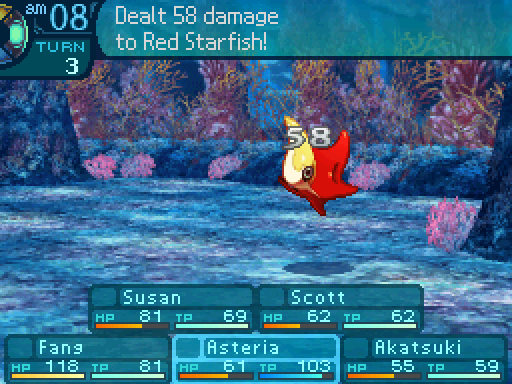
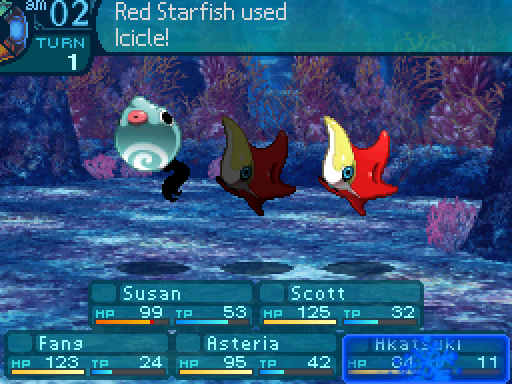
Red Starfish
Level: 15
HP: 208
STR: 17
TEC: 19
VIT: 14
AGI: 16
LUC: 14
Attack Type: Pierce
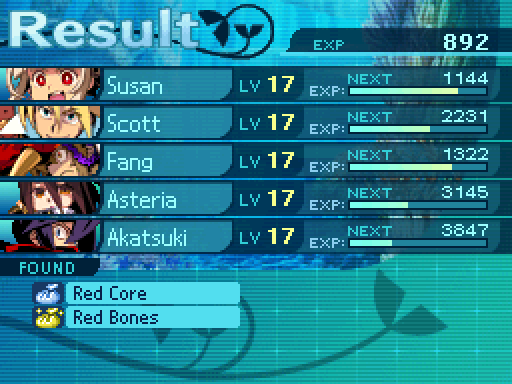
Exp: 446
Item Drops:
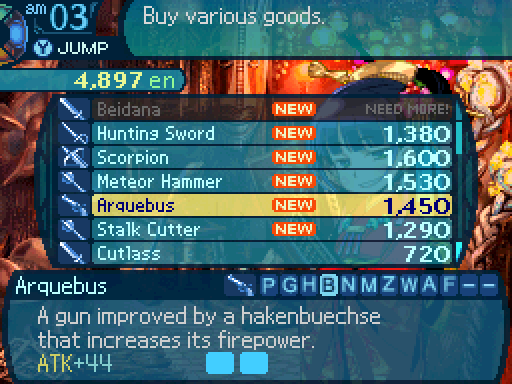
-Drop 1: Red Core - 55% Drop Rate. 1 needed for Arquebus (Gun.) 2 needed for Stalk Cutter (Club. Farmer only weapon.) 5 needed for Cinquedea (Knife.)
--Starfish core that gives off warmth, as though still living.
-Drop 2: N/A
-Gold: Red Bones - 80% Drop Rate. Kill with Fire. 1 needed for Beidana (Sword.)
--Star-shaped bone that gave form to a Red Starfish.
Description: A small starfish with the ability to freeze the water it absorbs and release it at enemies.
Damage Resistances: Slash: 100% Strike: 150% Pierce: 100% Fire: 100% Ice: 50% Volt: 100%
Ailment Resistances: Sleep: 100% Confusion: 100% Plague: 100% Poison: 100% Blind: 150% Curse: 100% Paralysis: 100%
Bind Resistances: Head: 150% Arm: 100% Leg: 100%
Other Resistances: Death: 100% Petrification: 100% Stun: 100%
Skills:
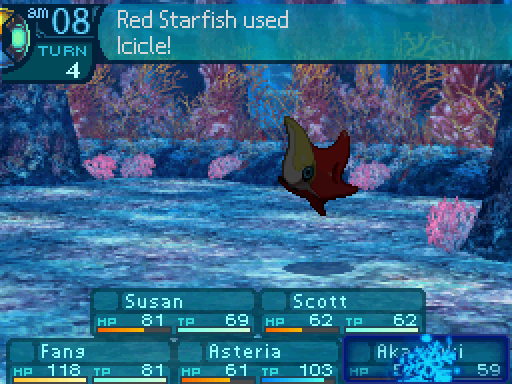
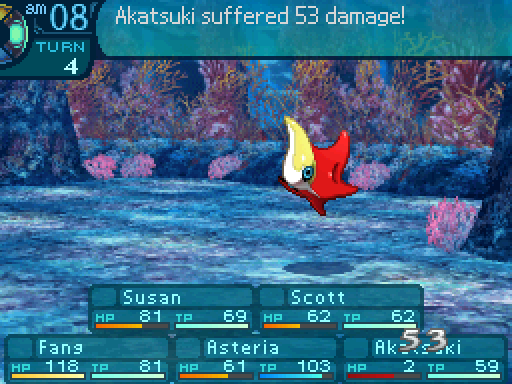
Icicle: Uses the Head. Deals 90% TEC-based Ice damage to one party member. Has a hit rate of 99%. Has an action speed modifier of -5.
Bloody Supper: ???
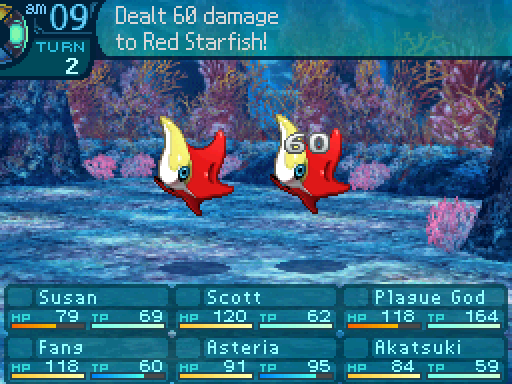
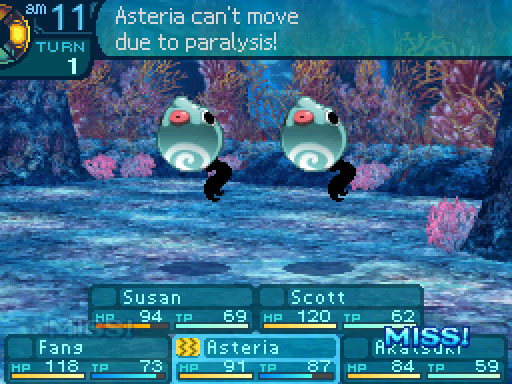
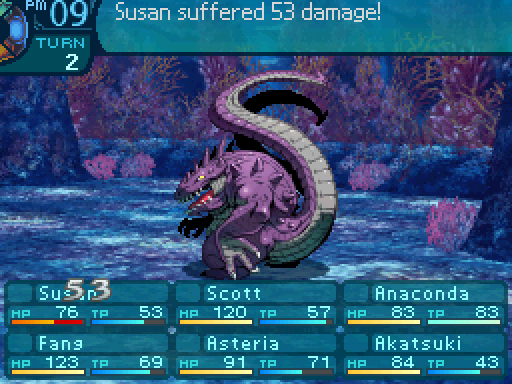
The Red Starfish are a bit of a step above the 1st Stratum monsters. They hit hard, especially when they use Icicle, but Blind them or bind their heads and they're fairly helpless.


How does a kid hit harder than the rest of us?
Cassandra lent me her spear!
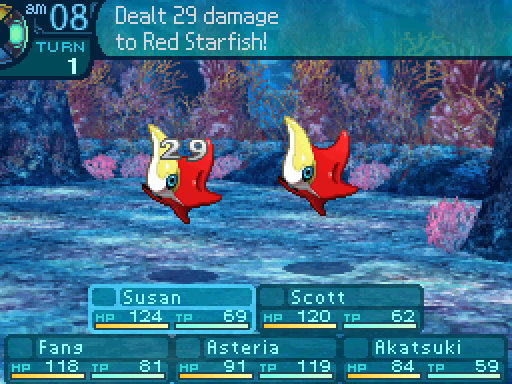
Yeah at this point, regular attacks just aren't gonna cut it. Especially if you have a weak party.


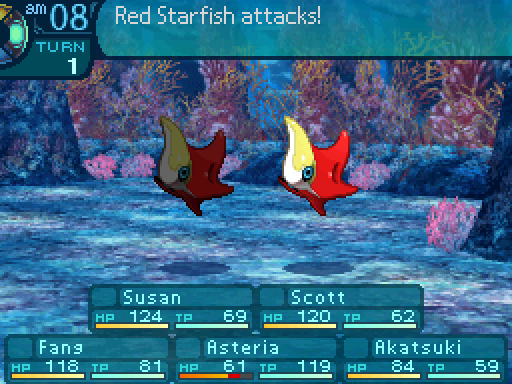
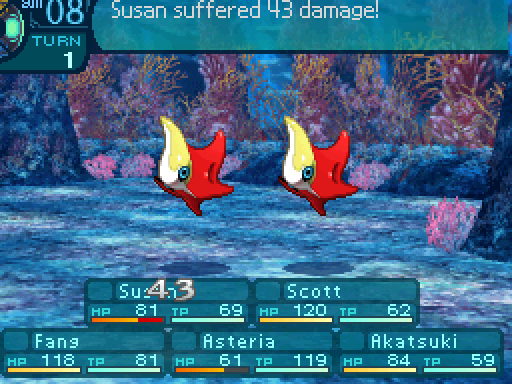
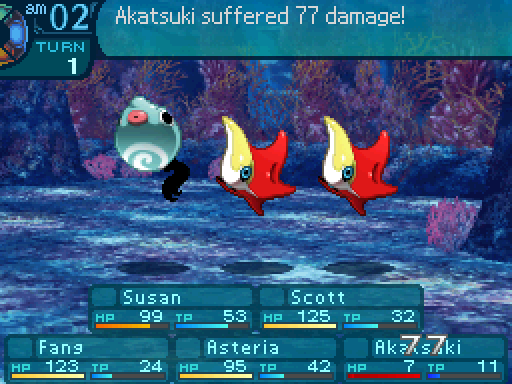
And in case your low damage outputs weren't enough of a wakeup call, their regular attacks will hammer in the point that you need to play more carefully when you enter a new Stratum.
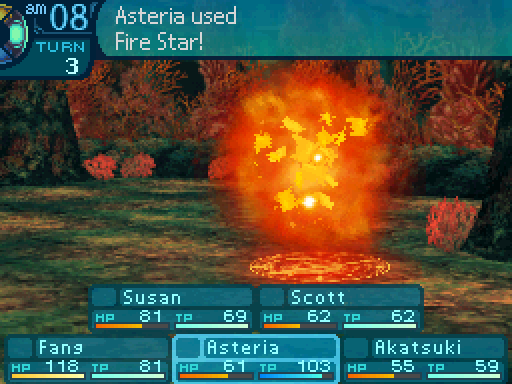
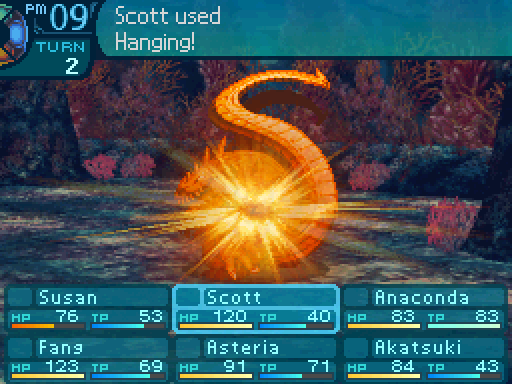
Roasted, toasted, and bu-

Maybe using fire spells underwater isn't a good idea.
Hmph. I don't find fighting underwater to be too different than fighting on land. Though our enemies can swim around freely and we can't...
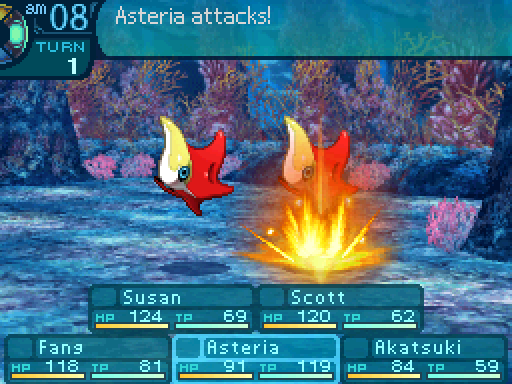
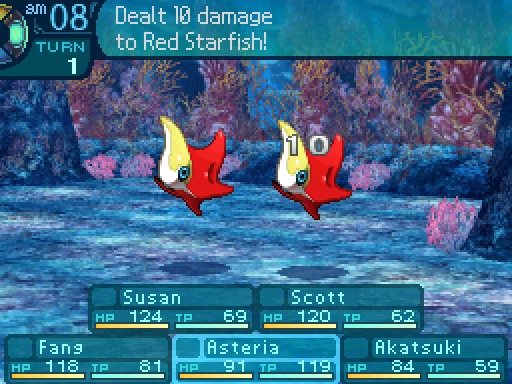
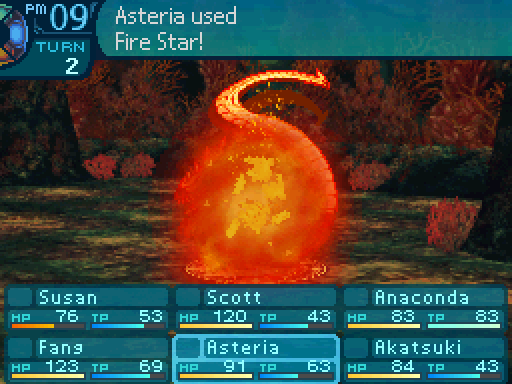
And here's one of the Zodiac's biggest downsides. When they have no weaknesses to exploit, their damage output is less than stellar. This is why you want them to branch out into different elements instead of focusing on one or two like in the first two games.
S-So c-c-cold.
And their TEC attacks deal a lot of damage. Red Starfish are actually one of the weaker enemies on this floor. So if your party can't handle them, they're not ready for this Stratum.
Stompy stompy!


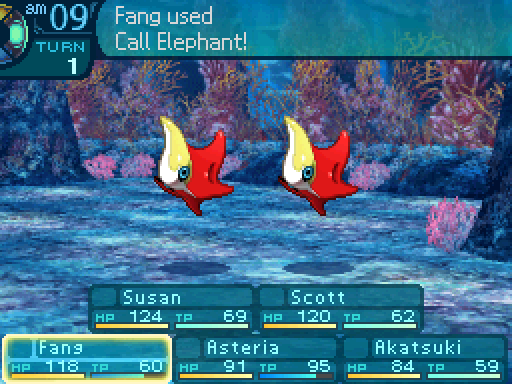
Of course I have a way to deal with encounters. If you have a Wildling, dropping an elephant onto the enemies is a very effective way to deal with most of the random encounters in the game.


Get back! You did good, Mr. Elephant.
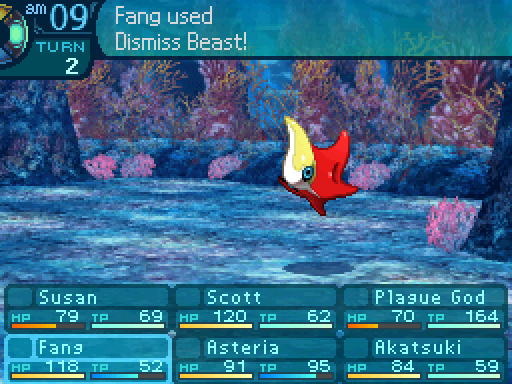
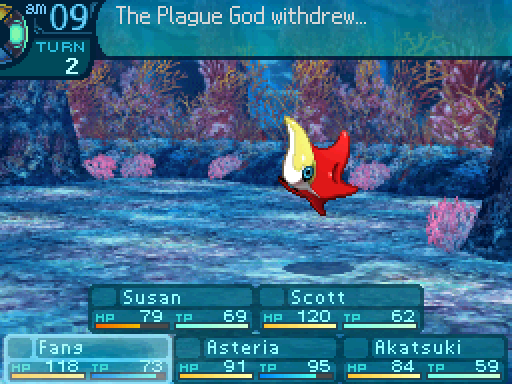
Then dismiss the beast so you can do it again in another battle.

The 2nd Coupon in the game.
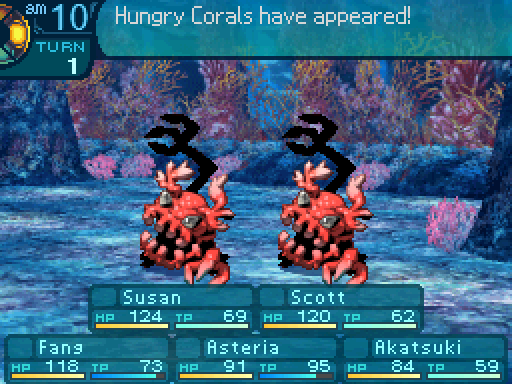

Hungry Coral
Level: 16
HP: 220
STR: 20
TEC: 12
VIT: 11
AGI: 15
LUC: 19
Attack Type: Slash
Exp: 579
Item Drops:
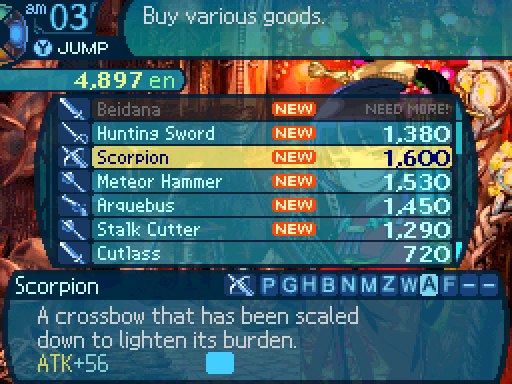
-Drop 1: Coral Arm - 35% Drop Rate. 1 needed for Scorpion (Crossbow.) 4 needed for Coral Shield (Shield.) 7 needed for Fire Charm (Accessory.)
--Hardens after death, making it difficult to work with.
-Drop 2: Supple Branch - 20% Drop Rate. See 1st Stratum Chop Point info for more details.
-Gold: N/A
Description: A coral that evolved to actively seek sustenance. Beware its highly developed jaws.
Damage Resistances: Slash: 100% Strike: 100% Pierce: 100% Fire: 50% Ice: 150% Volt: 50%
Ailment Resistances: Sleep: 100% Confusion: 150% Plague: 100% Poison: 100% Blind: 100% Curse: 100% Paralysis: 100%
Bind Resistances: Head: 25% Arm: 25% Leg: 100%
Other Resistances: Death: 100% Petrification: 100% Stun: 100%
Skills:
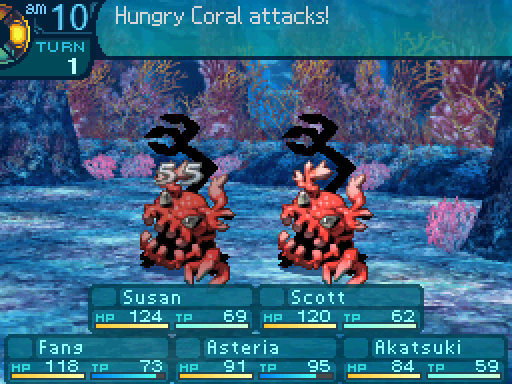
Power Fang: Uses the Head. Deals 130% STR-based Slash damage to one party member. Has a hit rate of 99%. Has an action speed modifier of -5.
Hungry Corals are just another enemy that can give you a bit of a hard time until your party is strong enough to take them on without much trouble. Other than that, there's not much notable about them.
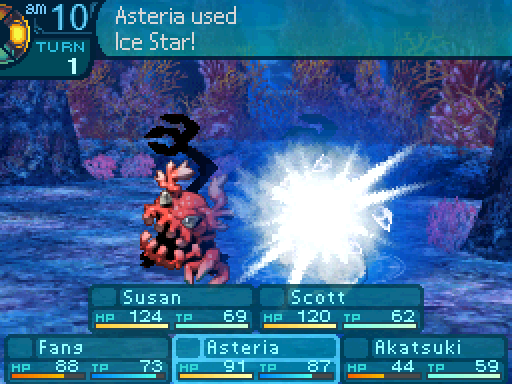


Although they may make you wish that you had a Zodiac to chew through all that HP.

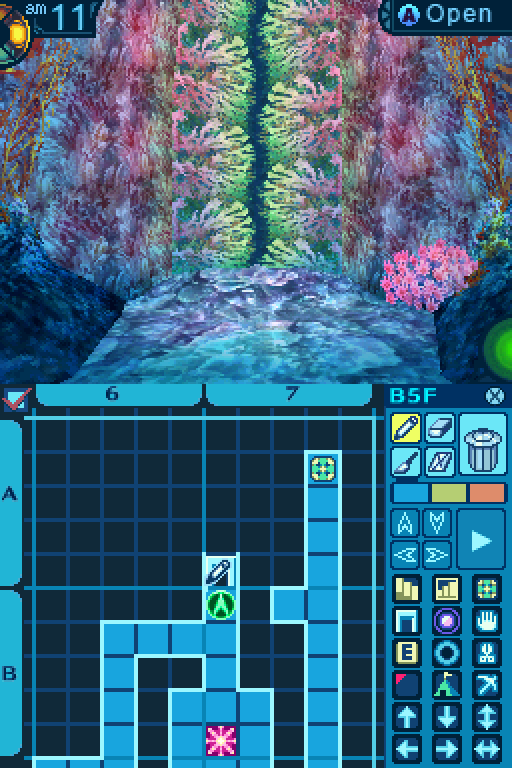
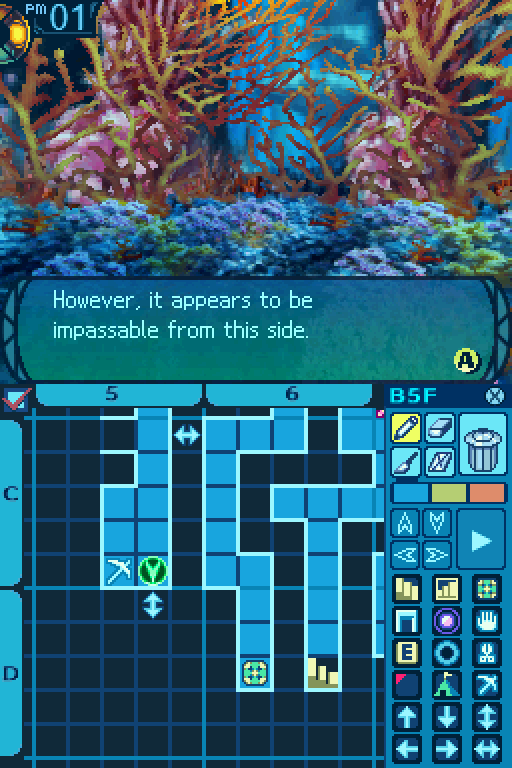
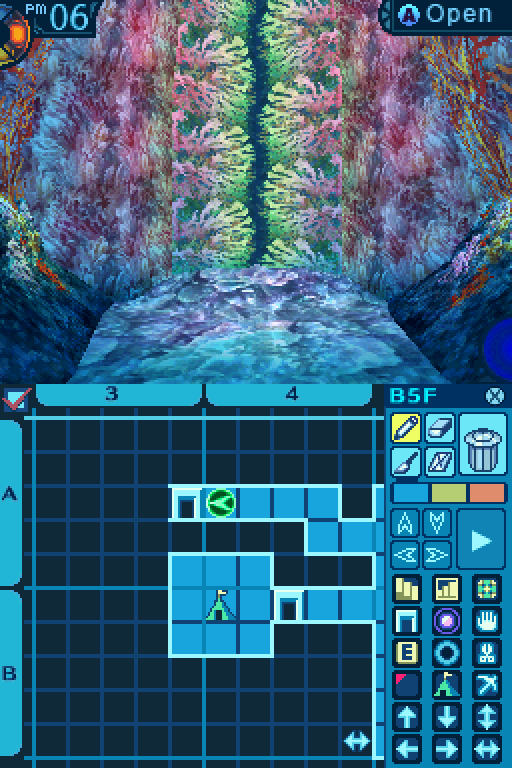
Hey, I found something!


Hmm, It doesn't look like those blue flowers grow here.
I guess we'll have to keep a closer eye out for any shortcuts.
I hope you didn't think the game would hold your hand all the way through with marking the shortcuts. They start letting up on those here.
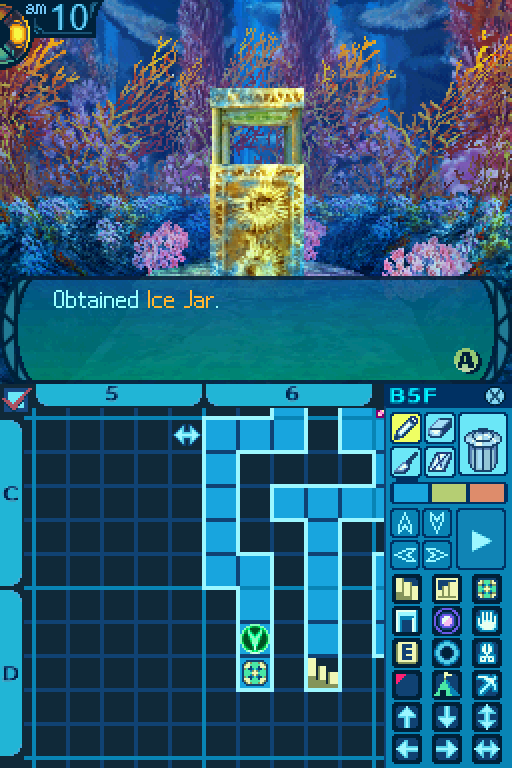
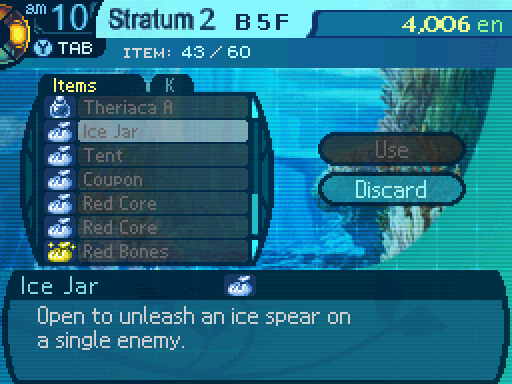
Ice Jars are like Fire Jars. They act like a level 6 Ice Star, dealing 60% Ice damage to a single target.
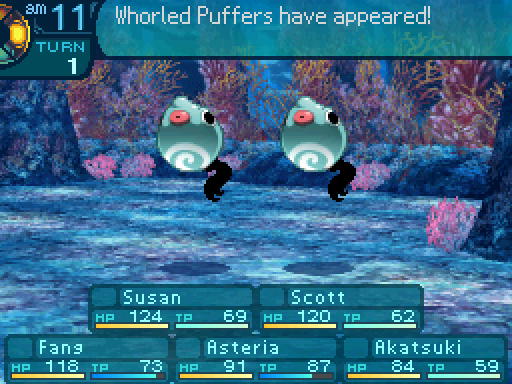

Whorled Puffer
Level: 14
HP: 172
STR: 13
TEC: 17
VIT: 12
AGI: 14
LUC: 19
Attack Type: Slash
Exp: 555
Item Drops:
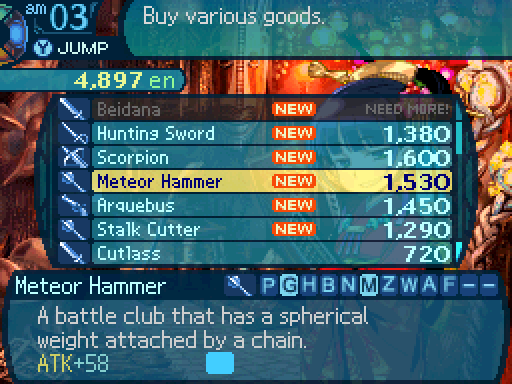
-Drop 1: Spherical Bone - 60% Drop Rate. 1 needed for Coin Loafers (Boots.) 5 needed for Meteor Hammer (Club.) 6 needed for Book of Enoch (Tome.)
--Sphere-shaped bone that covers the blowfish's body.
-Drop 2: N/A
-Gold: Ebony Liver - Kill with Ice. 70% Drop Rate. 1 needed for Blind Gas. (Item.)
--Delicious, if you can remove the toxins secreted within.
Description: A miniscule fish which secretes a nerve toxin that can cause blindness and paralysis.
Damage Resistances: Slash: 150% Strike: 100% Pierce: 100% Fire: 100% Ice: 100% Volt: 100%
Ailment Resistances: Sleep: 100% Confusion: 0% Plague: 50% Poison: 50% Blind: 0% Curse: 100% Paralysis: 0%
Bind Resistances: Head: 100% Arm: 100% Leg: 100%
Other Resistances: Death: 100% Petrification: 100% Stun: 100%
Skills:
Foul Spew: Uses the Head. Has a 5% chance to inflict Confusion, Blind, or Paralysis on the entire party. Has an action speed modifier of -5.
Whorled Puffers are the weakest monsters in the Stratum. They don't have much in the way of offense, they're just there to support other monsters. These things are just designed to be a minor annoyance than something to be feared. Later enemies won't be as kind.
Something I would like to point out is the low infliction rate on Foul Spew. Some skills will attempt to inflict multiple disables at once, and will roll for the success rate for every single disable. To compensate for the fact that the chances of being inflicted with something from such a skill would be higher, their infliction rates tend to be much lower than usual.
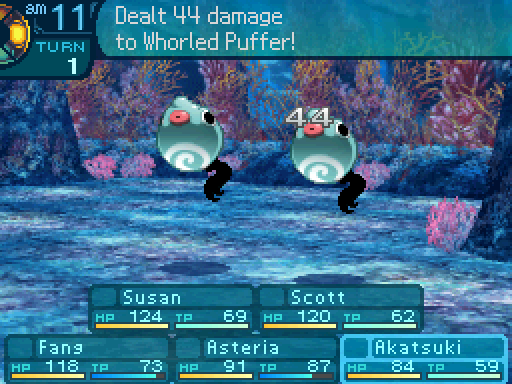

Your blows are as soft as a pillow hitting me in the face!
See? Not a threat damage wise, but...
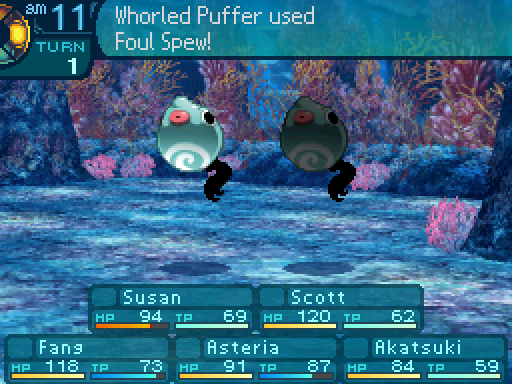
MMPH! MMMMMPH!
That can be kind of annoying.

If you get unlucky, they can make some encounters a pain, but that's really unlikely.

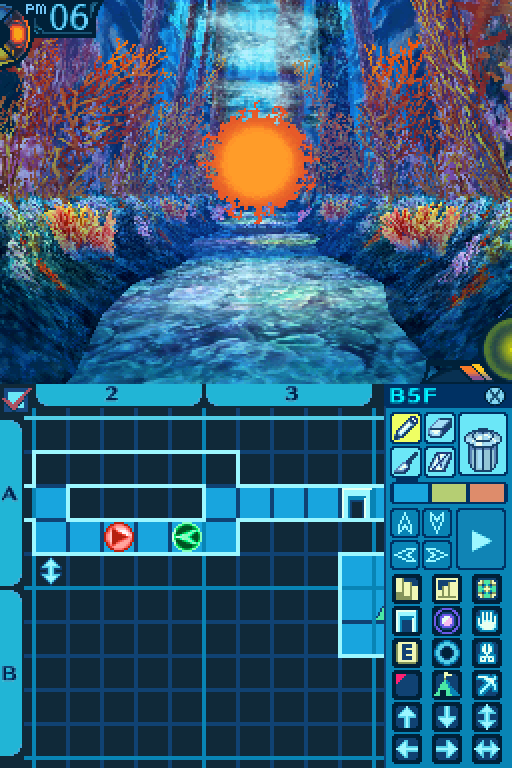
The clear sea water holds, among other things, shellfish of various hues and shapes.
You know, shellfish can make for a good snack. Wanna try one?
You wonder if the shellfish are edible... The fastest way to find out may be to try one.
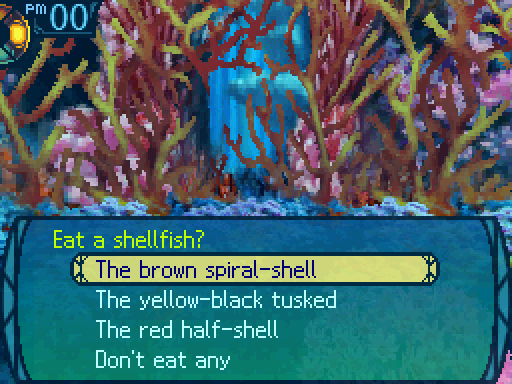
I chose the yellow-black tusked in this playthrough, but I'll show you what happens for each one.
Don't eat any:
I dunno. I mean they're living creatures. And what if they're poisonous?
Hmm, I haven't had any bad experiences with eating these, but you've got a point. This is the Labyrinth, after all.
If the shellfish are poisonous, you muse, you wouldn’t escape with just a stomachache. In that light, it’s best to avoid such a risky gamble. You hurry on your way.
The brown spiral-shell:
Oh, come on Fang. I'm sure these won't krill us.
Asteria takes the spiral-shell from the tide pool, cracks it open, and tastes it cautiously...
Not much in the way of taste, but it has an excellent texture!
It doesn’t taste terribly good, but Asteria does seem to enjoy its crunchy texture!
Asteria recovered 40 HP!
The yellow-black tusked:
Let me try this one.
Akatsuki takes the tusked fish from the tide pool, cracks it open, and tastes it cautiously...
A delicious and nutritious fish!
It has a smooth, milky taste, which Akatsuki enjoys very much indeed!
Akatsuki recovered 40 TP!
The red half-shell:
Don't be so shellfish and hog them all! Let me have one-AAAHHH!
Susan reaches into the pool to grab the half-shell, but pulls back with a shriek!
You're uh, not supposed to grab them like that.
You can see now that Susan’s finger is caught between the shell’s jaws!
Somebody get it off! SOMEBODY GET IT OFF!
Here! Got it! Wow, it's feisty! Hee hee!
Your party quickly removes it, but poor Susan’s finger is painfully swollen!
Good snack. More like they tried to snack on me.
You curse your carelessness and avarice before returning to your explorations.
Susan lost 30 HP!
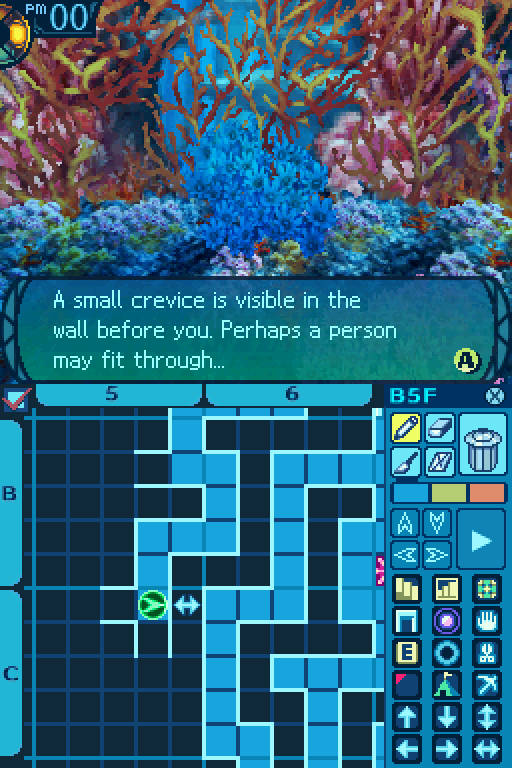
Hey, I see some blue flowers here!
Hmm, apparently some but not all walls are marked with those. How troublesome.
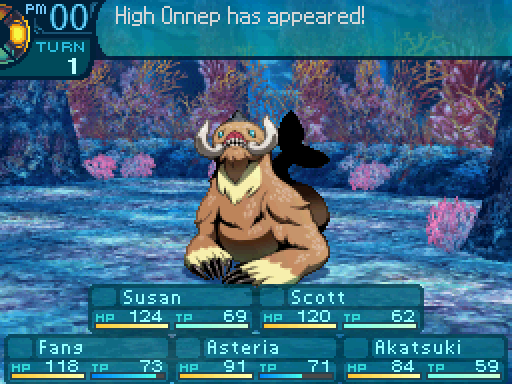
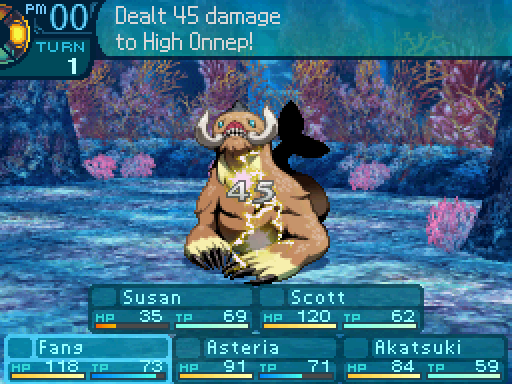
Oh boy. This thing's a butt.

High Onnep
Level: 17
HP: 428
STR: 28
TEC: 13
VIT: 17
AGI: 17
LUC: 17
Attack Type: Pierce
Exp: 1088
Item Drops:
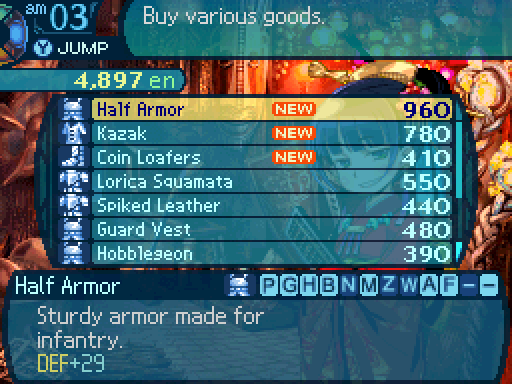
-Drop 1: Sea Beast Fur - 55% Drop Rate. 1 needed for Half Armor (Light Armor.) 5 needed for Tusk Knife (Dagger), and Medica II (Item.)
--Fur that is useful in creating expensive clothes.
-Drop 2: Jutting Tusk - 20% Drop Rate. 1 needed for Hunting Sword (Rapier), and Sleep Guard (Accessory.) 2 needed for Ring Dagger (Knife.) 5 needed for Tusk Knife (Knife.)
--A fang sharp enough to scrape even large shells.
-Gold: N/A
Description: This vicious dweller of the abyss has a violent disposition and glares at all who enter its lair.
Damage Resistances: Slash: 100% Strike: 100% Pierce: 100% Fire: 150% Ice: 100% Volt: 150%
Ailment Resistances: Sleep: 100% Confusion: 50% Plague: 150% Poison: 100% Blind: 100% Curse: 100% Paralysis: 50%
Bind Resistances: Head: 100% Arm: 100% Leg: 150%
Other Resistances: Death: 50% Petrification: 50% Stun: 100%
Skills:
Withering Glare: Uses the Head. Lowers the physical defenses of the entire party by 40% for 3 turns. Has an action speed modifier of +3.
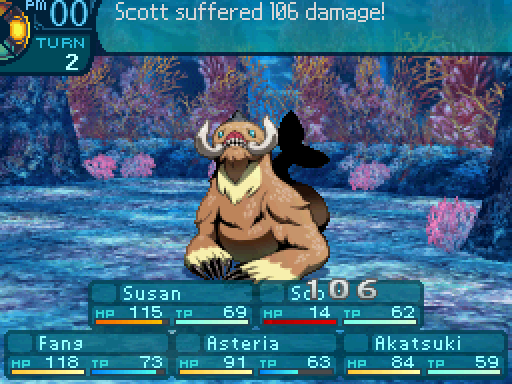
The last new enemy on this floor, and a very nasty one. Look at those crazy stats. High Onneps are the floor bullies of the 5th floor, and they can be a very painful lesson in showing you just how strong debuffs can be. Withering Glare plus a regular attack can mean the end of any squishy class, even at full HP. The best way to deal with these is to either stop it in its tracks with an ailment or a bind, or have a Zodiac nuke them down. If your party has trouble dealing with the Red Starfish and the Hungry Corals, they are not ready for this thing.

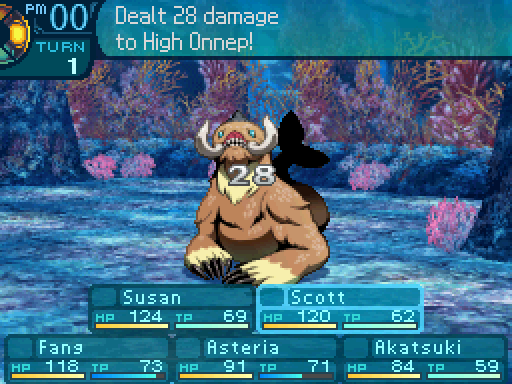

AUGH! Why do they always go after me!?
It looks as if the monsters here seek to weaken the opposition by taking down what they see as their strongest enemies.
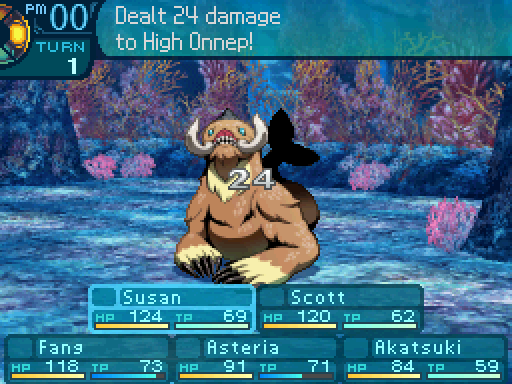
Oho, they see me as the strongest? I suppose I'm flattered in a sense.
Pfft! You!? The strongest!? Pffftahahahaaaa!
Hmph. They chose me, did they not? Granted I would rather that they honored that position in a different way.
At this point in the game, you really don't want a Prince/ss to be the most durable member in your team, because that can easily deactivate Royal Veil. You'll need every bit of healing you can get to make things easier.
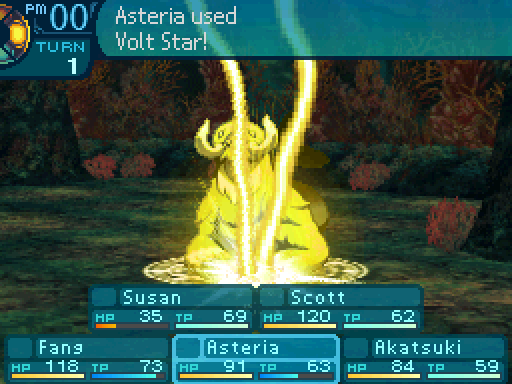
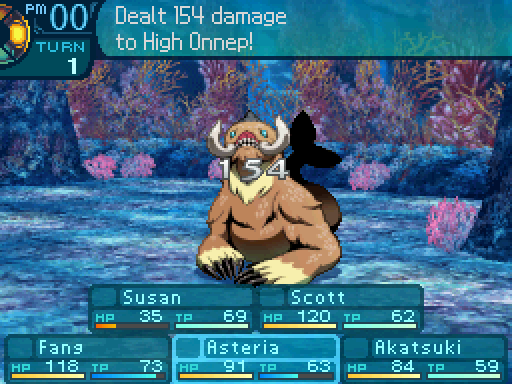

Of course when Zodiacs do have a weakness to exploit, they're wrecking balls.
HNGH! Ow... My everything...
Oh, look Scott. They see you as the strongest now. What an honor.
Oh, zip it.
Just play smartly when you run into these. Though they're pretty uncommon encounters at this point.

A shame that Alice isn't here to help us.
B2 Mine Point:
Jet: 50% Gather Rate. 1 needed for Coral Shield (Shield.) 3 needed for Slip-ons (Boots.)
-Black amber that fossilized underwater over centuries.
Phyllite: 50% Gather Rate. 1 needed for Aqua Mittens (Gloves.)
-Greyish-brown rock that shines like silken thread.
Magnetite: Rare. 1 needed for Stun Guard (Accessory.) 3 needed for Double Mail (Light Armor.)
-Iron ore with magnetic polarity.
Common Gather Periods: 2 to 12.
Rare Gather Periods: 0 to 4.
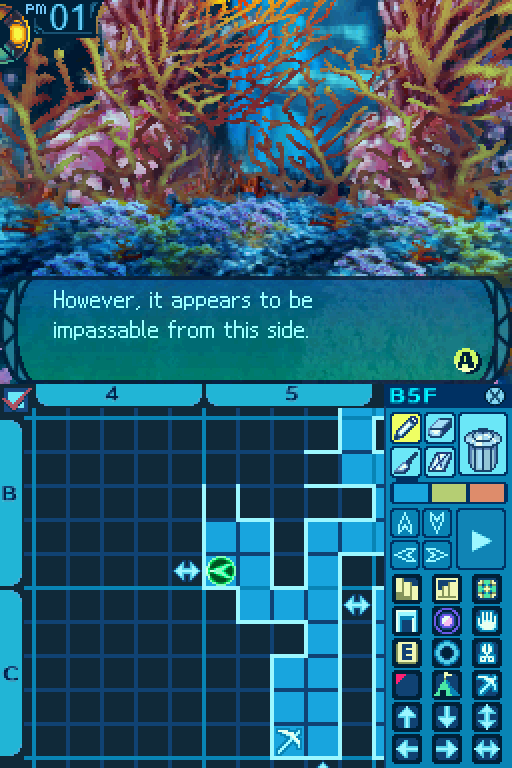
Oh! Maybe those flowers don't grow on the sides we can't go through?
Pretty insightful for a 10 year-old. I guess we'll see if you're right sooner or later.
You don't have to know where the inaccessible sides of the shortcuts are, but their locations helpful to keep in mind.


I'm gonna try to get Monarch March to level 5 before investing in anything else for now. The party heals 4 HP per step at this point.

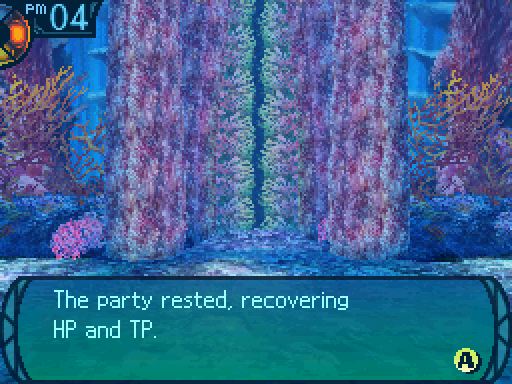
Shall we take a break?
Yeah, I could use a nap. Is there room for all my friends here?
There should be. Come on, help me set up.
While my party's HP was full, I camped in order to restore their TP pools, so this Labyrinth trip could last a bit longer.
So that's why-
Wait wait wait. Even if you uh, “become the ruler the universe and cosmos”, what are you gonna do once you um, “get that position” and how are you even gonna accomplish that?
You see- I-I'll ensure that there's a peaceful time for all, and um. A-And as for how I'm going to do that um. Well. I. Uh. Hmm. I-I-I'll think of something!
Oh boy.  So what exactly was your screening process for this guild if people like her got in?
HEY!
If you've got a problem with our selection of guild members, I suggest you take it up with Faye. But, I wouldn't discount the girl just yet. She's been here since the beginning, and survived up to this point, hasn't she?
I'm glad somebody here sees the worth of a queen. Of course a shame it takes someone such as a scholar to see that, instead of a simple sailor like you.
U-Um, I think we stayed here long enough. Shouldn't we get going? And not argue as much, maybe?
Yes. Let's. Before this gets anymore awkward.

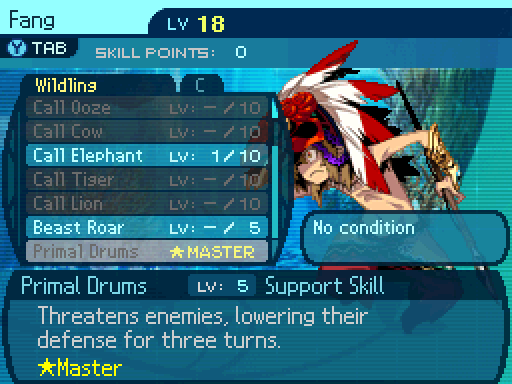
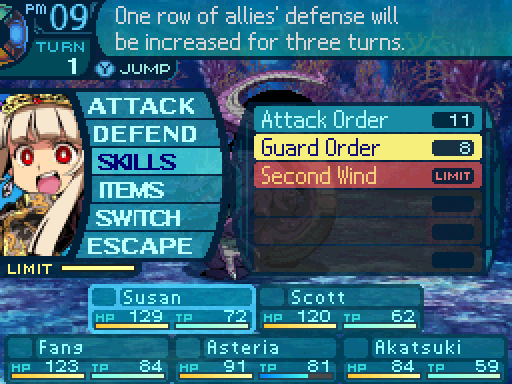
Primal Drums now lowers all enemies' physical defenses by 30%.

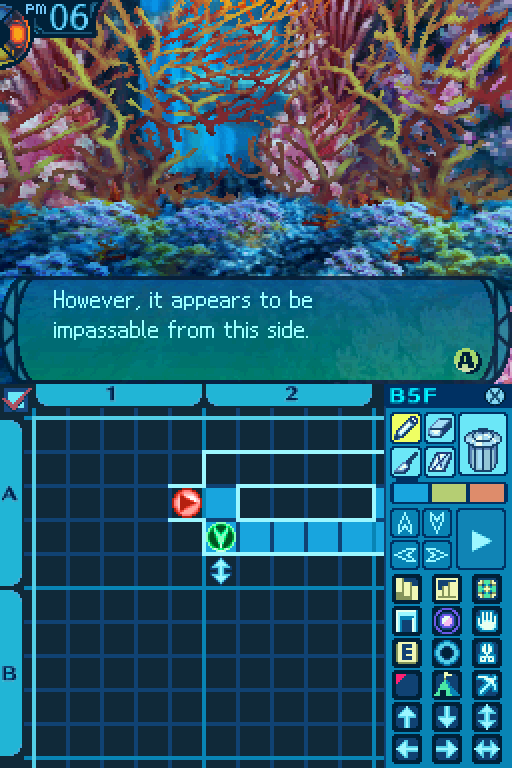
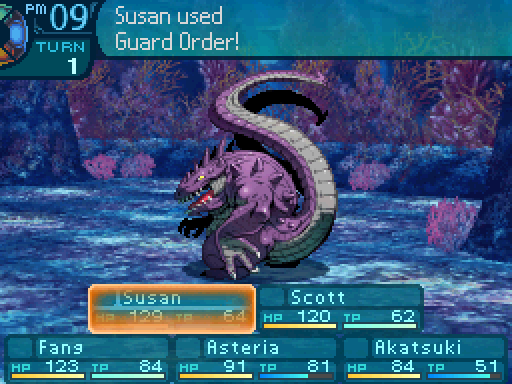
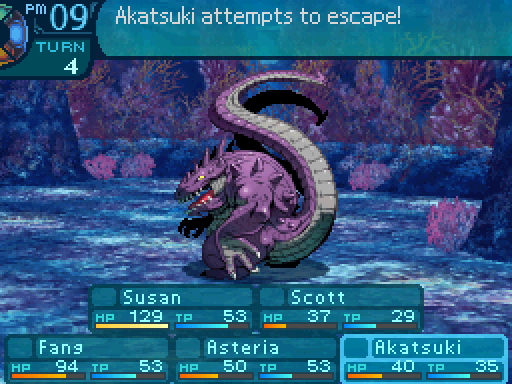
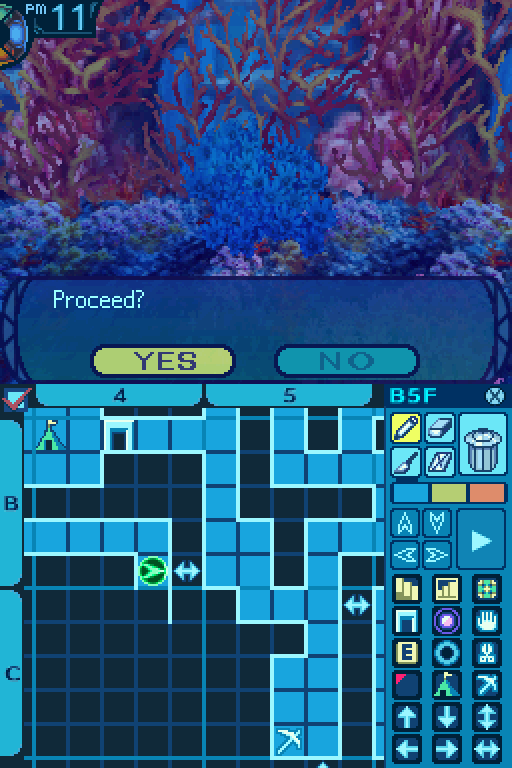
There's a big crocodile staring at us. What do we do?
Judging from the fact that it's drooling and rubbing its hands together, I'm going to assume that it wants to eat us. RUN!

I found a way out!
Dammit! Never mind!
There's no blue flowers growing there.
I CAN SEE THAT!
Wait, I think we can outrun this crocodile. It doesn't seem to be very mobile. Follow me.
This FOE has a different movement pattern, and only moves one step every two turns, so it's easy to juke it.

Just walk all the way around, it's unlikely to catch up to you unless you get into a fight.

Here's it's patrol path when it's not chasing you. If you still haven't shook it off, you can just loop around that portion of the map.
I think we lost it.
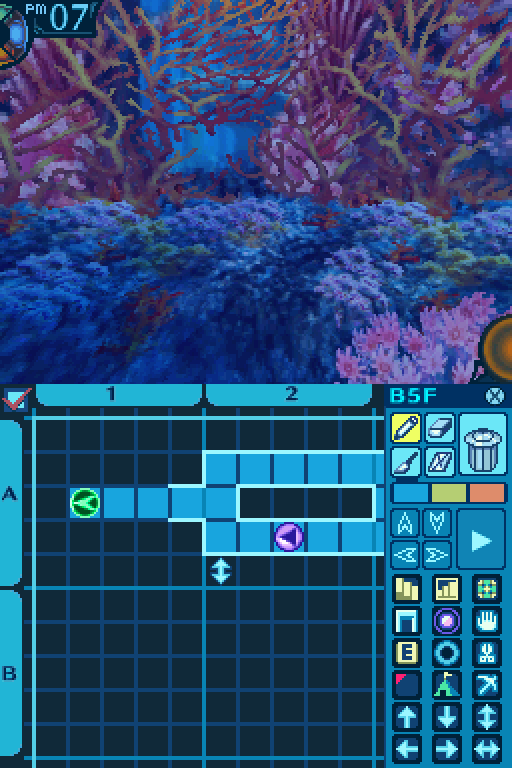
Thanks for saving our behinds. That was some quick thinking. Now, where to?

The pond contains several colorful fish swimming peacefully. You can feed the cute little fish or ignore them and continue your investigation of the Labyrinth.
Aww. Can we feed them?
No:
Sorry, but we're running low on supplies. We can't afford to feed them.
It would be folly to feed the fish when it’s taking all your resources merely to survive. You hate to leave them, but seeing no other choice, you leave the pond and return to your journey.
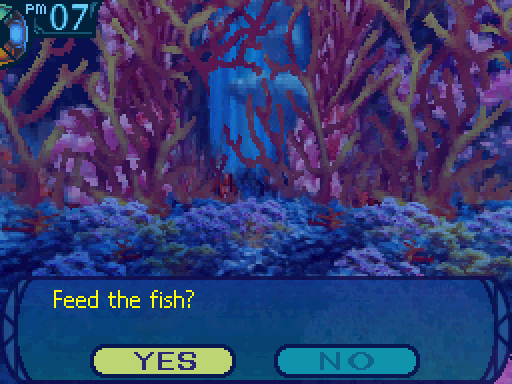
Yes:
Oh come now, we can afford to spare a tiny portion of our food.
You tear off some bread and drop it into the pool, causing the fish to gather and nibble at it. You spend a few peaceful moments watching the fish before a black shadow suddenly approaches...! It seems this small pond of fish is a feeding ground for sea monsters! You are seized with the desire to fight the monster and save the small fish, but then again...
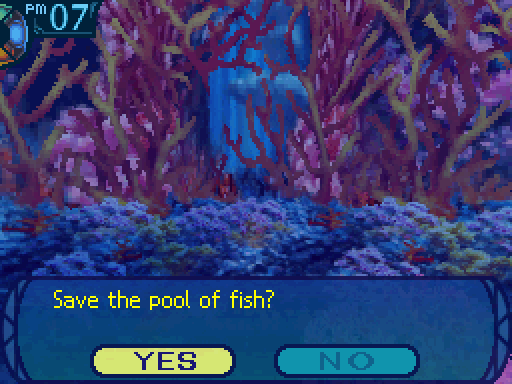
We gotta do something!
No:
And risk being fish food? No thanks!
You turn away before the monster notices you. The merciless sounds of predation are inescapable... The law of the Labyrinth is clear. You must take care not to end up on the side being eaten...
Now this is actually a class specific event. If you say yes without a Ninja or an Arbalist in the party:
You quickly break the surface of the water to divert the monster’s attention before it eats the fish! The monster, finding you to be more appetizing prey, jumps out of the water at you!
And then you would get into a fight with 2 Great Hermits. The aftermath:
With the monster vanquished, you look again at the peaceful pond, but the small fish have escaped. Your success in saving their lives will have to be enough, and you do feel satisfied as you walk away.
If you have a Ninja in the party and you say yes:
We must get ready to fight!
No need! YEAAARRT!
You gird yourself for battle, but Akatsuki’s lightning reflexes send a kunai toward the monster! It strikes true at the monster’s fatal point. The corpse rises slowly toward the pond’s surface. The fish are saved, thanks to Akatsuki’s quick wit! You give a sigh of relief. What’s more, you found materials inside the corpse that floated to the pond’s surface!
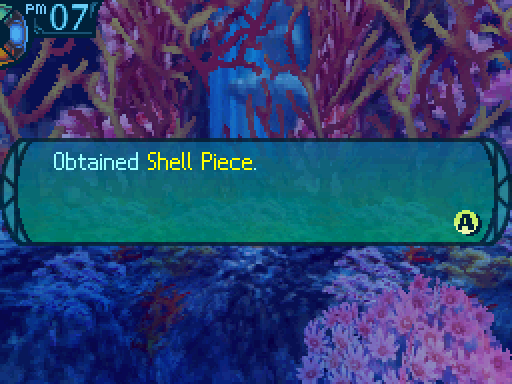
A quick clean kill if I do say so myself.
Uh, not completely clean. You damaged the shell, and I'm pretty sure we could have sold that for a decent price.
My apologies. I shall be more careful the next time I assassinate a hermit crab.
This is an item drop from said Great Hermits. We'll fight them later, don't worry. Now if you had an Arbalist:
 I got this! Okay, HA!
You gird yourself for battle, but Sidney’s quick trigger finger lets a bolt fly at the monster! The deadly shaft pierces straight through the monster, whose corpse rises to the surface. The fish are saved, thanks to Sidney’s quick wit! You give a sigh of relief.
And the rest of it plays out the same way.

Shoot. Another one of those crocs.
There's a pillar in the room. Can we do the same thing as last time and run around it?
I've got a better idea.

Hmm, it seems you were right about the blue flowers. Good observation, Fang.
Ha ha! Thanks!
I realized I could get behind the FOE and ambush it. But is the party strong enough to take it on? Well, only one way to find out.
You know, it looks pretty defenseless right now. We might be able to take one of these things out if we act now.
Scott, I don't think this is something we really should be-
ATTAAAAAAAAACK!
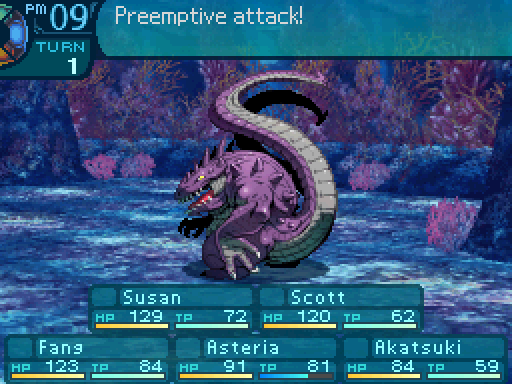

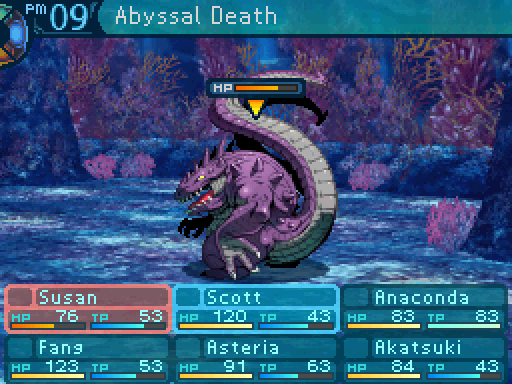
Abyssal Death
Behavior: Patrols a set path until it spots the party. After which, it will chase them around until they get out of range. They take one step every two turns.
Aggressive: Yes.
Level: 26
HP: 1320
STR: 24
TEC: 23
VIT: 23
AGI: 22
LUC: 23
Attack Type: Slash
Exp: 4810
Item Drops:
-Drop 1: Crocodile Hide - 65% Drop Rate. 1 needed for Poleyn (Boots.)
--Very high quality leather that's both smooth and tough.
-Drop 2: N/A
-Gold: Pig Iron Fang - Don't kill with elemental damage. 50% Drop Rate. 1 needed for Gandivam (Crossbow.)
--Its poor durability makes it difficult to temper.
Description: A vicious crocodile that devours everything in its sight, constantly hungry for more meat.
Damage Resistances: Slash: 75% Strike: 75% Pierce: 75% Fire: 125% Ice: 125% Volt: 125%
Ailment Resistances: Sleep: 150% Confusion: 10% Plague: 10% Poison: 10% Blind: 10% Curse: 10% Paralysis: 10%
Bind Resistances: Head: 10% Arm: 10% Leg: 10%
Other Resistances: Death: 10% Petrification: 10% Stun: 10%
Skills:
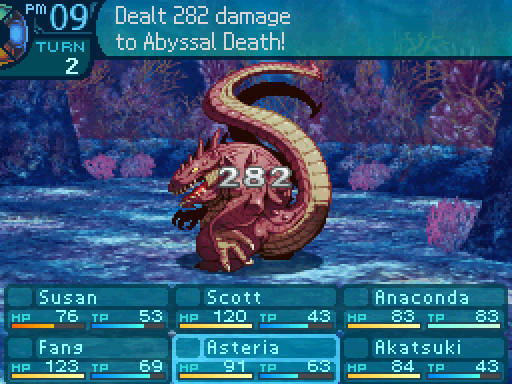
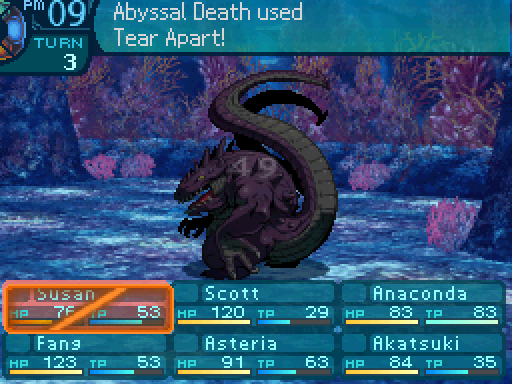
Tear Apart: Uses the Arms. Deals 160% STR-based Slash damage to the entire party. Has a hit rate of 80%. Has an action speed modifier of -6.
Ah the Abyssal Death. It was an FOE in all the Etrian Odyssey games except for EO2, where it was “demoted” to a random encounter. (The less said about THAT, the better.) It can be a pretty tricky enemy to deal with depending on your party setup. There's not much to it, it'll either attack one person, or decide to attack the entire party. But once its HP gets below 81%, it will use Tear Apart a lot more often, so it can easily cause a party wipe. A word of warning, your party MUST be strong enough to take one of these on by the time you reach the 8th floor.


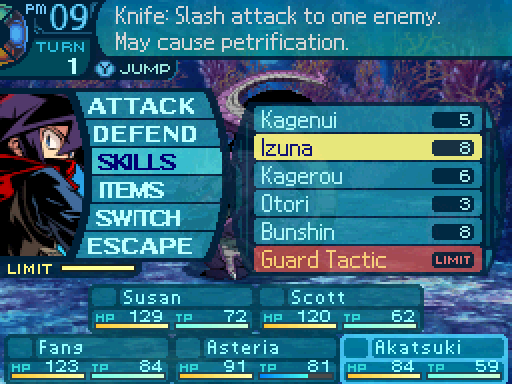
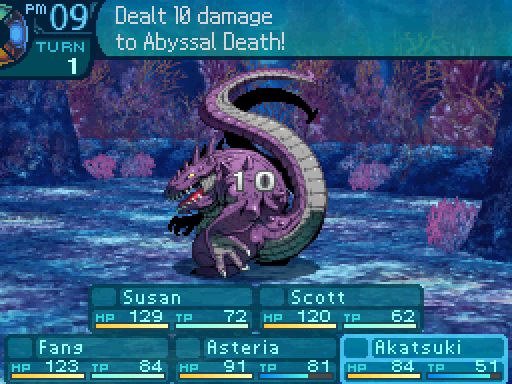
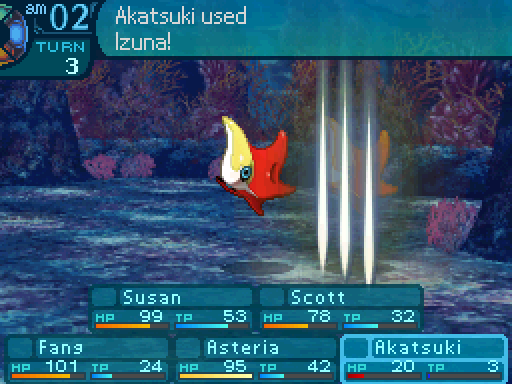
Now I'm not actually committed to this fight. I'm just trying to see if my party is capable of taking it down or not. If I can bind its arms, the fight should be a piece of cake. I'm gonna have Akatsuki use Izuna to deal damage, and to hopefully kill it instantly. Which really unlikely to happen since he only has a 1% chance to inflict Petrification.

I question our ability to take this creature down.
Get into position!
Try attacking that spot!
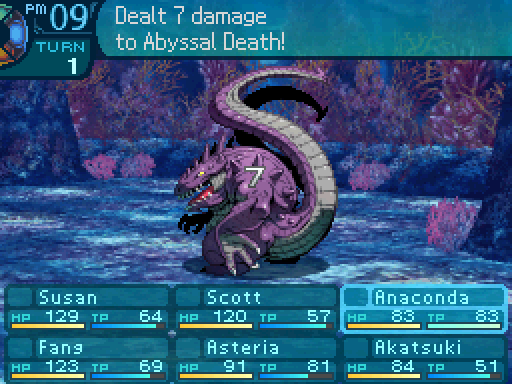
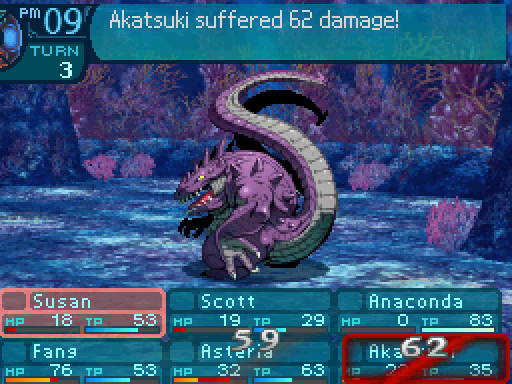
The arm bind didn't land. At this point I heavily think about running.
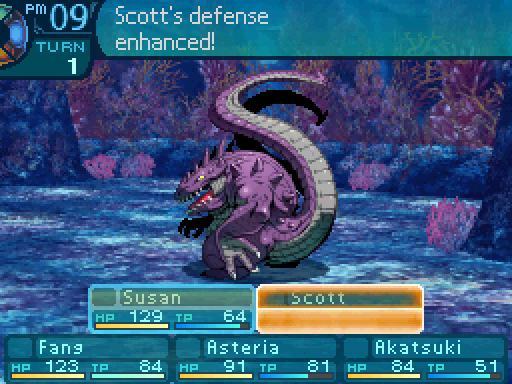
DEFEEEEEND!

ATAAAAACK!
Um, which is it? 


Whose idea was it to fight this thing again?
Yours!
Um.


Ha ha! Those are some strong arms! If you pulled a little harder-
Are you seriously rooting for the croc!? Gah! My back.

It'll take more than that to slay the MEGAQUEEN!
Here's another important thing you have to know about when you play an EO game. Know when you're outclassed, and know when you should cut your losses and run. I clearly don't have the firepower to take it out quickly, and I don't have enough defense to withstand its attacks. If Fang landed the arm bind, this fight would be a different story. There's taking risks, and then there's just being crazy. Letting the fight go on for any longer in this case would be the latter.
Get out. Get out now. This was a bad idea.
Can't Asteria roast it? Her attack looked like it did a number on it.
While that's true, does it look like that thing is close to dead!? It would take way too much time for me to pelt it with enough fireballs to get some roasted croc! We have to get out of here!

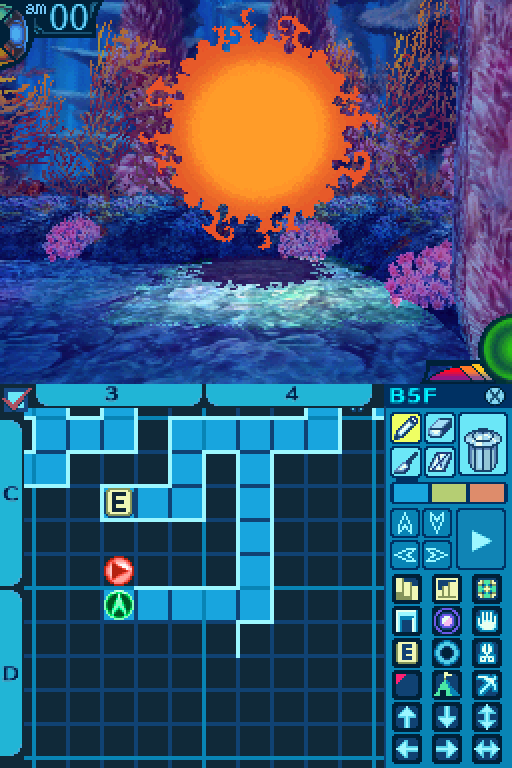
Just do the same thing here. Lure it out, and walk around the pillar in the center of the room.


The Abyssal Death's normal patrol path when it isn't chasing you.

Eagle Eye decreases an enemy's defense by 15%.
These shortcuts let you skip the juking puzzles on future visits, even though they're easy to pull off.

C5 Mine Point:
Jet: 70% Gather Rate.
Phyllite: 30% Gather Rate.
Magnetite: Rare.
Common Gather Periods: 1 to 8.
Rare Gather Periods: 1 to 4.
Of course now we can just skip all that with this shortcut.

She notices you and walks over to you with a smile.

The girl curtseys deferentially, but her countenance is gloomy and she seems absentminded. You’re curious as to what could be causing her odd mood, but you’re not sure it’s your place to ask...

Are you okay? Did something happen?
The girl smiles at your considerateness and responds.
 I’m not sure why it is, but I have a terrible fear of these clear blue halls. Some explorer I am, eh?
The girl mutters sadly to herself. The girl seems quite forlorn. You’re not sure if it’s better to comfort her or leave her be.
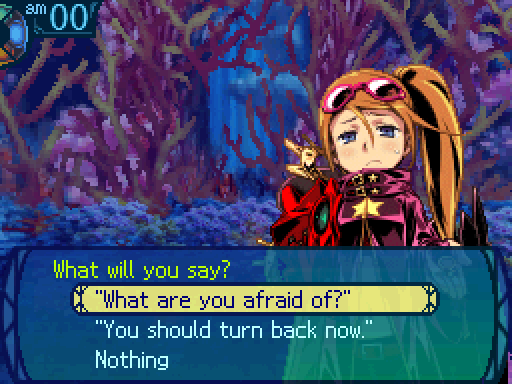
What has you so frightened?
The female astrologer closes her eyes and thinks for a moment before answering in a small voice.
You may laugh... But I’ve had a recurring nightmare ever since entering the Second Stratum. In it, I’m venturing through this grotto with someone... When next I realize it, we’re surrounded. My companion... shields me from the monsters’ onslaught and ends up in bloody shreds...
Hypatia shakes her head and falls silent, as if unwilling to recall any further details of the dream. It’s probably best not to pry deeper into the dream, but there is more you could say to her...
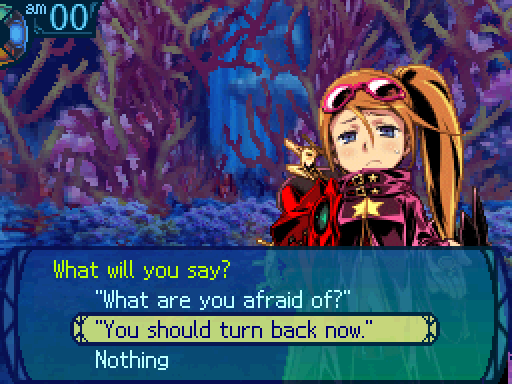
Your fear will do nothing but hinder you. And possibly get you killed. You should leave while you still have the chance.
If the girl is this frightened of the Labyrinth, you muse, it will be impossible for her to survive. You tell her so and she nods sadly in response.
You’re... right. I understand. I’ve often thought so myself, but...
The girl nods deeply at your words of caution, but wears a troubled look as she continues.
If I’m not with Agata, he’ll try to face the Labyrinth alone. That is why I...
After these nearly whispered words, Hypatia hurriedly thanks you for your advice.
I do realize the danger. I’ll think about it some more.
The girl apologizes again for troubling you with such a trivial matter. If you have no more to say to her, it may be time to be on your way.

You decide to leave the forlorn girl to her own devices and leave the area.
I'm a bit worried about her. I suppose it's fine to be a bit scared, but she looked completely terrified.
We should probably have a word with Agata about this.
RUN!

We can hide out in here!
Uh, I think we already lost it.

Ooh, treasure!


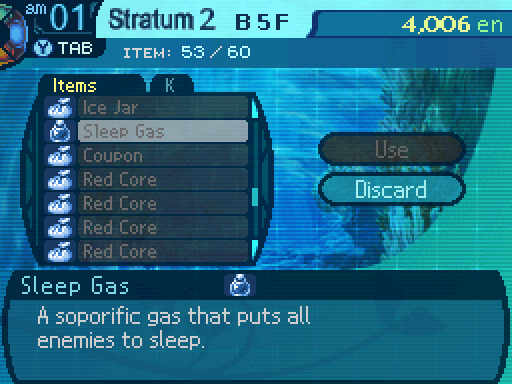
Sleep Gas actually has a 40% chance of putting enemies to sleep.


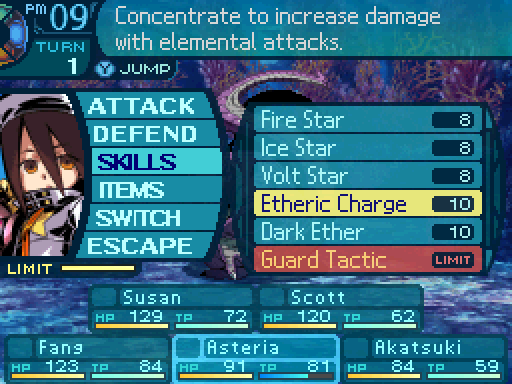
Etheric Charge now gives a whopping 280% damage boost to the next elemental attack.
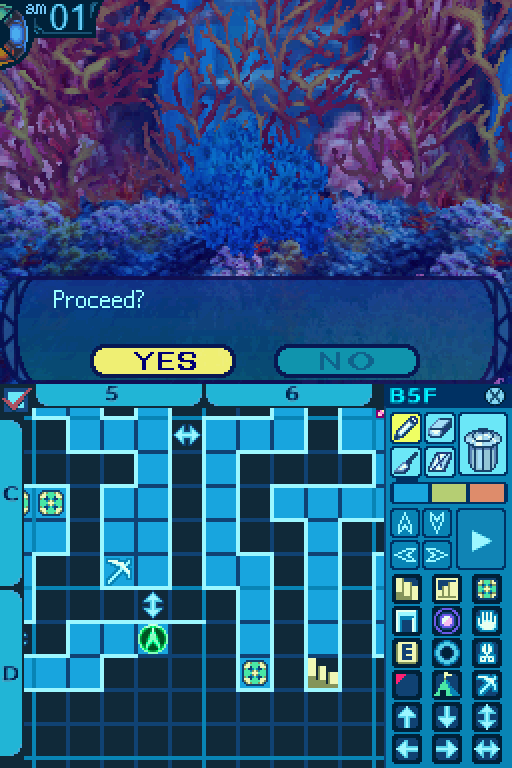
And now we can skip a majority of the 5th floor.

The boy’s sudden approach shows that he has noticed you as well.

Though the boy has already been trouble, you don’t know if you can bring yourself to ignore him...
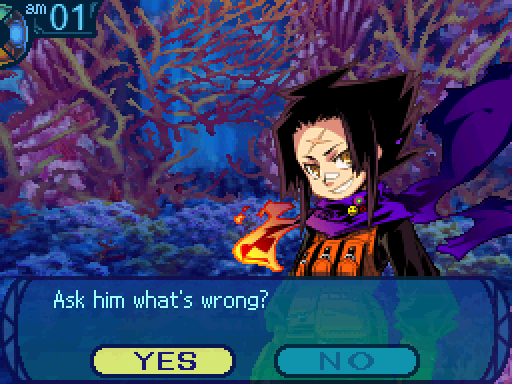
Is something wrong? You're usually more active than this.
When you say he doesn’t quite seem himself today, Agata scratches his head before answering.
 Oh... It’s nothing, really. Just, Hypatia’s been acting weird since we got to the Second Stratum. She doesn’t look well, and she’s acting weird too... Though I can kinda see why she’s nervous.
You’re curious about the boy’s odd statement, though you’re not sure how involved you should become.
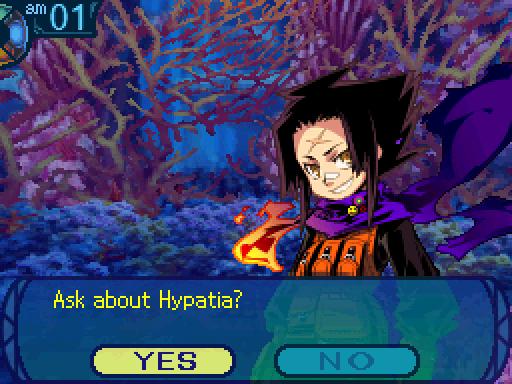
Can you tell us more about Hypatia?
Your question seems to have made Agata uneasy, but he’s willing to open up to you...
Hypatia’s dad was one of the first astrologers in Armoroad. He’d been to the Labyrinth before. But her dad’s guild left one day to investigate this Stratum and... just never came back. After that, Hypatia...
But the boy falls silent. It seems he has no desire to continue the story. You could try asking him more, but you wonder if you haven’t heard enough already...

Mind telling us a bit more?
You ask Agata what he had been so hesitant to say a moment ago. The diminuitive ninja seems to be conflicted, but finally responds.
...I think Hypatia’s been here before with her dad. The day her dad went missing, she was in such shock that she couldn’t remember anything. She acts happy, but she doesn’t remember anything about the past or her dad. That’s kinda why I brought her here. If we can find some clues about her dad here... Maybe she wouldn’t have to suffer so much if she could finally remember.
The boy seems quite determined. His own course is set and he has no more to say. You decide to leave him here, lost in thought, and go your own way.
You can talk with him again, but nothing much happens.
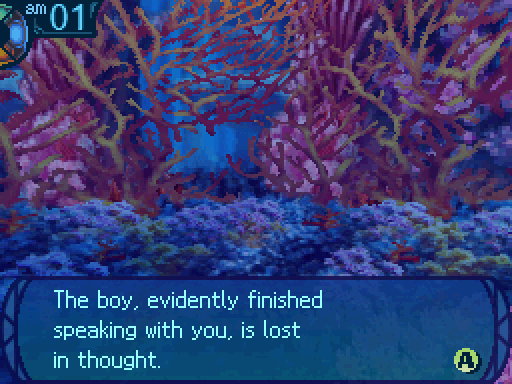
You decide to leave the boy where he is and quietly withdraw.
With a motive like that, I doubt we can dissuade him from exploring this Stratum.
So what are we gonna do?
I've seen that kind of attitude before. The kid's way too determined to keep going. I think the best we can do is to just keep a close eye on those two and hope they don't get themselves killed somehow.


Why isn't this working?

When I come back, I shall kill every single starfish in the ocean!
Yeah uh, good luck with that.

I have returned to enact my vengeance!
Hello there, Mr. Starfish. I am Akatsuki. Your death shall be painful and excru-

Oh come on! 
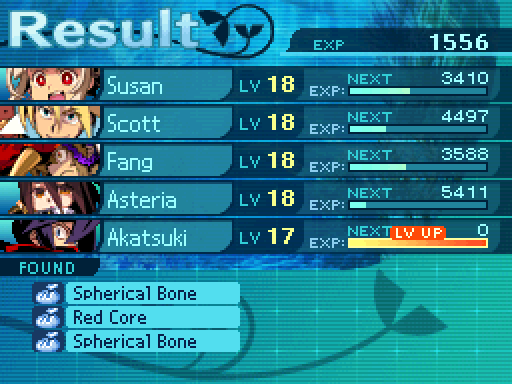
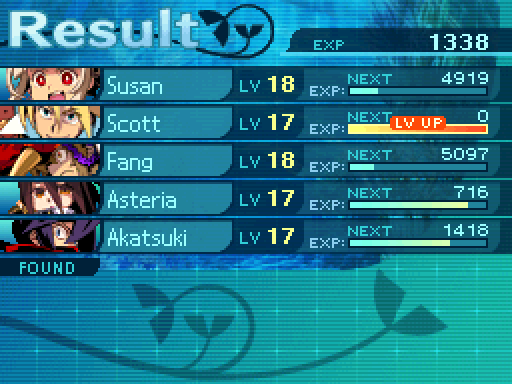
Got a level up from a different battle.

Izuna now deals 181% damage and has a 35% chance to petrify enemies. At this point I went back to town since I made a lot of progress, and the pack was getting full.


Provides a 5% boost to HP. Could be handy for Prince/sses.


Another pair of some hefty defensive boots. There aren't many classes that wouldn't appreciate the 10% HP boost.
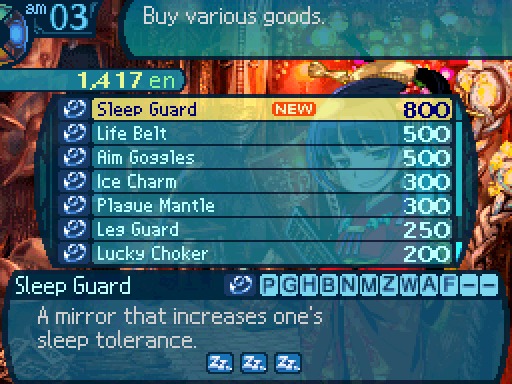
Sleep Guards provide a 30% resistance to sleep.

Blind Gas has a 40% chance of Blinding all enemies.
Next time: The rest of the 5th floor, and a bit of the 6th floor.