Toggle Background Color
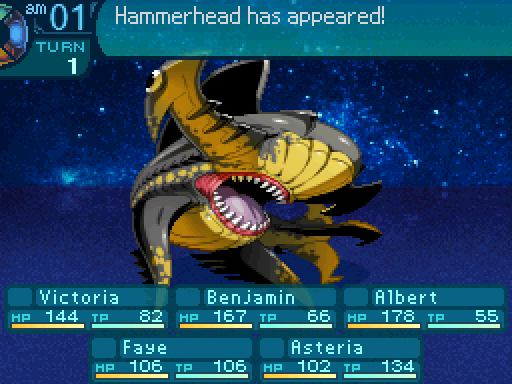
Update 22: Hammerhead
 AHAHAHAHAHAHAHA!


Adds on 20% Ice damage to regular attacks, and comes with a 5% TP boost.

Provides a 30% resistance to Volt attacks.
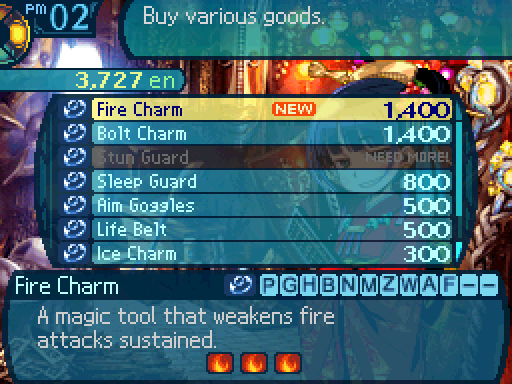
And the Fire Charm provides a 30% resistance to Fire attacks.
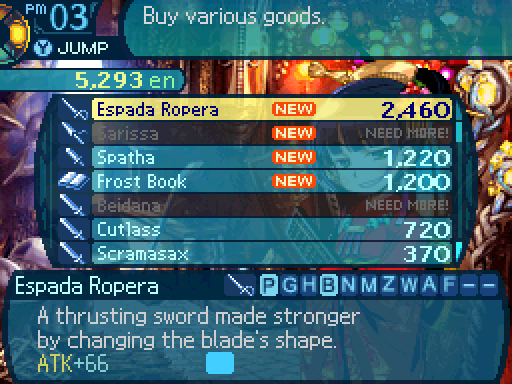
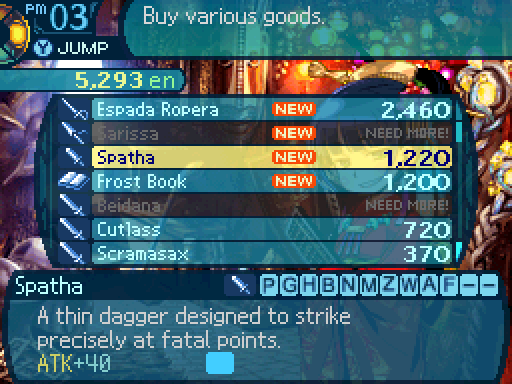
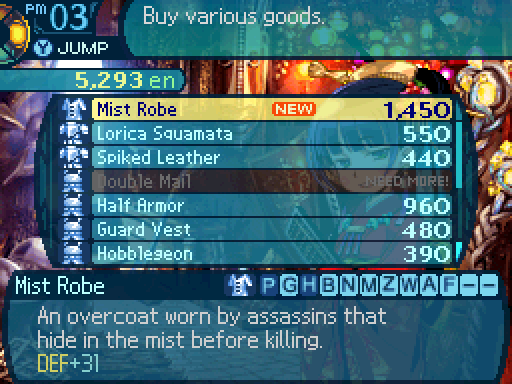
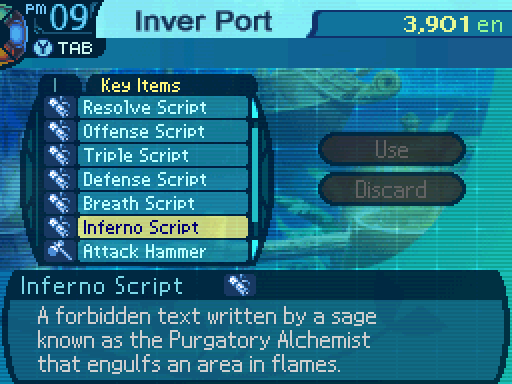
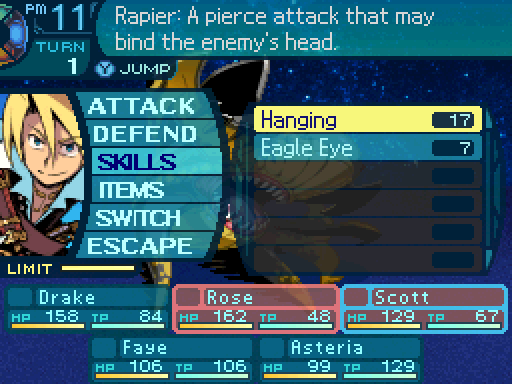
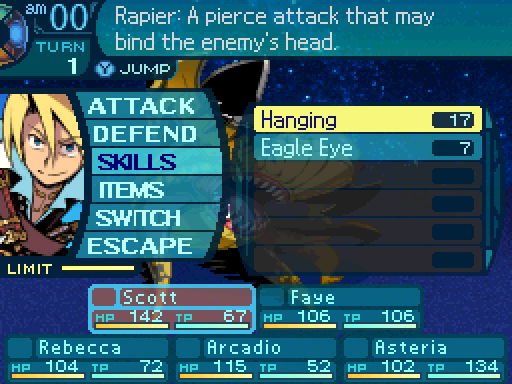
Here's all the equipment I unlocked from the last trip into the Labyrinth. Now let's go kill a shark.


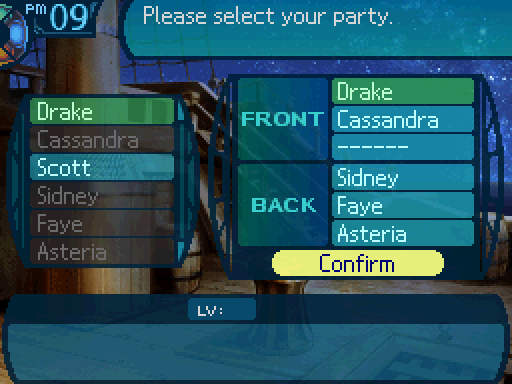
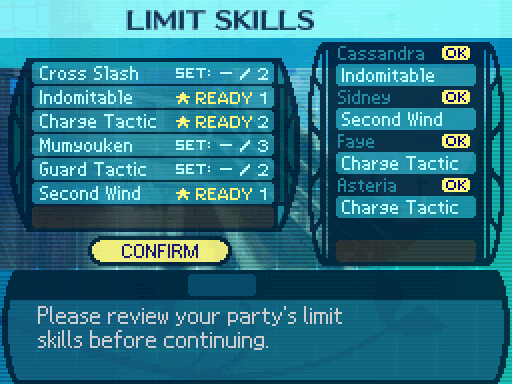
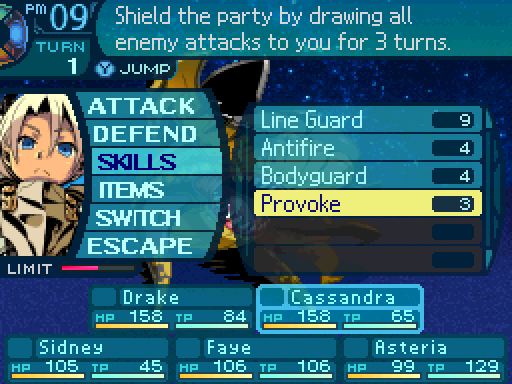
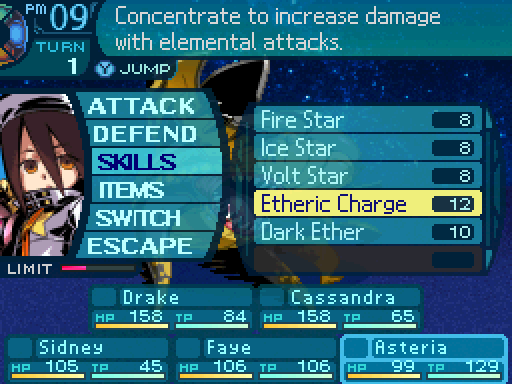
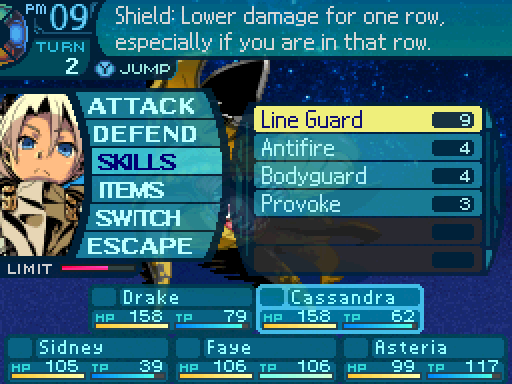
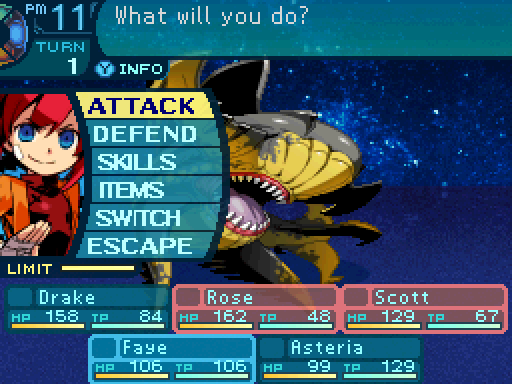
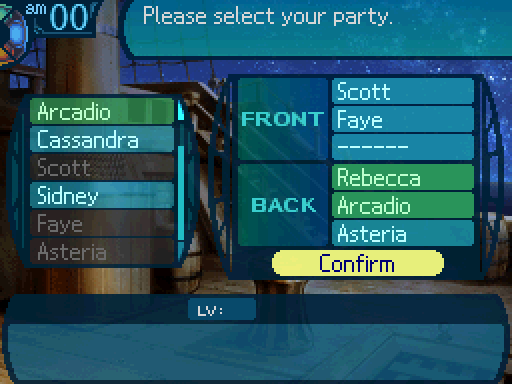
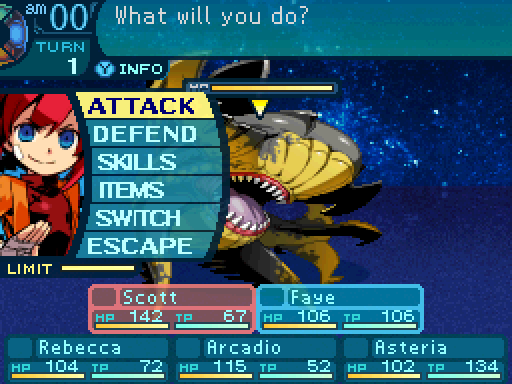
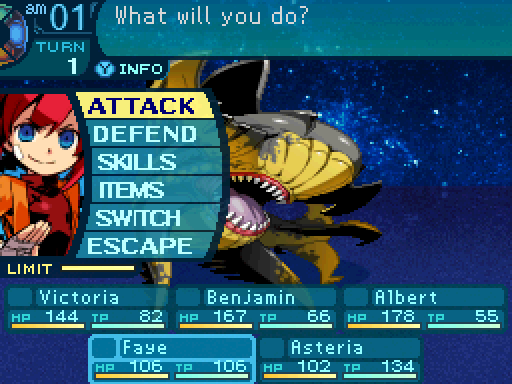
Here's the party I'll be going with, and the Limits I'll be using.


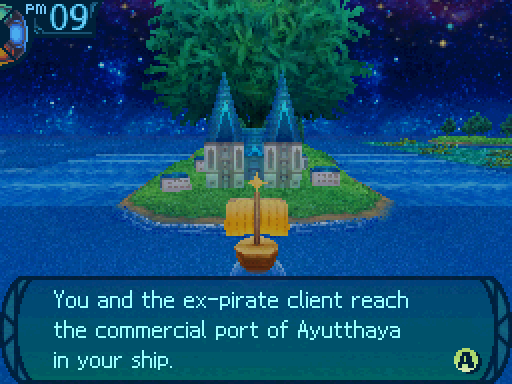
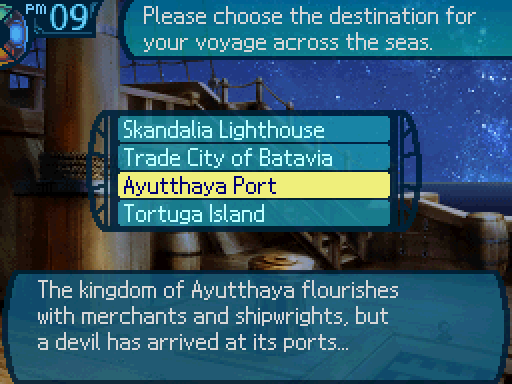
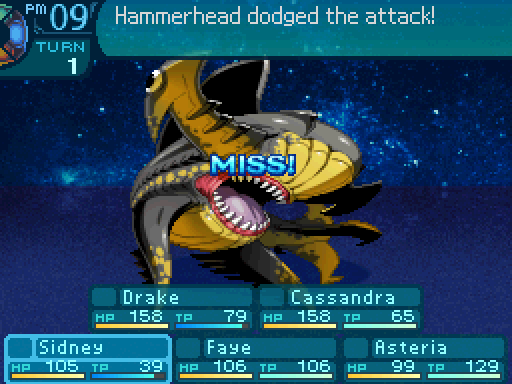
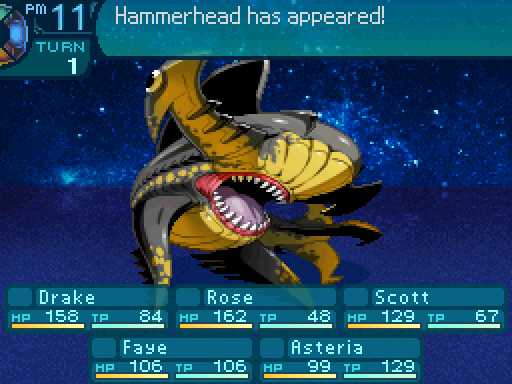
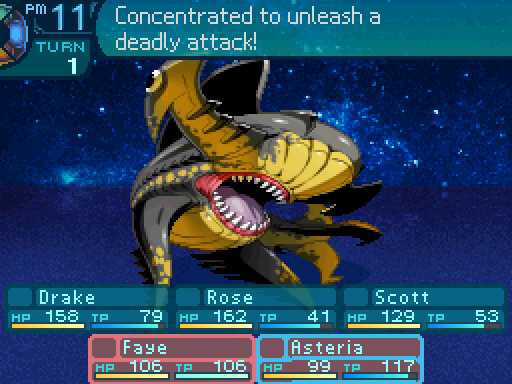
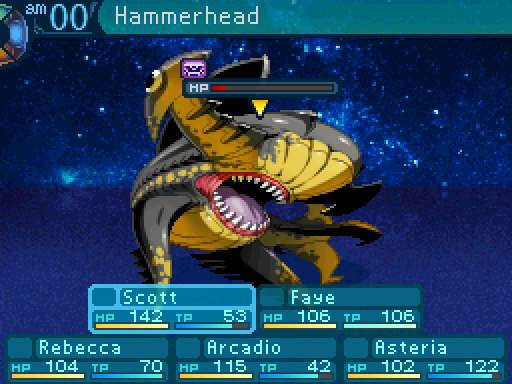
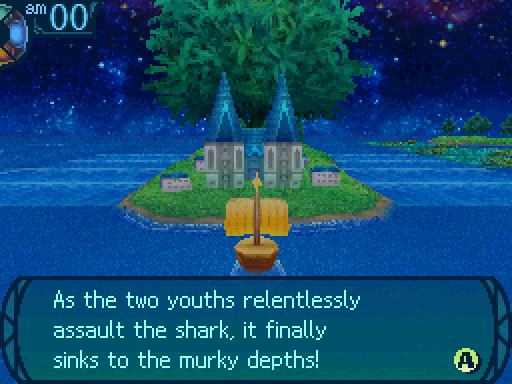
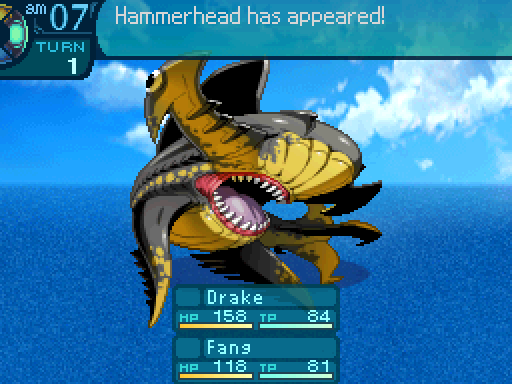
Just then, you spot a gigantic dorsal fin portruding from the water as it circles your ship! There’s no mistaking it, this is the behemoth shark terrorizing Ayutthaya!
 There's the shark!
 You know, you're crazy for trying to take it on alone.
The nervous tension in the air is broken when a figure so large it obscures your vision rips the water! You must join forces with your client to defeat the impending threat!
 Ha! He doesn't have to worry! We're here now, and- Crap! It's jumped out! Here we go!
 Video: Hammerhead


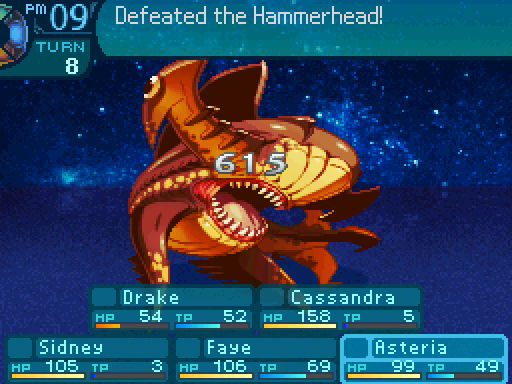
Hammerhead
Level: 18
HP: 2710
TP: 703
STR: 27
TEC: 22
VIT: 21
AGI: 20
LUC: 17
Attack Type: Slash
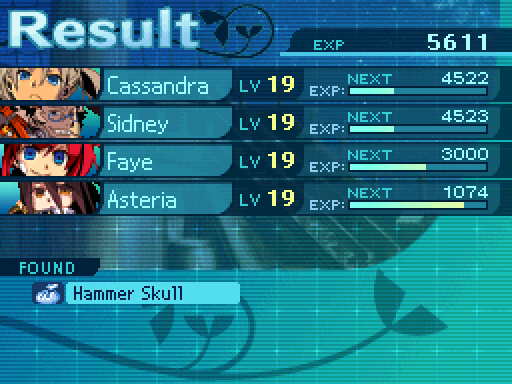
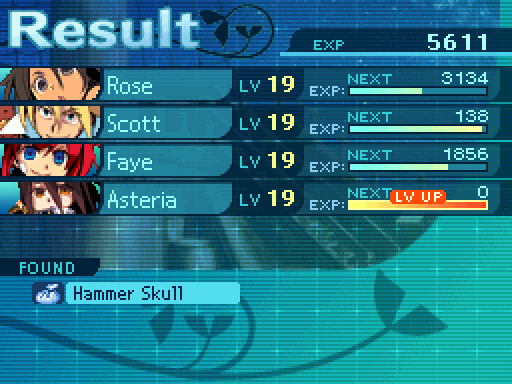
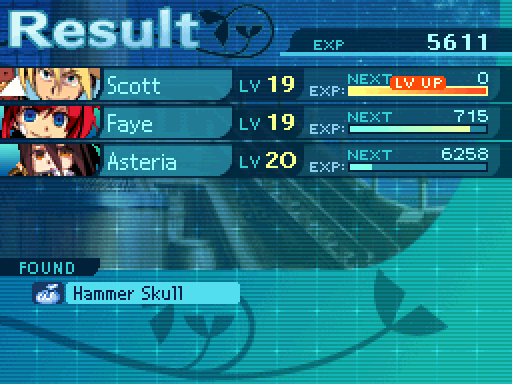
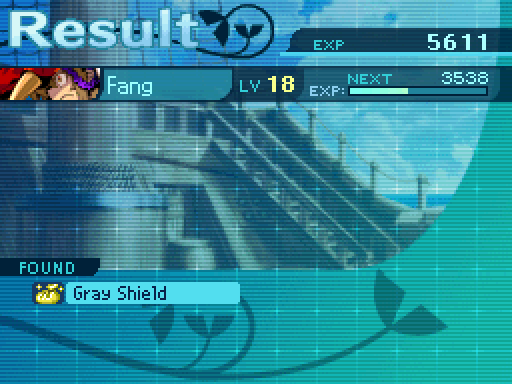
Exp: 5611
Item Drops:
-Normal: Hammer Skull - 100% Drop Rate. 1 needed for Black Breaker (Club. Must be restocked.)
--Hammer-shaped shark's skull that could cripple its prey.
-Gold: Gray Shield - Kill with Instant Death. 100% Drop Rate. Prevents normal drops. 1 needed for Somatemus (Shield. Must be restocked.)
--Absorbent shark scale that can withstand intense blows.
Description: A shark with a distincly shaped head. Its attack on ships shut down the port at Ayutthaya.
Damage Resistances: Slash: 100% Strike: 100% Pierce: 100% Fire: 150% Ice: 100% Volt: 150%
Ailment Resistances: Sleep: 80% Confusion: 50% Plague: 50% Poison: 80% Blind: 100% Curse: 30% Paralysis: 50%
Bind Resistances: Head: 80% Arm: 50% Leg: 50%
Other Resistances: Death: LR-50% Petrification: LR-40% Stun: 30%
Skills:
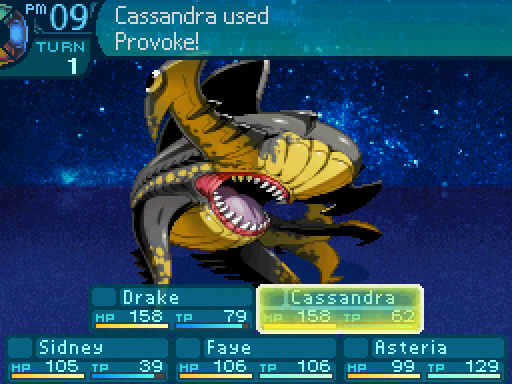
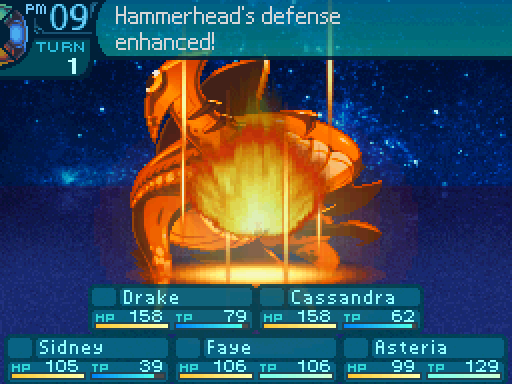
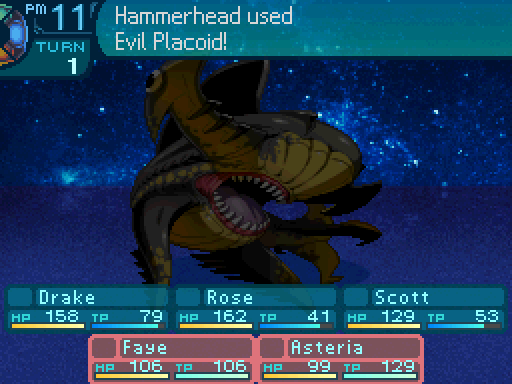
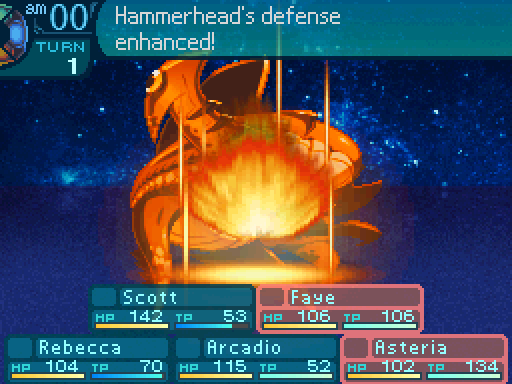
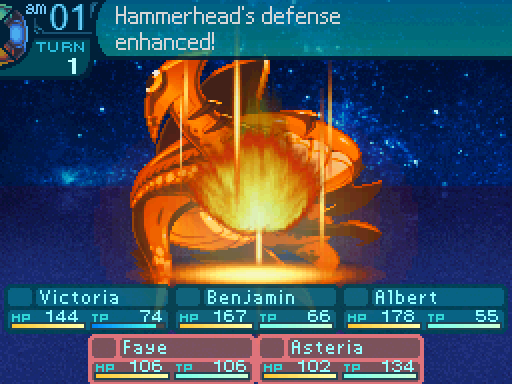
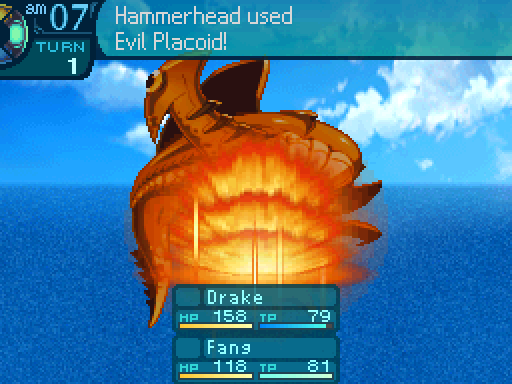
Evil Placoid: Uses the Head. Increases Hammerhead's physical defenses by 50% for 4 turns. Has an action speed modifier of +0.
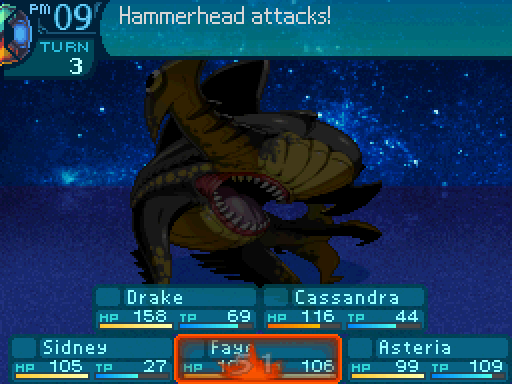
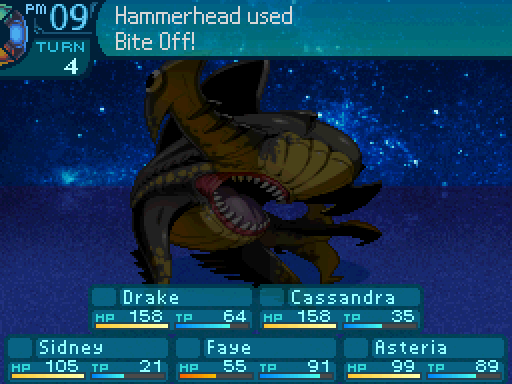
Bite Off: Uses the Head. Deals 180% STR-based Slash damage to one party member. Has a hit rate of 99%. Has an action speed modifier of -5.
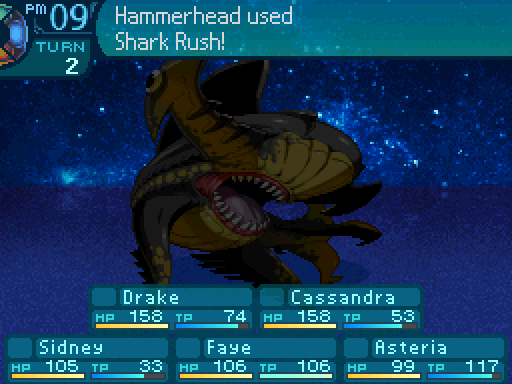
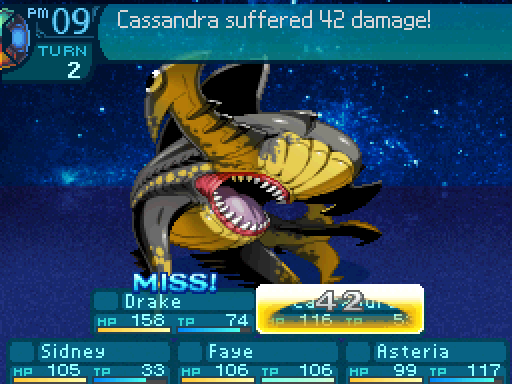
Shark Rush: Uses the Legs. Deals 140% STR-based Strike damage to one row. Has a hit rate of 99%. Has an action speed modifier of -5.
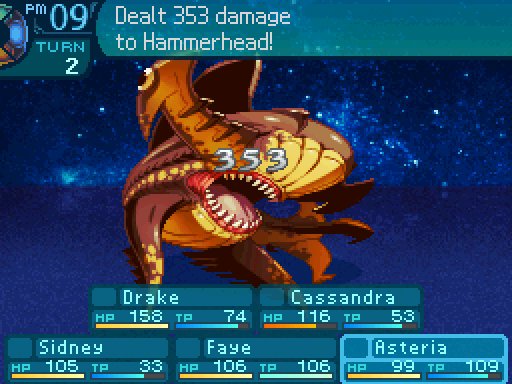
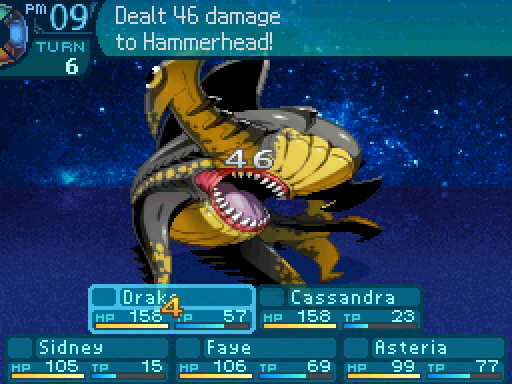
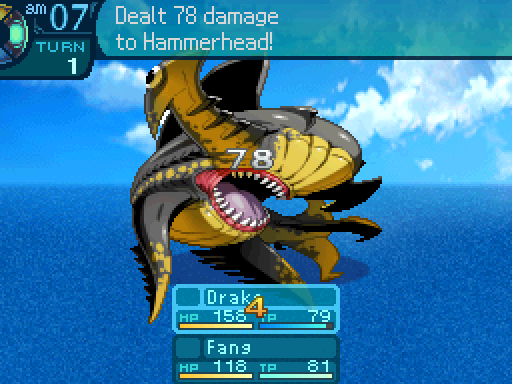
Hammerhead is quite frankly, a pushover. There's nothing really special about this boss. I think these Sea Quests should have been swapped with Ayutthaya's Sea Quests (with some stat adjustments), because those were tougher to deal with, since the multiple waves of enemies wore you down. You really shouldn't have any trouble with any of these Sea Quests since the NPCs are reasonably competent.


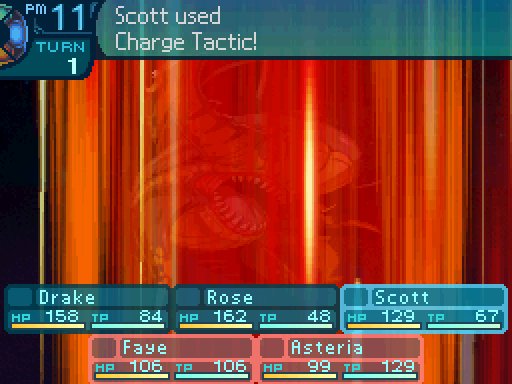
I'll show you what you're expected to do in this fight.
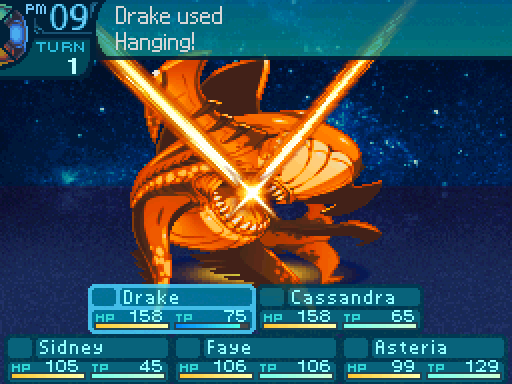
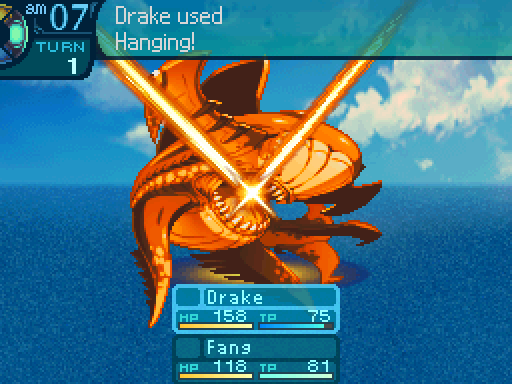
If Drake lands the head bind from hanging, Hammerhead will be completely helpless for the duration. Aside from being able to cast Shark Rush.

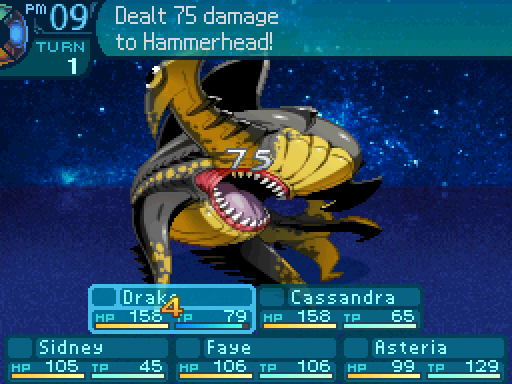
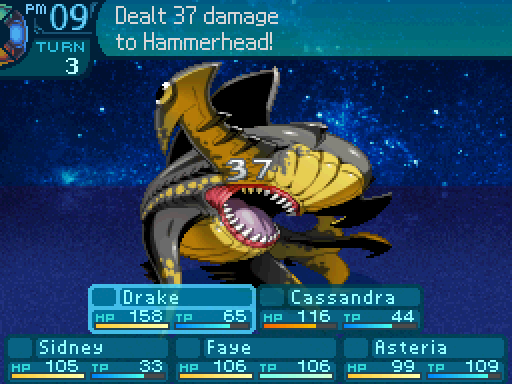
...Wow. I barely did anything there, huh?
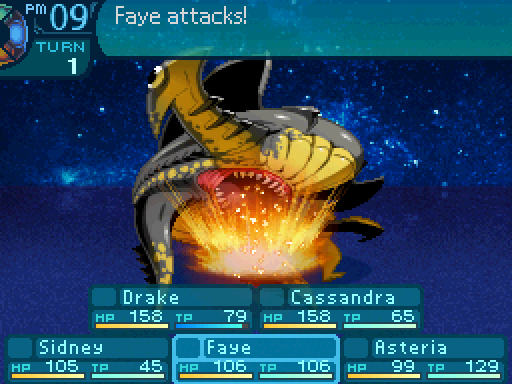
Ha! Leave the heavy hitting to the real fighters, Faye!

Sure, whatever you say, Sid.
Yoo hoo! Tasty shark food, over here!

Hammerhead will use Evil Placoid on the 1st turn, and then on every turn that's a multiple of 5. It's the first boss to follow that sort of attack pattern, and it's a very common attack pattern for bosses to follow in this series in general. Later bosses within this game will use deadlier attacks instead when following that pattern.
Accumulating energy...
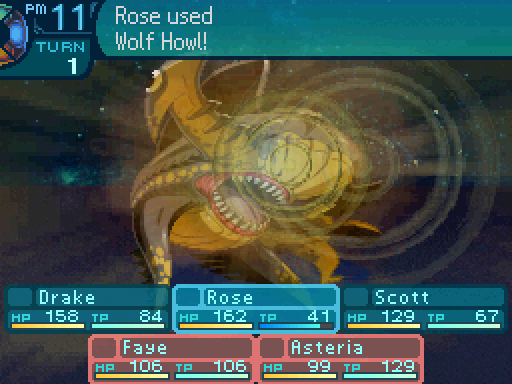
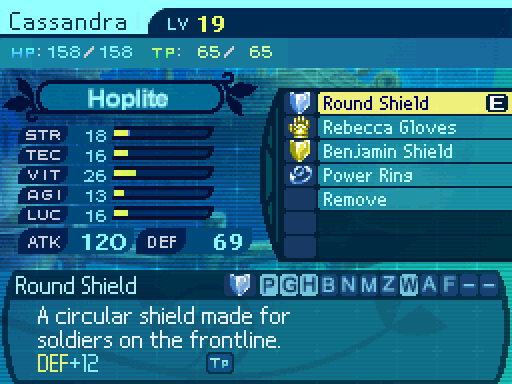
I'm going to have Cassandra keep Drake alive.

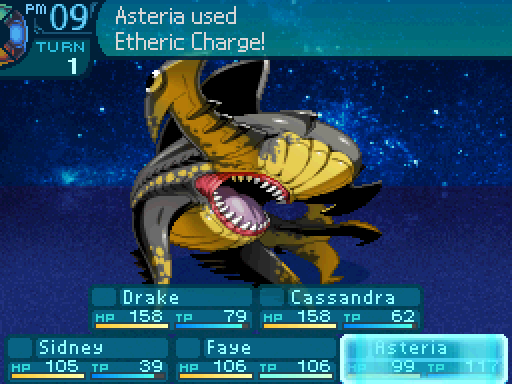
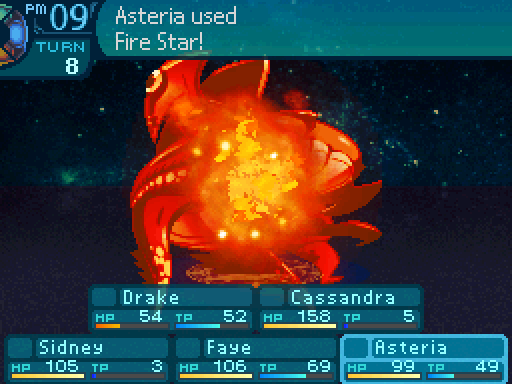
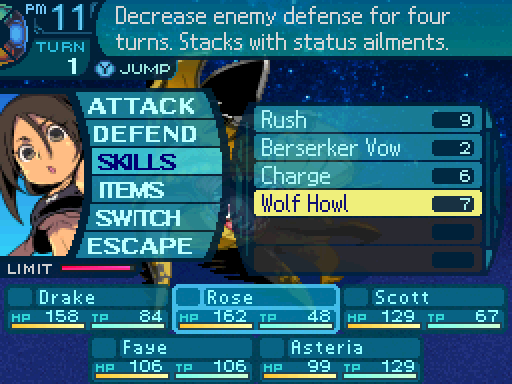
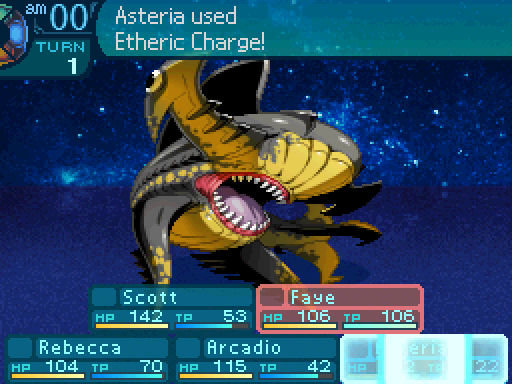
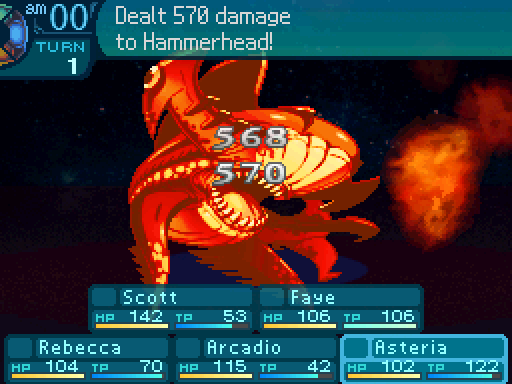
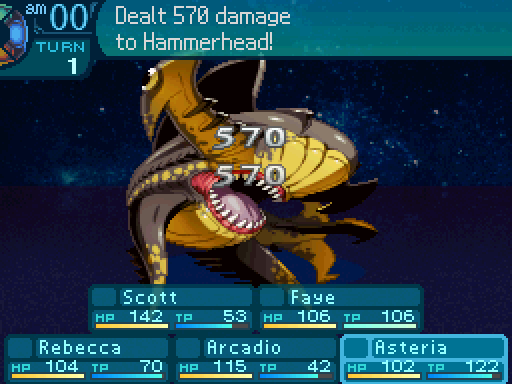
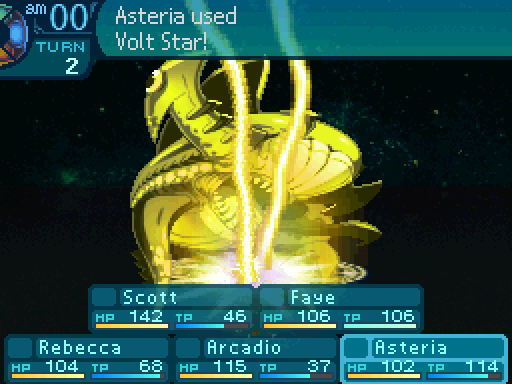
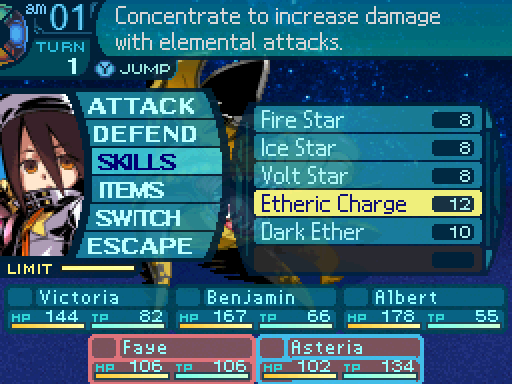
And Asteria's gonna be alternating between Etheric Charge and using a Star, since that increases her damage output by 50%.

Got him that time!
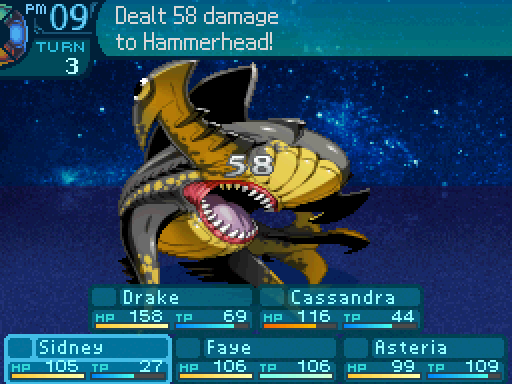
I barely felt that.

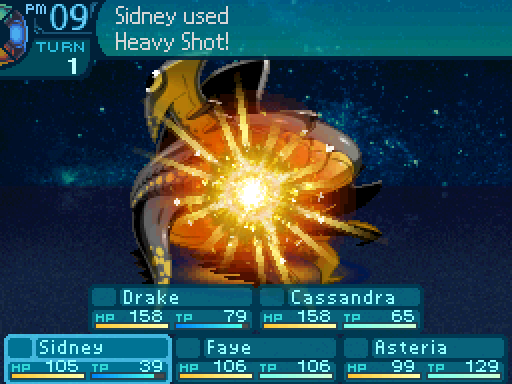
Fire at will!


Time to make things go by faster.

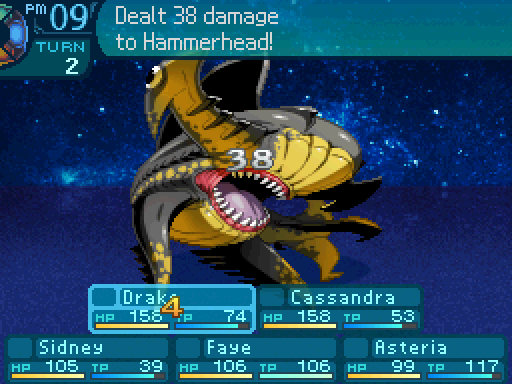
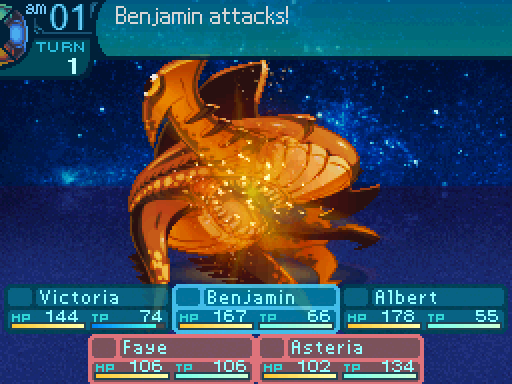
You know the drill, attack!

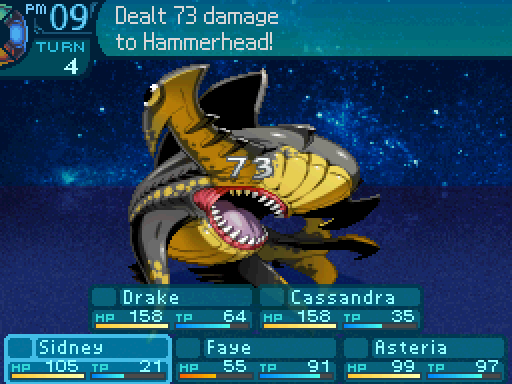

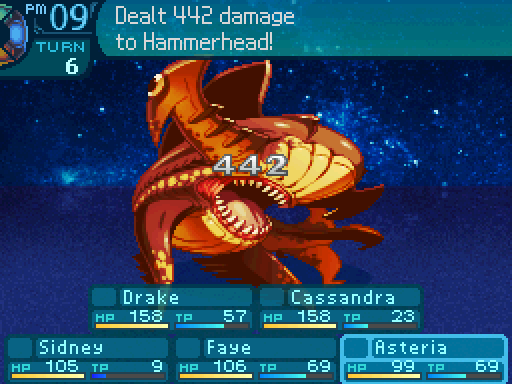
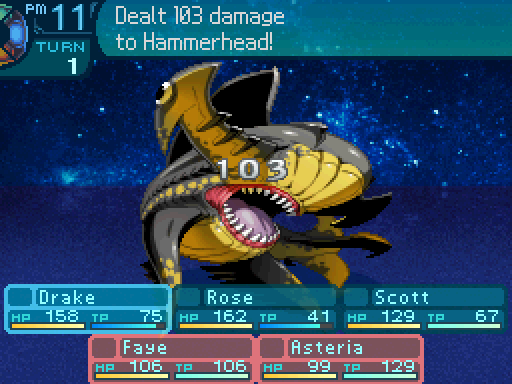
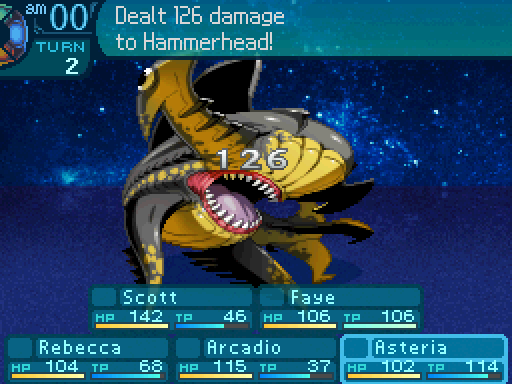
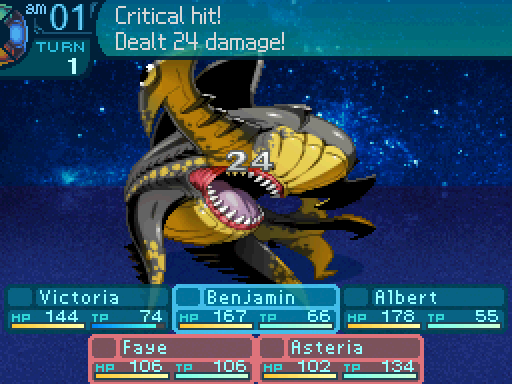
Now that is a lot of damage.

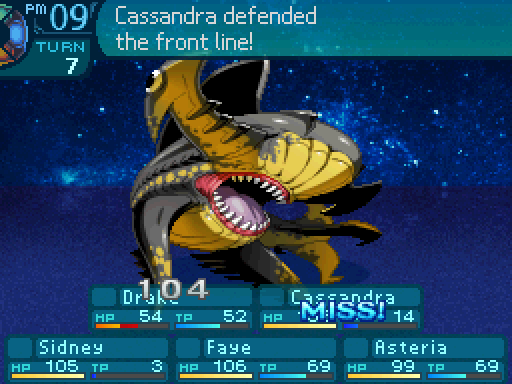
And Cassandra is shrugging off every hit. Hammerhead can't do anything to her.

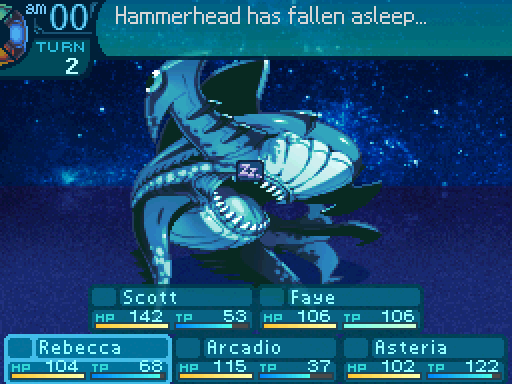
Blinding Hammerhead also makes the fight a lot easier. Its attacks have the standard 99% hit rate, but being able to dodge its attacks 2/3s of the time really helps.
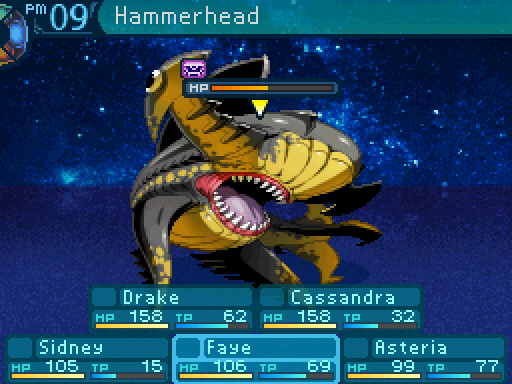
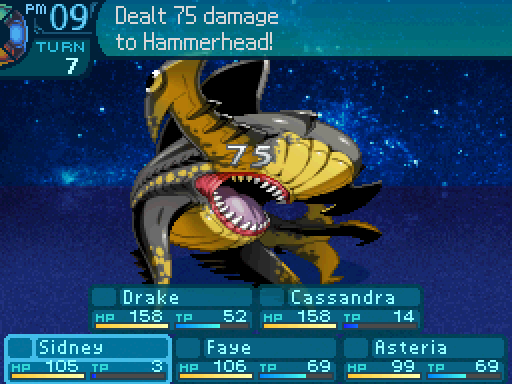
When Hammerhead's HP drops below 76%, its AI changes.


I don't like the looks of that.
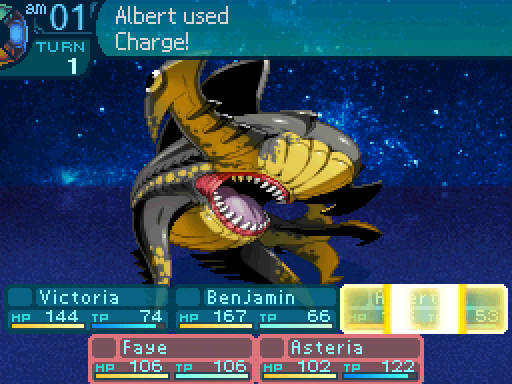
Charge: Uses the Head. Doubles the damage output of Hammerhead's next physical attack. Has an action speed modifier of +0.
It'll start using Charge. If you see it do that, and its not Blinded or has its head bound, defend. Unless it does that like on turn 4 or 9 or something. In which case the charge will end up being wasted.
As Hammerhead's HP gets lower, it'll get more aggressive and use Charge a lot more often. Once it gets below 26% of his HP, it'll stop using Evil Placoid altogether, and will just try to attack you.


Oh, and head binds do have a side effect. In the first two games, it lowered the victim's accuracy by a certain amount. That's not quite the case anymore, now they halve the victim's TEC stat, which has a small effect on accuracy, but that's no longer the main effect. Halving the TEC stat may sound incredibly pointless, since TEC attacks tend to use the head already, but the TEC stat also decreases damage taken from TEC attacks. (If you've played Pokemon RBY, it's like the Special stat.) How big of a difference can this make?

You're fin-ished!


It can make a very significant difference.

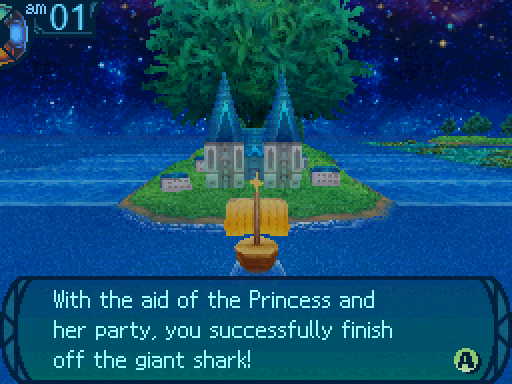
This shark will no longer be a threat to Ayutthaya. Your party and the client wish each other good luck before setting sail back to port.

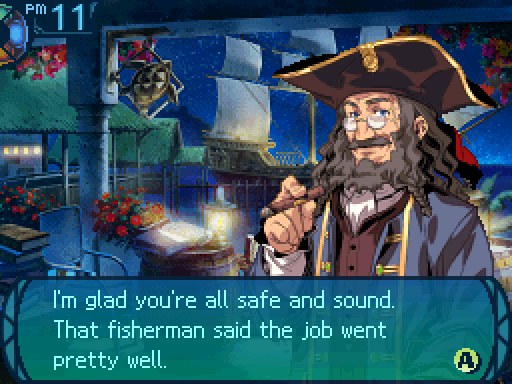
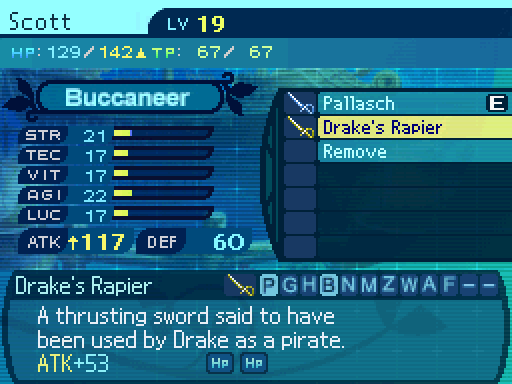
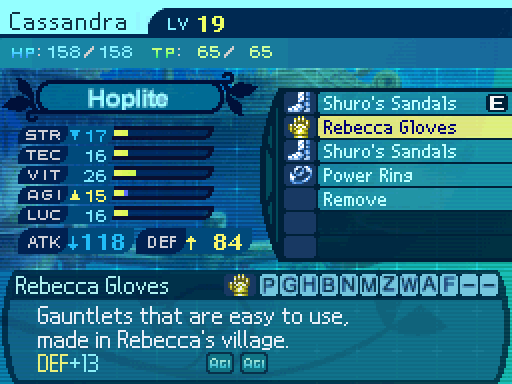
 Thanks to you, the distance from Armoroad to Ayutthaya will feel that much shorter. And hey, if they share their ship construction expertise, you may be in for more comfortable voyages. ...Which reminds me, this came in from Ayutthaya. Try to make good use of it in your adventures.
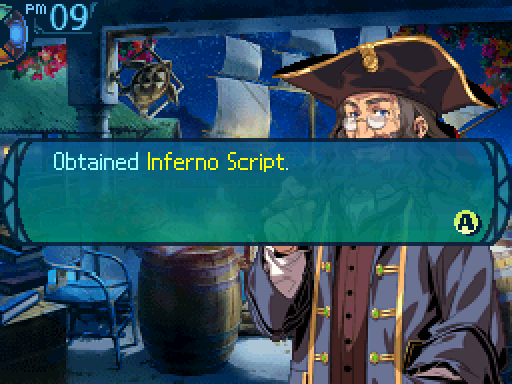
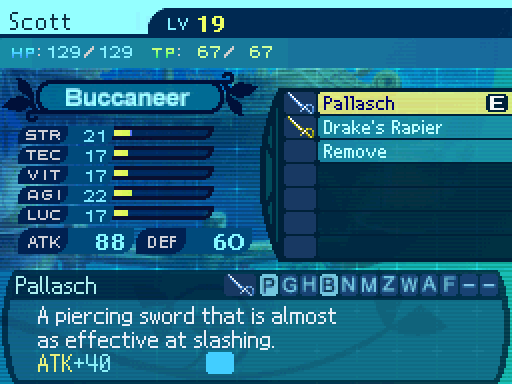
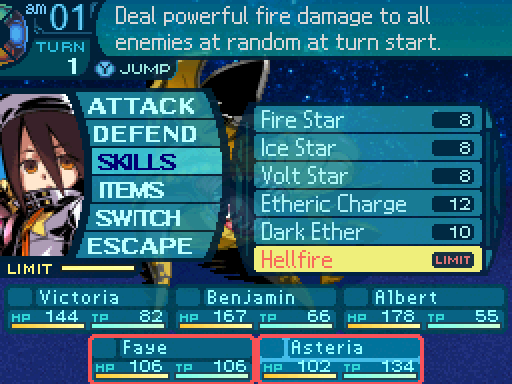
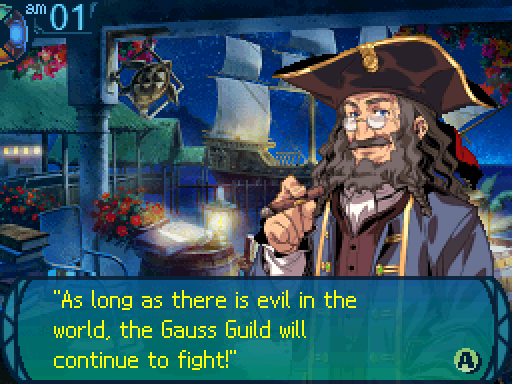
 This grants us the Hellfire Limit. It's one of the first things that lets us break the game wide open. It's incredibly overpowered at this point in the game, and I'm surprised they gave it to you so early.
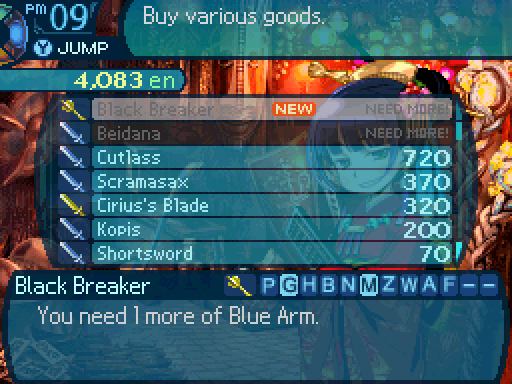
The Hammer Skull unlocks a Club that we can't buy, since we also need a rare drop to unlock it.

For the rematch, I'll be going with a bit of a different party to help showcase how overpowered Hellfire is.

And here's yet another typo. Hellfire actually goes at the end of the turn, not at the start.

And here's the Limit setup.
 Video: Total Annihilation
Oh by the way, the rest of the Sea Quests here are compiled into this video.
 Oh great, it's back for more.
 That's just fine by me!
Don't worry. If all goes well, we should be able to drive it off more quickly this time.

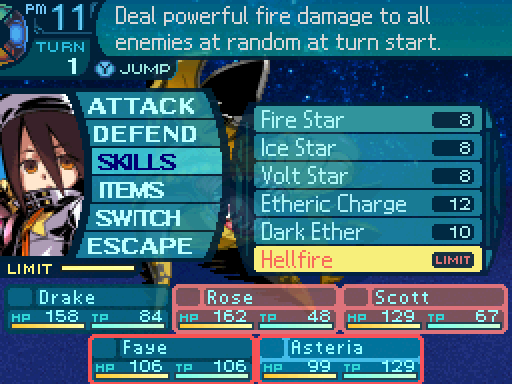
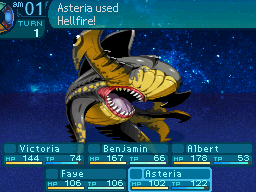
Hellfire is a random target attack that hits from 3 to 5 times, and deals 65% TEC-based Fire damage per hit. It runs off of the average TEC stat between the users, so you want to have party members with high TEC stats to use this. Random target attacks hit enemies randomly, but they can hit the same enemy more than once. So if there's only one enemy in the fight, they can deal a lot of damage. Oh, but that's not what makes Hellfire so overpowered, even though it's an already potent attack from what I just described.
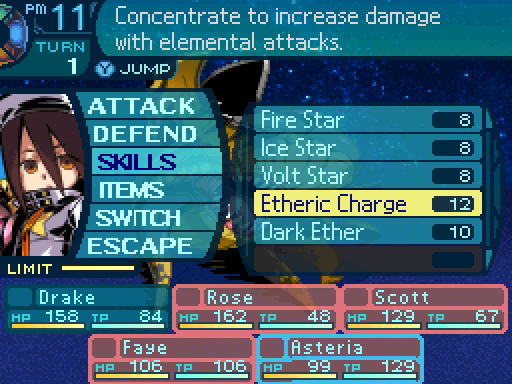
What makes it so overpowered is that it works with Etheric Charge!
AWOOOO!

Here's a blade in your eye!


Aw, what's the matter? Can't do anything with that hole in your skull? Ha ha ha!
Oh this is gonna be brutal.


Unleashing in 3... 2... 1!

BURN TO ASHES!

Dang. That's just. Wow.
...How the hell am I supposed to surpass that?
Asteria gets a well deserved level-up. Hellfire going last is a good thing, since you can have a Zodiac launch a Etheric Charged Hellfire immediately, instead of having to wait 2 turns, like with a Gladiator's Charge and a physical Limit.

Man, for a former pirate, he sure is a gentleman. He must’ve really been something back in the day... And this is what he left behind for you. He hoped it would help make the future brighter for you guys.

The Harbormaster just leaves out the last two sentences if you already got the reward.
A very nice upgrade for Scott, as he'll also appreciate the added 10% max HP boost. Onto other Sea Quests.
I'm going back to the party that the thread voted for.

Once again, I'm using Hellfire for this one.


Just then, you spot a gigantic dorsal fin portruding from the water as it circles your ship! This must be the large shark that represents the final ordeal in the ritual of adulthood! The two nod to each other silently before surging forth to challenge the shark and prove their bravery!
Yeesh, what is it with these sea monsters not giving up?
As long as I get to roast its butt again, that's fine with me! Ready to do some more shark frying?
Affirmative! Let's go!

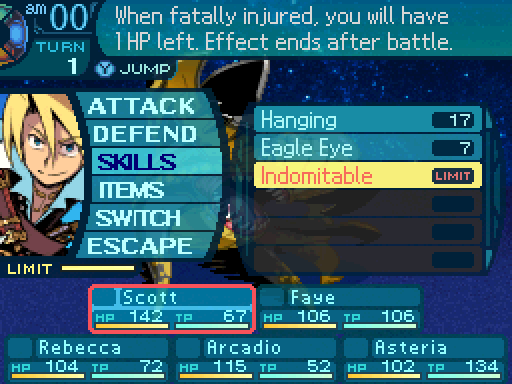
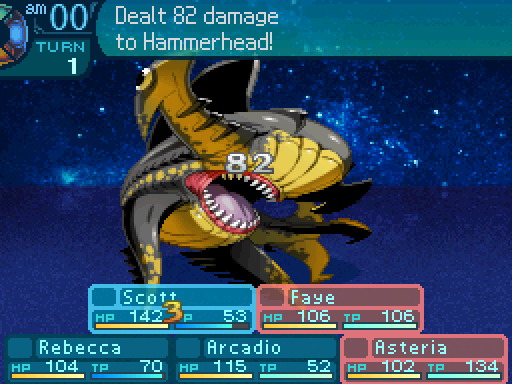
Scott isn't exactly durable, so I'm using Indomitable just in case he gets one shotted.


It's not gonna be as effective as last time, but it should still take off a huge chunk of its HP.
Nothing can take this sailor down!


Fukubari is a multi-target attack that deals incredibly subpar damage (40% to 80% from levels 1 through 10.) but has a 10% to 40% chance to inflict Sleep. It can only attack 3 different enemies. The success rate is lower than Lullaby's, but it doesn't put the user to Sleep.
Aw, I should have known the same trick wouldn't have worked twice.

Smoke Grenade is one of the few skills in the game that tries to inflict an ailment without dealing damage. What it does is it has a 30% to 80% chance to inflict Blind on all enemies from levels 1 through 5.
Ready to see some fireworks?

Geez you two, leave some for the rest of us!

And now to finish him off.

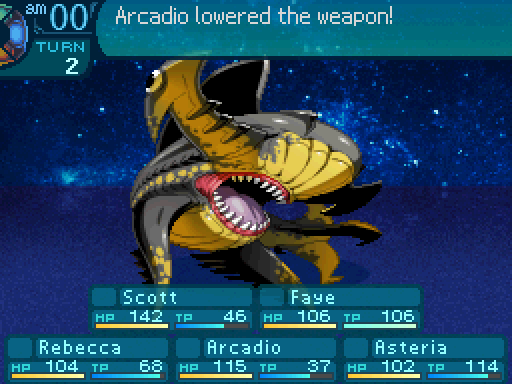
Acardio is using Snipe here. At the end of the turn, if anything is inflicted with a status effect, he'll shoot at them. If not, he'll just put the crossbow down and do nothing.

You didn't need that.
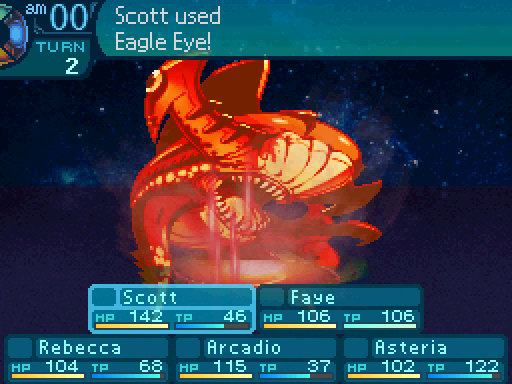
What Scott just did here was dispel Hammerhead's defense buff. Buffs can be canceled out by debuffs of the same type, no matter how strong they are. Likewise, debuffs can be dispelled with buffs of the same type, no matter how strong either of them are.

And this is what happens if there's no valid target for Snipe.

I'm fintastic!
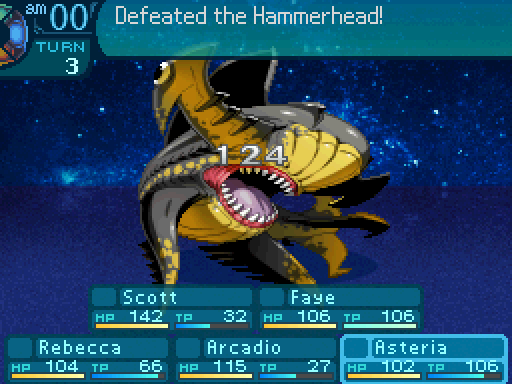
If you're concerned that I missed out on a lot of the fight, don't be. There's really no special strategies you have to employ. Hammerhead is so basic, and there's not a whole lot that you have to do. Just let the NPCs do their thing, defend if it uses Charge, and just whittle it down.
Though they rejoice innocently in their victory, the two already seem more mature than when you set sail. In any case, they were able to complete the ritual of adulthood! As they wave to the port town’s dwellers who are cheering them on, you set sail for the ocean city.


So they put in this request because they couldn’t do it alone. Things are pretty convenient these days. Those two told me to give this to you. It’s supposedly in commemoration of your meeting.

If you already have this, his last line changes to this:
Thank you for helping out as you always do. Keep up the good work, good luck out in the sea.
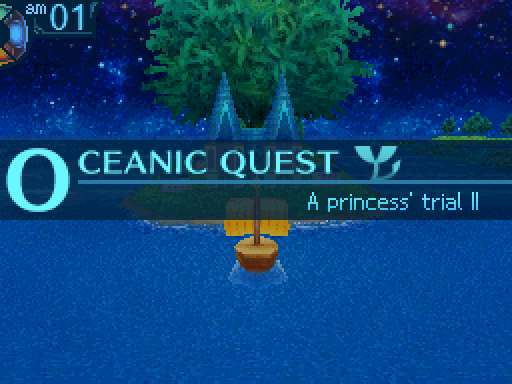
Could be decent on a Ninja. Now let's do the last Sea Quest.
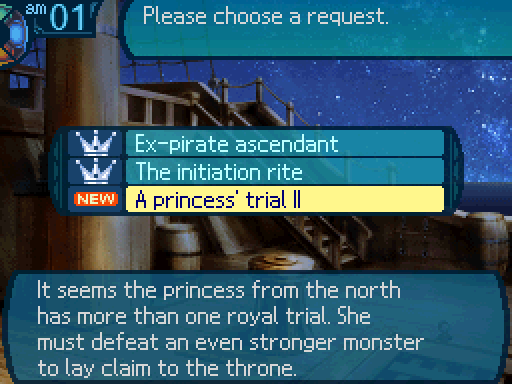


This is gonna be a short one.

Just then, you spot a gigantic dorsal fin portruding from the water as it circles your ship! There’s no mistaking it, this is the behemoth shark terrorizing Ayutthaya. As you all draw your weapons in preparation for battle, the shark suddenly jumps out of the waves!
We know how this whole thing is gonna go down. Let's just get this over with!

The strategy for this fight is to let the NPCs do their thing, and to bring some offense so you can take Hammerhead down before Victoria and her crew get completely worn down. Which isn't difficult to pull off.


I lava good fight. 
Why do you do this to me?

Or you can just obliterate it with Hellfire.
Upon confirming that, the Princess nods to her two subjects and they wave a flag toward Ayutthaya. As your ship sets sail towards the ocean city, the flag bearing her kingdom’s emblem flaps proudly...

Helping the weak and crushing the oppressive... It seems she truly understands her duties as a ruler. Ah, and this is for you from her subjects. They hoped that this would repay you for your kindness.

If you already have Benjamin's Shield, his last line changes to this:
...Well done. But the sea is vast, so don’t let it go to your heads. I hope you’ll keep doing your best.

A nice shield upgrade for Cassandra. Now there's a couple of things left to tie up. Such as turning in the quests that were finished two updates ago.

 Oh, it is you who are back! And you have the Thick Throat! Well doings! Hmm... I’ve never touched a raw Thick Throat before. It is an interesting texture, yes? Well! I will be making sure to deliver this to the clinic. Here is your reward, as promised! I am looking forward to you help later!

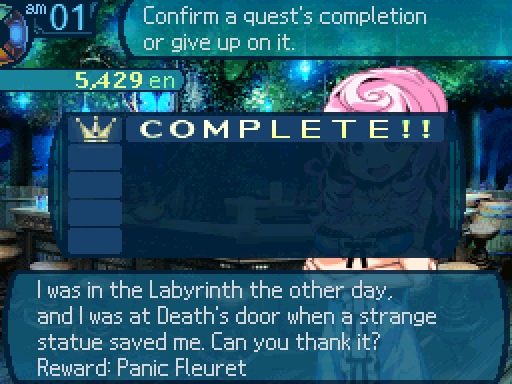
Ah, you are back! Hello! Did you get the job done?
Yes. The statue actually healed up our injuries as thanks. Who knows what other powers it has.
...Huh? You say the statue has mysterious powers?


Really?
It's true! The statue really did heal us!
Well, it looks like Swallow’s found someone to believe her nutty story. She will be happy. This request was truly a case of "What goes around comes around," right? Well, here is your reward for what you did! Thank you!
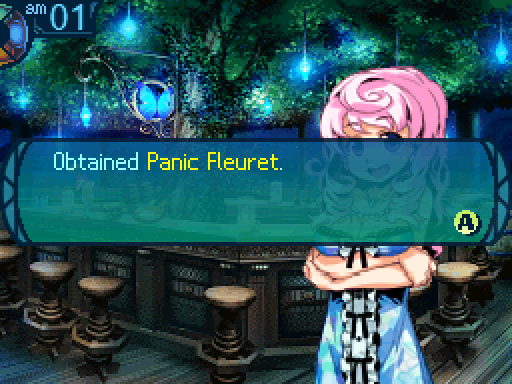

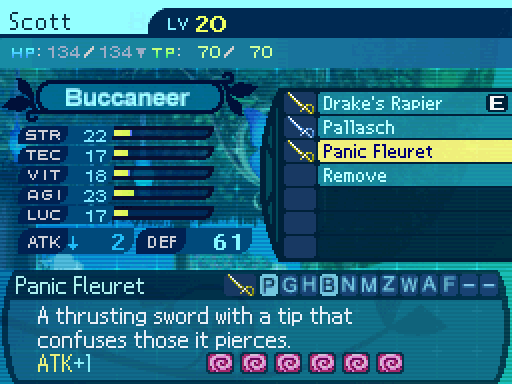
The Panic Fleuret gives regular attacks an 18% chance to inflict Confusion. Unfortunately, the only classes that can make use of that are the Prince/ss and the Buccaneer. You might think it would be an okay weapon for a Prince/ss to use since they aren't really a dedicated attacker. But unfortunately, this weapon is far worse than it appears. Most weapons in this game come with a base accuracy of 98% (Aside from your starting Dagger, which has 100% base accuracy for some reason.) However a few select weapons, which are all limited to the ailment weapons, have a base accuracy of only 50%. In short, you're not just likely to miss the infliction due to the low rate, but also because you're missing your pathetic attacks half the time. Needless to say this weapon is so utterly terrible that you shouldn't bother with it unless you're that desperate for a source of Confusion.
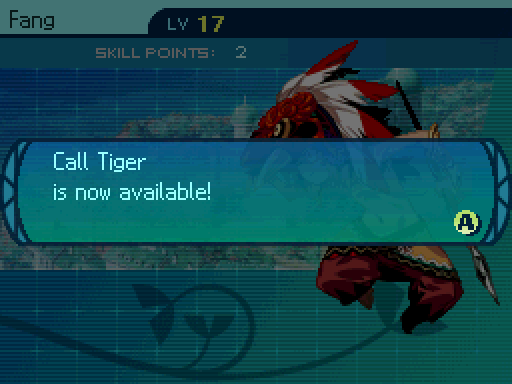
There's actually one last thing I want to cover. Hammerhead's Gold Drop. It's killing Hammerhead with Instant Death, but it has a 1% resistance to it, meaning that anything less than a 100% infliction chance will be rounded down to 0%, and not have any effect. The only classes that can inflict Instant Death are the Ninja and the Wildling. The Ninja has the Kubikiri passive, which has a 7% to 20% chance to make regular attacks inflict Instant Death from levels 1 through 10. Yeah, not gonna work. Wildlings have the Call Tiger ability, which only has a 5% to 20% chance to inflict Instant Death from levels 1 through 10. However, the Wildling's Wild Mastery skill does ignore the 1% Instant Death resistance. But don't get too excited, because Atlus did account for that.
You see, there's a 2nd factor called Lethal Resistance, which was specifically implemented to deal with Wild Mastery. It only applies to Instant Death and Petrification, but Wildlings can't inflict Petrification, so that's a moot point. Unlike the first two games, where almost every boss had immunity to Instant Death, there are only 2 bosses in the whole game that are flat out immune to Instant Death. The only enemies that have Lethal Resistance are the ones who have a 1% resistance to Instant Death and Petrification, so this doesn't affect stuff like random encounters and FOEs. However, not every enemy with a 1% resistance has Lethal Resistance. The Sea Lobsters and Red Puffers in Batavia's Sea Quests have a 1% resistance to the ailment, but Call Tiger will have the 15% chance to instantly kill them thanks to Wild Mastery. This is only limited to bosses and Pasarans. So if you manage to succeed at the 1% roll, or bypass it entirely, Lethal Resistance will force another dice roll on you, giving you a 10%, 20%, 30%, or a 50% chance to succeed at the roll depending on the boss. Succeed at the Lethal Resistance roll, and you'll instantly kill the boss. If not, the attempt fails. So effectively, the 15% chance from Wild Mastery would get reduced to 1.5%, 3%, 4.5%, or 7.5% depending on the boss. Hammerhead has a Lethal Resistance of 50%, so you have a 7.5% chance to kill it instantly with a tiger. It's theoretically possible to kill nearly all the bosses with the Wildling's Tiger, but it's a fairly slim chance overall, so I really wouldn't bother with that. It's just an interesting curiosity if anything.
Still, a 7.5% chance to instantly kill Hammerhead isn't that great. Thankfully there is a better way to pull it off. One of the unlockable classes has an ability that will instantly kill its target once the enemy's HP drops below a certain threshold. Said ability completely ignores any resistances to Instant Death, including Lethal Resistance. I'll show off how to get the Gold Drop properly, but if you're impatient, I can show you how to get it right now. First things first, you're gonna need a Wildling with Call Tiger.
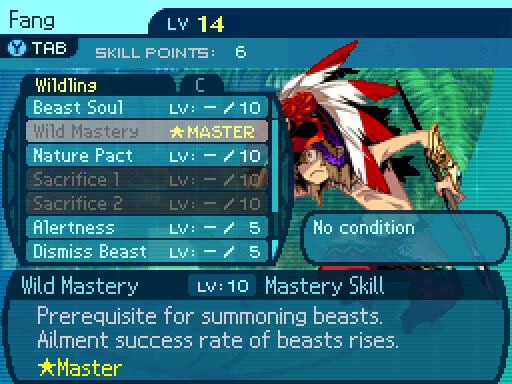
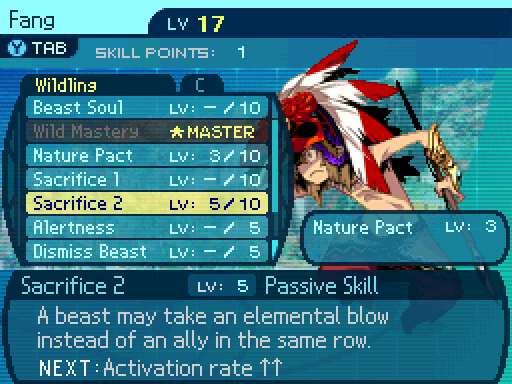
One of the prerequisites is maxing out Wild Mastery.

 If you really want to do that for me, I guess I can't stop you.
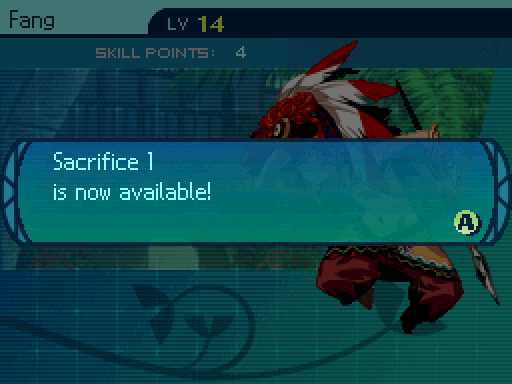
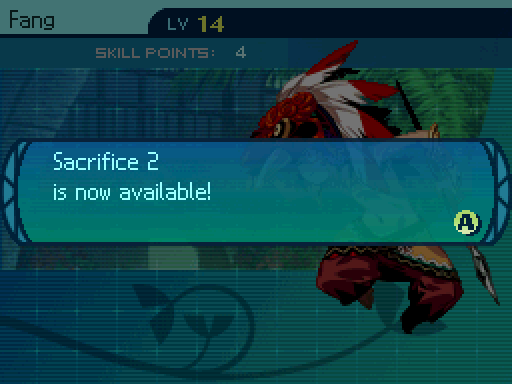
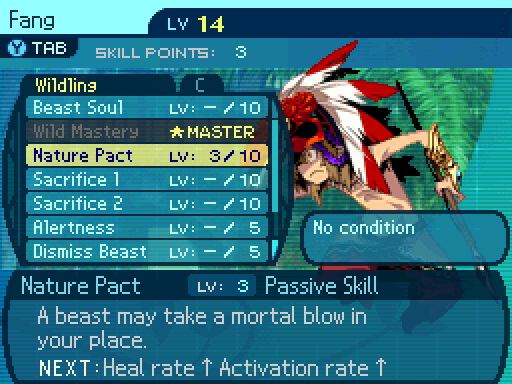
Nature Pact itself isn't a requirement for Call Tiger, but leveling up to 3 unlocks Sacrifice 2, which is needed to unlock it. What Nature Pact does is that if a Wildling is about to die, any beasts that are out in battle have a chance to take the mortal blow in their place, and this will kill them no matter how much HP they have. After that, the Wildling gets healed for a fixed amount. The chance for a beast to take the blow ranges from 10% to 50% from levels 1 through 10, and the heal ranges from 10 to 200 HP from levels 1 through 9. At level 10, the Wildling will heal fully if this passive procs.

Wait, not just me? You wanna protect the others too? Um, okay. If you really want to.
The Sacrifice skills enables your beasts to act like meatshields. Sacrifice 2 gives them a 10% to 40% chance to take an elemental attack in someone else's place if in they're in the same row and get targeted with one. Sacrifice 1 is the physical variant, and scales in the same way.

Tiger fri-
Hang on, I'll wake him up.
Call Tiger is a bit of an unusual skill. On the initial cast, it summons a Tiger, who will try to instantly kill everything, and has a 5% to 20% chance of success. The Tiger has a 150% stat multiplier, the highest of any beast, but its AI attacks operate differently. Instead of casting the instant death attack again, the Tiger will wait for an attack to hit it, and then it will counterattack with a composite Slash + Strike + Pierce attack that deals 120% to 200% damage depending on the skill level. The counterattack has no additional effects, so if you want it to use the instant death attack again, you have to cast Call Tiger again. Its base HP ranges from 160 to 320 depending on the skill level. Okay, now that everything is set up, let's pull off the exploit.
 Video: Hammerhead RNG exploit
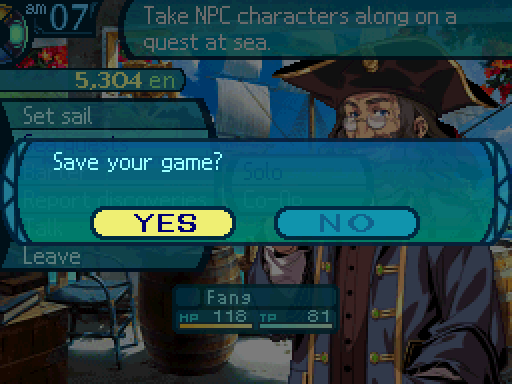

Step 1: Go to Inver Port and save your game.

Step 2: Do a soft reset.
Saving again isn't necessary.
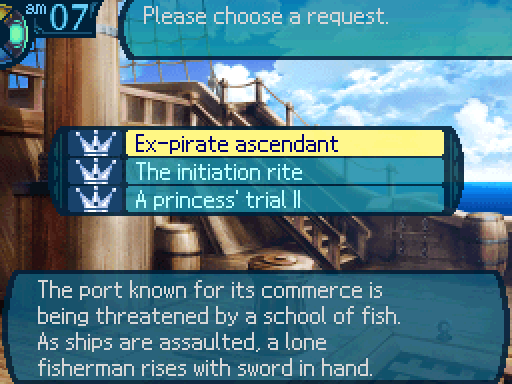
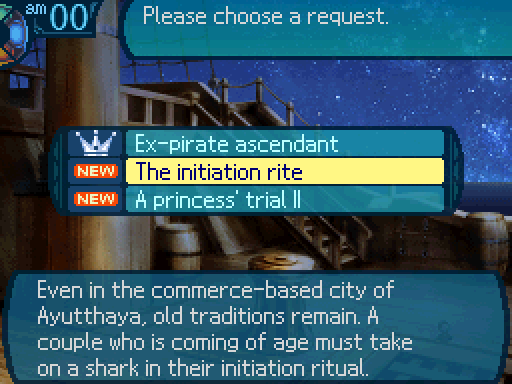
Step 3: Choose Ex-pirate ascendant.

 Step 4: Place the Wildling, and only the Wildling in that exact same slot. This won't work if you don't do this.

You don't need to equip any Limits.

Step 5: Use a Medica (Or any single use consumable) on Drake.
I'll warn you right now, if everything doesn't play out in the exact same way that I've shown, Drake using the same abilities, dealing out the same amount of damage, then you screwed up somewhere.

Step 6: Use Call Tiger.


RIP. Oh, and if you want, you can actually extend the exploit by doing the same Sea Quest again immediately, and then having your Wildling immediately use Call Tiger again. That'll instantly kill it, and then you'll get another Gray Shield. And this can be repeated as much as you want. Until your Wildling gets faster than Drake anyways.
So why is this possible? Well, all the Etrian Odyssey games set the seed for the RNG to 1192 when you soft reset the game. This is actually by design, so if you take the exact same actions, the exact same outcomes will happen. This also allows you to manipulate the RNG and well, pretty much a lot of things in the game such as item drops if you know what you're doing. Heck, you can even make it so that Call Tiger will kill the Stratum bosses on the first cast. However, the encounter rate isn't affected by soft resets so that will mess things up. But you don't have to go through any dungeon to access the Sea Quests. You just have to sift through some menus, and because of that, a whole bunch of Sea Quest exploits were discovered. If you know how to manipulate the RNG, you can bend the games to your will. I'll be showcasing some of the more well known exploits, but I won't be abusing them, since that would be incredibly cheap and won't be fun for anybody.

The Gray Shield... unlocks a shield that we can't buy at the moment. Even though I got the drop through dirty dirty cheatingan exploit, don't worry. I'll show off the proper method to get the drop, once that becomes available.
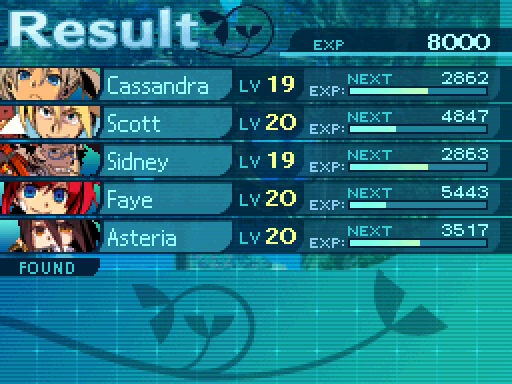
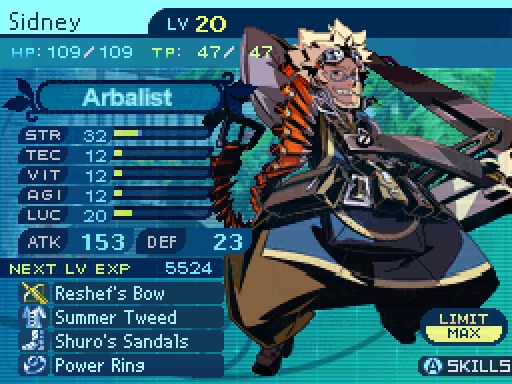
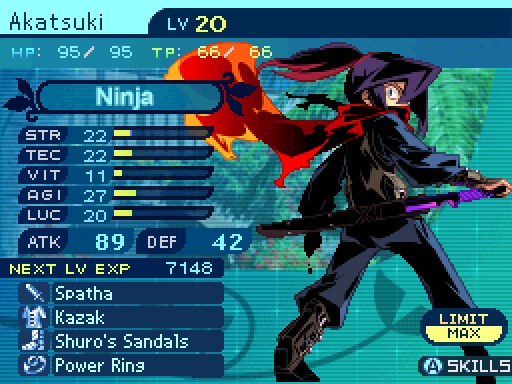
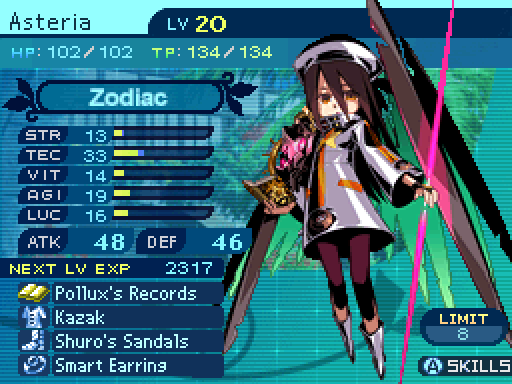
Anyways, I leveled up every guild member to 20. Let's check up on them, shall we?
So those murders have been going on for decades. We better catch her, and soon. We'll avenge everyone who fell for her trap.

Unbind now affects a row.

I knew the Labyrinth was dangerous, but I never imagined things would escalate to that level.

Antifire now decreases Fire damage by 20% for one turn.

If I see that traitor, I'll launch a few bolts into her! Can't believe she's been getting away with this for who knows how long.
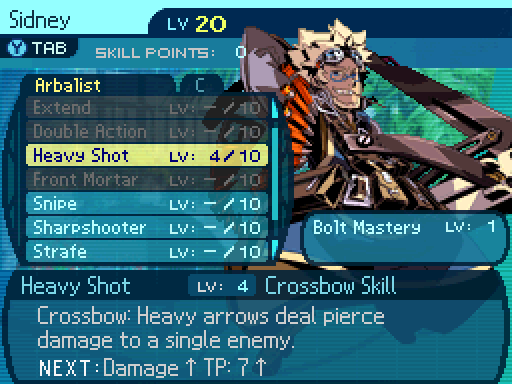
Heavy Shot now deals 150% damage.

 We were very fortunate to not share the grave site with the fallen explorers.

Izuna deals 207% damage, and has a 39% chance to Petrify an enemy.

Olympia better watch out if I run into her. I've got a new weapon, and an earful of new puns!

Ice Mastery increases Ice damage by 3%. As for why I'm leveling this up, I want Asteria to get Binary Ice by the time I reach the 3rd Stratum, which requires 5 points in Ice Mastery.

 I can't believe she had the gall to attempt to slay a queen! Wait, did the Senator say this was going on for decades? Oh god!
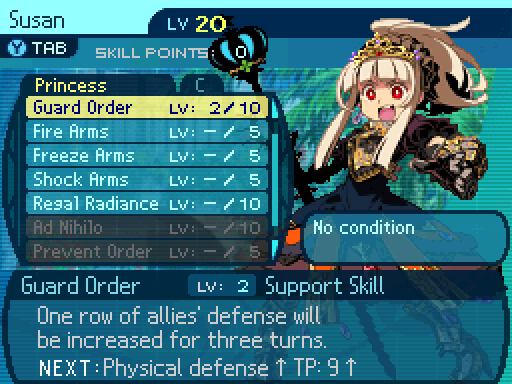
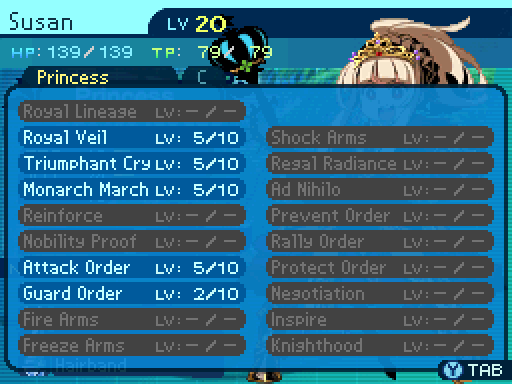
Guard Order decreases damage taken by 22%.

It's one thing if an animal wants to kill you, but another person? How sick and twisted do you have be to murder hundreds of people?
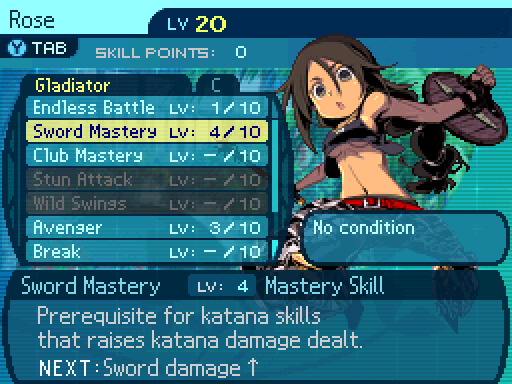
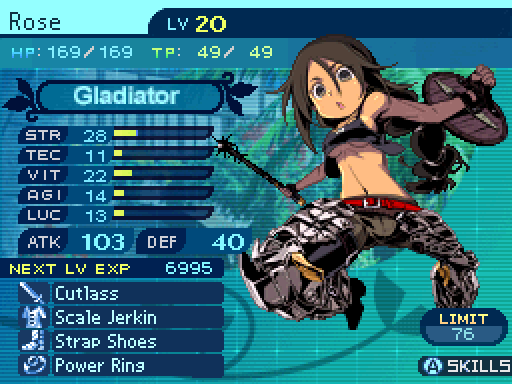
Sword Mastery increases the damage of regular attacks by 4%. I'm actually going to max this out to unlock Rose's best damage skill.


Come to think of it, how come we were the only ones to escape that? There were so many holes in that trap, now that I think about it.
Maybe ya'll just got a really lucky break or something. Don't think she could have kept that up forever without something foiling her plans along the way.
Maybe.

Eagle Eye now decreases an enemy's defense by 25%.


Don't worry, my friends will protect us! Maybe.
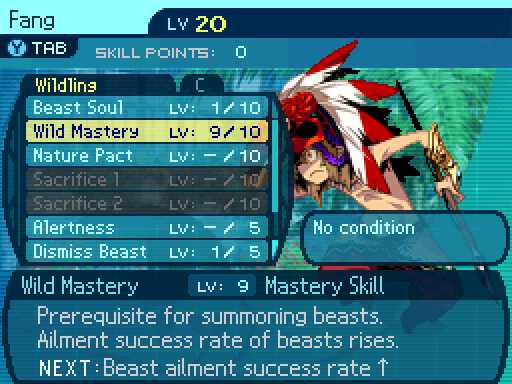
Wild Mastery now provides a 13% bonus chance to infliction rates. And yes, I reverted Fang's skillset back to what I had before doing the exploit. I'm not siccing a Tiger onto everything for the rest of the game.

 I-I don't know if I-I want to do this anymore. I mean, she should be stopped, but I don't know what I can do to help.

Keen Eye now shows all FOEs on the map for 10 steps. I'm leveling this up now, since there's a skill I want Alice to have by the 3rd Stratum.
Next time: The hunt for Olympia.