Toggle Background Color
Update 27: The North Ocean and Preparing for the 2nd Boss
 Even if I'm not good at fighting, I'm glad I can help out the guild in other ways.
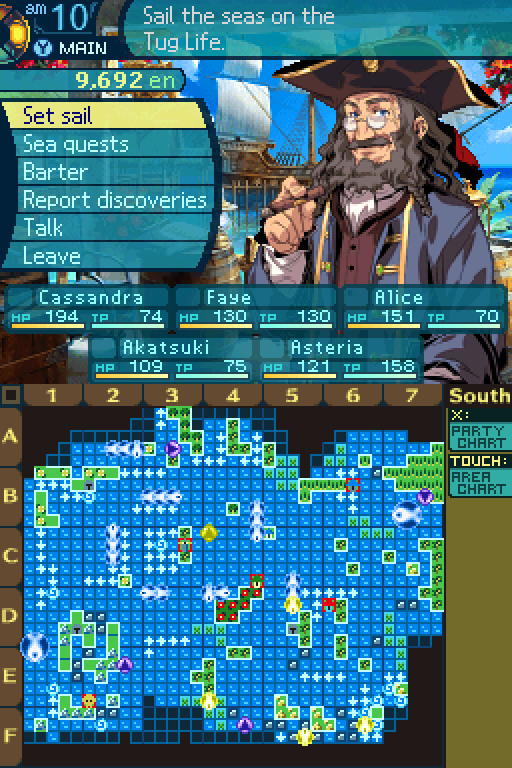
Okay, now that Tortuga-are those Tanniyn?
MINE!

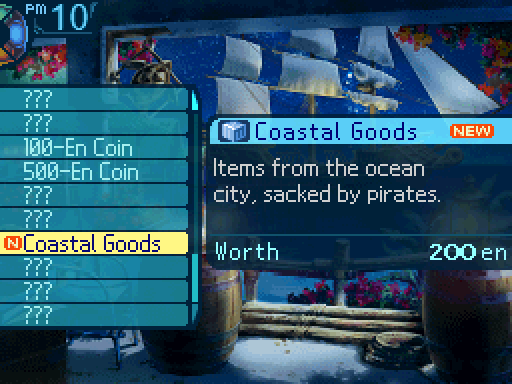
ALL MINE! Uh, oh right. Now that Tortuga Island is liberated, there's a few things that we can find there.

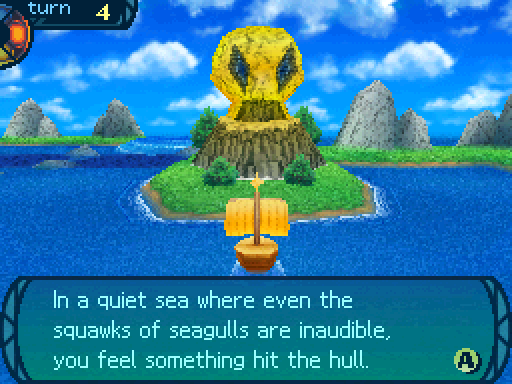
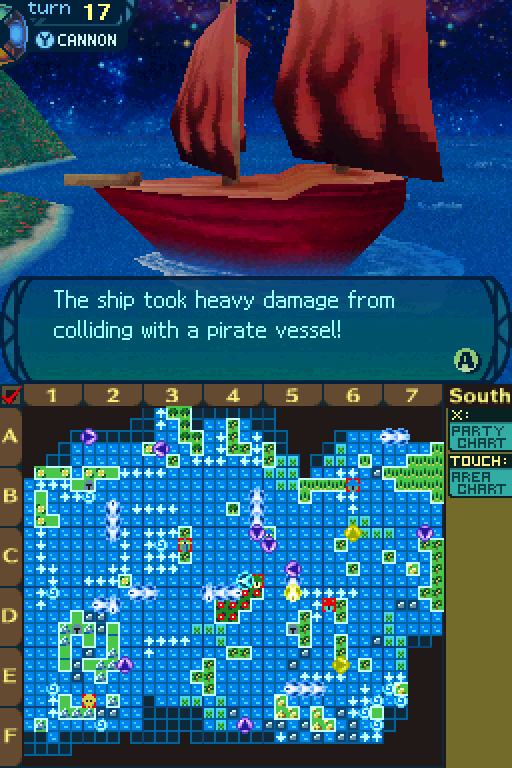
 We appear to have hit something.
 Aw crap, did I run into another reef?
Um, no. I think we ran into... a cannon? Let me see if I can get it.
Worried that you have hit a reef, you look down at the waters and find the remains of a ship. It seems part of the wreckage and the cannon were caught on the reef, causing you to run aground. Did it hit the reef and sink? Or was this the result of a losing battle...? The sunken ship’s tragic fate tugs at your heart, but you decide to salvage the cannon.
We might as well put this to good use. Hmm, I don't think we'll have to do any repairs on this. How fortunate!
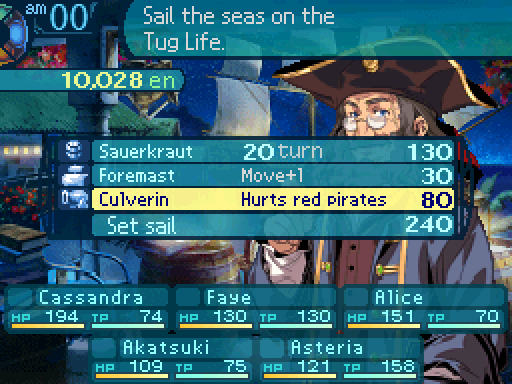
On inspecting it, you find that it is a standard Culverin Cannon, in perfectly good condition. You fit the cannon onto your ship, hoping that it will prove useful.

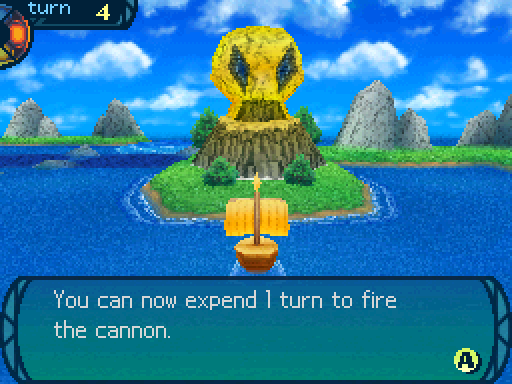
Now we have a new ship part, and a whole bunch of things opened up for us. All those pirate ships out on the sea? With the Culverin, we can now sink those and get them out of our way when sailing.

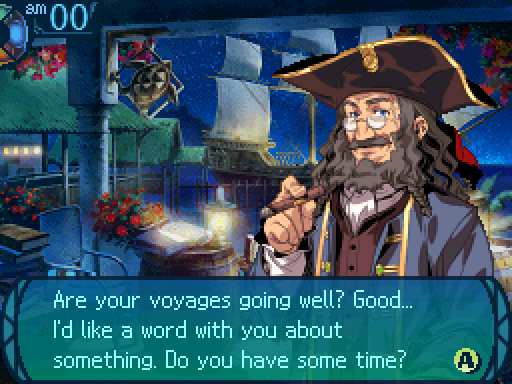
 In fact, it might even be to your benefit to hear me out… Thanks to you, trade ships are slowly filtering in... But pirates are taking advantage of that. The Senatus has stepped in to curb this pirate problem before it gets too out of hand. They have granted permission to skilled seafaring guilds to subjugate pirates on sight. This is the South Banner. With this flag hoisted, you may defeat pirates and impound their cargo. On top of the spoils you take, the Senatus will reward those who get rid of those wretched pirates. ...Perhaps you could bring back a Tattered Flag as proof of a pirate’s defeat? Just be careful when hoisting this flag. You mark yourself as much prey as hunter.

So the Tattered Flag the Harbormaster mentioned? It doesn't exist, the text was mistranslated slightly. What he actually talking about was the Torn Flag, an item you can get by sinking black pirate ships as long as the South Banner is equipped. But you can't sink those at the moment, so I don't know why he talks about it now.
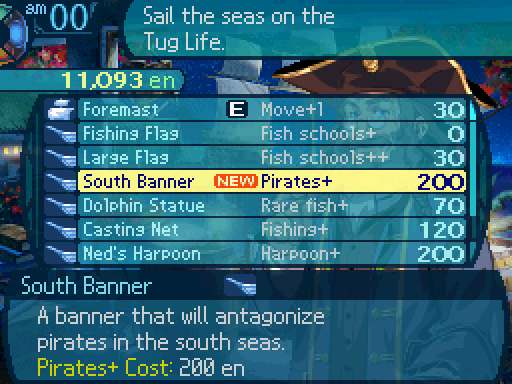
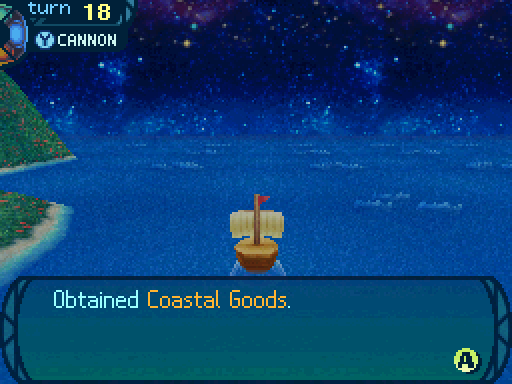
The South Banner does a couple of things. It can force a bunch of pirate ships to appear in a certain formation (you'll see this in a bit) and while this is equipped, red pirate ships will drop Coastal Goods once sunk, and black pirate ships will drop Torn Flags. This only works in the South Ocean.

With this, our ship now has a cannon we can use to fire and sink red pirate ships. But we can't do anything about black pirate ships, and it costs a turn to fire the cannon. Now let's take these ship parts out for a spin.
Okay, let's go pirate hunting!
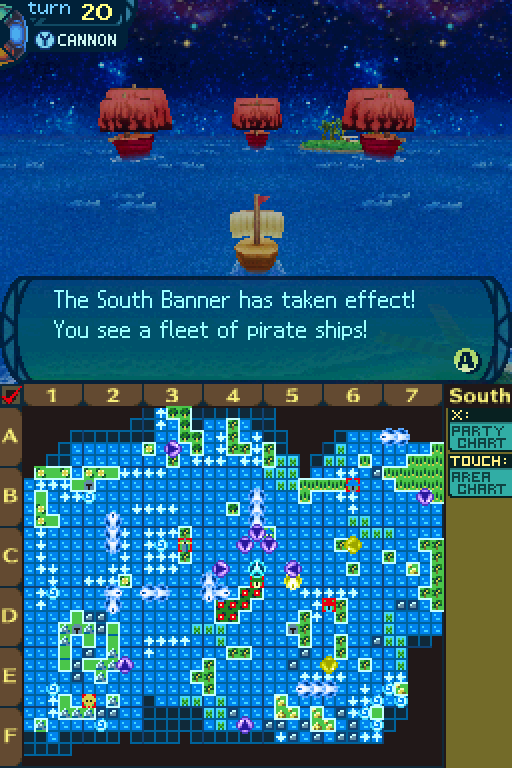


This may have been a bad idea.
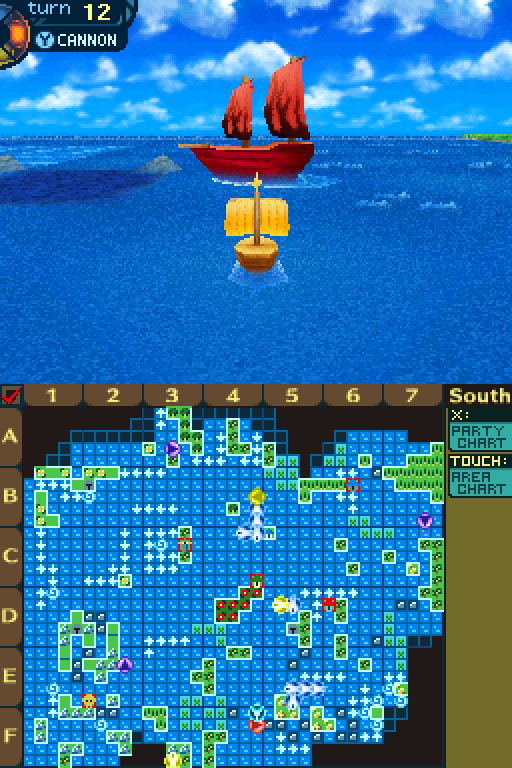
Most of the time when you have the South Banner equipped, it'll summon a bunch of pirates immediately. This is a mini-puzzle, and if you figure it out, you can make an okay amount of money. You're not required to solve these in any way.
Oops.
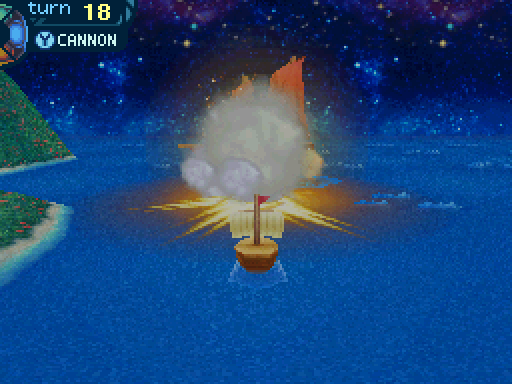
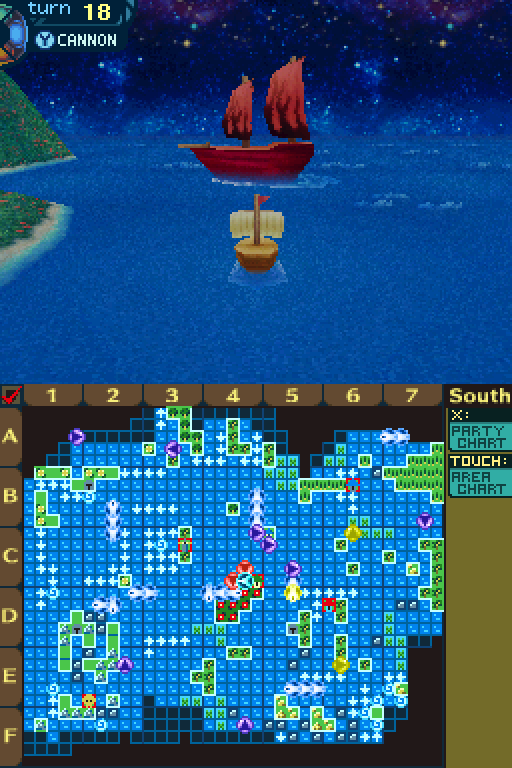
Ah well, let's take down this pirate ship.
You can actually sink the merchant ships with the cannon as well, but don't do that because you have to pay a fee if you do.
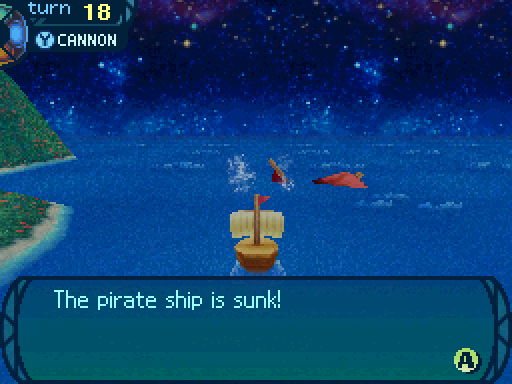
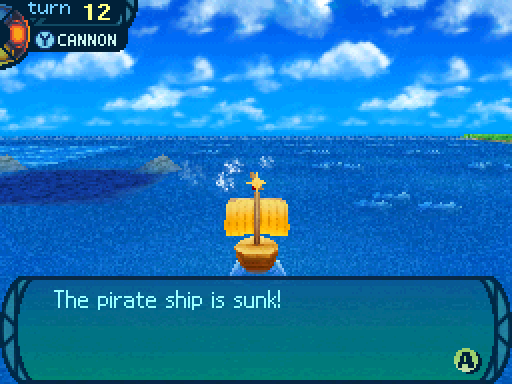
Your days of plundering the seas are over!
Yes, that's nice. But uh, you may want to look starboard.
Huh? AaaaAAHHHH!
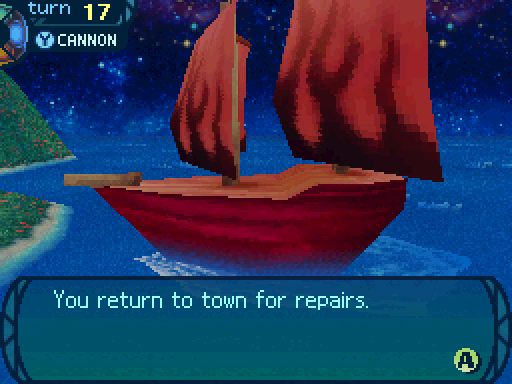
SOMEBODY SAVE US-*blub blub blub*
Faye, you shouldn't talk while you're underwate-oh son of a-*blub*
No more pirate hunting. Please.
Yeah. We're not doing that again.
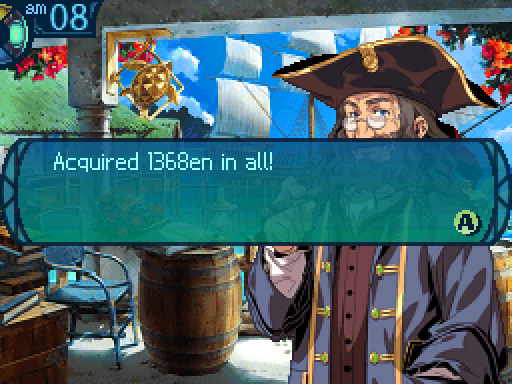
Anyways, the Coastal Goods was all that I was after. There's still more to do at Tortuga Island.
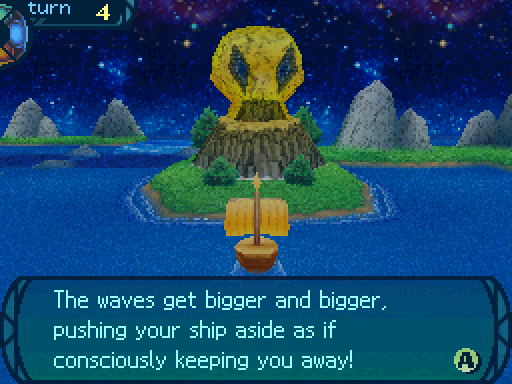
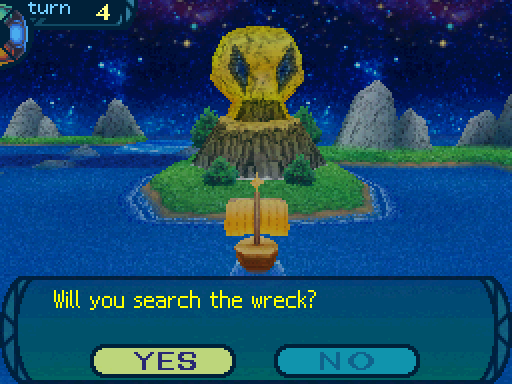
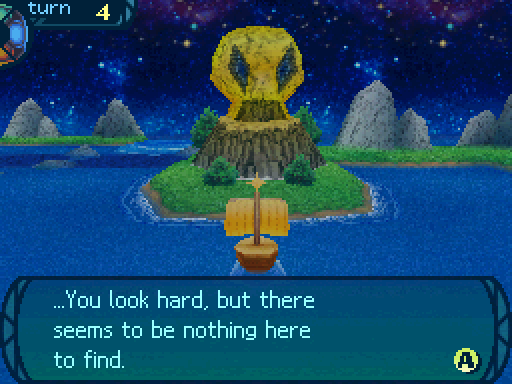
You see the wreckage of the ships that you found previously. You recall finding a cannon here... Perhaps you’ll come across something else this time. But the waves are tall and the waters shallow... You must not forget the danger present. You can investigate the wreckage or take the safer option and leave.

Hmm, there's a lot of wreckage here. Maybe we can find something else to salvage.
You carefully navigate the area while keeping your ship safe from the hazards.
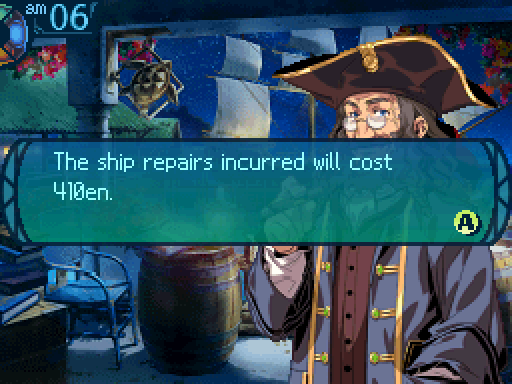
Augh, this was not what I wanted to happen!
The ship can't handle this! We must escape from the raging waves!
Your ship creaks alarmingly... You begin to fear that it may fall apart if you continue! You prudently decide to cancel your search and escape from this demonic patch of water! You manage to avoid running around on the surrounding reefs and make it back to open water. If you stay here any longer, you might not survive. You quickly decide to leave.
This is a really minor consequence, but it also means that I missed out on getting something from here, and I have to waste money to come back here for it.
It looks like the waves have calmed down. Let's try looking again.
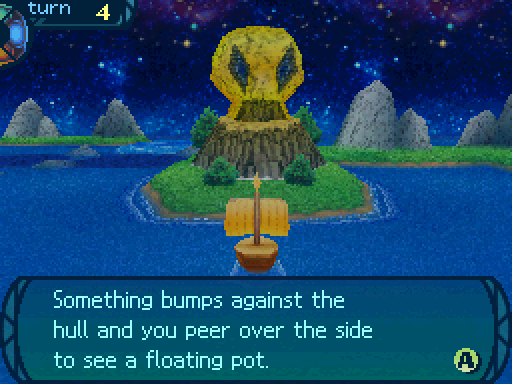
You lift it aboard, but you see that it is webbed with cracks and unusuable.
Well that was a waste of-oh?
Disappointed, you are about to toss it back overboard when a coin falls out of it! ...It is a silver coin. The pot must have been full of such coins at one point… Downhearted over the fact that you were this close to finding a fortune, you leave the area.
Uhhh, not what I wanted, but I guess this is nice.
Before you realize it, the sea begins getting rough. You decide that it is too risky to remain.
Oh come on! How do I keep getting every event but the one I want?  My luck must have been used up on all those Naval Rams.

Alice, are you sure there's something here?
I'm positive! There has to be something among all this wreckage. Oh!
Something bumps against the hull and you peer over the side to see part of a ship’s cabin...
Aha! I knew i-AAAAAHHHHH!
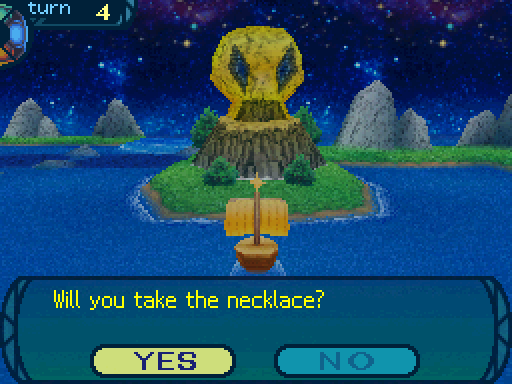
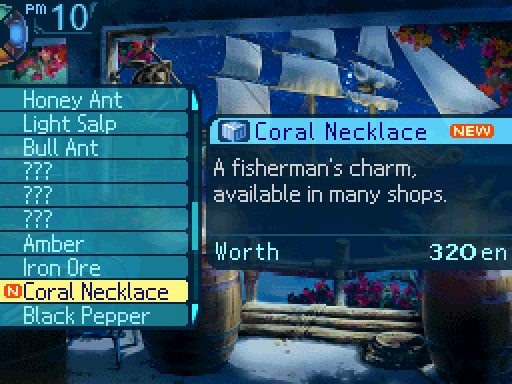
You set to hauling the wreckage up and are shocked to discover a skeleton caught in the ropes! After recovering from your brief shock, you see something shining around the skeleton’s neck. It’s a necklace made of coral, fashioned into a charm commonly used to ward off shipwrecks. You can take the necklace if you choose, or return the body to the sea untouched.
This is what I wanted.
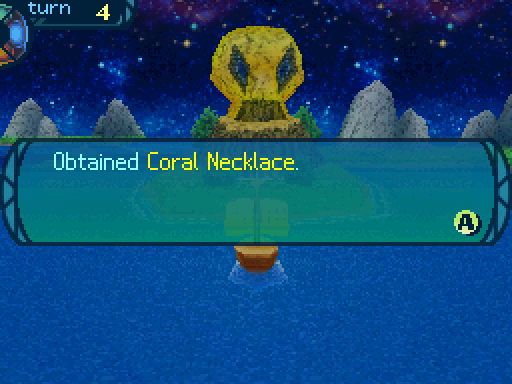
You say a quick prayer for the soul of this nameless mariner, then take the necklace. After a brief makeshift burial at sea, you turn away from the wreckage and set sail.
Okay, so the way this works is that what event you get upon investigating is random. I've listed the exact chances for each possible event occurring below below.
30% chance for nothing to happen.
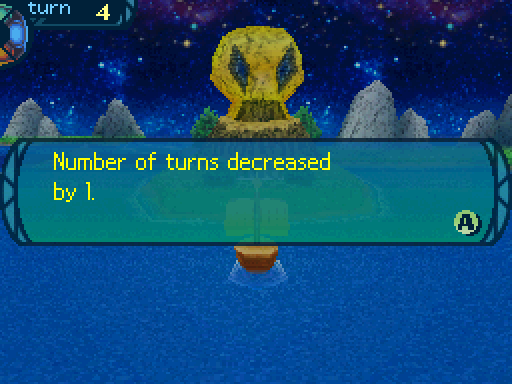
30% chance to lose 1 turn.
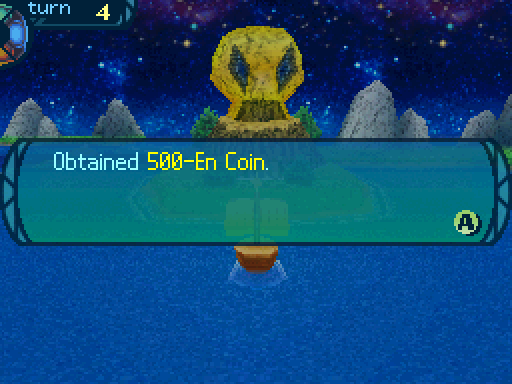
10% chance to find a 500-En Coin.
30% chance to find the Coral Necklace.
Once you get the Coral Necklace, you can't investigate Tortuga Island anymore since that's the main reward from the place. It's pretty annoying to waste some money just to get one item. But now that we have the Culverin, we can explore more of the south ocean.
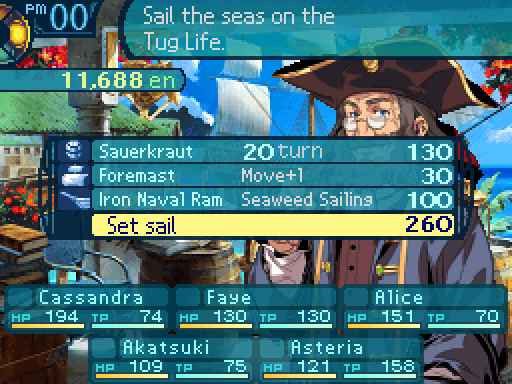
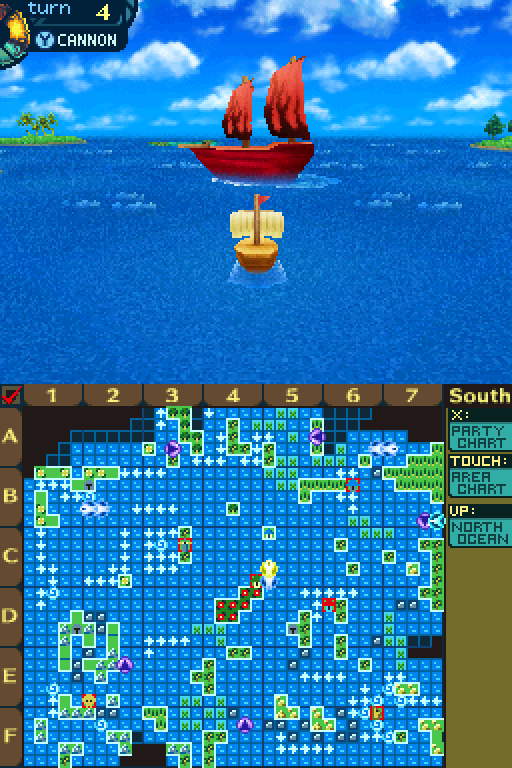
In order to get to the next destination, this needs to be your ship loadout.
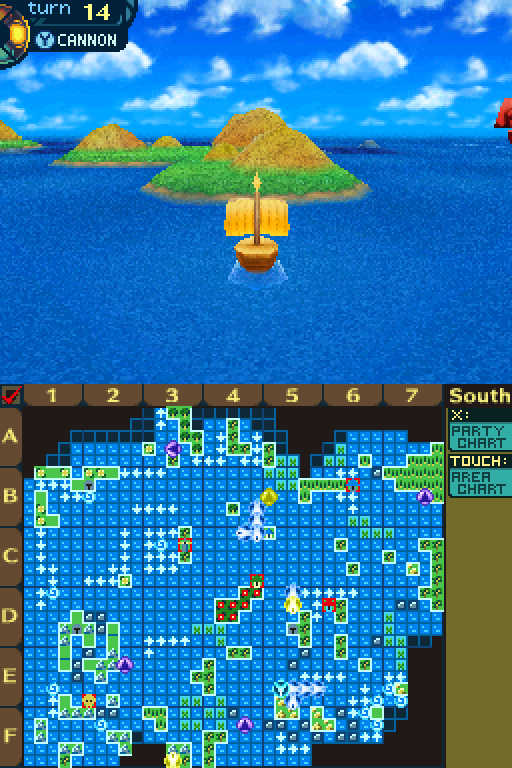
From Armoroad, go east 2 tiles, then south 10 tiles.
Then go west 2 tiles, then south 2 tiles.
Then fire the cannon to sink the pirate ship.
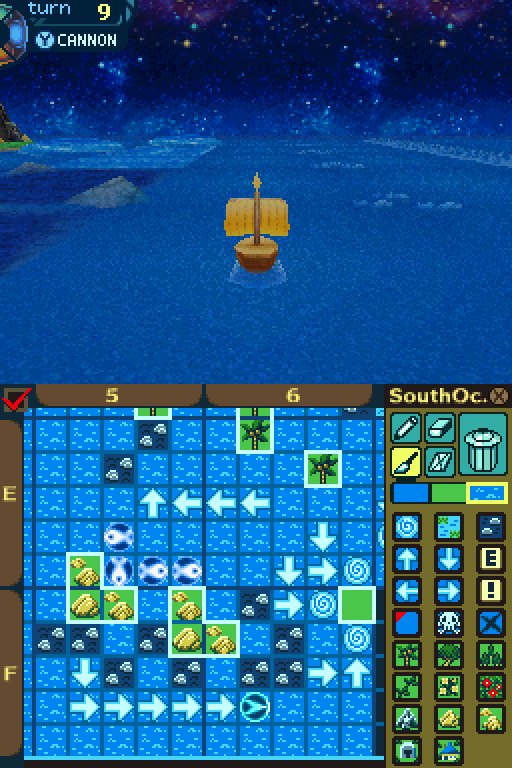
Then go south 2 tiles, and then east to hit the current.
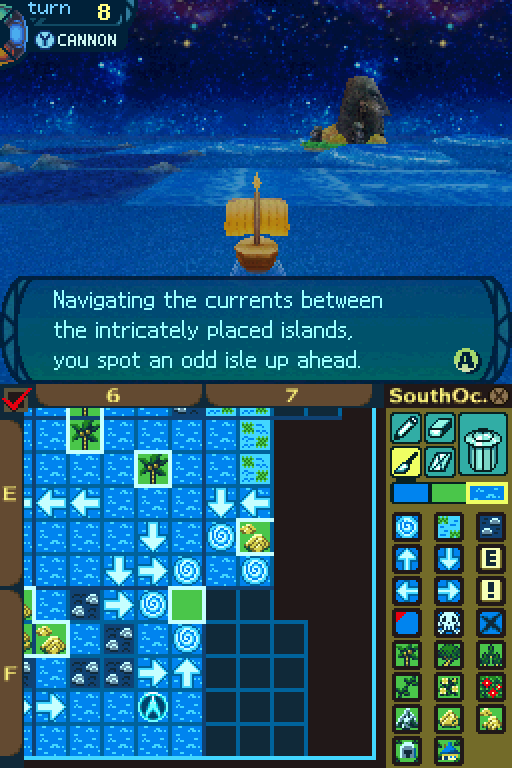
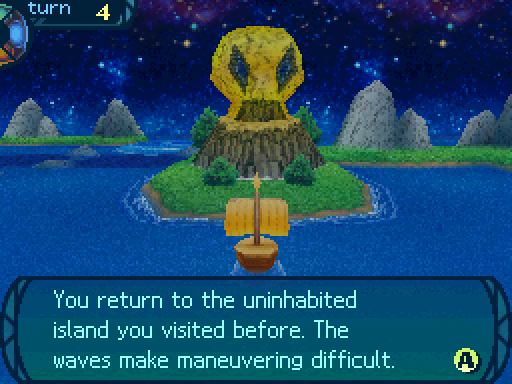
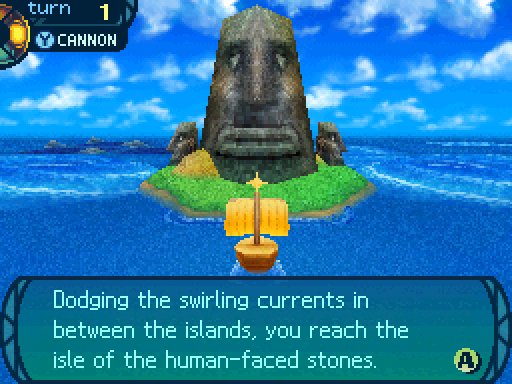
Large stones in the shape of human faces line the coast, staring into space with empty eyes. If you have the provisions for it, you can make your way toward the island...
If you go back to the port, the Harbormaster has this to say:
Ah, I’m glad you’re back. Your voyages seem to be going well. What...? You found an island with boulders that looked like human heads? You know, I believe I’ve read about that place. It’s said a tribe with superior technology lived there. Apparently, they used it to create stone giants that they used as war machines. From what I hear, the city that sunk during the Calamity had very similar, ancient methods. ...It seems worthy of an investigation. It’d be great if you could establish a route there. If we can send in marines to check it out, we could get some answers. I wish you the best of luck.
From the current, head all the way east from the island, go north 1 tile, and then go west to this spot.
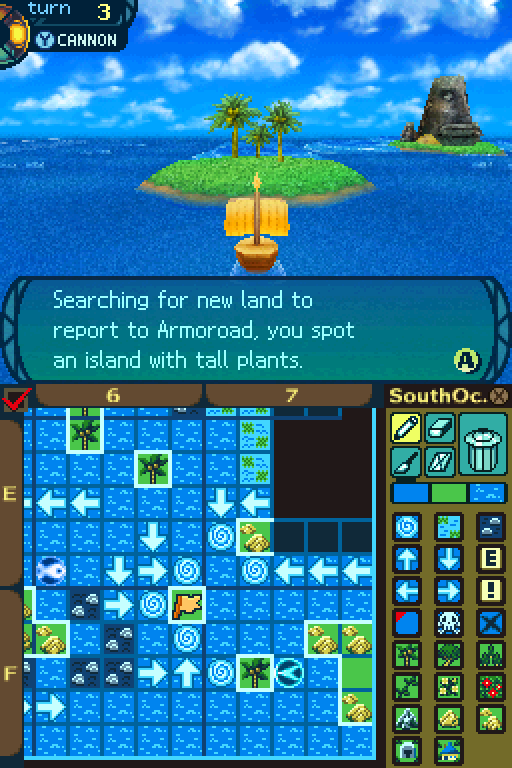
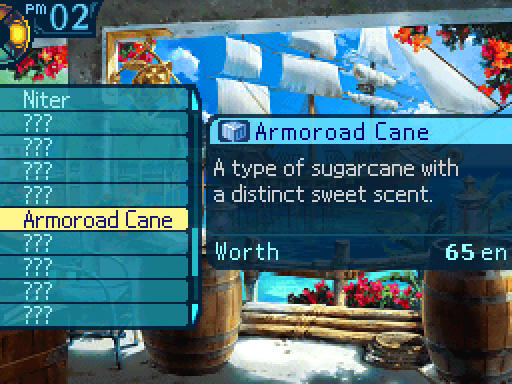
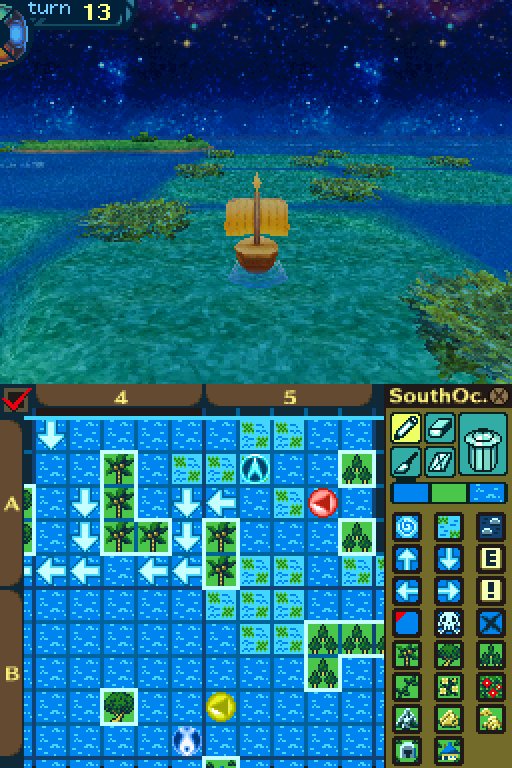
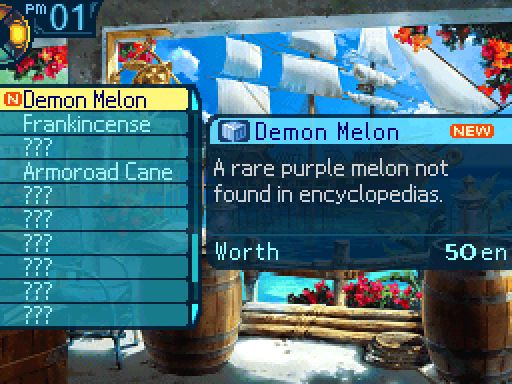
You smell a uniquely sweet aroma and decide to disembark and investigate this island. You identify this thick-stalked plant as Armoroad Cane, a source of sugar. If you wish, you may harvest the Armoroad Cane and load it onto the ship.
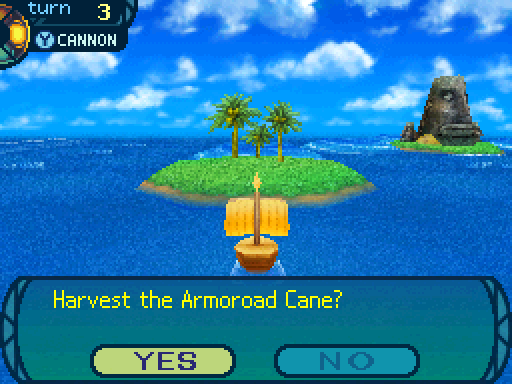
Hmmm, think we can use these tall plants for something?
Oh, these are sugarcanes! We can probably sell them or keep them for trading. I'll cut them down.
You begin using a hatchet to cut down the sugarcane plants in the vicinity. After loading a good amount of it into the hold, you decide to return to your voyage.


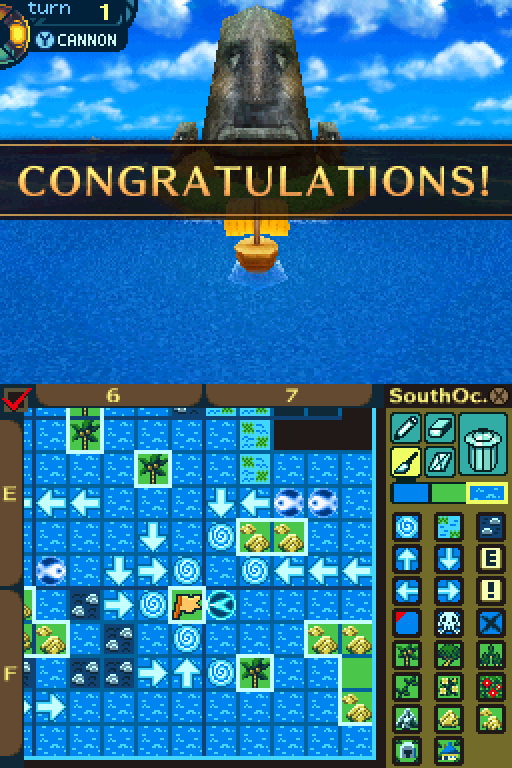
And then from there, go north 2 tiles, and then west 2 tiles, and you've reached this place!
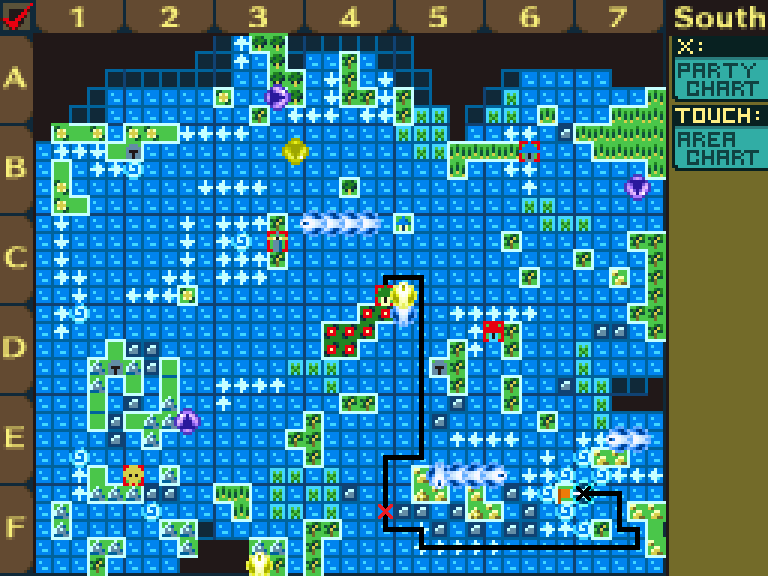
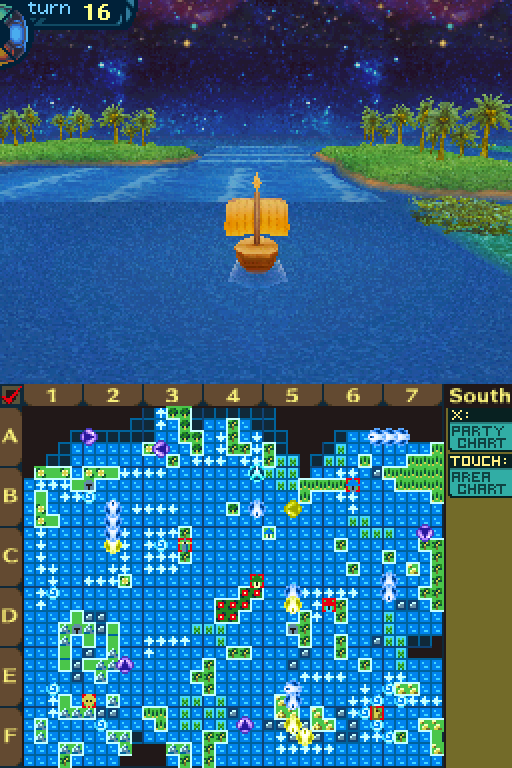
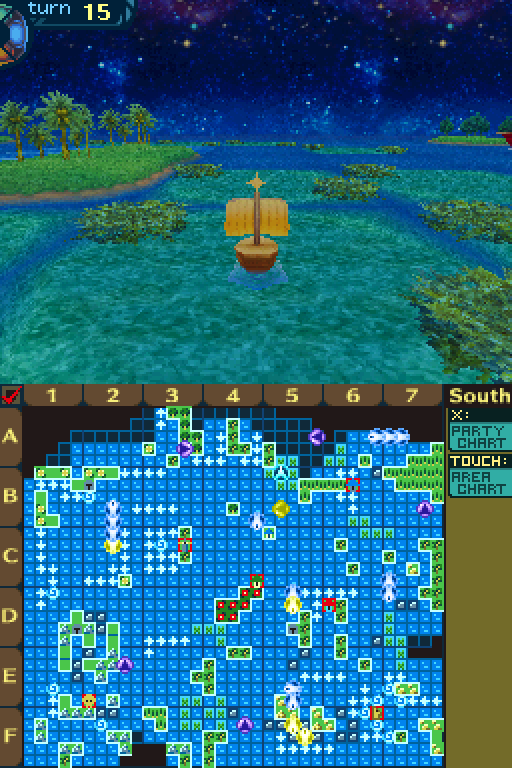
And here's the route I took to get here. On these maps, the red X will mark where you should fire the cannon if one is required for the journey.
Refusing to be cowed by their eerie stone stares, you disembark to find a pit below the rocks. Looking inside, the pit is deeper than you’d thought, and filled with the rest of the statue. Each stone face has a similar pit beneath it; to your surprise, they are all connected by tunnels. It seems these mysterious ruins, products of an older architecture, run throughout the island. You will need special equipment to explore further... You return to the ship to report back home.
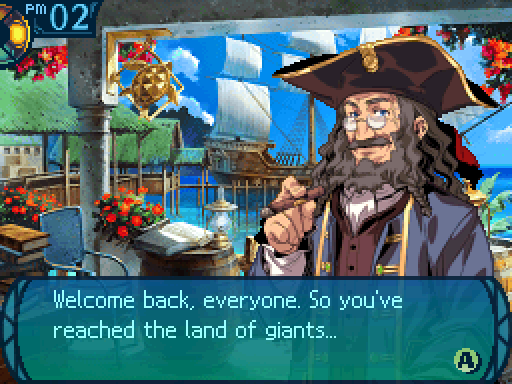
It would seem those giants were used in past wars after all. The gigantic underground area you found seems to have been used as a sort of maintenance yard for them. Can you imagine what ancient battles were like, with those things running wild on the field? ...Well, I’ll put in a request to the Senatus to get some marines to escort the historians there. If we can solve the riddles of that ancient technology, the city may reach new heights. Thanks for everything. Try taking this on your future voyages.
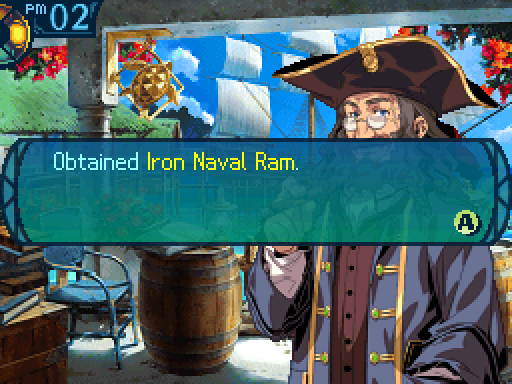

Getting the Iron Naval Ram lets us explore even more of the ocean. But there was an item I missed, so let's go get that first.
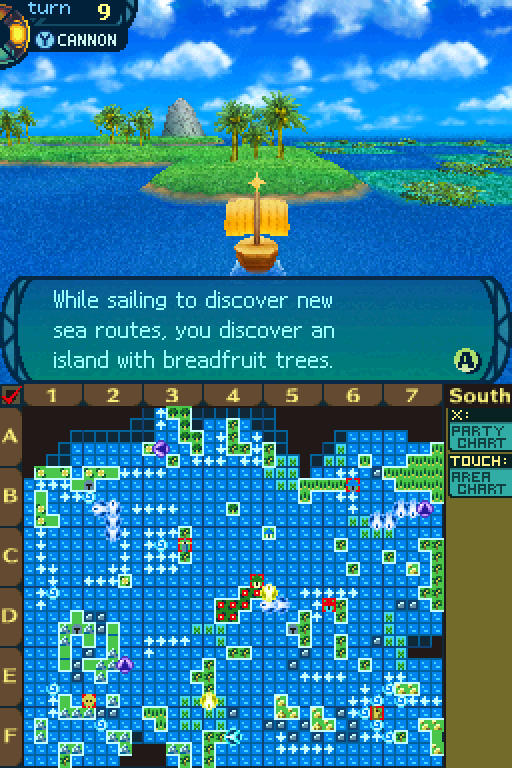
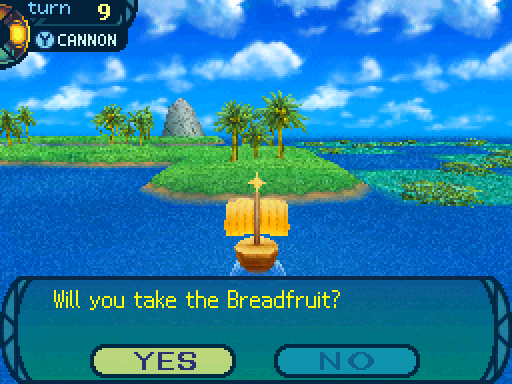
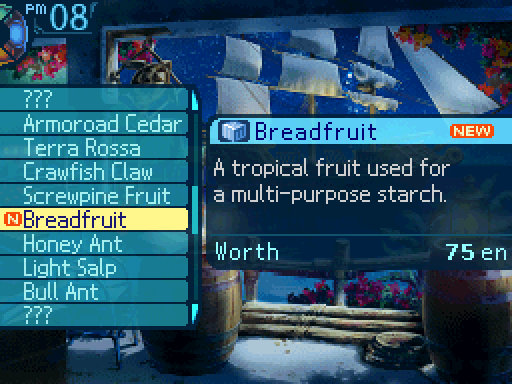
You can see fruit growing underneath the palm-shaped leaves of the trees. Breadfruit is a tropical fruit that can be eaten steamed, roasted, or dried. You can easily go out and obtain some of the fruit, or you can leave it and move on.
Hey Alice…
I'm on it!
Heh, what would we do without her, huh?
I'm not sure why we have to rely on someone else to do it, when we could do it ourselves.
Oh, I don't mind. I did say I would help you out with duties like this.
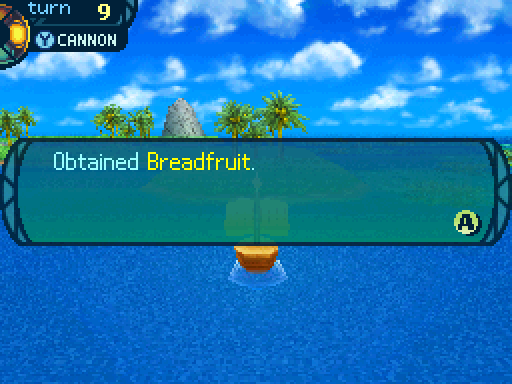
You disembark and climb a moderately-sized tree. You manage to reach the fruit’s level and begin cutting them free from the branches. Satisfied with your efforts, you take them back to the ship and set sail once more.
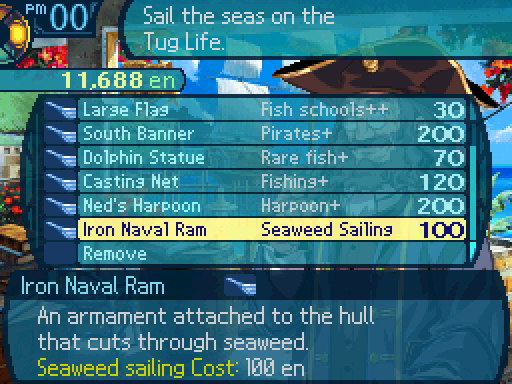
With the Iron Naval Ram, this ship can now move through seaweed tiles. There's a bunch of new destinations we can reach with this ship part.
This should be your ship loadout for this next destination.
From Armoroad, head all the way north to this current.
Then head east 2 tiles.
Amazing. This new ship part lets us conquer the seaweed!
I wonder if there's one that lets us move through the reefs.
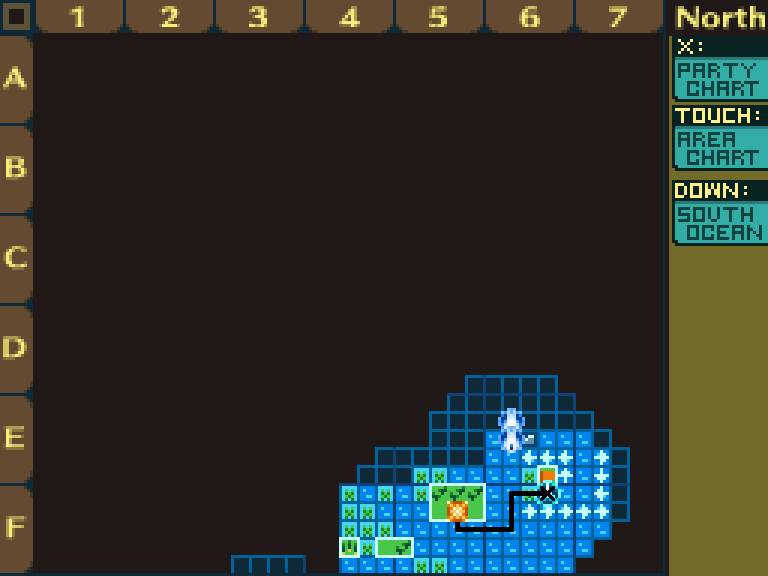
You'll notice that we're at the edge of the map, but there's clearly more ocean beyond there.
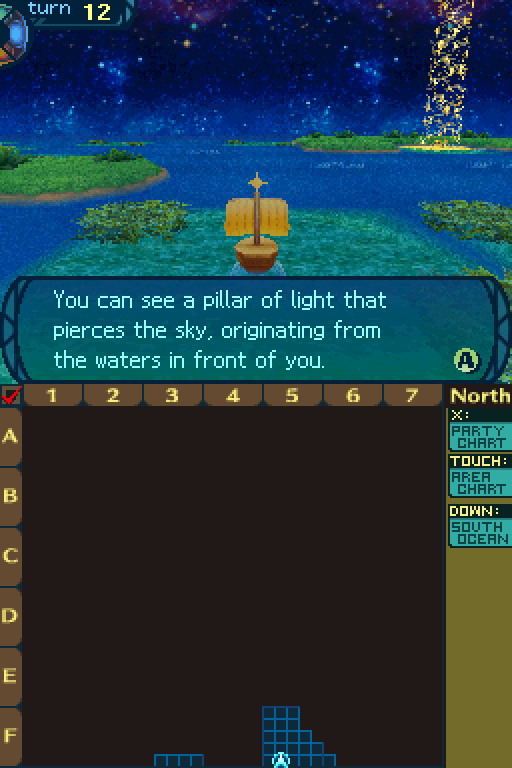
There is nothing preventing you from navigating toward it if you wish to investigate.
Huh. That looks like the Submagnetic Pole we found in the Labyrinth. Shall we take a closer look?
Welcome to the north ocean. There's a whole lot more to explore here. Oh, and the South Banner has no effect on this part of the map.
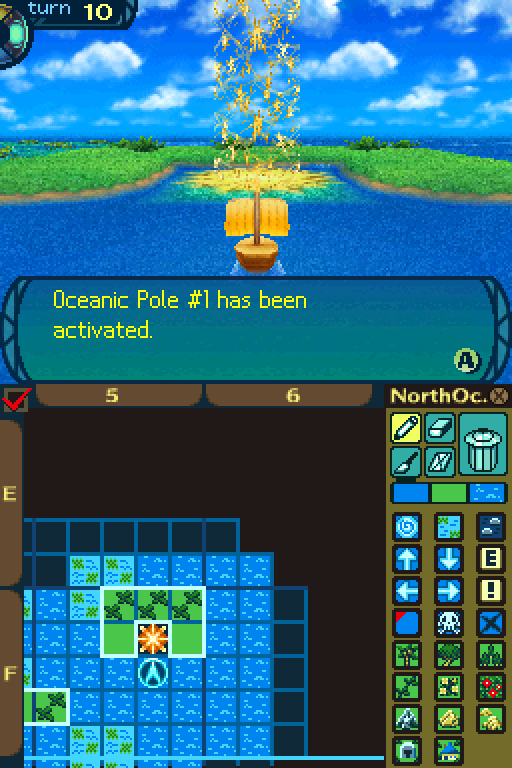
And just head over here to activate the Oceanic Pole.
This is called an Oceanic Pole. When you set sail next time, you may start your voyage from here. Using this allows you to expand the scope of your explorations, so keep it in mind.
These things are basically checkpoints. Whenever we set out to sail, we can actually start from here instead of Armoroad. Oh, and the Harbormaster has something to say if we go back after discovering this:
...Ah, so you’ve discovered an Oceanic Pole! Those remnants of the ancient days are probably similar to the Submagnetic Poles in the forest. It has the power to teleport the ship and its crew back to their home, and back again. If you wish to explore the seas, give a nod to the ancient people of Armoroad and make use of it.
Now we're not done with this trip yet. There's another destination that we can reach. Although if you don't have turns left, just go back and start back from the pole.
Head east 2 tiles and north 2 tiles.
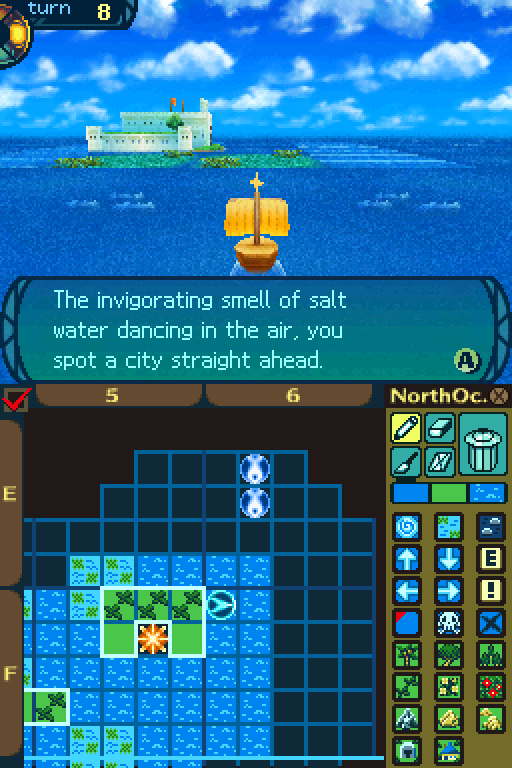
Around the exotic city, lined with white-brick buildings, is a strong current preventing all passage. It will be harder than it looks to reach the city... You note its coordinates and go on your way.
And here's what the Harbormaster has to say if you go back to the port now:
Welcome back, everyone. I hear you’ve discovered the marine city of Sheba. Only our histories tell of the trade we once enjoyed with that city now. Maybe you know already, but Sheba is ruled by a beautiful woman called the Queen of Ripples. The city flourished under her rule, but ever since the Calamity, the strong currents have changed that. If a reliable route to Sheba could be found, we could pick up right where we left off. I understand the dangers of the task before you, but nevertheless, I’m counting on you.
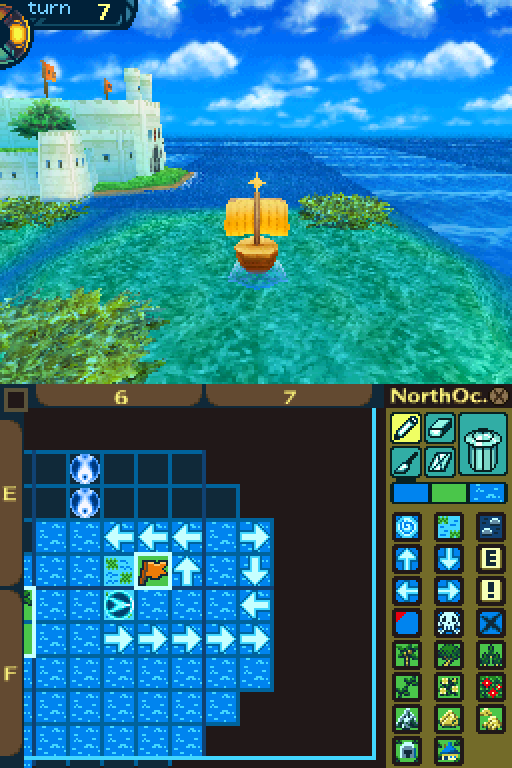
And go east 2 tiles here.
Akatsuki, can you take us to the city?
Uhh, the foremast is still mounted on the Tug Life. We'd sail right past the city if I kept going that way.
Oh. Darn it. Looks like we'll have to find another way.
And here's the problem the Foremast. You can't move 1 tile at a time, unless something's in the way. Which means that I can't reach Sheba from here.
If you don't have the Foremast equipped, it's really easy to reach Sheba, as long as you have the Iron Naval Ram, and some food that gives you lots of turns. Of course there is a way to reach Sheba with the Foremast.
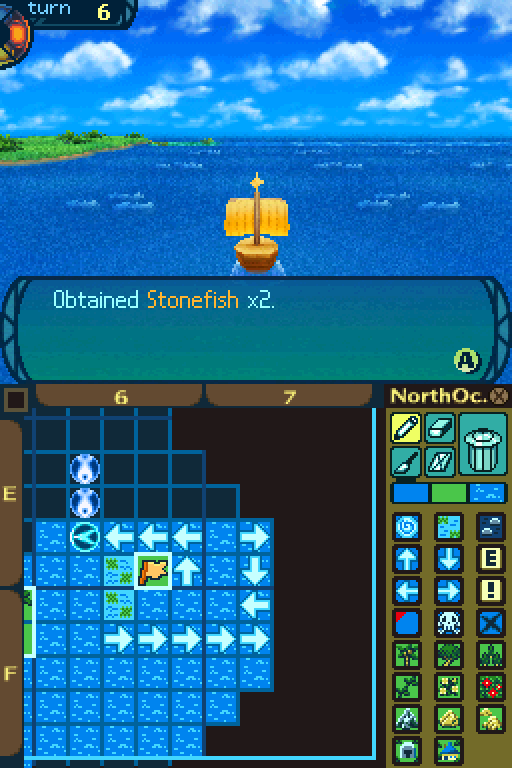
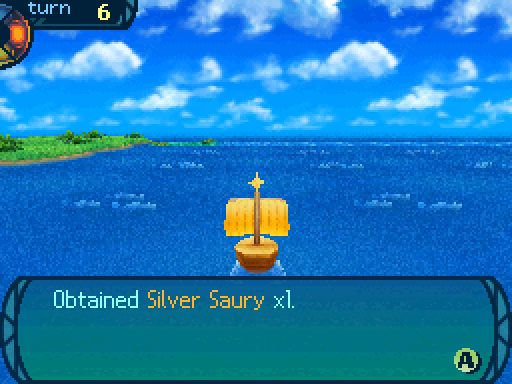
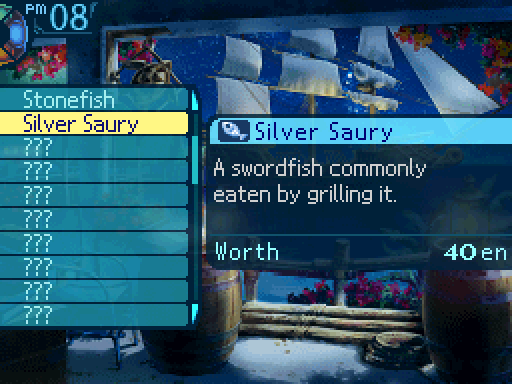
Head north to the current. Oh, and new territory means new fish.
Why do I have to be doing the fishing?
Hey. You're the one that didn't want us relying on Alice for everything.
But-I-Ohh!
Um, I can help you out if you want.
...I would appreciate that.
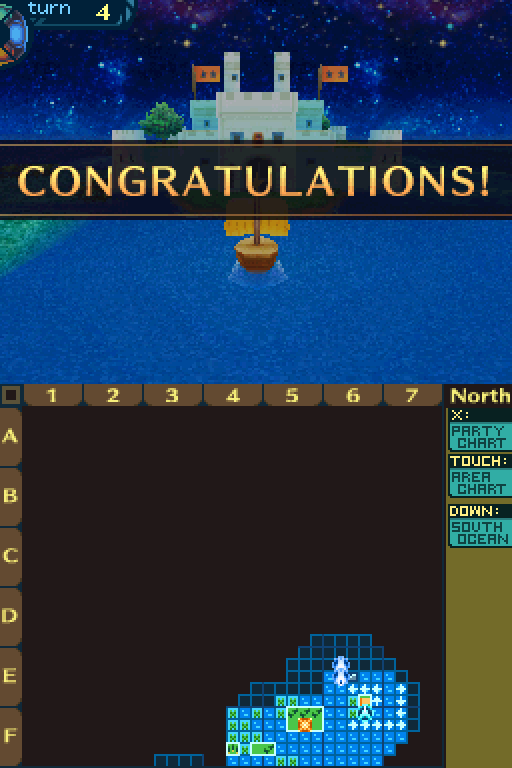
Then go south 2 tiles, and then east 2 tiles. You've reached Sheba!

If you're trying to get the Oceanic Pole and Sheba in one run, this is the route you need to take.
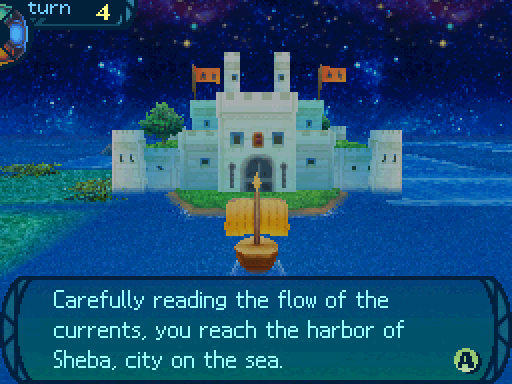
You disembark and stand in awe of the vast city as a soldier comes running toward you.
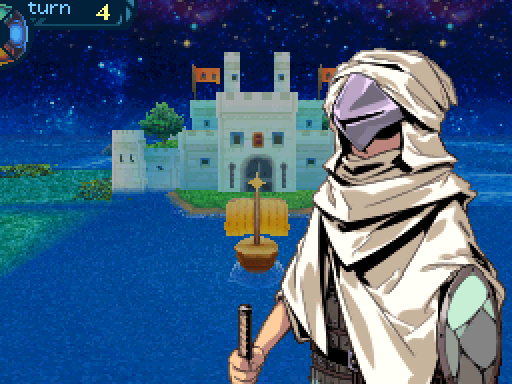
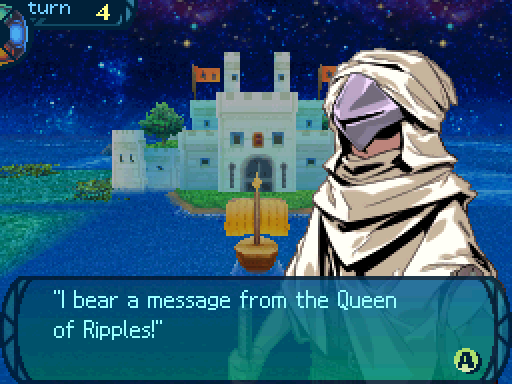
The soldier clears his throat and unravels a scroll of parchment.
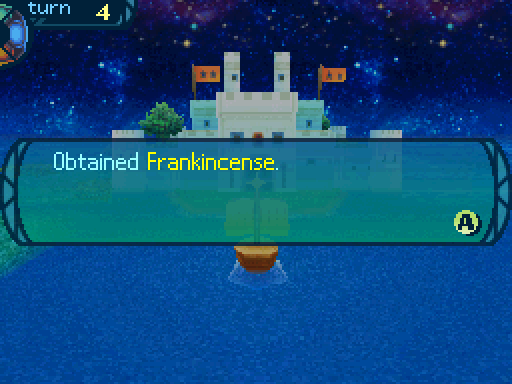
 "We welcome you from your long journey from Armoroad. I am the ruler of Sheba, Queen of Ripples. After the Calamity, a monster took control of the currents and has left us stranded here. We have longed to reestablish ties with Armoroad, but the currents have prevented this. We would like you to go and tell Armoroad of our plight. Would you be a bridge between our cities? To show our appreciation, this messenger bears also a gift: It is frankincense, a specialty of ours that is an ingredient used in perfumes..." ...The message ends here. I, too, beg you to reopen cultural exchange between here and Armoroad!
Having delivered the message, the soldier hands you a bag. It is filled with milky-white resin. You swear to deliver the message in turn to Armoroad and leave the soldier to wave you goodbye.


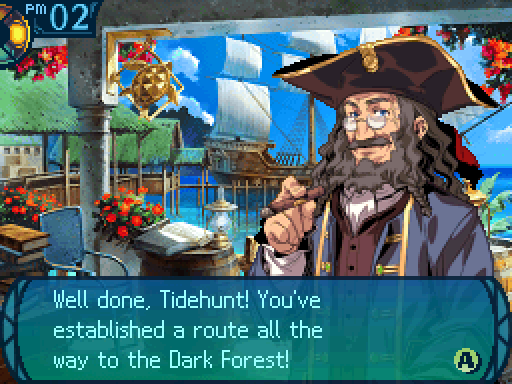
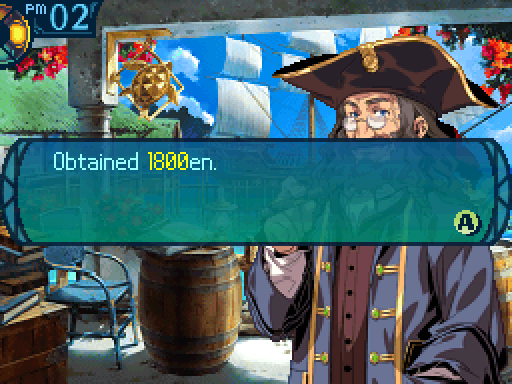
Well done, everyone. You’ve successfully established a route to the city of Sheba.
There's more. There was a messenger sent to greet us. He had this to relay...
What...? The Queen of Ripples wants to resume relations with Armoroad? Great news! I’ll contact the Senatus to make arrangements for a messenger immediately! In any case, I never thought there would be a gap in the currents around Sheba. Thanks for your hard work in making that long voyage. Here’s a token of my appreciation. It’s salt-cured meat. It tastes good and it’s good for you. Take it along the next time you go!
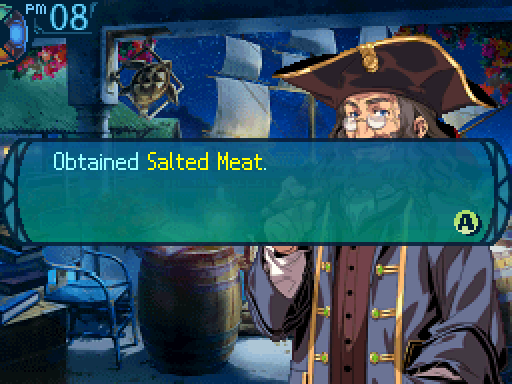
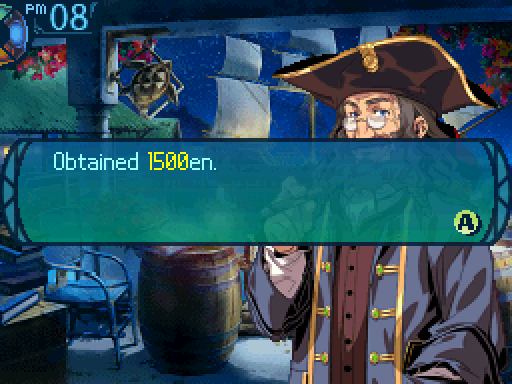
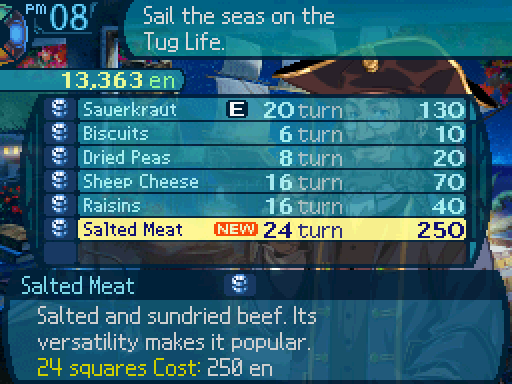
The Salted Meat is another movement upgrade. But we're gonna use it yet, because there's only one more destination, and it's near the Oceanic Pole.
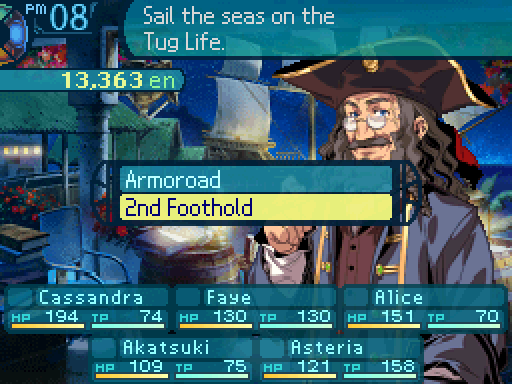
Now that we've activated the pole, we can start from there by selecting this option.
I believe we've read about a place like that.
You then remember the Naturalis Historia written by the naturalist Pliny. The island before you bears some resemblance to the chaotic isle shown in that volume. If the island in front of you is one and the same, then you have made an incredible discovery! If you don’t yet need to resupply, you can proceed to investigate the island.
Yes, the text actually changes if you've read the tome or not. It's a nice touch. Also I messed up and had the Foremast equipped, which prevents me from going to the island. So I go back to the port to change my loadout.
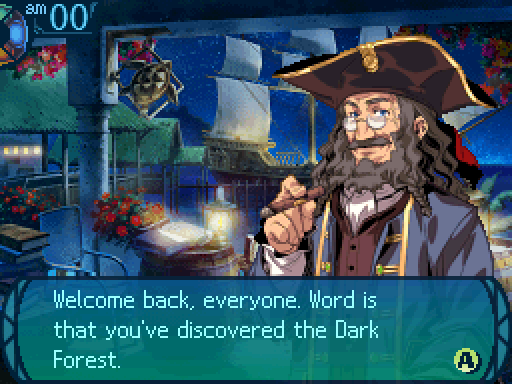
Have you read the encyclopedias that the naturalist Pliny left behind? They’re books of great knowledge from the dark age, about geography, astronomy, and biology too. But as science advanced, the validity of the encyclopedias was thrown into question… Which included their descriptions of the Dark Forest. Yet you claim to have seen it with your own eyes. If that forest is just as Pliny wrote, then no other place holds as many mysteries. I think it would be worth further investigation in the name of the ocean city. Good luck.
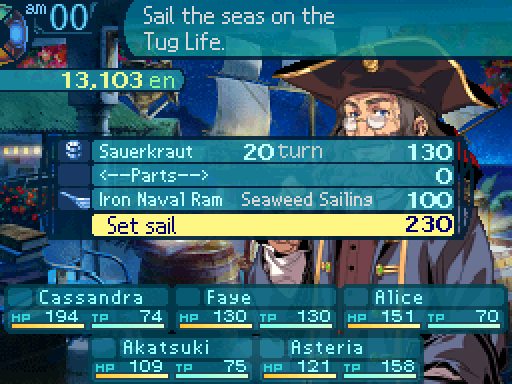
You don't need much to reach the Dark Forest. Just some food that gives you a decent number of turns to work with, and the Iron Naval Ram.
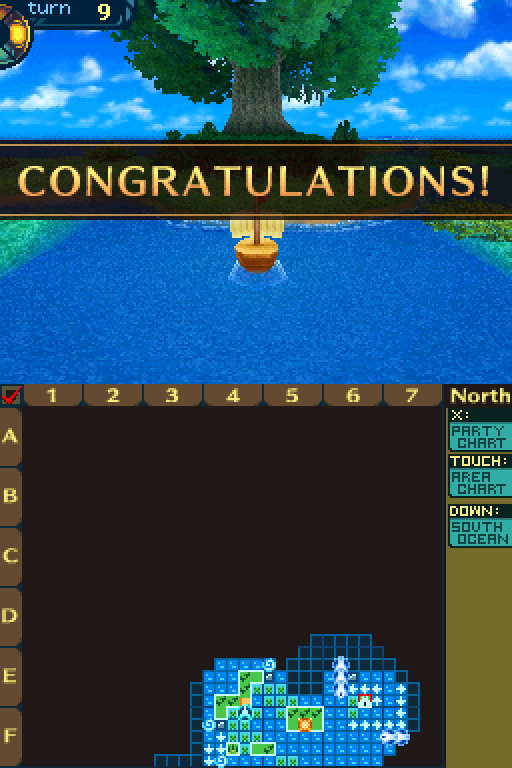

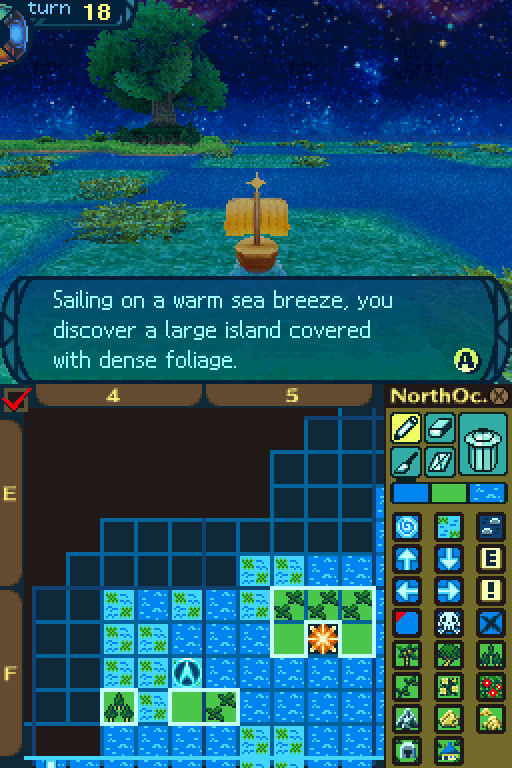
The route to the Dark Forest is incredibly simple.
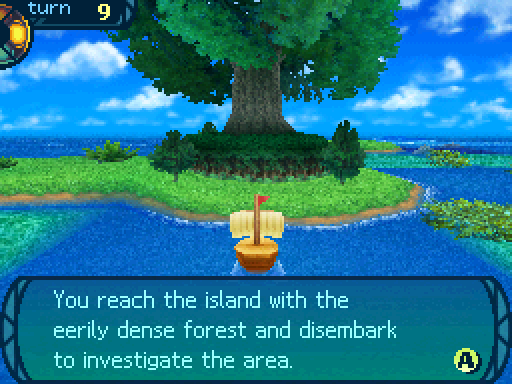
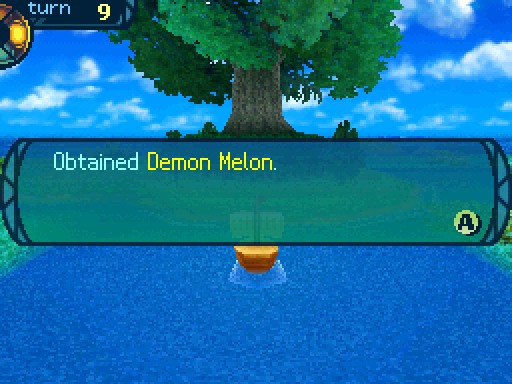
The squawks and buzzing of the birds and insects emanating from the wall of green worry you. You set foot inside and find it to be a netherworld of forests, devoid of any light. You press on, torch in hand, and observe the unique wildlife native to this island. Engrossed in the strange flora and fauna as fierce as anything in the Labyrinth, you see an odd fruit. To mark your arrival, you take a poison-hued fruit and stuff it into your pack. Taking care not to get lost, you carefully and cheerfully return to your ship.
A discovery like that will really help open more trade routes and make medical advances. You deserve a good reward this time, so I’ve ordered some improvements for your ship. They’ll reinforce your hull, letting you equip steel plating to navigate dangerous reefs.
That'll definitely come in handy!
The carpenters won’t make it here from Ayutthaya until their work over there is done, though. I know you must be excited, but please bear with us.
...Oh.
And that's all the new landmarks we can reach. We won't get the Steel Plating until we get through more of the Labyrinth. Though there is one last thing we can do on the sea.
See this pirate ship?

It has something for us.
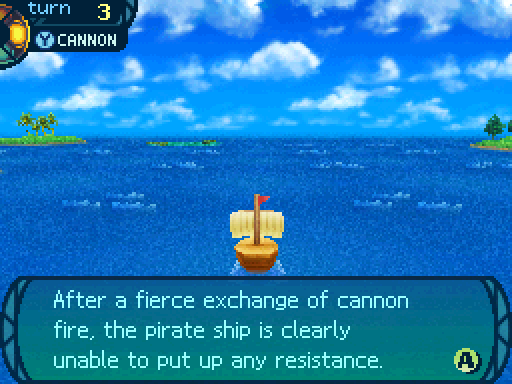
Any last words, pirate scum?
You near the half-destroyed ship and hear the pirate captain begging for his life.
Hmm... Give up your wicked ways, and we'll let you live! You know, you could become a... sailor or something!
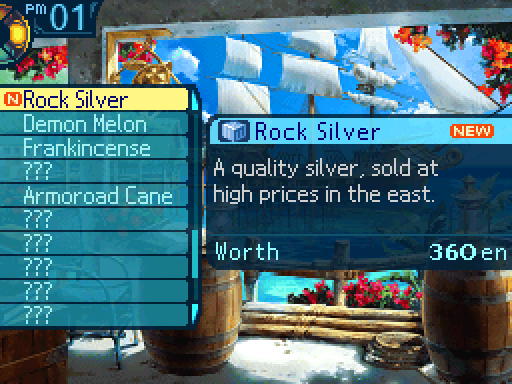
You tell him that you’ll spare him if he gives up his pirate ways. Overcome, he offers you a crate. The crate is covered with Eastern-looking characters and is filled with Rock Silver, a valuable metal. This money was probably looted from a merchant ship from the East. After watching the pirate ship limp away, you return to your voyage.
And that's all for the sea. Now let's check in on the guild, and start preparing for the 2nd Stratum boss.
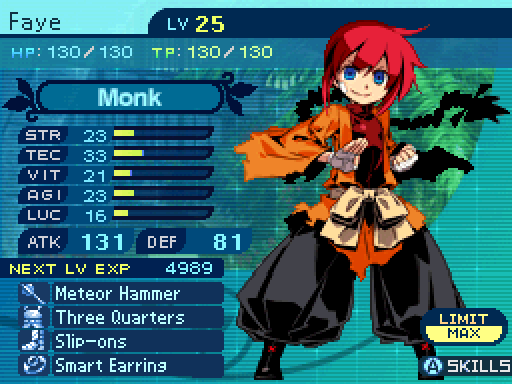

Hmm. We'll probably have to fight with this Oceanmaster Ketos before we can get into the Deep City. I better bring along some firepower.
Monks are one of the best supports to bring along to the fight, because having both Refresh and Unbind at level 7 will make the fight much more bearable. If you don't have a Monk, you're going to have to bring along a lot of Therica As and Bs.
What reason could they possibly have for killing all those explorers?
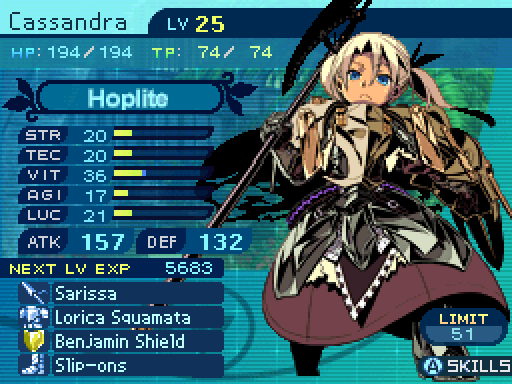
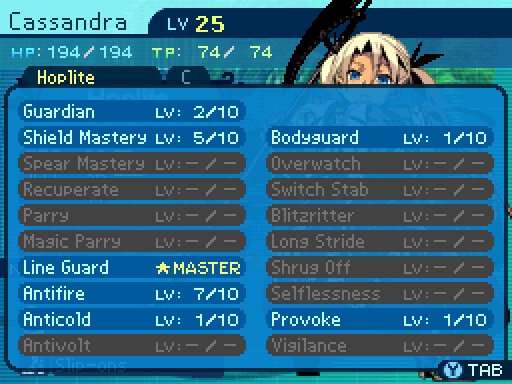
Hoplites are a decent defensive support to bring to the fight. If yours has Anticold at a decent level, or has it mastered, you can make the boss a lot less dangerous. Though the boss has a decent array of physical attacks.
 If it's a fight they want, it's a fight they'll get! Hee hee!

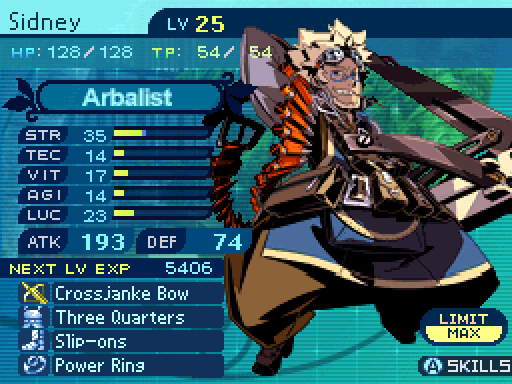
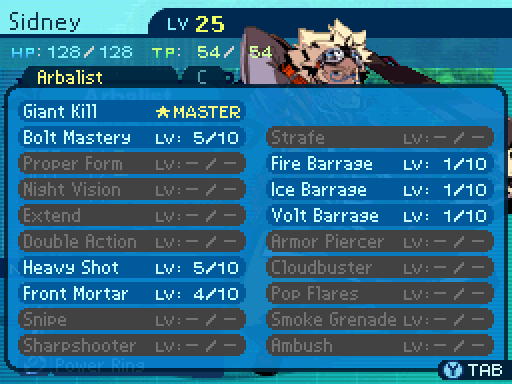
Front Mortar deals 257% damage from the front row, and 78% damage from the back row.
Arbalists are a decent physical attacker to bring along. Though using a Front Mortar Arbalist can be risky at this point. Though if you have a Hoplite with Bodyguard, they can take a lot of the risk out of the whole front row thing.
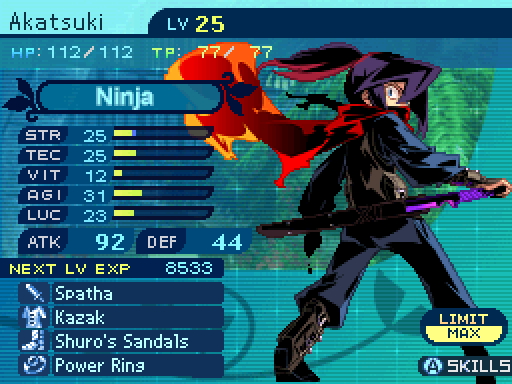

I hope we can get through this without much trouble. I realize that's a lot to hope for, but a Ninja can dream.
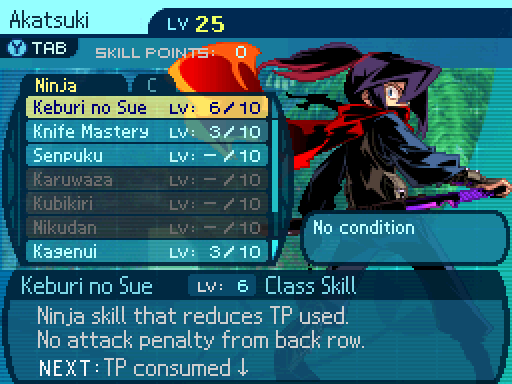
Keburi No Sue reduces the TP cost of all skills by 5.
At this point, Akatsuki can't really contribute that much to the big fights. Though Bunshin giving you 6 party members to work with can be handy.
Why would they go through such great lengths to keep people out of the Deep City?
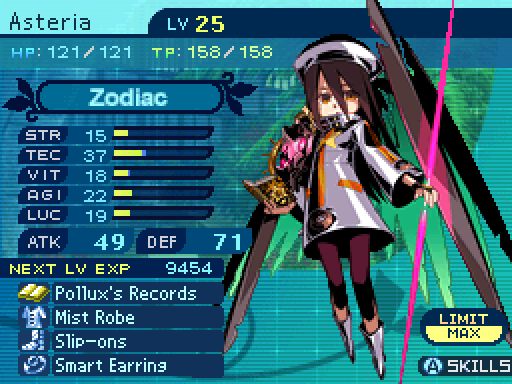
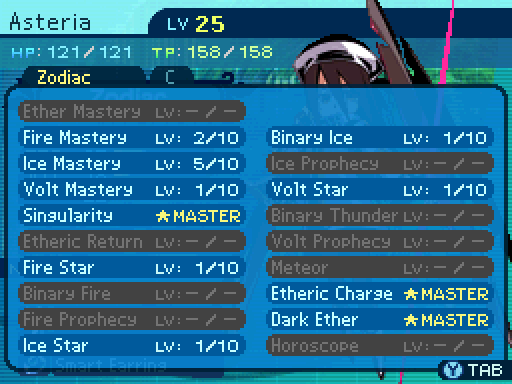
Zodiacs are still the best damage dealers to bring along to a fight. Oh, and the boss? It's weak to Fire. Yes, Hellfire works wonders on it, though it's not in any way necessary. It won't one shot the boss, but it will take off a massive chunk of its health. You would probably shave off 10 turns of combat with a single Hellfire cast. Even without it, Etheric Charged Fire Stars still deal a decent amount of damage and cut down on how long the fight will take.

 Olympia and this Ketos will pay for their crimes.
My very presence is worth several tons of cures!
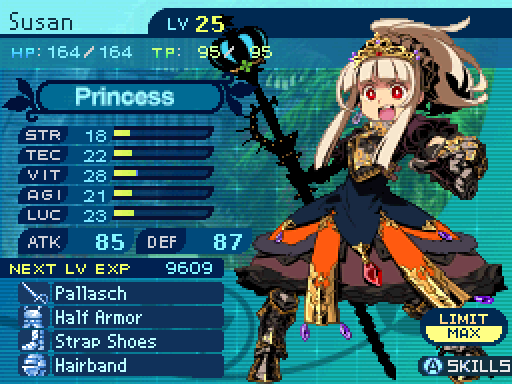
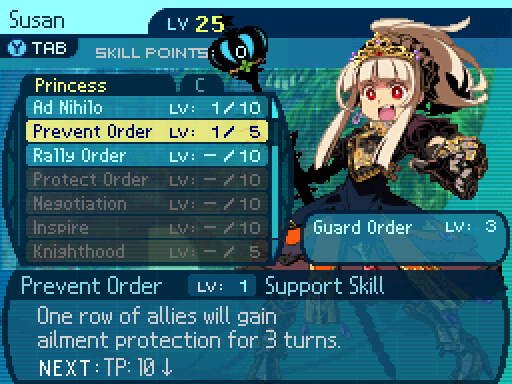
Prevent Order is a fantastic support ability. What it does is for 4 turns, it places a buff that protects a row from being hit with status ailments. It doesn't do anything about debuffs, stuns, binds, or instant death, but preventing your allies from being hit with ailments is a fantastic utility skill. Though once it blocks an ailment, the buff is immediately dispelled.
A Prince/ss is also another great support to bring to the fight. Prevent Order goes a long way in making the boss a lot less dangerous, and the boss likes to buff itself. Ad Nihilo is also great for making the fight a lot less annoying. And depending on how things play out later on, this may be the last time MEGAQUEEN will genuinely be useful.
 Those Deep City folks better have a damn good reason for wanting to keep people out.

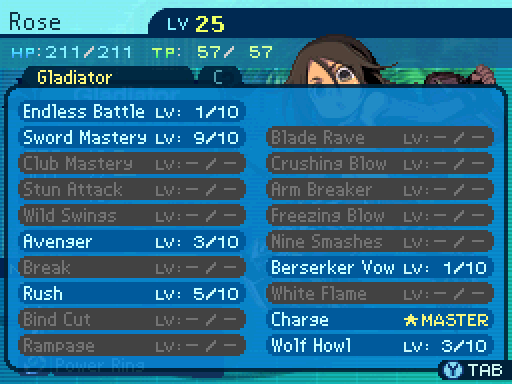
Sword Mastery now gives a 10% boost to regular attacks.
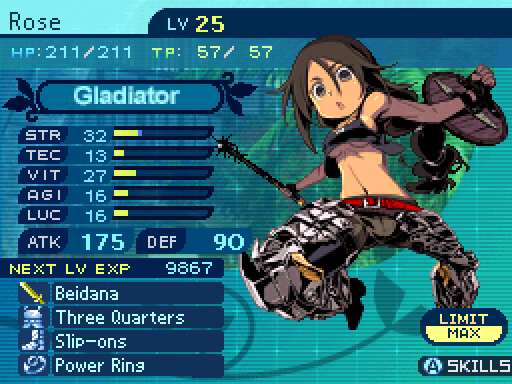
Gladiators are another decent physical attacker to bring along. But Rose doesn't have much going for her at the moment, other than being much more durable than Sidney. Still, she can Charge up some Mumyoukens, though they're nowhere near as powerful as Etheric Charged Hellfires.

 Maybe they do have a decent reason for wanting to keep explorers out of the Deep City. Still, couldn't they have come up with a better way instead of mass murder?
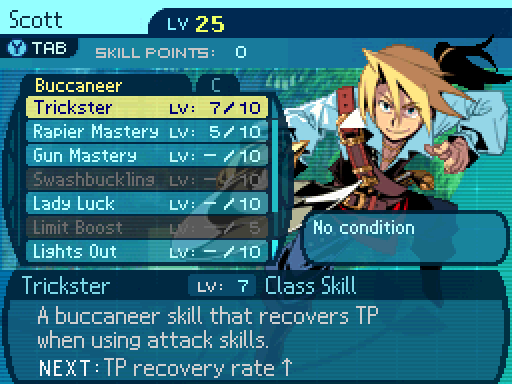
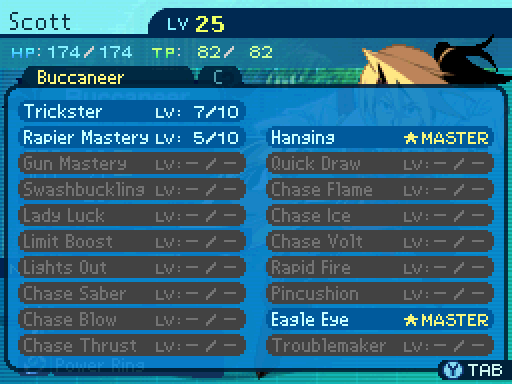
Now whenever Scott casts an offensive skill, he'll recover 7 TP.
Buccaneers are late bloomers, so they're not that useful at this point. Still, Scott isn't a terrible choice for a physical attacker. And head binding the boss could be useful. If he can even land it in the first place.
 I hope they don't try to kill us again. ...Yeah, they probably will.
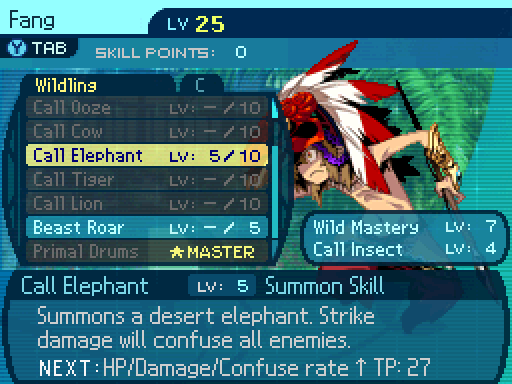
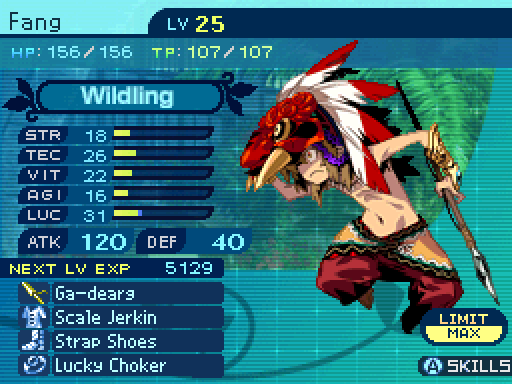
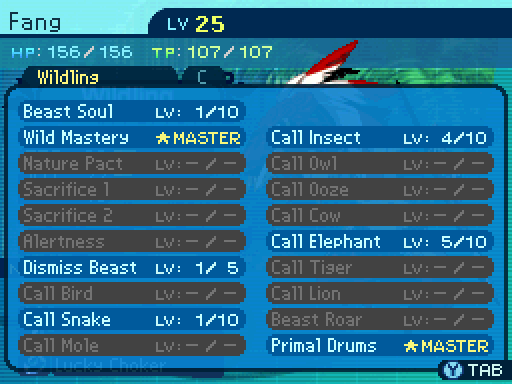
Call Elephant summons an elephant that has 170 base HP, whose initial attack deals 95% damage, its AI attack deals 140% damage, and has a 35% chance to inflict Confusion.
Wildlings are a bit of an odd duck when it comes to boss fights. Primal Drums is always useful for any physical attackers, but most of the time, the bosses tend to be really resistant to ailments and binds, and this one is no exception. Still, the animals can make for decent meat shields and a nice bit of extra damage.
Please be careful, everyone.
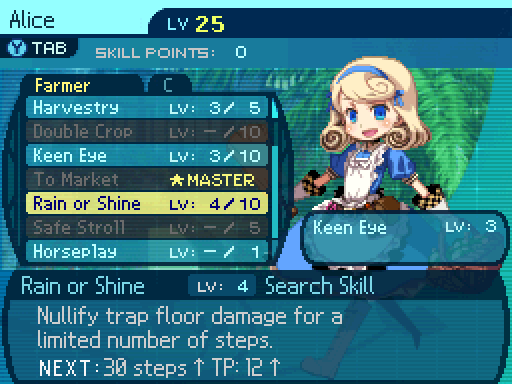
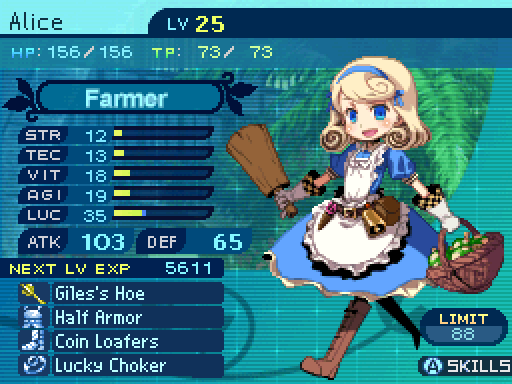
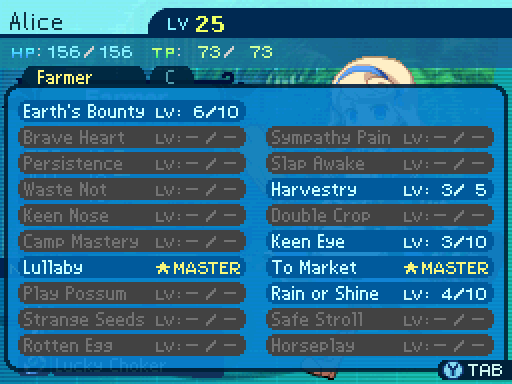
Rain or Shine nullifies hazardous tiles for 25 steps.
As for how a Farmer can be useful in the upcoming fight, I've listed the ways they can meaningfully contribute below:
Anyways, here's a bit of info on the upcoming boss.
Stratum 2 Boss
HP: 4699
AT: 33
DF: 32
Weakness: Fire
Resistance: N/A
Absolute must haves:
-A Monk with Refresh and Unbind, both at level 7 are the only thing I'd say you absolutely need. If you don't have that, you better bring along a ton of Therica As and Bs.
Highly recommended, but not required:
-Hellfire will burn off a huge chunk of the boss' HP, but it's in no way necessary, despite several players trying to convince you otherwise. For that matter, a way to deal Fire damage is also nice to have.
-A Prince/ss with Ad Nihilo or Prevent Order will also make life easier, but they're not necessary. They just make the fight a lot less annoying.
Just don't:
-Once again, please don't waste the Formaldehyde you got in the Stratum, because this boss has a very easy to get Gold drop once you get farther into the game. And like before, don't try to go for the Gold drop, because you won't be able to afford the equipment it unlocks.
-Bringing absolutely no ways to dispel ailments or binds. That is flat out suicide.
Now, vote for up to 3 characters to come along for the fight. Votes must be bolded.
Also, what do you think the 3rd Stratum will be like?