Toggle Background Color
Update 39: Through the Scorching Heat
[replace with something else too tired to think of something atm. in the meantime:]
 Sheepstick! Baaaaa!
 Are you serious? Are we really siding with them?
 Well I dunno.
 I believe it is a wise decision.
I mean, I don't feel right, siding with a bunch of killers. Even if they had good reasons for doing so. And maybe Flowdia's right. There might have been a better way to handle that.


There was a vote on who to side with, and there was overwhelming support for allying with Armoroad. Guess people really didn't want to saddle me with Yggdroids.

We accept.


Fade to black.

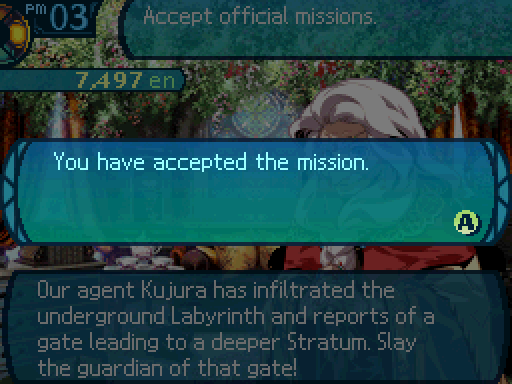
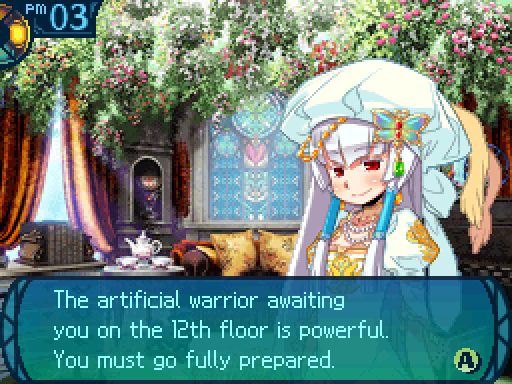
 However... What you have now undertaken will not be easy. Well then, I will explain this mission afresh. Below the cavern currently under investigation, the Deep Ones and a greater evil lie in wait. However, in order to reach that point, one must first overcome a sentry placed by the Deep City. Kujura’s report makes mention of the Gatekeeper, an artificial warrior created by the Deep City. We would like you to slay this mechanical sentry and open a path to the Deep Ones’ undersea shrine. As I said, this will not be easy. But it is the only recourse left to us. I beg you to give this task your all... and to return safely home to Armoroad.
The Gatekeeper is the boss for the 3rd Stratum and our next target.
Okay. We'll get the job done!
 The Deep City won't like this one bit. I can tell you that much.
I wonder if we'll still be allowed there...
Oh and Gutrune sticks around after the mission briefing, so we can talk to her. Let's see what she has to say.
I pray that you return here safely afterward with glad tidings.
Okay, let's get the ball rolling.


I managed to finish that quest, so I'll turn it in later.
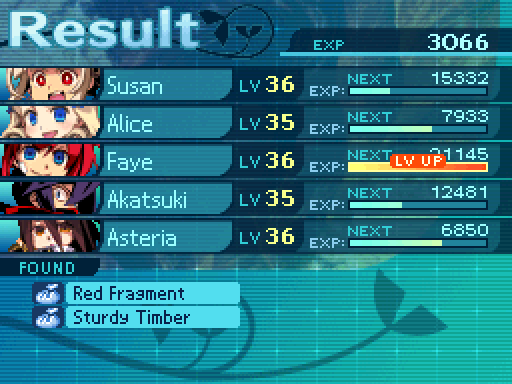

Protect Order now has a skill power of 135%.
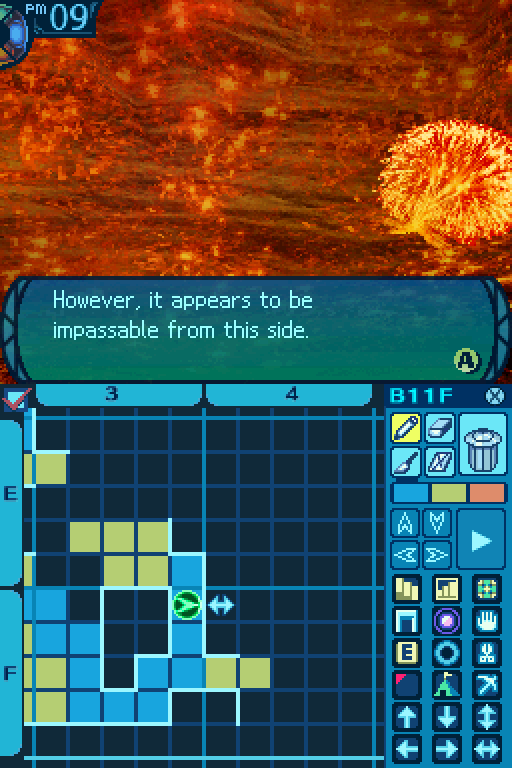

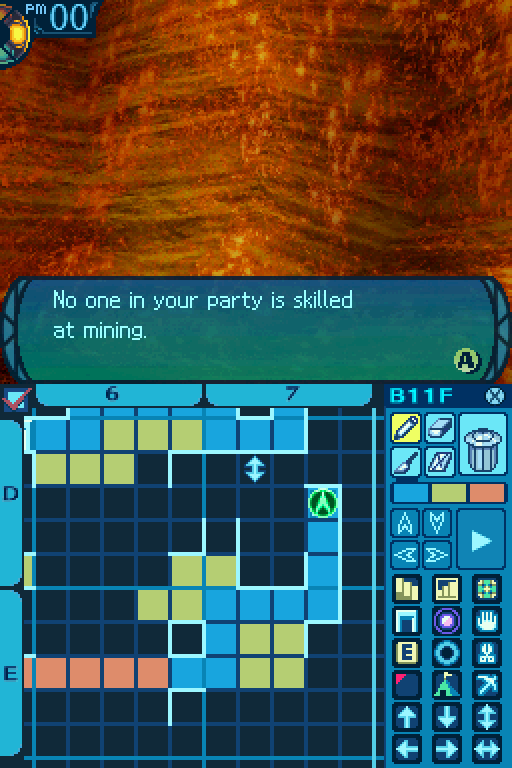
There's even more of them!
Unless any of you know how to swim in molten magma, I don't think we can engage them. Especially since it's night.
I'm amazed they can fly and sleep at the same time.
Hmm. Hey Asteria, you can fly, right? Can't you go up to one of those dragons and smack em or something? Like a wake up call, so we can beat more dragon heads in?
...PFFFFFTAHAHAHAHAHAHAHAHAHAHAHAHAHAHA! No.
You're no fun, girl.
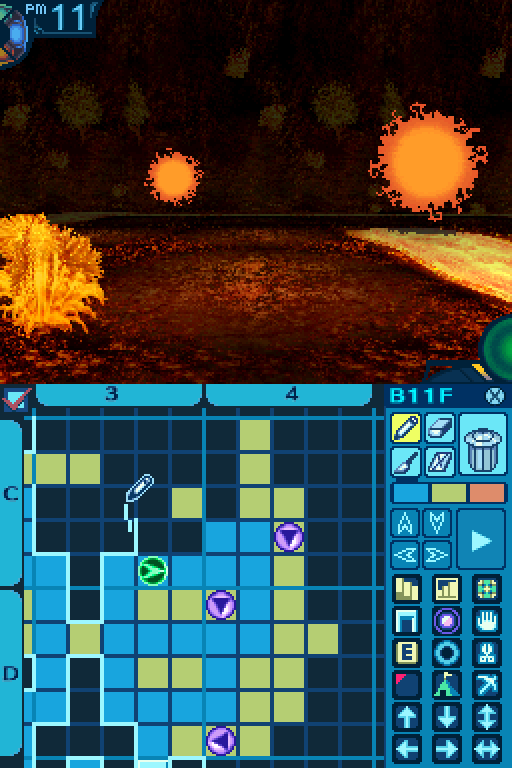
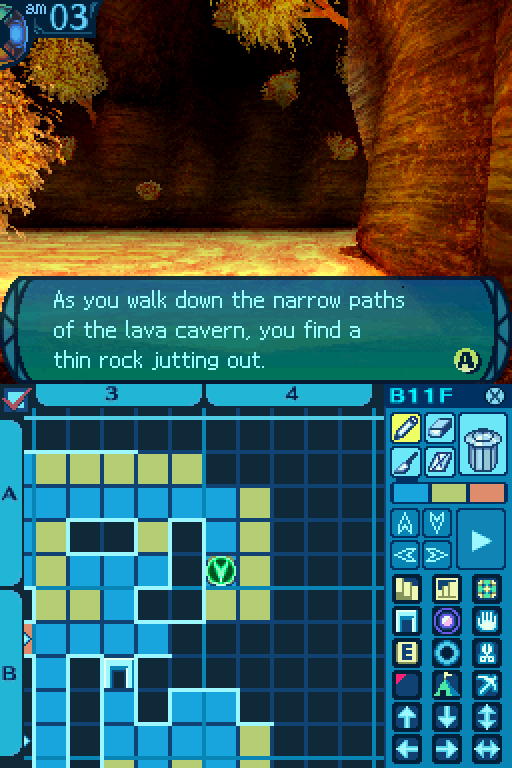
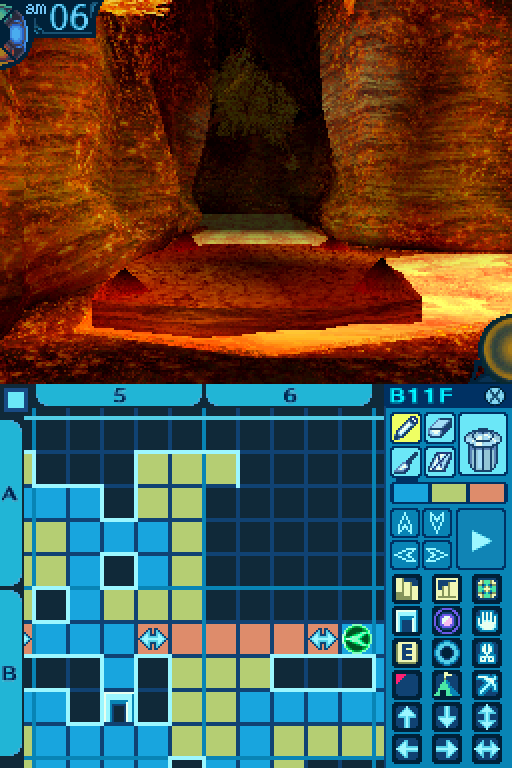
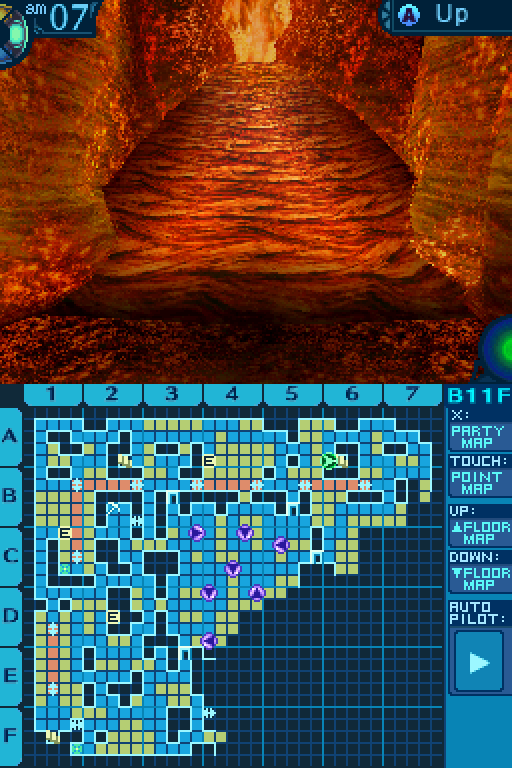
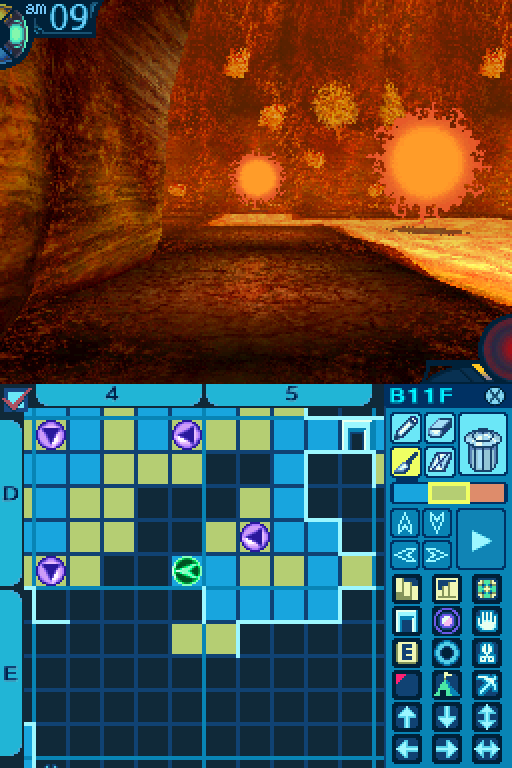
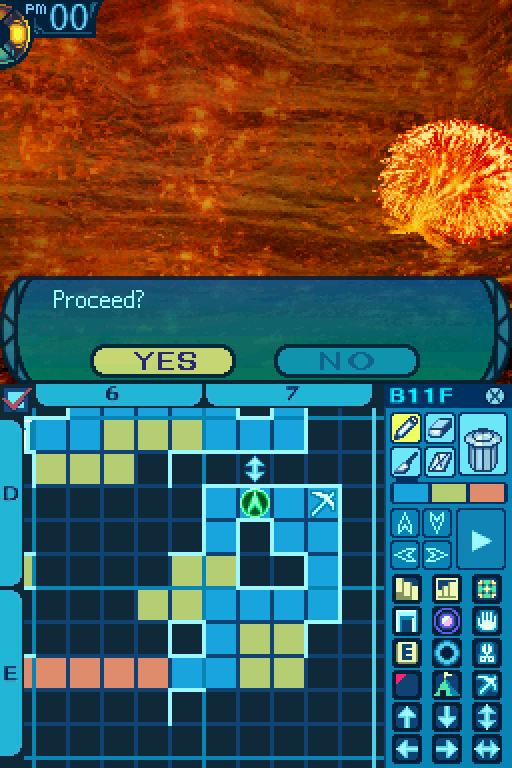
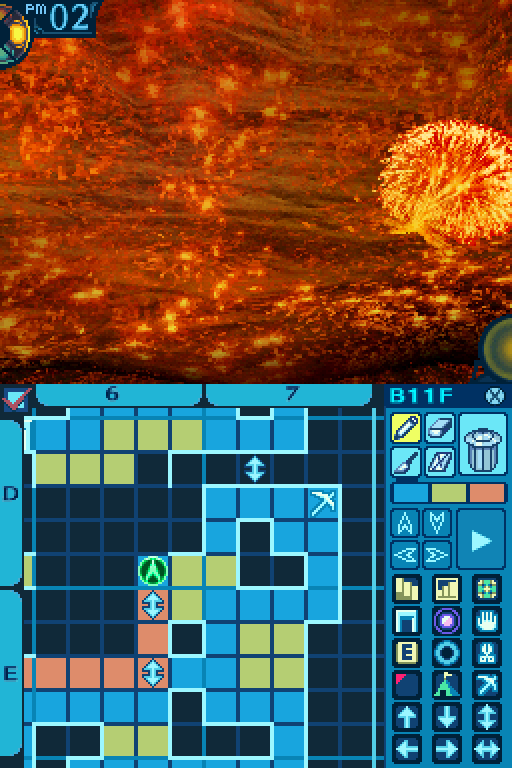
So this is the reason why I didn't just wall off the magma tiles. Aside from map aesthetics. So the Mother Dragons will just hover over the magma, and our party can't get to them, unless they get into a random battle nearby. However, that's completely impossible at night, since they don't move at all then.
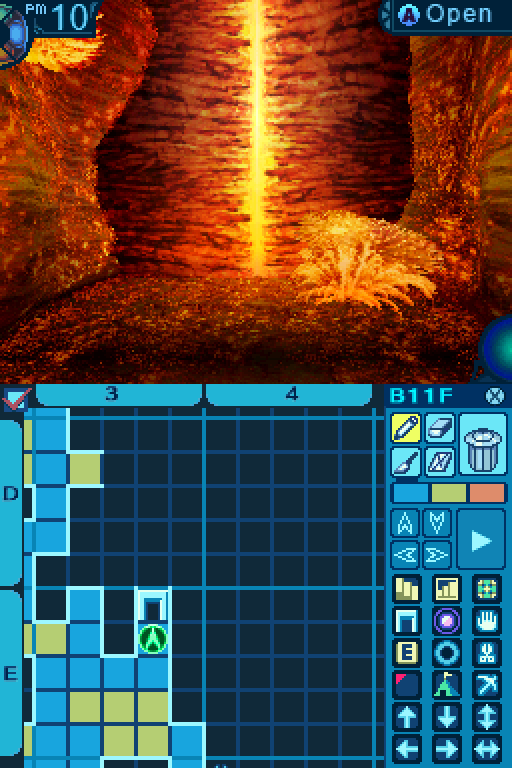
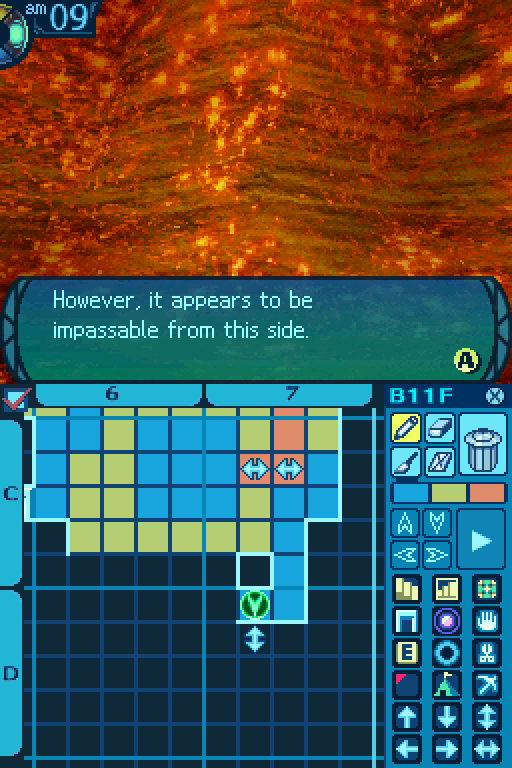
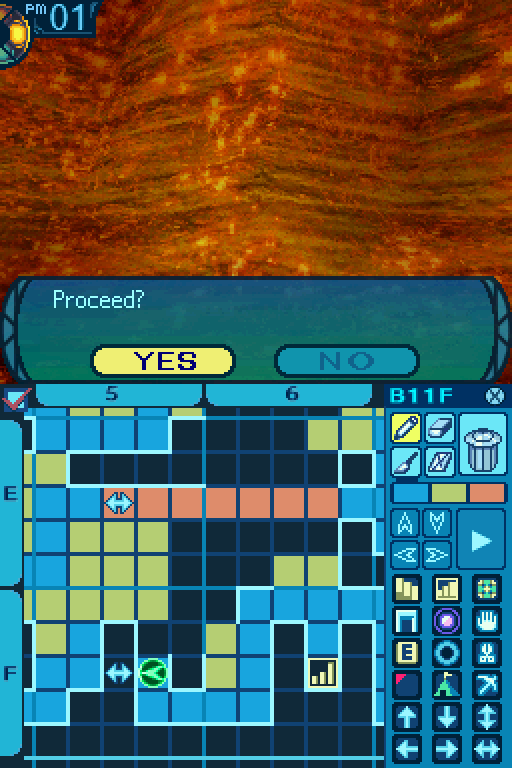
A shortcut to skip that portion of the room.
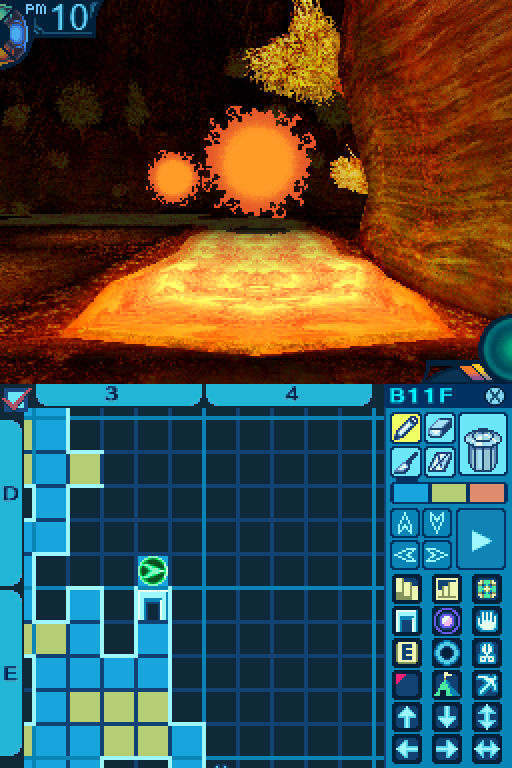
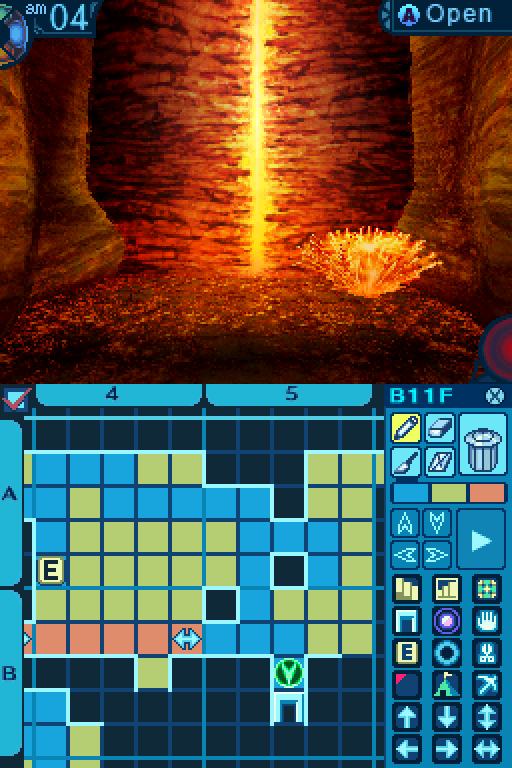
Here's another lava ride.
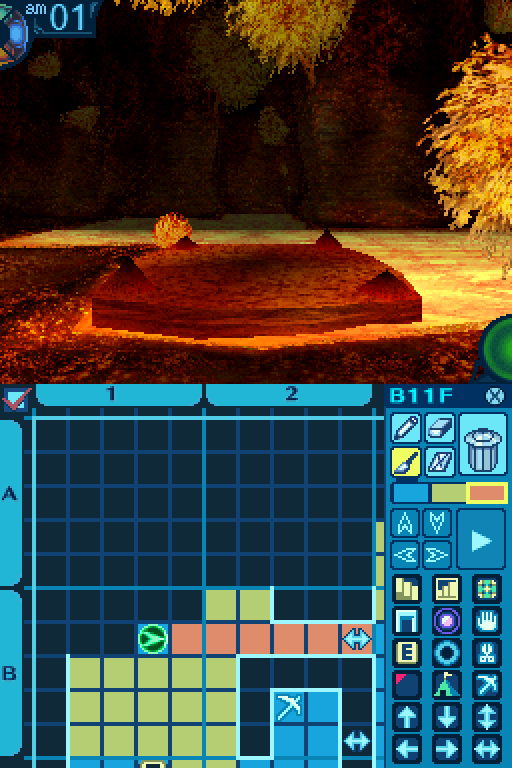
Now there's actually another aspect to those.

If you approach them from another side, you can go down that direction instead.


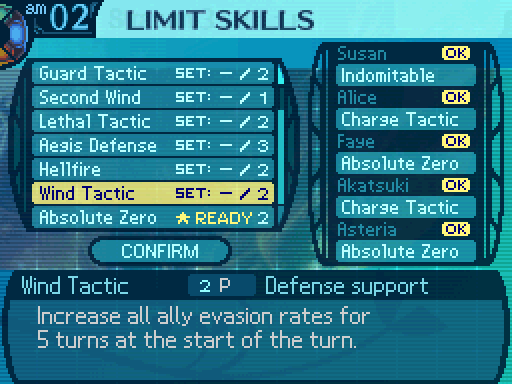
Wind Tactic places a buff that increases the party's evasion by 30 for 6 turns. Eh, I'm not a big fan of evasion tactics, since that's an even bigger all or nothing than the Hoplite's skills. And even then, it doesn't help out classes with low AGI that much.
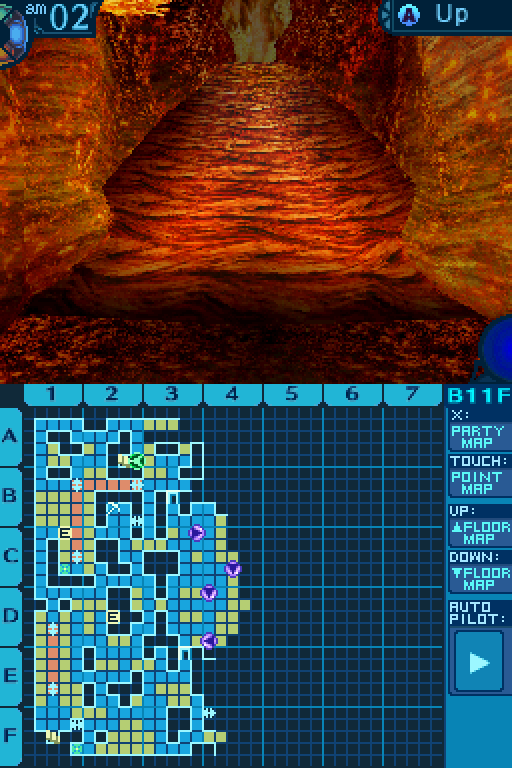
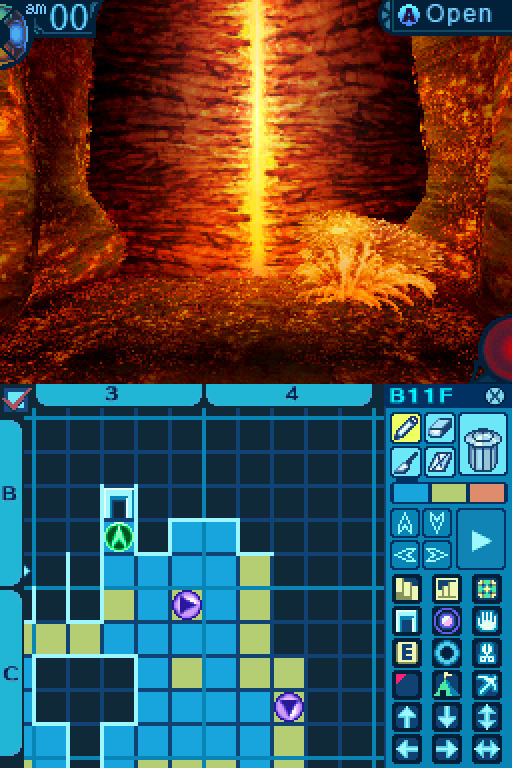
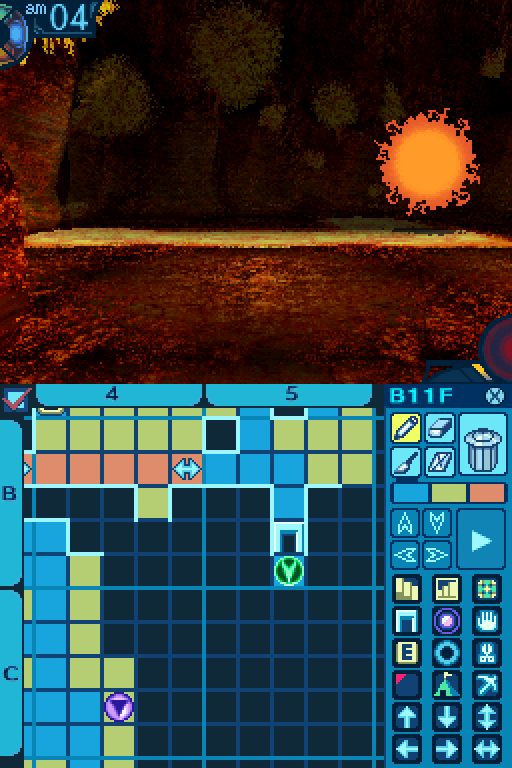
And here's a set of stairs going up, so it's not the way forward.

Instead, it provides a shortcut back to this point from the 10th floor.
More of those rocks... I wonder what they're for.
Perhaps they serve some sort of higher purpose. Like a... It's useless to speculate without any information.
If we don't know what they do, no point in sticking around, right?


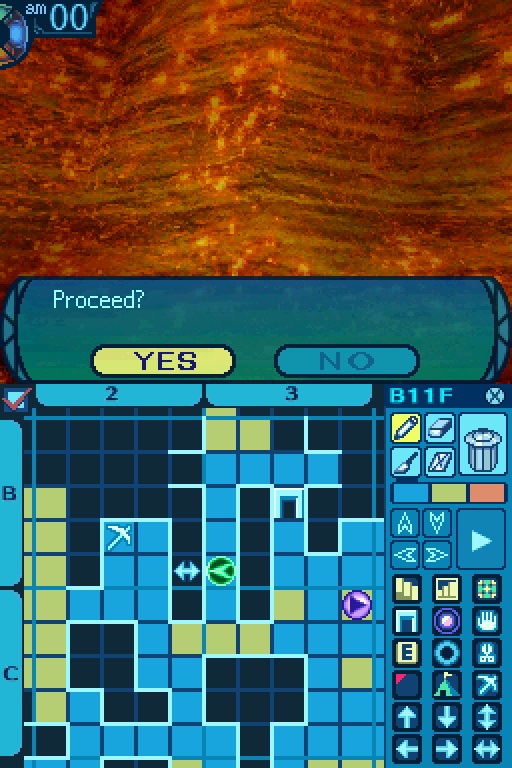
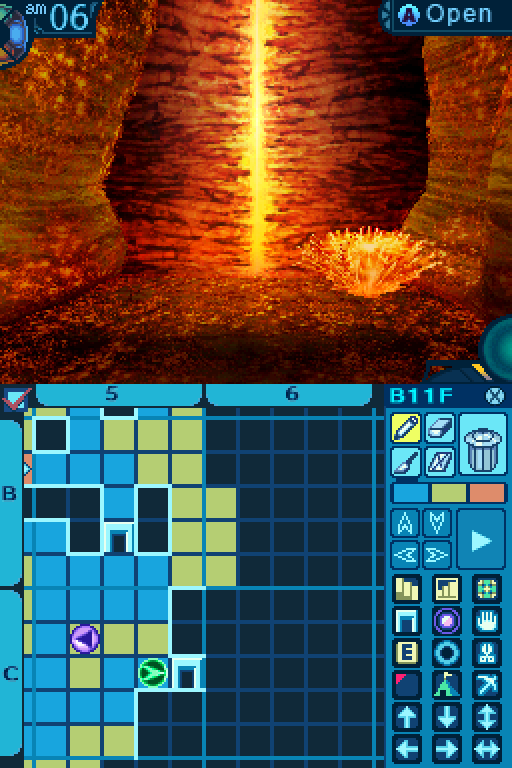
This lava ride mostly serves as a quick trip back. Once you leave a floor, all those rock slabs return to their original positions, so this isn't a shortcut.
And back into the dragons' den. This is actually just one room, split up into multiple sections. So if you take too long in a fight, you might end up fighting a lot of them.

May you never be born.

It's almost morning, so I start having Akatsuki petrify things in order to kill them faster.
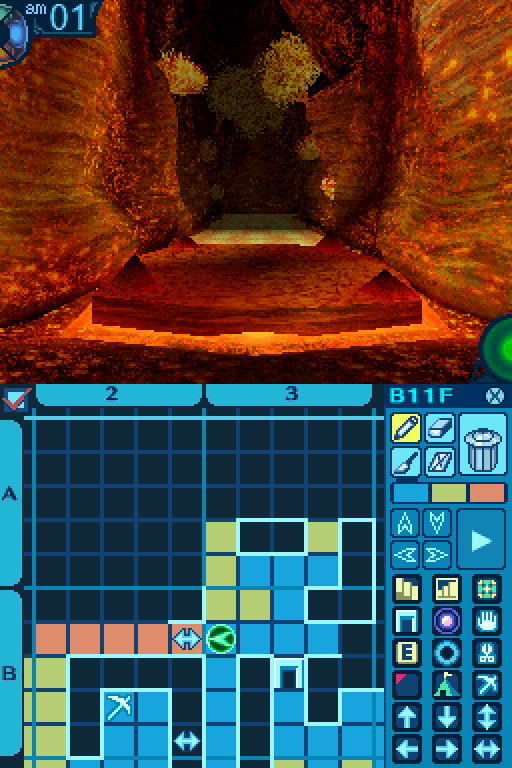
And out we go. There's still one more part to this room.
Another lava ride that serves as a quick way to backtrack.


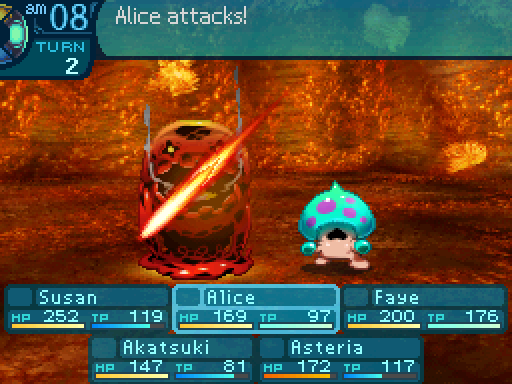
Lava Beast
HP: 388
TP: 113
STR: 33
VIT: 34
AGI: 22
LUC: 24
TEC: 35
Attack Type: Pierce
Exp: 1061
Item Drops:
-Drop 1: Fiery Stone - 45% Drop Rate. 1 needed for Solid Moccasin. (Boots.) 2 needed for Kastane (Sword) and Alla Romana (Heavy Armor.) 5 needed for Parazonium (Dagger.)
--Red stone that is fiery to the touch.
-Drop 2: Jet - 20% Drop Rate. See 2nd Stratum Mine Point info for more details.
-Gold: Igneous Rock - Kill with Ice. 100% Drop Rate. Prevents Normal Drops. 1 needed for Slash Charm. 10 needed for Bombard (Crossbow.) 3 needed for the quest Messages from aeons past II.
--Rock that cooled rapidly, making it harder than normal.
Description: A naturally occurring monster in the scorching lava regions.
Damage Resistances: Slash: 50% Strike: 50% Pierce: 50% Fire: IMMUNE Ice: 300% Volt: 100%
Ailment Resistances: Sleep: 100% Confusion: 50% Plague: 100% Poison: 100% Blind: 100% Curse: 50% Paralysis: 100%
Bind Resistances: Head: 100% Arm: 122% Leg: 100%
Other Resistances: Death: 100% Petrification: 50% Stun: 100%
Skills:
Fireball: Uses the Arms. Deals 80% Fire damage to a single target.
Here's the last of the new enemies on this floor, and this one kind of has a gimmick. Without Ice attacks, it's a huge pain to take down. Its attacks are only single target, but they hit pretty hard without any Fire protection.

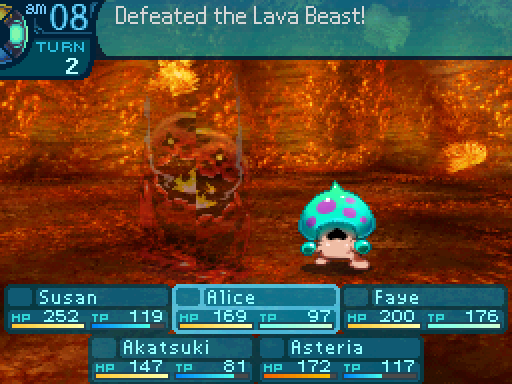
Stay frosty!
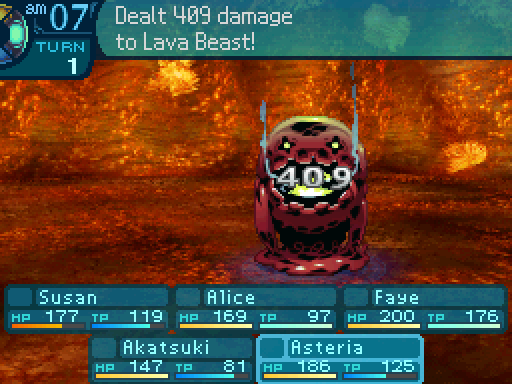

Ice attacks will just blow them up, and it's an easy way to remove them from the fight. They take 3 times the damage from them, so you can just pretty much kill them in one hit from those.
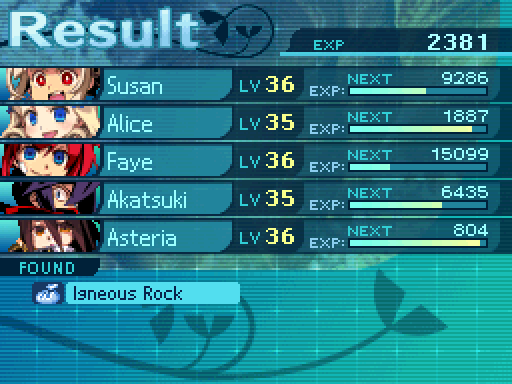
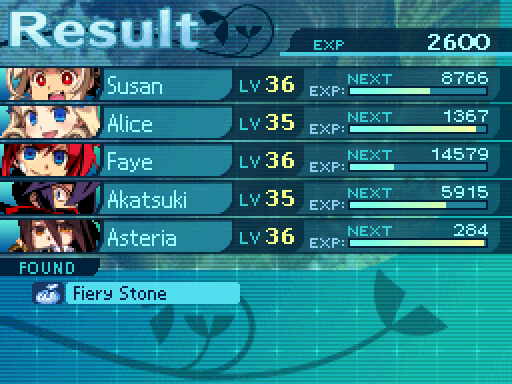
But their gimmick is that if you do opt for the easy way out, you get their conditional drop. Their conditional drop will block you from getting their other drops, an aspect of the game that's usually saved for boss drops. You still want to get a lot of these despite that.
Um, I don't think a rock will sell for much. In fact, I think this is completely worthless.
But we do need them for that quest.
True. I wonder if Edie or her sister can make anything with these.
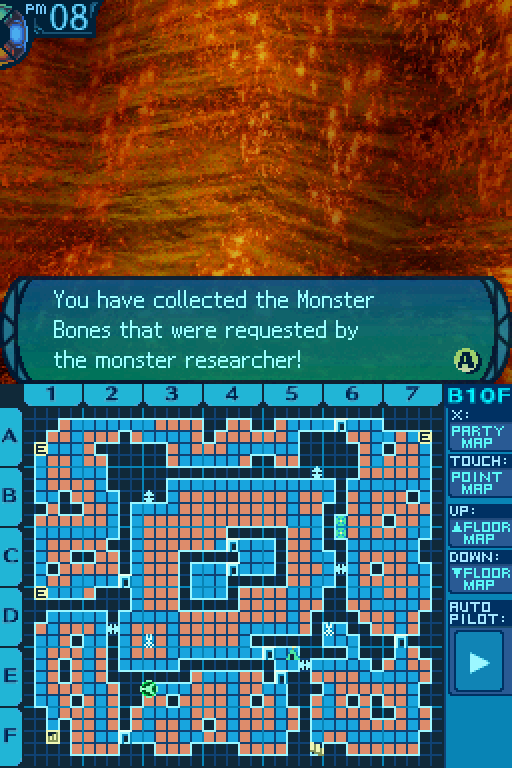
Here's another set of stairs back up to the 10th floor.
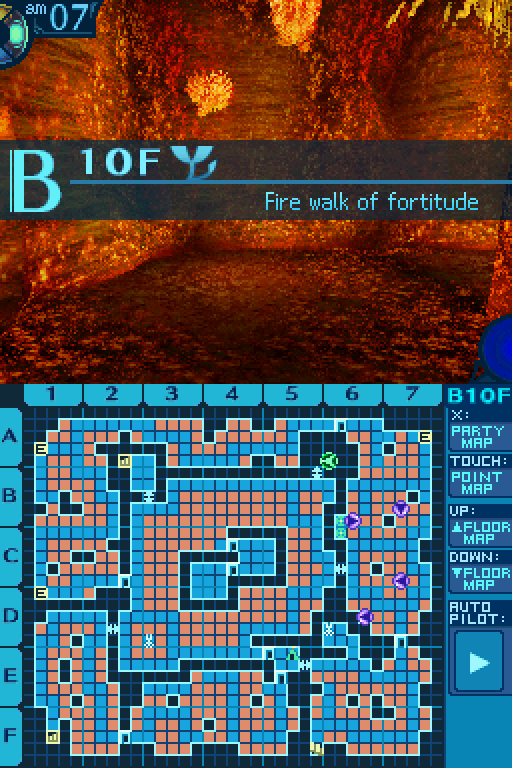


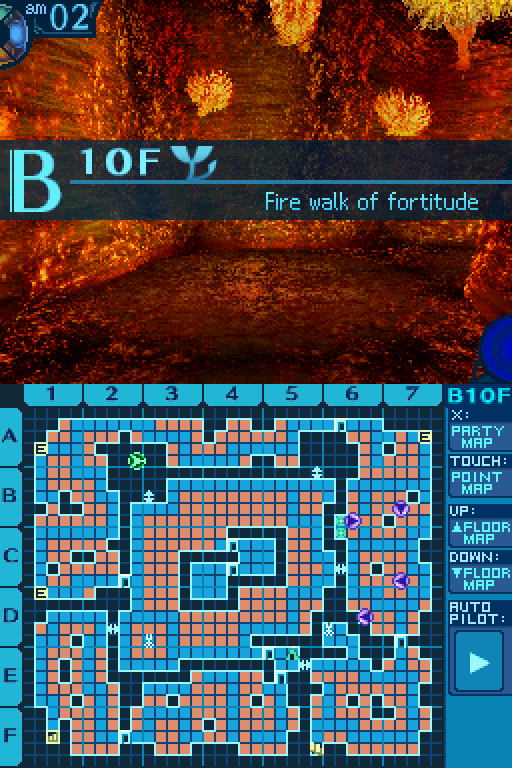
And with that, we have completed the 10th floor map!
Another lava ride.

And we can ride it from the east side to reach...

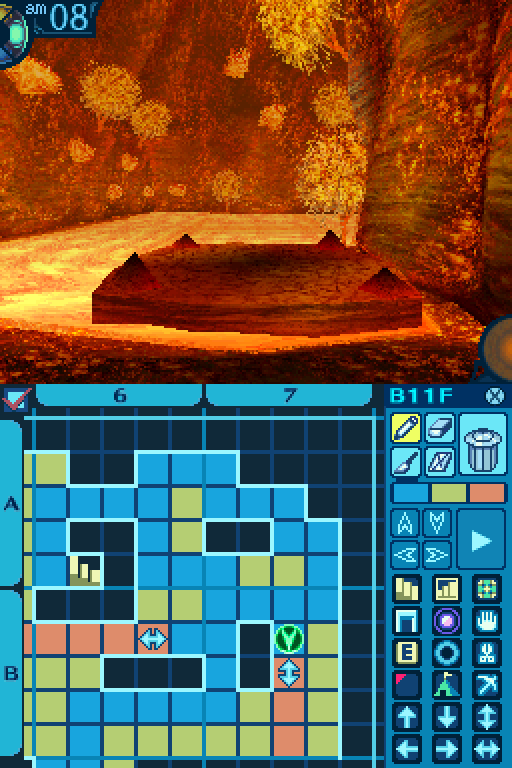
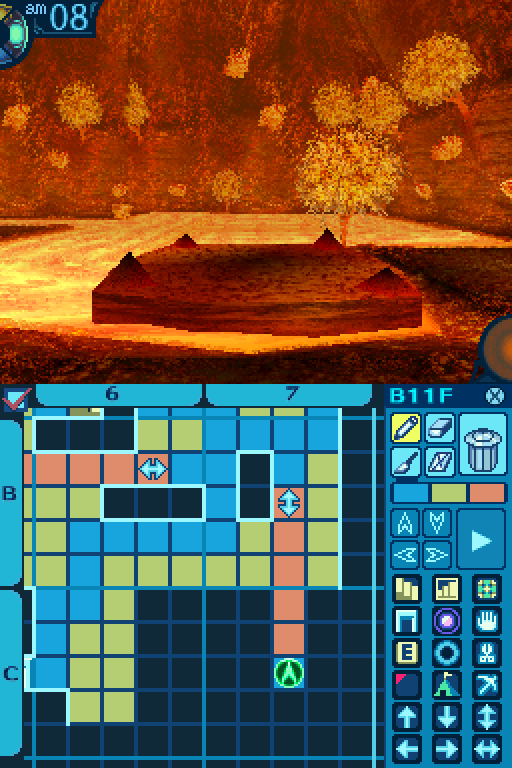
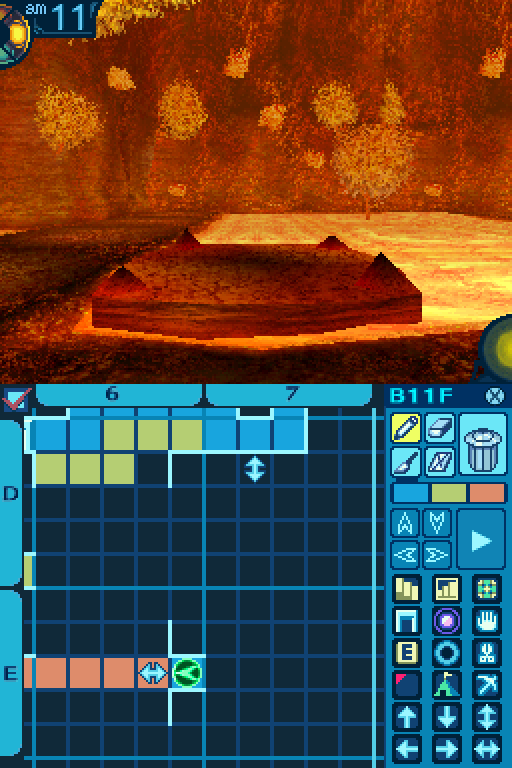
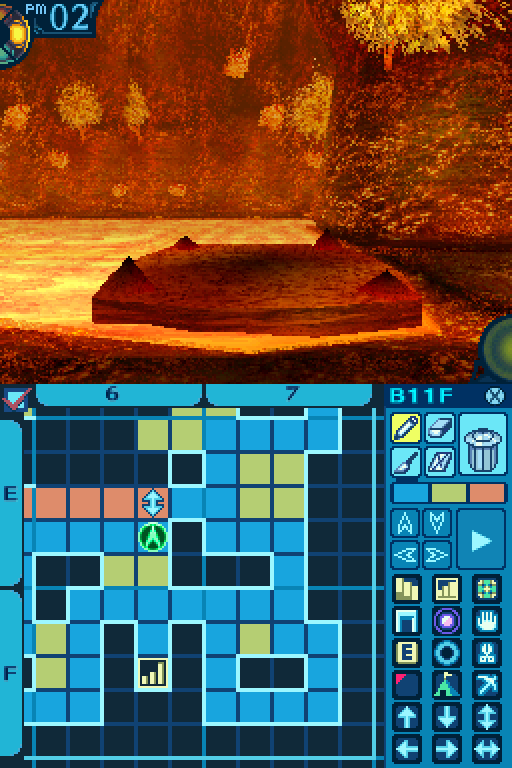
An empty island.
Man, it feels like there should be something here. I dunno what, though.
Well, no point in speculating with so little info. Let's get going.
Off with your head!  ...How was that?
Better. But I dunno if you chopped off their head. Like, those things are pretty much moving heads. No body.
An easy way to grab their normal drops is to use Instant Death or Petrify.
Surely these stones will grant us more money.
I can see the shopkeepers paying more for these.

Back into the dragons' den.

More power for Asteria.

Ether Mastery now provides a 19% boost to elemental damage.

And this is the last time we have to be in that room.

Since we can just skip it with this shortcut.
Alice gains... power?
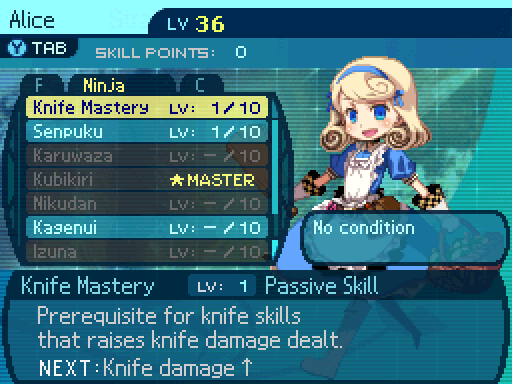
It's like cutting down weeds!
Well something at least. I'm looking to get a few more utility abilities for her.

The cool breeze is refreshing against your sweaty skin. You consider taking a rest here...
Okay, break time! Ah, the wind feels so good here.
Yes, in this scorching heat, it is very refre- did you hear that?
It seems we are not alone.
However, the blowing wind carries on it an eerie sound like the growl of a fearsome beast.
Here's another class specific event, and this one relies on you have a Zodiac in the party.
Oh, that? That's nothing to worry about.
I fail to see how so.
Well you see...
While at a loss for what to do, Asteria tells you that there is nothing to fear. The astrologer Asteria explains that the sound is caused by wind echoing through the cavern. If you are tired, you may rest here without fear.
If you don't have a Zodiac, you miss out on the info that this is a safe place to rest.

No:
You can only assume a monster lurks within the fissue. You carefully and silently leave.
Yeah, that spelling mistake is in the game.
Yes:
That settles it! Time to relax!
You decide to take advantage of the serendipitous breeze and relax your aching muscles.


Another lava ride.
2B Mine Point:
Corundum: 30% Gather Rate.
Clastic Rock: 70% Gather Rate.
Pyrargyrite: Rare.
Common Gather Periods: 2 to 13.
Rare Gather Periods: 1 to 4.
Here's a shortcut back. I ended up missing the 3rd rock. It's around in this area. I'll show it off later.

And here's the way forward, but there's more to explore on this floor.
With this shortcut, we have a quick way back to the 12th floor.
Remember that lava ride from earlier? If we went down those stairs, we wouldn't have been able to ride this across.


Oh man, this is awesome! It's a sawblade on a stick!
I fail to see what is so awe-inspiring about it.
And I don't believe any of us can use that.
But, sticks make everything better!
...Sure, whatever you say, Faye.
This thing gives regular attacks a 21% chance to inflict Leg Binds. Meh.

Takanoha now deals 85% damage per hit.
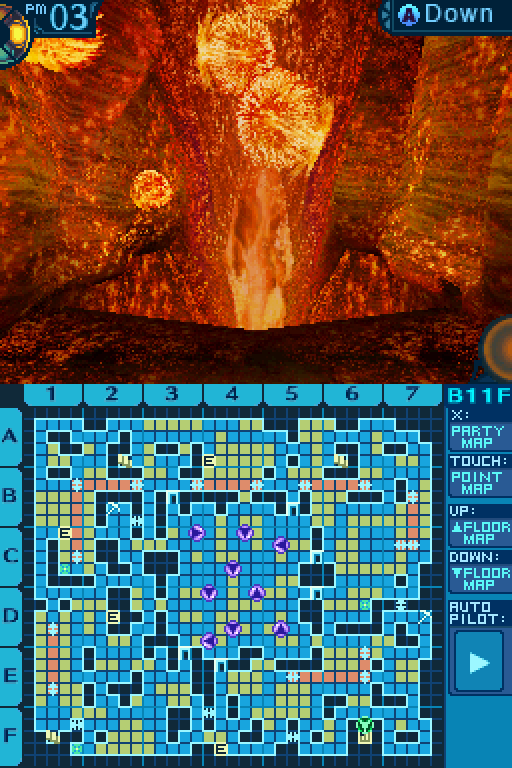
And now we're completely done with the 11th floor!

Now we've reached the 12 floor, but that means there's new dialogue and quests in town. So let's go see those.


 The other day, fishermen from the northern seas gave me some tasty-looking Armored Shrimp! Me and my sister roasted them and ate them... They were SO good! The fishermen told me they’re easy to catch around Sheba in the northern seas. If you’re interested, go ahead and try catching some yourself!
It has been a while since we have gone sailing. We will go back to that, right? The seas must fall under my rule!
Eh, I'll think about it.


 Hm... Actually, that undersea cave you’re venturing through now... The return on investment for weapons made from materials from that place... Er, I mean--! I eagerly anticipate more new materials from your excursions into the new Stratum.
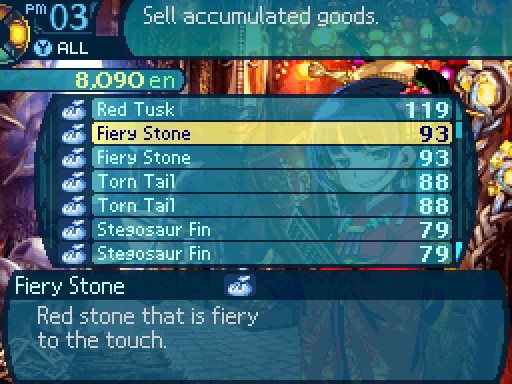
While the Fiery Stones sell for an okay amount...
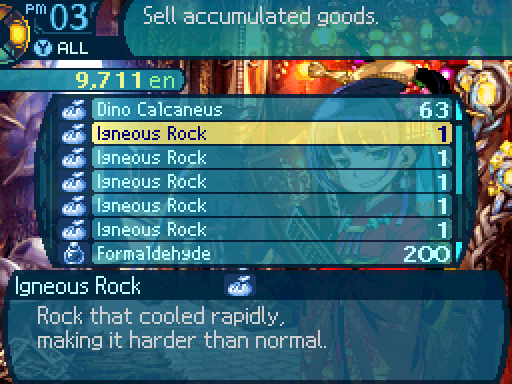
Rocks? Really? This is what you have to offer me?
Look, can you make anything from them or not?
Just give me a second. You're lucky I'm giving you anything for those at all.
Igneous Rocks are pretty much worthless. If these clog up your inventory, feel free to throw them out once you have all the equipment they unlock. Anyways, here's the equipment we've unlocked.


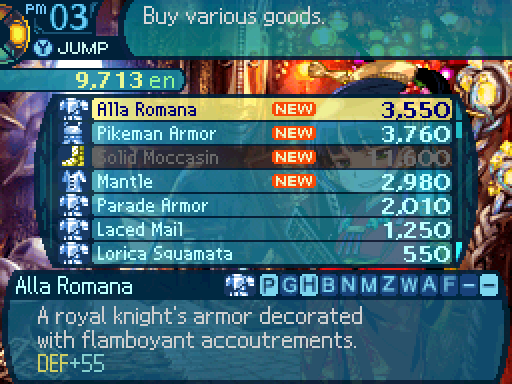

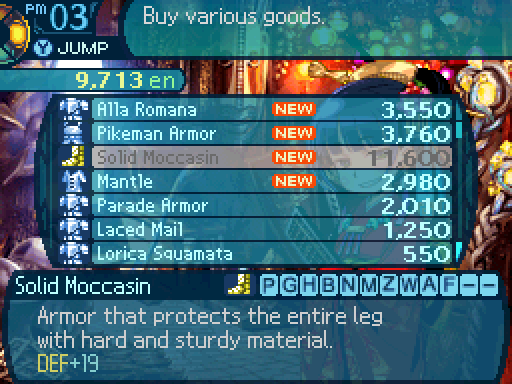
The Solid Moccasin was unlocked from Corotrangul's Gold Drop. Provides a nice bit of defense for a Boot.

That description is so wrong. It provides a 20% resistance against Ice attacks, which isn't so useful in this part of the game.
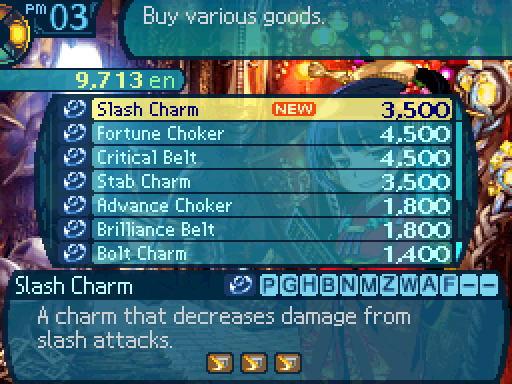
Slash Charms reduce the damage of Slash attacks by 30%. Could come in handy for certain fights.
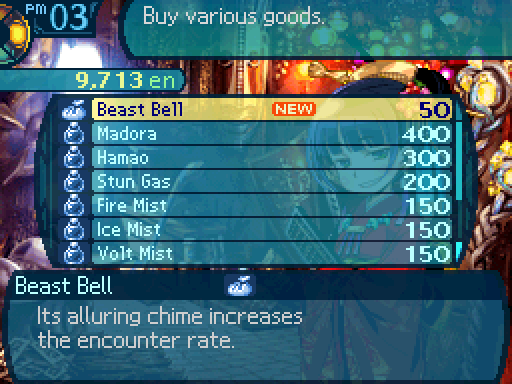
Beast Bells increase the encounter rate. Use this if you feel like grinding, but I personally prefer fighting FOEs to do that.

 You might be getting stronger, but you’re in a very dangerous time of your exploring career! Don’t you get overconfident, now! If you die, I’ll be all sad.
We'll try not to do that!

Occasionally there will be no bar patrons to talk to, so this message pops up in that case.

Let's turn in our quests.
Welcoming! You appear to be safe. Have you found some Monster Bones already?
Here you go! These should be what he asked for.
That is what I am speaking about! You are always so efficient in your work! Scott says this knowledge may begin a revolution in the science of monster biology! But, no matter what he says, he still depends on people like you to do his job. I will be making sure Scott is getting these bones. Here is your reward for this request!


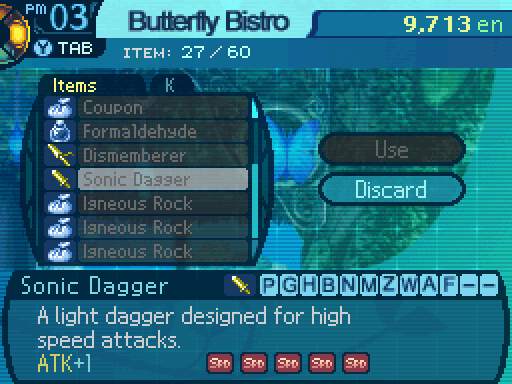
Do not get rid of this. It's a very good weapon for a support to have. Daggers provide a +3 bonus to someone's Action Speed, and combined with the +10 bonus all those SPD forges provide, this thing gives a +13 boost their Action Speed. Which can be enough if they're having speed troubles in certain fights.
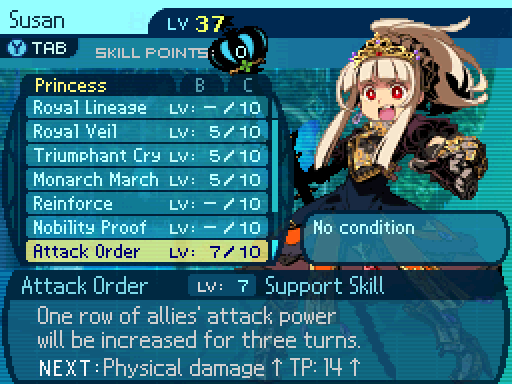
Attack Order now provides a 36% boost to physical attacks.
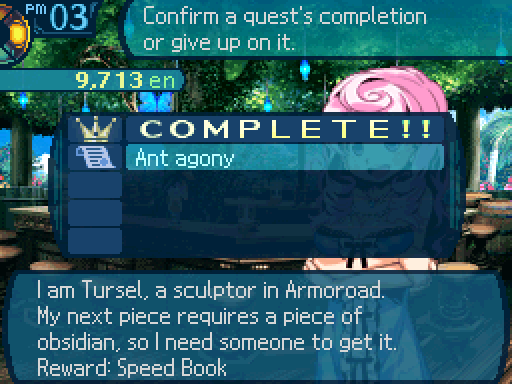
Hello! Welcoming you back! I am seeing you have the Igneous Rock. It must have been a breeze for you! Thankings to you, Tursel will be able to make some amazing art. Here is the rewarding for you, then! If we have another jobbing, I’ll let you know!
Can't catch me now!
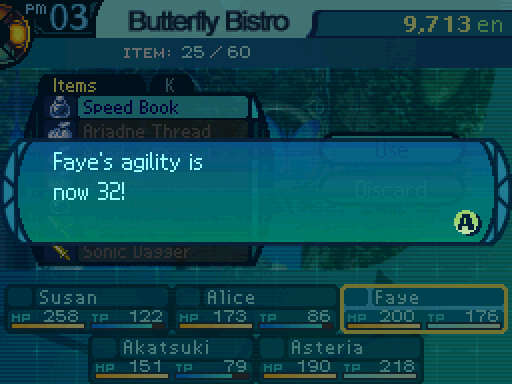
I use the Speed Book on Faye. Faster healing is nice.
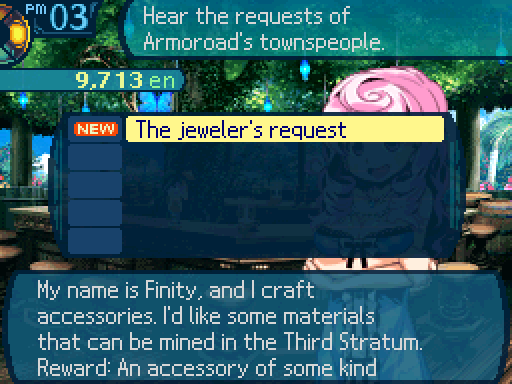
This request is coming from the famous accessory designer Finity. Are you wanting it? You’re always bringing back rare stuff from the lava caves, yes? It seems Finity heard of your reputation for finding all kinds of new things. He wants you to mine for the rarest possible mineral. I am suring you can do it! Go, explorers!


Tell me about it.
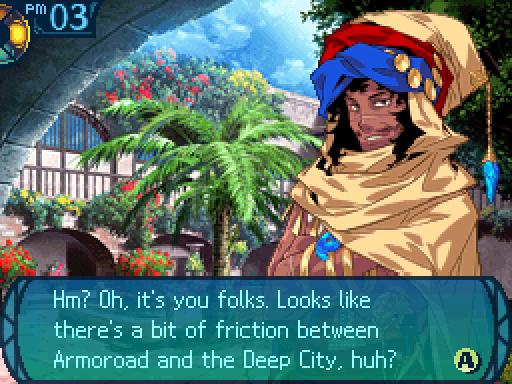
 Explorers are happy as long as they have something to explore... But don’t get in over your heads.


 Yggdrasil is truly mysterious if it can hold a city that sunk an entire century ago. I’d like to delve into those mysteries myself... If I were about 50 years younger, that is. Hahaha!

 Keep up the splendid work for the Princess’ sake.
For the record, she says the exact same thing if you accepted the Deep City's mission instead.


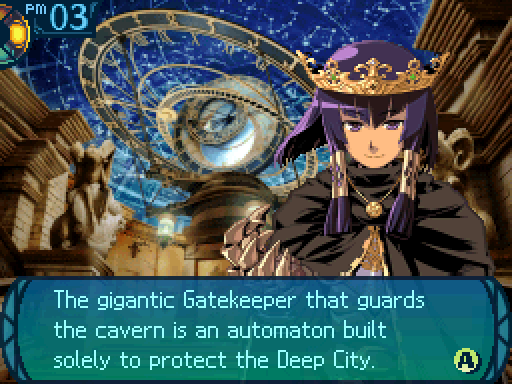
 Its sheer size... and those powerful arms...! It’s perfect to stand guard in case of Deep Ones. You may think you’re strong, but trust me, you don’t want to get anywhere near the Gatekeeper.
Yeah. You should be prepared for a tough fight once you get to Gatekeeper. Yeah, right! That thing's a complete pushover and the easiest Stratum boss in the game!


Yes. We've gotten down to B12F.
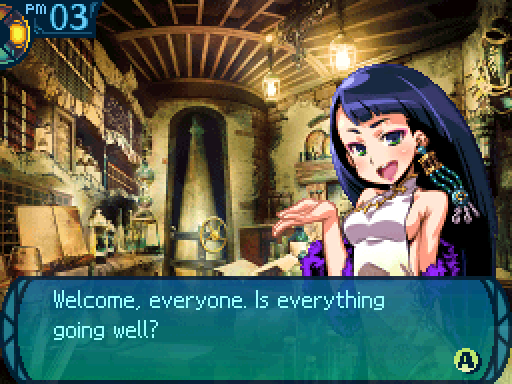
 ...B12F? Wow, you’ve gone that deep already? No wonder I haven’t seen you around lately. If you ever feel like you’re in danger, come back, okay? I’ve got more than enough medicine. ...And, okay, I admit, I get bored without you. You folks should visit more often!


 I believe in you... I trust that your path, like mine, will be for the greater good of humanity.
...He doesn't know, does he?
Nope. But I suspect he'll find out very soon.
The Abyssal King says the same thing no matter what route you're on.
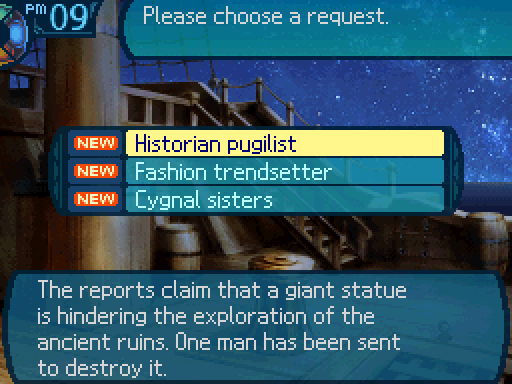
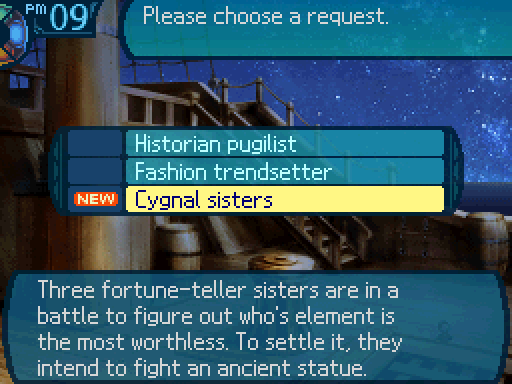
Anyways, were about the right level to take on the next Sea Quest, so let's go do that.

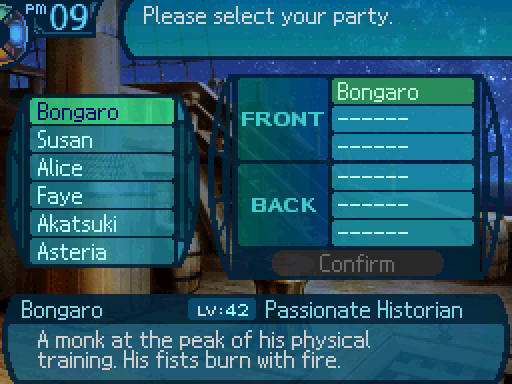
Bongaro
Class: Monk
Weapon: Fists
Skillset:
-Fist Mastery: Level 10
-Ascetic Reward: Level 3
-Blood Return: Level 3
-Ascetic Deeds: Level 5
-Healing: Level 6
-Breakfire Fist: Level 10
Supplies:
-3 Amrita IIs
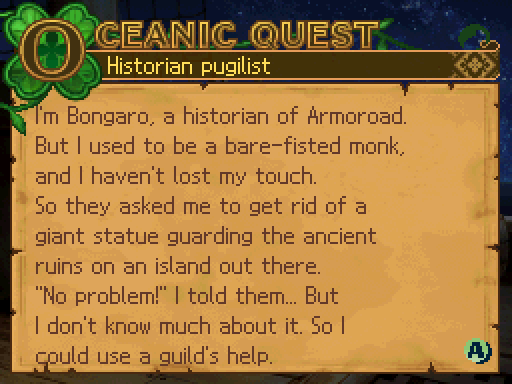
Bongaro is a Punch Monk, not a healer. And he's actually pretty good at that job. He can take care of himself for the most part, and the AI cheats, which lets him avoid one of the boss' gimmicks. He deals a pretty decent amount of damage, so he contributes quite a bit. Probably one of the easier Sea Quests. Bring whoever you'd like. He only uses Healing once he runs low on HP. Don't expect him to use it on your party.

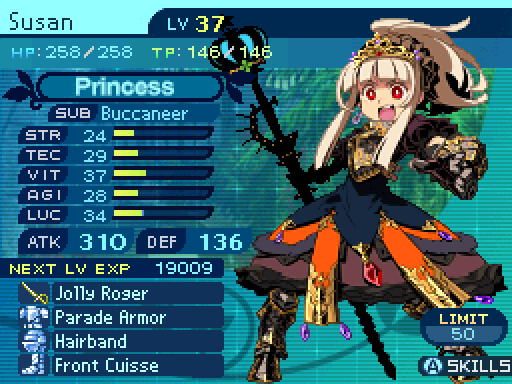
Dezerte
Class: Princess
Weapon: Sword
Skillset:
-Royal Lineage: Level 7
-Royal Veil: Level 5
-Reinforce: Level 5
-Nobility Proof: Level 5
-Attack Order: Level 6
-Ad Nihilo: Level 6
-Protect Order: Level 6
Supplies:
-3 Medica IIs
-3 Amrita IIs
Dezerte's back, and she's still a pretty useful support. She'll focus on buffing the party whenever needed to increase their damage and keep them alive. She also has Ad Nihilo, which is very handy since the boss likes placing a buff on itself to regenerate its HP.

Knuckle
Class: Gladiator
Weapon: Mace
Skillset:
-Stun Attack: Level 3
-Avenger: Level 3
-Freezing Blow: Level 5
-Charge: Level 3
Supplies:
-3 Amritas
Knuckle is unfortunately, a bit of an idiot. His AI is really simple, use Charge, then Freezing Blow. He rarely deviates from that pattern, and as a result, he tends to use Freezing Blow at the wrong time, and get himself killed. Still, he's a pretty decent damage dealer when he's still up and running. Not really a tough Sea Quest, thanks to the amount of support Dezerte brings.

Ruby
Class: Zodiac
Weapon: Book
Skillset:
-Singularity: Level 3
-Fire Star: Level 6
-Etheric Charge: Level 3
Supplies:
-3 Amrita IIs

Sapphire
Class: Zodiac
Weapon: Book
Skillset:
-Singularity: Level 3
-Ice Star: Level 6
-Etheric Charge: Level 3
Supplies:
-3 Amrita IIs

Amber
Class: Zodiac
Weapon: Book
Skillset:
-Singularity: Level 3
-Volt Star: Level 6
-Etheric Charge: Level 3
Supplies:
-3 Amrita IIs
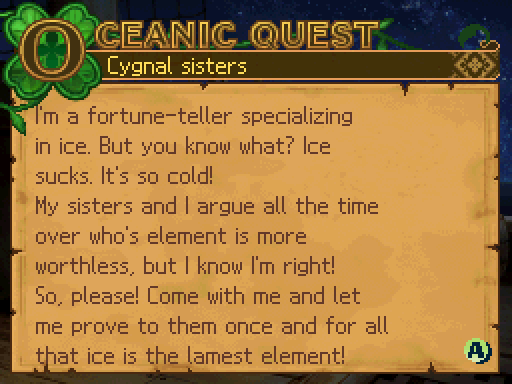
The difference between elements is purely for aesthetics. The boss in question has the same resistance to all elements (125%.) The younger sisters deal slightly less damage because of the difference in stats, but that's about it. Anyways, this is essentially another 2 protect 3 quest. Don't bring any more damage dealers, because you have more than enough of them here. No, what you need is defensive support and some form of recovery. The reason is because while the boss is weak to elemental attacks, it also loves countering them, and you can't predict when it will do that. Bongaro's AI cheats, so he'll never use Breakfire Fist on a turn when the boss counters. But the girls have a very simple AI, which consists of using Etheric Charge and then their Elemental Star. Which is a pattern they rarely deviate from. As a result, they can all end up killing themselves on a counter. You want some way to desync the girls so they don't all die at once. Like maybe using Bodyguard on one of them, or Knighthood to ensure that the chosen girl doesn't die. At any rate, defense is key here.
Now let's see how our guild is doing.

MEGAQUEEN here is a pretty good support to bring to the fights. Not only can she make our physical attackers hit harder, she also has Ad Nihilo to eliminate that pesky regen buff I mentioned earlier.


Sadly, Alice is pretty much a throwaway vote in this case. She cannot contribute anything of importance against this boss.
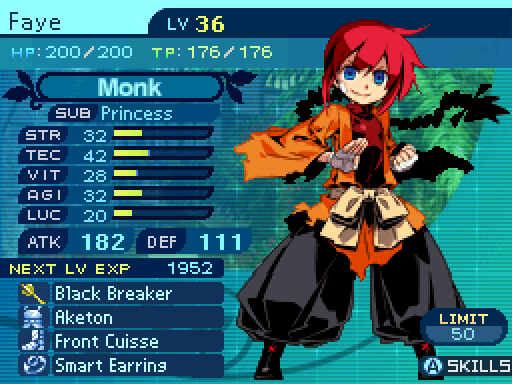
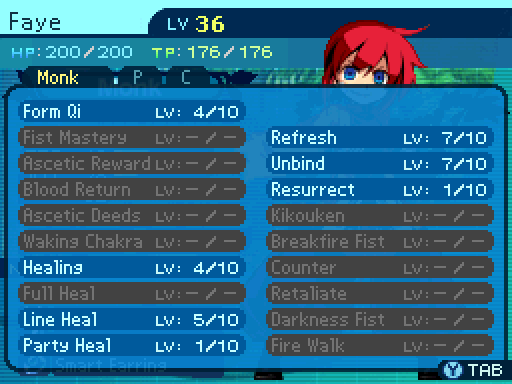

Faye is our healing and buffing support, and will do a good job of keeping everyone alive. To an extent. Counters deal way too much damage and will pretty much one shot whoever gets hit by them, so she can't do anything about that. But she does have the power of necromastery on her side.

Akatsuki is sadly a throwaway vote as well. There's nothing of importance he can contribute, especially since he currently lacks a way to deal damage. Well, there's Dark Ether spam, but that's not so great in boss fights.

Asteria is pretty much our best bet of dealing damage against the boss. (As always.) However, in this case, it's because the boss is heavily resistant to physical attacks (50%.) As such, her damage output outshines everyone else's attacks. Unfortunately she will need defensive and healing support, because she will end up committing suicide against the boss' counter moves because it's impossible to predict whenever those will come out. Oh, and counter moves are coded to be Almighty damage in this game, so there's not many ways to mitigate the damage from those.
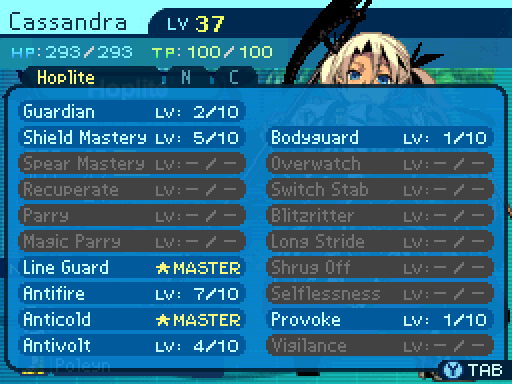

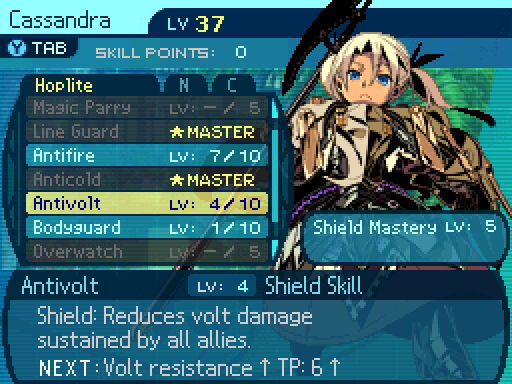
Now that Anticold is maxed out, I'm going to prioritize Antivolt. A little tip for playing the game in general. If you're on the Armoroad path, you want Antifire maxed out by the time you get to the end of the 4th Stratum. And Antivolt maxed out by the end of the 5th Stratum. Anticold's not really a priority on that path, so you don't have to worry about that. As for the Deep City route, just max Anticold first. That's your main priority.
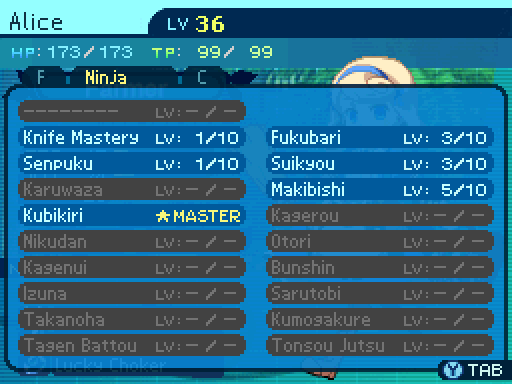
Cassandra is a fantastic support to bring along because the boss loves hammering everyone's faces in with its physicals. Bodyguard will ensure the safety of someone who is the victim of a counterattack, and she can use Bunshin in order to bring out 2 Cassandras to help protect the team.


Blade Rave now hits 4 to 5 times and deals 95% damage per hit, resulting in an average damage output of 427.5%. Very handy.
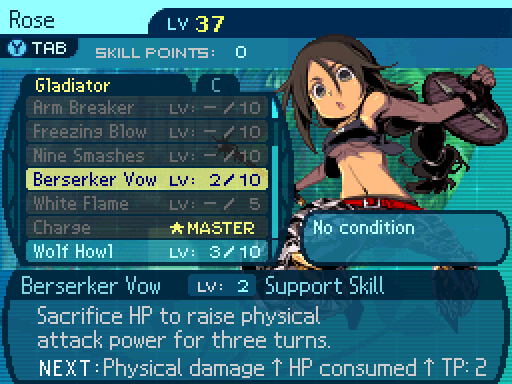
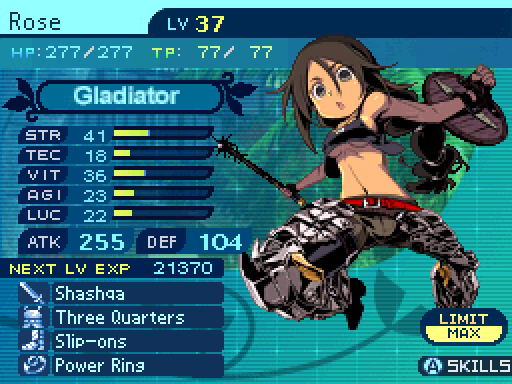
Now I start working on maxing out Berserker Vow because that's the strongest damage buff in the game. It gives a 36% boost to physical damage at the cost of 35% of Rose's current HP.
Rose is a physical attacker, which means that she can't contribute as much as Asteria, since the boss in question is resistant to physical attacks. However, physical attacks can't get countered, so they are a safe (if slightly slow) way of dealing damage. She's also fairly durable as well, so it'll take a bit to bring her down.


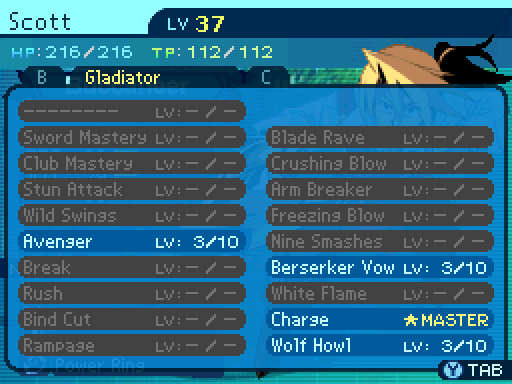
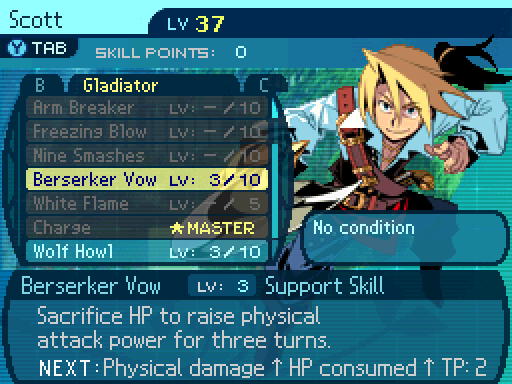
I'm also gonna have Scott max out Berserker Vow to increase his damage even further. At level 3, it gives a 42% damage boost at the cost of 45% of Scott's current HP.
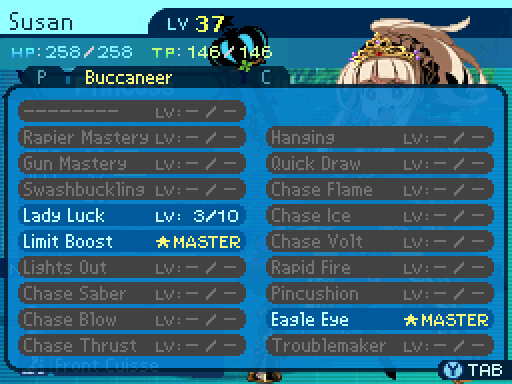
Now Scott is the strongest physical attacker on this team thanks to his Jolly Roger-wait a minute.
 Susan, you better give me back that sword if I get chosen to come with the team!
Only when you call me MEGAQUEEN!
You've got to be kidding me. 
Right, as I was saying. Scott's the strongest physical attacker on the team, so he can put a dent into the boss despite its massive resistance to physicals. Also if he's lucky enough to land a Head Bind (He can only do so once, so this isn't a reliable strategy), it'll halve the boss' TEC stat, so Asteria can go to town on them. If Scott gets lucky.
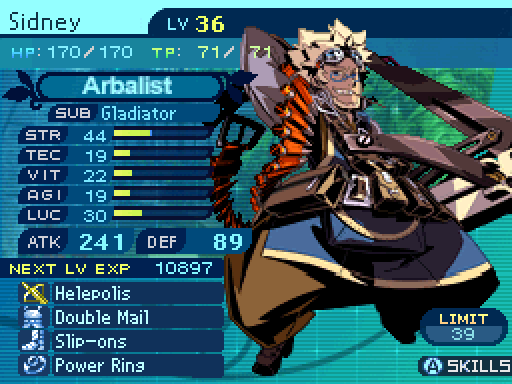


Front Mortar now deals 82% damage if used from the back row, and a whopping 336% damage if used from the Front Row. The bonus from Giant Kill would raise that up to 520%.
Sidney's pretty much getting to be a monster in terms of physical damage. He does have elementals, but they don't deal enough damage to be worth the risk of him getting hammered.
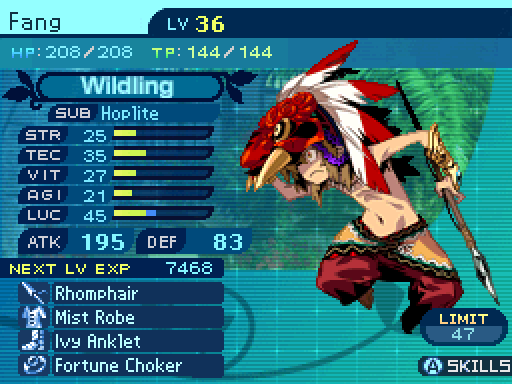


With Beast Soul maxed out, animals now get a 50% boost to their HP and defense, and a 75% boost to their attack.
 Here birdie, birdie!
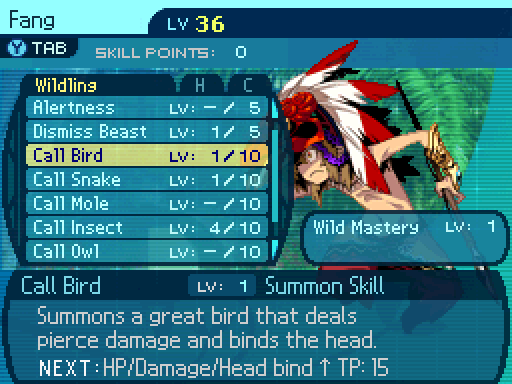
Now I'm gonna focus on getting Fang's binds maxed out. All the binding animals have the same stats and scale in the same way, except the bird does Pierce damage instead of Strike damage like the Snake.
Fang isn't too useful in the fight, because lockdown strategies honestly aren't that great in EO3. If he does manage to bind the boss' arms, he can stop most of its attacks, but that can only be pulled off once.
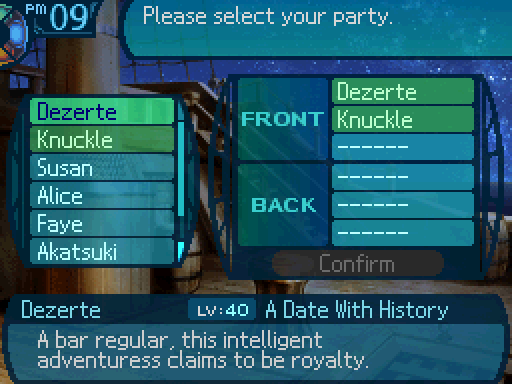
Vote for up to 3 people you'd like to see participate in the Sea Quests. Votes must be bolded.