Toggle Background Color
Update 49: Wrong Way
 So this is what explorers have to go through...
May I ask why these animals are following us?
 They're my friends!
 Don't mind them. They're actually pretty helpful from time to time.
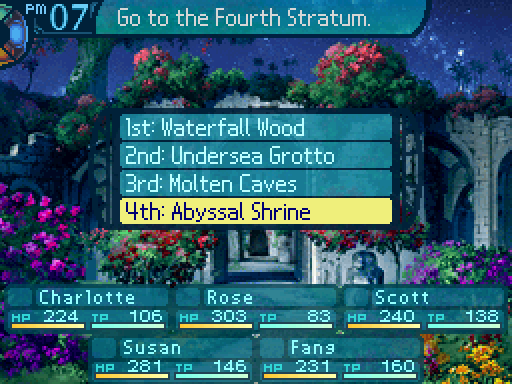
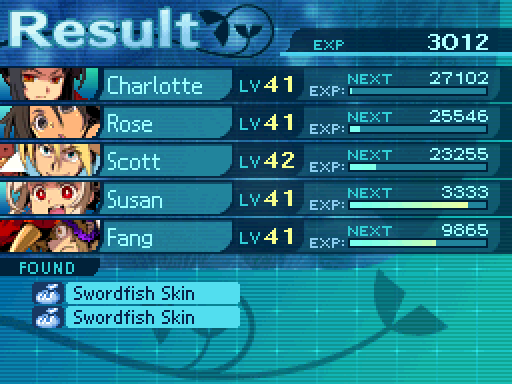
This was the team that was voted in. Unsurprisingly, everyone wanted to see our newcomer in action. So let's just jump into things.


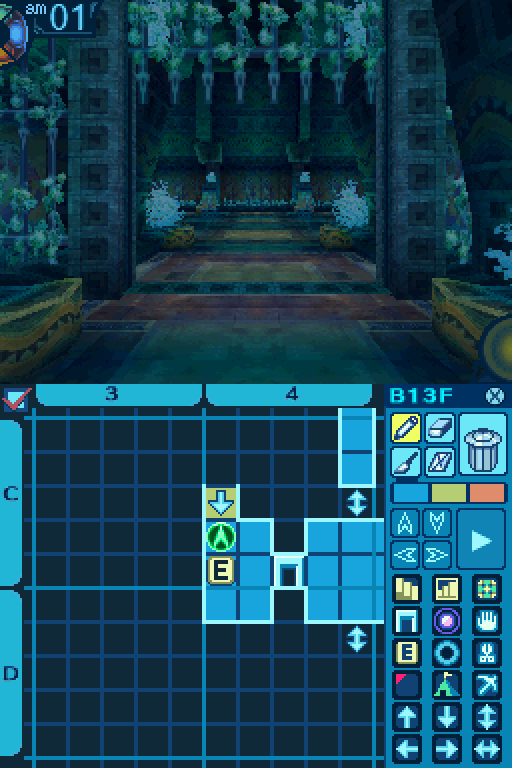
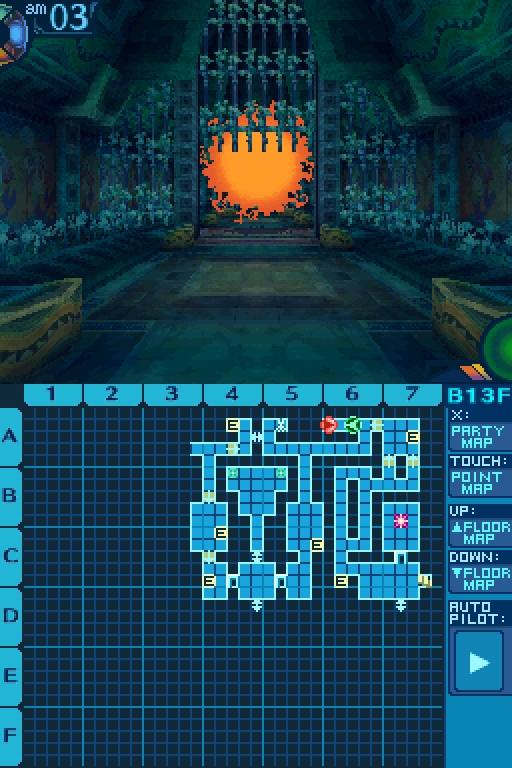
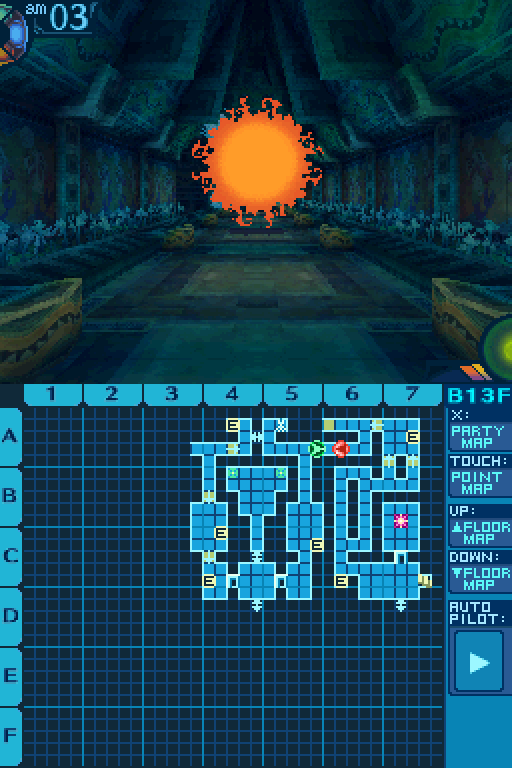
The nighttime splash screen for the 4th Stratum.

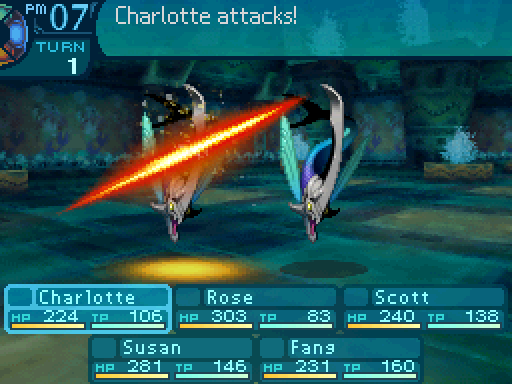
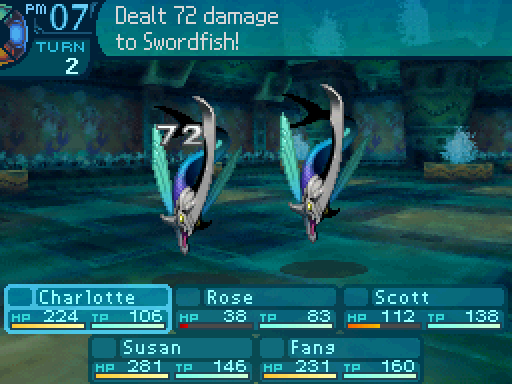
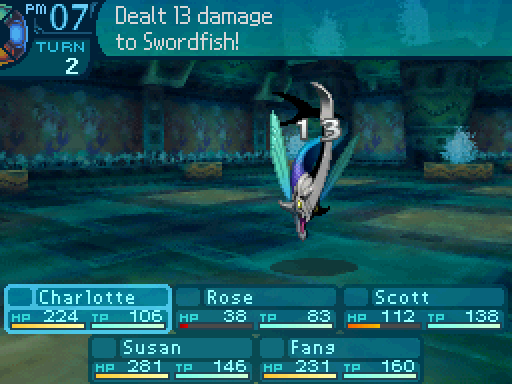
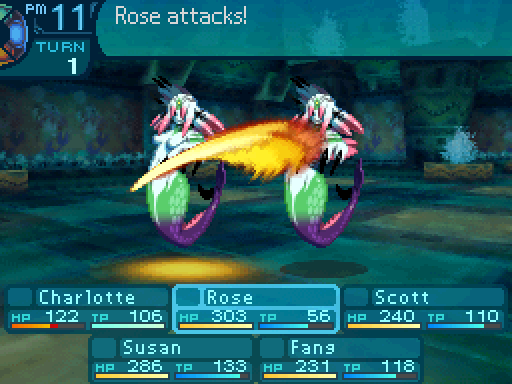
And right away, we get into a fight.

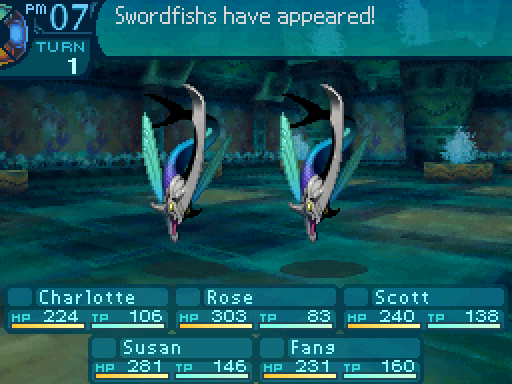
Ah, an excellent opportunity to refresh my skills!

Swordfish
HP: 358
TP: 131
STR: 36
VIT: 28
AGI: 33
LUC: 29
TEC: 36
Attack Type: Slash
Exp: 1506
Item Drops:
-Drop 1: Swordfish Skin - 50% Drop Rate. 1 needed for Evil Sea Boots (Boots.) 2 needed for Harvest Scythe (Sword.) 3 needed for Hide Armor (Light Armor.) and Dirk (Dagger.)
--A set of fully bristled scales.
-Drop 2: Swordfish Fin - 5% Drop Rate. 1 needed for Lightning Book (Book.) 5 needed for Bolt Warhammer (Mace.)
--Soft fin on a swordfish’s belly that feels like silk.
-Gold: N/A
Description: A type of flying fish with sword-like fins all over its slim, slippery body.
Damage Resistances: Slash: 50% Strike: 100% Pierce: 100% Fire: 100% Ice: 50% Volt: 200%
Ailment Resistances: Sleep: 100% Confusion: 100% Plague: 100% Poison: 100% Blind: 100% Curse: 100% Paralysis: 100%
Bind Resistances: Head: 122% Arm: 122% Leg: 122%
Other Resistances: Death: 100% Petrification: 100% Stun: 100%
Skills:
Gale Blade: Uses the Arms. Deals 130% Slash damage to a single target. Has an action speed of +10.
Swordfishes can kind of be a pain to deal with if you don't have any fast characters in your party. For the most part, they're kind of unremarkable aside from their resistance to Slash attacks (which can be a pain to deal with if that's your party's main form of damage, like mine.) But Gale Blade is something to watch out for. The action speed bonus it has gives the Swordfish the ability to pick off any low HP characters, so make sure to keep your HP topped off, or to have a fast character on the team.

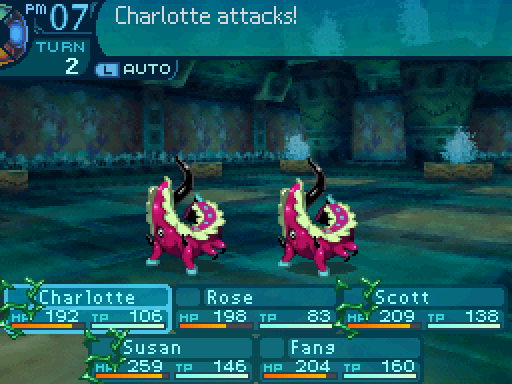
Anyways, let's see our newcomer in action. Now I want you to pay close attention to her Limit gauge.

As well as Susan's.
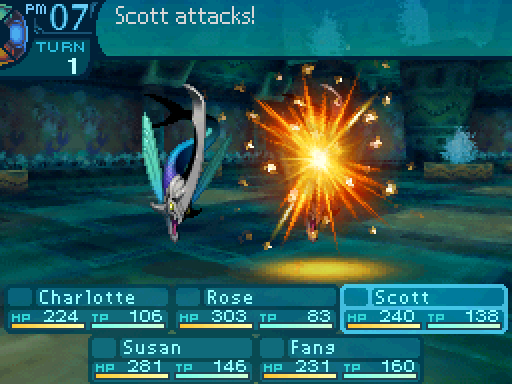
Come here!
Time to strike!

Don't forget my right hand!
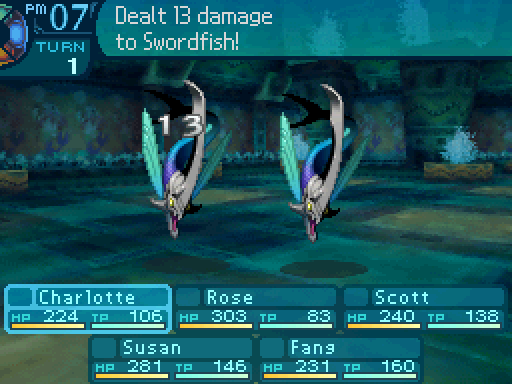
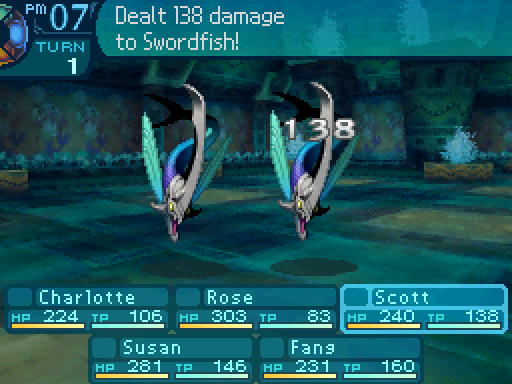
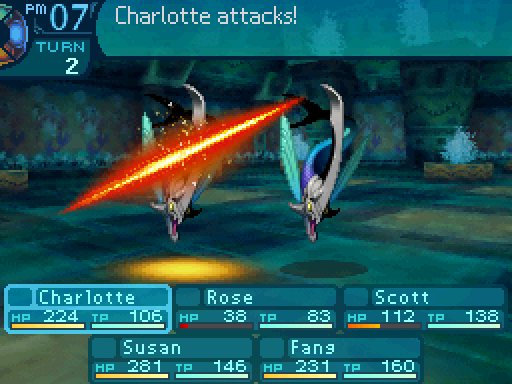
And this is Second Sword in action. Since Charlotte is dual wielding, she gets to attack twice when using a regular attack. Her second attack is done with her offhand, so it's weaker than her initial one. Since the offhand attack deals 20% damage at level 1, her regular attack essentially deals 120% damage, which isn't great but the damage isn't what I'm concerned about.

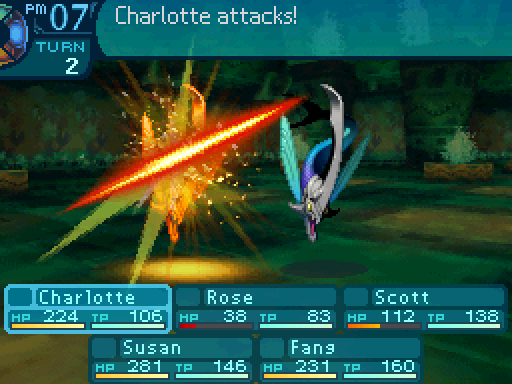
Now look at Charlotte's Limit gauge. It's almost fully charged.

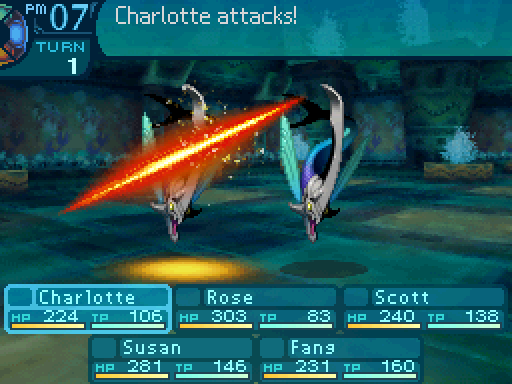
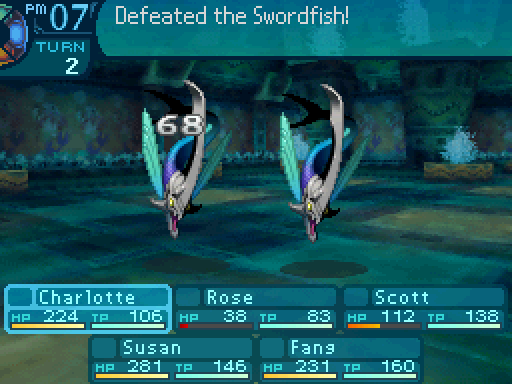
Meanwhile, Susan's Limit gauge hasn't increased as much. This is thanks to Second Sword, which increases Charlotte's Limit with each attack she makes, so Charlotte can fully charge her Limit gauge in 3 turns at most, and 1 turn if I get really lucky. You can be sure that I will be taking full advantage of this.


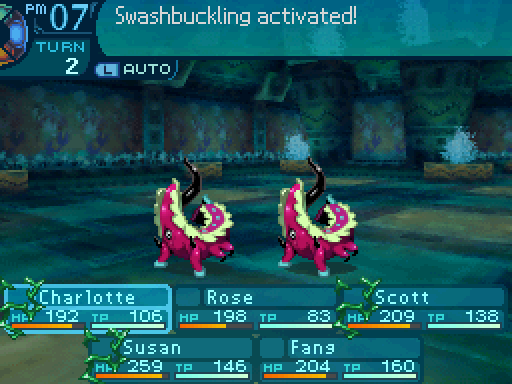
Ah, here we go!
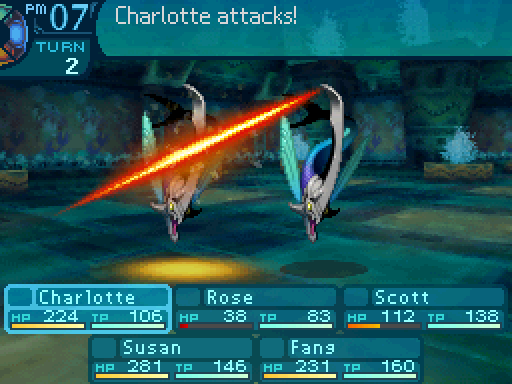
I strike again!

Fall.
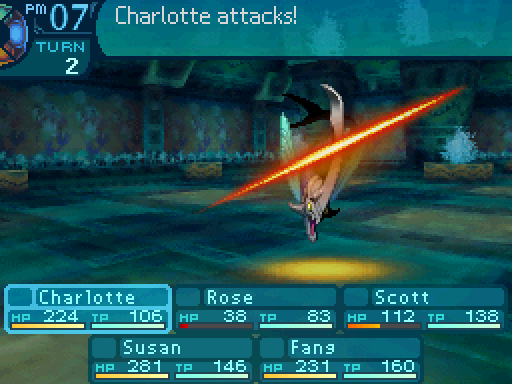
Swashbuckling gives Charlotte a chance to attack again with a regular attack. With, Swashbuckling, Second Sword, and Katana Mastery all at level 10, Charlotte could theoretically deal up to 935% damage to a single target. But there's a miniscule chance of that happening (Like way less than 1%), so don't rely on Swashbuckling for damage.
Oh right, my other hand.
Once a target dies, Swashbuckling hits won't transfer over to any other enemy (Well there is an exception to that.) However, a Second Sword attack will target a random enemy if the initial target dies, and Swashbuckling can proc for the Shogun's offhand too, essentially giving you dice more rolls to work with.
However, that didn't happen in this fight.
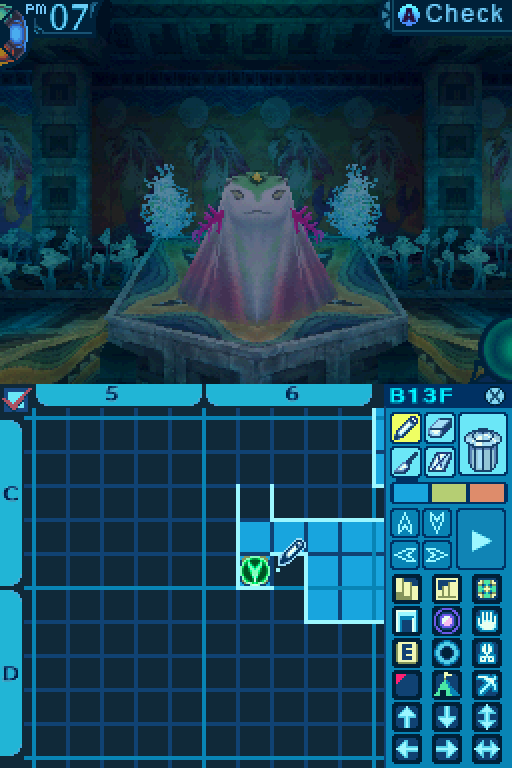
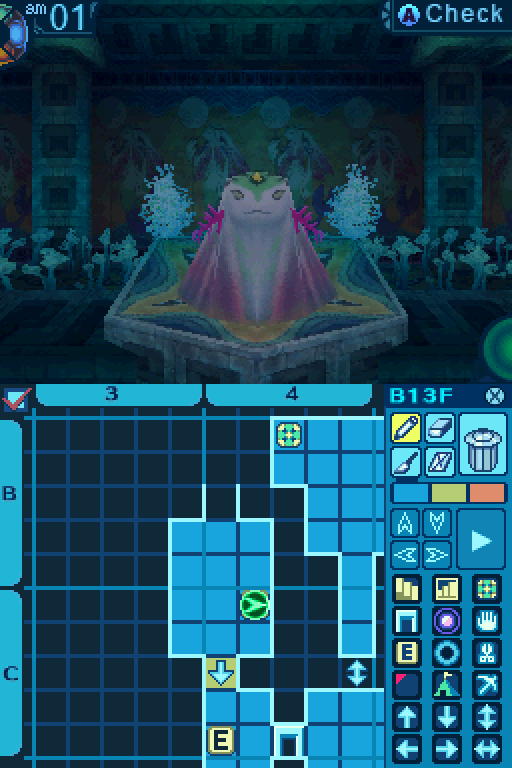
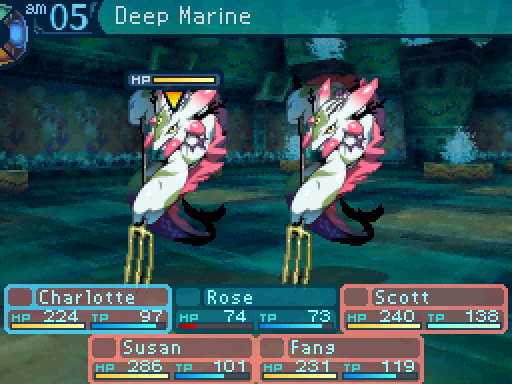
Erm, what is that?
Oh, I remember! That's one of those Deep One things we saw in the 3rd Stratum!
Ah. So that is what our enemy looks like.
 Why is there a fixture of one here? I thought this shrine used to be in Armoroad before it sunk.
 I guess the Deep Ones remodeled when they took over.
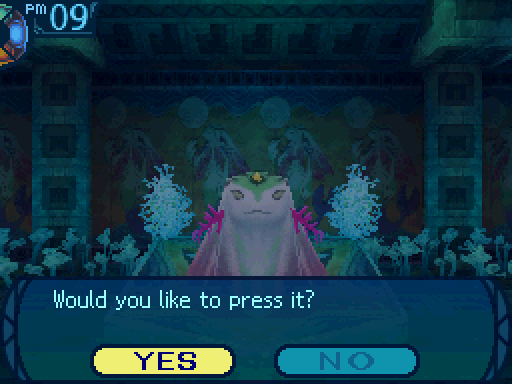
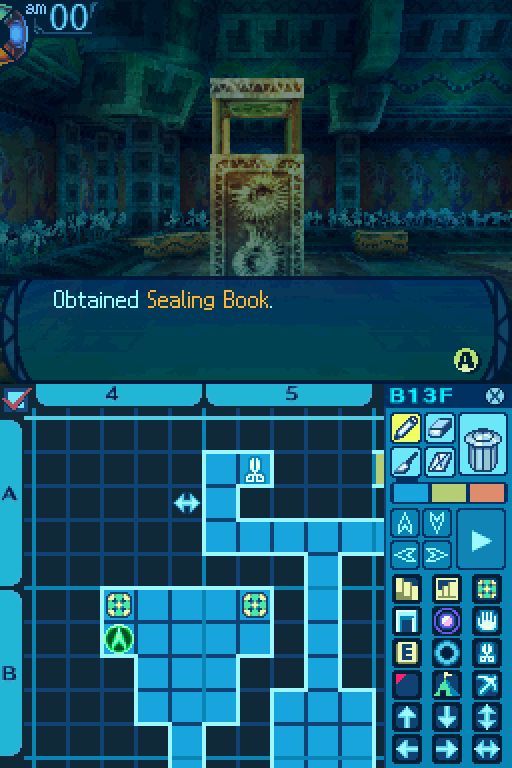
Well, it has been 100 years since then. Oh, hello. What's this?
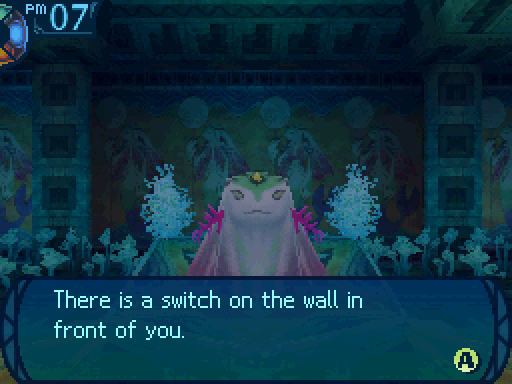
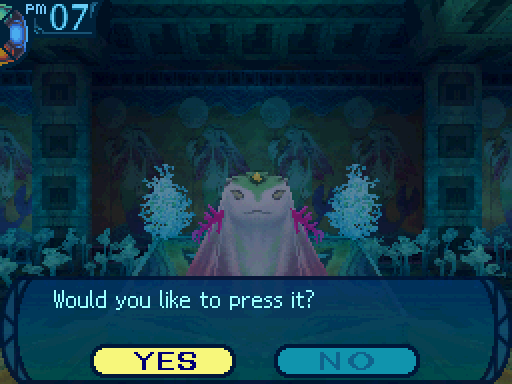

I don't think that did anything.
Huh. Wonder what that was about.
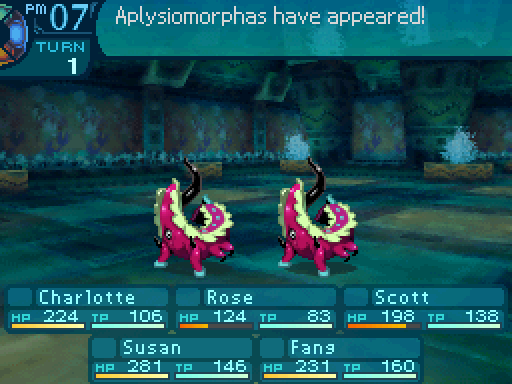

Aplysiomorpha
HP: 465
TP: 132
STR: 33
VIT: 37
AGI: 27
LUC: 30
TEC: 36
Attack Type: Pierce
Exp: 1487
Item Drops:
-Drop 1: Staunch Feeler - 55% Drop Rate. 1 needed for Gilet (Clothes.) 10 needed for Frost Amulet (Accessory.)
--Soft feeler that nonetheless never breaks.
-Drop 2: Trileaf Stalk - 20% Drop Rate. See 3rd Stratum Chop Point info for more details.
-Gold: N/A
Description: This native of the undersea shrine emits a chill that freezes the feet of unwary passersby.
Damage Resistances: Slash: 100% Strike: 100% Pierce: 100% Fire: 150% Ice: 50% Volt: 100%
Ailment Resistances: Sleep: 100% Confusion: 50% Plague: 122% Poison: 122% Blind: 50% Curse: 100% Paralysis: 100%
Bind Resistances: Head: 100% Arm: 100% Leg: 100%
Other Resistances: Death: 100% Petrification: 100% Stun: 100%
Skills:
Frost Lap: Uses the Head. An Ice attack that deals 20% damage to the entire party and has a 30% chance to bind their legs.
There isn't really much to Aplysiomorphas. Not yet at least. They deal an incredibly minor amount of Ice damage and can bind your party's legs. They don't really have much in common with Starry Slugs, even though they're a palette swap of them. Though an interesting little detail, they can actually be hit with Blind, because unlike Starry Slugs, they have an eye. Though it's a bit hard to see on the sprite.

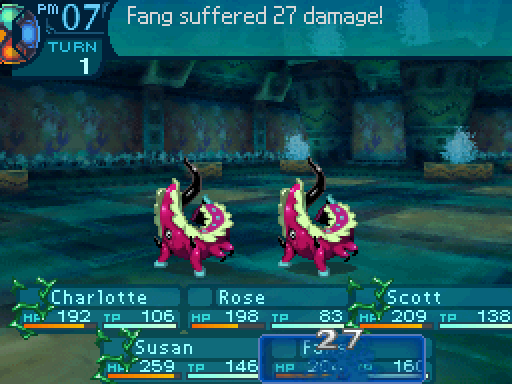
Ngh! My feet!
You can't restrain me forever! 
Oh hey, this again. At least I don't have to worry about a giant whale spouting water at me this time.
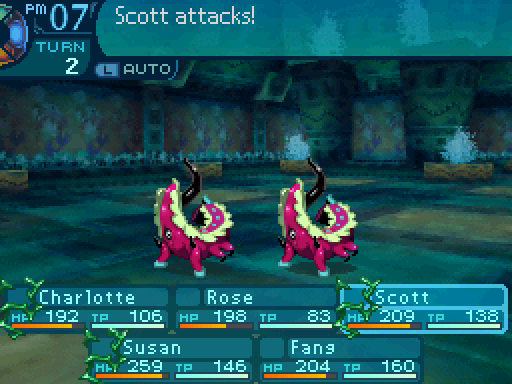
Now I turned on auto battle here. How it functions is that your characters will just do regular attacks on random targets, though they usually target the enemies with the lowest amount of HP when they attack. This actually causes a minor little glitch with some of Charlotte's abilities.

As you can see, Charlotte attacked the first Aplysiomorpha here.
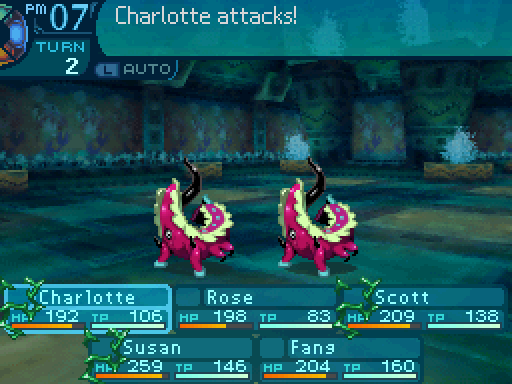

But the Swashbuckling proc actually went after a different target instead, even though it's supposed to go after the same target until its dead. The same applies to a Second Sword attack. It has a chance to attack a different target even if the original target is still alive when auto battle is active.
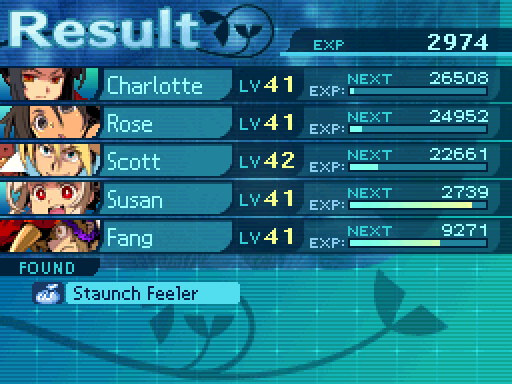
Nothing interesting happened in that fight. Some of these enemies just aren't that threatening. By themselves anyway.
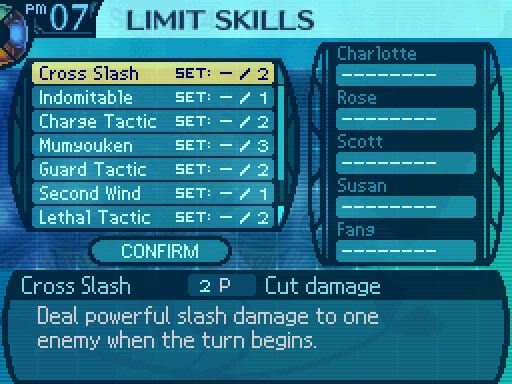
I realized I had no Limits equipped on anyone, so I rectified that. Charlotte has the ability to fully charge her Limit gauge in 1 to 3 turns if she uses a regular attack. Guess which one I put on her?

The ability to take no damage whatsoever!  Okay I'm not supposed to have this thing by now, but whatever. I don't have a Hoplite, so I want this to deal with a specific enemy.

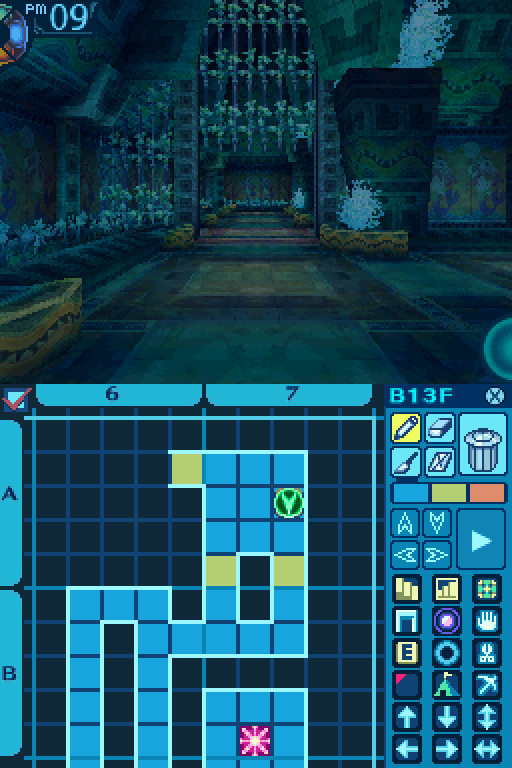
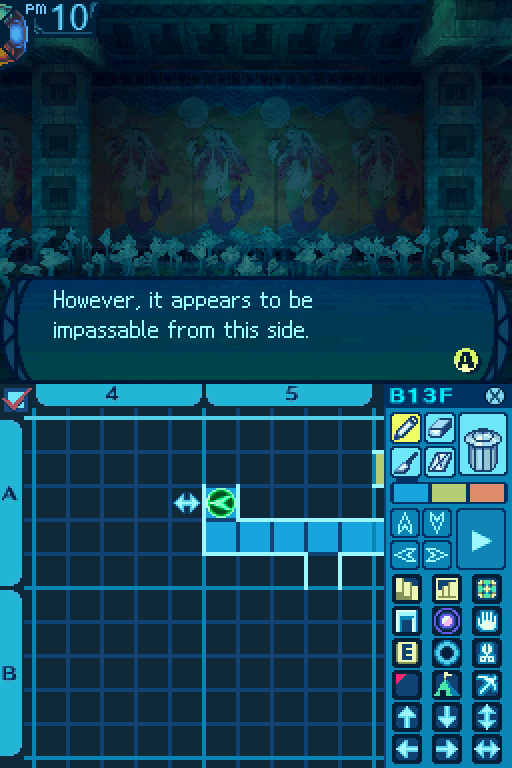
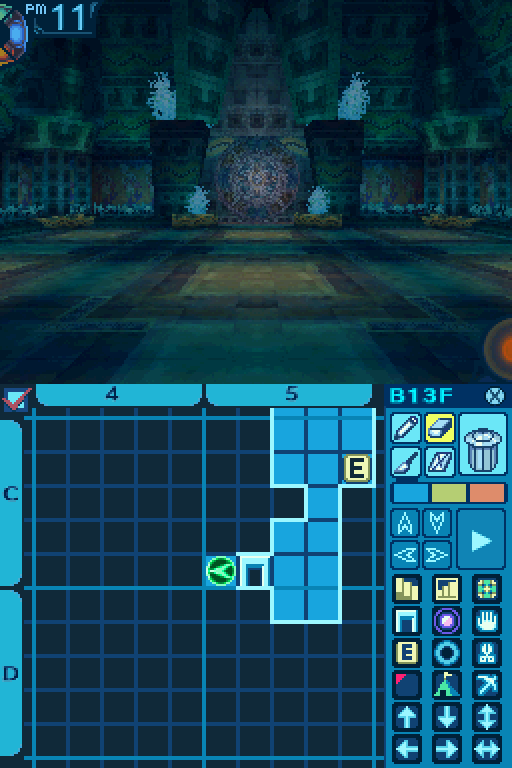
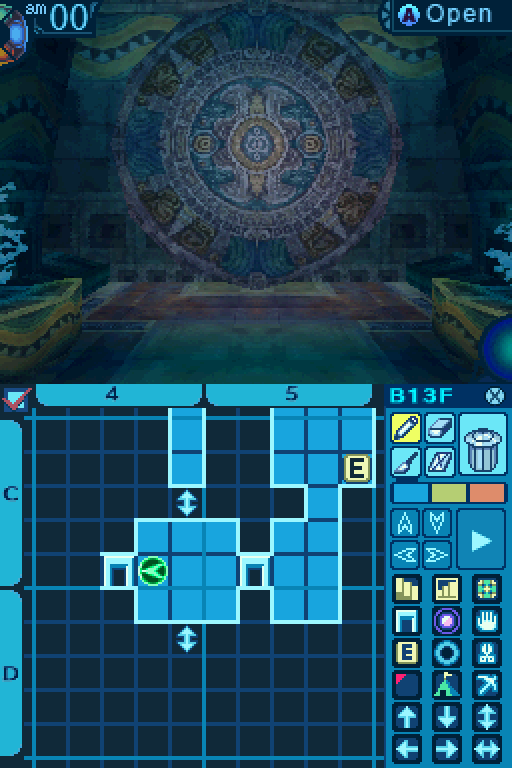
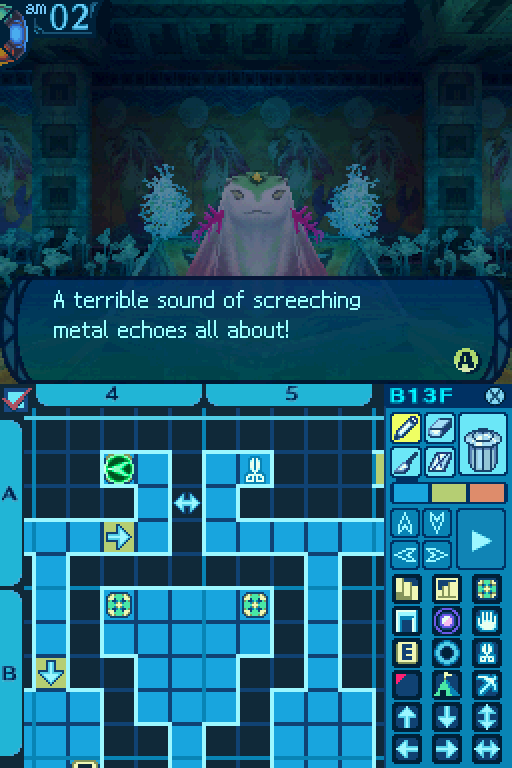
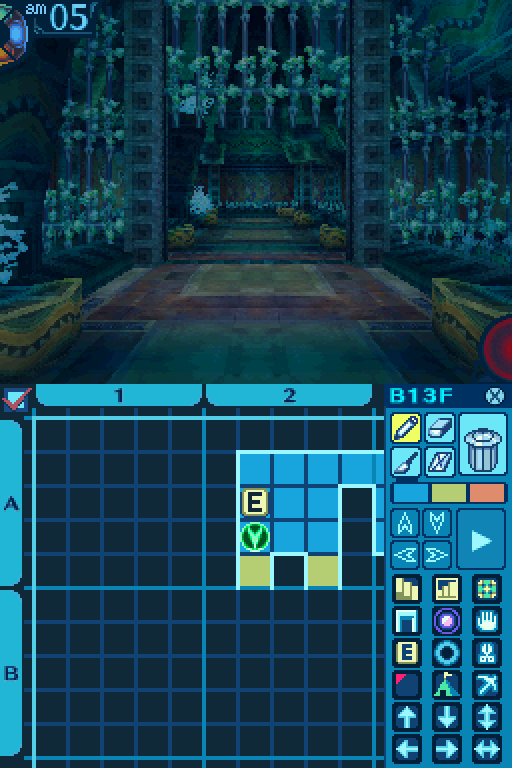
There's a metal gate up ahead.
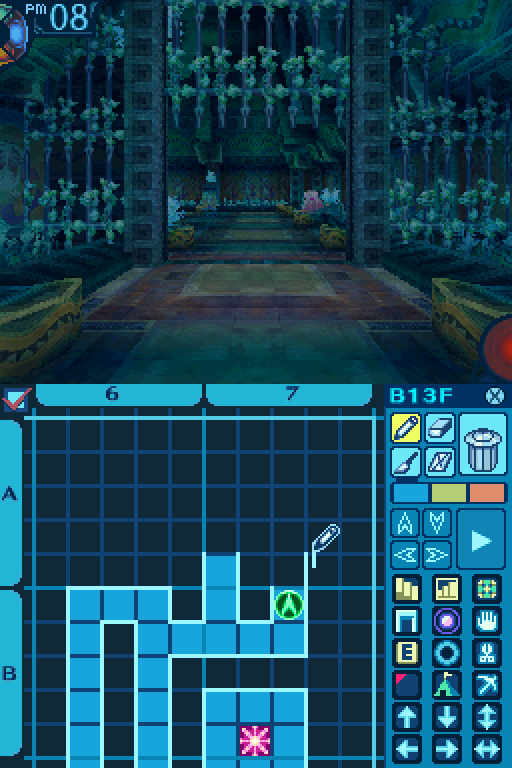
There's another one here too! I wonder what they're for.
What's the big deal? Just walk through them.

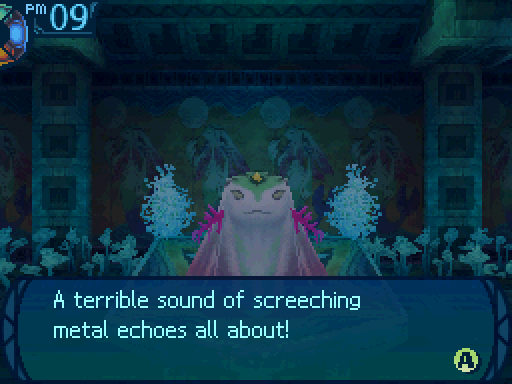
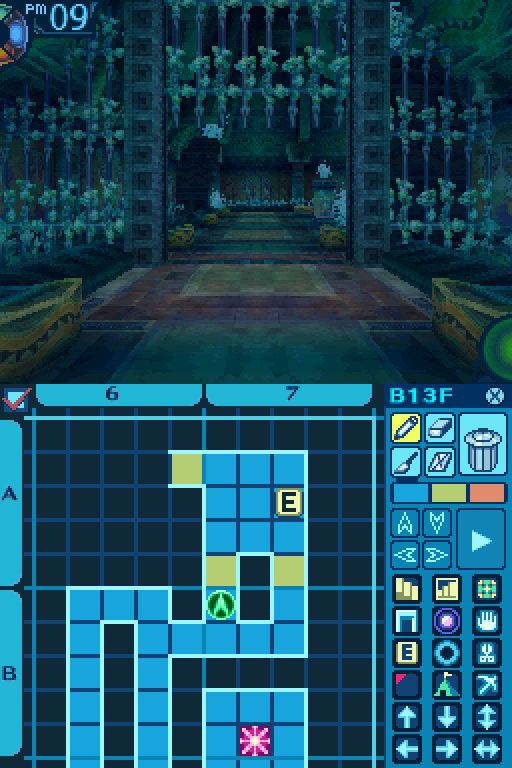
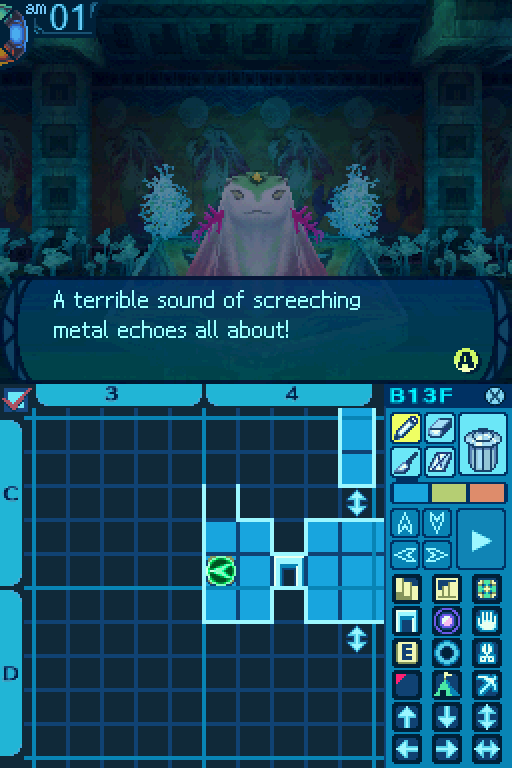
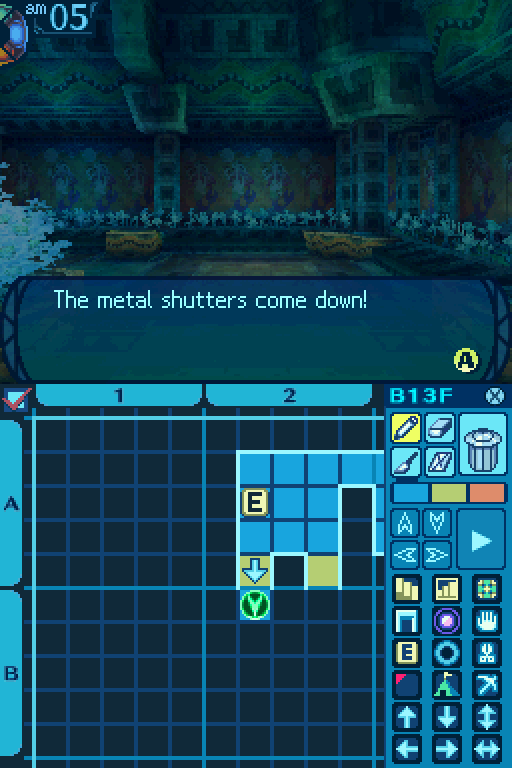
A metal clanging sound plays here.
What was that!?
Hmm. It shut just as we walked through it.
Uh, I think we might be in trouble!
The other gate shut too!
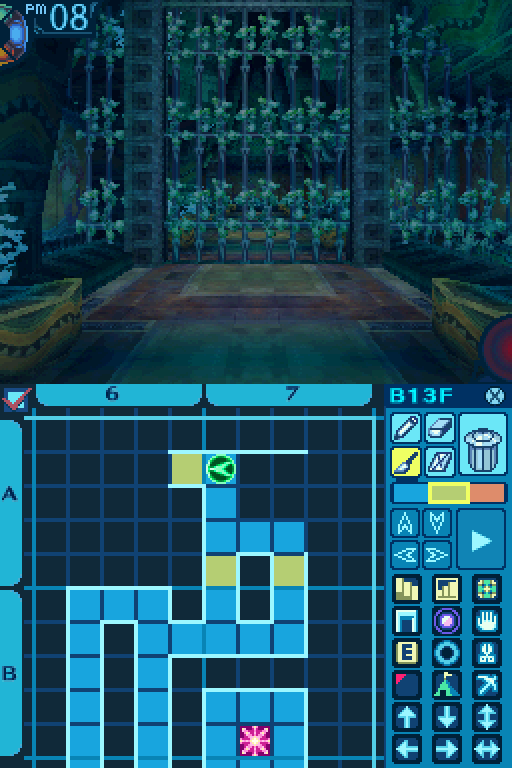
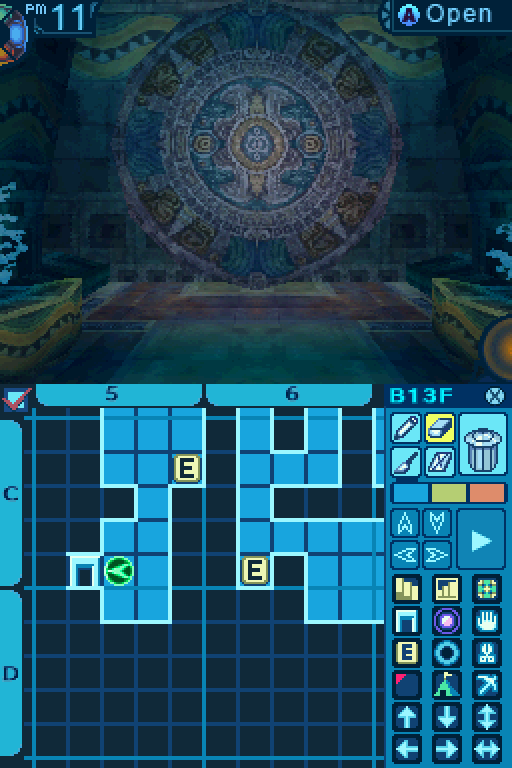
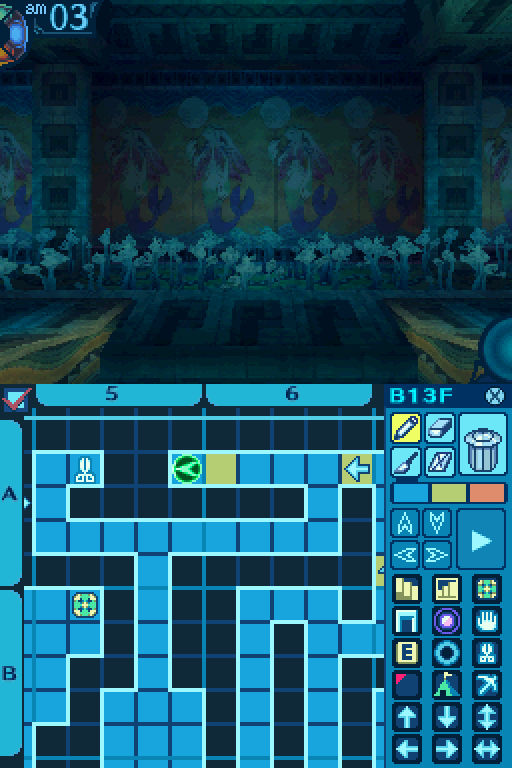
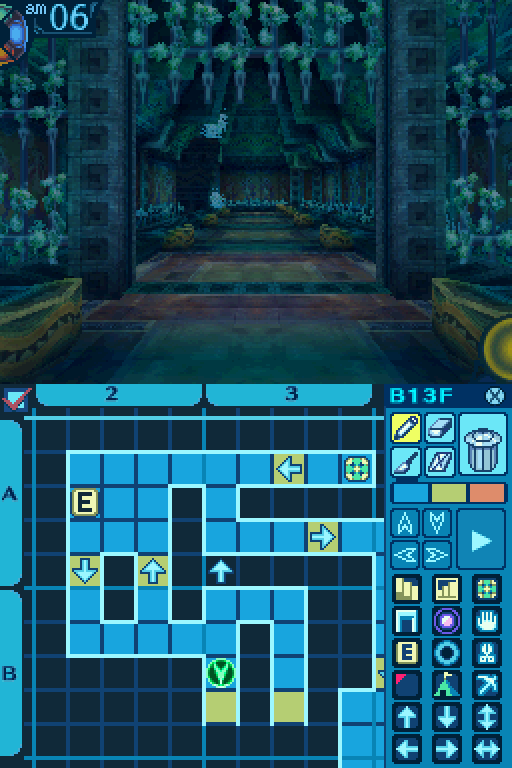
I'll mark these gate tiles in yellow.
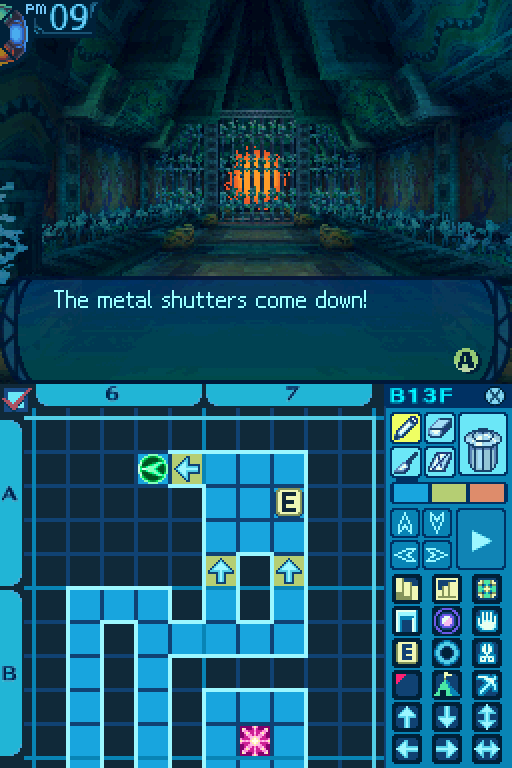
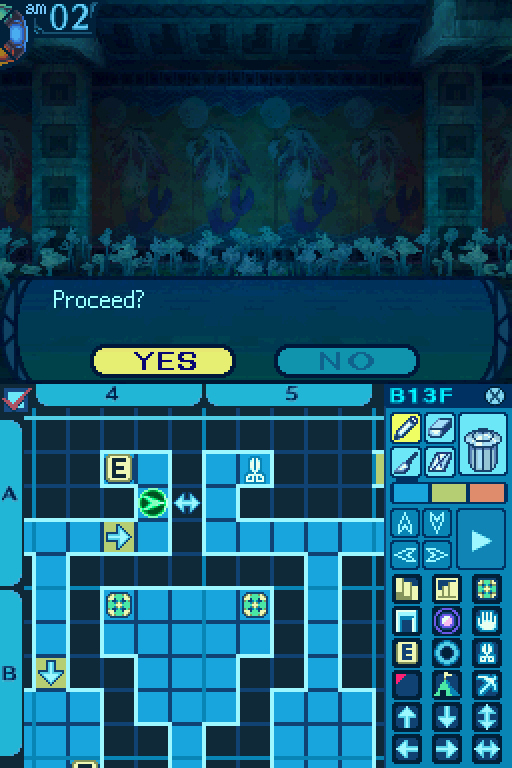
There's no way out!
Shoot. What are we gonna do?
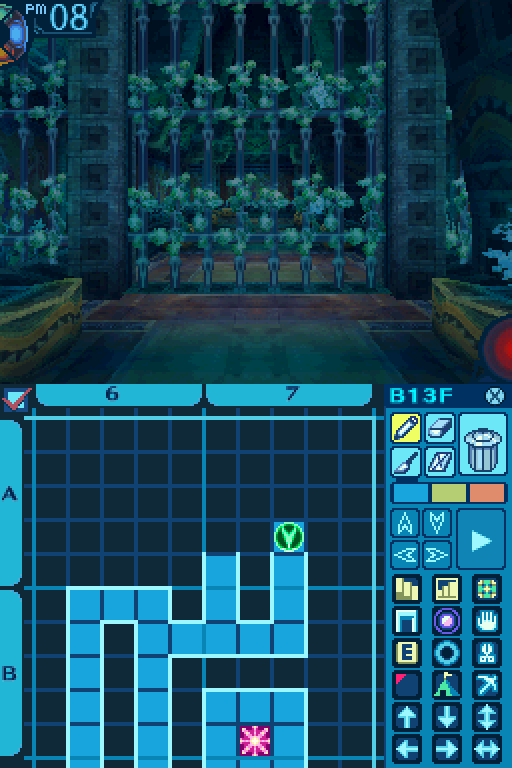
Calm down. We have an Ariadne Thread. If there's truly no way out, we can use that. ...Ah, but I don't think we'll need to.
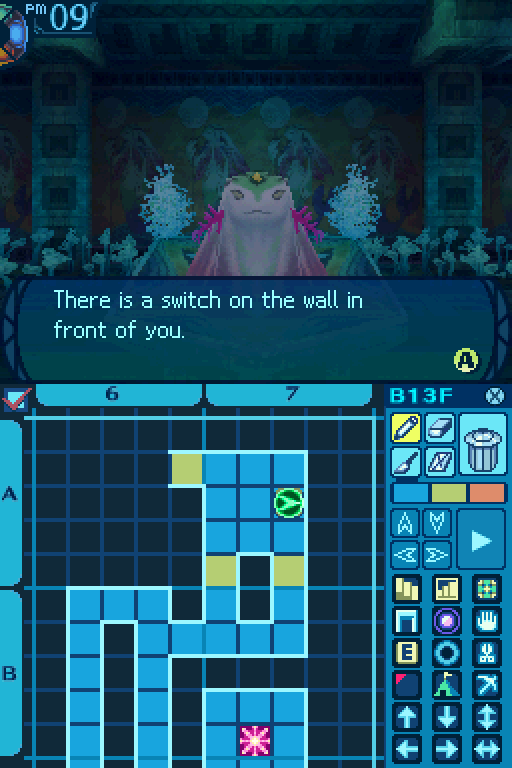
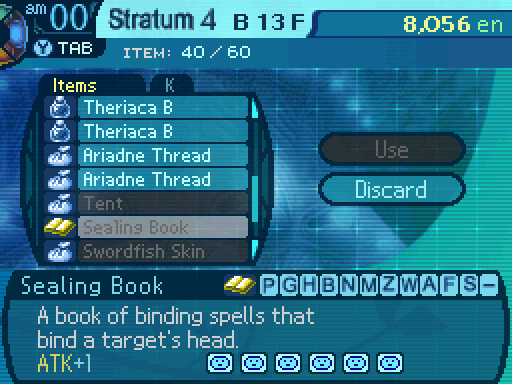
So that's what they do.
Hmm. Could you all stay in here for a moment? I wish to test something.
Still open...

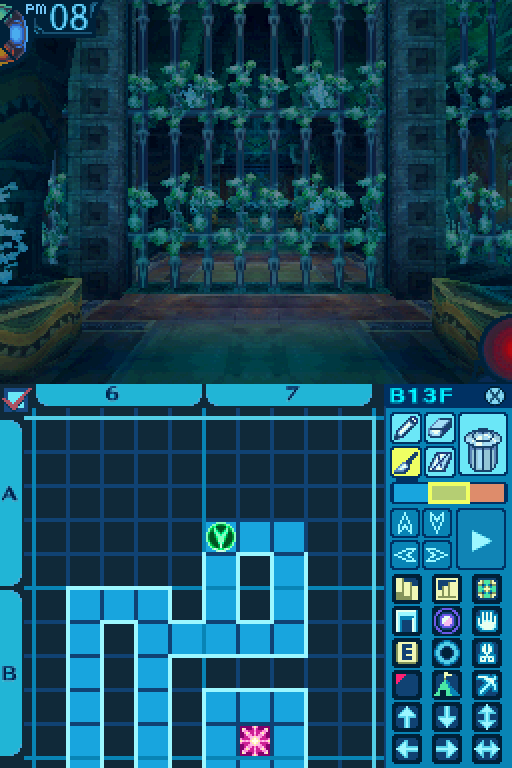
Huh. Looks like those gates close if we go through them from a certain direction.
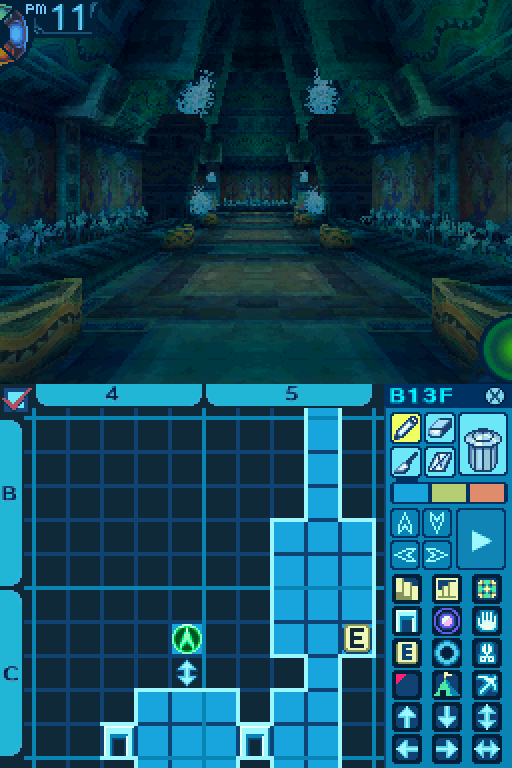
And here's the main gimmick for this Stratum. There are gates that close when you walk through them in a specific direction. Those Deep One statues are switches that will open those gates.
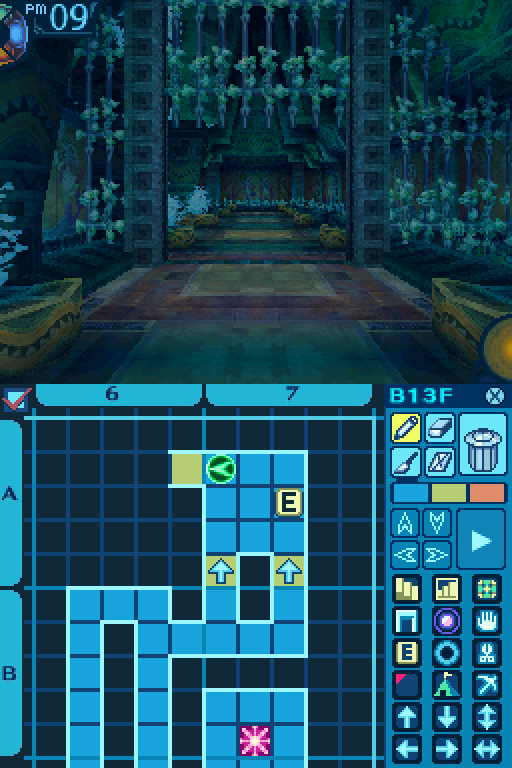
I'll also mark the gate tiles with arrows, to show you which direction will close them.
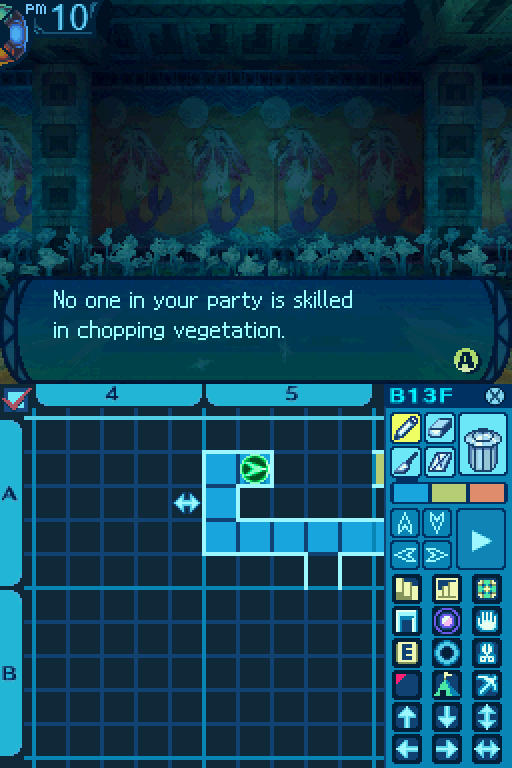
And up ahead is an FOE we can't fight.

Ha! Look at that beast, just locked in its cage!
It's really trying to get at us, huh?
I shudder to think about what would happen if that gate was open.
Pfft, if it's like all those other FOEs in this Labyrinth, it's probably a chump.

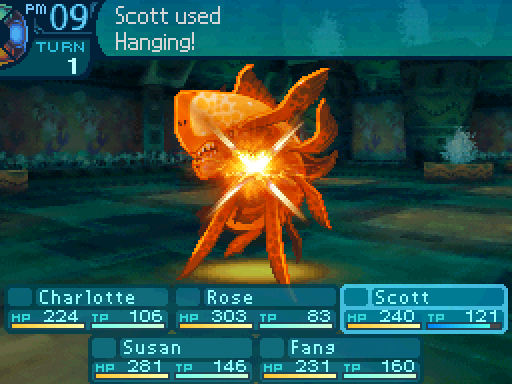
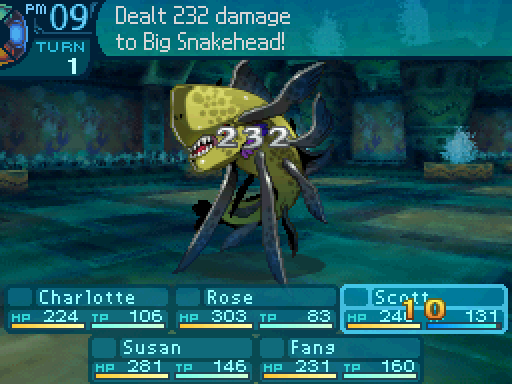
Oh screw these things!
Big Snakehead
HP: 844
TP: 135
STR: 40
VIT: 42
AGI: 26
LUC: 31
TEC: 45
Attack Type: Pierce
Exp: 3282
Item Drops:
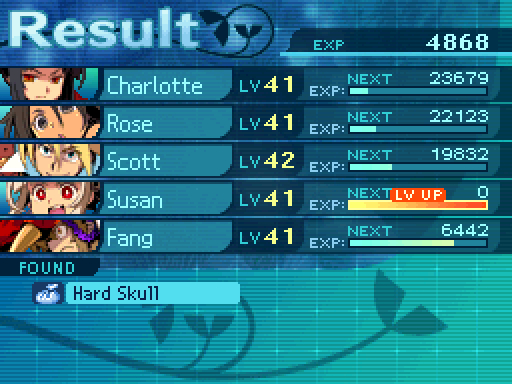
-Drop 1: Hard Skull - 75% Drop Rate. 1 needed for Tuck (Rapier.) 5 needed for Bolt Warhammer (Mace.)
--Wouldn’t shatter even if a cannonball struck it.
-Drop 2: N/A
-Gold: Dull Chest Fin - Kill with Curse damage. 100% Drop Rate. 1 needed for Field Armor (Heavy Armor.)
--Though hard as steel, it yields excellent mobility.
Description: Known as a living fossil, it stores electricity in its pectoral fin to jolt anything that touches it.
Damage Resistances: Slash: 100% Strike: 100% Pierce: 100% Fire: 100% Ice: 100% Volt: 100%
Ailment Resistances: Sleep: 100% Confusion: 100% Plague: 100% Poison: 100% Blind: 100% Curse: 100% Paralysis: 50%
Bind Resistances: Head: 100% Arm: 100% Leg: 100%
Other Resistances: Death: 25% Petrification: 122% Stun: 100%
Skills:
Torpedo: Uses the Arms. Deals 100% Volt damage to a row.
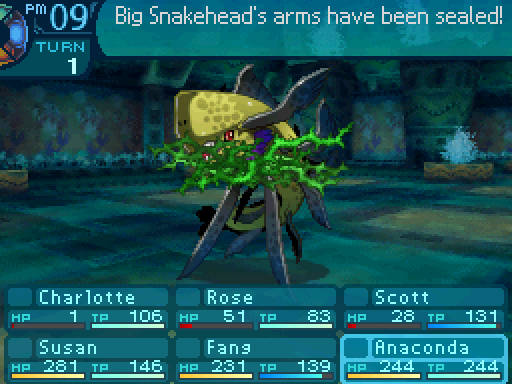
I hate these enemies so much. They're the reason I recommend leveling up Antivolt on your Hoplite if you have one, as that skill makes dealing with these fish much easier. Torpedo is an incredibly powerful row target move that will pretty much deal a massive amount of damage to a row or outright kill them. These things are pretty much the strongest enemy in the Stratum. And they sic them on you on the first floor. It does have a few weaknesses you can take advantage of. While Instant Death isn't effective on it, Petrification is, so if you have someone who knows Izuna, you can just one shot them easily. Most ailments can also lock it down. Head and arm binds are especially effective. Head binds will halve the Big Snakehead's TEC stat, which means that Torpedo's damage will be lowered to pathetic levels. Arm binds will flat out stop it from using Torpedo, and cripple the damage output of its regular attacks.
Oh and there's one more thing I want to bring your attention to. Its conditional drop. Take a closer look at what I put there. That's not kill while Cursed. No, that would be too easy. Instead, what the game wants you to do is inflict Curse on it, and have it kill itself through the Curse damage. It's pretty much the worst conditional drop to fulfill when it pops up in any EO game. And this isn't the only enemy that forces you to pull that feat off. Though admittedly, it's kind of easy to do at this point. Whittle its health down a bit, inflict Curse, and then if it casts Torpedo, you pretty much snagged the drop. Unfortunately the other Curse damage conditionals in this game won't be as easy to get. And it gets harder to pull off as your party gets stronger.
I can't believe that didn't work!
Unfortunately, Scott failed to head bind it.

Well this is gonna hurt.
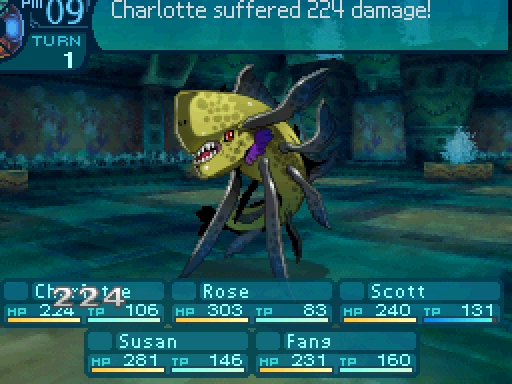

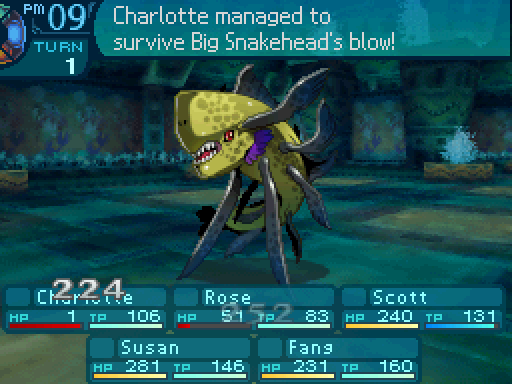
I... I won't fall that easily!
Oh, and there's Endure kicking in. It only activates once per battle, and will leave the character at 1 HP. So even if it activates, it's not guaranteed to save the party member. Though it's still nice when it activates.
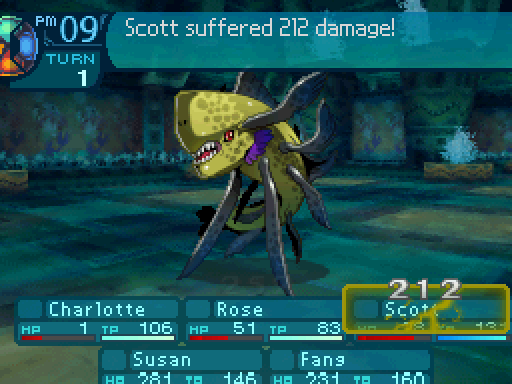
And like I said, Torpedo hits hard. I'm actually a bit overleveled for this Stratum. If I was at the intended level, my entire front row would have died.

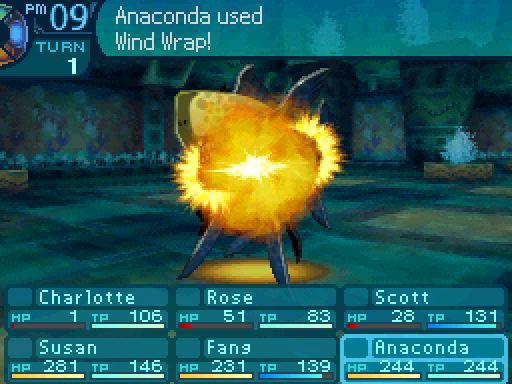
Give it a big hug!
And I can't use Fang as a reliable way to disable it, because his AGI is really low, and his summon skills have a huge action speed penalty.

Fortunately, I managed to take it down on the next turn with no mishaps. But yeah, you need to be careful around those things.
A5 Chop Point:
Deathly Stem: 50% Gather Rate. 1 needed for Steel Gun (Gun) and Naien (Crossbow.) 5 needed for Firm Book (Book.)
-Thin, gray stalk that gives the impression of death.
Crystal Vine: 50% Gather Rate. 1 needed for Colichemarde (Rapier.)
-Crystallized vine of a plant.
Siamese Senna: Rare. 1 needed for Blind Seal (Accessory) and Leg Eater (Gun.) 2 needed for Katzbalger (Sword.) 5 needed for Dardanelles Gun (Crossbow.)
-Dense timber similar enough to iron to be used for swords.
Common Gather Periods: 2 to 12.
Rare Gather Periods: 1 to 4.

Is that wind I hear?
It could be coming from a path or something. Like a secret passage!
The draft may emanate from a secret path. You wonder where such a path could lead...

This is actually a class specific event. Also if you've been paying attention to the map, you'd know that the secret passage flavor text is complete nonsense and just a bait. If you say no:
Eh, screw it. If there really is one, we'll find it later.
The phrase "more haste, less speed" comes to mind. You decide to continue your explorations.
Now if you have a Wildling, interesting things will happen. If you don't have a Wildling in the party:
You decide to split up and hunt for any secret paths nearby.

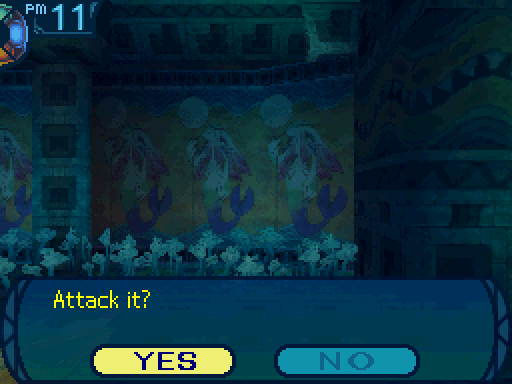
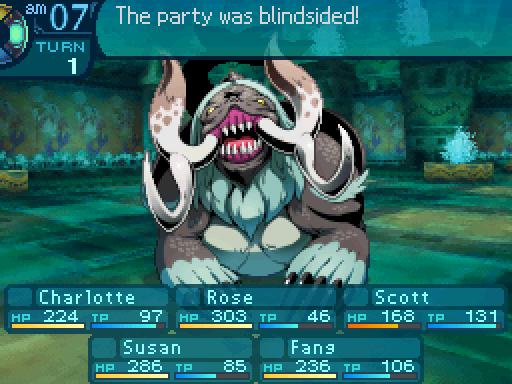
Oddly, the sound seems to be increasing in volume... It’s as if it’s approaching you! When the sound appears to come from directly behind you, you anxiously spin around!
You have got to be kidding me!
Only then do you see the ominous, enormous snake hissing at you, its tongue flickering menacingly!
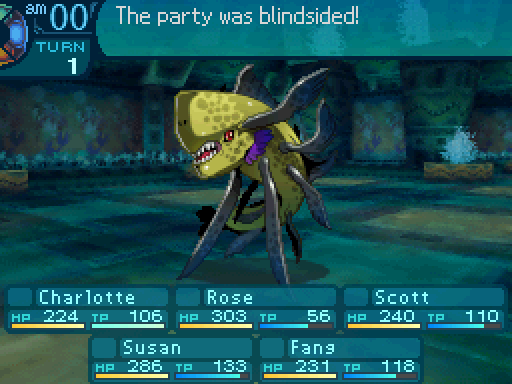
And then you get blindsided by two very strong enemies. However, we do have a Wildling, so let's see what happens in that case.
You are about to begin your search when the wildling Fang sharply stops you.
Psst. That's not the sound of wind. That's the sound of a snake hissing!
Are you suuuuuuOOHHhhh my.
Oh. My mistake, then. Hmm, they don't seem to be aware of our presence...
According to Fang, the sound is not a draft of wind, but the hissing of a large snake! Your initial impulse is to flee, but it occurs to you that you may be able to catch it unawares... The choice is yours whether to attack the large snake or conserve your energy and hurry hence.
No:
I don't think we should risk it.
You conclude there is no need to put yourselves in unnecessary danger and leave the area.
Yes:
You draw your weapons and attack the area where Fang points!
Engaging!

Yeah if you didn't have a Wildling, you would have gotten blindsided by these things. The Silverback is an enemy from the next floor, and I'll talk more about it when we encounter it properly. Because...
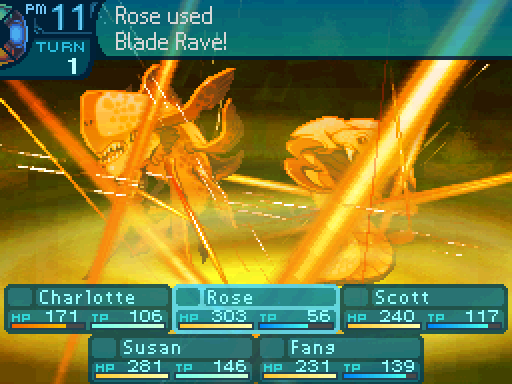

DIE! JUST DIE!
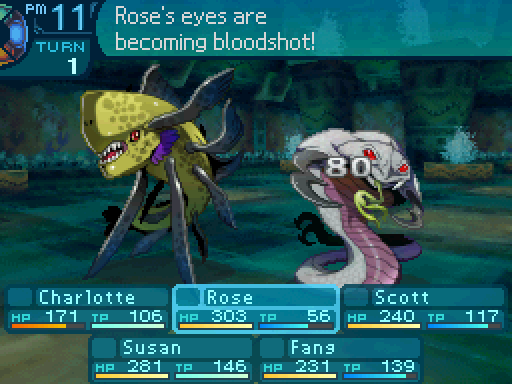
Whenever Bloody Lance activates, you'll see that bit of flavor text pop up.
BLOODLUST!
I don't think you should be encouraging her.
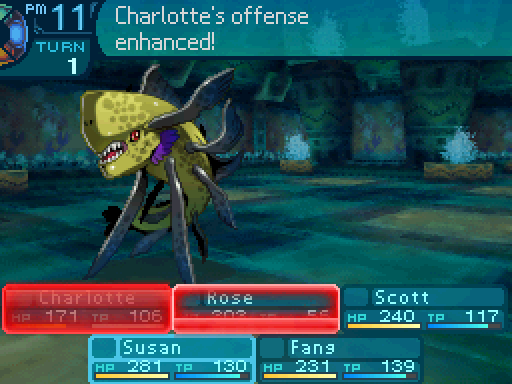
Oh and the damage bonus from Bloody Lance stacks just fine with buffs.


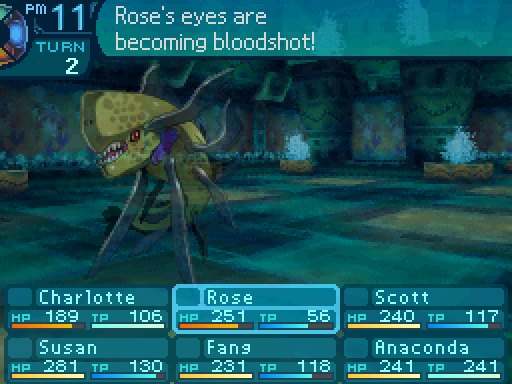
WHERE'S THE NEXT ONE!? I'LL RIP ITS GUTS OUT AND SPLATTER THEM ALL OVER THE GROUND!
Th-there's no more. Y-you killed them all.
...Aw, really? Man, I was looking forward to slicing open more monsters. 
Sadly, Bloody Lance's damage boost will wear off after battle (or if the character dies) so it's limited against stuff like bosses and FOEs. Unfortunately, I somehow forgot to spend Susan's skill point for a while.

A shortcut that we can't go through yet.
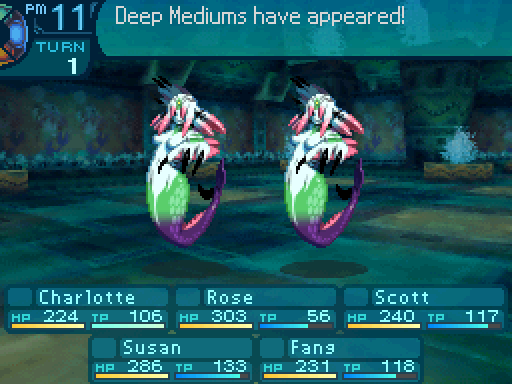
And new enemies.
So these are the Deep Ones.

Deep Medium
HP: 462
TP: 133
STR: 34
VIT: 34
AGI: 29
LUC: 32
TEC: 38
Attack Type: Pierce
Exp: 1552
Item Drops:
-Drop 1: Ebony Nail - 55% Drop Rate. 1 needed for Trebuchet (Crossbow.) 6 needed for Flame Amulet (Accessory.)
--Deep One's nail with the power to draw out spells.
-Drop 2: N/A
-Gold: N/A
Description: A mage of the Deep Ones that draws on ambient spiritual power to eliminate invaders.
Damage Resistances: Slash: 125% Strike: 125% Pierce: 125% Fire: 100% Ice: 75% Volt: 100%
Ailment Resistances: Sleep: 100% Confusion: 100% Plague: 100% Poison: 100% Blind: 100% Curse: 100% Paralysis: 50%
Bind Resistances: Head: 122% Arm: 122% Leg: 122%
Other Resistances: Death: 100% Petrification: 100% Stun: 122%
Skills:
Fishman Drug: Uses the Head. Heals an ally for around 160 HP.
Icicle: Uses the Head. Deals 90% Ice damage to a single target.
These enemies are essentially mages. They hit hard with magic, and can heal their allies. They're also weak to physical attacks and binds. Not much of an issue on their own, but beware of Icicle. It hits hard.

FIRST, YOUR HEAD! NOW FOR THE REST OF YOU!
Oh yeah, I also picked up the Instant Death sword for Rose. It's nice to just get rid of an enemy immediately.

But since they're weak to physical attacks and binds, they really shouldn't be an issue.
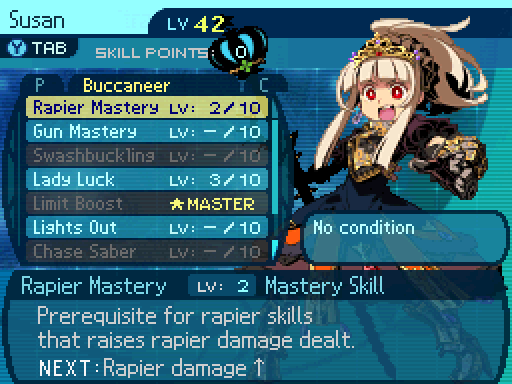
I finally remember to spend Susan's skill point. Don't expect any exciting level ups for her, since I'm trying to get Swashbuckling. Which requires a massive point investment. Rapier Mastery now provides a 3% damage boost when Susan does a regular attack.

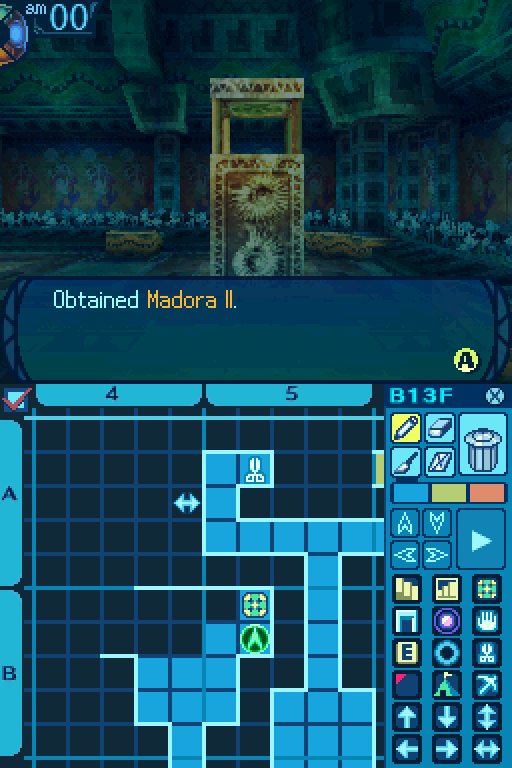
And here's a passage into a treasure room.

Madora IIs are very handy items. They're the strongest version of a Madora, restoring 300 HP to an entire row. And you can't buy any more of these until the post-game.
You're also gonna wanna be careful in this room. Big Snakeheads are really common encounters here.

Fortunately, thanks to Charlotte, I have a good way of dealing with them.
Defensive formation!

Sorry, I'm not familiar with the concept of "damage."
I can essentially buy a free turn for my team very often thanks to this.
Provides a 21% chance to Head bind something. Meh.
Not much interesting here aside from that. Let's move on.

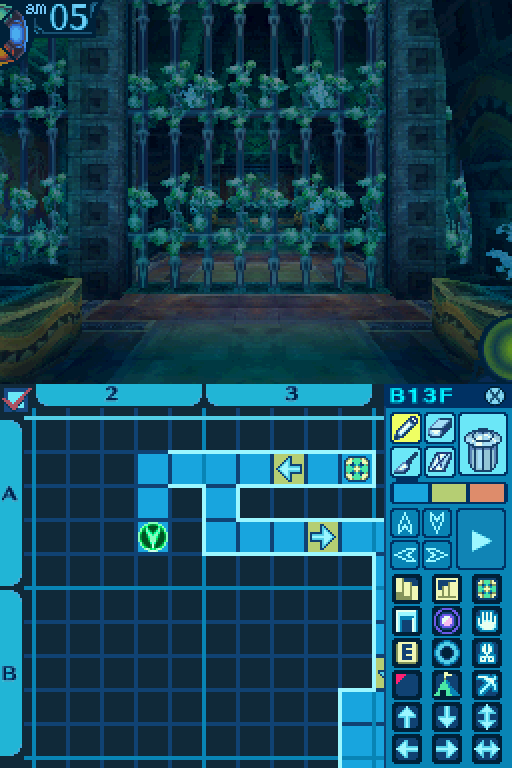
This gate closes when you go through it from the north. This gate is here to show you that gates only close when walking through them in a certain direction, in case you haven't figured that out already.
Another gate switch.

Which is mainly if you backtrack through this gate.

Hmm...
Activating that gate switch and going through this shortcut will allow you to face this FOE.
It'll try chasing you down if its path isn't blocked by a gate, though it won't chase you too far.


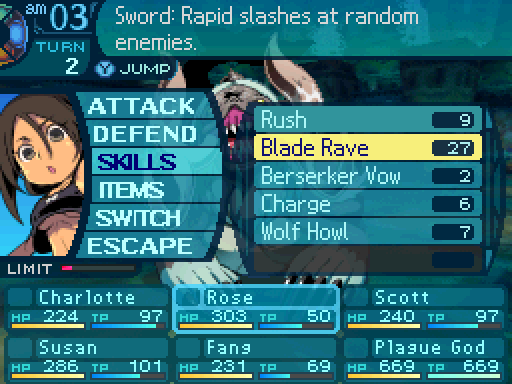
Hey Charlotte, why don't you show us what you got against this FOE?
A-are you s-sure this is a good i-idea!?
Trust me, you'll probably be fine.

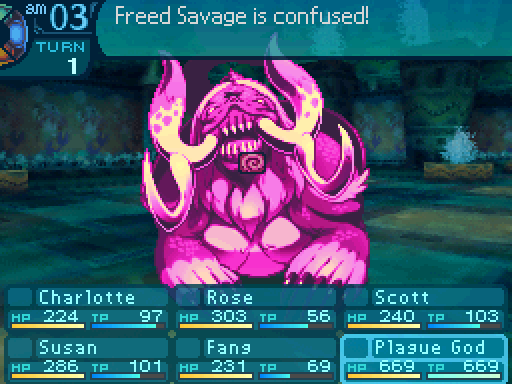
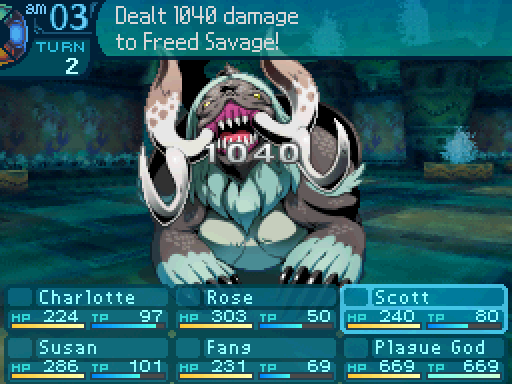
Freed Savage
Behavior: Will attempt to chase the party if it can. Will give up if the party gets too far away from it.
Aggressive: Yes
HP: 2262
TP: 541
STR: 49
VIT: 47
AGI: 33
LUC: 36
TEC: 40
Attack Type: Strike
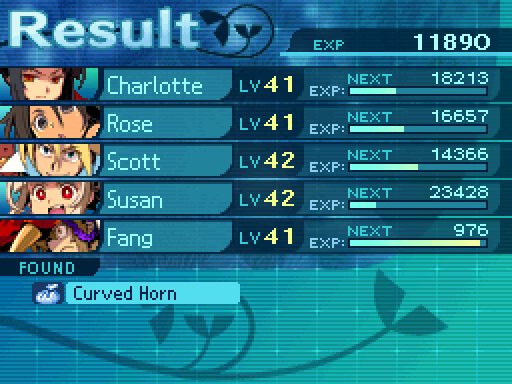
Exp: 11890
Item Drops:
-Drop 1: Curved Horn - 80% Drop Rate. 1 needed for Kaminari Otoshi (Katana. Must be restocked.)
--Only needs one strike to stab and kill oncoming foes.
-Drop 2: N/A
-Gold: N/A
Description: A gigantic sea beast kept by the Deep Ones. When released, it pursues its prey relentlessly.
Damage Resistances: Slash: 100% Strike: 100% Pierce: 100% Fire: 122% Ice: 100% Volt: 100%
Ailment Resistances: Sleep: 10% Confusion: 122% Plague: 10% Poison: 10% Blind: 10% Curse: 10% Paralysis: 10%
Bind Resistances: Head: 25% Arm: 25% Leg: 25%
Other Resistances: Death: 10% Petrification: 10% Stun: 50%
Skills:
Bite Off: Uses the Head. A single target Strike attack that deals 150% damage.
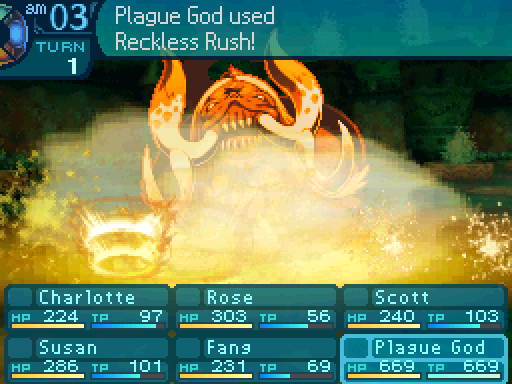
Ground Shake: Uses the Legs. Deals 50% Almighty damage to the entire party and has a 40% chance to inflict Stun. Has an accuracy of 120. Has an action speed of +5. Uses the TEC stat.
Depending on your party setup, these walruses are either free exp, or are a huge pain to deal with. A Zodiac using an Etheric Charged Hellfire can easily take them out in one attack, but Ground Shake might prevent them from doing that. The damage on that move isn't too high, but that Stun can pretty much wreck your party. Bite Off will flat out kill the person it targets. They might seem scary, but if you have a source of Confusion in your party, you can inflict that since they're susceptible to it and completely shut them down.

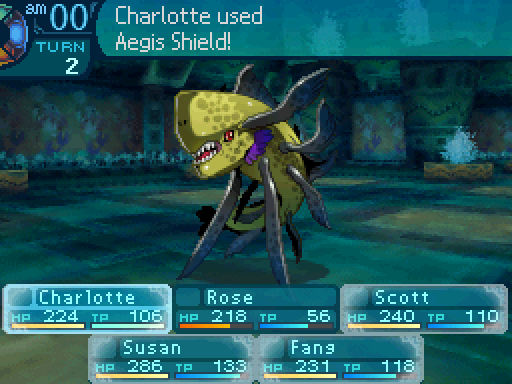
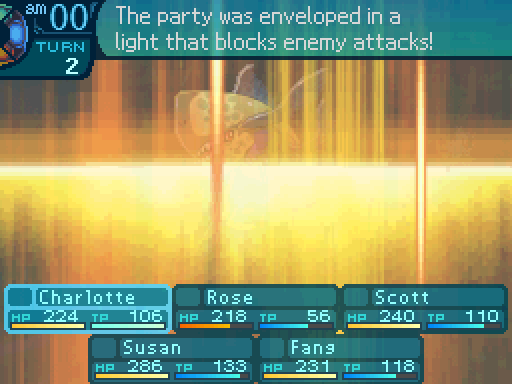
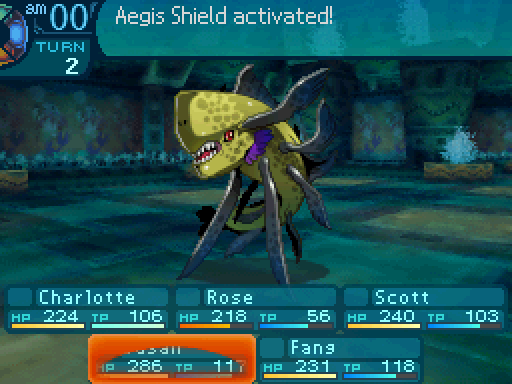
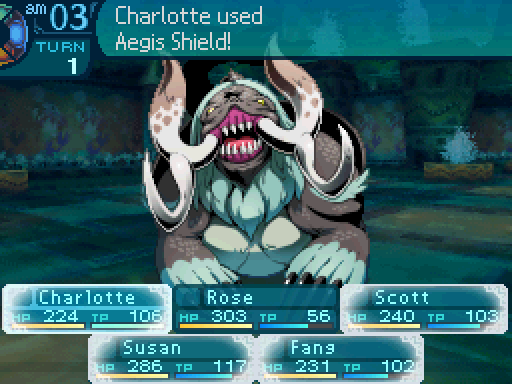
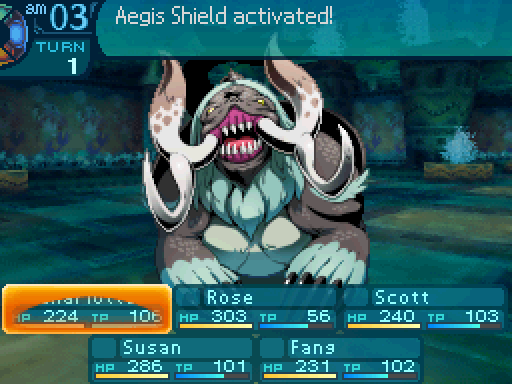
Gonna buy myself a free turn with Aegis Shield.
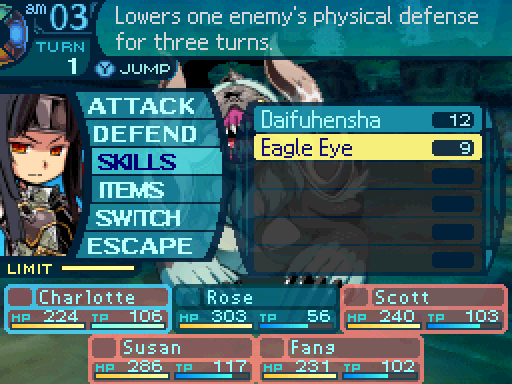
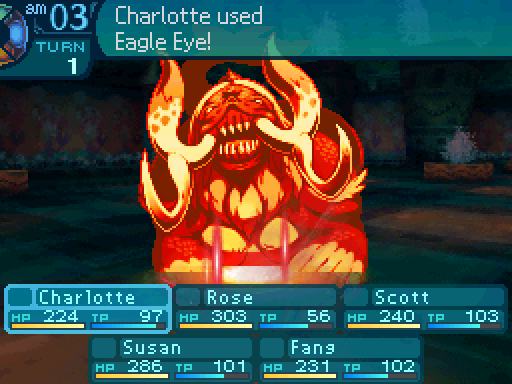
And gonna amplify our party's damage with Eagle Eye.

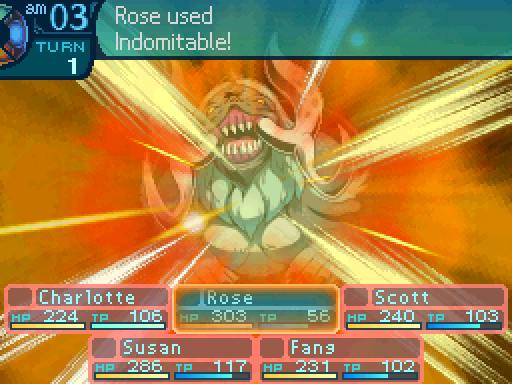
I'm just having Rose set up a safety net in case something goes horribly wrong.
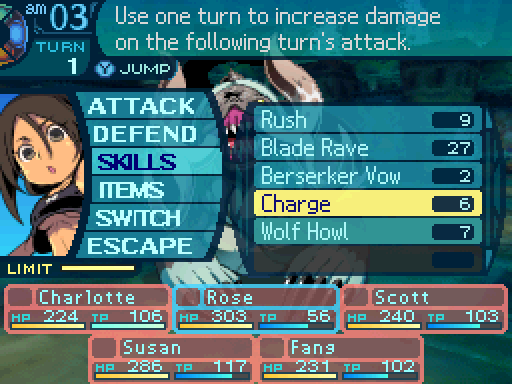

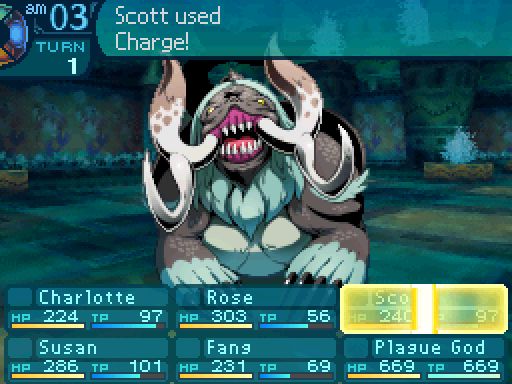
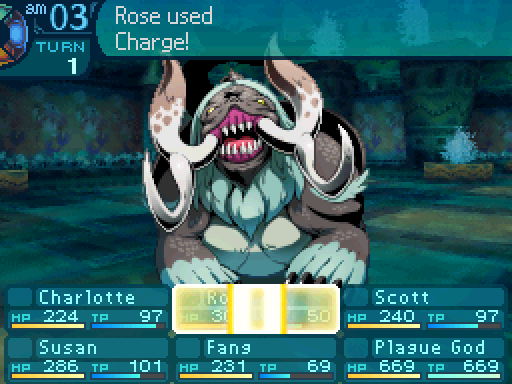
Both her and Scott will charge up for an attack.
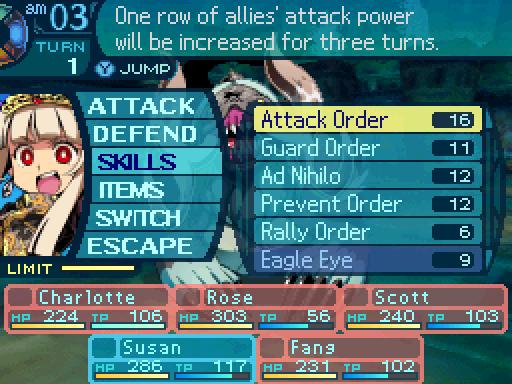
MEGAQUEEN will increase our party's damage output even further.

And Fang will lock down the Freed Savage.
Come at me! I dare ya!
Uhhhh, f-follow my lead! So scared. So scared. So scared.

Get me that Walrus' head!

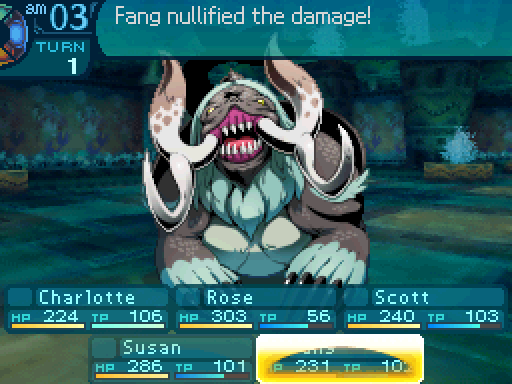
Oh. Wasn't expecting that to work so well.
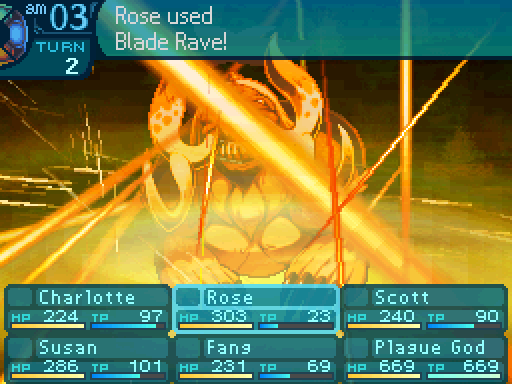
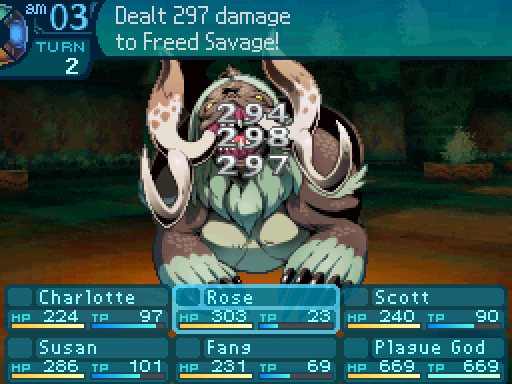
Strike there.

Stampede!
Hmm, maybe you hit it too hard.
Incidentally, Fang actually has a 137% to 146% chance of landing Confusion, so it's impossible for the elephant to not inflict the ailment on it. Unless it misses its attack, which is an unfortunate disadvantage that Wildlings have compared to other ailment classes in the series.

Time to finish it off.


Ooh, what's the matter? Wanna chomp on us? Too bad!
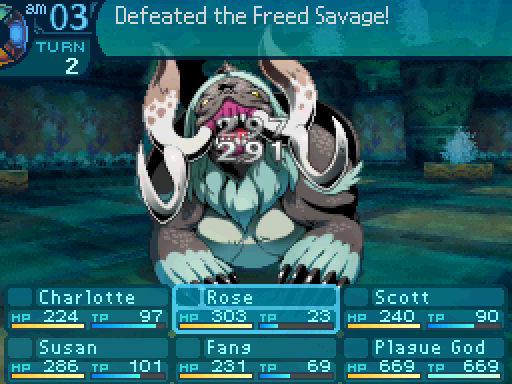

Wait, that's it? I was expecting more from a gigantic walrus. 
SEE? I TOLD YO- Ahem. See? I told you they were chumps! Trust us, we've been at this for a long time.
If you have the tools to deal with them, they're easy to take down. Otherwise, avoid them.
And for the record, there's nothing inside that cage.


Which gate should we take?
Who cares? Let's just take this one.


Really?

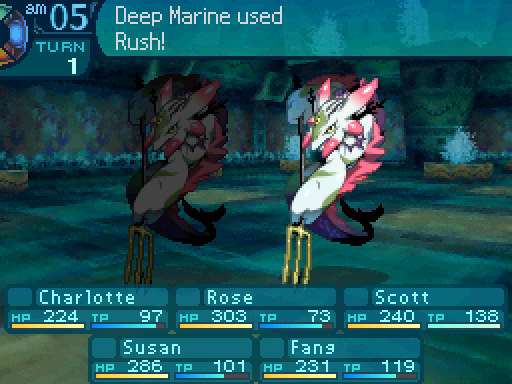
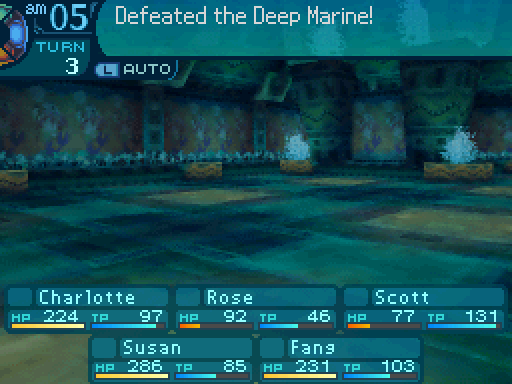
Deep Marine
HP: 502
TP: 133
STR: 41
VIT: 36
AGI: 30
LUC: 27
TEC: 33
Attack Type: Pierce
Exp: 1536
Item Drops:
-Drop 1: Spearhead Chip 55% Drop Rate. 1 needed for Awl Pike (Spear.) 2 needed for Wakizashi (Katana.) 8 needed for Energy Bracelet (Accessory.) 5 needed for the quest An artisan's choice.
--Shattered tip of a Deep One's spear.
-Drop 2: N/A
-Gold: N/A
Description: A Deep One soldier which will not hesitate to sacrifice itself for its allies.
Damage Resistances: Slash: 75% Strike: 100% Pierce: 100% Fire: 125% Ice: 125% Volt: 125%
Ailment Resistances: Sleep: 100% Confusion: 100% Plague: 100% Poison: 100% Blind: 100% Curse: 100% Paralysis: 122%
Bind Resistances: Head: 50% Arm: 50% Leg: 50%
Other Resistances: Death: 100% Petrification: 100% Stun: 50%
Skills:
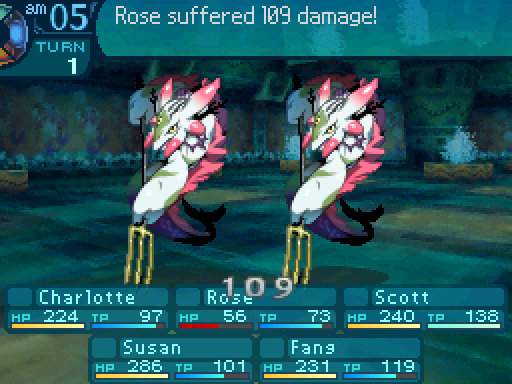
Cover: Does not use a body part. Protects an ally and takes damage in their place. Has an action speed of +20.
Rush: Uses the Arms. Deals 130% Pierce damage to a single target.
These guys are the counterparts to Deep Mediums. They're physical attackers, but they also act like Hoplites, protecting their allies from your attacks. Which can get pretty annoying. Paralysis is easy to land on them, but it won't completely shut them down.


What? I wasn't aiming for him!
Cover doesn't make much of a difference here, but in deadlier formations, it can be a deadly time waster.

Your carcass shall make for quite the feast! ...Wait. Are Deep Ones edible?
Ewwww. I don't want to eat those! 
Agreed on that being a terrible idea.

Fang gets a level up. A lot of the enemies seen so far aren't that dangerous on their own. (Save for the Big Snakehead. smile: But if you don't know how to deal with them, things will get hairy later on.

Call Snake now summons a snake that has a base HP of 66, whose initial attack deals 105% damage, and AI attacks deal 95% damage. It also has a 38% chance to bind an enemy's arms.

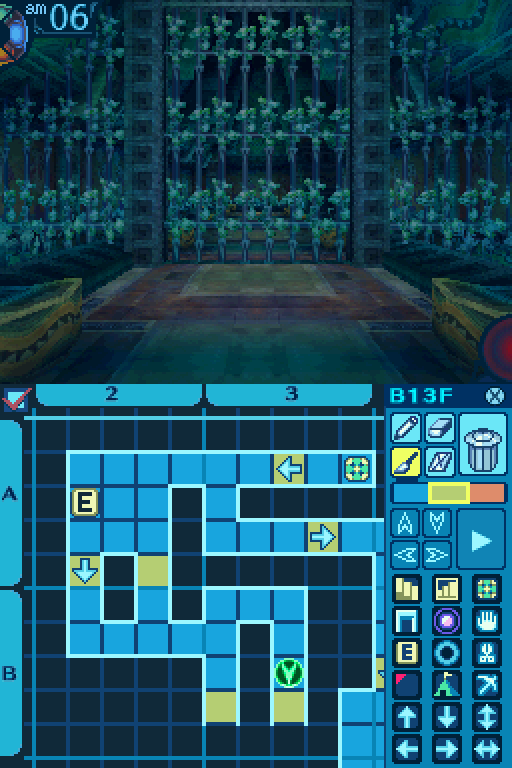
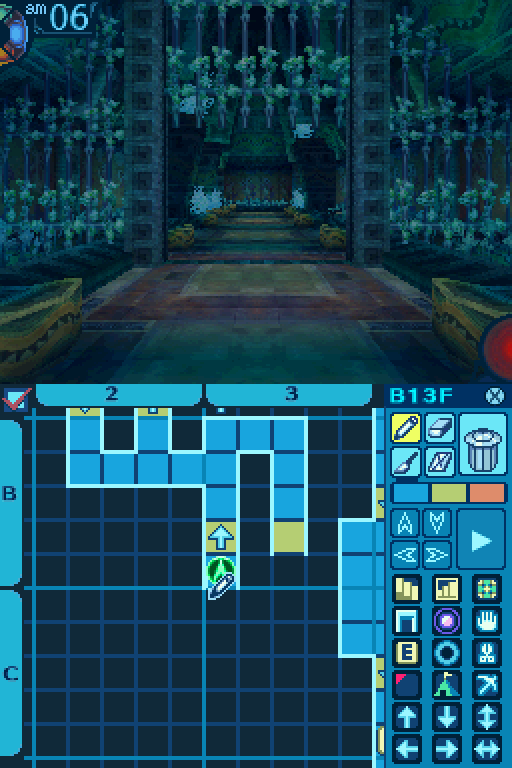
Huh, no exits.
I think we took the wrong gate after all. What now?
There must be SOME way out of here. Let's look around.

This one way passage is here in case you get locked in like that.

Perhaps we should try this gate.
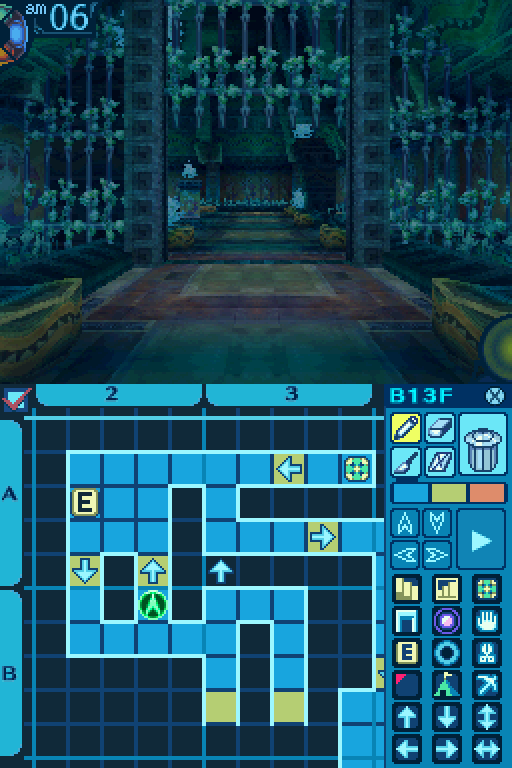
There we go!
Now which gate do we go through?
No clues, so we might as well go through this one.
Huh, guess we took the right gate this time.

NO, THAT WAS WRONG! DEFINITELY WRONG!