Toggle Background Color
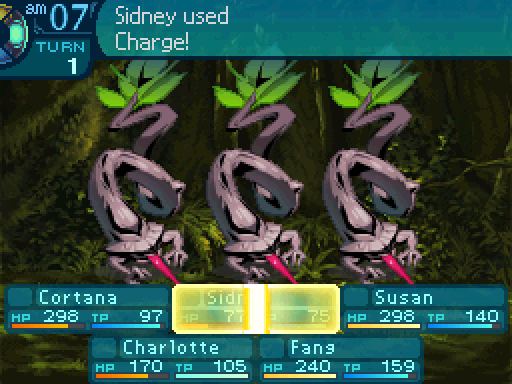
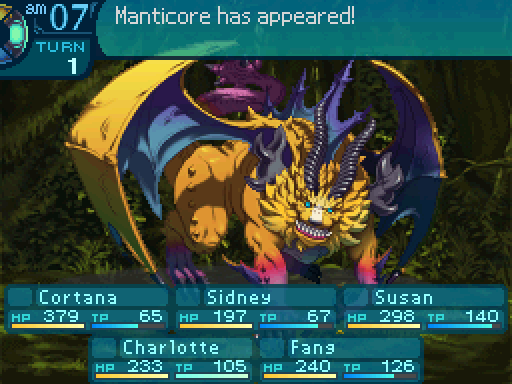
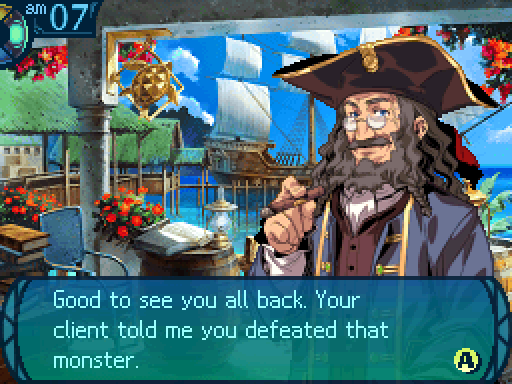
Update 53: RIP Manticore
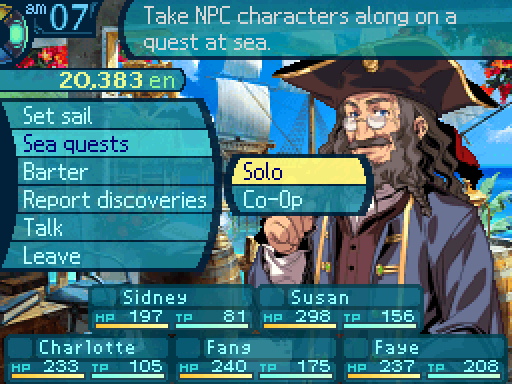
Okay, now let's get that equipment reward from the first Sea Quest. Oh, and I'm gonna try to get its conditional drop as well.

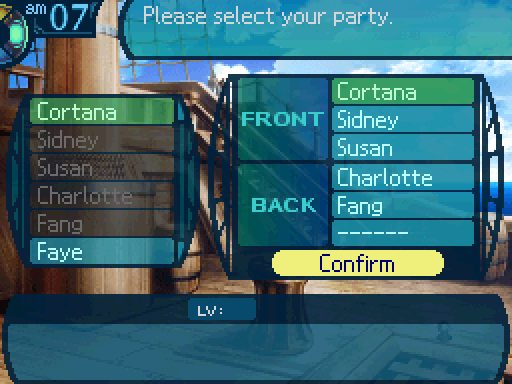

So this is the setup I'm gonna use to accomplish that.

Oh right, we have to deal with these jerks first.

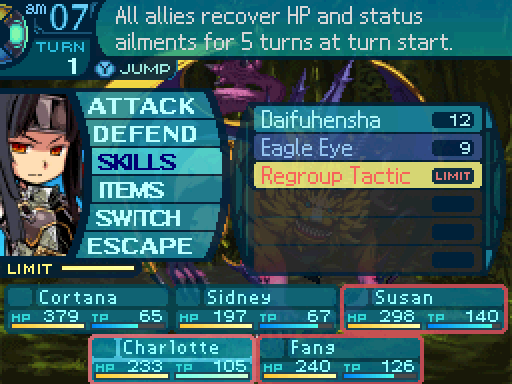
Last thing I need is Sidney dying on me.

And I definitely do not want Poison Seeds screwing us over for the next fight.

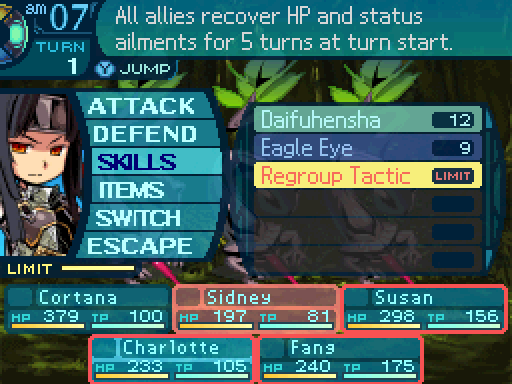
Also gonna try to have Charlotte refill her Limit gauge for the next fight.

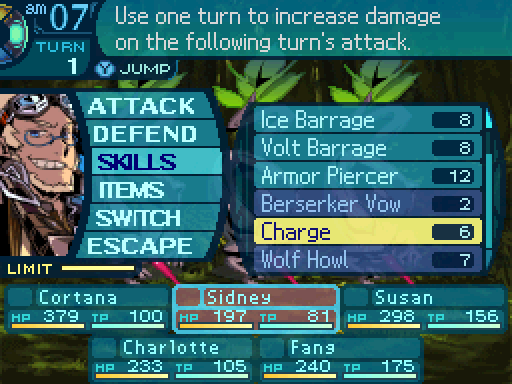
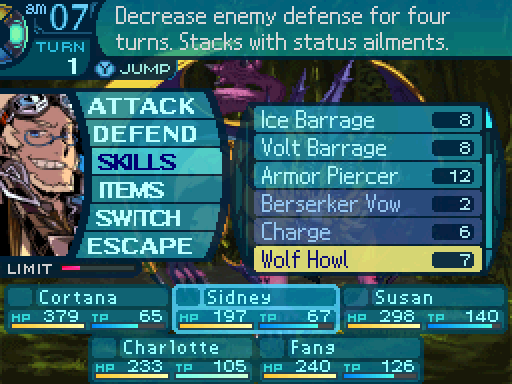
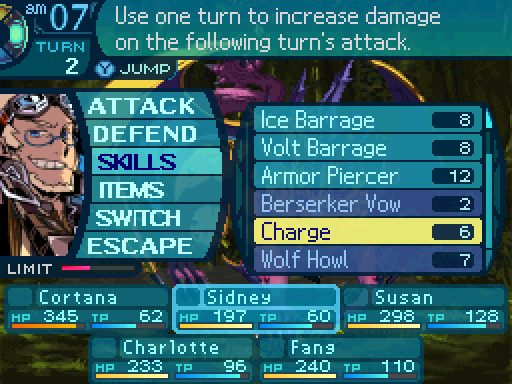
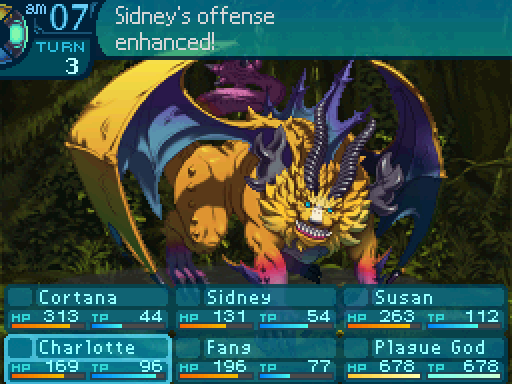
Another damage buff.

 Let's strategize for a bit.
 Ha! No way I'm being taken out by a bunch of trees!

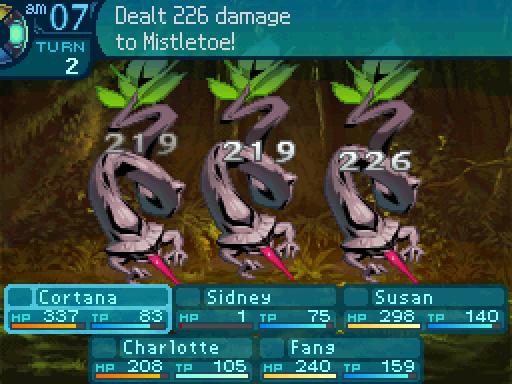
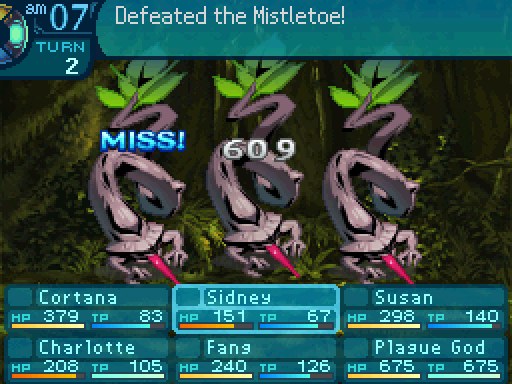
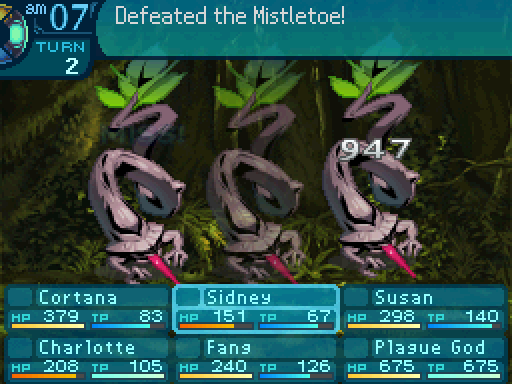
 Strike them down!
 Au-mosu-atikanu!
I've got you in my sights.

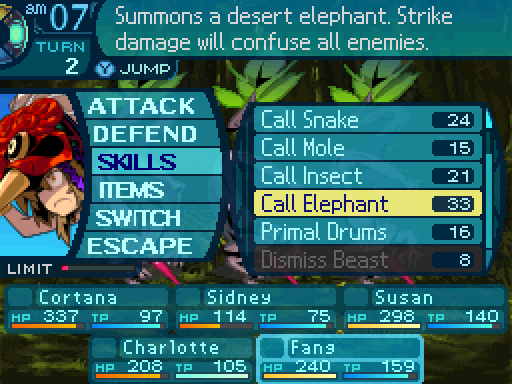
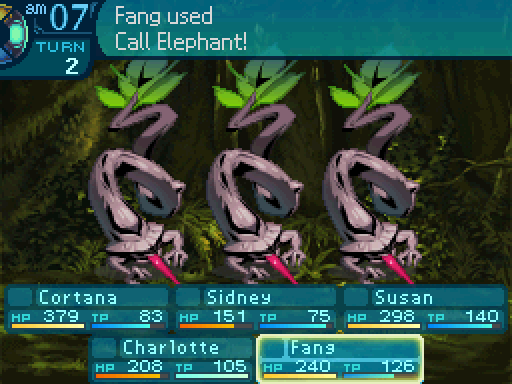
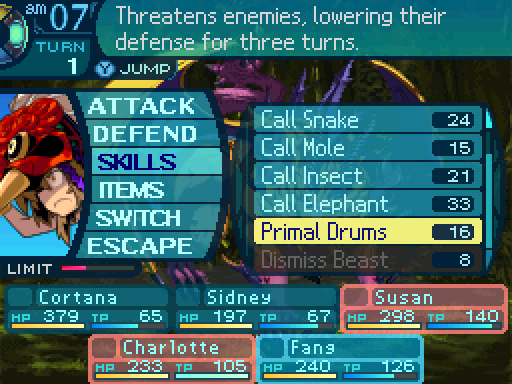
The elephant is a panic button of sorts.
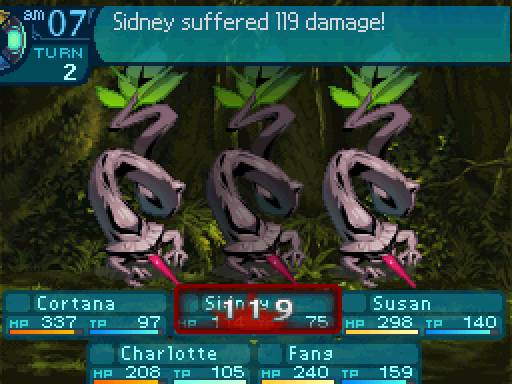
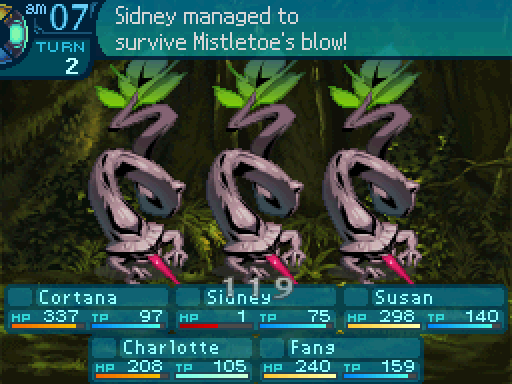
That was a close one!
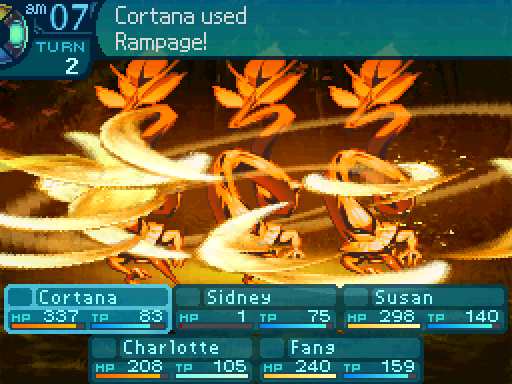

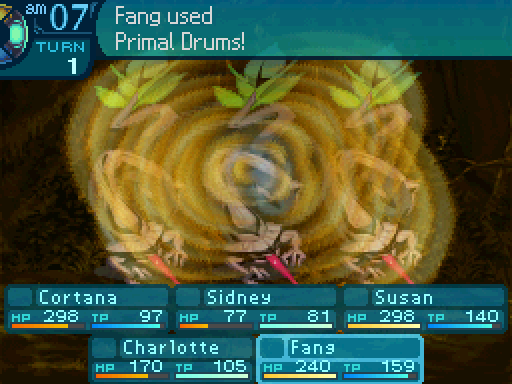
Stampede!
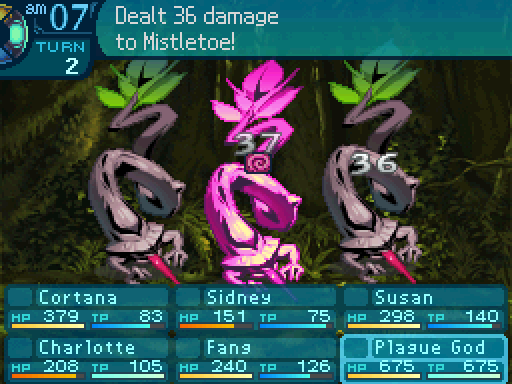

Ooh, nice. Managed to Confuse 2 of them.
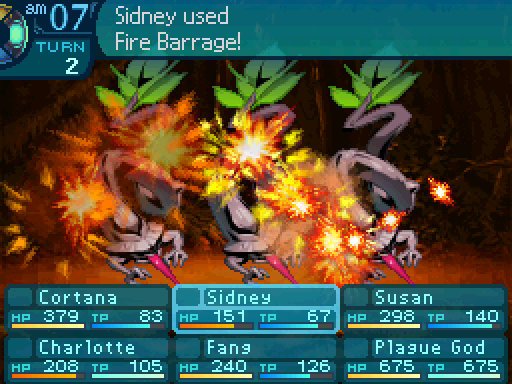
Only I can start forest fires.

If the target has an on-death skill, but gets incapacitated through the use of an ailment, they won't cast it. So that's another way of dealing with them.

Pfft, don't care about the Poison.
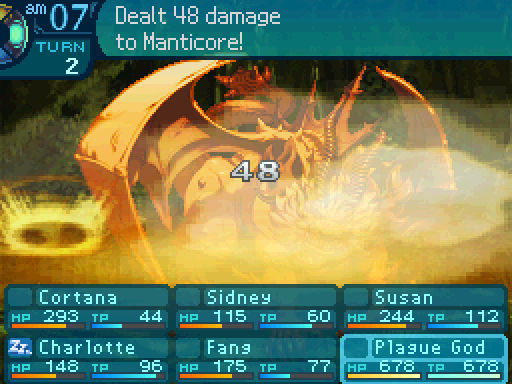
Now, for the main attraction.
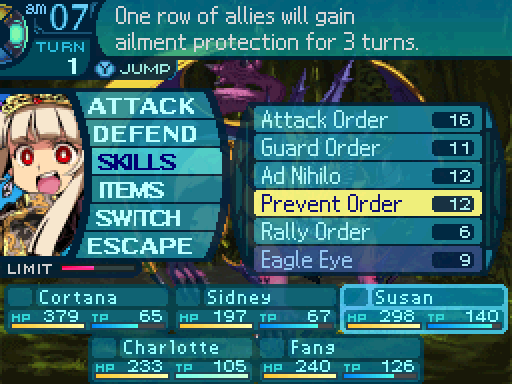

First things first, I set up as many buffs as possible.

Let's be tactical.
Aim there!
Manticore now has a 1.35 damage multiplier.

Be well!
Hee hee hee!
Sidney, are you sure you're not pouring too much gunpowder into that thing?
Oh, it'll be fine! This is the perfect amount!
And yet you keep pouring.
There's no such thing as being too perfect.
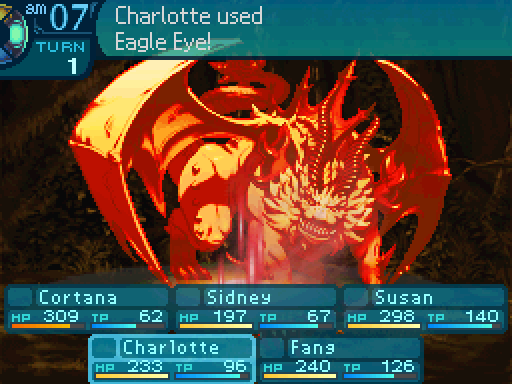
And now a 1.11 damage multiplier.
Bang bang bang!
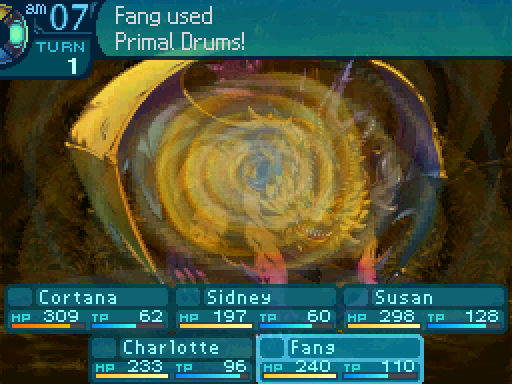
On top of a 1.3 damage multiplier.
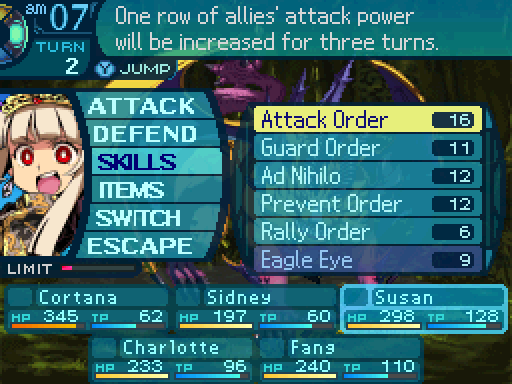

More setup.

Get ready to strike!
And Susan is giving a 1.45 damage multiplier to Sidney.
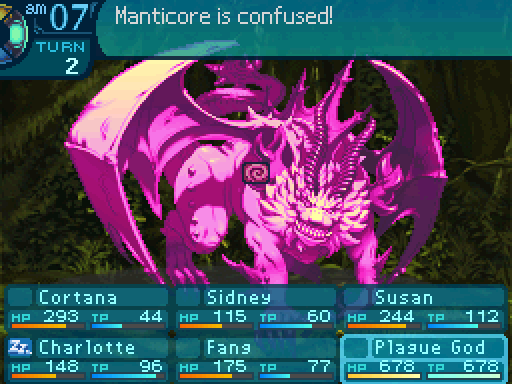
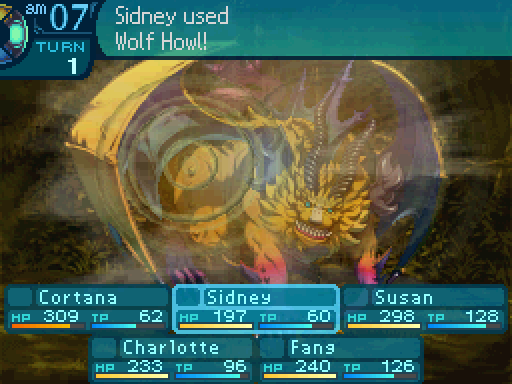
Oh. Oh this is just perfect. Wolf Howl's damage multiplier just increased from 1.11 to 1.32.
Hee hee hee. Are ya'll ready for this!?
Is that thing supposed to be shaking so much?
I'm pretty certain that crossbows are NOT supposed to do that.
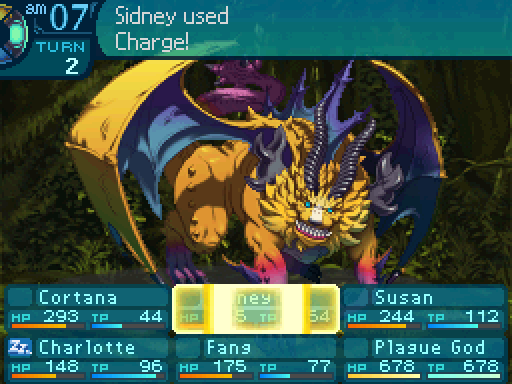
Charge is now providing a 2.6 multiplier.

Showtime.
Charlotte, could you hand me that matchstick over there?
Umm, sure. I'm kind of afraid right now. Like, very afraid.
Me too.
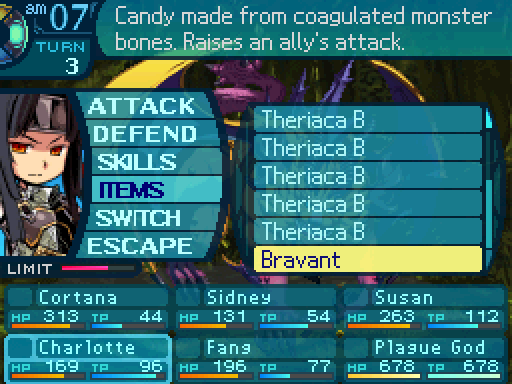
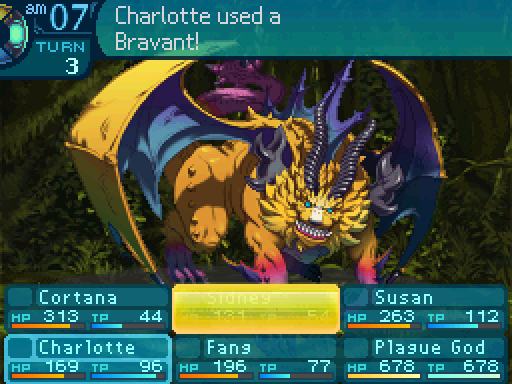
Bravants provide a 45% damage boost, so that's another 1.45 multiplier.

And Manticore is still confused, so the bigger damage multiplier from Wolf Howl still applies. So yeah, that's 1.32 * 1.35 * 1.3 * 1.45 * 1.45 = 4.87. Oh wait, can't forget the bonus damage from Giant Kill, which is an additional 1.55 multiplier. So that's a total multiplier of 7.54! Oh, and apply that multiplier to Front Mortar to turn that into a 2880% damage attack! The result?
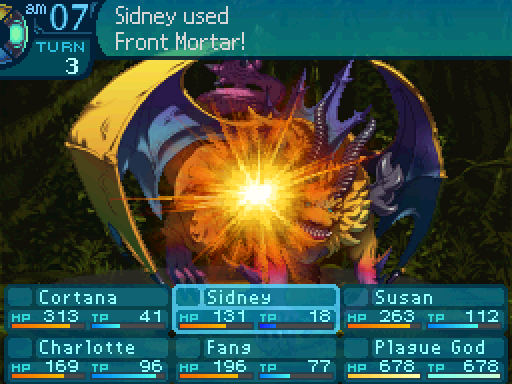

A very explosive DUNK! This is why Arbalists are my favorite class in EO3.
HOO HOO HOO! You just got dominated!


DID YA SEE HOW HE JUST BLEW UP!? HOOOOOWEEEE! His guts just went FLYING everywhere!
...Sidney. You know what overkill is, right?
No, I don't. What's that?
...You're kidding me. It's blah blah blah blah...
IT'S ALL OVER ME! 
There, there, Fang. Let me just clean that off of you... Okay, I think I got his leg off. At least I think that was his leg.


Oh, so what you're saying is that I should do that all the time!
NO! That's just being savage! How can you hope to find your significant other with that kind of personality!?
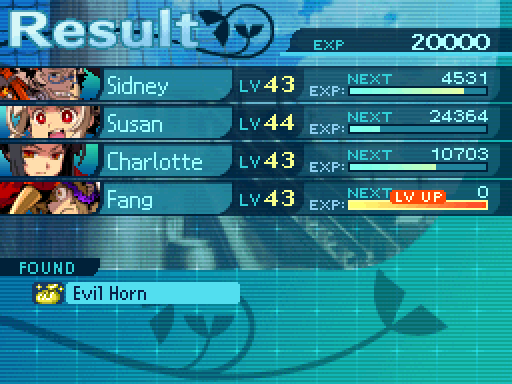
...Wha? Ooh, look! Manticore's horn didn't get blown up! How much you think it'll sell for?

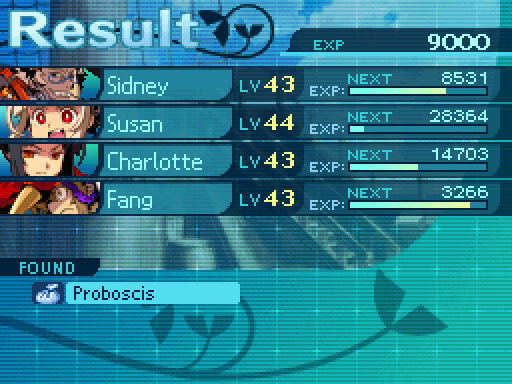
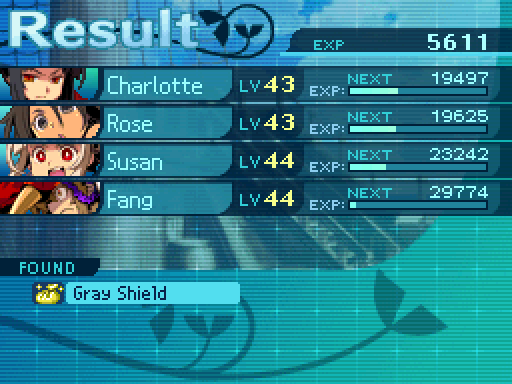
Fang gets a level up, but more important, we got the conditional drop, which was to kill Manticore with an attack that dealt over 5000 damage. Oh, and the killing blow has to deal that much. You can't do it with a skill like Blade Rave and have all those hits add up to 5000. It has to be a single hit, which is why I brought Sidney for this.


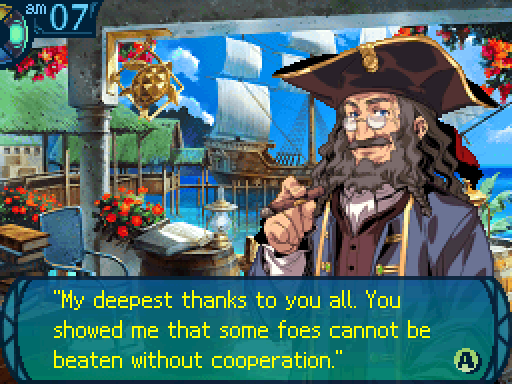
 If one observes their own weakness, perhaps they can find strength within it. It seems he learned that. He seemed a little embarrassed about it, but he left this for you with his gratitude.

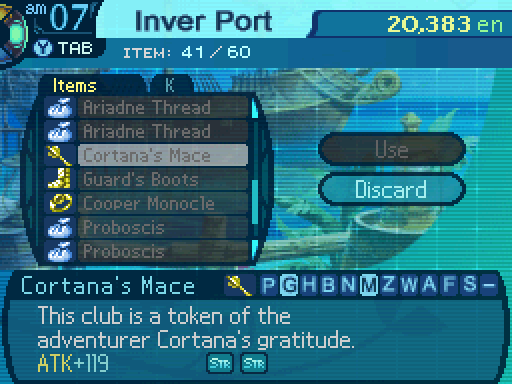
And we get a pretty decent club.
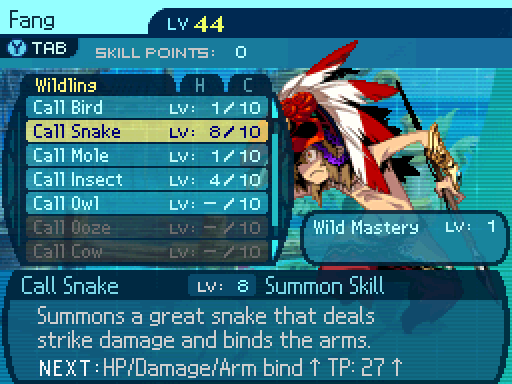
Call Snake now summons a snake with a base HP of 74. Its initial attack deals 115% damage, while its AI attack deals 105% damage. And it now has a 44% chance to inflict Arm bind. Let's cash in our drops.
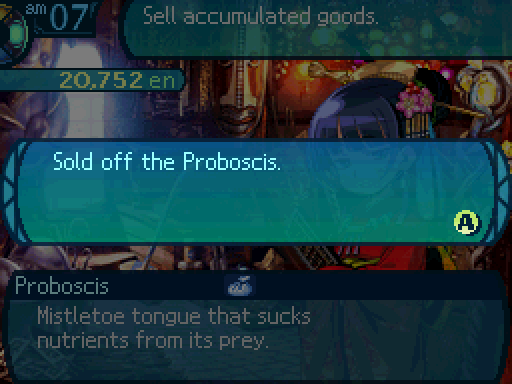
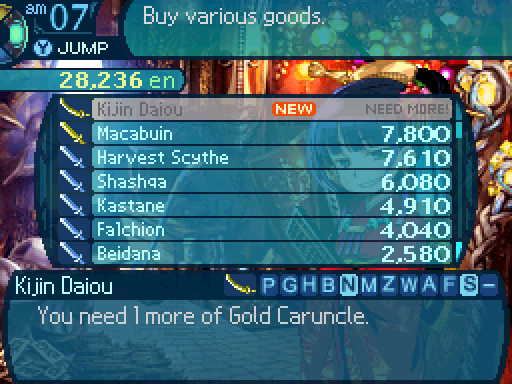
The Kijin Daiou is unlocked from selling the Proboscis, but we also need a drop from a 4th Stratum enemy to buy it.
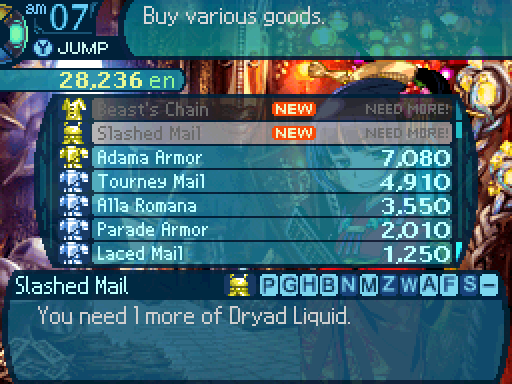
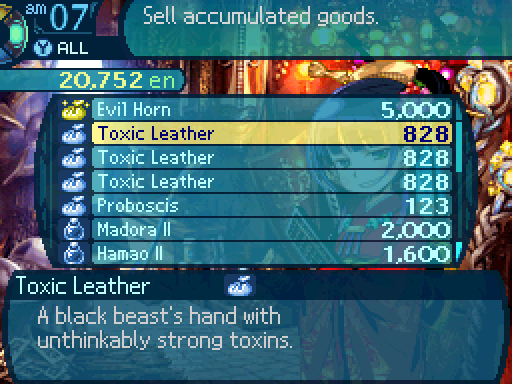
The Slashed Mail is unlocked by selling the Toxic Leather, but we also need a drop from a 4th Stratum enemy in order to buy it.
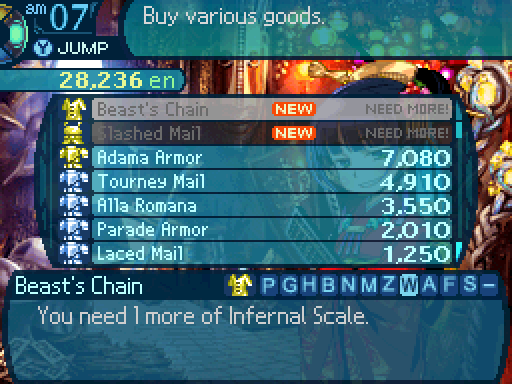
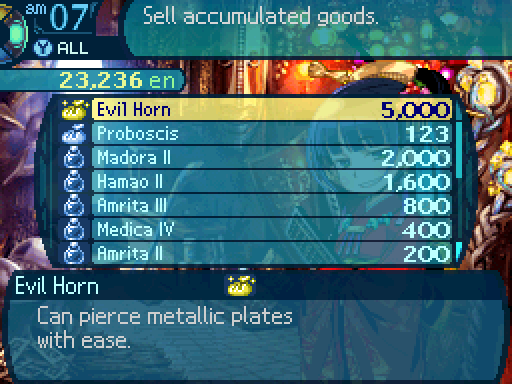
However, the Beast's Chain is the Wildling's ultimate armor. And in order to unlock that, we need a drop from an enemy in the 6th Stratum. Also known as the post-game. So we're not gonna be getting that for a long while.
But that's not all I have to show you. Before I forget, there's one more thing I want to show off. But it involves having to reskill Charlotte.
The battle may now continue!
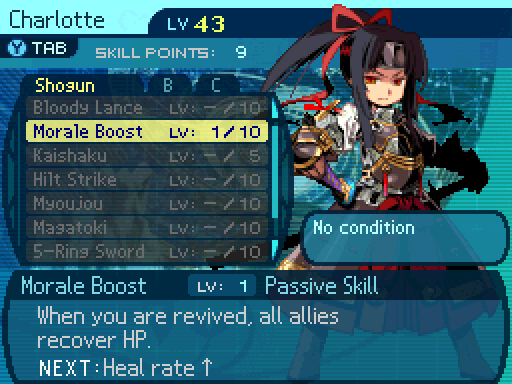
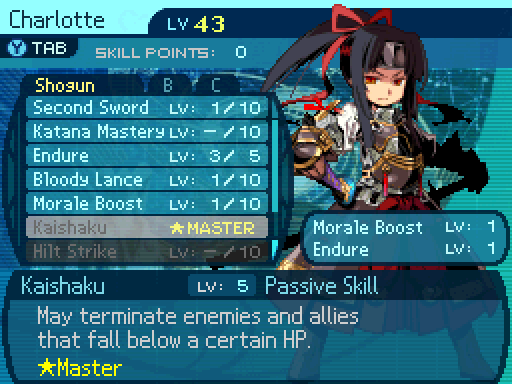
First things first, she needs Morale Boost to get the skill I want. What it does is when the Shogun dies, but gets revived later, all allies on the field will recover some HP. At level 1, it causes everyone to recover 10 HP. A gimmicky passive, and one I don't care for.
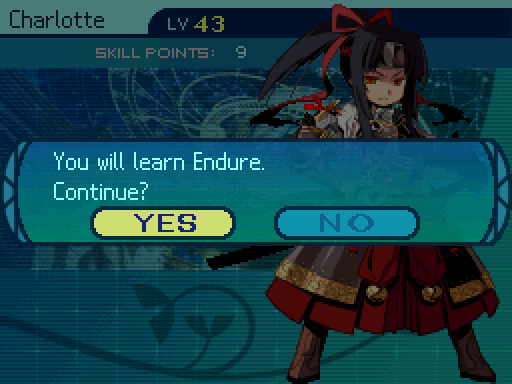
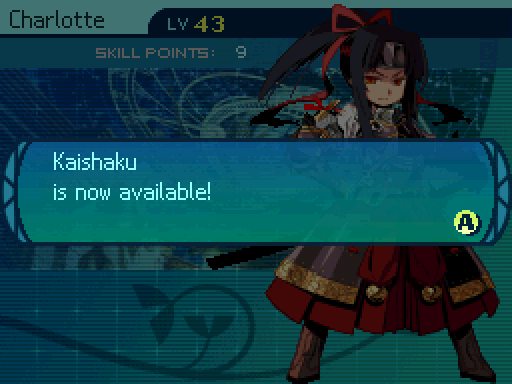
And now that I have a point in Morale Boost, I unlock this skill when getting Endure to 1.
I do enjoy the thrill of the kill.
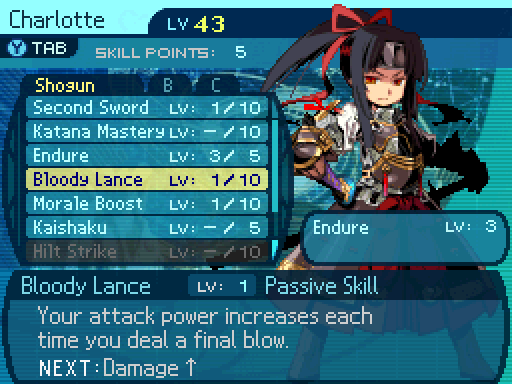
But I mistakenly thought Bloody Lance was required for it, so I wasted a skill point there. Whoops.  Oh well, at least it provides a 10% damage boost every time Charlotte kills something.
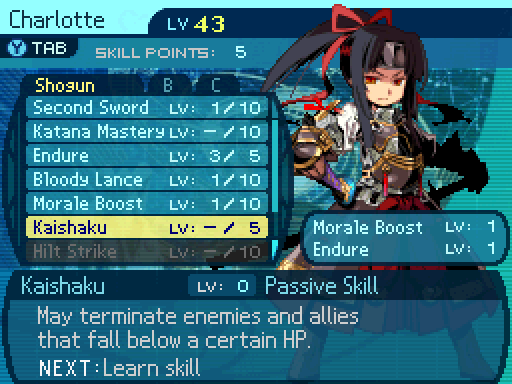
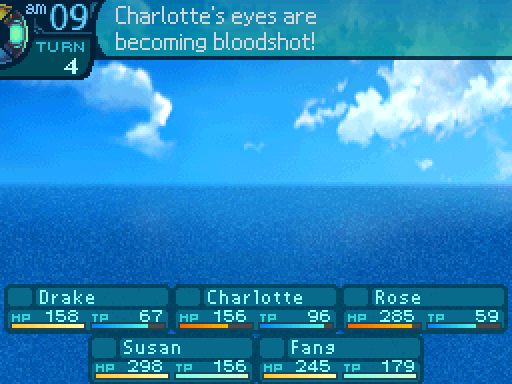
Okay, so this skill. It's not one I like at all. What it is is that it's a passive that allows the Shogun to Instantly Kill whatever falls below a certain HP threshold. Oh, and the Instant Death is unresistable. While it can't pierce Instant Death immunities, it doesn't care about resistances at all. For those of you that have played EO1 and 2, this may sound familiar. It's basically a massively nerfed version of the Dark Hunter's Climax skill. What makes this a nerfed skill? Well not only is the HP threshold much lower, but it's not guaranteed to activate even if the target falls below the threshold. Oh, but the kicker? This affects allies as well as enemies. Yeah, that's why I'm not such a big fan of this skill.
I'll end your suffering.
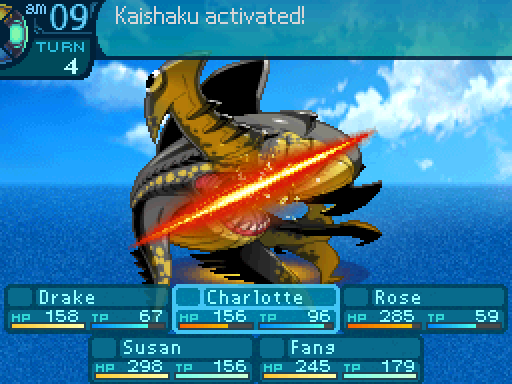
So, Kaishaku (Mercy Kill) will activate if anyone falls below 15%, but it activates 60% of the time. For the record, nothing can directly influence the activation rate. It'll always be 60%, no matter how high the Shogun's stats are. Anyways, the reason I don't like this skill, is because I think there's too much risk to it, while providing very little reward. If your characters fall below 15% but don't die, they can still be saved. But Kaishaku takes away any opportunities to save them. While enemies that fall below 15% will die very soon. Still, I took this skill to show something off.
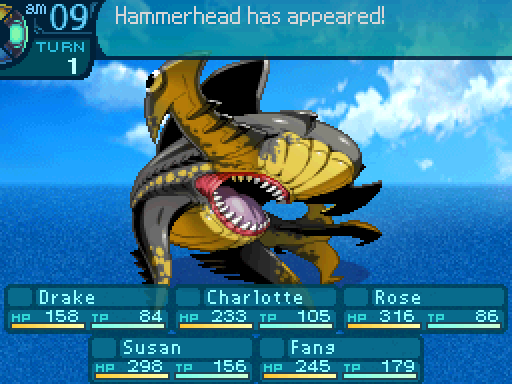
So this is the shark problem they were having?
 Yeah, think you can do something about it?
Namely, the proper way to get Hammerhead's conditional drop. I said before that Call Tiger was an option in order to get it, but if you aren't having any luck with the RNG, you need someone with Kaishaku.

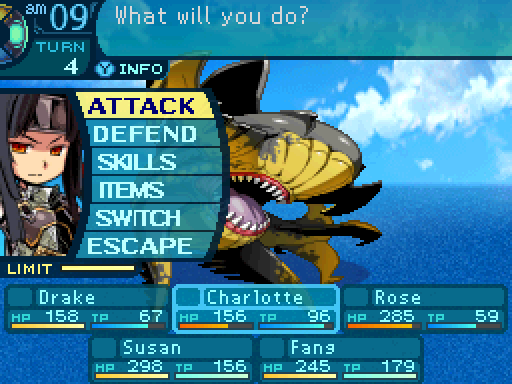
Anyways let's skip to when Hammerhead drops below the threshold.
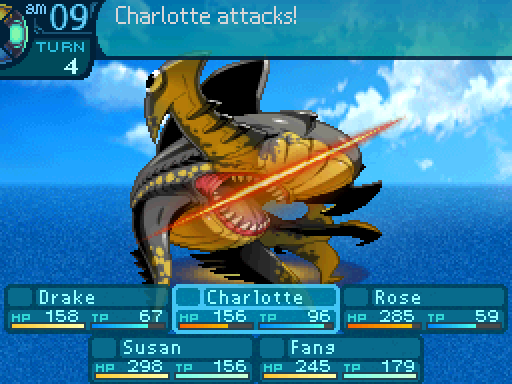
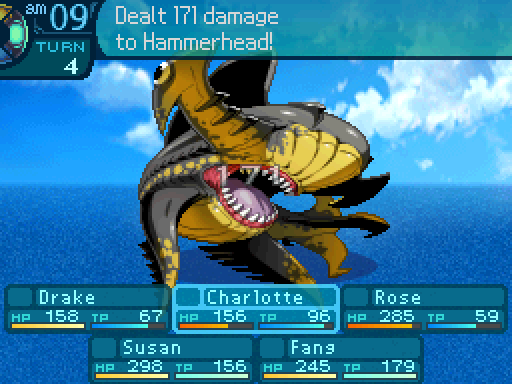
There we go!
EXECUTE!
The animation for Kaishaku killing something is the same as all instant kill animations.

THE WEAK WILL ALL PERISH! 
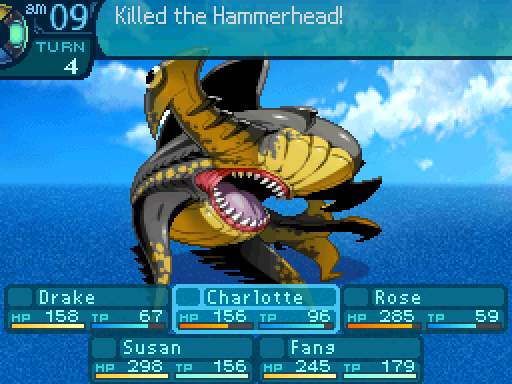
I guess that's one way to get rid of a shark.
Ayutthaya Port should be safe from now on.
And that's the proper way to get Hammerhead's conditional if the RNG isn't on your side.
Next time, exploring more of the 4th Stratum.