Toggle Background Color
Update 57: Watch Out Below!
 Jumping down holes is fun!
 Speak for yourself. My feet are still sore from all that.


Starting off this update with actually spending the skill points I got in the last one. I hope to have Antifire maxed out by the end of this Stratum.
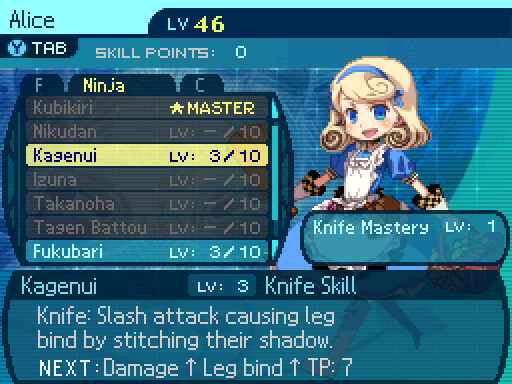
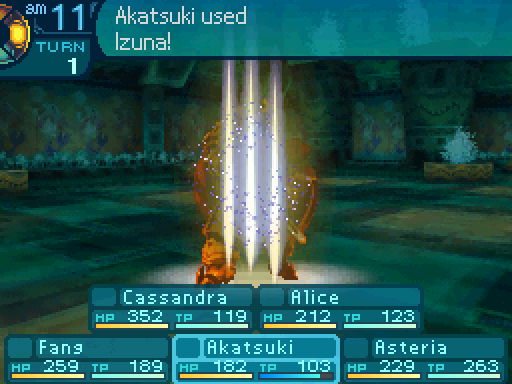
Trying to work on getting Izuna for Alice, since I want a more reliable option for dispatching enemies in case something bad happens.

And with Call Snake maxed out, the snake comes with 90 HP, deals 130% damage on the initial hit, 120% damage from an AI attack, and has a 50% chance to inflict Arm Bind.

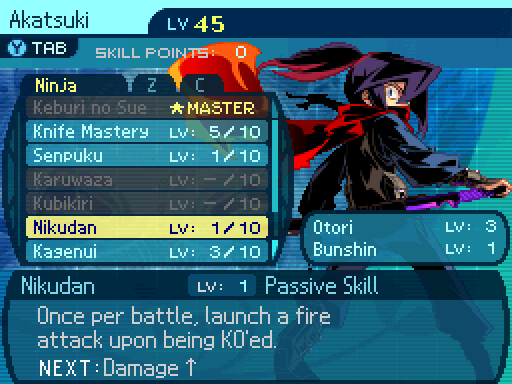
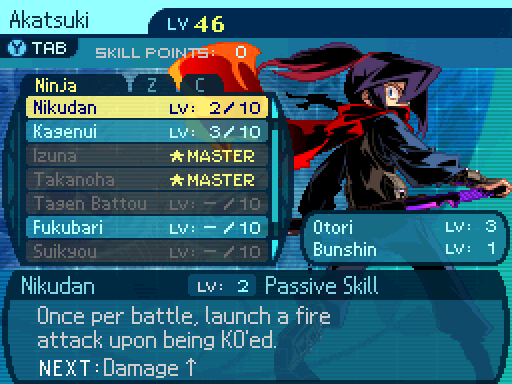
And we get a level up for Akatsuki.
 Now I will have the last laugh!
Nikudan (Human Bullet) is an interesting passive. Whenever Akatsuki dies, he'll launch a kamikaze Fire attack to the enemy that killed him. This also applies to any Bunshin clones, but not for any decoys. Also this ability can only activate once per character in a battle. (Clones count as separate characters.) At level one, the attack has a skill power of 200%.

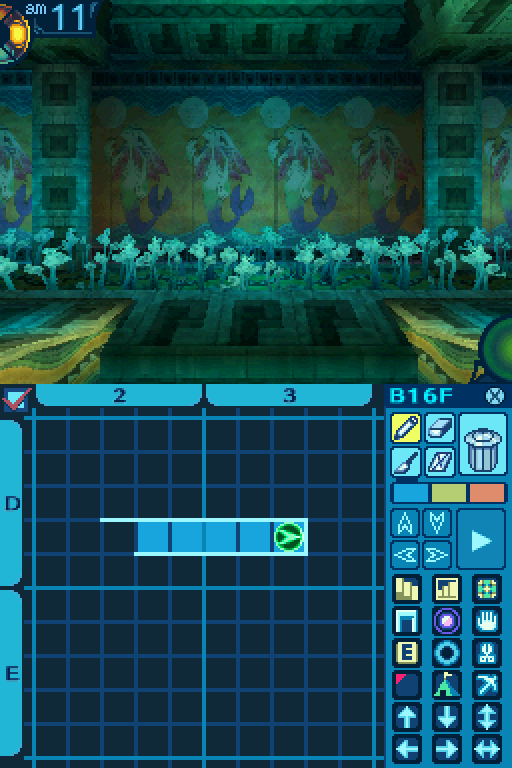
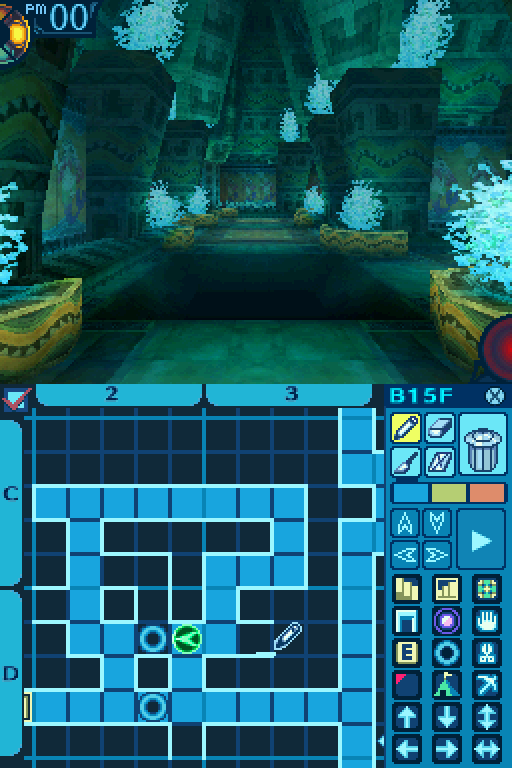
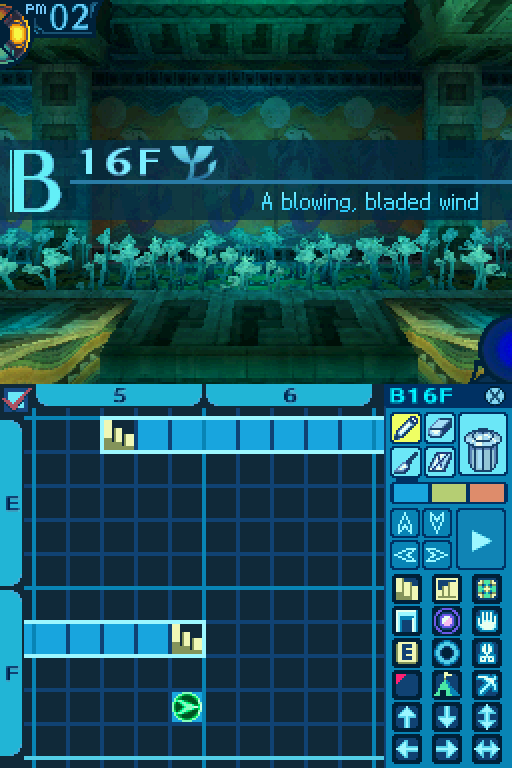
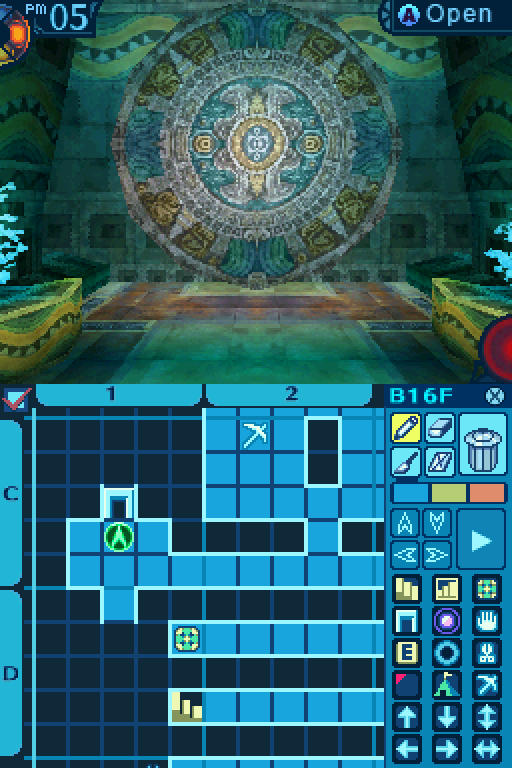
Anyways, back to where we were in the Labyrinth before. Now that we don't have to search for the Amarantos, we can investigate something else at this spot.
Two of the three motifs in the shape of an equilateral triangle are too faded to make out.

And there's the last of those murals. Let's move on.


Another Freed Savage.


Another dead Freed Savage.
 I hope I won't see that face in hell.


Horoscope now has an 8 tile radius and lasts for 70 steps.

Another Coupon.
Another coupon. We have a few of these already. Should we make use of them soon?
Well, Faye said to hold onto these for a while. I think she's saving those for her most expensive merchandise.
Hmmhmm, Edie must be dreading that day.


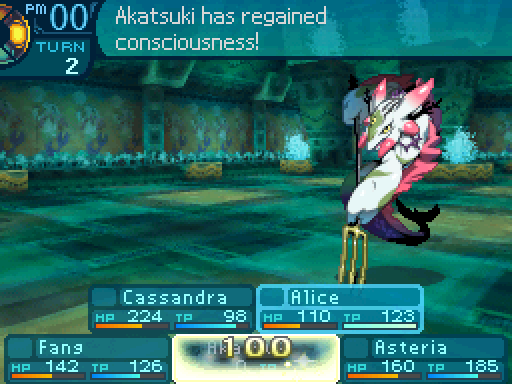
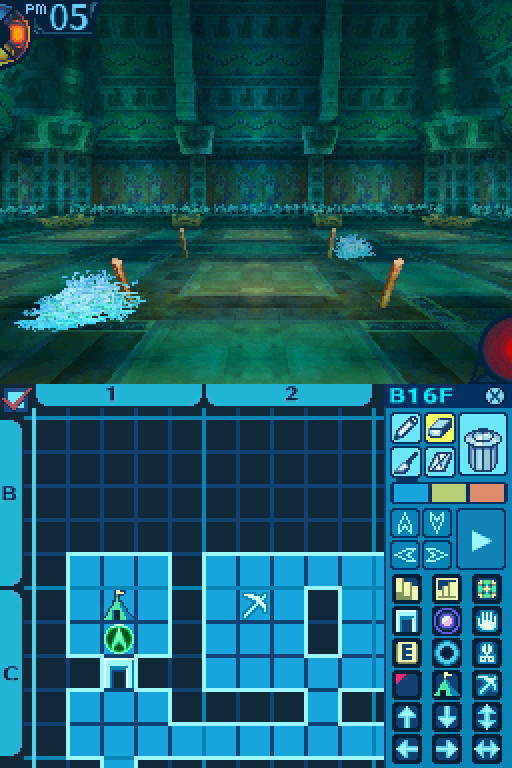
Here's a pit, let's see where it goes.


Absolutely nowhere important.


Fear me FOEs, for I am the instrument of your destruction and whatever.


More pits.


Vengeance... WILL BE MINE!

...Dammit. 
There's Nikudan in action. Unfortunately it didn't manage to finish off the Deep Raider.

 Oh, please wake up, Akatsuki!
Thank you, Miss Alice. And now to enact my-


...Really?
He hurt you, so I hurt him.
Uhh... Thanks. I guess.
You're welcome!

You actually might want to use this for the upcoming boss, because its conditional drop is a PAIN to get! If you're on the Deep City path, ehh use it if you want.

That jump down a pitfall was a bit more productive.

But not the way forward.

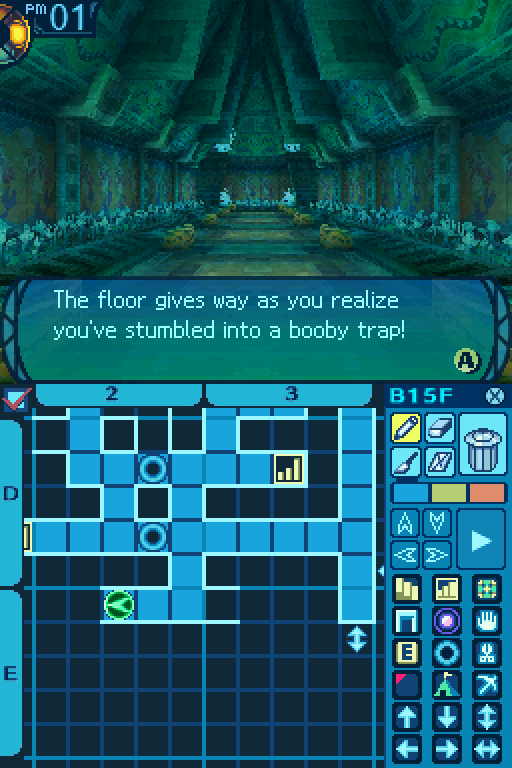


Well that one at least had a shortcut in it.

But enough distractions. Let's get a move on.

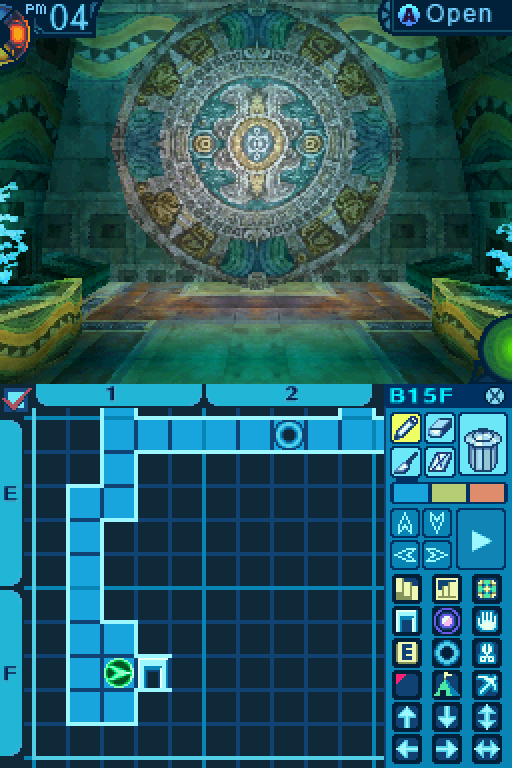
Two of the three motifs in the shape of an equilateral triangle are too faded to make out.

I believe that's all 3 endpoints of the triangle.
So what do those drawings mean?
I have no idea, but we'll probably find out later.


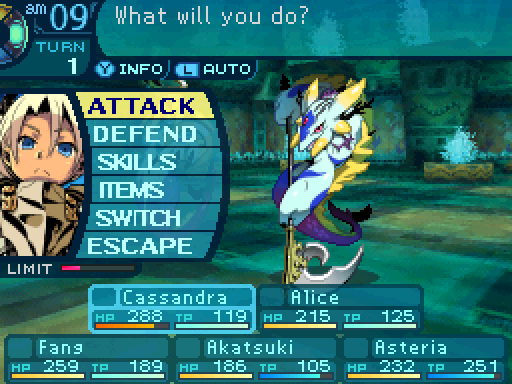
Oh that's just great.


Mmmm. So many fluffy sheep...
Not the time to be counting them, Alice!

Five more minutes mommy...


OW OW OW I'M UP I'M UP!

Ipupiara
Level: 41
HP: 700
STR: 38
VIT: 38
AGI: 30
LUC: 34
TEC: 43
Attack Type: Strike
Exp: 1709
Item Drops:
-Drop 1: Charmed String - 25% Drop Rate. 1 needed for Aikuchi (Knife.) 2 needed for Barrel Helm (Helm.) 4 needed for Blind Seal (Accessory.)
--Causes mischief and confusion when plucked.
-Drop 2: Witch's Robe - 10% Drop Rate. 1 needed for Siren Tunic (Clothes.) 4 needed for Witch Drawers (Clothes.) 5 needed for Partizan (Spear.)
--Protects the wearer from curses.
-Gold: N/A
Description: A beautiful Deep One that lurks in the Shrine. Its lovely, insidious voice warps the human mind.
Damage Resistances: Slash: 100% Strike: 100% Pierce: 100% Fire: 100% Ice: 100% Volt: 100%
Ailment Resistances: Sleep: IMMUNE Confusion: 100% Plague: 50% Poison: 100% Blind: 25% Curse: 100% Paralysis: 100%
Bind Resistances: Head: 100% Arm: 100% Leg: 100%
Other Resistances: Death: 100% Petrification: 100% Stun: 100%
Skills:
Lullaby of Rest: Uses the Head. Attempts to inflict Sleep on the entire party, and has a 30% chance of succeeding.
Absorb Spirit: Uses the Head. Deals 30% Almighty damage to a single target. Targets their TP pool instead of their HP pool, which drains it.
Ipupiaras are pretty annoying enemies. They'll try putting your whole party to sleep, and exhaust your TP pool. They're the first enemies you want to take down in a fight, unless you like your supports having no TP to work with, and like other physical attackers hitting your party hard while they're completely helpless.


Ugh, her body is still wriggling around. I don't think I'll get used to this.
The Ipupiara's drop rates are annoyingly low, so good luck trying to get the equipment their gear drops.

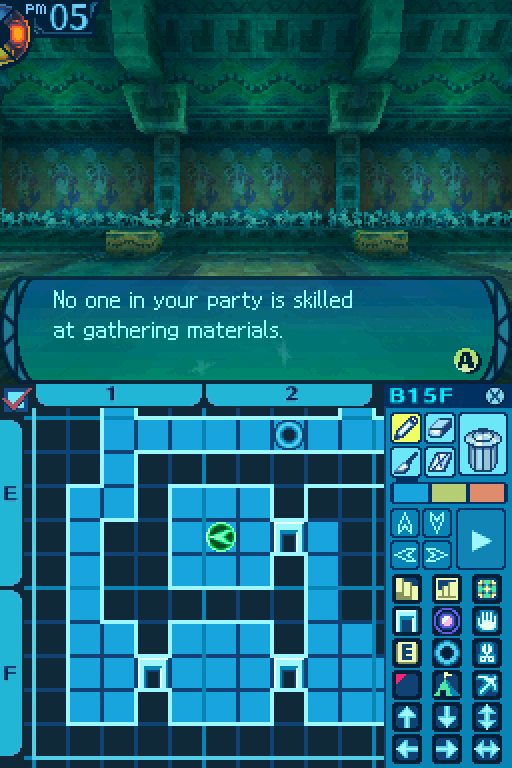
E2 Take Point:
Crabapple: 30% Gather Rate.
Hyacinth Petal: 70% Gather Rate.
Waterlily Leaf: Rare.
Common Gather Periods: 1 to 10.
Rare Gather Periods: 1 to 5.

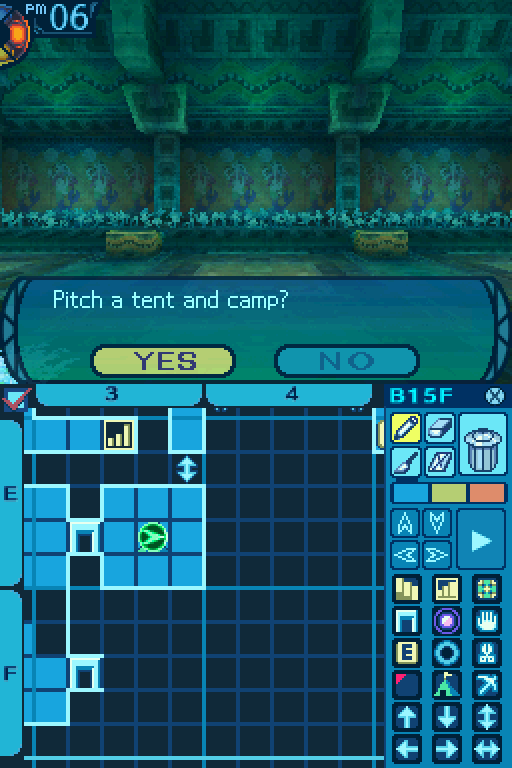
Here's a campsite.

I rest up here.

And here's a shortcut, though you still have to walk a while to go back through here.


I shouldn't have been so careless...

I won't make that mistake again!
Unfortunately, that was the last of my Nectars, so I went back to town to restock. I also went ahead and withdrew the materials I had in storage for that weapon quest.


Take these to the bar to fulfill the request!
But before I do that, I sell all my drops to Edie and unlock some new stuff.


Ooh, now Bravants are a fantastic consumable! They increase one person's physical offense by 45% for 4 turns. They're very handy if you're running party setups which can only make use of 2 offensive buffs.

Ward Chimes act like a level 1 Vigilance, decreases the encounter rate by 40% for 30 steps. Not really that great.
Now let's turn in that quest.

 Welcoming to you, explorers! That old coot has been waiting for you. Not patiently, either!
Hmph, we're the ones he's giving the weapon to.
Oh, but we have them now!
Ah, but now I am seeing you have the materials! Tatara will be much happy to see it! What type of weapon do you want as your reward?

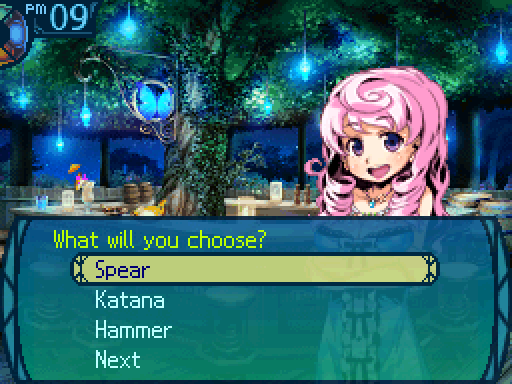

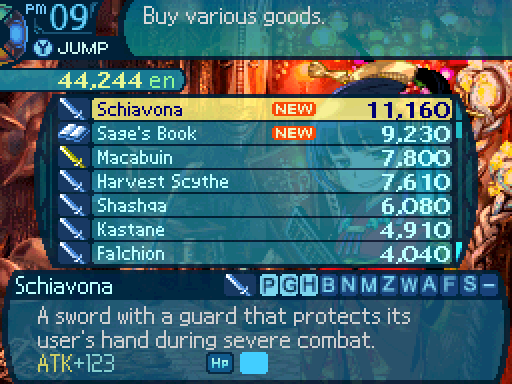
You have 9 different weapons to choose from. None of them are special of anything, as you can buy them later or now, depending on what you've unlocked at Napier's. The weapons are as follows:
- Sword: Schiavona - 123 Attack. Forges: 1 HP, 1 Empty
- Rapier: Colichemarde - 115 Attack. Forges: 2 Empty.
- Dagger: Ballock Knife - 96 Attack. Forges: 3 Empty.
- Spear: Partizan - 124 Attack. Forges: 3 Empty.
- Katana: Warabite - 120 Attack. Forges: 1 Empty.
- Hammer: Bolt Warhammer - 133 Attack. Forges: 3 Volt.
- Crossbow: Dardanelles Gun - 129 Attack. Forges: 2 Empty.
- Tome: Firm Book - 88 Attack. Forges: 2 VIT, 1 TEC, 1 Empty.
- Gun: Ice Cannon - 106 Attack. Forges: 3 Ice.

Choose whatever you want. As for me, I chose the sword. Oh, and Missy doesn't comment on your choice of weapon.

Fade to black.

...Yeah. We did...
Nobody tell her about the broken bottles of High Lagaard imports, understand!?
Y-Yes ma'am!
Here you go, as promised! It is so well-made... I cannot stop looking at it! The old geezer was happy to work with that metal, too! We’re all happy here! Yay!

And you get the weapon you chose here.
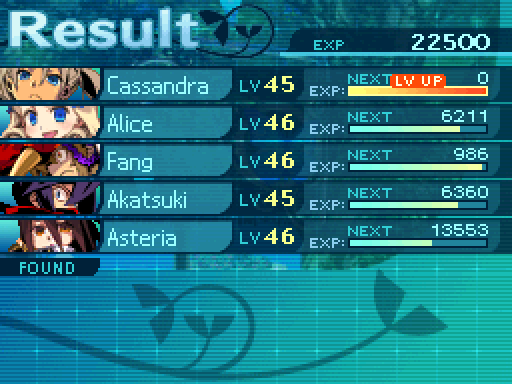
Cassandra levels up.

Antifire is at 9 now. Which is nice, but I'd really like for it to be maxed out before we reach the end of the 16th floor.

Anyway, I have no idea what caused the new quests to trigger since I was checking at every opportunity before, but now we can take them.
Ah, so there's a mystery to be solved?
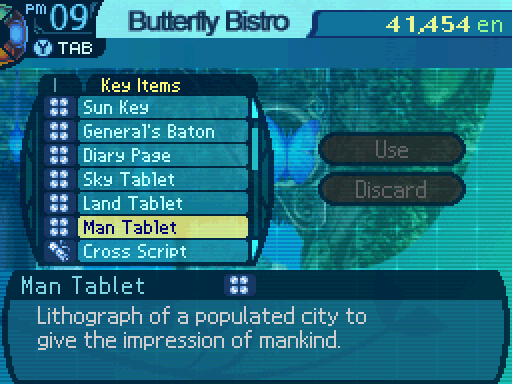
Ah, that request is from Potapov. He brought some stone tablets in to me, and he is wanting someone to investigate them. Here they are, look! By the designs, I am thinking they are from the undersea shrine. Patapov is wanting you to take the three tablets to the shrine and solve the mystery! You can do this, yes? Go for it! Bring us back knowledge of the deep!


I think we've seen these drawings somewhere before. Hmm. But I can't remember where...
Another monster problem?
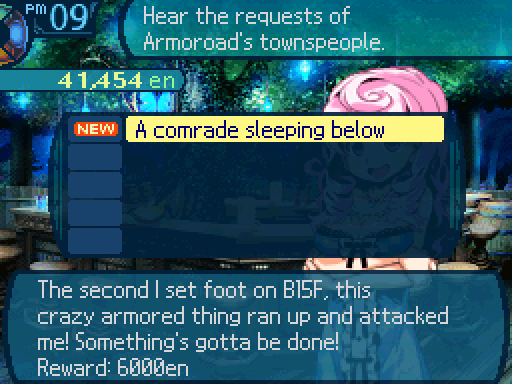
Ah, it’s you guys! I have been waiting for you! The adventurer Denton is wanting one of the monsters in the Labyrinth “eliminated.” He wants someone to defeat the armored monster near the entrance of B15F. Denton says that it keeps coming back to life, no matter how many times he kills it. That is silly! ...I don’t believe him! Ghosts do not exist, anyway! W-Will you go prove him wrong before he spreads his ghost stories around more? Go go go!

There’s no mistake that this is the monster that you were requested to defeat! The armored monster takes no notice of you and staggers about on its own accord. If you plan to defeat this request, you must pursue this monster.
So that's the monster we have to take down?
It seems like it, but... It's not coming after us for some reason.

Hey, come back!
Huh. It doesn't look like it wants to fight us at all.
Come to think of it, I don't think Missy ever mentioned that this monster was hostile.
Should we still follow it?
We may as well. We should find out what it's doing here at least.

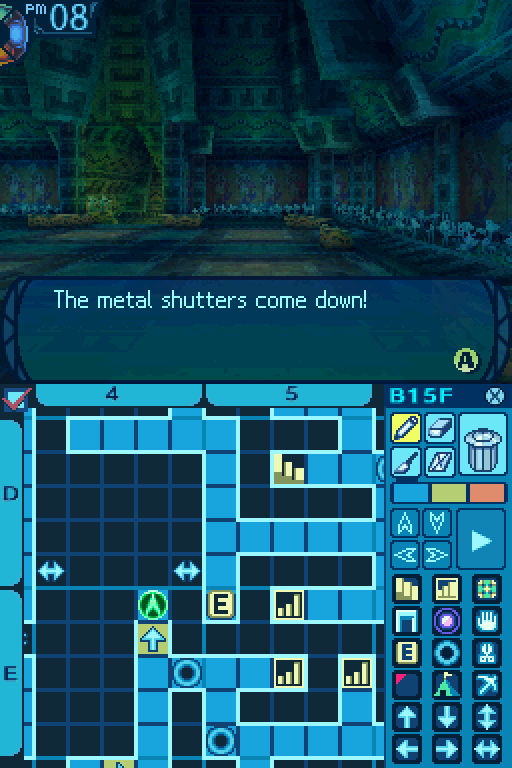
Nowhere to run!
Akatsuki, we're not here to kill it. Yet.
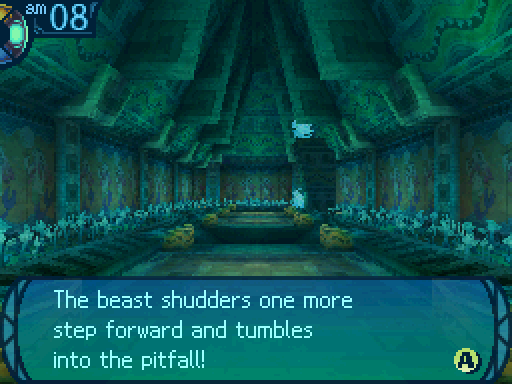
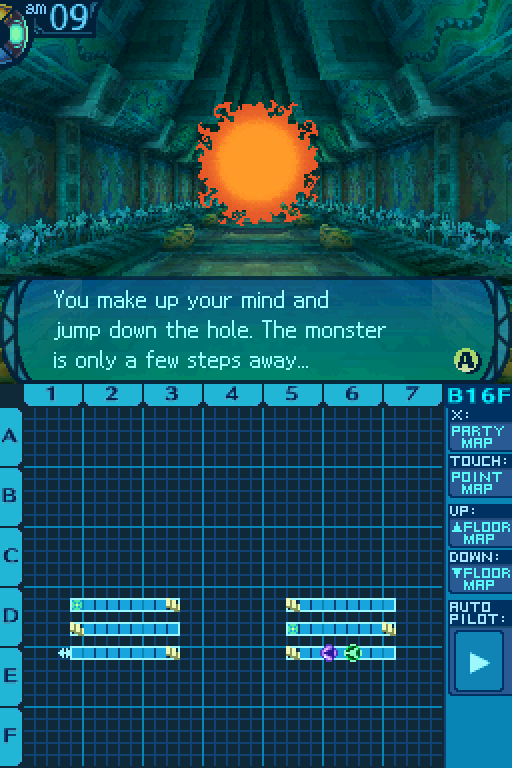
You have no choice but to follow it down the hole if you want to pursue it.
HUH!?
Um, uhhh... A-After it!
Wait! If we just leap into the pit, it could climb up the stairs and get away!
That's true. Though I'm not sure what the point of cornering it would be.
Well, that request did ask for us to kill it. Assuming it can be killed.

Fang gets a level up.

And levels up Call Bird some more. The binding animals all have the same scaling when it comes to skill levels.
So it went down that pit, right? So that means we need toaaaaAAAAAAAAAAAAAHHHH!!

Of all the times for him to trip. 
Maybe... we should go after him.
This was me having an idiotic moment and forgetting the next step to this quest. You're supposed to climb down the stairs into the part of the floor this pitfall leads to. Not fall down the pit itself.
It seems your game of tag will have to continue for a while longer...
After it! ...Again.

This results the FOE going up the stairs and forces the chase to last longer. If you went down the stairs instead, you could corner it at the end of the hall. But I didn't, so...


Cue a long chase. Also it teleports a few tiles ahead when it passes a door.

This time, I don't make the same mistake.

Nowhere to run!


Roaming Spirit
Level: 44
HP: 1562
STR: 48
VIT: 44
AGI: 32
LUC: 34
TEC: 41
Attack Type: Slash
Exp: 1670
Item Drops: N/A
Description: A knight’s ghost that still roams the Shrine’s halls. It now holds nothing but hatred.
Damage Resistances: Slash: 75% Strike: 75% Pierce: 75% Fire: 150% Ice: 150% Volt: 150%
Ailment Resistances: Sleep: 100% Confusion: 100% Plague: 150% Poison: 100% Blind: 100% Curse: 50% Paralysis: 100%
Bind Resistances: Head: 100% Arm: 100% Leg: 100%
Other Resistances: Death: IMMUNE Petrification: 100% Stun: 100%
Skills:
Gale Blade: Uses the Arms. Deals 130% Slash damage to a single target. Has an action speed of +10.
It's just a slightly tougher Cursed Knight. If you can handle those, you can handle this thing.

YEEEAAAARRRT!

I just opted to Petrify it.

And that takes care of that!
But didn't that lady say that this monster comes back?
Ha! I trapped its soul inside a statue! I doubt it will beyaaAAAAAHHHHH!
However, you cannot let your guard down. Rumor has it that this monster resurrects...! The tension is so thick you almost scream... but the corpse suddenly vanishes into thin air!
What the hell was that!?
All that remains where the monster was is a sword, thrust in the ground like a gravestone. Could it be that the monster wanted someone to follow it here and find this sword...? Still, there is little use in thinking about this now. You take the sword and leave.


I think it was just trying to lead us here. I think you got a little too excited there, Akatsuki.
Yes... I... may have been too aggressive.
Well, no harm was done. Let's just take this back to the bar when we get a chance.

Now let's actually move on.

Thought we were done with the gates? Nope, because here's another gate puzzle, and it's somewhat elaborate.


Strap in, because this next section has to be done in one go.

Our objective is to get past this gate, since it's the way forward.


Let's check out this pit first.


Something like vines are visible underneath, but the stone floor seems quite heavy. If you pried away the tiles, you could investigate, but there is always the threat of danger here.

You crouch and take hold of the stones, grit your teeth, and pull with all your strength! However, the stone doesn’t budge. It seems you simply don’t have the strength at the moment. You give up on the tantalizing vines with sadness and return to your adventure.
NNNRRRRGGGHHH!! Ugh... I don't think I can pry this thing up.
Well if you can't do it, I don't think any of us can.
Maybe we should let Rose or Sidney have try to lift it up?
Unfortunately, we need a party member with a lot of STR to get at it, which we don't have at the moment.


Let's try our luck with pitfall number two!

You are tempted to touch it, but...
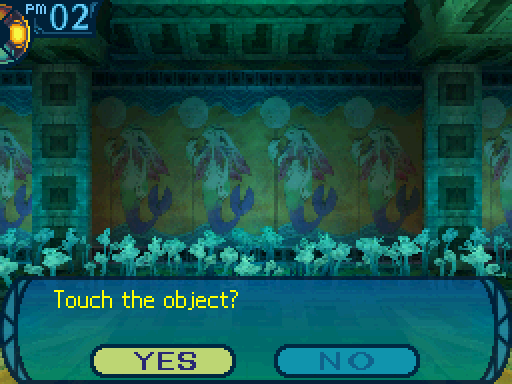
Ooh! Pretty!
Fang, I don't think you should-GAH!
You gingerly touch the object, drawn to its faint light, when the glow intensifies and envelops you!

A flash of white.

Ahhh, how refreshing.
The light is warm, like sunlight in spring, and it relaxes both body and mind.

That wasn't the way forward, but that was a nice bit of recovery.


Third time's the charm!


Taking those stairs leads us to the other side of that pit.


Then take that pit to move onward.


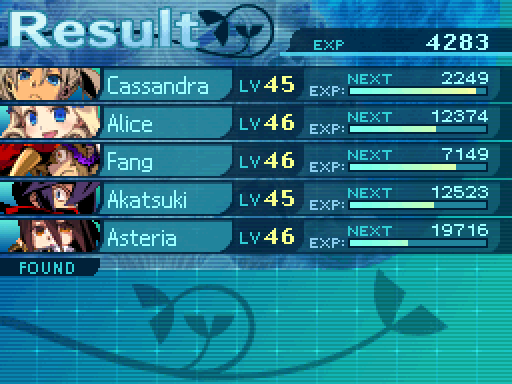
Ooh, two levels ups this time.

Still working towards Izuna.
Nikudan now hits for 220% damage. I don't think it's a great skill, but it is a prerequisite to one I want.

Well there was nothing of interest down there.


Only one pit left to take.

I think I see a gate switch over there!
Now the question is, how do we get over there?
Hmm. Can't get past this for now.

Let's see where this set of stairs takes us.


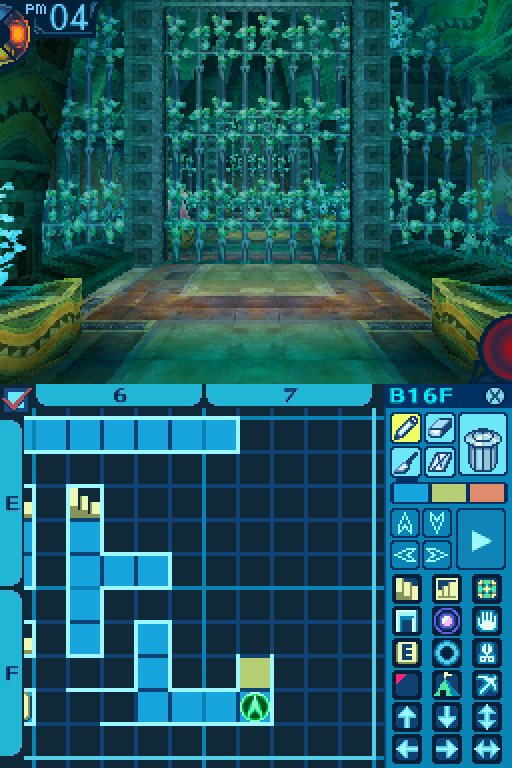
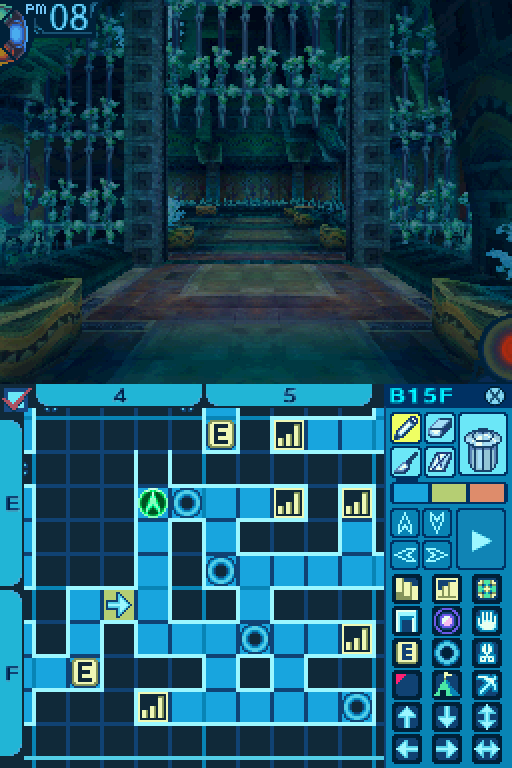
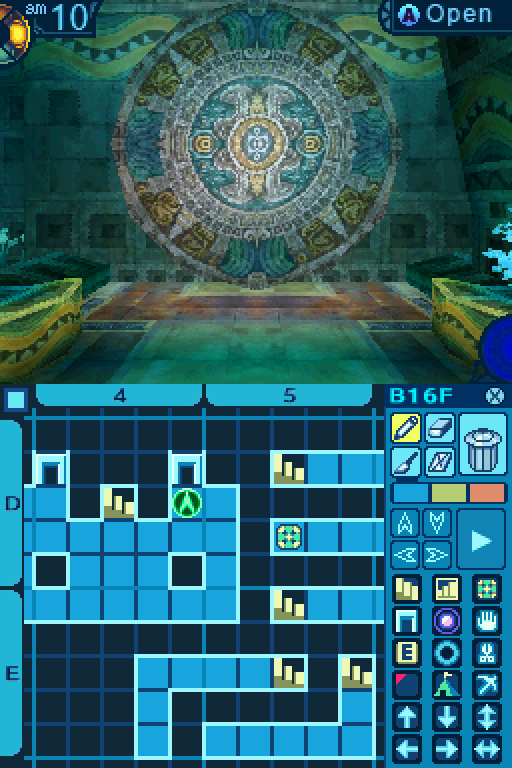
So this part of the floor is asking you to pay attention to both the 15th and 16th floor maps. Line up the maps to see where the pitfalls go, and fall into the correct ones to proceed onward.

So we want to look for a pitfall that falls into that spot between those two gates.

Which would be this spot I marked on the map.

But before we go down there, we want to fall down this pit first.

As there's goodies to be had.

I will not be so easily defeated now!
Akatsuki has the lowest VIT stat in the entire game, so I decided to give it to him. Though honestly, I probably should have given that to Asteria, considering my plans for her later.

And we can't get to that switch from here.


Finally! Time to move on. Oh, and if you're worried about the gates...

Don't worry, none of them will close on you. Don't warp out just yet, or you'll have to do that section all over again.


Oh and to backtrack, take these pits.
And we're out of there!

And never have to do that again.

Another passage.

And another gate switch.
I go back at this point since supplies were running low.

Hello to you! Did you defeat the ghost? I-I-I mean, the monster!?
It was easily taken down.
I see... So even an immortal beast like that was not proving a challenge for you... Hmm? What is that sword? There was nothing in the request about a sword.
Oh, the monster dropped it when we defeated it.
The monster left it behind... Interesting! Wait here for a bit, will you?

Fade to black.

It seems that sword belonged to Denton’s partner, who died not long ago on B15F... He must have wanted Denton to remember how they would go on adventures together...
Is this the part where you mention almost trapping his friend's soul inside a statue for all eternity?
No. We will take that to our graves. Or at least, I will.
I remember everyone, you know? From explorers to merchants... Survivors and the dead. If an explorer’s job is to go exploring, then this is the least I can do for them... Hmm... It is no good to be all maudlin like this! Reward! Here! Take it!

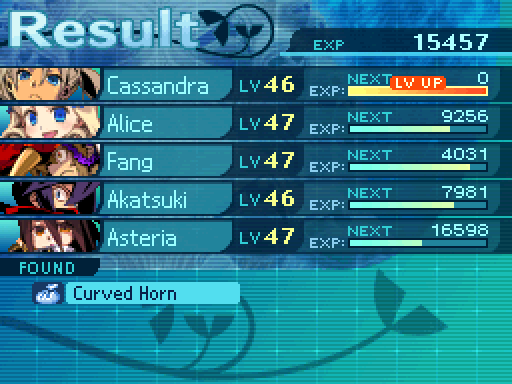
Ooh, now that's an important level for Asteria.
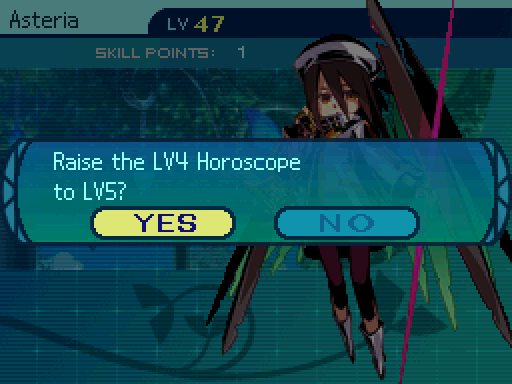
Because now she maxed out Horoscope, which has an 11 tile radius and lasts for 100 steps. But I probably won't use this often. No, maxing out Horoscope...

Leads to this skill getting unlocked.  This is Asteria's best damage skill, and unlike the elemental stars, you definitely want this maxed out. And I went ahead and sold off my items to unlock new equipment.


Nothing really special here. Anyways, back to the Labyrinth.

What the-!? Hey everyone, stop!
What's happening with the bag!?
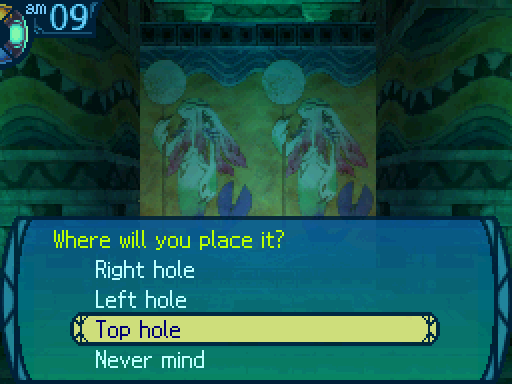
Something is moving inside Asteria’s backpack! You carefully open the backpack and see that the stone tablets are shaking! It could be reacting to something... You look around and find an altar nearby!

In order to fulfill Patapov’s request, you decide to try placing the tablets inside.


Um, how are we supposed to know where they go?
Maybe we should just place them in and see what happens.


Um, I think that's it.
But nothing's happening.
You’re at a loss at what to do, since the altar doesn’t seem to be doing anything. Suddenly, Asteria notices something and lets out a shout!
Oh dear. Behind you!

You were too engrossed with the altar and allowed youselves to get ambushed!

Oddly enough that doesn't count as an automatic blindside. Sheesh EO3, can't you ramp things up a bit?
And you can still run away from the fight! I don't know why EO3 was that kind when it can to certain event battles.

Anyways, managed to deal with that easily.

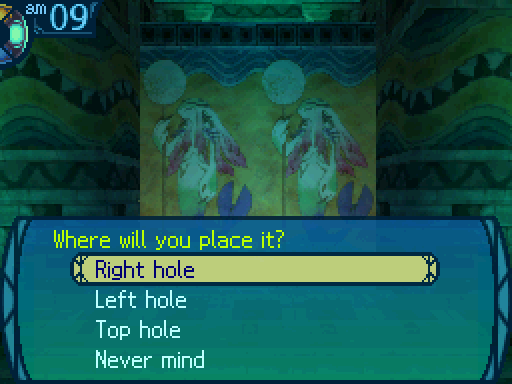
It seems your selections were incorrect. Perhaps a clue is hidden in the shrine...
There are other consequences for getting the tablet placements wrong.
You place all three tablets in the holes, but nothing seems to be happening... ...... Suddenly, the tablets are thrown from the altar! One hits Asteria in the face!
WHY IS IT ALWAYS THE FACE!?
Asteria loses 50 HP!
When you place the last of the tablets, the altar begins to release a strange light!
AAAAHHHH!
Once your eyes adjust from the blinding glow, you realize you have been teleported! You see that the tablets have been ejected onto the floor.
REALLY!? All the way back here!?
Other consequences include one character losing HP or getting teleported elsewhere.
Oh! Now I remember! The lithographs on the tablets, they're the same as those murals in the shrine!
Ah, so we place them in the same positions as those drawings. Okay, let's do it right this time.


And that's the actual solution to this puzzle.
You place all three tablets into the altar! Suddenly, the altar begins to shake, and a panel in the center slowly moves aside! A set of antique armor is inside a hidden compartment.
Hmm, how do I look?
It looks great on you!
That's certainly an impressive piece of armor.
But it's not ours. We have to give it to that lady.
That's true. Our client is the one who had these tablets in the first place. Oh well.
...It fits you perfectly! This seems to be a suit of armor dedicated to the people of the ancient city... In any case, you have fulfilled the request. You decide to take the armor back with you.


And with that, we're finally done with the 15th floor!

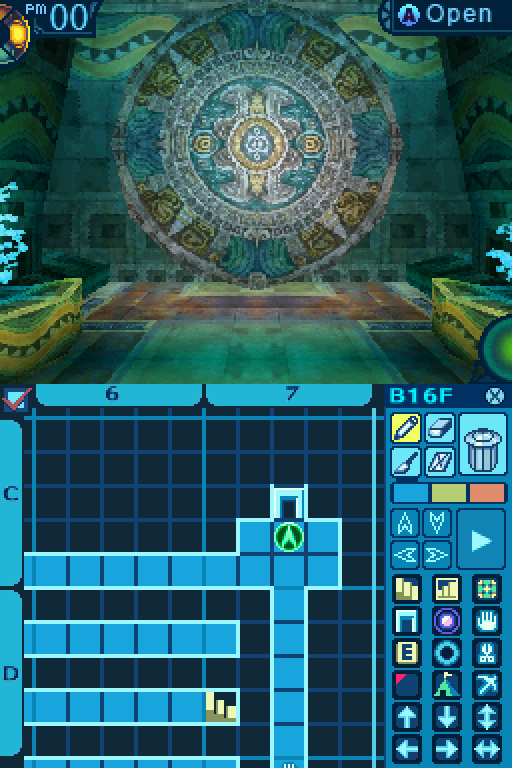
Now we're going through the real part of the 16th floor, instead of the pitfall destinations we were exploring before.


Dementia Owl
Level: 45
HP: 564
STR: 39
VIT: 36
AGI: 33
LUC: 33
TEC: 38
Attack Type: Pierce
Exp: 1755
Item Drops:
-Drop 1: Shining Feather - 25% Drop Rate. 1 needed for War Pick (Club) and Hrunting (Sword.) 2 needed for Bright Gauntlests (Gloves.) 3 needed for Shamshir (Sword.) 6 needed for Venom Charm (Accessory.)
--Tail feather of a Dementia Owl that emits a mysterious light.
-Drop 2: N/A
-Gold: Cursed Talon - Kill with Fire. 80% Drop Rate. 1 needed for Fusskampf (Light Armor.)
--The poison has been removed from this black nail.
Description: Its plate-like red eyes have driven some mad and caused the death of many others.
Damage Resistances: Slash: 100% Strike: 100% Pierce: 100% Fire: 100% Ice: 150% Volt: 100%
Ailment Resistances: Sleep: 100% Confusion: 25% Plague: 100% Poison: 100% Blind: 100% Curse: 100% Paralysis: 25%
Bind Resistances: Head: 100% Arm: 100% Leg: 100%
Other Resistances: Death: 100% Petrification: 100% Stun: 100%
Skills:
Dazzling Eye: Uses the Head. Attempts to Confuse or Paralyze the entire party. Has a 30% infliction rate.
Dementia Owls are the last new enemy of this floor and are kind of annoying to deal with. They're capable of disabling your entire party, but there's a trick to them. They only use Dazzling Eye when they blindside you, or if they're not at full HP. Kill them first if you can do it within one turn. Otherwise, maybe save them for last because they're pretty harmless otherwise.


And I missed out on the conditional drop, despite fulfilling the condition. Stupid 80% drop rates.
A couple of doors here.

Let's go through this one first.

C4 Chop Point:
Deathly Stem: 70% Gather Rate.
Crystal Vine: 30% Gather Rate.
Siamese Senna: Rare.
Common Gather Periods: 2 to 13.
Rare Gather Periods: 1 to 4.


Yeah, they led to the same place. The one on the left just led to a Chop Point.

E7 Take Point:
Crabapple: 60% Gather Rate.
Hyacinth Petal: 40% Gather Rate.
Waterlily Leaf: Rare.
Common Gather Periods: 1 to 10.
Rare Gather Periods: 2 to 5.

What in the world is that?
I... think it's a door?
It looks like an elephant! Oh, Mr. Elephant, let's charge into- uh oh.
That... had to hurt. That's quite the nasty bump on its head.
We'll have Faye take a look at it. But I don't think we're getting past this door anytime soon. If at all.


We can't open this door. But feel free to speculate what's beyond it.

We can open this one, though.

And this one.

There's an FOE ahead.

Which Asteria dispatches easily.

Another Freed Savage.

That's the last FOE in this Stratum.
Ohoho! Just in time!

Excellent! Cassandra now has Antifire maxed out. This should make the upcoming boss fight much easier to deal with.

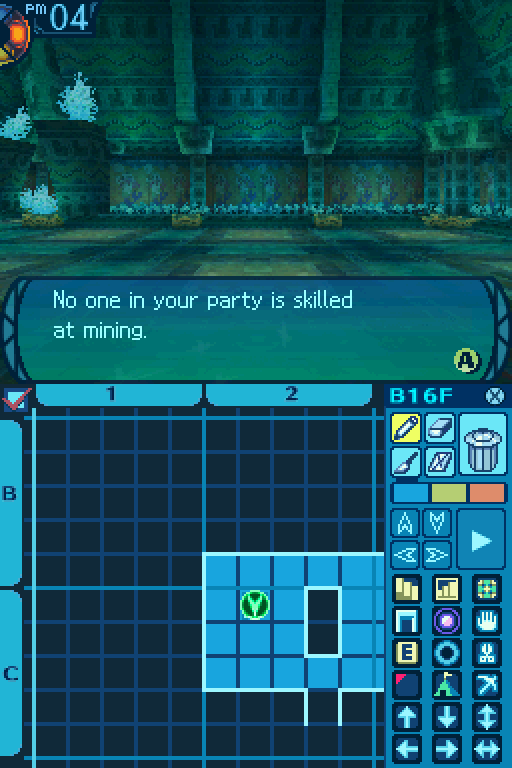
C2 Mine Point:
Red Jasper: 60% Gather Rate.
Serpentinite: 40% Gather Rate.
Memimorphite: Rare.
Common Gather Periods: 1 to 10.
Rare Gather Periods: 2 to 5.
And here's the last of the 4th Stratum Item Points.
A campsite.

And an inaccessible shortcut. We won't be seeing what's on the other side.

And with this shortcut, we can now get to the bottom of the 4th Stratum very quickly.


It looks like someone already passed through here.
Listening carefully, you can hear footsteps and voices from within the room... The odds are good that the Abyssal King and Olympia wait ahead. Use caution when going forth...
We should probably go back and prepare. We've kind of established ourselves as enemies of the Deep City, so I doubt diplomacy will be an option with the Abyssal King and Olympia.
So there's gonna be one of those big fights?
Unfortunately, the likelihood of that happening is pretty high.
I'll take us all back to town.


And turning in the last 4th Stratum quest.
Well, helloings to you... Wait, what’s that armor?
Oh, see when we...
...... ...Hmm, so when you solved the mystery of the tablets, that came out? I see, I see. I will be delivering this to Potapov. What a lucky find! Well, you did very well! Let’s work together again sometime!

Fade to black.

I completely spaced out on giving you a reward. Sorry! Also, please take the armor. Potapov says he only wanted to know the mystery of the carvings! What a nice guy! So, he is giving you the armor, too. Take it! It’s yours!
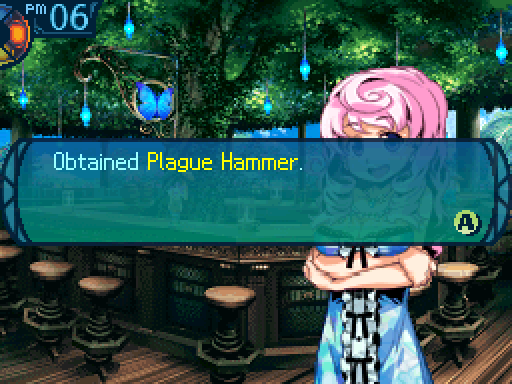

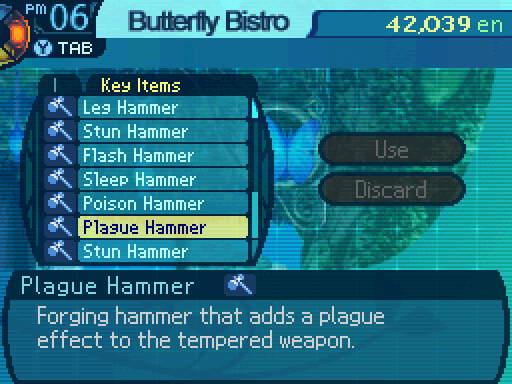
So we can put Plague Forges on our weapons now. Meh, Plague is not that great an ailment when used by the players.

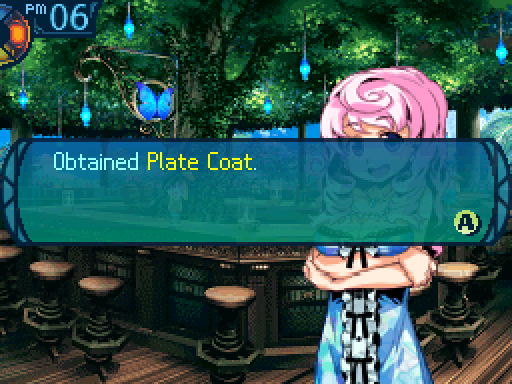
The Plate Coat is a nice upgrade in armor for Cassandra.

Call Bird gets a bit stronger. Anyways, I sell off my materials to the shop. Here's what I've unlocked.


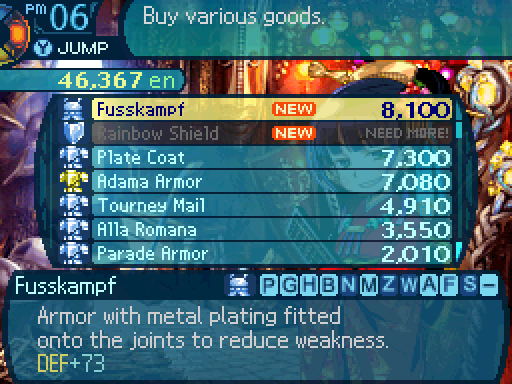
Nothing too notable. But while I'm here, I do take the time to buy something.

Hmm, it's a good and powerful weapon. But it can be better.

Yes, much better. It does cost me pretty much all of my money to do this.
 You did WHAT!?
Hmm? What's going on over there?
 Oh uh, Charlotte wanted to train me, and got me this katana. Look, it's even on fire! Cool, huh?
 Yes, the fire brings out the color in her eyes, don't you think?
I don't care about that! Okay look, while setting a katana on fire is really really awesome, and I probably and totally would have done the same thing in your position, you didn't have to spend all our funds to do it!
We should probably stay out of that.
Agreed.
You'll see what that Katana is for in a bit.