Toggle Background Color
Update 64: Blinding Light
 I can tell that getting through this Stratum is just gonna be so much fun.
 Look on the bright side, at least it looks very pretty!
 When we can actually see it.
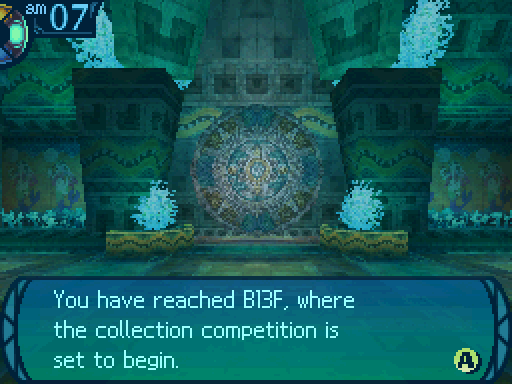

“Competiton?”
Now, put the knowledge and skill you have gained through your explorations to use!
 Okay, here we go!
 You can do it, Alice! We'll help out if you need it!
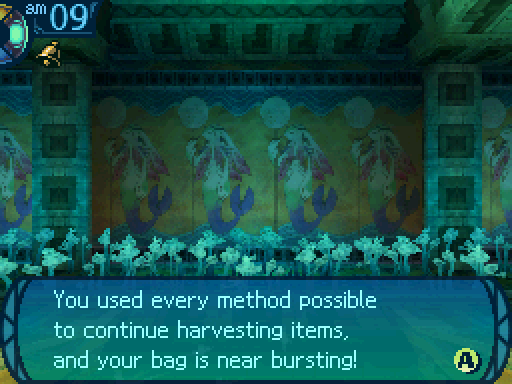
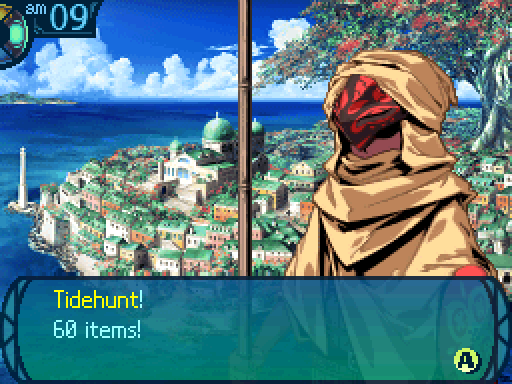
We're gonna start off the update by doing that gathering contest quest.

Now in order to win, you need to gather 45 items and must keep them in your bag when you leave, as they serve as proof of how many items you've gathered. This means that you need 45 empty spaces in your bag. Not only that, but you'll need to be able to gather 45 times, which isn't possible without very specific skill builds. The contest doesn't have a time limit, so if you run out of gathering attempts, you could wait for midnight to come in order to replenish your gathering attempts. But the easiest way to get this done, is to have a team of 5 Farmers and have access to the Double Crop skill, which replenishes your gathering attempts on the spot. I make use of that last strategy, and just stick to one gathering point. The rarity of the items you gather doesn't matter, just how many you bring. Oh and just a warning, tossing out any items you've gathered will instantly cause you to fail the quest!
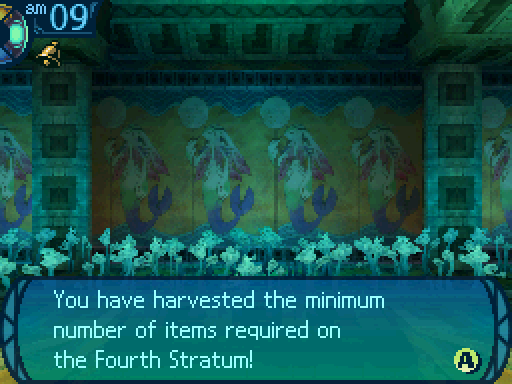
This will complete the request, but you will need more if you want to earn a higher rank.
After getting 5 items, you'll get this message.
A good start! Now we just have to um... Hm, how many you think we'll need?
Much more than this. There are still other guilds participating, and they don't look ready to surrender anytime soon.
That's true, but I think I can handle it.
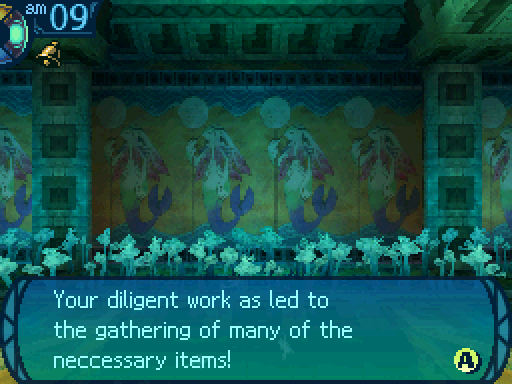
This might help you make it into the top of the lists! You can head back to the city to report in, or continue working for a better score.
This one pops up after getting 15 items, which will net you 3rd place.
 How goes the gathering, Alice?
Phew! I don't know how much longer I can keep this up.
Ah, Miss Alice, would you like me to help out?
Oh, um, yes. That would be nice. Um, here. You can use those to help me cut these stalks off.
Very well. ...Um, how do you use these things?
Oh here, let me show you! You just hold them like this...
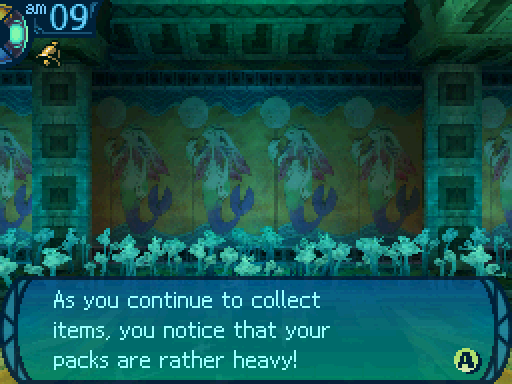
You have collected a good amount of material. You should achieve quite a high ranking! You can head back to the city to report in, or continue working for a better score.
You get this message once you get 30 items, which will get you into 2nd place.
And... snip snip! Just like that!
Ah, thank you very much for the help, Miss Alice.
Oh, you're welcome! I appreciate you helping me too!
Hmm... Yes, I think this will work out nicely...
Don't get any funny ideas about them. I see you reaching for that journal!
Erk!
Huff... Hoo... Is... Is this enough?
Yes, I believe so. Look! There aren't any guilds left! We should easily triumph over everyone else with these spoils!
Surely collecting any more than this will be pointless; you must be the winner now! Find a good point to stop working, and head back to the city to find out the results!
Once you gather 45 items, you'll get this message, which signifies that you got 1st place.


Fade to black.
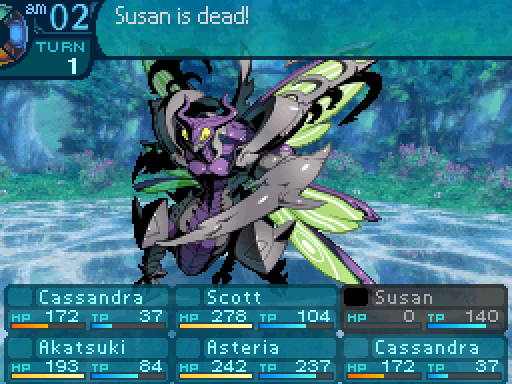
Wait, how do you die in a contest like this?
I saw some guilds moving around the floor, looking for good places to gather materials. We were fortunate enough to find a spot that had plenty to collect. Others may not have been as lucky.
And in order to gather a significant amount, you would have to pack a very small amount of supplies. I wager that cost some guilds their lives.
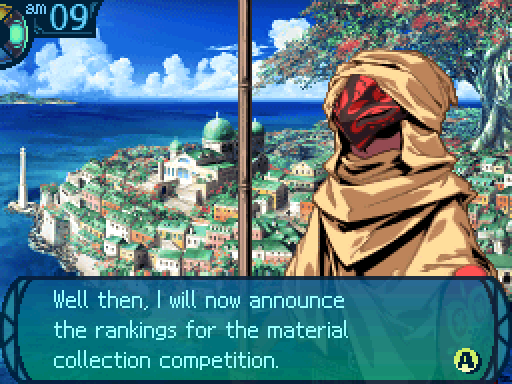
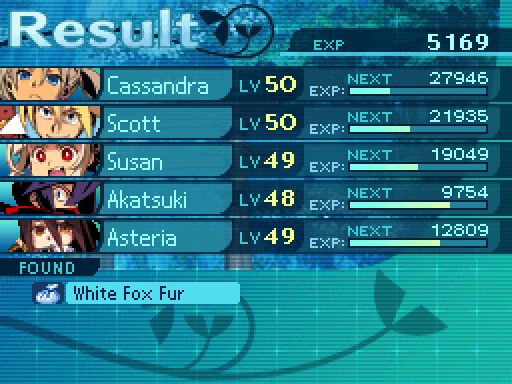
Wow, farming's more hardcore than I thought. Oh hey, it looks like he's ready to tell us who won.


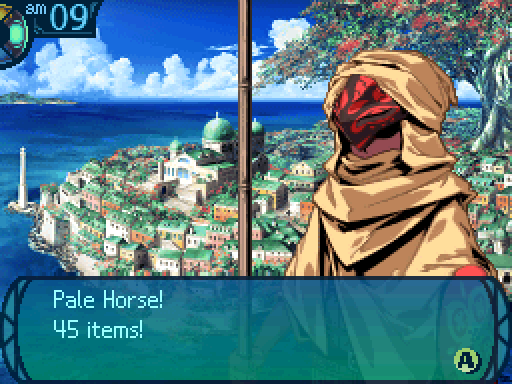

The maximum possible score. But you don't get anything extra for accomplishing that. Like with the last contest, tying with a guild has you take their place since you're a newer guild.
Ha ha! Nice job, Alice!
Oh don't forget Akatsuki, he helped out too!
Eh heh, um, it was nothing. Really.
 That concludes the announcement. Mr. Elval’s rewards have been delivered to the bar.
Like with the last contest, Missy has different things to say depending on how we placed. If you gathered 5 to 14 items:
 Oh, it is you! Welcome back! I am feeling sorry for you that you did not make the top three... Well, you are all strong. You are better at beating up monsters than digging anyway. Well, here is your reward for participating, anyway. Good try, okay?
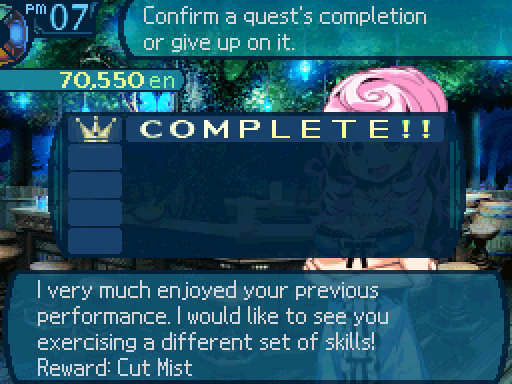
A Cut Mist is your only reward, and each party member only gets 3000 exp. If you gathered 15 to 29 items:
Well, hello there! The guard came and told me the scores. How wonderful for you to be getting 3rd place! Congratulations! It looks like we know where your strengths are lying now, yes? Well, here is your reward for your efforts. Thanks again, everyone.
You get a Cut Mist and a Bash Mist, and each party member gets 4500 exp. If you gathered 30 to 44 items:
Well, hello there! The guard came and told me the scores. I was so surprised to hear that you guys got 2nd place! Congratulations! Even better, if you take those materials to the Firm, you can sell them! You could probably be getting a lot of money for them... Hmm... If you keep doing this, you could earn piles and piles of precious precious money... ...Huh? N-Nothing! I was not saying anything! IGNORE ME! Here! Here is your reward and your prize for getting 2nd! Now get out of here!
You then get a Cut Mist, a Bash Mist, and a Stab Mist as your reward. Each party member gets 6000 exp. If you gathered 45 or more items:
Well, hello there! The guard came and told me the scores. He told me that you guys won the competition! Congrats! I was so surprised, I thought I’d die of the shocking! You are so strong and skilled, and you can collect things, too! You’re totally on the roll! Perhaps my endless streams of fetch quests and monster hunts have paid off, yes?

...That was a joke, okay? Don’t be looking at me like that. In any case, here is your reward for a job well done! Take it and be proud!


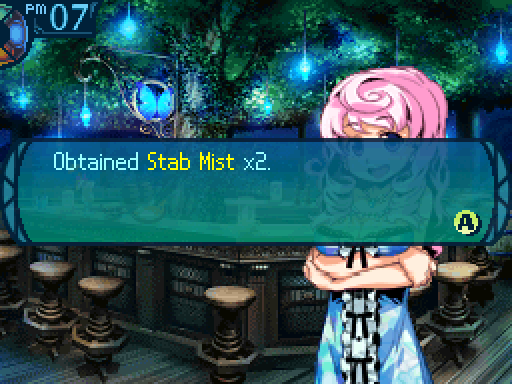
We get 2 of each type of physical mist.

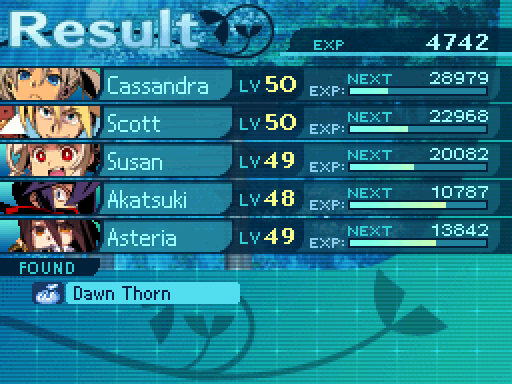
And each party member gets 7000 exp. Oh and that's the party that will be exploring the first half of the 5th Stratum.


It's not the gun you gotta worry about. It fires blanks!
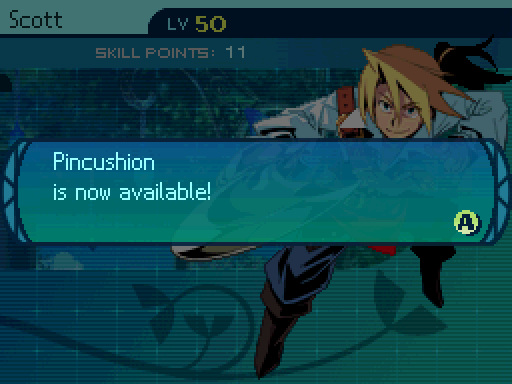
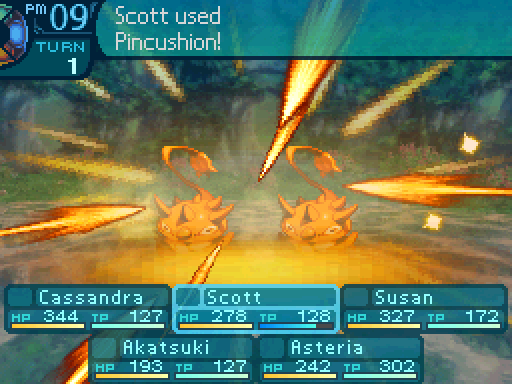
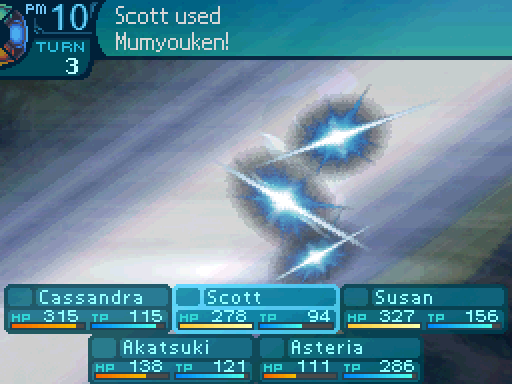
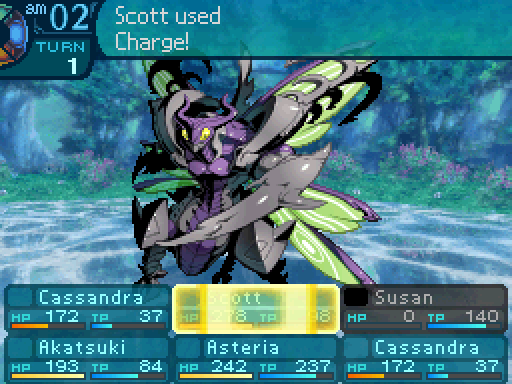
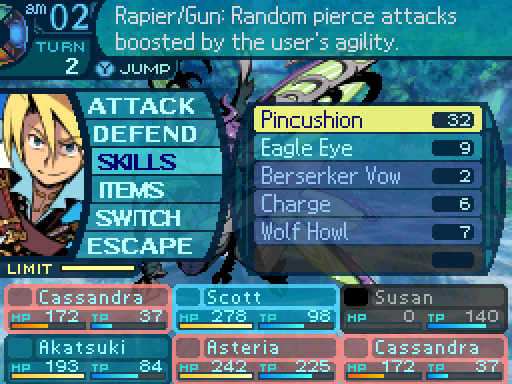
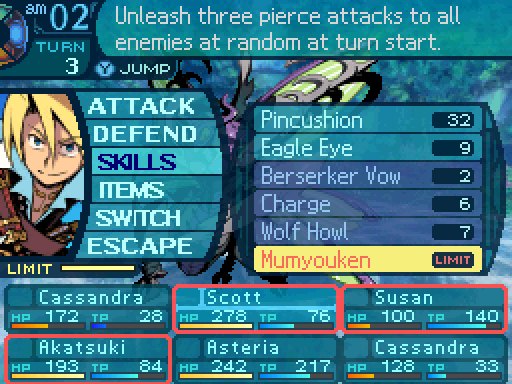
So I realized that there's a special skill Scott could go for now, and I threw up a vote to ask people if I should go for it, since I didn't really advertise that in the last vote. The results were unanimous, and I'm restructuring his skillset to be more fitting for the late game. As for what that entails, I got rid of Hanging, and put all the points I could into Gun Mastery, which increases the damage output of his regular attacks when using a Gun by 11%. And maxing out both Rapier Mastery and Gun Mastery unlocked this skill.

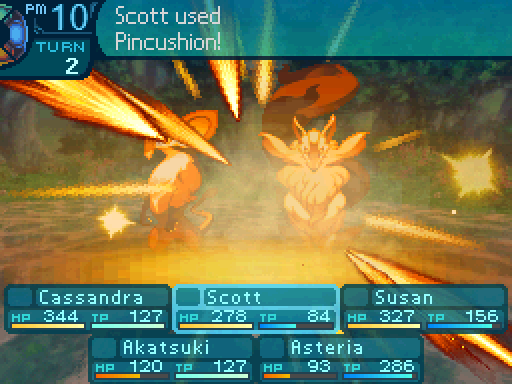
Pincushion! This is going to be absurd.
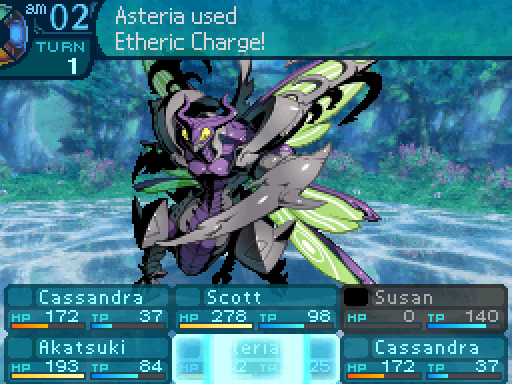
Oh boy. Pincushion is by far Scott's best damage skill. It's a random target skill that hits all enemies 1 to 3 times, dealing 145% damage per hit. That may not sound impressive, but this skill also adds in the user's AGI onto their damage multiplier. Each point of AGI adds 3% onto the damage multiplier, meaning that Scott deals 292% damage per hit. Which is more than what Hanging can deal. And if Scott happens to roll 3 hits, he'll deal a total of 876% damage! So yeah, you can see why this is so good for him. Oh, and increasing his AGI will give us more damage than increasing his STR in most cases, since increasing STR gives diminishing returns. Anyways, with all that out of the way, it's time to explore the 5th Stratum.


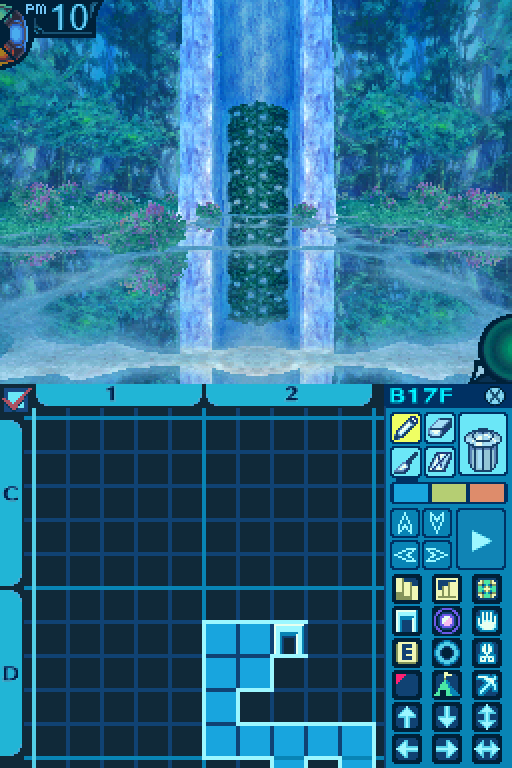
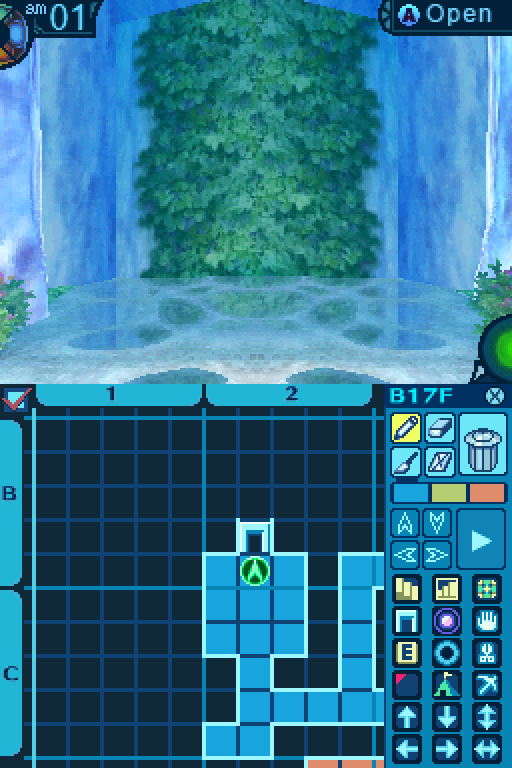
Here's the nighttime splash screen for the 5th Stratum.
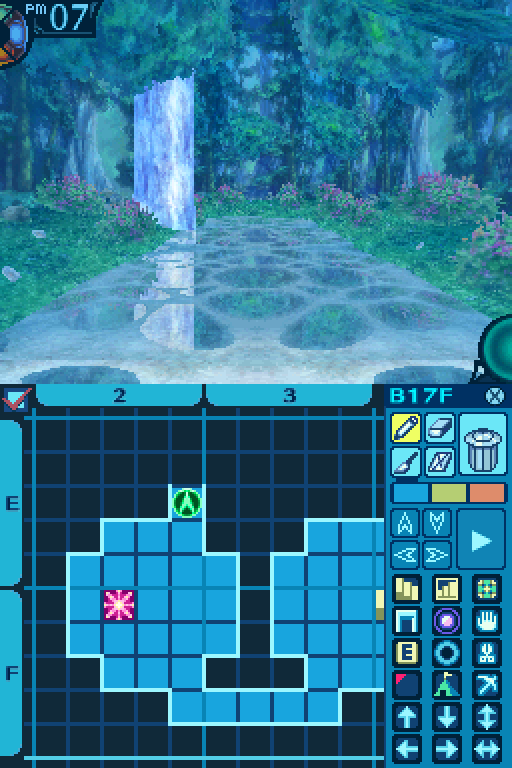
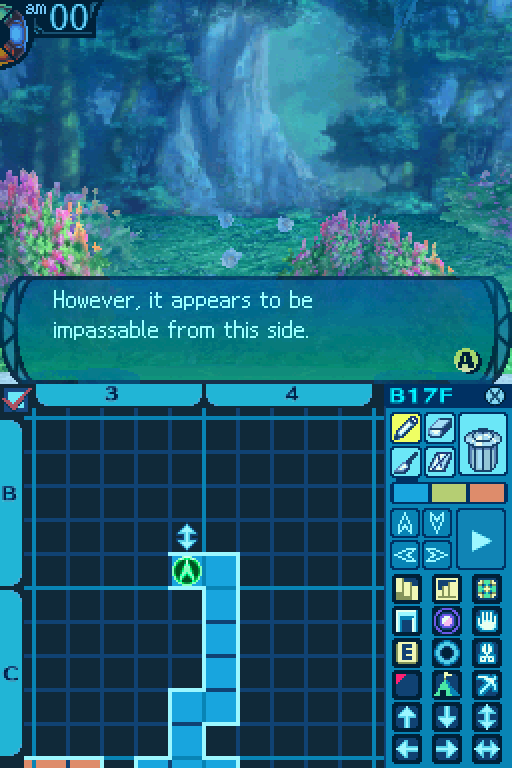
 Looks like the seal works. We can pass through the barrier now.
Okay, then let's get going!


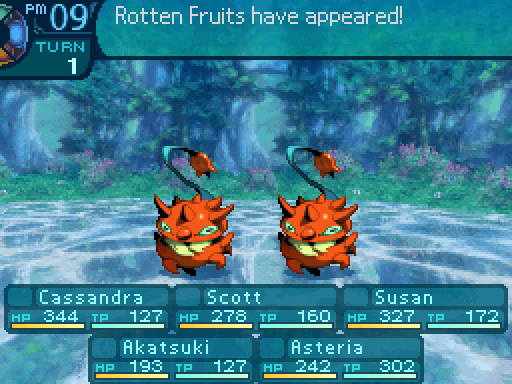

Rotten Fruit
Level: 45
HP: 545
STR: 41
VIT: 38
AGI: 33
LUC: 44
TEC: 40
Attack Type: Pierce
Exp: 2371
Item Drops:
-Drop 1: Dawn Thorn - 50% Drop Rate. 1 needed for Spirit Cape (Clothes.) 2 needed for Omniscience Book (Book.) 5 needed for Addle Gas (Item.)
--Thorny head permanently stained the color of dawn.
-Drop 2: Crabapple - 20% Drop Rate. See 4th Stratum Take Point info for more details.
-Gold: N/A
Description: A menacing fruit with an even more pungent smell than its brethren. Known as a delicacy in places.
Damage Resistances: Slash: 75% Strike: 75% Pierce: 75% Fire: 125% Ice: 125% Volt: 125%
Ailment Resistances: Sleep: 100% Confusion: 100% Plague: 100% Poison: 100% Blind: 100% Curse: 100% Paralysis: 100%
Bind Resistances: Head: 100% Arm: 100% Leg: 50%
Other Resistances: Death: 100% Petrification: 100% Stun: 100%
Skills:
Gel Electrolyte: Uses the Head. Places a debuff on the party that increases the amount of Volt damage they take by 20% for 3 turns. Also attempts to inflict Leg binds, which has a 40% chance of succeeding. Has an action speed of -5.
Stinky Mist: ???
Rotten Fruit are pretty much nothing but support enemies. They're not really that deadly on their own, but there are certain enemies it can be paired up with that can cause these things to become far more deadly. Right now, you can't encounter Rotten Fruit with those enemies yet, so you're essentially being warned about them now and given some time to come up with a plan for those situations. Gel Electrolyte shouldn't be an issue if you have someone who knows a max level Antivolt.

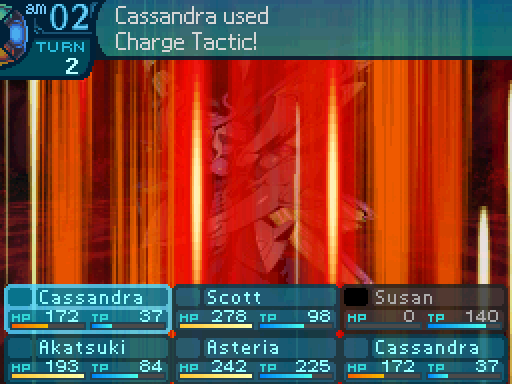
Let's try out Scott's new skill.

Faster than the speed of sound!
It may not seem like much damage, but that's without any attack buffs or damage amplifiers in effect.
Hey! Wait for me before you start attacking!
Oh uh, oops. Yeah, it would've been nice to get your help.
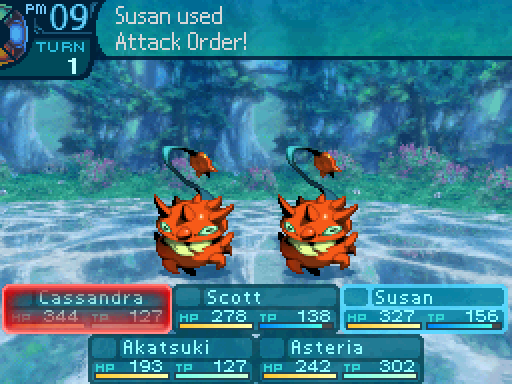
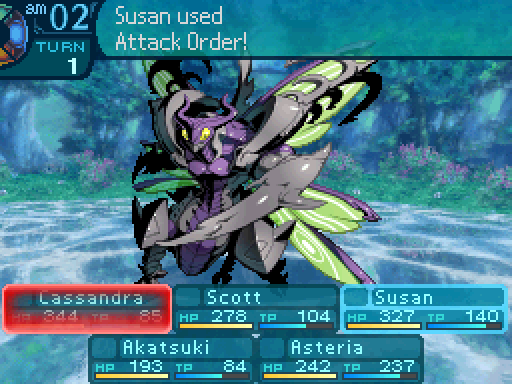
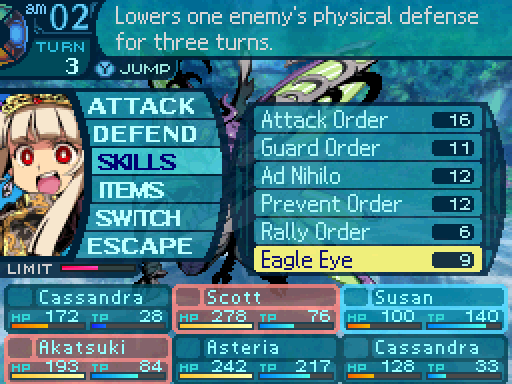
Of course I did try to cast Attack Order on Scott, but his AGI is much higher than Megaqueen's.
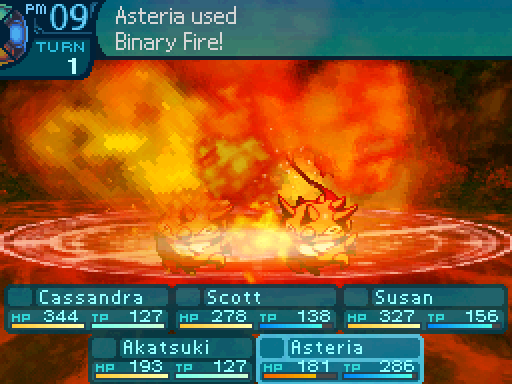

Blazing inferno!

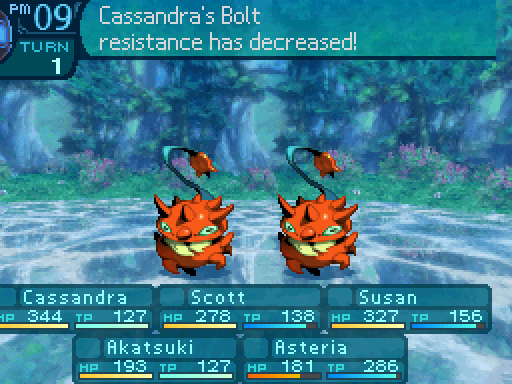
“Bolt” resistance?
Oh this is just gross. I should have expected as much from something as dishonorable as fruit!
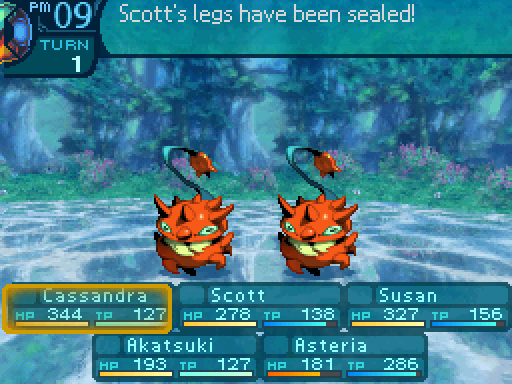
Aw, great. My feet are glued to the ground!
I'm afraid I have more bad news. It seems this gel is highly conductive.
Uh, what?
Zap zap is bad bad.
You didn't have to say it like that, you know.
 It shouldn't matter as long as we don't go anywhere near electricity, right? Hmm, I'll have to be on alert for any sources of those.
Gel Electrolyte lowers your Volt resistance by 20% while it's in effect. This is an additive value, as in it adds 0.2 to your damage multiplier. Meaning that even if you're immune to Volt through accessories, this can cause Volt attacks to pierce that immunity. Of course, a max level Antivolt will block the effects of Volt attacks entirely, making the effects of Gel Electrolyte a non-issue.
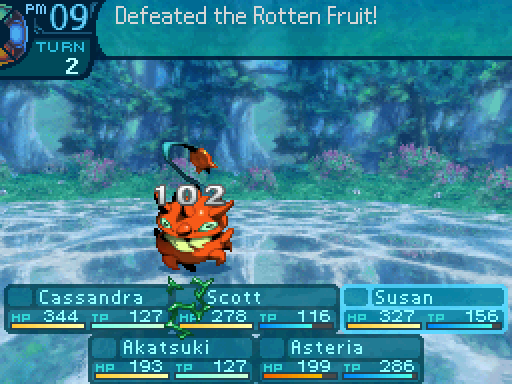
That was for soiling the good clothes of your future ruler!
Rotten Fruit aren't dangerous by themselves, but they should serve as a warning of what to expect in this Stratum. You should bring a few ways to deal with Volt attacks, because a lot of enemies in this Stratum make use of those.

GAH!
Holy cow, that's bright!
I CAN'T SEE A THING!
Hang on. I think I can see in front of me now. Just barely, though.
Uh, just where are we?

Over here! I think this is a way out!
What amazing navigation skills.
Quiet Susan.
Oh geez, my eyes. I certainly wasn't expecting that.
At least we can rest our eyes a bit in this room. Say, where exactly are we again?
Um, we're... Oh no.
Cassie?
Ahem. Well I, um, wasn't... Exactly focused on drawing the map while we were in there.
So we're pretty much lost now!?
Calm down, we didn't stumble around for that long. We can't be too far from where we first entered that room.
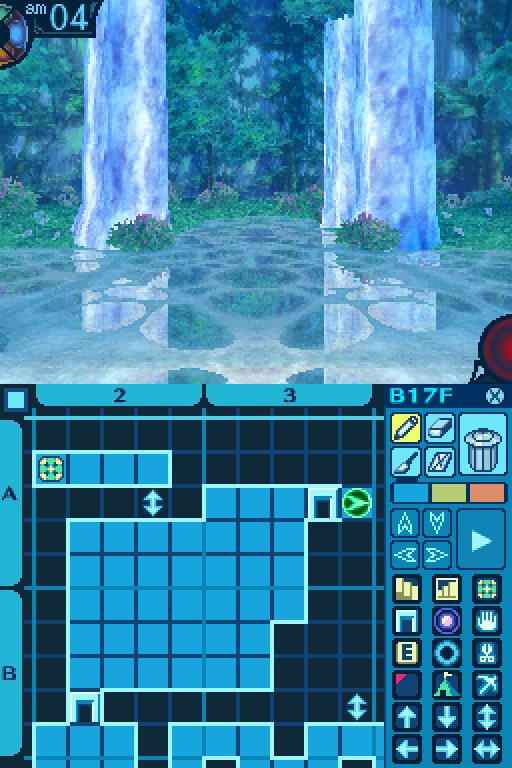
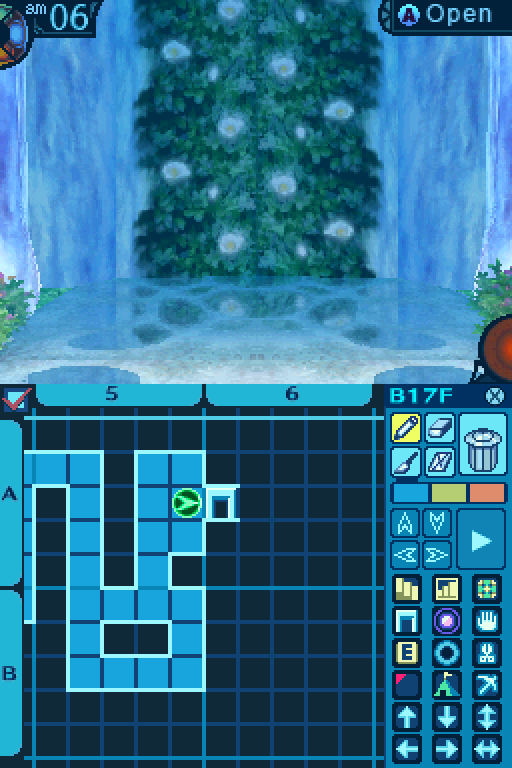
Say hello to one of the most evil gimmicks Atlus has introduced in the EO series. Mapless rooms. Yes, you read that right. It's the main gimmick of the 5th Stratum, so you'll be dealing with them a lot. A couple of features on your map are disabled while you're in one:
- The icon indicating your position and all FOE icons on the map are invisible.
- Any tiles you walk on are not painted in.
- The map will not follow your position while zoomed in.
- Auto-walk is completely disabled.
Basically, here's your final test for EO3. How good are your navigation and mapping skills? If you can't handle navigating without the map, you'll get lost in these rooms. And yes, it is actually possible to get lost in this Stratum if you're not careful. What makes this worse is that there is absolutely nothing you can do about them. There's no way to “turn the map back on.”

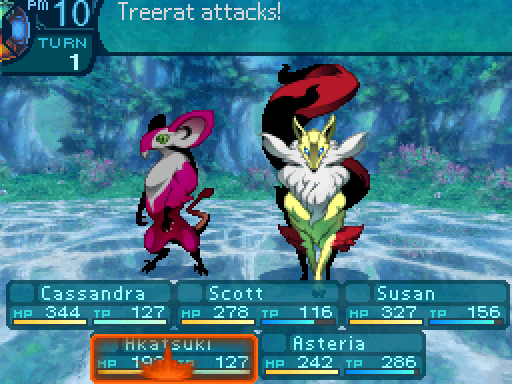
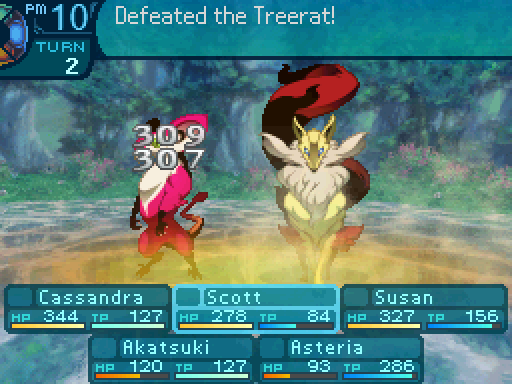
I knew rats were such underhanded and dishonorable creatures! They didn't even bother to greet us!
...No comment.
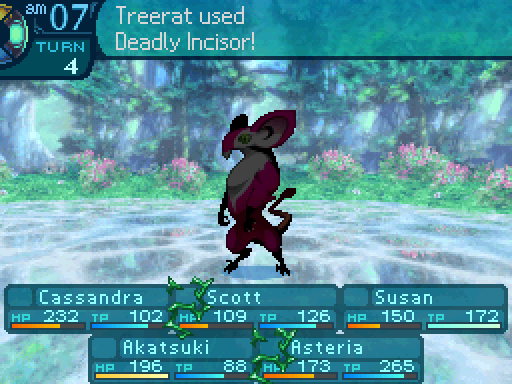
GAAHH! That really Hertz!

Treerat
Level: 45
HP: 478
STR: 45
VIT: 39
AGI: 46
LUC: 34
TEC: 33
Attack Type: Slash
Exp: 2246
Item Drops:
-Drop 1: Rat's Fang - 25% Drop Rate. 1 needed for Moon Spear (Spear) and Baselard (Knife). 2 needed for Kuretataki (Club) and Pepperbox (Gun.) 5 needed for Jintachi (Katana.) 15 needed for Velocity Choker (Accessory.)
--Small, sharp fang of a Treerat.
-Drop 2: N/A
-Gold: N/A
Description: A rat native to the Porcelain Forest. It is not strong, but can be fearsome when cornered.
Damage Resistances: Slash: 100% Strike: 125% Pierce: 100% Fire: 50% Ice: 150% Volt: 100%
Ailment Resistances: Sleep: 150% Confusion: 100% Plague: 100% Poison: 100% Blind: 50% Curse: 100% Paralysis: 100%
Bind Resistances: Head: 100% Arm: 100% Leg: 100%
Other Resistances: Death: 100% Petrification: 100% Stun: 100%
Skills:
Deadly Incisor: Uses the Head. Deals 170% Slash damage to a single target. Has an accuracy of 99. Has an action speed of +10.
Treerats were early game enemies in EO1 and were completely absent in EO2. They make their return in this game as late-game enemies. They're not too tough by themselves, but you should still be careful around them. Sometimes their AI will have them target the person with the lowest amount of HP with Deadly Incisor to pick them off. And they're pretty fast too, so it's especially important to keep your HP topped off when engaging them.

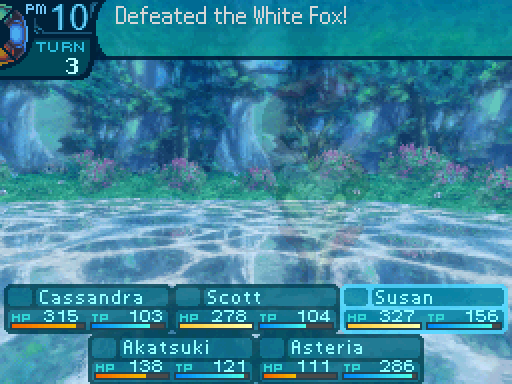
White Fox
Level: 47
HP: 635
STR: 42
VIT: 41
AGI: 38
LUC: 33
TEC: 53
Attack Type: Pierce
Exp: 2923
Item Drops:
-Drop 1: White Fox Fur - 35% Drop Rate. 1 needed for Curse Gas (Item.) 3 needed for Silver Shield (Shield.)
--Pure, beautiful fur that has accumulated magic power.
-Drop 2: Sanguine Tail - 10% Drop Rate. 1 needed for Moon Spear (Spear) and Drakeback Spear (Spear.) 3 needed for Tonbokiri (Spear.) 5 needed for Flamberge (Rapier.)
--Ominous tail that reeks of blood.
-Gold: N/A
Description: This white-furred beast’s age can be deduced from the number of its tails. Some live for centuries.
Damage Resistances: Slash: 100% Strike: 100% Pierce: 100% Fire: 100% Ice: 100% Volt: 75%
Ailment Resistances: Sleep: 75% Confusion: 100% Plague: 100% Poison: 100% Blind: 100% Curse: 100% Paralysis: 150%
Bind Resistances: Head: Arm: Leg: 100%
Other Resistances: Death: 75% Petrification: 100% Stun: 75%
Skills:
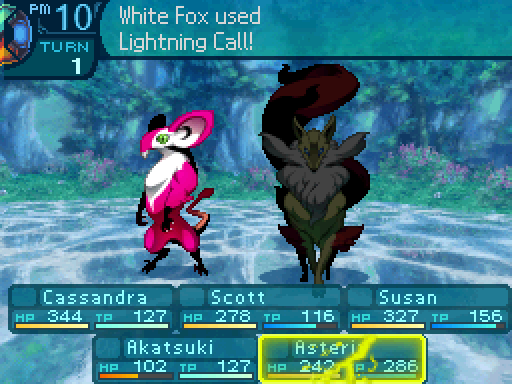
Lightning Call: Uses the Head. Deals 90% Volt damage to a single target. Has an accuracy of 99. Has an action speed of +0.
Heavenly Bolt: ???
White Foxes are one of the main reasons you want someone in the party to know Antivolt. Their high TEC stat and damage modifier on Lightning Call means that they really hard and can outright one shot some classes. These things only appear at night, so if you want to avoid them, explore the Stratum at day. I personally find these enemies much more dangerous than the daytime encounters.
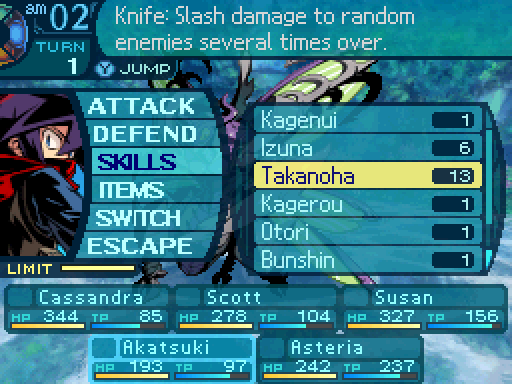
Zoom zoom!

All together now! Stab stab... stab? I think I'll stick with my own stuff.
This attack seems to be much less effective than when we first got it.
By late game, there isn't much reason to use the early game offensive Limits.
Off with your tail!
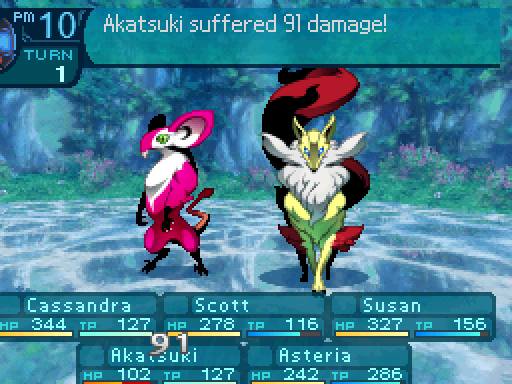
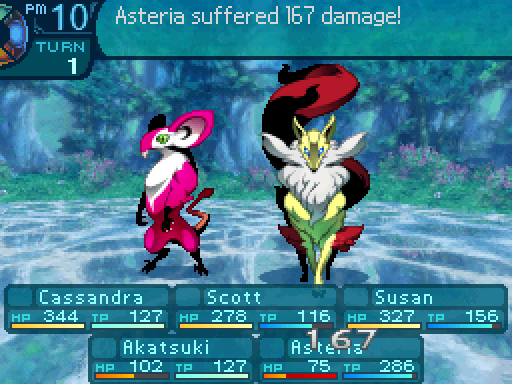
The White Fox is probably the most dangerous enemy we've seen so far. Be careful when you see one with a Rotten Fruit since Gel Electrolyte will boost Lightning Call's damage.

Well I suppose that's a nice item to have by this point.
Okay, so what exactly are we going to do about those bright rooms?
Mmm. Well first of all, everyone should stick close to me. We don't want to get separated. As for the map, I'll try to fill it in as we go along, but it'll be more important to keep track of our position.

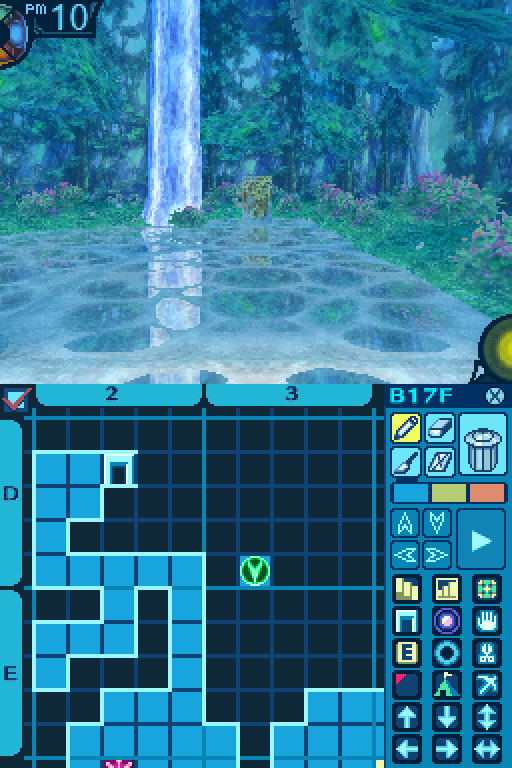
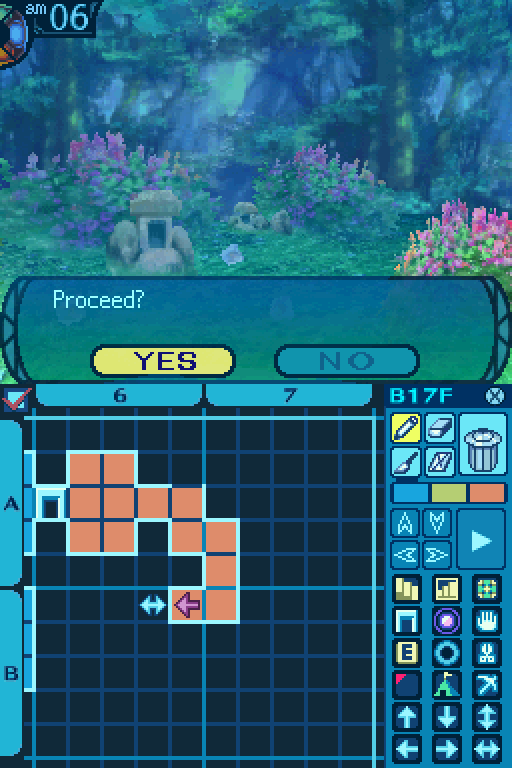
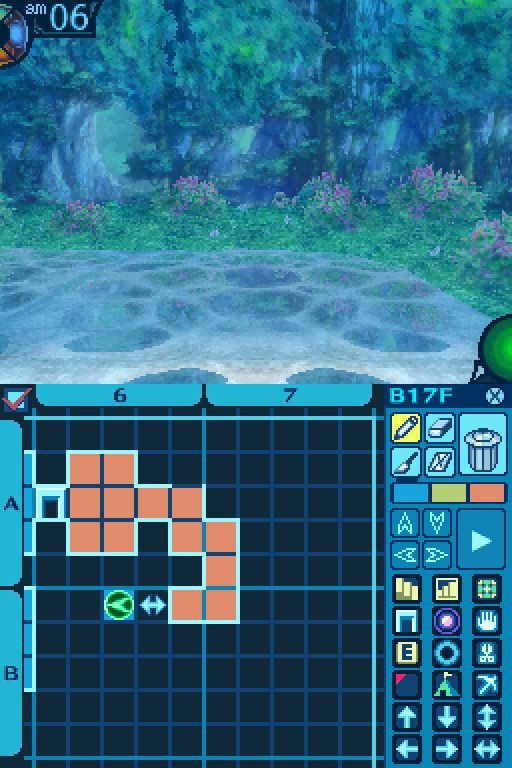
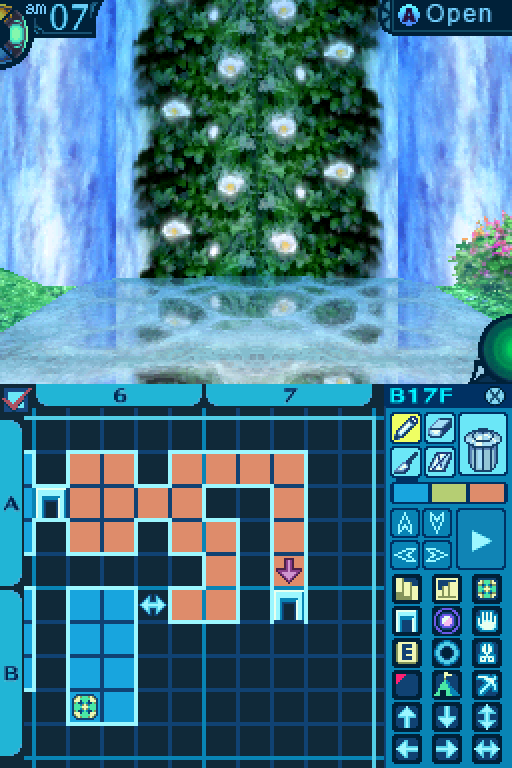
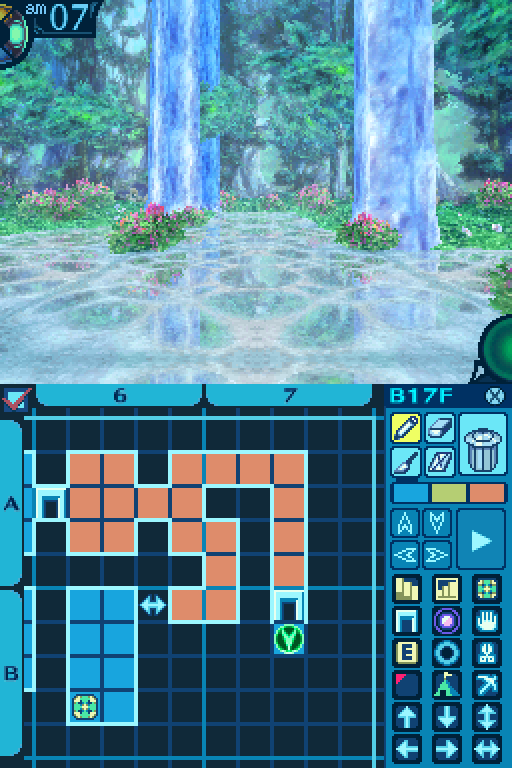
When dealing with mapless rooms, you should just draw as you move along to prevent yourself from getting lost. I'll fill in the mapless areas with orange. And to indicate our position and the direction we're facing in, I'll put in a colored arrow on the map whenever we're in one of these rooms.
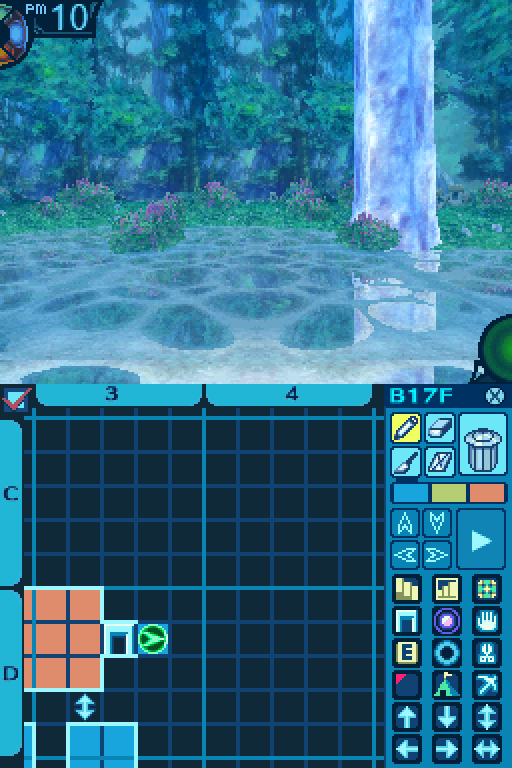
Those doors with the flowers indicate the entrance and exit to a mapless room.
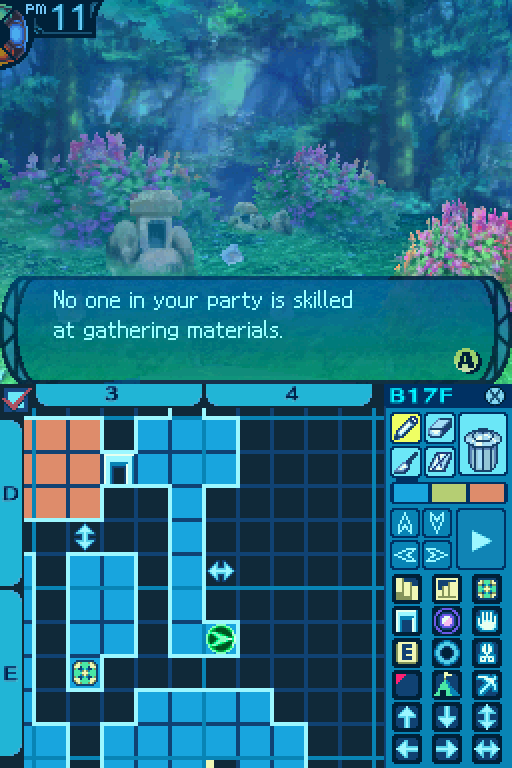
E4 Take Point:
Life Honey: 70% Gather Rate. 1 needed for Amrita II (Item. Must be restocked.)
-Honey that heals all sorts of infirmities.
Mint: 30% Gather Rate. 1 needed for Metapon (Item.)
-Grass that gives the chewer a cooling sensation.
Aloe: Rare. 1 needed for Cut Mist (Item. Must be restocked), Bash Mist (Item. Must be restocked), and Stab Mist (Item. Must be restocked.)
-Succulent plant that secretes a powerful, nourishing gel.
Common Gather Periods: 2 to 15.
Rare Gather Periods: 1 to 4.
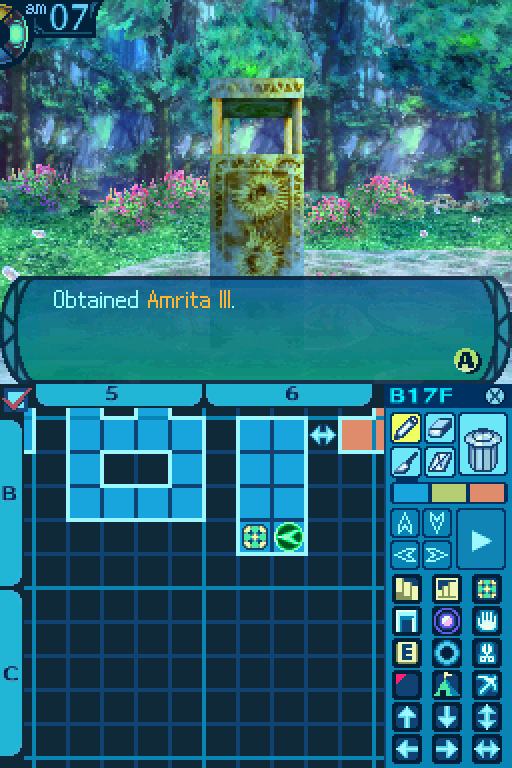
Now here's an important Take Point. You can farm for Amrita IIs here. These are more helpful than Amritas for keeping your party members' TP pools topped off. If you don't have anyone in your party who knows Ad Nihilo, you'll also want to make sure to grab a Mint to unlock Metapons for purchase in the store.
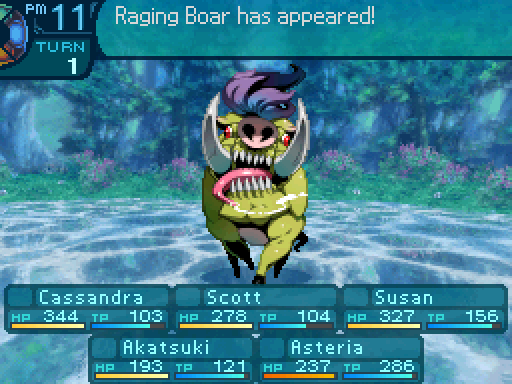

Raging Boar
Level: 49
HP: 970
STR: 50
VIT: 45
AGI: 39
LUC: 37
TEC: 38
Attack Type: Pierce
Exp: 2576
Item Drops:
-Drop 1: Beast Skin - 10% Drop Rate. 1 needed for Padded Armor (Light Armor.) 3 needed for Brigandine (Heavy Armor.)
--Hard fur and thick beast skin, perfect for protective gear.
-Drop 2: Iron Tusk - 10% Drop Rate. 1 needed for Bastard Sword (Sword) and Keris (Knife.) 3 needed for Crush Amulet (Accessory.) 5 needed for Hundred Eye Gun (Gun.)
--Large boar tusk containing high-quality iron.
-Gold: N/A
Description: A gigantic boar which, once agitated, charges heedlessly until its enemy or itself is dead.
Damage Resistances: Slash: 100% Strike: 100% Pierce: 100% Fire: 100% Ice: 100% Volt: 100%
Ailment Resistances: Sleep: 100% Confusion: 100% Plague: 100% Poison: 100% Blind: 150% Curse: 150% Paralysis: 50%
Bind Resistances: Head: 100% Arm: 100% Leg: 100%
Other Resistances: Death: 100% Petrification: 100% Stun: 100%
Skills:
Bullrush: Uses the Legs. A single target Pierce attack that deals splash damage. Deals 170% damage to the initial target. Splash damage deals 80% of the damage dealt to the initial target. Sacrifices 15% of the Raging Boar's current HP when used. (Raging Boars cannot kill themselves with this skill.) Has an accuracy of 90. Has an action speed of +5.
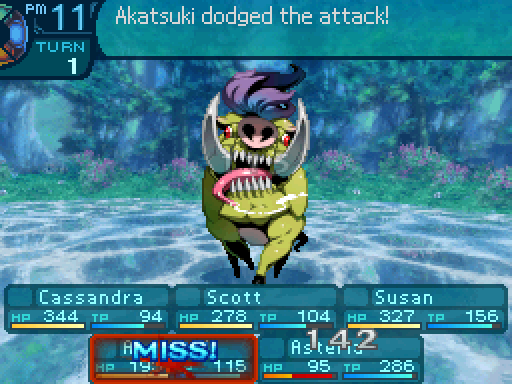
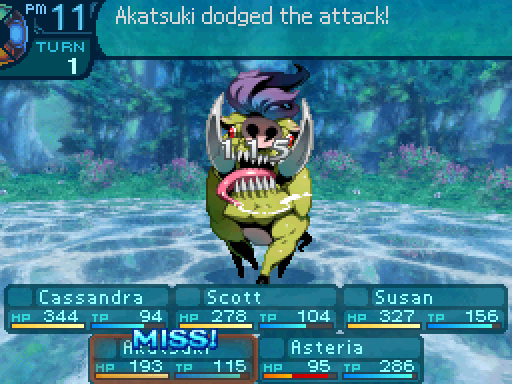
Raging Boars are enemies that have been in every EO game released so far. They are the real physical powerhouses on this floor. They don't really have an elemental weakness to exploit, and they have a lot of HP to chew through. Fortunately, as powerful as Bullrush is, it does cause the Raging Boar to take some recoil damage, but that's a small comfort. Also you're going to want to farm up a few Iron Tusks, as that unlocks Crush Amulets for purchase in the store. If you intend on doing the post-game, I highly recommend going for those, as they will make some boss fights much more tolerable.


I've brought shame to Ninjas everywhere.
Thought I could just delete it from the fight instantly. That's how I prefer to deal with them, since they can be paired up with some very nasty enemies later on.

GAHH! That's certainly a vicious creature!
With such a reckless fighting style as well.
Does that thing even have a survival instinct?
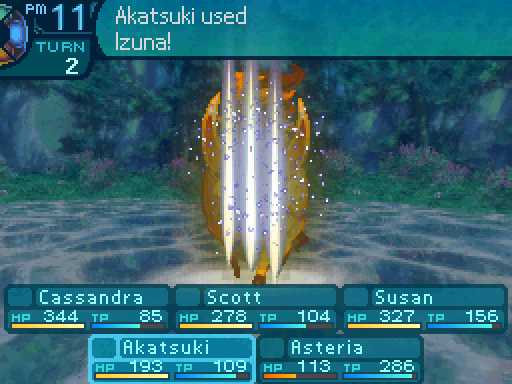
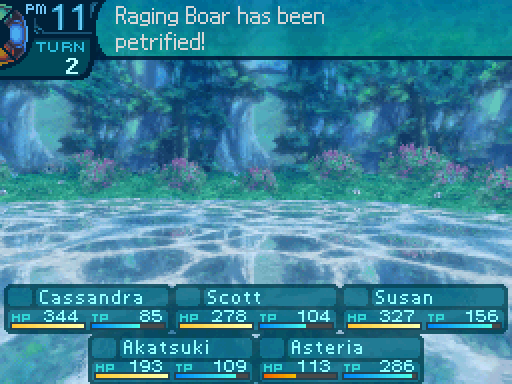
Stoned to death.

Try not to let battles with them last too long. And learn how to take them out quickly. Once they start showing up in tougher formations, they'll be more than just a nuisance.
Brace yourselves, everyone.

Or not.
Only doors with the flowers on them serve as a warning for mapless areas.
Hmm? Is that...?
Deep within that vast space, you spot a figure watching you.
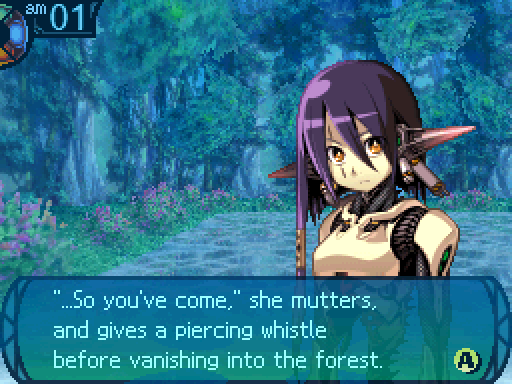
Of course she had to get in our way.
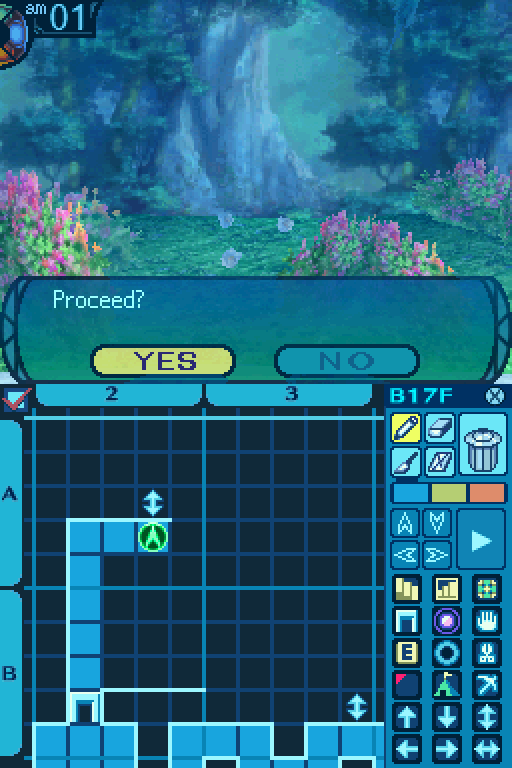
The choice is yours whether to subdue it by force or attempt to maneuver around it.
If you want to avoid the FOE and not take it on, there's something you need to know about this room. For some reason, the scene you get here on the Armoroad and Deep City paths cause a little quirk in the FOE's AI. Normally the FOE's behavior is to go after you, but after 2 turns it has to take 1 turn to rest, and then repeats that pattern. For some reason this scene causes it to be mobile for 1 turn, and then takes a turn to rest after that, before going back to it's normal behavior. As such, there are 2 ways to get through this room.
The first way is if you saw a scene upon entering the room on the Armoroad or Deep City paths, which is shown below:

Pretty simple. However, in other circumstances, this is the path you must take to avoid the FOE:

If you're taking the first path, you'll get an opportunity to go through this secret passage.
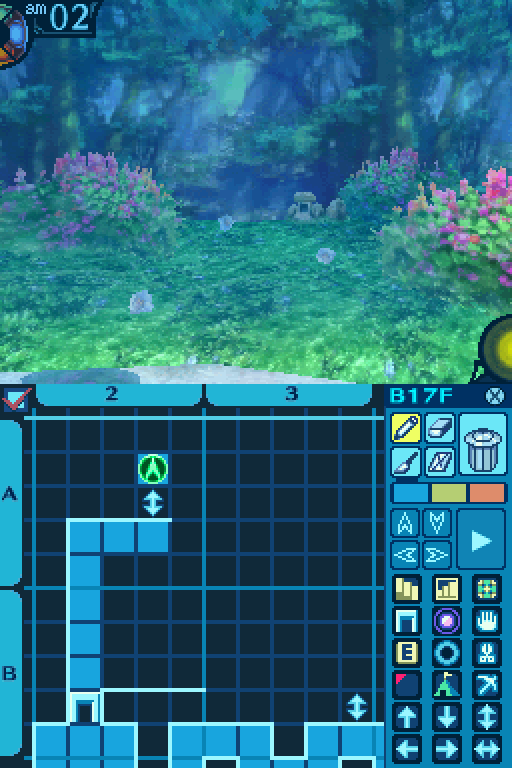
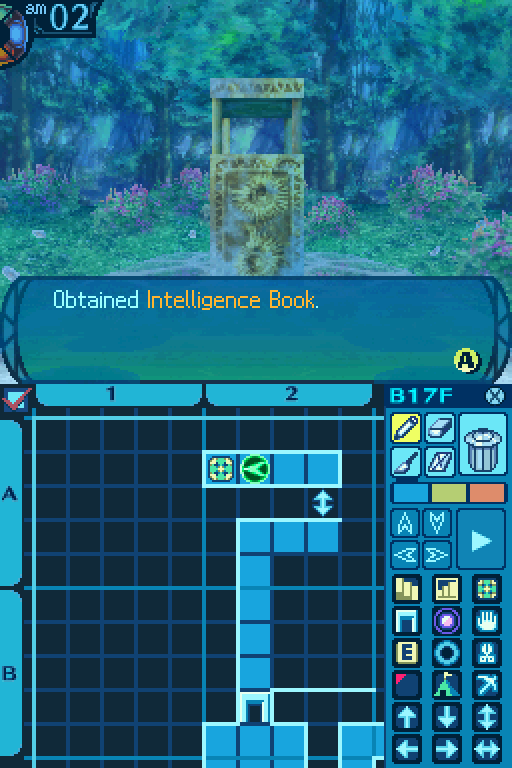
Which contains an Intelligence Book for us. A nice find.
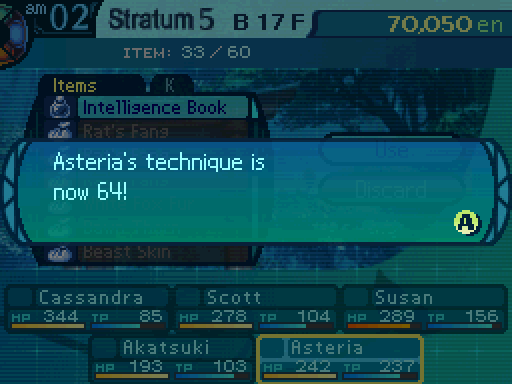
I'm curious to know just how books increase a person's capabilities that fast.
...I guess I'll say it if no one else will. It's probably because of ma-
No.

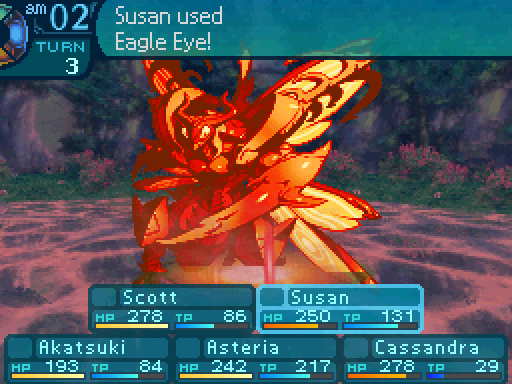
Of course why would I avoid an FOE when I can just kill them for more experience?


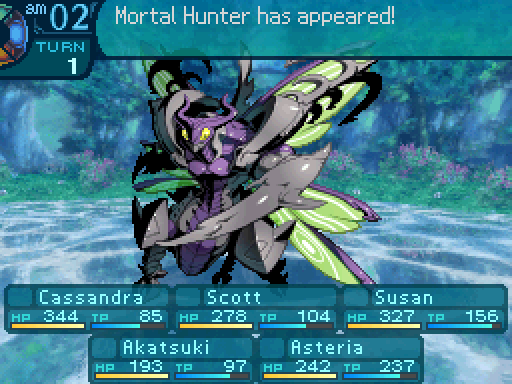

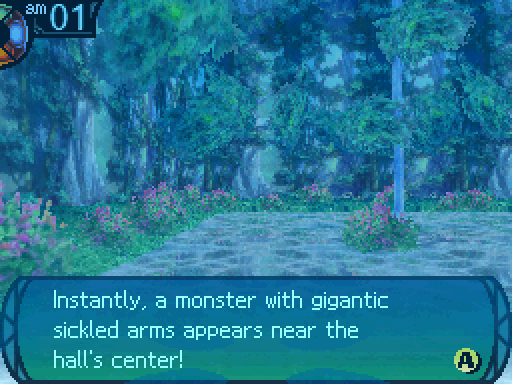
Mortal Hunter
Behavior: Chases after the party. Can move for 2 turns before being forced to rest for 1 turn. Gives up chasing the party once they leave the room it's in.
Aggressive: Yes.
Level: 56
HP: 3553
STR: 70
VIT: 55
AGI: 42
LUC: 42
TEC: 49
Attack Type: Slash
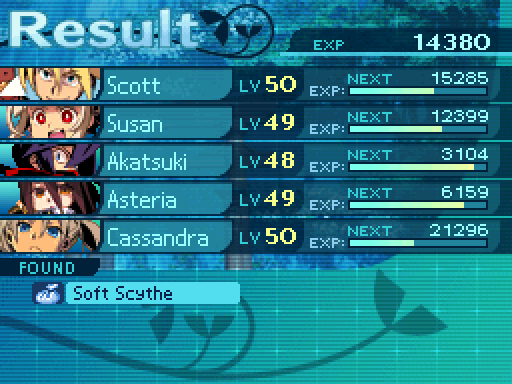
Exp: 14380
Item Drops:
-Drop 1: Soft Scythe - 75% Drop Rate. 1 needed for Zanmatou (Katana. Must be restocked.)
--This mantis’ blade is thin enough to rend anything.
-Drop 2: N/A
-Gold: Flower Scythe - Kill on the first turn. 95% Drop Rate. 1 needed for Hachiyou (Katana. Must be restocked.)
--Scythe blade that reaps all of creation, including itself.
Description: The king of insects in the thick forest. Its sharp scythe-arms end explorers’ lives.
Damage Resistances: Slash: 50% Strike: 100% Pierce: 100% Fire: 100% Ice: 100% Volt: 100%
Ailment Resistances: Sleep: 10% Confusion: 10% Plague: 10% Poison: 10% Blind: 10% Curse: 50% Paralysis: 50%
Bind Resistances: Head: 25% Arm: 25% Leg: 25%
Other Resistances: Death: 10% Petrification: 10% Stun: 50%
Skills:
Amputate: Uses the Arms. A single target Slash attack that deals 170% damage and has a 40% chance of instantly killing them. Has an accuracy of 99. Has an action speed of -5.
Scythe Dance: Uses the Arms. A random target Slash attack that hits the party 4 to 6 times, dealing 120% Slash damage per hit. Has an accuracy of 80. Has an action speed of -5.
Here's a returning FOE from the past EO games, and one that's been in every game in the series so far. Anyways, remember how I said at the beginning of the LP on how most FOEs in this game aren't really a threat? Mortal Hunters are an exception to that. For one thing, look at its massive STR stat. It's higher than any of the final bosses' STR stats! Yes, all of them. Mortal Hunters will punish you heavily if you get even a bit careless. Amputate will likely take whoever it targets out of the fight. Either through the sheer amount of damage it deals, or through its Instant Death component. Scythe Dance is very likely to kill most or all of your party members depending on how unlucky you are. A damage modifier of 120% isn't normally much to speak about, but considering it has 70 STR backing that up, it's a very dangerous skill. It's so dangerous that it can take out most parties in a single turn. And considering that Warrior Might parties need one turn to set up to be effective, even they can fall to this thing. This is one of the few FOEs in the game I would say you should outright avoid until your party is stronger.
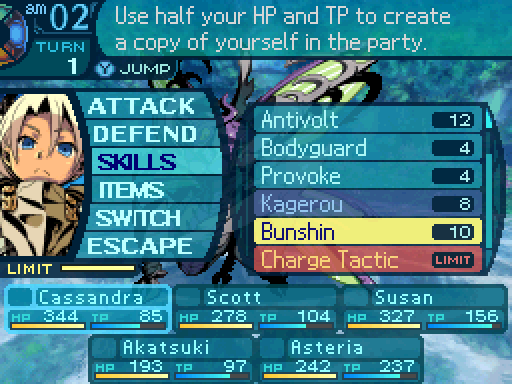
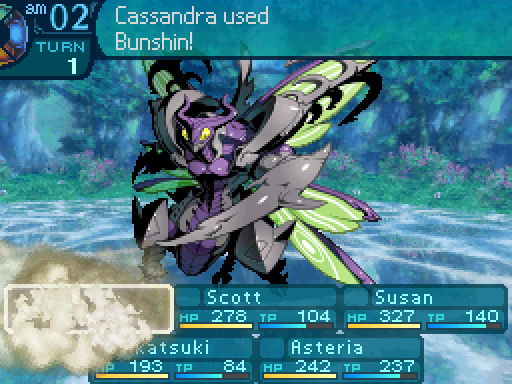
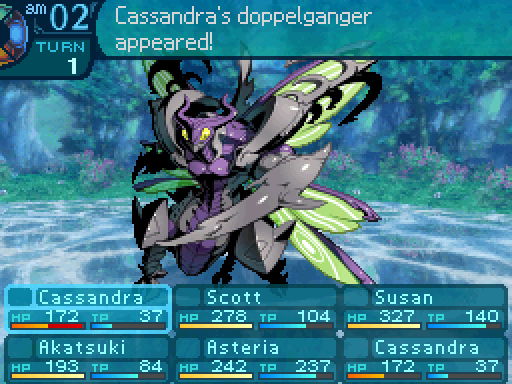
I made a huge mistake here. I found out later that the best way of dealing with these things is to send out a decoy, not a clone. That way Amputate will likely go after them instead of your party members, and they might lessen the sting of Scythe Dance a bit.
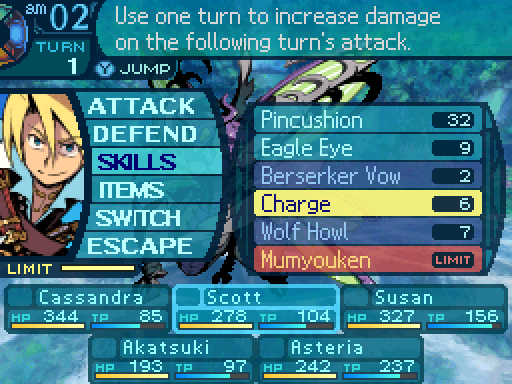
Prepping Scott for Pincushion.
I'm not even gonna try for a Petrification kill. So I might as well try to have Akatsuki contribute to our party's damage output.
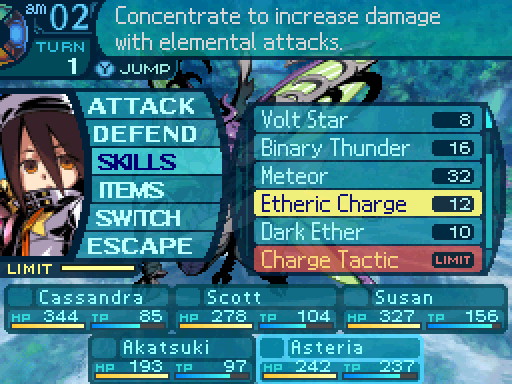
I really wish Asteria had an elemental Limit equipped right now, but it's too late for regrets.
My blade flies!
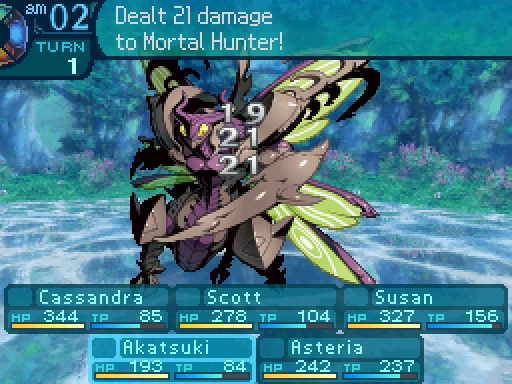

...Lousy stupid Ninja arts!
On second thought, I'll stick to fishing for Petrification procs.
Fight, and fight on!
Some assistance please?
Help has arrived!
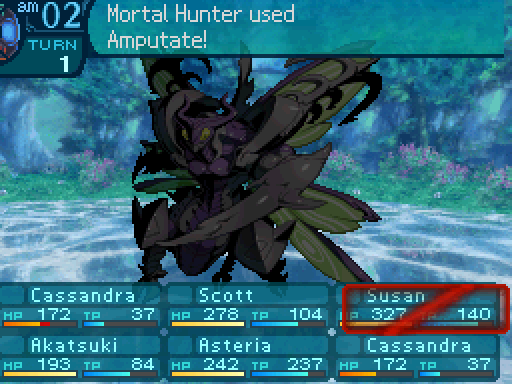


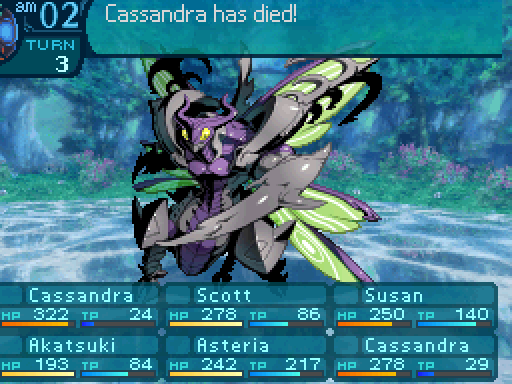
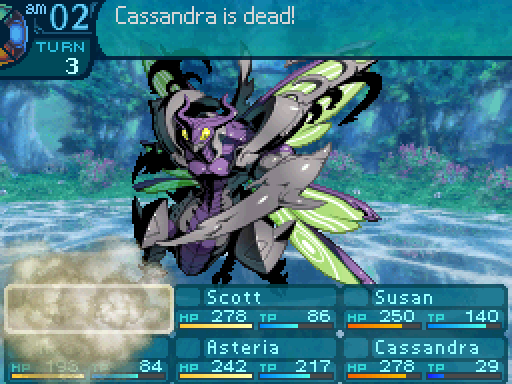
...Someone want to plug up the blood gushing out of her neck?
Keep in mind that Susan is one of the most durable party members in the entire guild, only losing out to Cassandra on that front. When I said you should probably avoid Mortal Hunters, I meant it.

You're gonna pay for making me see something that gross!
No concern for the decapitated queen, I see.
Ha ha ha. Oh this is gonna hurt. You, I mean.
Preparing for launch in-oh, that shouldn't be there.

I really hope I can take off a huge chunk of its HP with this assault.
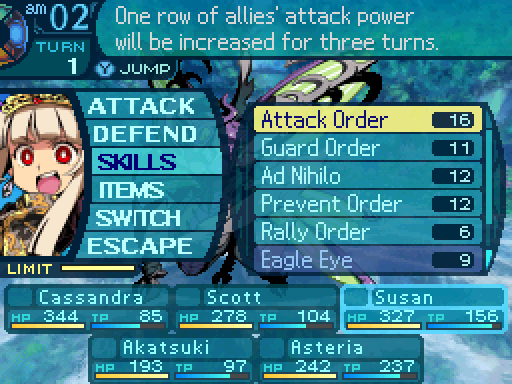
This should hopefully lessen the blow on Amputate, unless the Instant Death component decides to proc. And it won't help much against Scythe Dance. But I may as well try to soften those blows.
Hopefully this will put a huge dent in the mantis.
Even though Susan's main role is done, having an extra meat shield to take the hit from Amputate or make Scythe Dance less effective is always welcome.

This is definitely gonna pale in comparison to Pincushion, but unfortunately the Mortal Hunter doesn't have a weakness to exploit.
Even though Scott is faster than the Mortal Hunter, I want to make sure that he lives through the next turn.
On my mark!

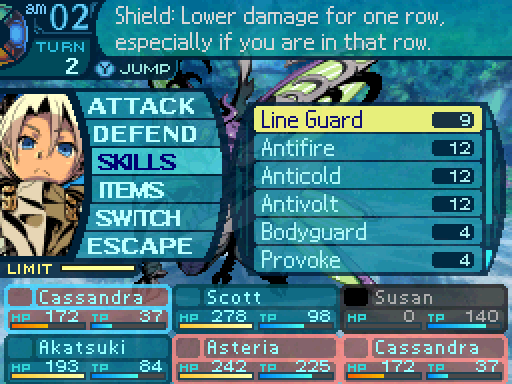
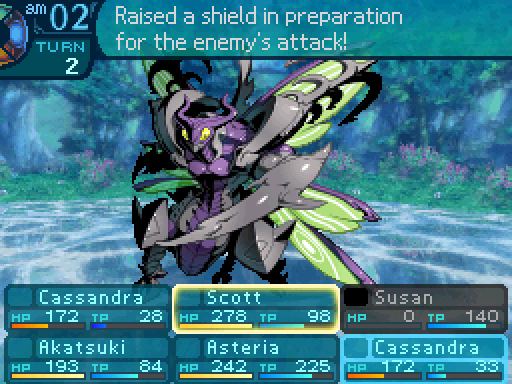
I hope my shield can hold up against that thing.
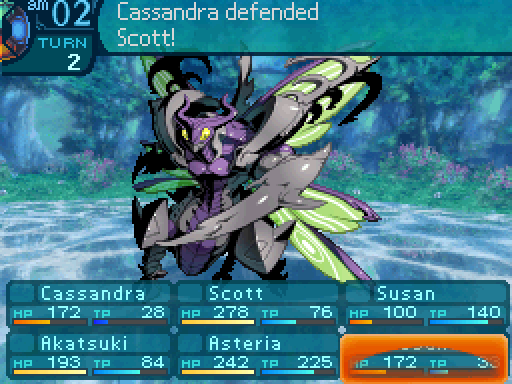
You're safe!

That will be the last time you'll decapitate me!


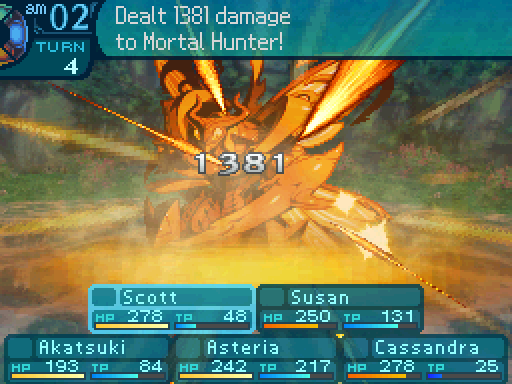
Here's a hole in your eye! And another, and another!
Look at that damage output. Scott is hitting around what Sidney normally dishes out.

I don't think so!
Looks like my prediction was right.

Once again, I feel so inadequate.
One more hit from Pincushion will finish it off, but I may as well use up this Limit. It's not like it's gonna eat up Scott's Charge.
Gonna make things easier on Scott.


Ehhh.

I'm out of here. Good luck dealing with that giant insect!
Your punishment for your attempted assassination of the queen!

Pinned ya!
Mortal Hunters really aren't to be taken lightly. If you get into a fight with one, it's really important to finish it quickly, as so many things can go wrong during the fight.


A shortcut that lets us skip the Mortal Hunter room.
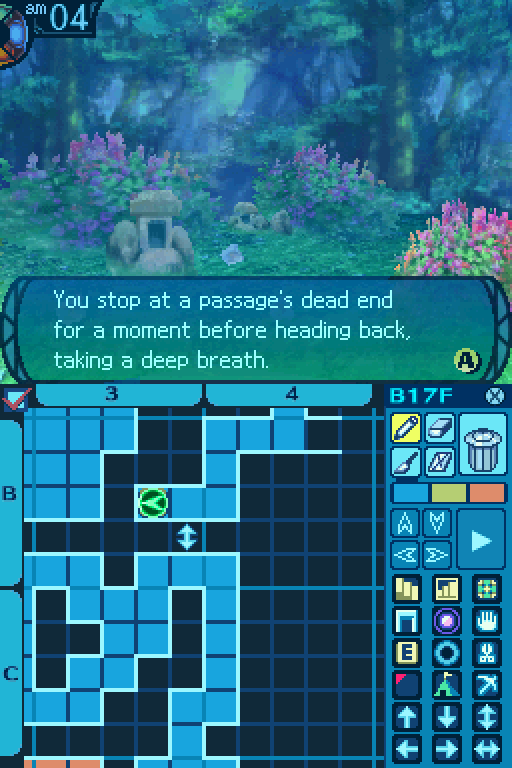
Mm, that's a nice smell.
The air you inhale has a refreshing scent of pine, and you can tell that it is exceptionally clear. You may rest here and enjoy the fresh air or head back the way you came to make up for lost time.

Some clear fresh air may do wonders for us. Why don't we take a break here?
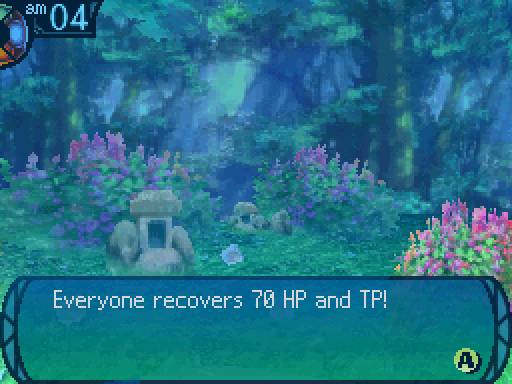
When you sit and breathe deeply, you sense the pure, untainted energy of the forest.

It is so calming that you wonder if it wouldn’t be so bad to rest here a little longer.

Ahh. Would it do us any harm to rest any longer?
Mmm, what if monsters decide to ambush us while we're here?
I don't see any around, so I think we're safe.
Are you sure about that? I don't exactly feel comfortable staying still for too long.
Heh heh, lady, I used to be on lookout duty for my pirate crew before I joined in on this whole exploration thing. Trust me, there's nothing coming after us now.
If you say so...
Sensing no monsters nearby, you enjoyed the tranquility of the forest for a brief while.

Though you have stayed here for some time already, you think it might do you good to remain.
Ahh... Cassandra, can't we rest just a bit more?

Are you serious!? I think we've overstayed our welcome already!
Mmm, maybe not. I still don't see any monsters around.
Loosen up, Cassie. If our sharp-eyed lookout says there aren't any monsters around, I'm sure he means it.
Grngh. Fine. But we're leaving after a few minutes, got it?
Cassie, that's not loosening up. Come on, like Faye would say, relax and take a load off!
As a result of your long rest, the stress you’ve accumulated has been fully relieved!
Okay, enough slacking off. We're leaving! Now!
If you stay here longer, though, it could adversely affect your explorations. You resolve to go.
That event is actually kind of a coin flip. I happened to get lucky and get the good outcome. You can choose no if you don't feel like pressing your luck, which will end the event immediately. Sometimes when you say yes, this happens instead:
After deciding to linger, you take a deep breath when you suddenly feel your lungs burning!
ACK! Too hard... to breathe...!
What... what is happening!?
Ack! Pfft! That flower-ECK! It's... it's poisonous!
As you hack and cough, bringing tears to your eyes, you see a red flower known to be poisonous! The pollen you’ve been inhaling causes your coughing fit to last for a painfully long time!
Everyone loses 120 TP and 80 TP!
What did I tell you all? That's what you get for wanting to slack off.
Yeah it says 120 TP when it meant HP.

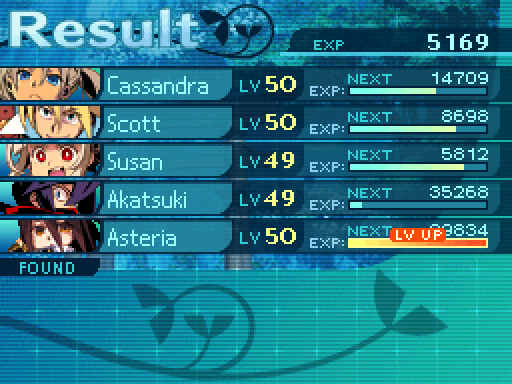
Akatsuki gets a level up as we travel further through the Stratum.
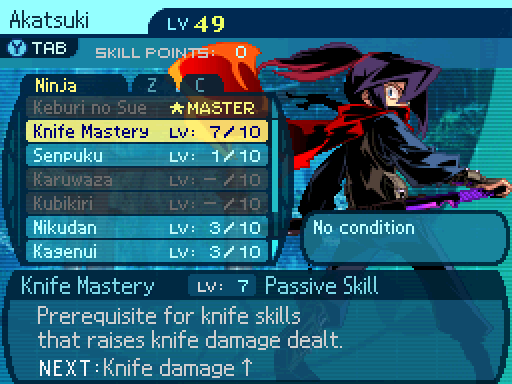
Knife Mastery now provides an 8% damage boost when Akatsuki uses a regular attack.
I get the feeling that we should brace ourselves for real this time.

YEP, I KNEW IT!
Remember everyone, stay close to me!
Asteria got a level up after a battle. Yes, they can occur in mapless rooms. On that note, you may want to place an arrow icon on the map when you get into a battle so you can remember where you were and what direction you were facing.
If you do get lost, there's a little exploit you can pull off to get an idea of where you are. Zoom out the map, and then zoom it back in. The map will zoom in on your position, even though it won't tell you exactly where you are. From there you can probably figure out where you're standing. I say exploit because Atlus took out that trick the next time they used this gimmick in the series.

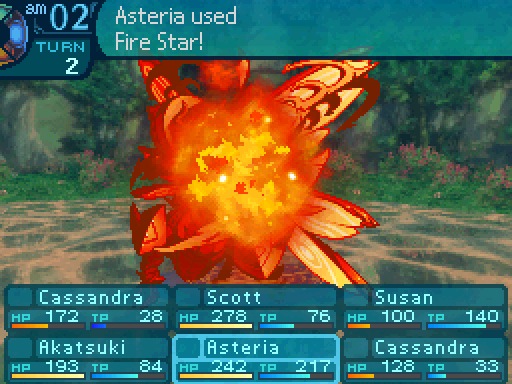
Anyways, Meteor now hits all enemies 3 to 5 times, but it still deals 38% damage per hit.
These are always nice to find.

Taken by the plague...
I'm fairly certain rats don't carry that disease anymore.
This floor is pretty big, so I'll end things off here. Next time, we'll finish this floor.