Toggle Background Color
Update 102: The Tentacular Trials
 Third time’s the charm, right?


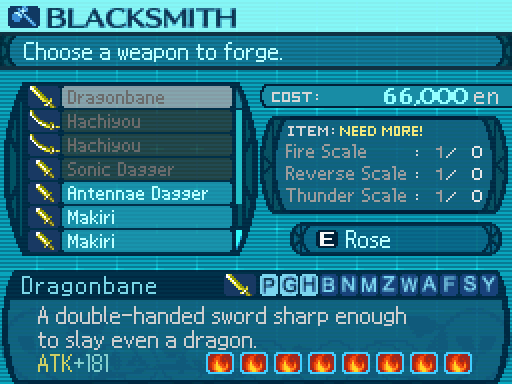
The first thing I’ll do in this update is set Rose’s Sword on fire. This will be important for later. Possibly.
 Sweet!
 And you’re really allowing us to do this?
Eh, why not? We’ve got tons of money now. We’ve practically got a whole pool of ental you could swim in.
 Just don’t actually try swimming in there. Oy, my back...
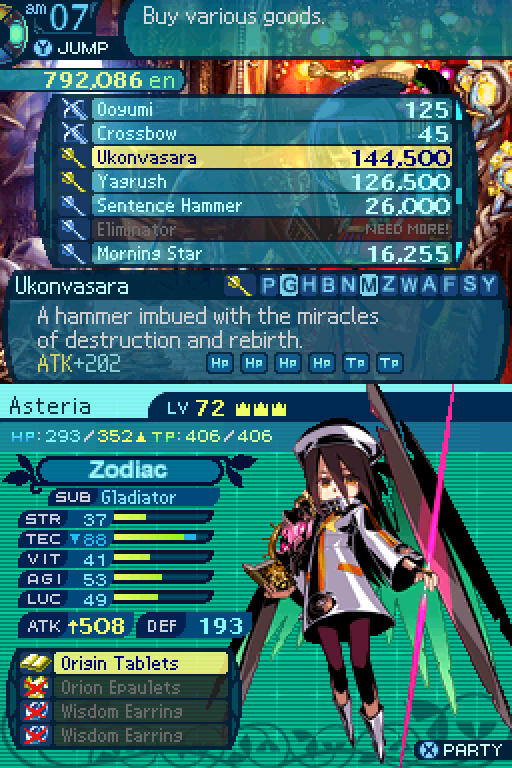
I also use the very last coupon buying the ultimate Club for Asteria. Yes, really. And of course it’s important. Maybe.
 ...WHY!?
Come on, don’t you think a club makes for a better weapon than some lame old book?
I’m a scholar, not a brawler you- oh forget it.
And now back to your regularly scheduled Let’s Play.


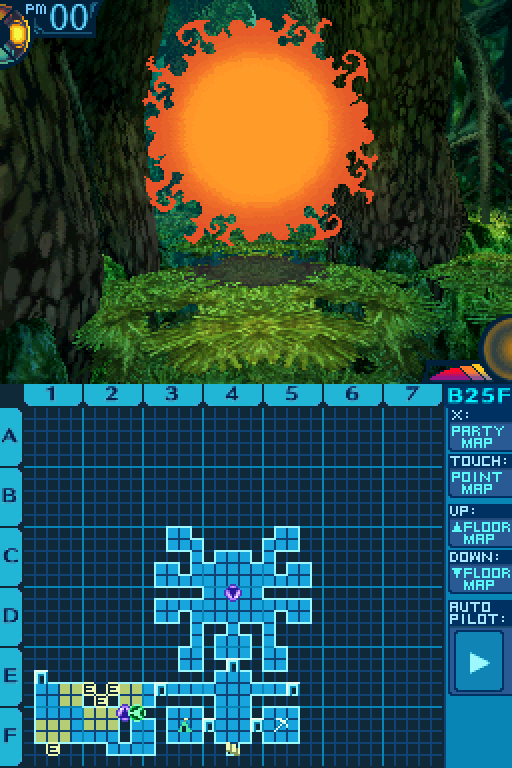
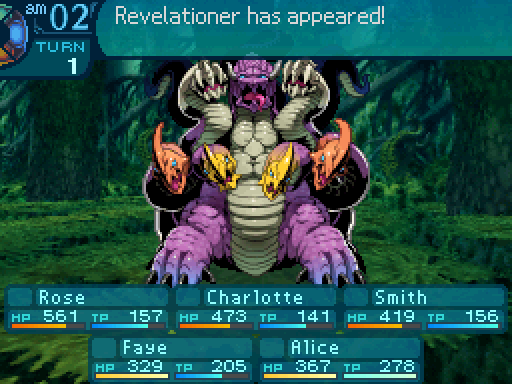
 The Evil One is behind this door, right?
Yeah, but uhh... taking it on right now would be a really bad idea.
How bad are we talking?
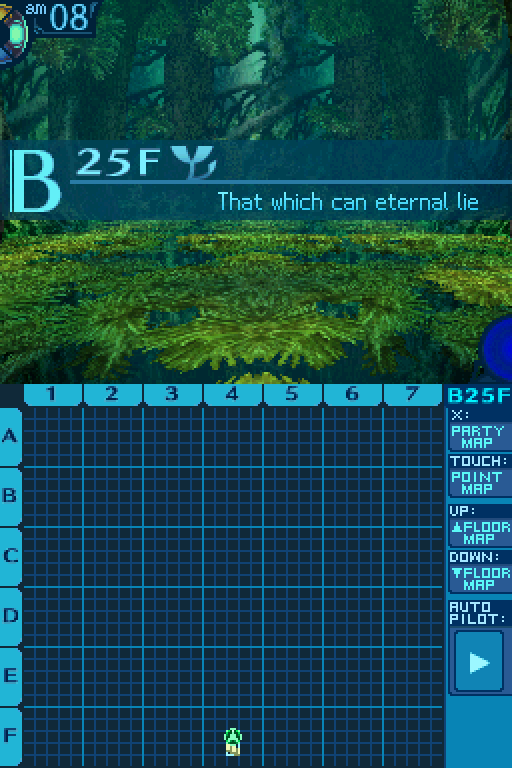
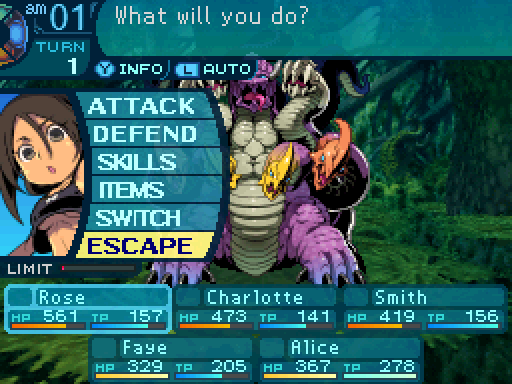
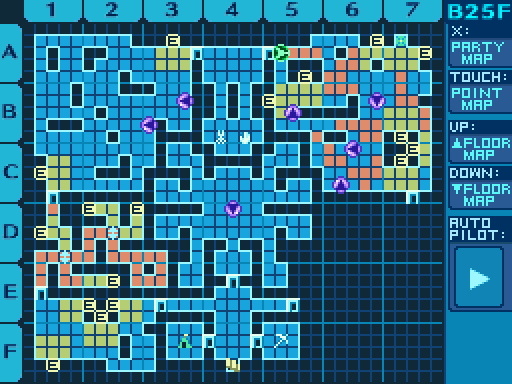
So floor 25 is a bit of a special floor.
In the first two Etrian Odyssey games, you had to go through quite a gauntlet on the final floor to reach the superboss. That’s not the case in this game, as you can challenge this superboss right away.


Doing so isn’t a good idea, but let me show you just why that’s the case.

You’ll pretty much do no damage to it as it has a 10% resistance to all damage types. Oh, and it has 10000 HP, meaning that you effectively have to deal 100000 points of damage in order to kill it, which very few parties can dish out in a reasonable amount of time.
And for the record, turtling and dishing that amount of damage over a long period of time is NOT an option, but I’ll get into why when I talk about this thing for real.
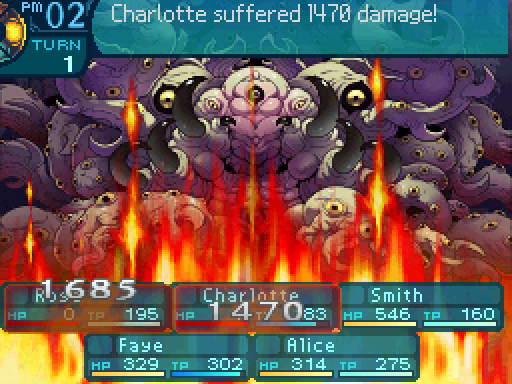
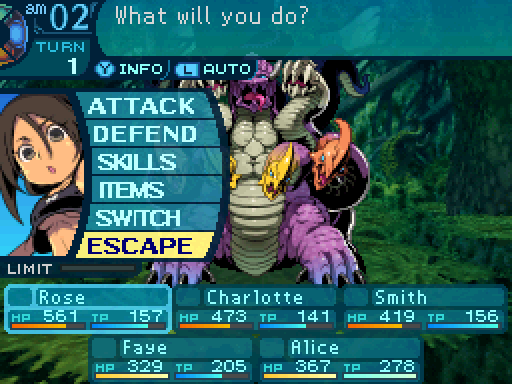
 AAAAAAHHHHHH!
That bad.
D-duly noted.
There’s gotta be something we can do, right?
Yeah, just hold your horses for a sec. Hang on, where’d I put that stupid thing... Ah!
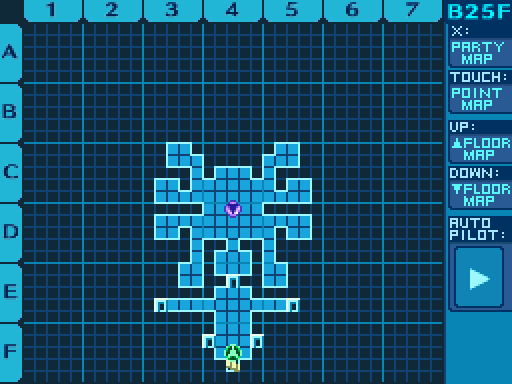
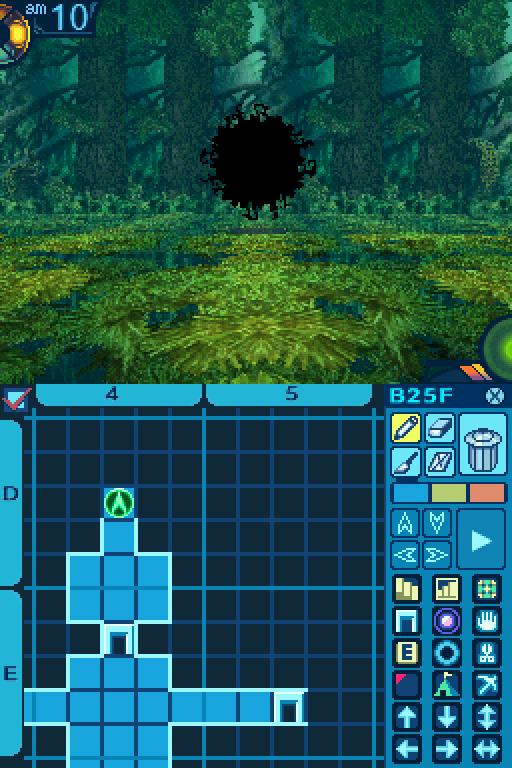
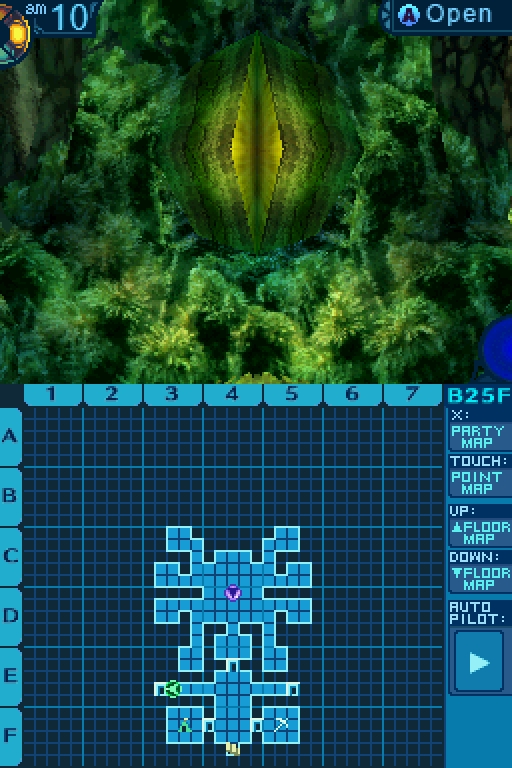
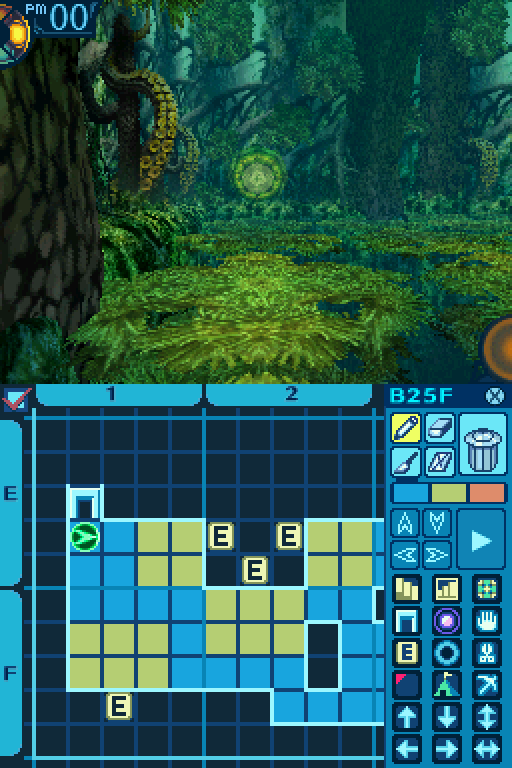
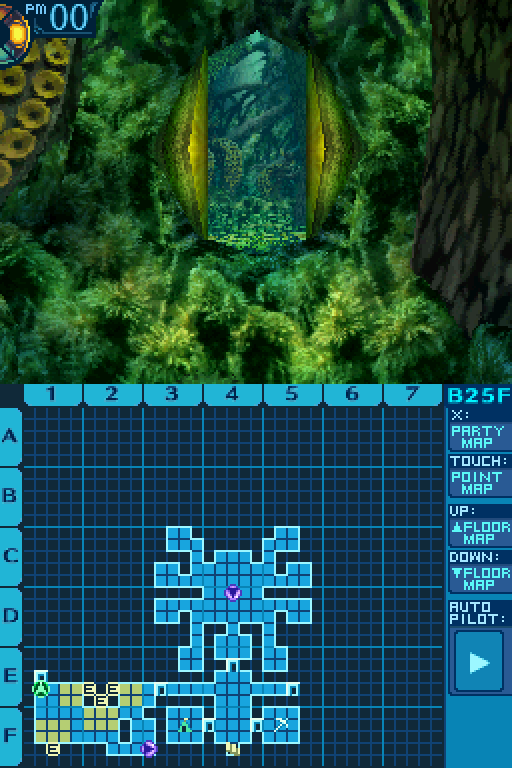
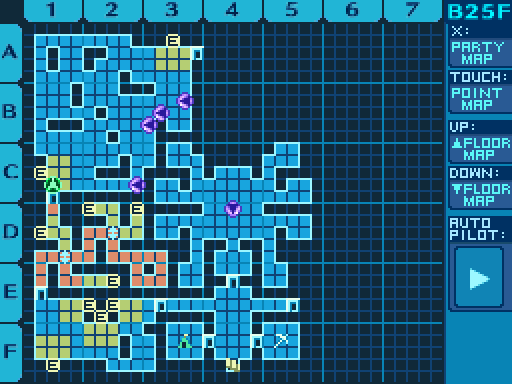
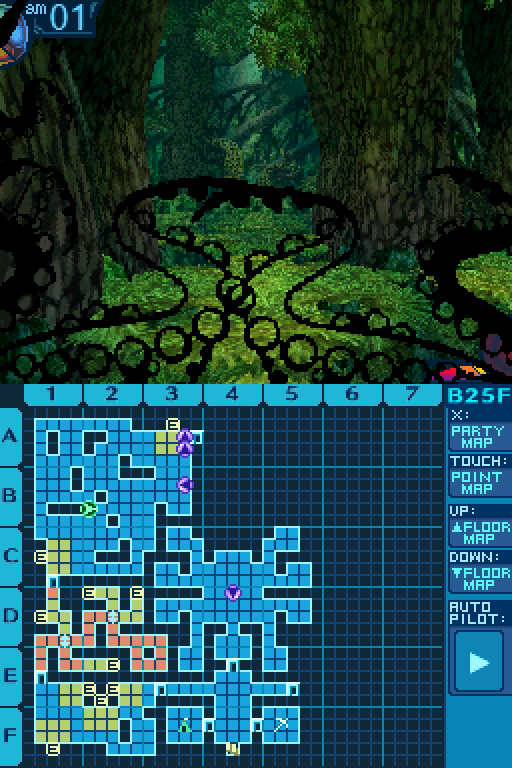
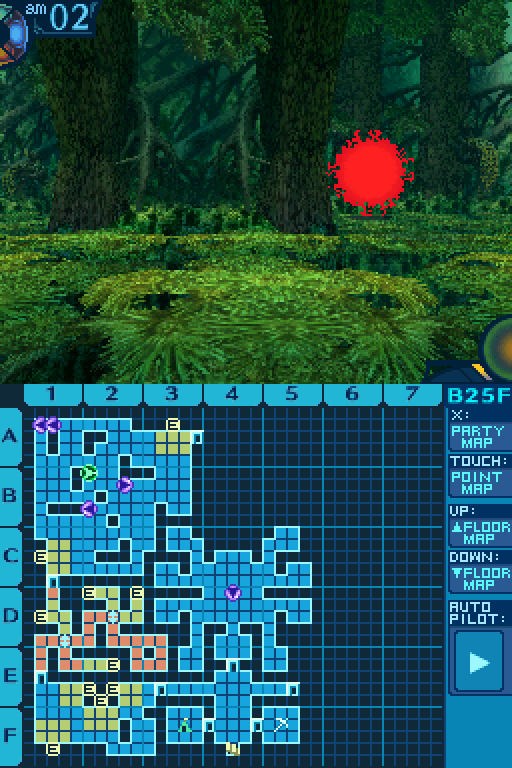
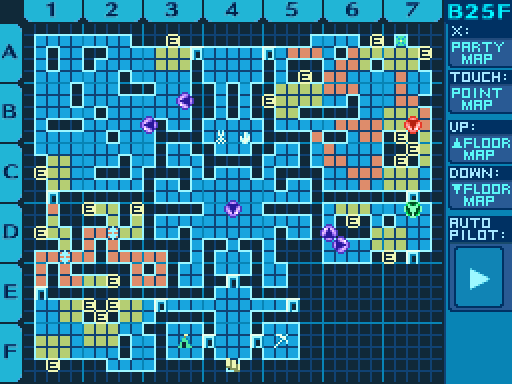
Alright, see that spider-like thing in the middle of the map?
Ah, yes. There’s something important we have to do at each of its “legs.”
Uh huh! Now listen closely...
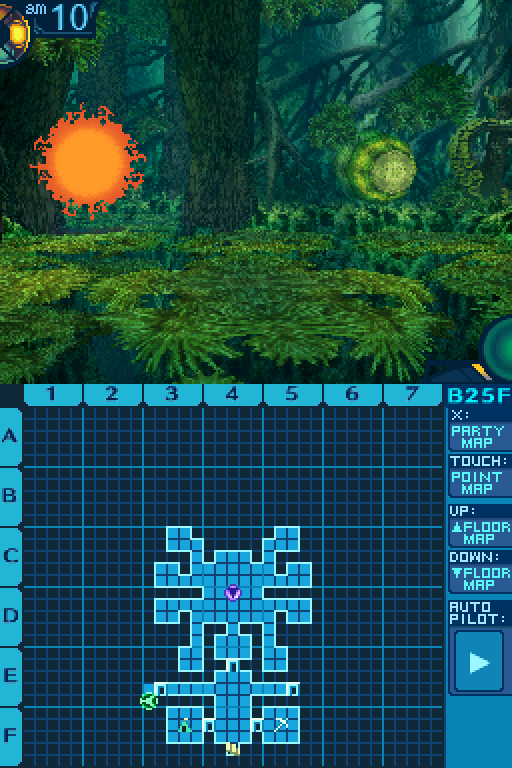
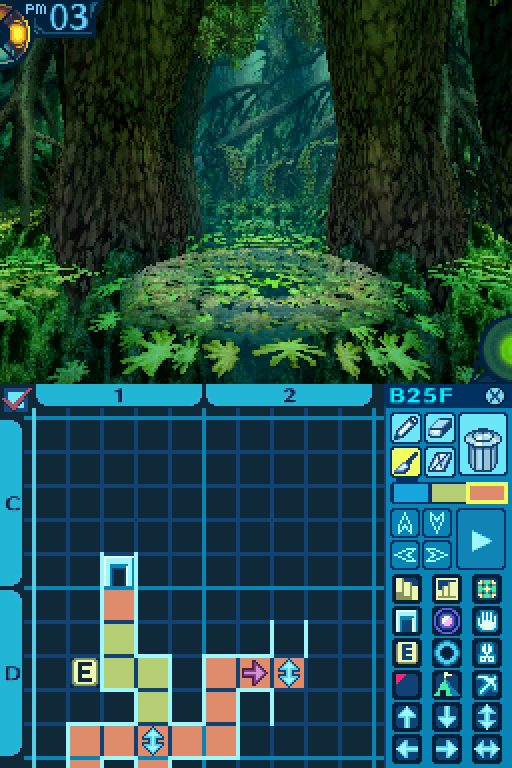
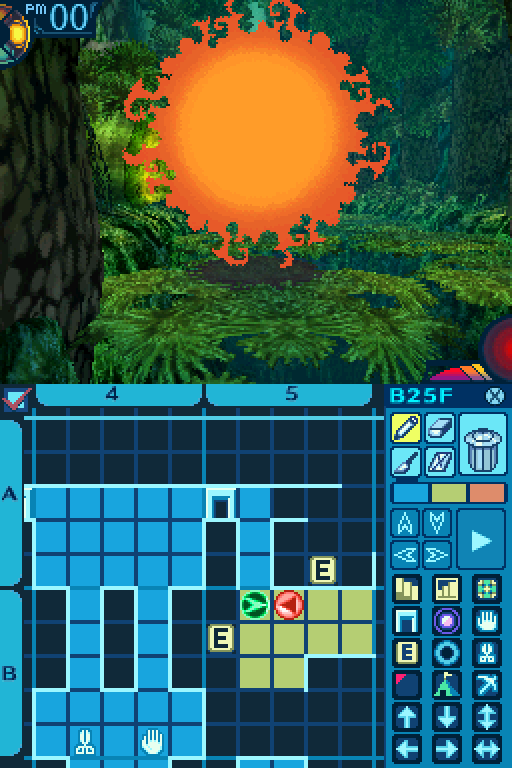
Let’s take a look around the beginning of the floor first.

There’s a campsite in this room.

It always pays to be prepared!
Oh, and I remembered to spend some skill points that Alice had leftover. She now has 16% more maximum HP.
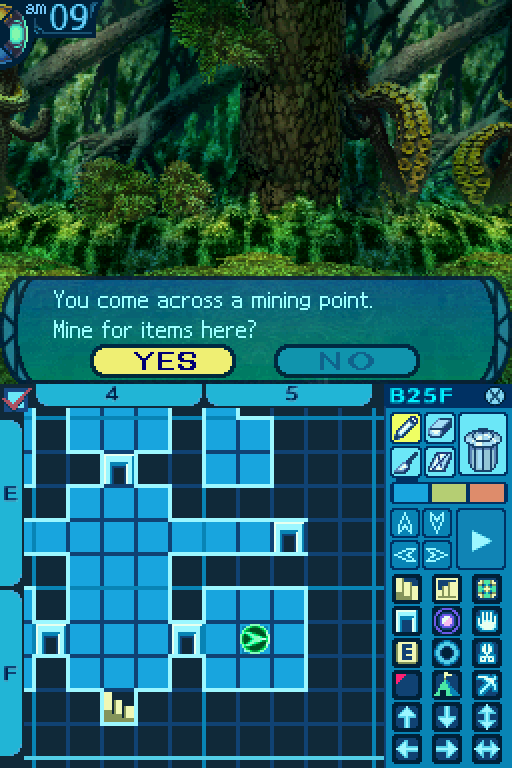
F5 Mine Point:
Star Sapphire: 60% Gather Rate.
Perlite: 40% Gather Rate.
Zircon: Rare.
Common Gather Periods: 2 to 17.
Rare Gather Periods: 1 to 4.
Here’s the final Mine point in the entire game.


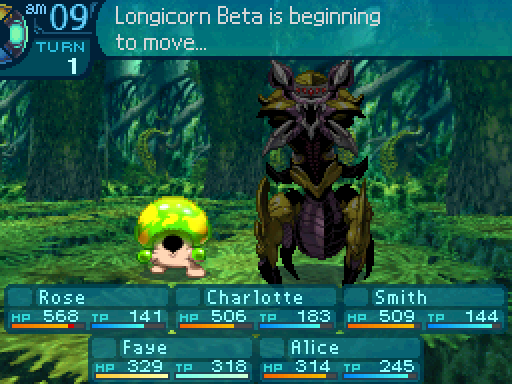
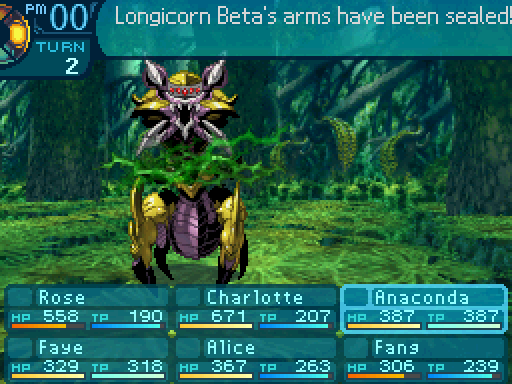
And the final new random encounter in the entire game!

Longicorn Beta
Level: 64
HP: 2382
STR: 70
VIT: 63
AGI: 48
LUC: 51
TEC: 62
Attack Type: Slash
Exp: 4801
Item Drops:
-Drop 1: Wrenching Jaw - 20% Drop Rate. 1 needed for Eliminator (Club) and Futsuno Mitama (Knife. Must be restocked.) 2 needed for Fangtianhuaji (Spear.) 3 needed for Judgement Plate (Light Armor.) 8 needed for Ocean Shield (Shield.)
--Menacing jaw that can wrench off armor like it was paper.
-Drop 2: N/A
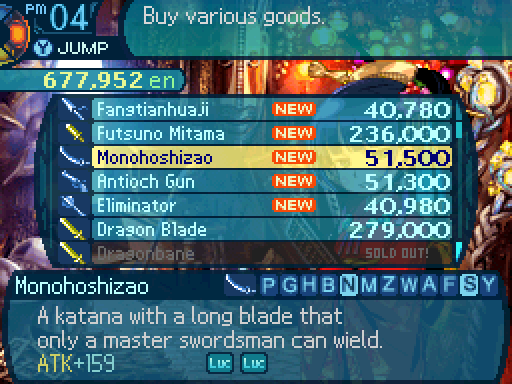
-Gold: Vicious Claw - Kill while arms are bound. 95% Drop Rate. 2 needed for Antioch Gun (Gun.) 5 needed for Monohoshisao (Katana.)
--Used for the indiscriminate slaughter of trespassers.
Description: A stronger type of Longicorn. It uses its eggs and other allies as thrown weapons.
Damage Resistances: Slash: 100% Strike: 100% Pierce: 100% Fire: 100% Ice: 100% Volt: 100%
Ailment Resistances: Sleep: 100% Confusion: 100% Plague: 50% Poison: 50% Blind: 100% Curse: 100% Paralysis: 50%
Bind Resistances: Head: 100% Arm: 100% Leg: 100%
Other Resistances: Death: 100% Petrification: 100% Stun:
Skills:
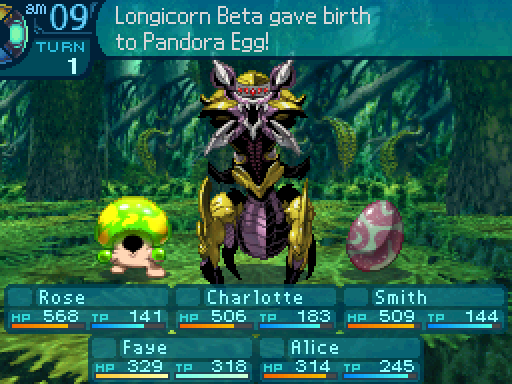
Lay Egg: Does not use a body part. Gives birth to a number of Pandora Eggs. Has an action speed of +0.
Throw: Co-op skill. Requires 1 Longicorn Beta and 1 Pandora Egg, Clionean, Longicorn, or Insectortoise. Does not use a body part. The Longicorn Beta throws one of the following enemies at the party, dealing 130% STR-based Strike damage to the entire party. Deals 100% damage to the thrown enemy as well. Has an action speed of -5. Has an accuracy of 90.
Longicorn Betas are pretty annoying enemies to deal with. They’re extremely durable, and will give birth to Pandora Eggs, and will then throw them or whatever hatches from them at your party. If you don’t take them down fast, your party will get worn down due to constantly being pelted by its eggs and offspring.
I so did not need to see that!
The miracle of life is just how nature works.
Oh by the way, there’s a Vampire Tree in this room waiting to ambush you.
But assassination is also nature’s way.
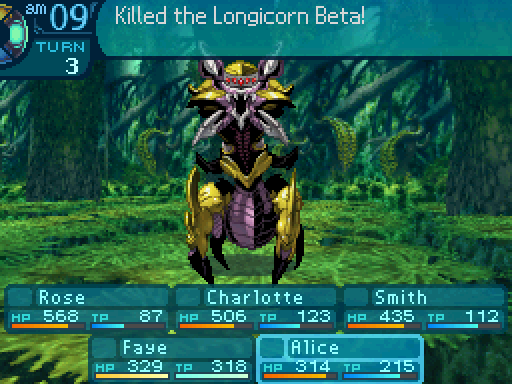
Alice cares not about 2000 HP.
If you don’t have a way to dispatch them quickly, such as Instant Death or Petrification, just try to focus them down, as leaving them alive will just drag out the battle longer considering that they can summon Pandora Eggs.
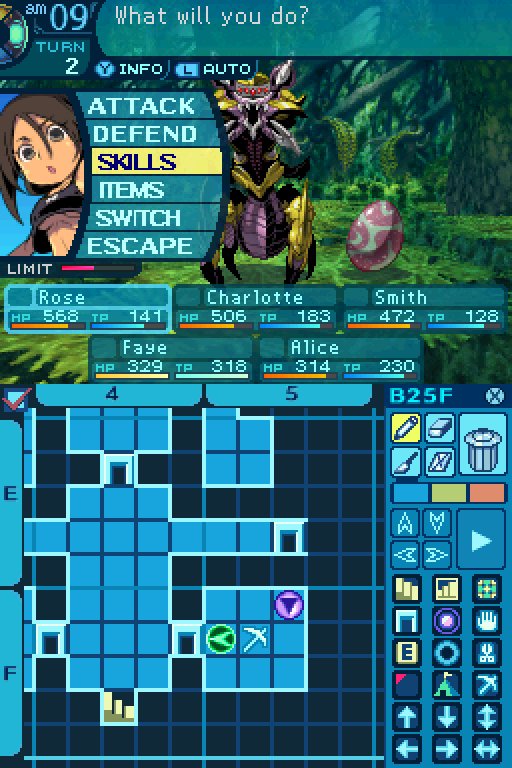
Now let’s finally get to exploring the floor.
So that’s our target?
Indeed. Taking them out will make it easier to give the Evil One a wake up call.
The theme of this floor centers around these special FOEs.
Hey stop! Come back!
Relax Smithy. Just follow my lead.
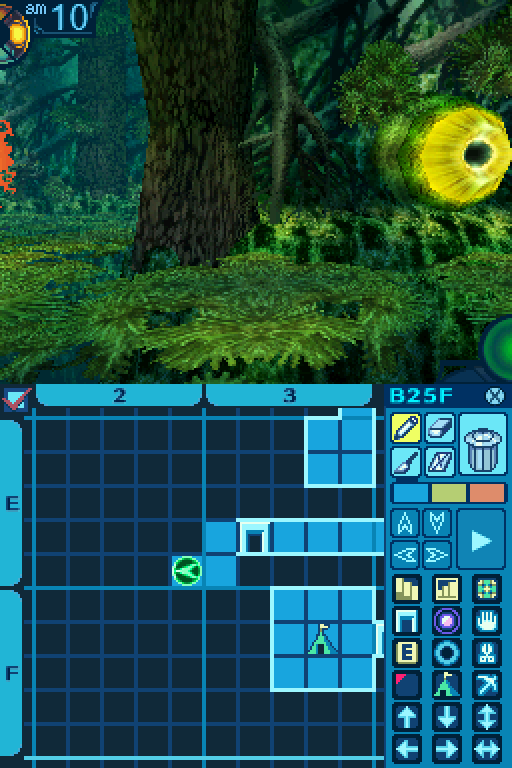
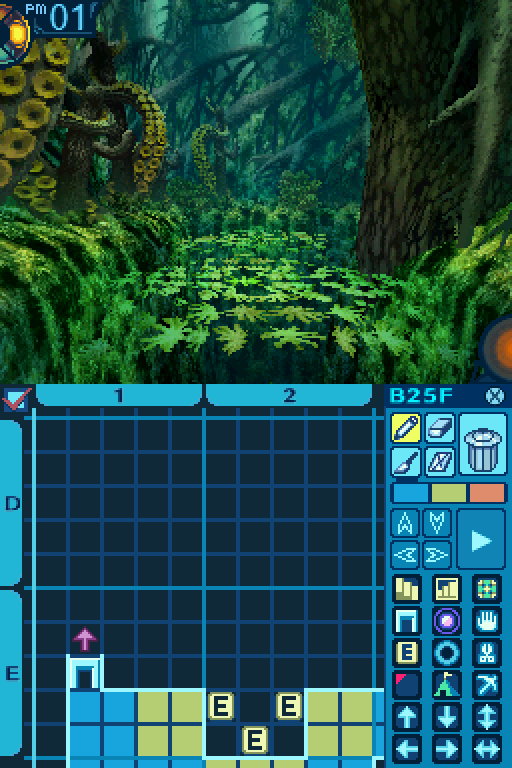
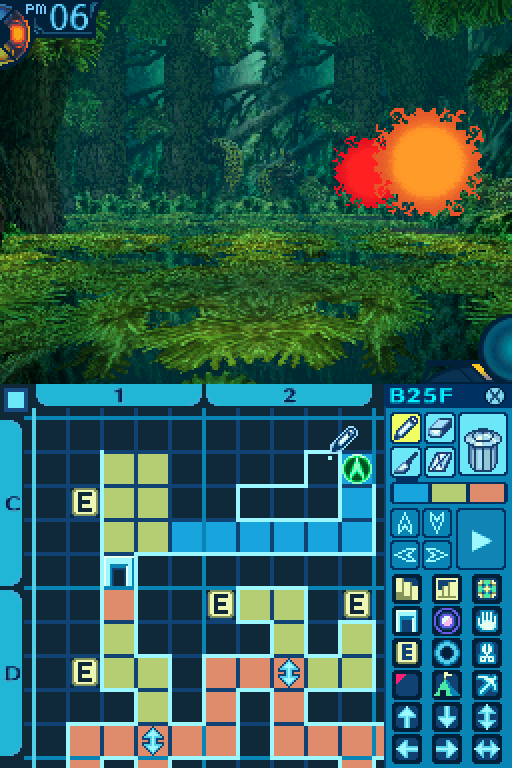
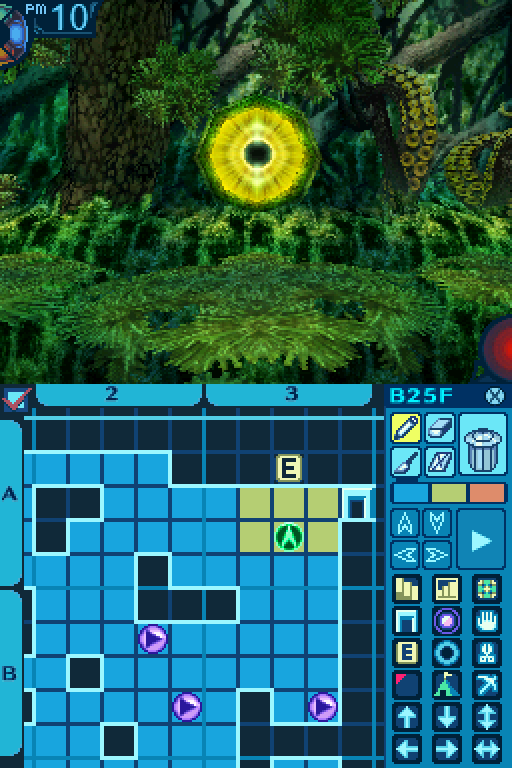
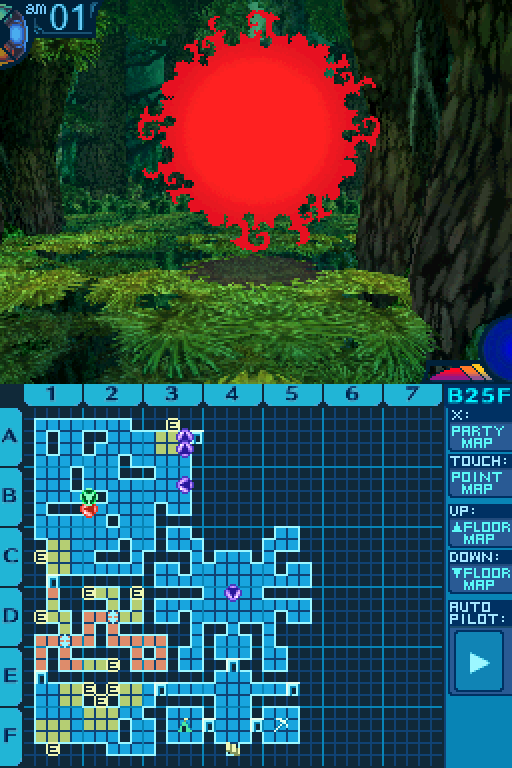
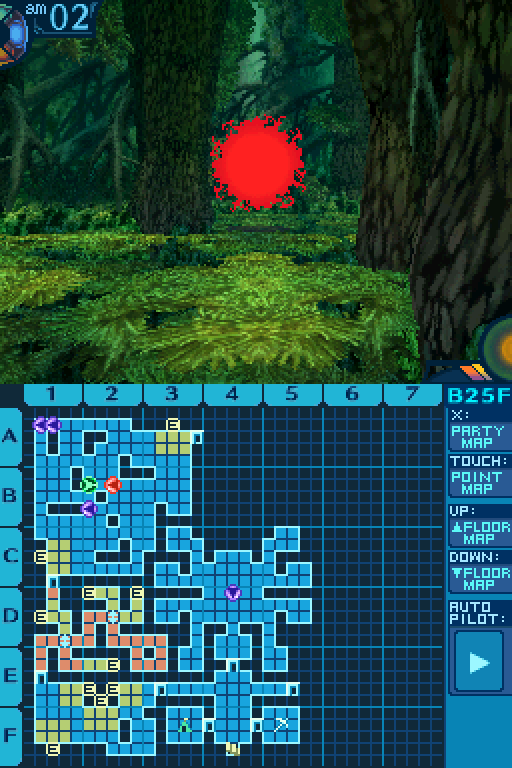
There’s an eye in this room that we can’t avoid.


Well, there’s several eyes, really.
We can’t do anything about that FOE since it knows we’re here, but it’s running away from us pretty fast since it can move 2 tiles at a time.
In order to let that FOE’s guard down, we’ll have to leave the room and come back.

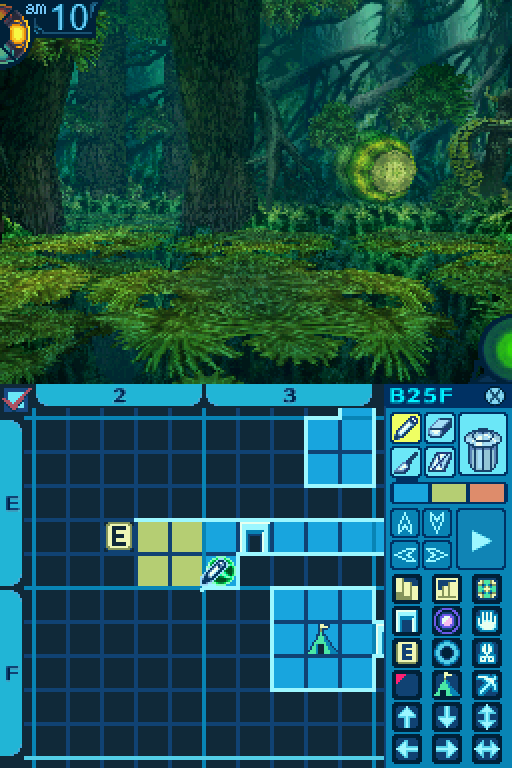
And as you can see, there’s a path we can take to the FOE without being noticed by the eyes. As long as we start from this end of the room.
Gotcha! Ha ha!
I should note that this FOE will only be aware of our presence if an eye alerts our presence to it. Walking in front of it will not cause it to run away.
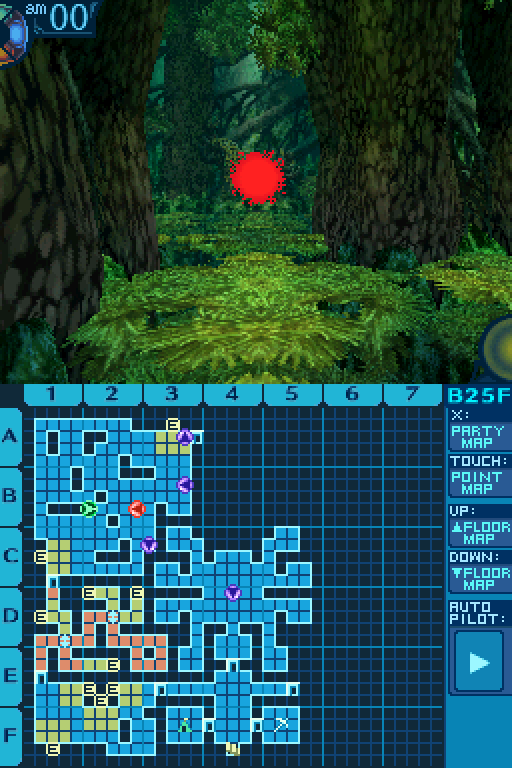
As for what’s so special about this FOE...

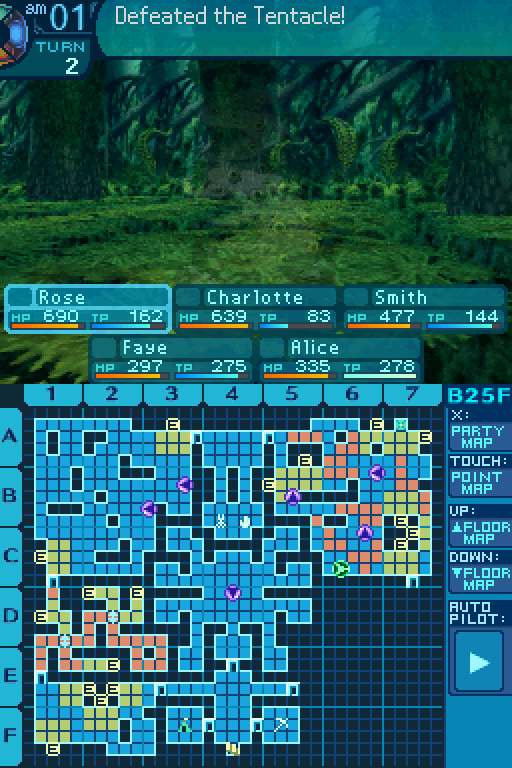
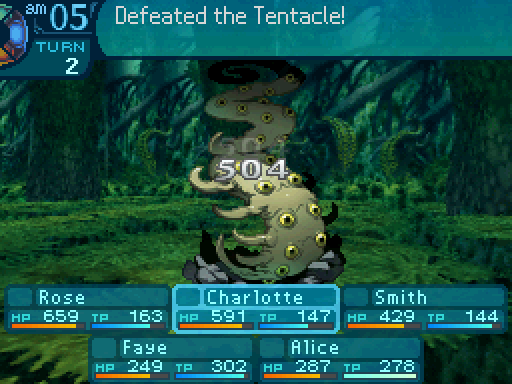
It’s one of the Abyssal God’s Tentacles.

Tentacle
Behavior: Runs away from the player if an eye alerts the Tentacles. Capble of moving 2 tiles at a time. Stays completely still otherwise.
Aggressive: No.
Level: 55
HP: 3888
STR: 80
VIT: 50
AGI: 44
LUC: 42
TEC: 53
Attack Type: Slash
Exp: 20000
Item Drops: N/A
Description: A dreadful tentacle of the Abyssal God, which crossed time and space over the starry sea.
Damage Resistances: Slash: 100% Strike: 100% Pierce: 100% Fire: 100% Ice: 100% Volt: 100%
Ailment Resistances: Sleep: 10% Confusion: 10% Plague: 10% Poison: 10% Blind: 10% Curse: 10% Paralysis: 10%
Bind Resistances: Head: 0% Arm: 0% Leg: 0%
Other Resistances: Death: 1% Petrification: 1% Stun: 50%
Skills:
Call Ally: Does not use a body part. Summons 1 Vampire Tree. Has an action speed of +0.
Tentacle’s AI Script posted:
If self is at full HP, defend. (Targets self.)
29% chance to summon 1 Vampire Tree.
If HP is below 91%, 69% chance to use a regular attack. (Targets the party member with the lowest HP.)
Else:
-19% chance to defend. (Targets self.)
-81% chance to use a regular attack. (Standard targeting.)
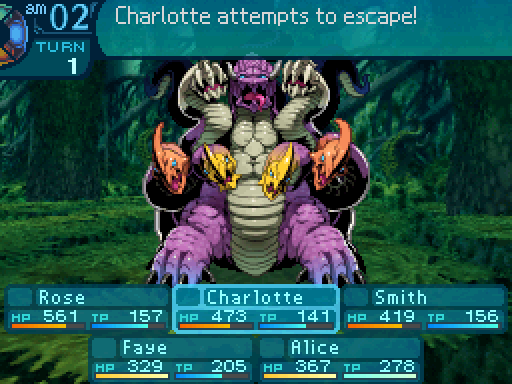
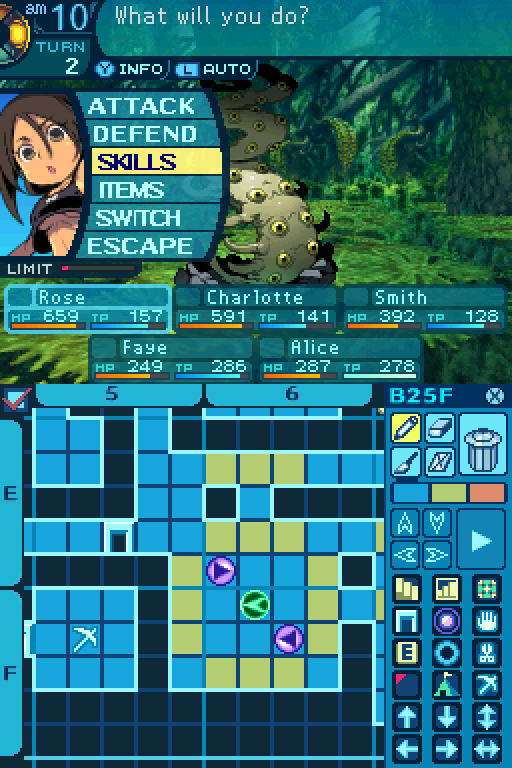
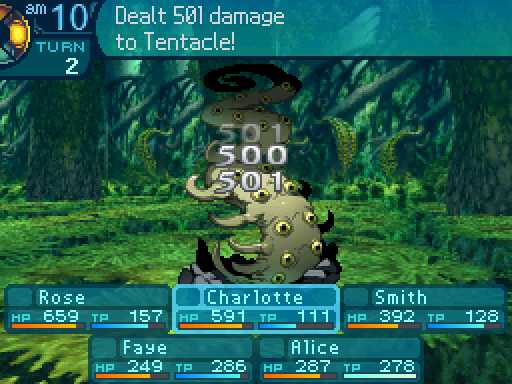
This is the last new FOE in the entire game, and as you can see, it’s quite pathetic. Then again, it’s not really supposed to be putting up a fight, it’s just an objective for you to go after. With that said, you don’t want to let your guard down too much, as they can summon Vampire Trees and end up derailing whatever you had planned in store for them. The Tentacles can’t do anything as long as they’re at full health, so just prep up your damage dealers with buffs and such and then go to town on the next turn to dispatch them safely.

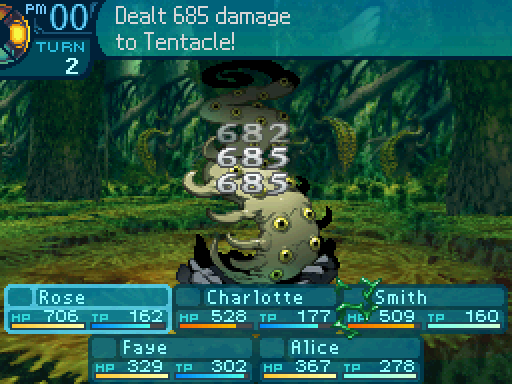

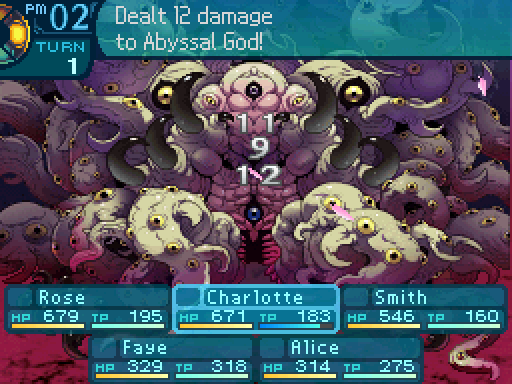
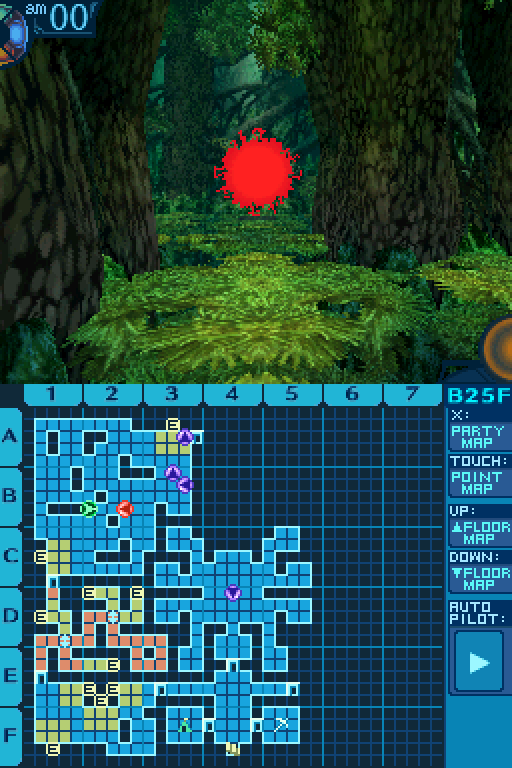
That’s gonna hurt in the morning!
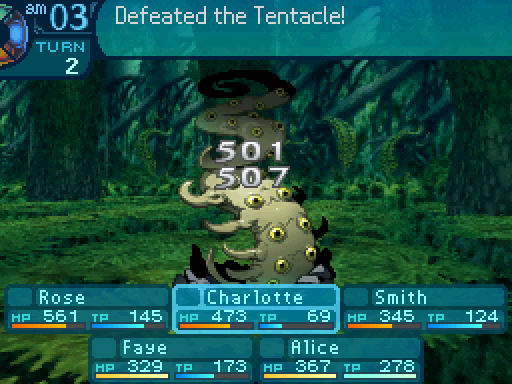
Like so.


Remember that spider-like area in the center of the map? Those “legs” point to where a Tentacle can be found. There are 8 in all, and killing a Tentacle takes away 1000 HP from the Abyssal God’s first form, and causes it to take more damage from most attacks. So it’s in your best interest to slay as many Tentacles as you can before taking on the Abyssal God. Now unlike most FOEs in the game, which have a respawn time of 7 days, the Tentacles only have a respawn time of 3. If you’re gonna kill the Abyssal God, you’re going to have to commit to the kill once you start hacking down those Tentacles.
Of course, the Abyssal God won’t make it easy for us to take them down. Floor 25 has a bunch of minor puzzles that need solving in order to actually get at the Tentacles.

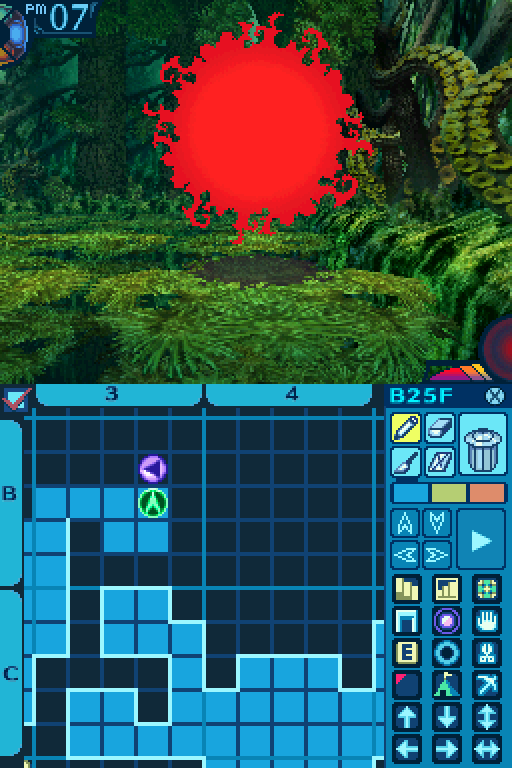
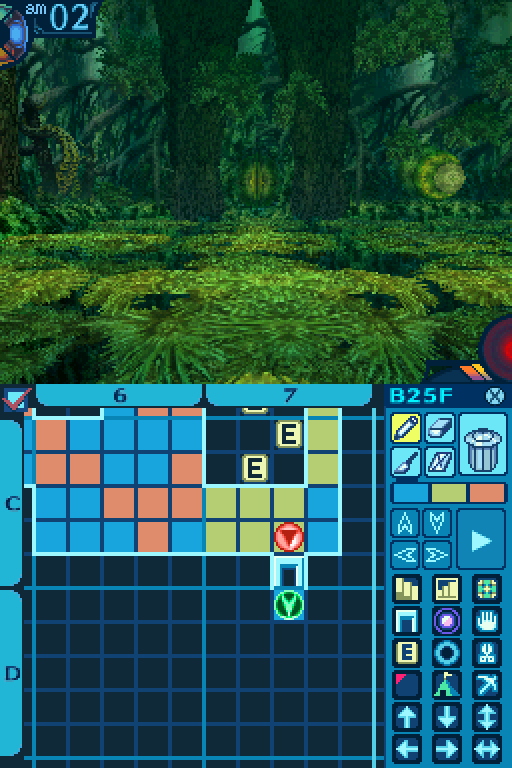
This is a mapless room with spinners in it. This spinner turns you to the left 3 times.
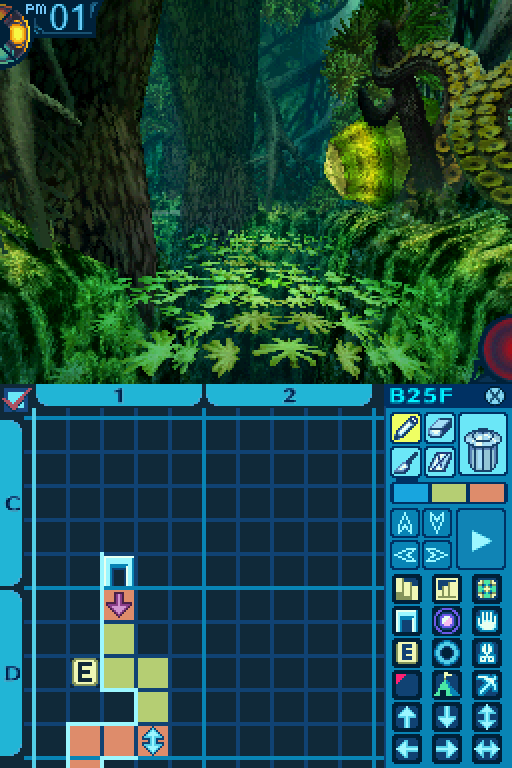
Going in the wrong direction results in you running into an eye, and alerting the Tentacle in the room to your presence, forcing you to start over.
Oh and there’s an exit to the next room up here, but you can’t start the puzzle from this side of the room because of the eye.
Thankfully, this is the only other spinner in the room. It turns you to the right 5 times.

The path to the Tentacle should be clear to see now. Just make sure to keep track of your bearings so you don’t run into an eye by accident.

2 down, 6 to go.

Right off the bat, we’re caught by an eye once we enter the next room.

There’s a Tentacle up ahead, but we have no hope of catching right now thanks to the eye.
There’s also a Revelationer in this room, which is currently blocking that Tentacle’s way.
Make that 2 Revelationers.
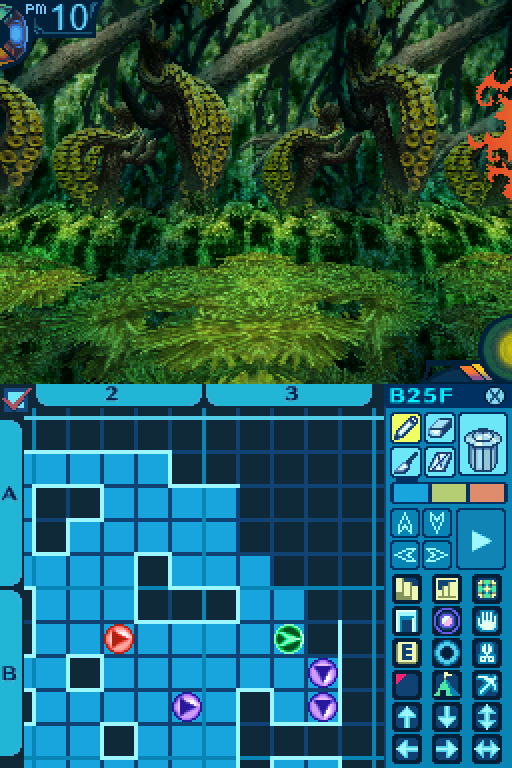
And 2 Tentacles.
Unfortunately, there’s also an eye placed right next to the other exit to this room, so sneaking up on the Tentacles is not an option for this room. Surely there must be some way to reach them...
Can you figure out what we have to do? I’ll give you some time to think it over. You have all the information you need to solve this puzzle.

First, we want to move that bottom Tentacle up a bit.
...After moving that Revelationer out of the way first.
There we go!


You’ll want to walk back and forth between these 2 tiles to move the Revlationer closer.
Do this until you get into a battle with it.

Then escape. Yes, I’m serious. You don’t want to actually kill the Revelationer, trust me.

Stay right where you are.
If you did everything right, the Revelationer should be on that tile, and you’ll be pushed back to this tile.
Now without moving the bottom Revelationer, approach those 2 Tentacles from the bottom.

They’ll flee to the northwest corner.
Now do the same walking back and forth routine on these 2 tiles to move the top Revelationer.
Once again, get into a battle with the Revelationer and escape.

Now everything is set up. Set up for what, you may ask? If you haven’t figured out what I was trying to do, allow the following GIF to enlighten you.

The trap is sprung!

Nowhere to run, suckers!
As a result of moving those Revelationers to those spots, the Tentacles are now trapped and have nowhere to go!

Making them easy pickings for us.
Halfway done!
Out of all the Tentacle puzzles on this floor, this one is actually my favorite due to how clever the solution actually is.

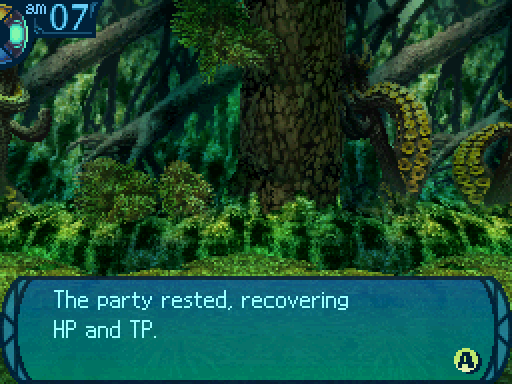
The random encounters and solving those puzzles wore my party down for a bit, so I opted to rest up at the floor’s campsite.
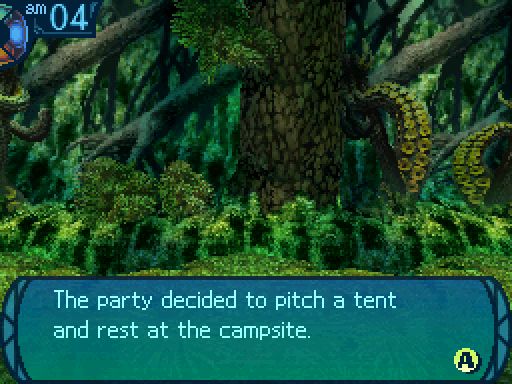

Hard to believe that this may all end soon.
Yeah... So, you all have plans on what you’re gonna do after this is all over?
Assuming we actually succe-
Hey, now’s not the time to be a pessimist! We’re totally succeeding, no matter how many times we get ourselves killed!
...Um, right. I was gonna drop Susan off back at her father’s, and maybe travel around the world a bit. Hey, you should come with me, Charlotte. It’ll be fun! Besides, it’s not like you have a lot left to do in Armoroad.
...Rose, I’m sorry, but I can’t leave Armoroad. Not for the time being at least.
Wha!? Why!?
I’m afraid Princess Gutrune’s and King Seyfried’s departure... left us with some issues that we need to deal with. Especially since they left without warning, if I may add.
Yeah, as much as I hate to say it, the king dude pretty much just ditched us. Oy, Olympia’s gonna need a lotta help cleaning up that mess!
At the very least, not much will change in Armoroad since Senator Flowdia has been in charge of everything for a long while. The Deep City will need our help, though.
Oh... I see.
But I’ll be happy to take you up on that offer once my duties are finished!
Heh heh, I’ll hold you up to that!
Mmm, I was going to head back home after this, b-b-but... Y-you see... I-I-I-
Hee hee hee, you wanna bring Akatsuki along, huh? Say no more! I’ll totally let him come with you!
O-oh, wh-why thank you, Faye. Oh, but what about you, Faye?
...Dunno. Maybe I’ll go another adventure, or just take things easy for a while. All I know is... there’s a lotta possibilities out there!
Oh, and-
Ahem, relaxing’s been fun and all but uh, tentacles? The Evil One?
GAH! Aw shoot, I almost forgot about those! Come on, everyone! We gotta get going, pronto!

The room up here doesn’t contain any Tentacles.

B4 Chop Point:
Polyamide Fiber: 60% Gather Rate.
Star Driftwood: 40% Gather Rate.
Stardust Twig: Rare.
Common Gather Periods: 1 to 10.
Rare Gather Periods: 1 to 3.

B4 Take Point:
Ambrosia: 60% Gather Rate.
Hogweed Oil: 40% Gather Rate.
Maiden’s Wheat: Rare.
Common Gather Periods: 1 to 10.
Rare Gather Periods: 1 to 3.
But it does contain the last 2 item points in the game.

Right off the bat, we have damage tiles to deal with.


Oh, and there are eyes down here. But alerting the Tentacles isn’t the only reason to avoid the eyes.
There are also Dreamsmashers in this room!

Here’s one of their patrol areas.

...Atlus, you dicks.

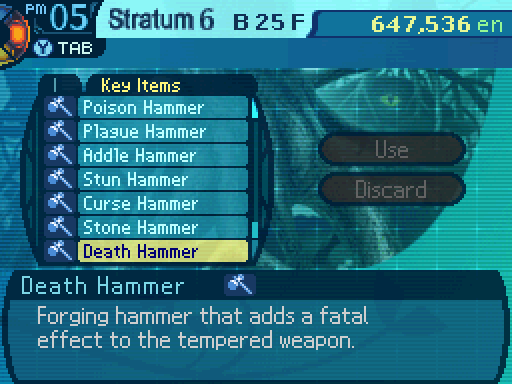
This chest contains the final hammer in the game. Which just gives us access to Death forges. Sure, that’ll be useful at this point in the game.  But on the bright side...
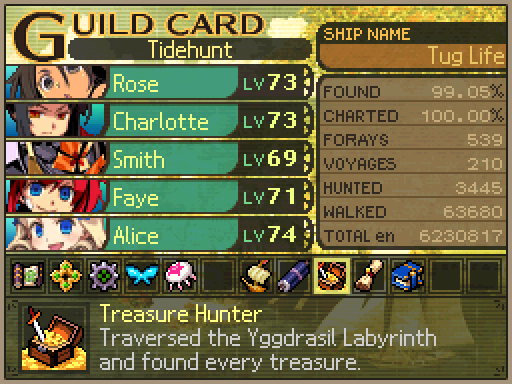
It was the last treasure chest in the game, which net us this guild card medal. Oh by the way, it’s completely impossible to grab this medal if you don’t do the True Ending, as there’s a chest in the True Ending exclusive area.
There’s the other Dreamsmasher in this room. The other 2 FOEs in this screenshot are the Tentacles.
This room isn’t really much of a puzzle. You just have to avoid the Dreamsmashers while making your way over to the Tentacles. Oh and you have to start from the top entrance, as there’s an eye watching the bottom entrance.
Now you want to take out the bottom Tentacle first, as the top Tentacle is on a tile that an eye is watching.

Which means that the Dreamsmashers will be hounding you, and the bottom Tentacle won’t be able to be fought.
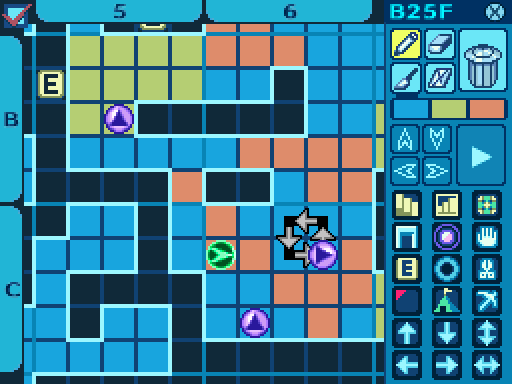
Now for this room.
There’s a Revelationer and an eye here.

And another eye here.
The Tentacle is on the leftmost side of the room. What you have to do here is really simple.

Just lure the Revelationer to this spot.
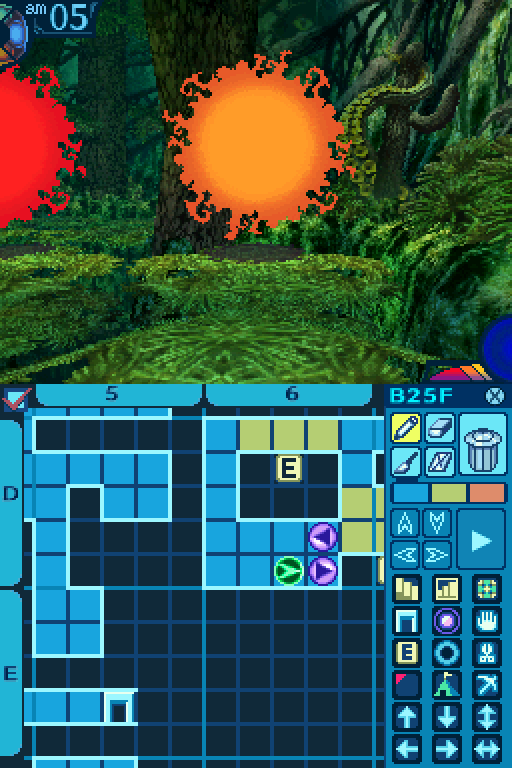
And then just make your way over to the Tentacle. If you did everything right, the Revelationer will move one tile left, trapping the Tentacle down here when it tries to run from you.
Just one more to go!

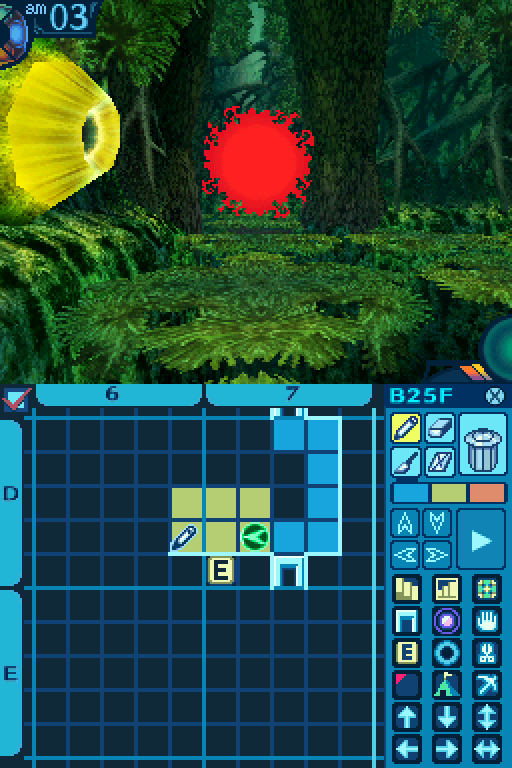
And now for the final room.

It’s just an ice puzzle.

And a pretty simple one, too. Just follow that path to reach the Tentacle.
Don’t take too long in taking down this Tentacle, as there are Vampire Trees nearby waiting to ambush you.
Hee hee, last one down!
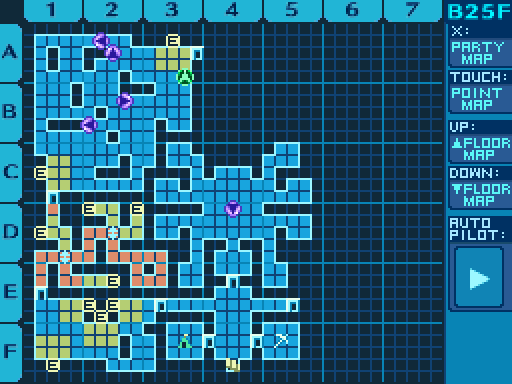
And that’s all of the Tentacles taken down!

And with that, the map of the final floor is now complete! We’ve fully mapped the entire Labyrinth! 
Oh, but before we go back to town...

Just grabbing the last conditional drop in the game. Okay, now we can go back to town.


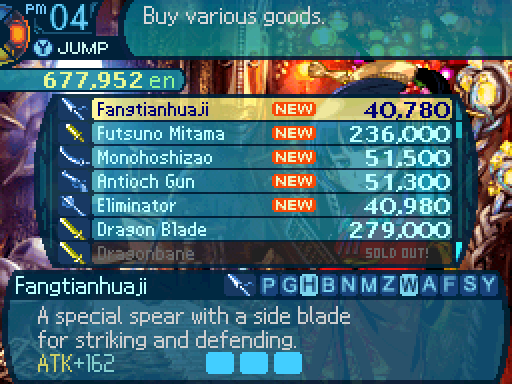
And here are the last of the equipment unlocks in the 6th Stratum.
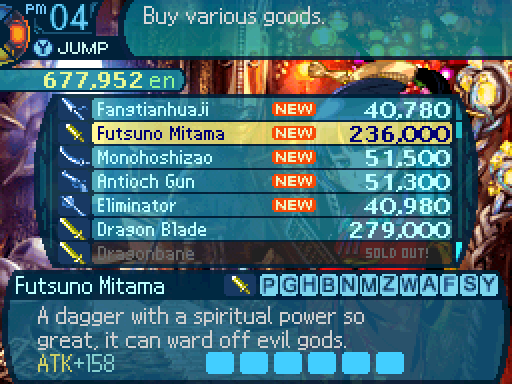
The Holy Horn from the Elder Dragon unlocked this Knife. It’s the penultimate Knife in the game, but it does come with more forge slots than the Danda-Chakra.


Comes with a 6% chance to inflict Instant Death with regular attacks. At this point in the game, you really should be making use of the ultimate equipment.

The Ocean Shield is actually the best shield in the game. Not it necessarily means much, but you might as well grab it for your Hoplites if you have one.

The Judgement Plate is the best non-ultimate piece of Light Armor in the game. But again, at this point, you really want to be making use of the ultimate equipment.
And that does it for the equipment unlocks.
Next time... well, there’s much to discuss in the next update, I’ll say that much.
Cassie! Get everyone to the explorer’s guild, pronto! I’m calling a meeting! That Evil One is going down this time!