Toggle Background Color
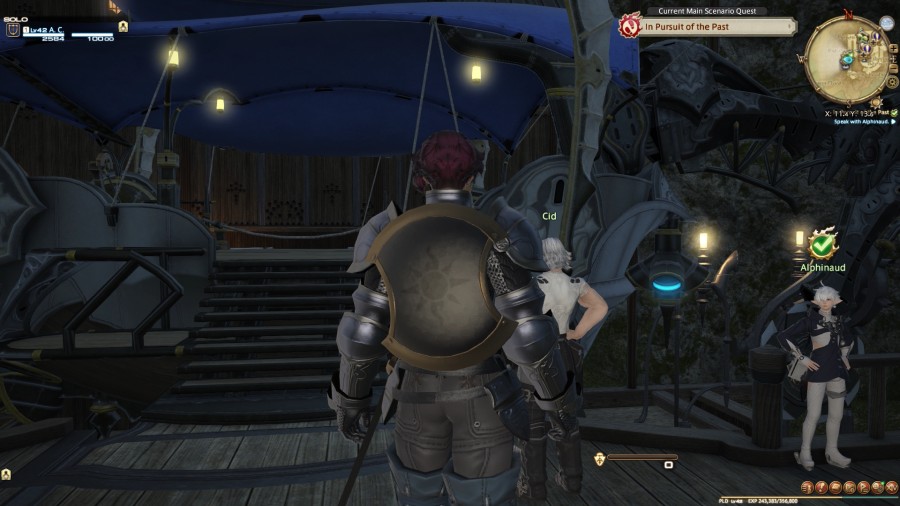
Chapter LXXVII: In Pursuit of the Past
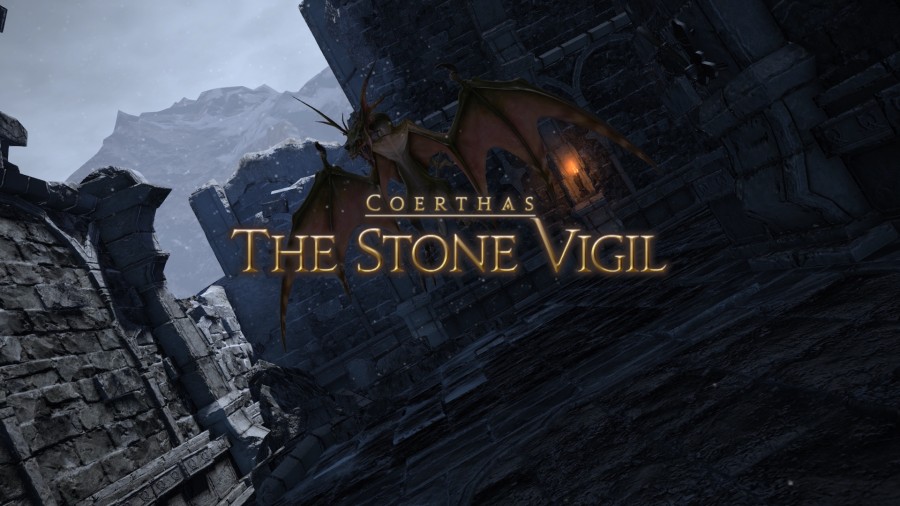
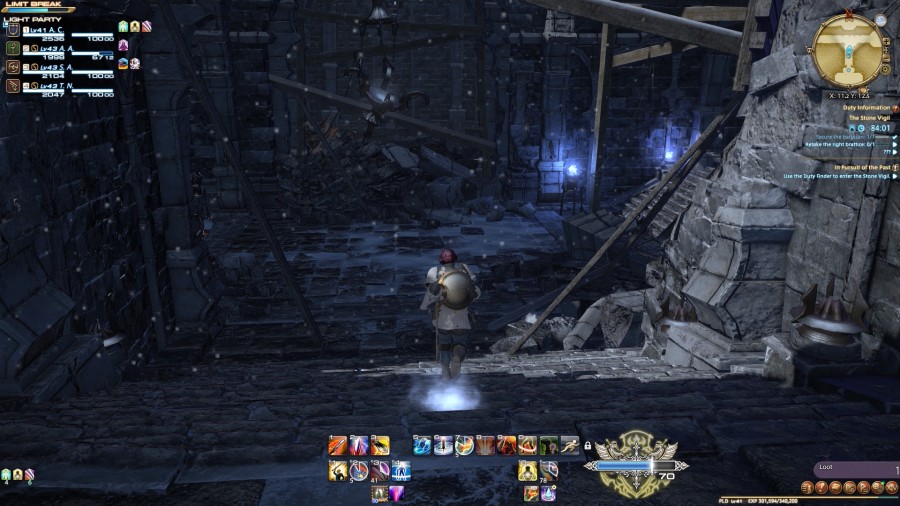
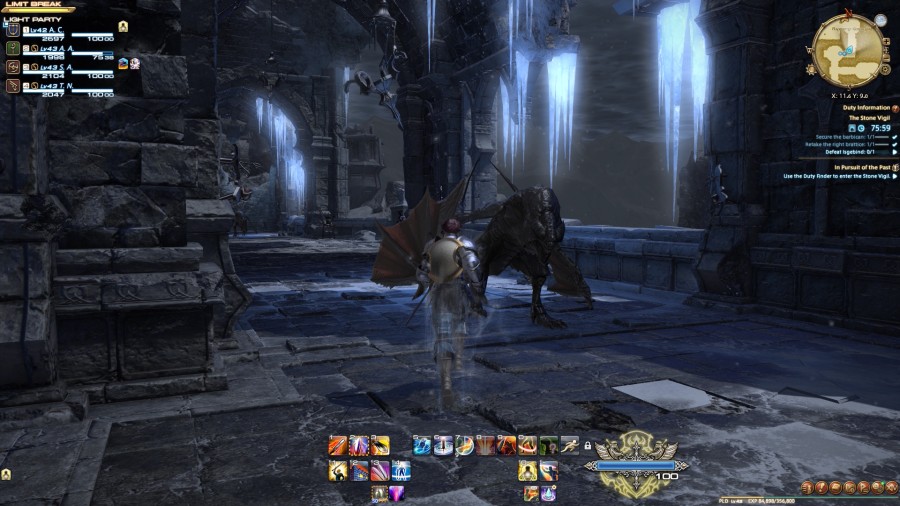
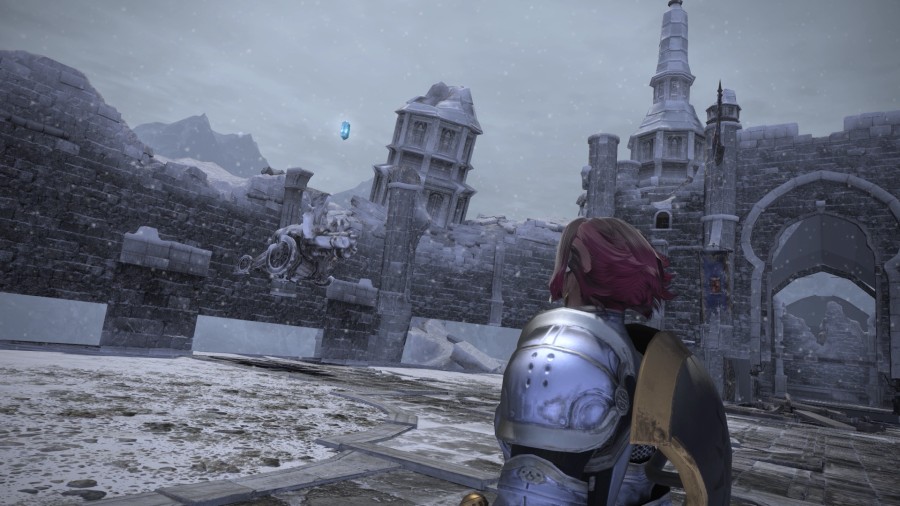
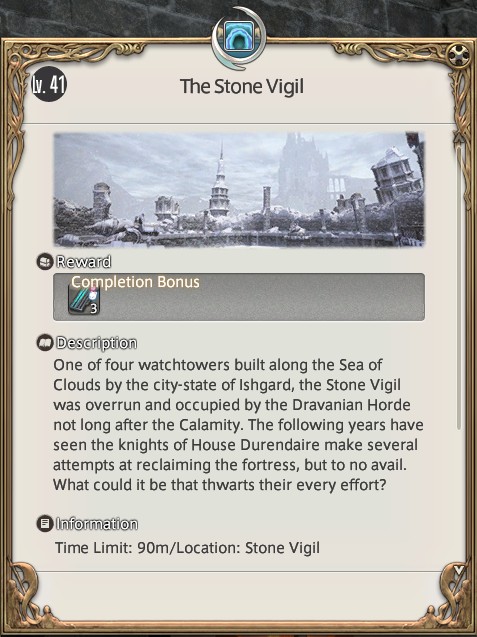
It took us a while to get here, but Aggro's party are finally at the doorstep of the Enterprise's last known location. Dungeon hijinks aside, there shouldn't be any more issues acquiring the lost airship. And that means we're nearly prepared to face the Ixali Primal, Garuda. This is going to be a long update. Stone Vigil is one of the longest dungeons in the original A Realm Reborn release, and it has story cutscenes as well.
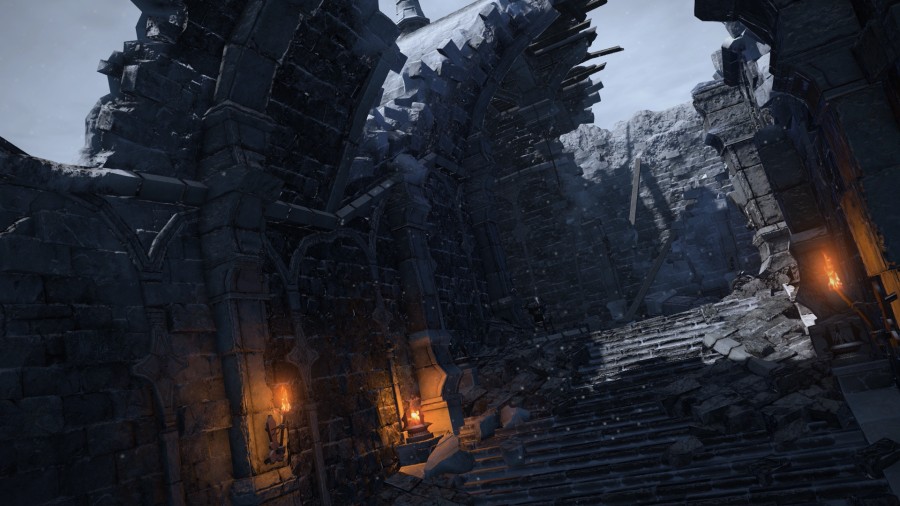
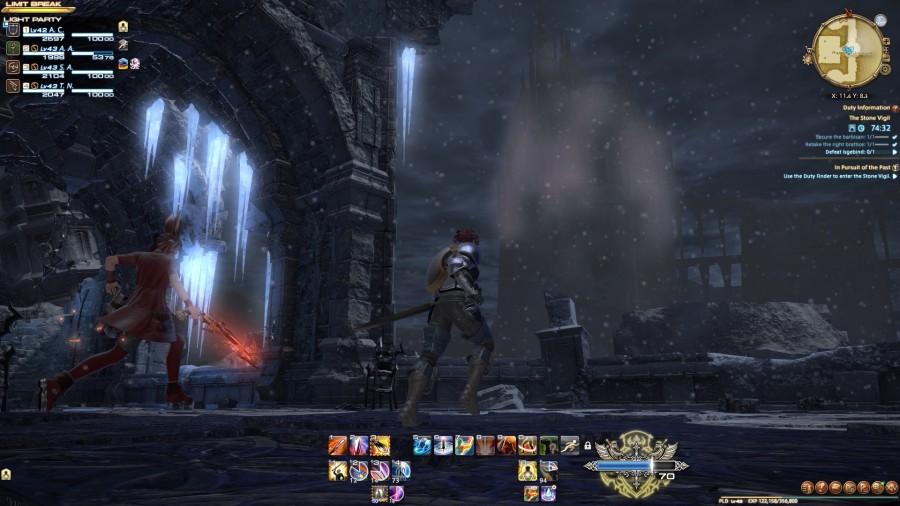
As usual at the start of any dungeon, we get a nice little introduction sequence to show a little bit of it off.

New Music: Cold Salvation
This is the music that plays for Stone Vigil, but you don't really get to hear it much between the battle music playing all the time.

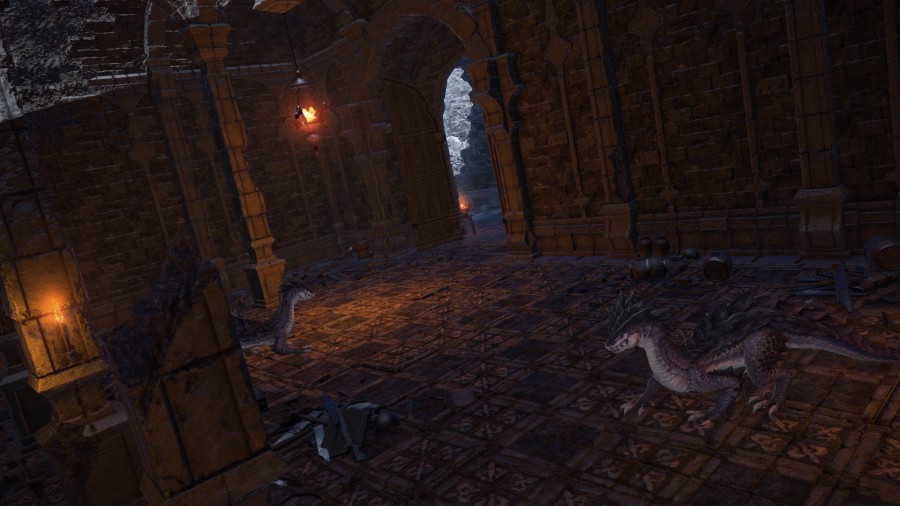
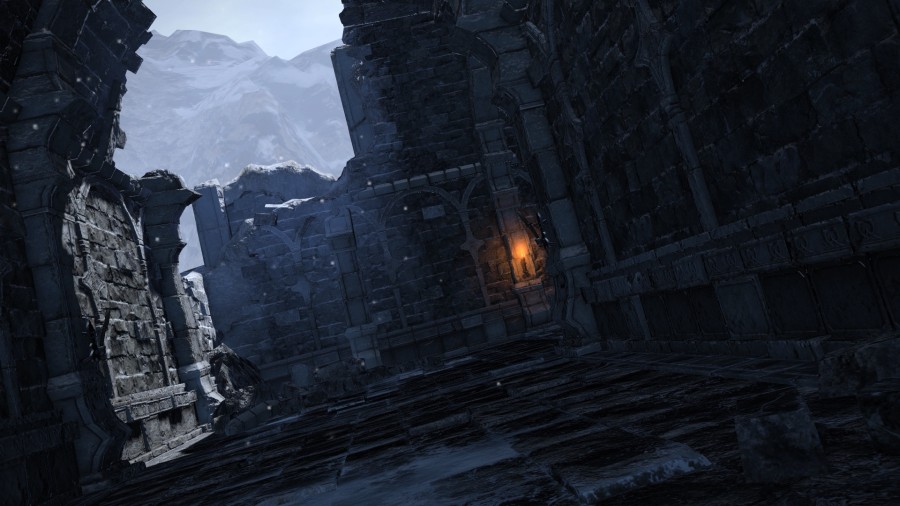
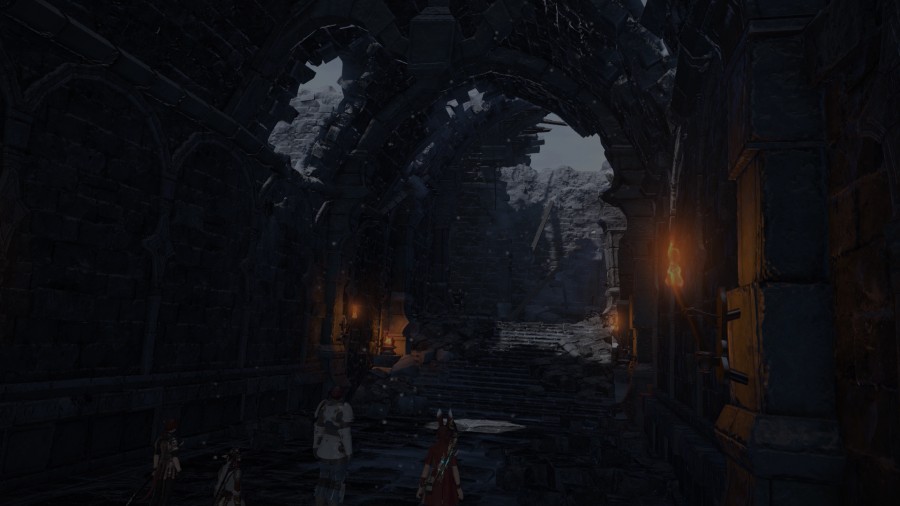

Nice to see that the Dravanians kept up on the upkeep for the place.
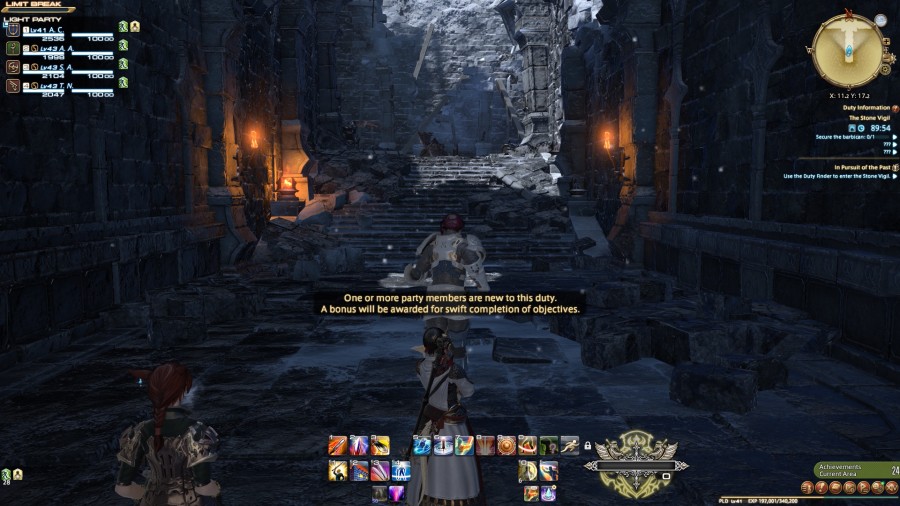
Anyway, let's begin. At this point, I reckon we all know the drill, but I'll go through the brief of it once more since the updates have been incredibly sporadic for the past... two years? Damn. No wonder it's taken three and a half to get here.
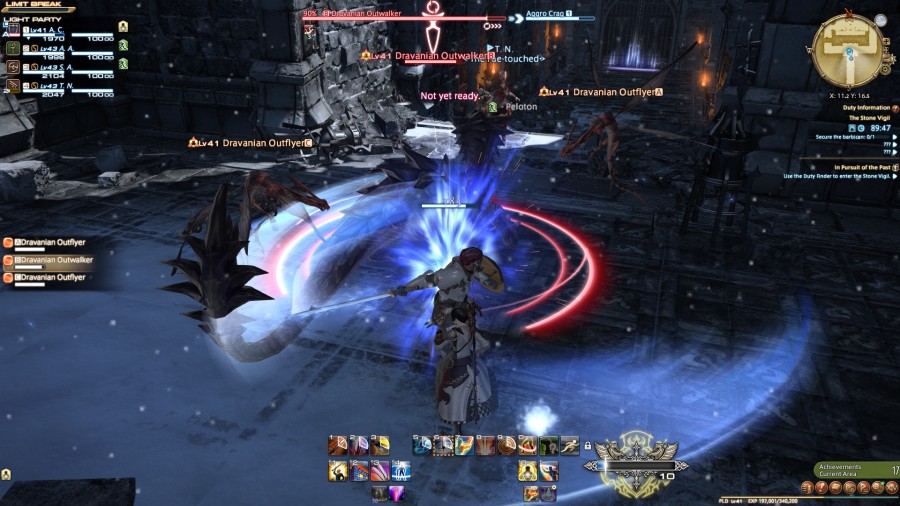
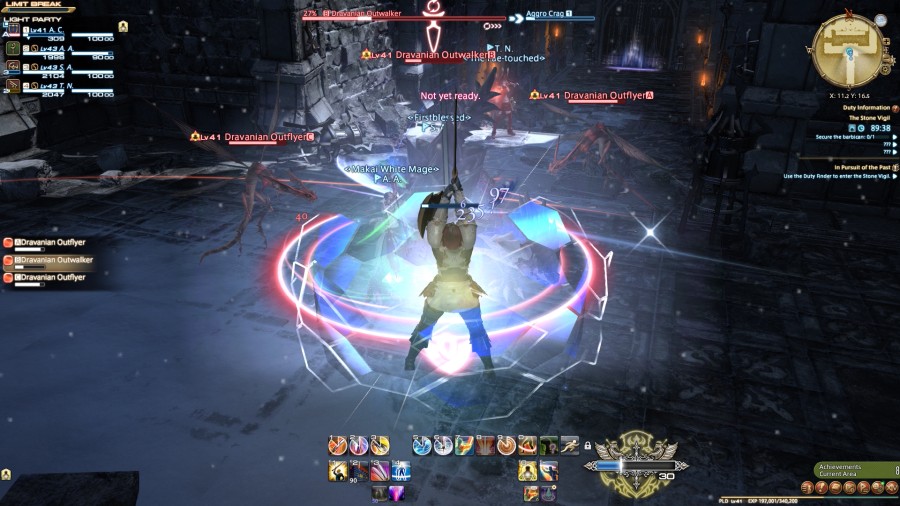
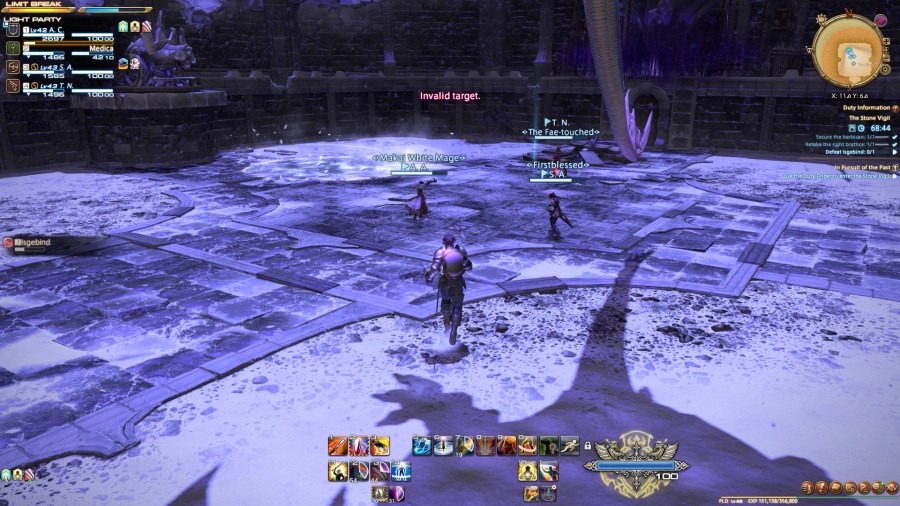
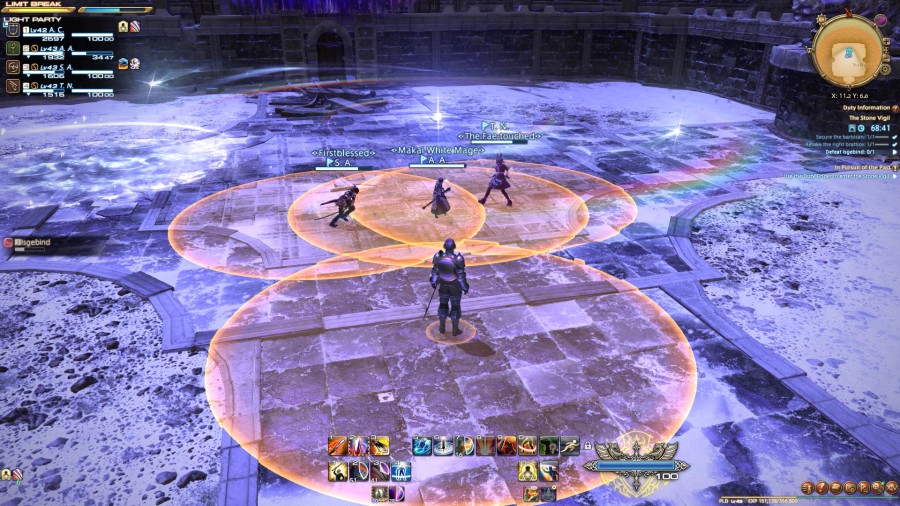
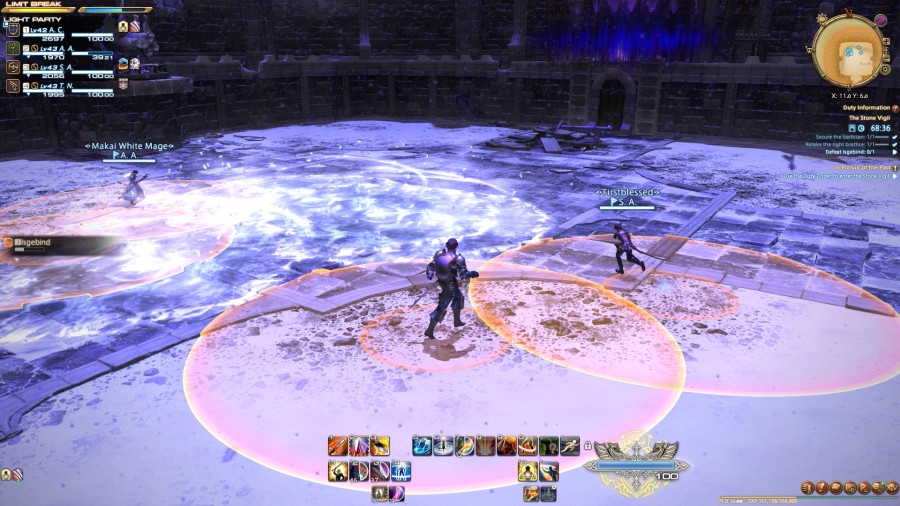
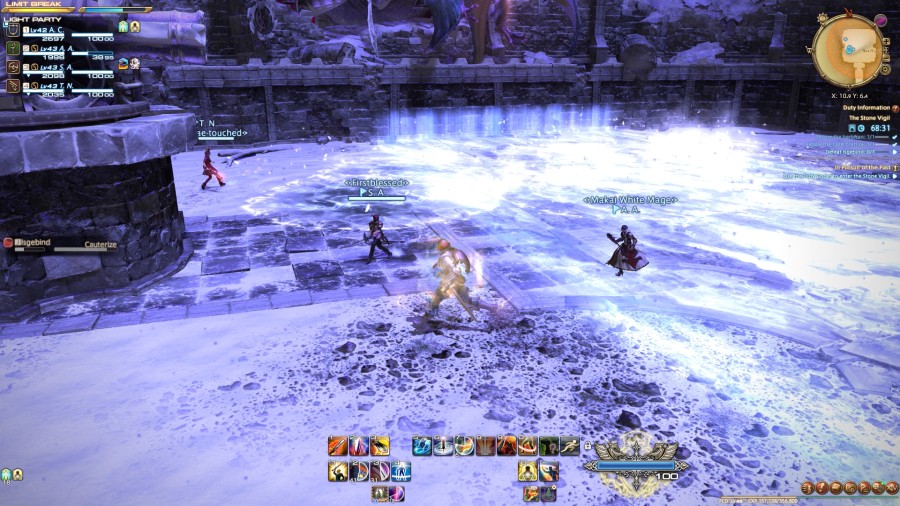
Aggro pulls the first group of monsters. At this point, dungeons are mostly routine outside of boss fights. Regular monsters all share the same total HP as each other, and inflict/receive roughly about the same damage. There's differences in behaviour between each type of enemy, but generally speaking fights between boss battles will follow the same pattern. With three or more enemies, I want to see everyone in the party spamming their AoE attacks instead of singling anyone out.
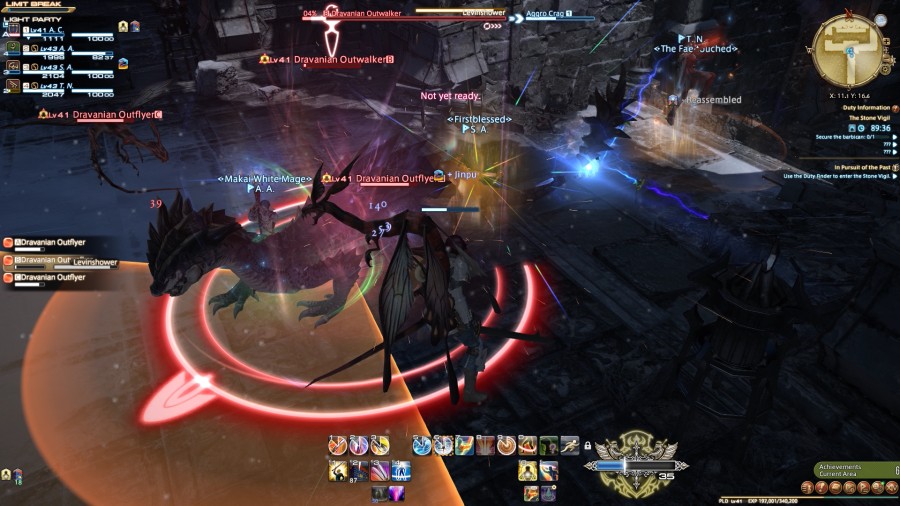
Part of the routine with "trash pulls" is their attacks. Ultimately—while there'll be some flavour—we'll mostly only be seeing one of two functionally different varieties of attack. In this case, the Dravanian Outwalker we're fighting can use Levinshower, which is a frontal-cone AoE. The party should always stand behind the monsters, meaning that only the tank should care about this. The other variety is the round AoE that surrounds the monster we're fighting.
Here's the deal: non-boss dungeon monsters don't tend to come equipped with anything scary. We'll eventually see boss mechanics get incorporated into the regular monsters' repertoire, but that won't really be a concern until I start addressing their attacks again anyway. Essentially, all we need to care about is stepping out of the orange puddles and knowing that it's safe to enter after the cast bar has finished—even if the animation is still playing.
Also, a reminder: It's polite for tanks to actually buff the hell up so healers aren't desperately trying to keep you alive. Pop those cooldowns and you'll make friends.
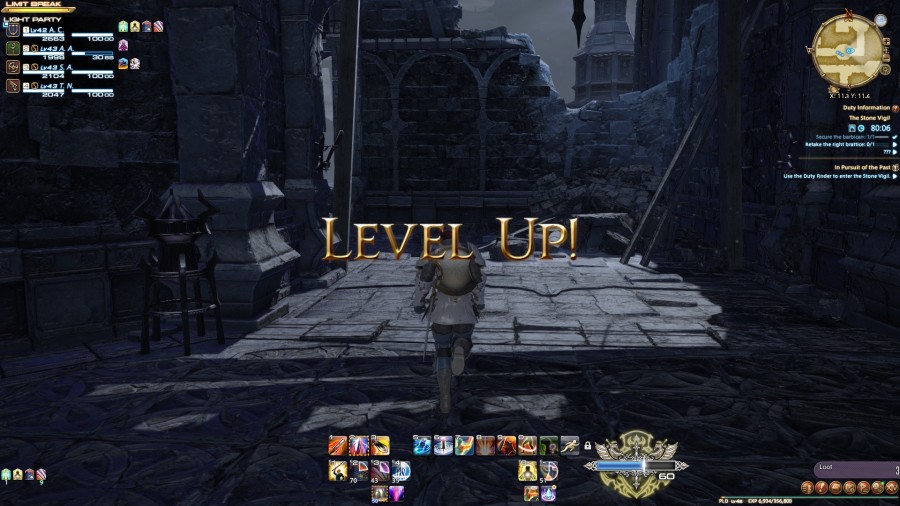
Once they're dead, that's it. We move on, ready to take on the next group. I'd say that while Brayflox' Longstop is when the training wheels are removed, this is probably the dungeon that stops holding back on the player. We've seen the routine over and over by this point. From here, I'm going to spend far less time focusing on the fights between bosses.
The only other thing I'll note is for tanks: pacing. You can typically sprint, grab one group of enemies, and then rush to the next group to fight both at the same time. This increases the burden on the healer, but you should be buffing your defence in these pulls anyway. If you're new to a dungeon, one or two groups is fine even when it's a blind run. I'll highlight anything that could complicate two-group pulls.
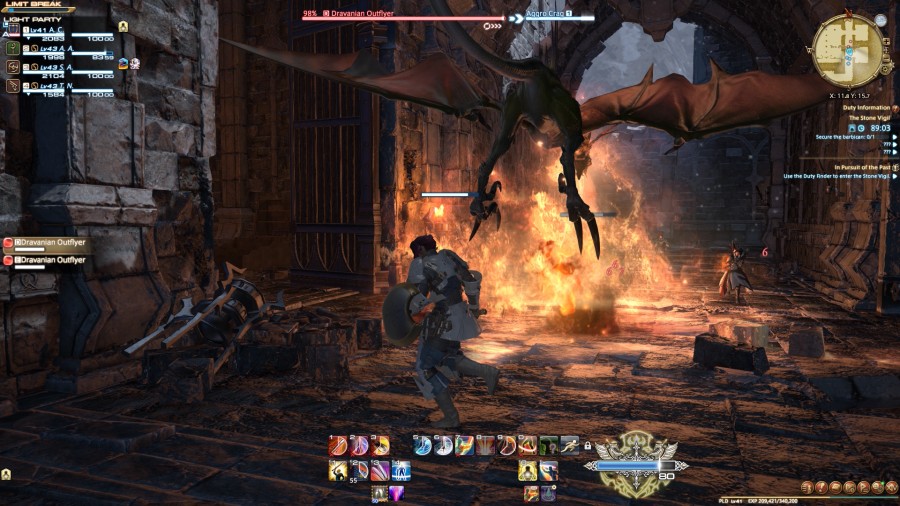
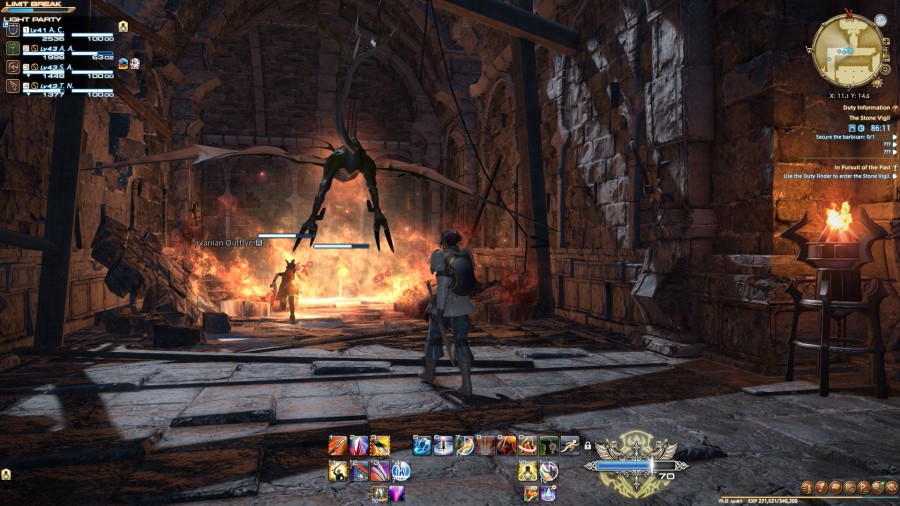
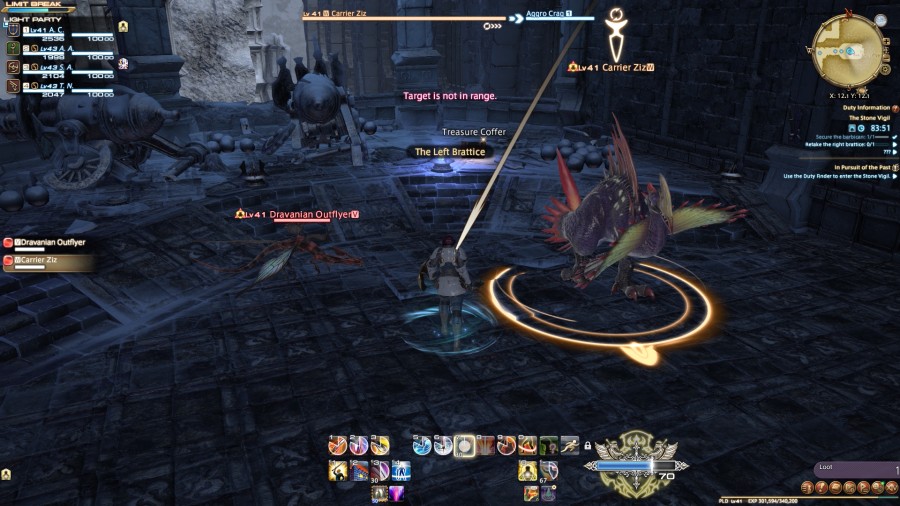
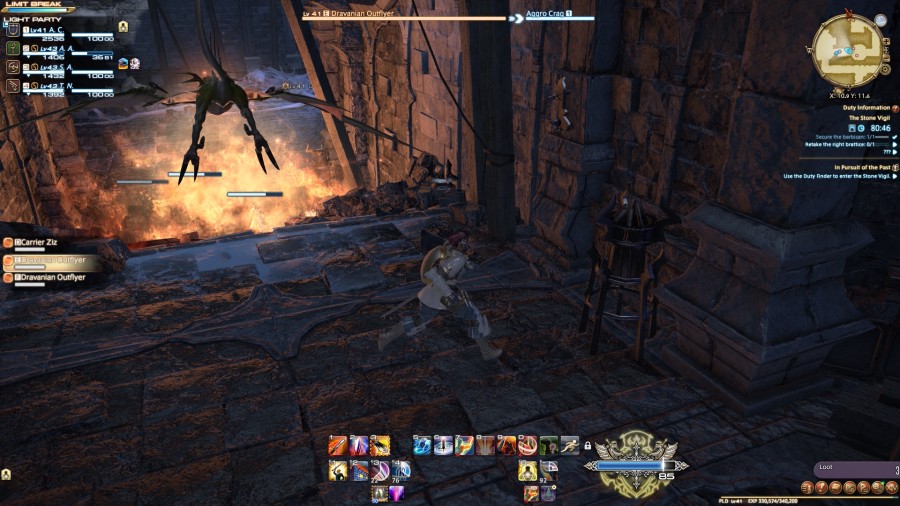
Turning the corner after the first pull will spawn a surprise Wyvern attack. The bugger will show up, flamethrower the heck out of the party, and then quickly bail before you're even allowed to get a hit on it. This does about 600 damage, so it's something to think about when running ahead.
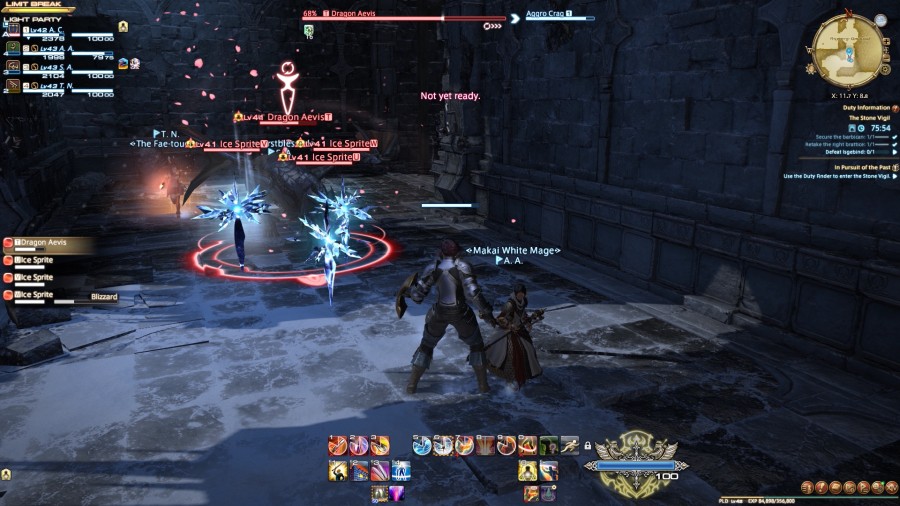
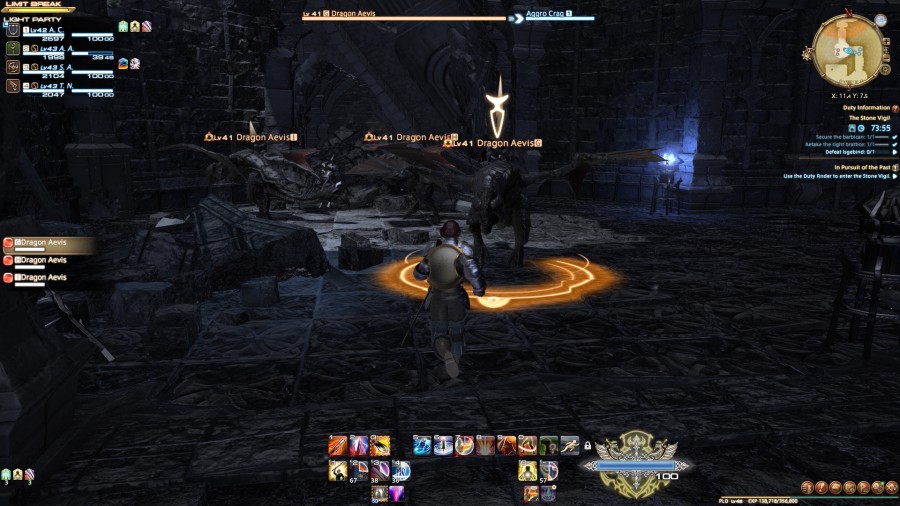
Surprise attacks are going to be a regular occurrence in Stone Vigil. It's in enemy territory and they're more than prepared for us. Take this next pull for instance. Here we are, fighting three enemies and minding our own business when...
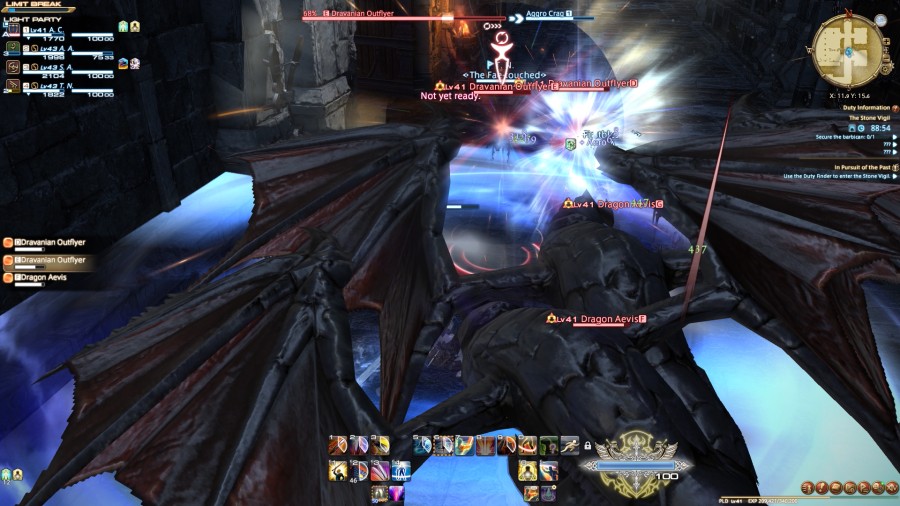
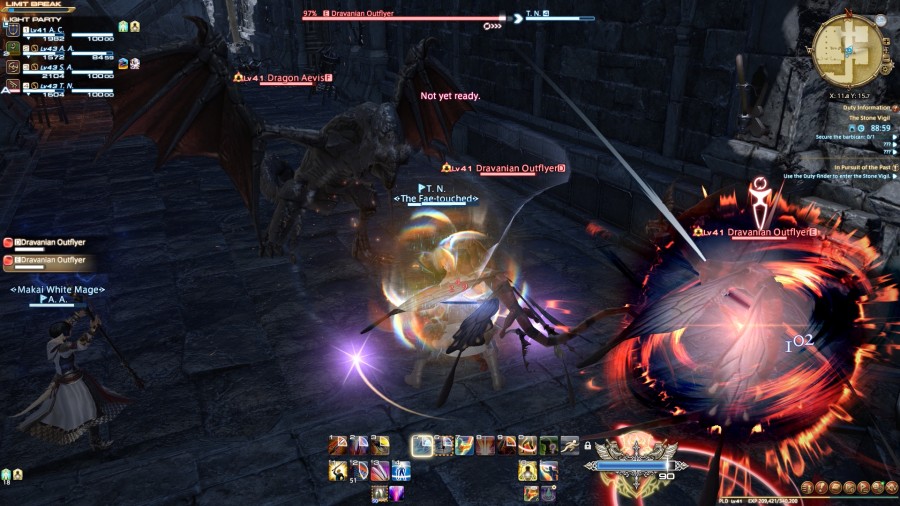
... out of nowhere, a second Dragon Aevis shows up. This is still pretty manageable, but players that want to rush ahead should keep in mind that there's often going to be an extra enemy lurking around. The extra one came from one of the small rooms that you can see on the map.
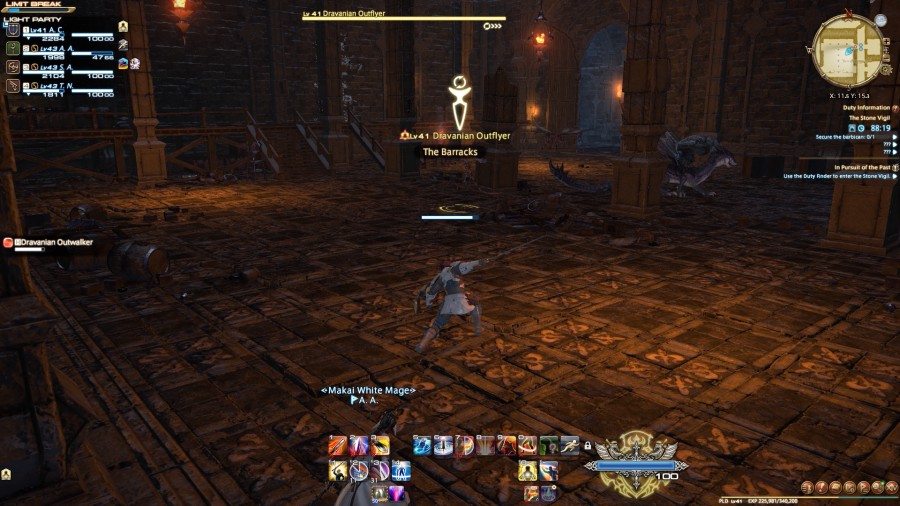
The Barracks is another room where it's easy to accidentally pull more than you expect. A single group of enemies sit in the middle, but two Dragon Aevis are circling around. You'll typically always end up with one of them, but it's possible that you'll draw the attention of both. My easy solution to this room is to make sure its a separate pull and just grab everything in it.
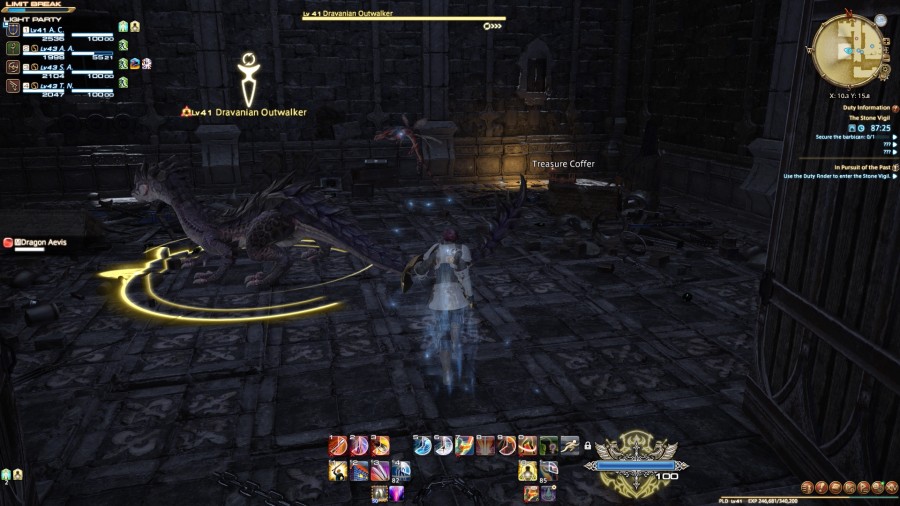
Almost all the corridors in Stone Vigil will have optional rooms. There'll either be an Aevis ready to pounce as you run by, or a disorganised group of monsters guarding a treasure chest. Boss chests aside, the chests in this dungeon usually drop really bad equipment that crafters can use as an ingredient to make better gear from. This chest found just across from the Barracks can drop the degraded body piece for crafters, or for tanks (with Lancer/Dragoon included for some reason).
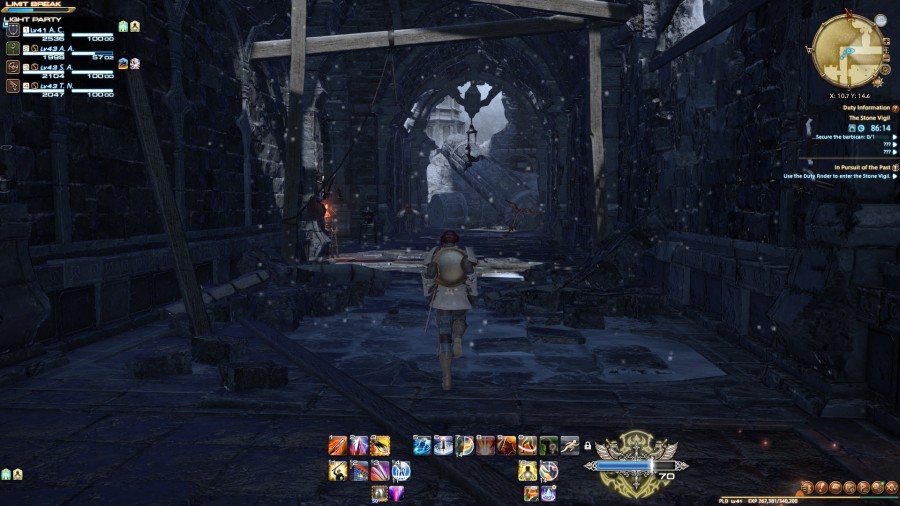
The Wyvern from earlier will pop out once you reach the end of the corridor after The Barracks. It spawns between two groups of enemies, so it's once again worth being aware of that before starting a big pull. Aggro's sprinting, so it misses her. The rest of the party isn't so lucky.
Clearing that corridor leads us to the very first boss.


Music: A Fine Death
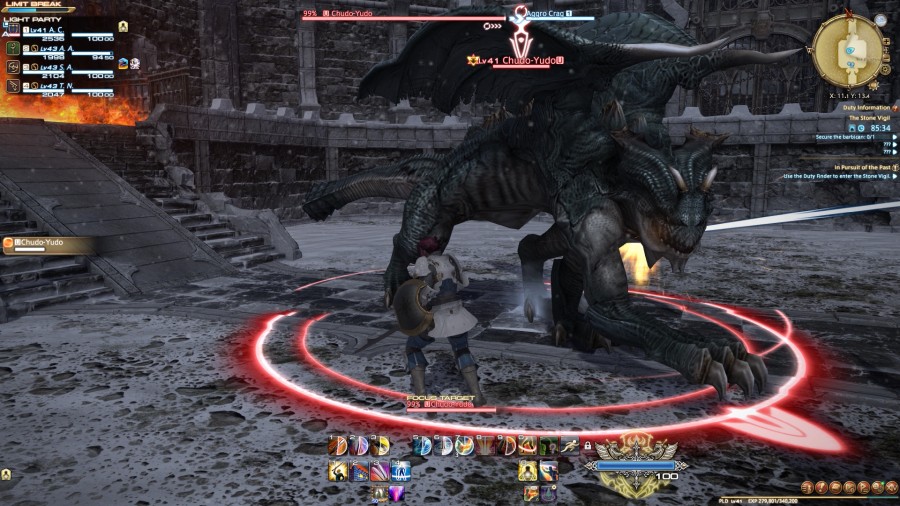
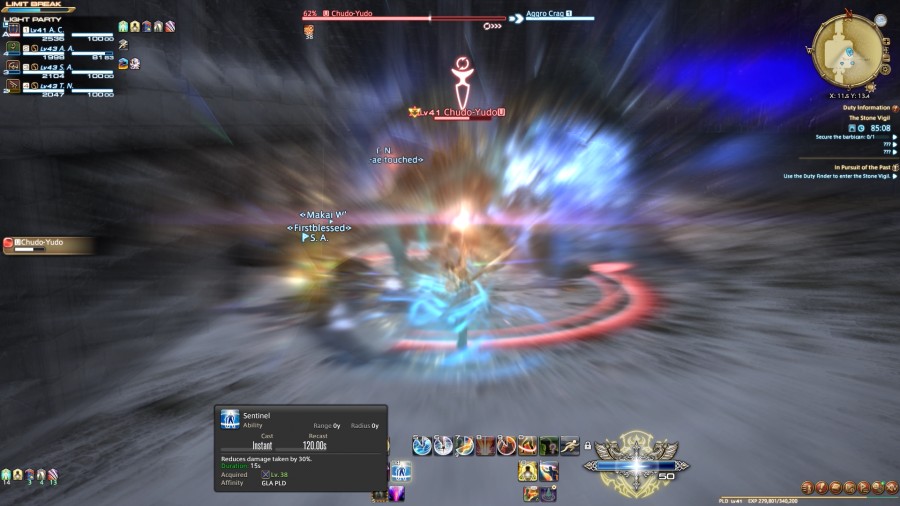
The Chudo-Yudo (33, 433 HP) is our first boss fight and he can be kind of trouble if you're unprepared. He'll have a regular melee attack, but will occasionally also use Lion's Breath.

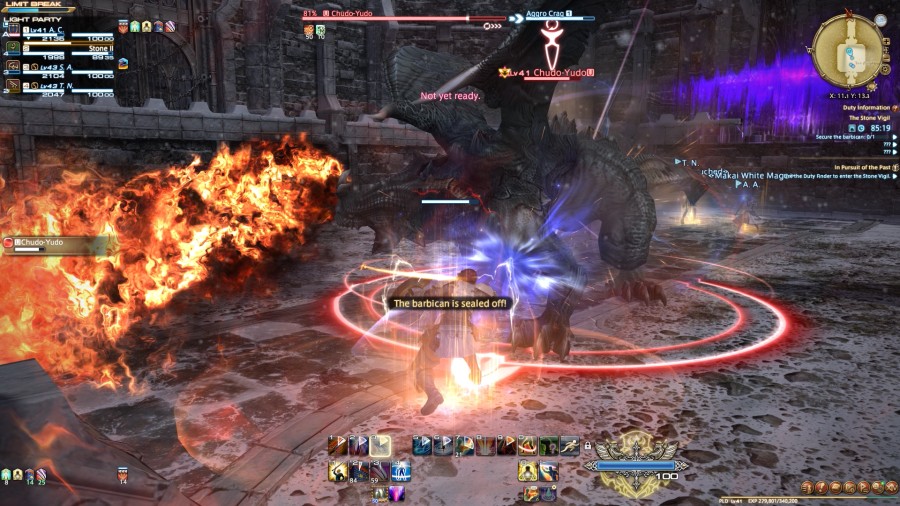
It's standard to keep the boss looking away from the party, but Lion's Breath is the reason we're doing that in this fight. It's an unmarked frontal-cone AoE with a very quick cast time. It'll also inflict Burns (damage over time that can be cleansed). That's not really a problem now, but it can be a little dangerous for the party when mixed up with Chudo-Yudo's main mechanic.
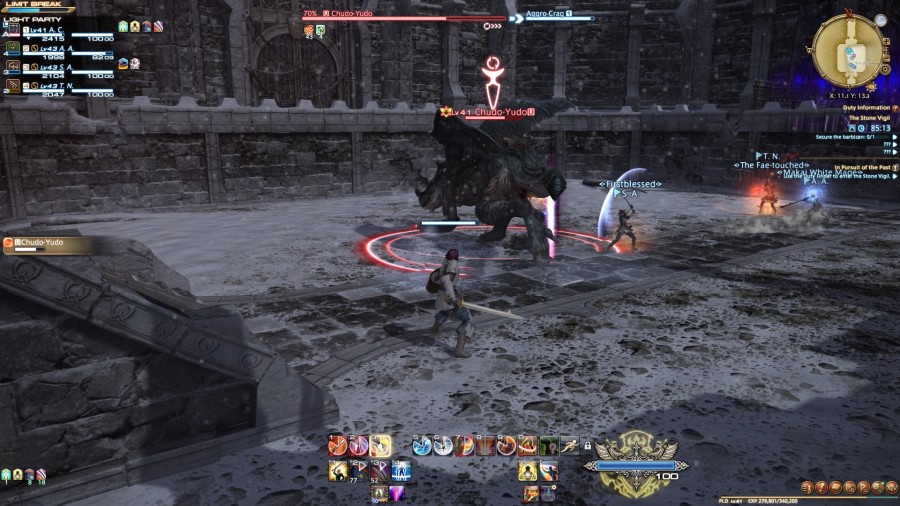
At different points in the fight—timer-based instead of dependant on the boss' % HP—Chudo-Yudo will move towards one side of the arena. This is when he's preparing to use Swinge.
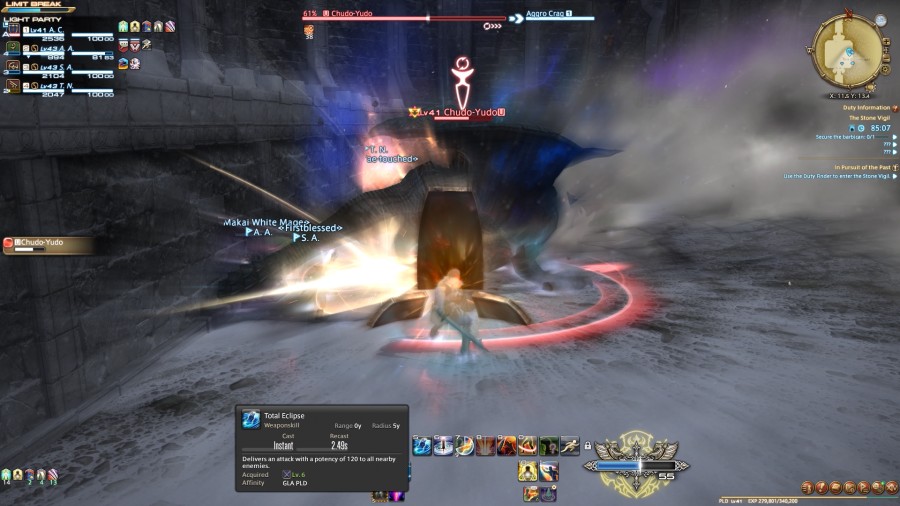
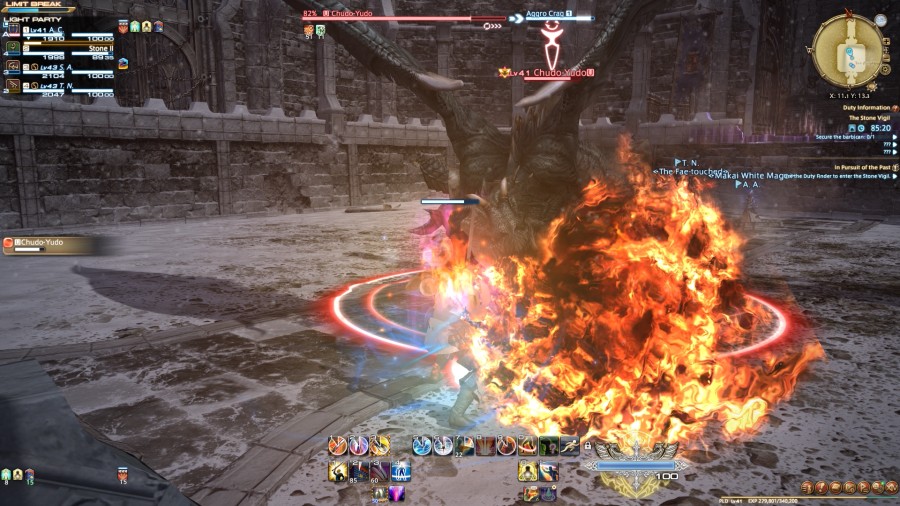
Swinge will hit pretty much the entire arena in front of him, so Aggro's party needs to run to his tail to avoid it. The cast time for Swinge is also very fast, starting when he hits the wall and finishing roughly by time he's finished turning around. You need to follow him the moment he's moving. Black Mages, interrupt your casts if you don't want to take a lot of damage. Being hit by Swinge will also temporarily inflict Silence (you can't cast spells) and Pacify (you can't execute skills), meaning you can't really do much of anything but buff while you're under its effect. It's not pretty, though can be cleansed with Esuna provided your healer isn't hit by it too.
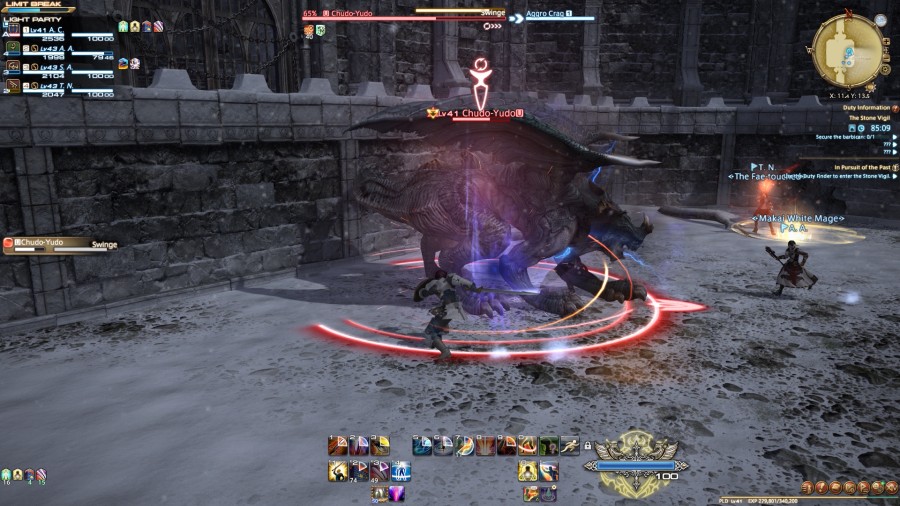
It's also possible for Chudo-Yudo to follow up with another subsequent Swinge, so players will need to stay on their toes. If you keep the boss at the same wall he moves to, it's possible he may later select that same wall again for the next Swinge onslaught. That means no preparation time to rush over. It's in everyone's interest to stay next to the boss.
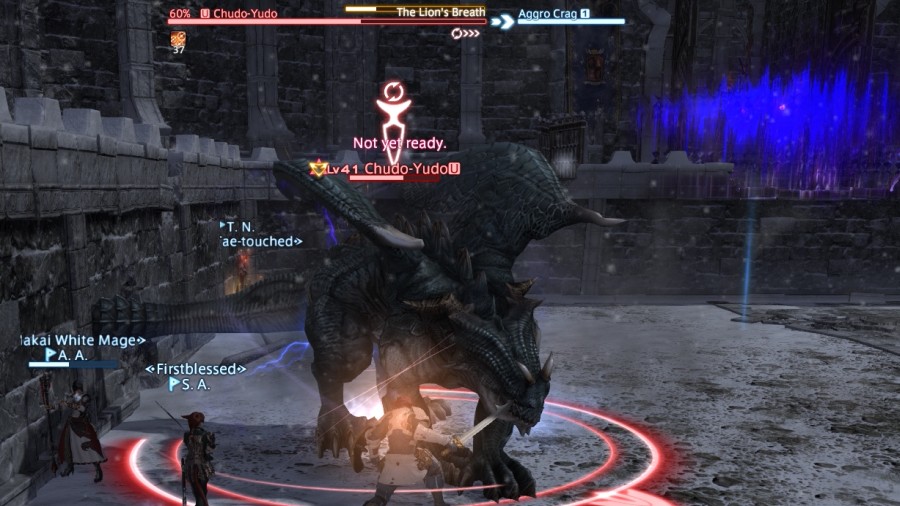

Lion's Breath will also immediately follow the final Swinge, which combined can be pretty deadly for the party.
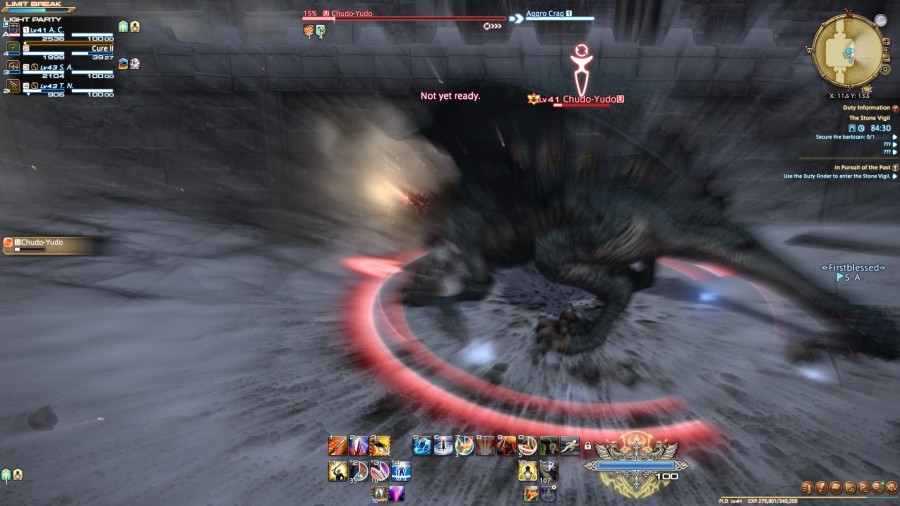
To make life easier, it's better for the tank to rush in front of the boss during the Swinge animation. This can help avoid the rest of the party being accidentally hit by Lion's Breath.
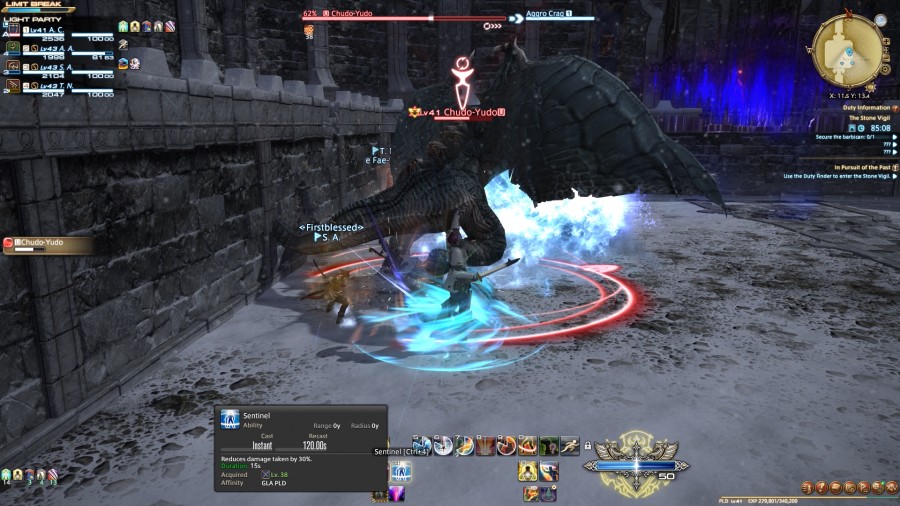
Beyond that, the fight is pretty simple and ends fairly quickly. The key point is to stay near the boss and hide behind him during Swinge, while tanks should always immediately reposition the boss to face away from the party to avoid hitting them with Lion's Breath. We've done more complicated fights.

Music: Cold Salvation
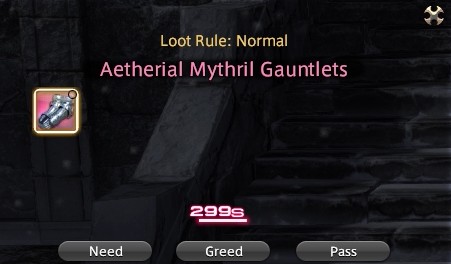
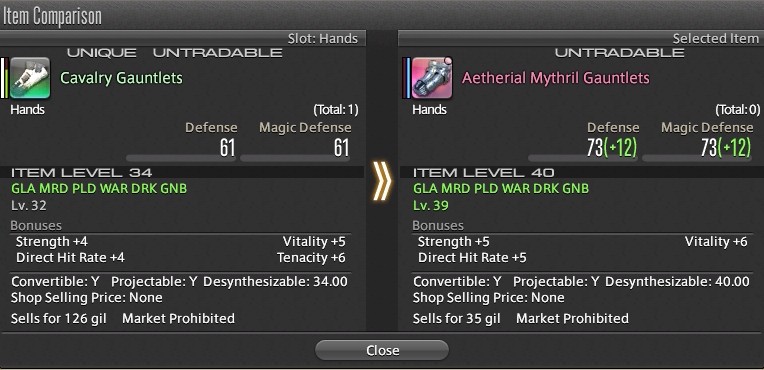
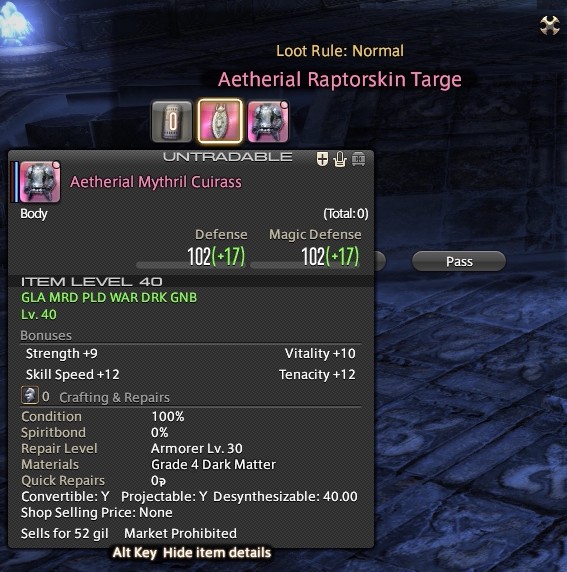
Equipment from Stone Vigil is a definite improvement over the Brayflox' Longstop gear we got a good dozen or so updates ago, y'know, before the Scions were murdered. The downside is that the only unique gear from Stone Vigil is the weapon (which drops after the third boss). Everything else is aetherial, meaning they have randomly generated secondary stats. The gauntlets Aggro just got will improve our defences and primary attributes, but we're dropping Tenacity entirely and only getting 1 extra point for Direct Hit Rate. It's not the luckiest reward.
Pushing forward, we've got more alternative paths. Going left will progress the dungeon, but turning right will give us a room full of monsters and a treasure chest.
The chest in this room can drop aetherial mythril weapons. Again, it's a bit of a dice roll regarding how useful the secondary stats might be, but any primary and weapon damage increments are worth a lot more than that. Sadly, the bow drops.
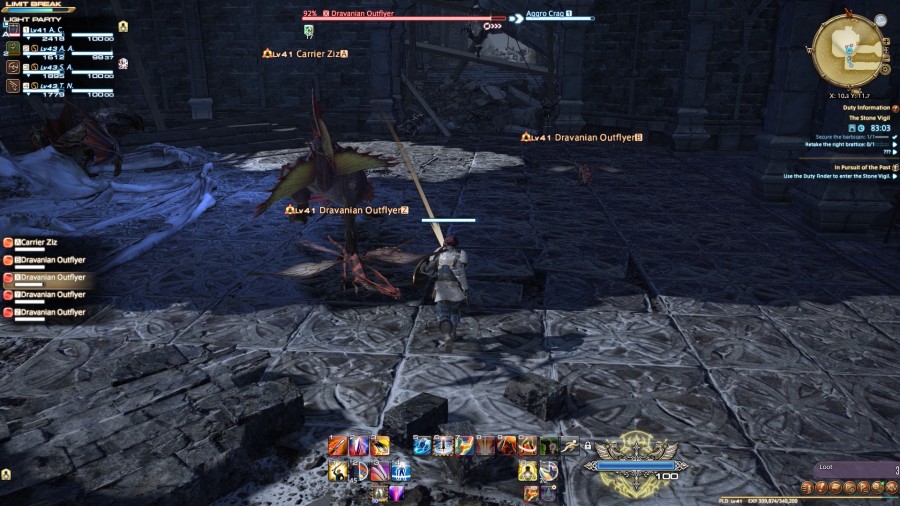
Down the stairs, Aggro pulls two groups but it's worth noting that the room with three monsters will also have another Dragon Aevis roaming around. I find it better to pull these right away instead of letting them surprise you later on in the fight.
Up the stairs is another Wyvern surprise and a group of enemies. Once again, expect the Dragon Aevis patrolling the corridors nearby to suddenly decide to drop into the action.
Excellent. Aggro is ready for the next step in quests. That saves me a level roulette dungeon or two.
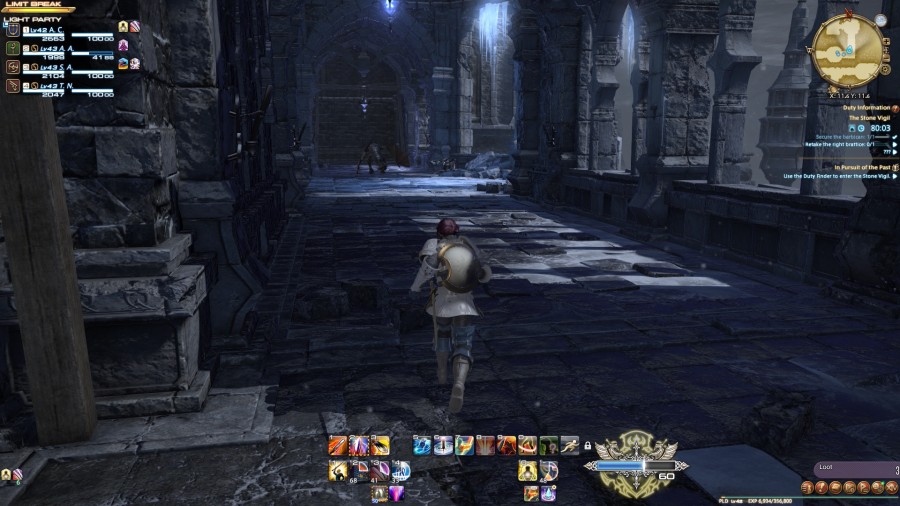
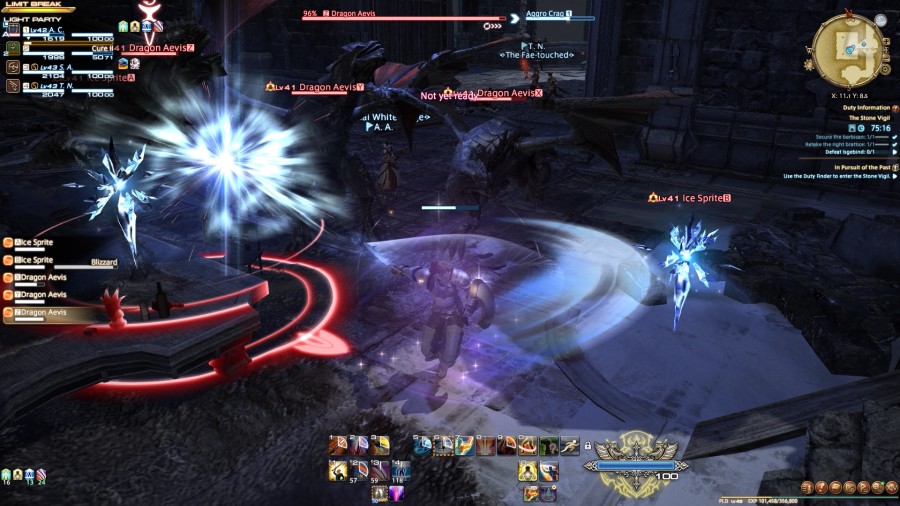
In my experience, this corridor is where things tend to go to shit. You can see a Dragon Aevis patrolling in the distance, but it's not as alone as you may think.
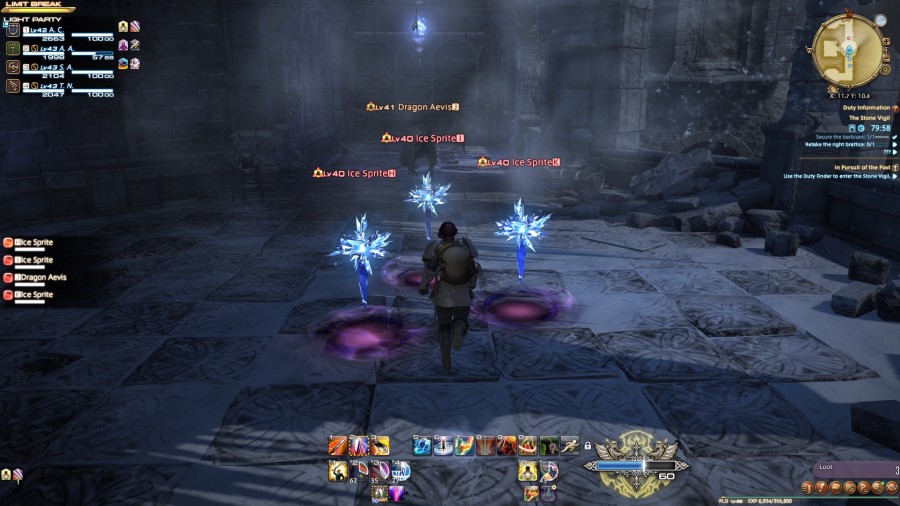
A group of Ice Sprites will spawn in the middle of the corridor. They use strictly magical attacks, which admittedly mattered more back in the day than it does now. Blocking used to work on physical attacks only, and tank equipment that Dragoons could also wear had weaker magical defence stats.
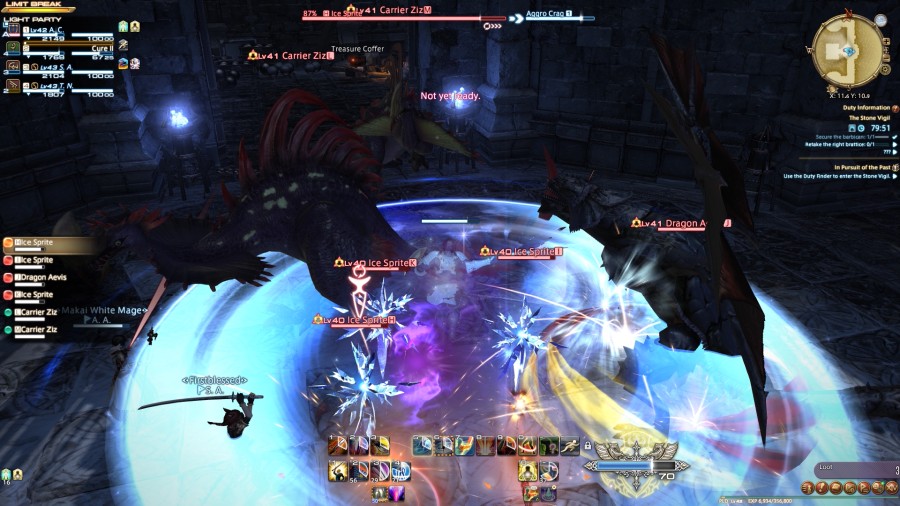
The real concern now is the room littered with monsters next to us. I've seen party members accidentally pull these a few times, and you can turn what looks to be a small pull into a large one very fast. The chest inside drops more shit equipment that crafters can make something better out of. In this case, it's Mildewed Thighboots or a Rusting Scutum.

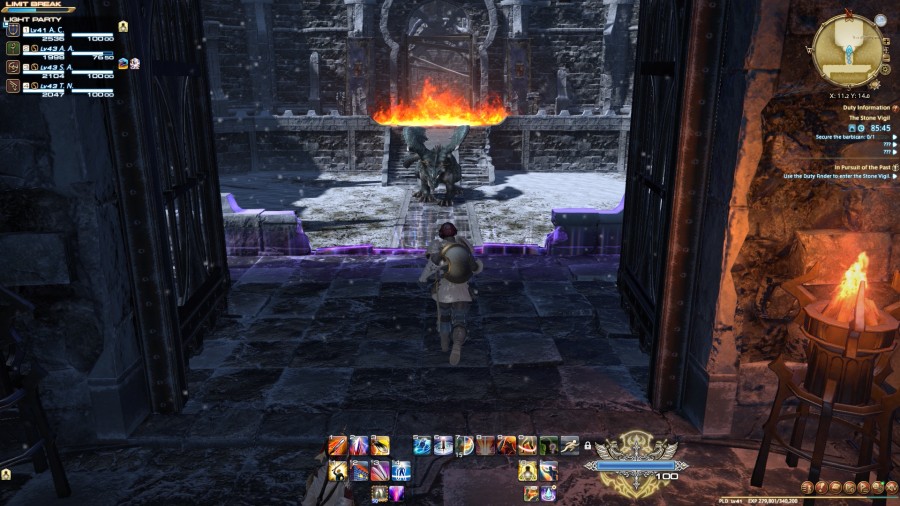
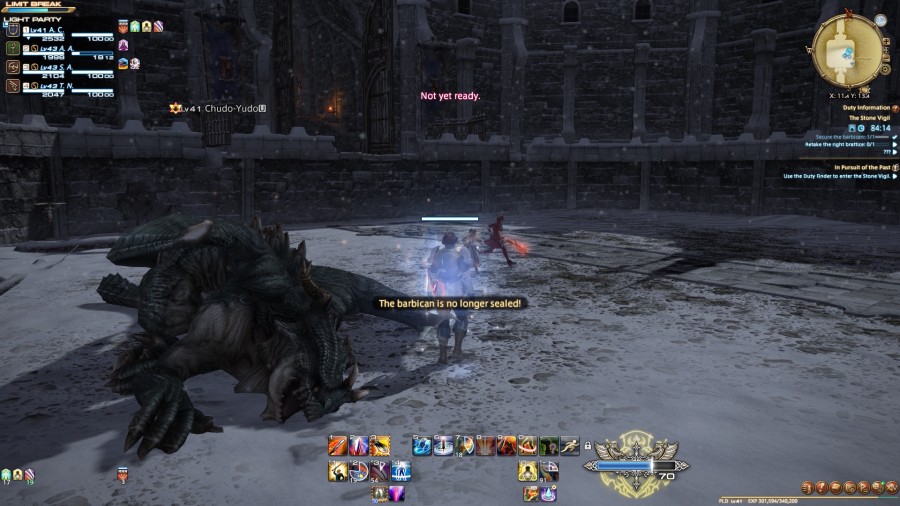
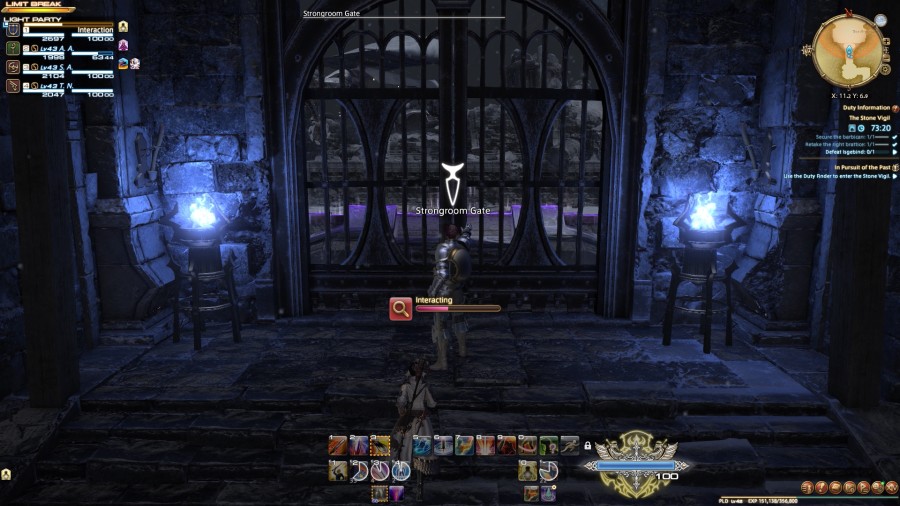
One additional group of enemies later, and our progress is hindered by a wall of fire. We can remove this wall of magical fire by terminating the source of it. Since we won't be able to continue just yet, we're better trying elsewhere.
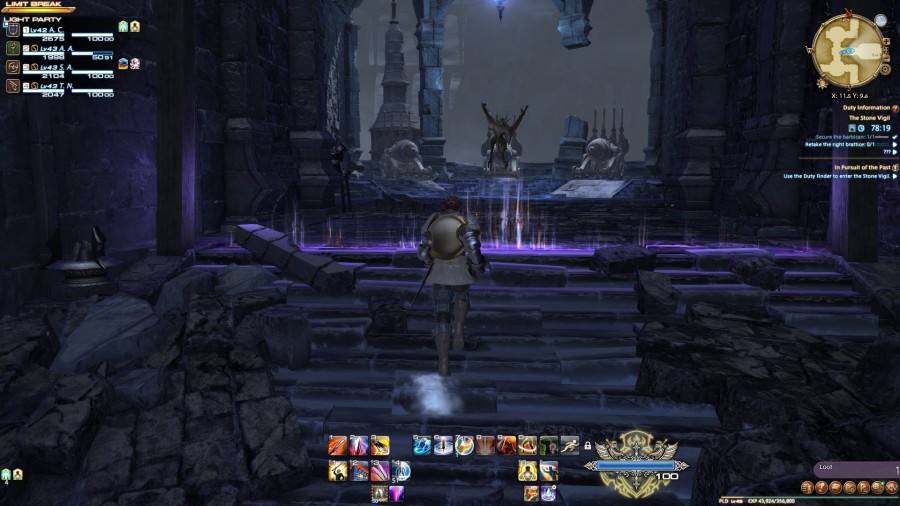
It just so happens that "elsewhere" is actually just the boss room right next to us.
Music: A Fine Death
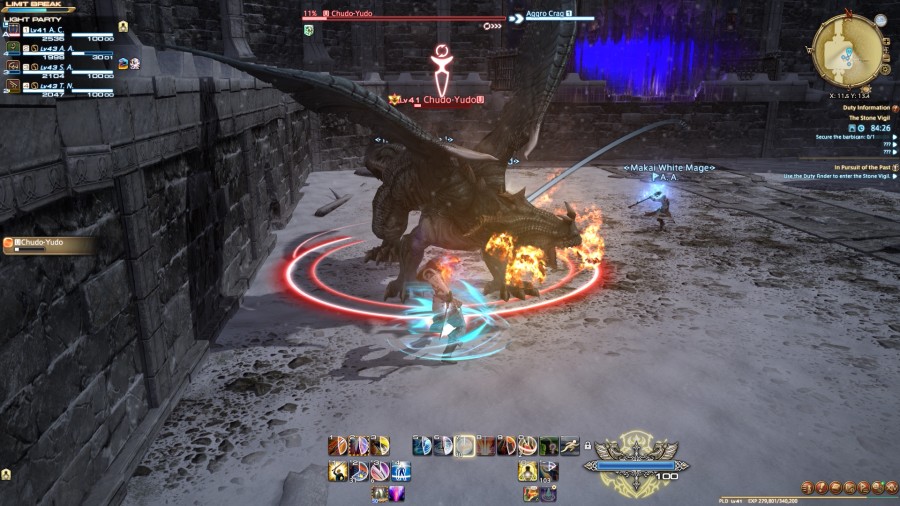
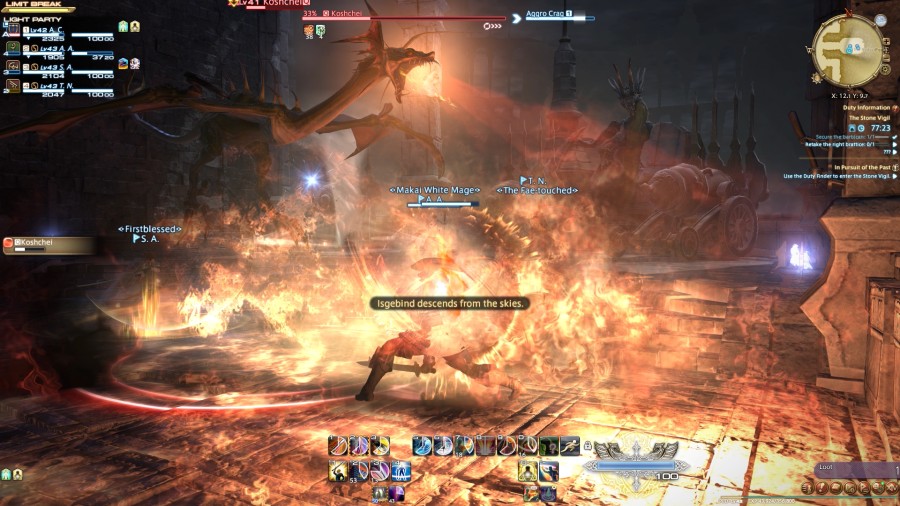
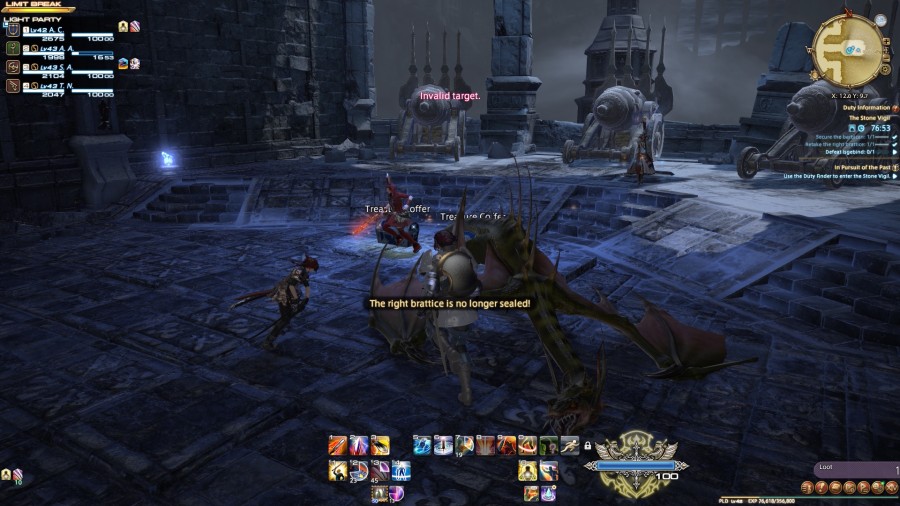
You might recognise Koshchei (34, 903 HP). They're the asshole that keeps popping out and torching Aggro's party. They're also the one behind the flaming wall preventing our progress. Koshchei is clearly looking for a confrontation to end us, but it won't go how they want it.
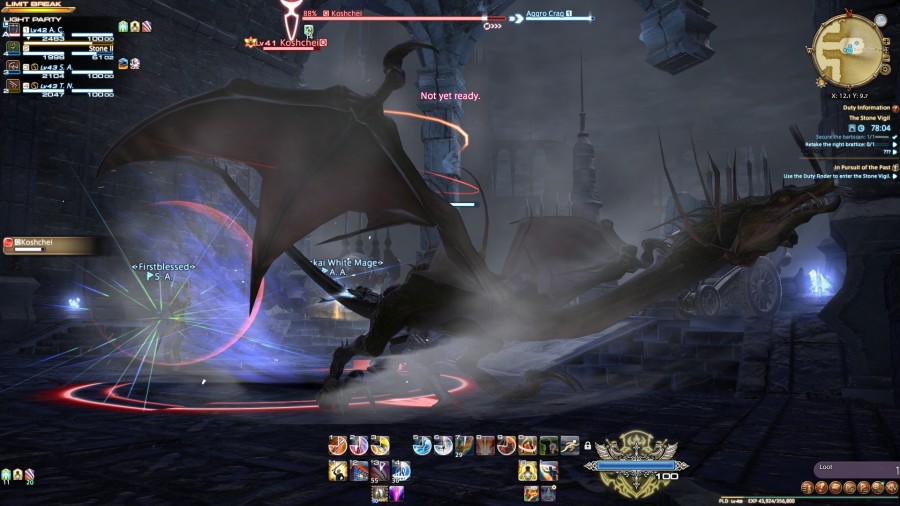
Koshchei has two frontal cone attacks. The first one is Collapse, which has no cast bar. It's just a casual cleave to ensure the tank points the Wyvern away from the party. We'll get to the second in a bit.
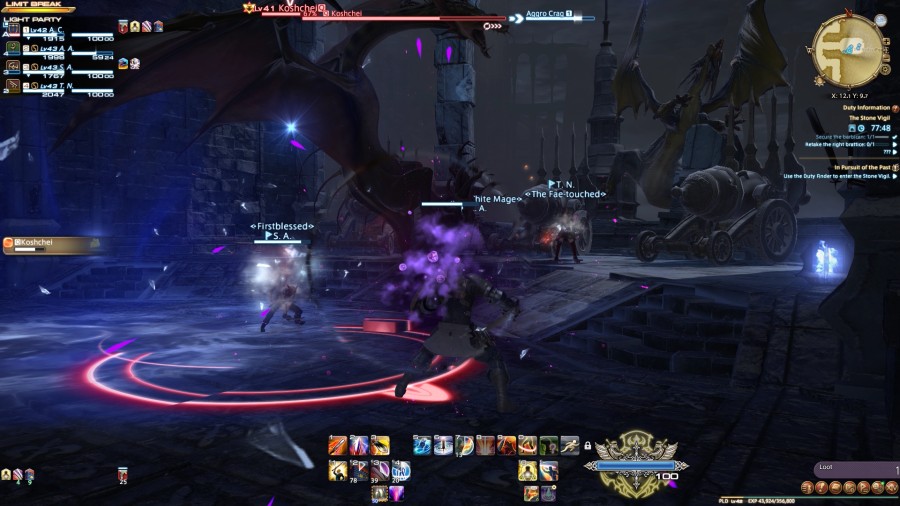
The boss will also remind healers that they have Esuna, as their Spiked Tail will inflict poison. There's not really much more to add on that point. Healers need to cleanse it off before it does any real damage.
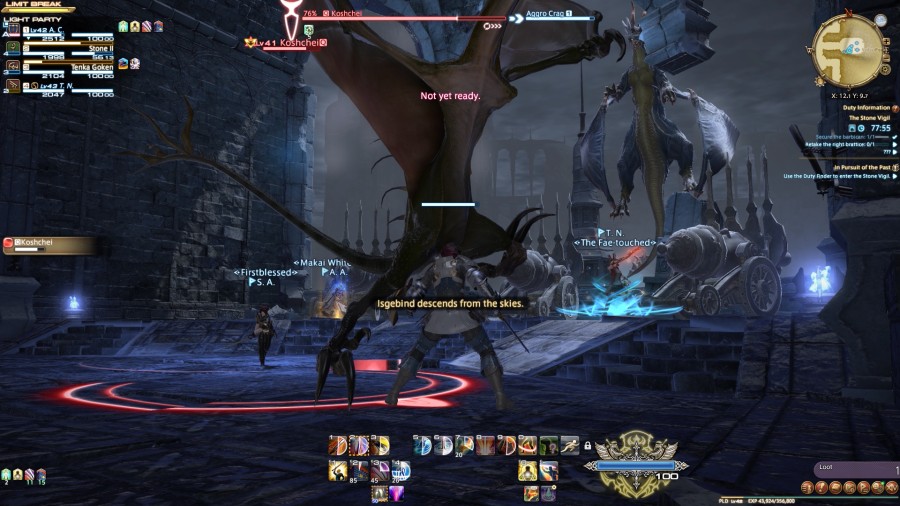
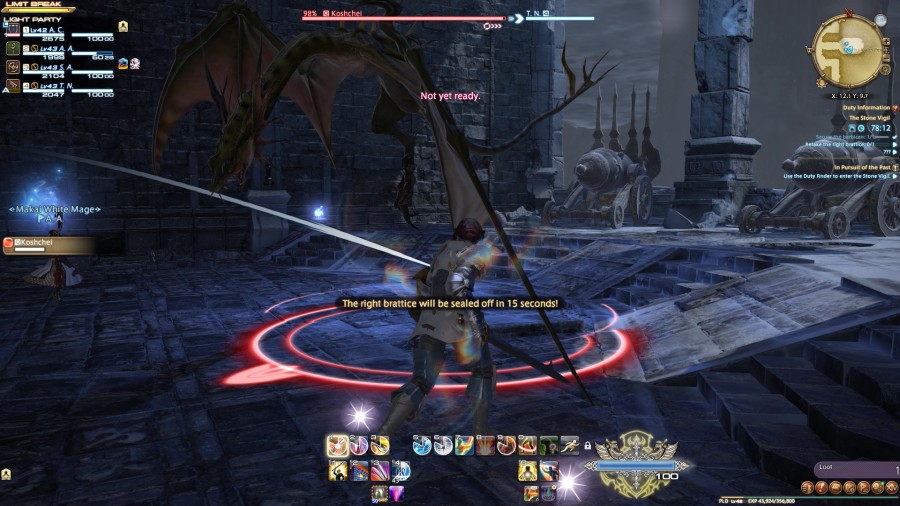
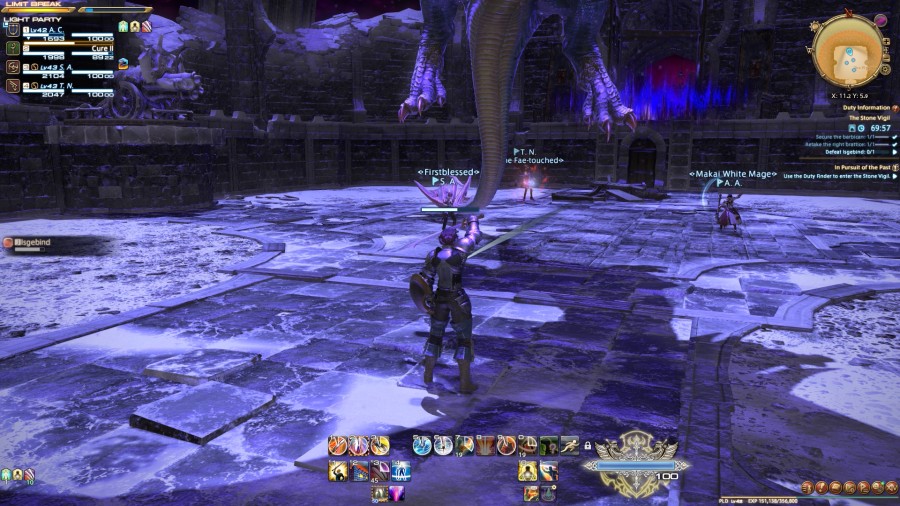
Beyond after Koshchei drops below 80% HP, a dragon named Isgebind may randomly descend from the skies. They'll shoot Snowfall at the middle of the arena, hitting the whole party. The dragon will fire off three shots before disappearing, only to return moments later. Damage can pile up quickly when Isgebind is kept unchecked, but fortunately we're in an abandoned Ishgardian defence fortress. There are cannons!
And those cannons still work! A member of the party should be taking up cannon duty for this fight—activating specifically just the cannon directly in front of Isgebind. In my experience it's typically a ranged DPS on cannon duty, but honestly basically anyone but the tank can comfortably use it. The only reason tanks can't is because interacting with the cannons requires a cast time, and that can be interrupted by Koshchei's attacks.
For the rest of the fight, Isgebind will repeatedly show up. The player on cannon duty should hang out near them throughout the fight.

Soon enough, Koshchei will start using their final attack, and possibly the most chaotic of the fight.
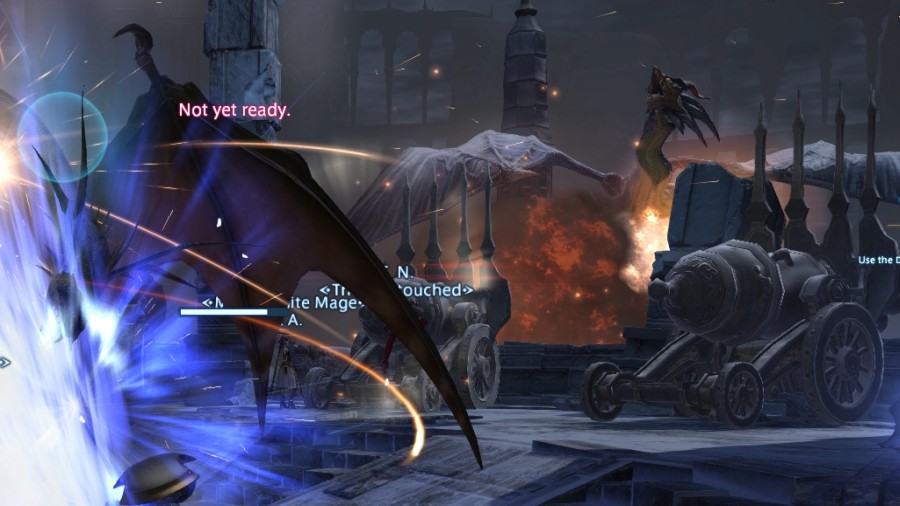
See, Koshchei can summon Typhoons onto the battle field after their HP drops below 60%. These will roam the field, inflicting Windburn (wind damage over time, can be cleansed off with Esuna) and a little bit of damage on whoever it touches.

Over time, Koshchei will add more Typhoons onto the field. Each Typhoon can inflict its own Windburn, meaning the DoT can stack. The longer this fight goes on, the more dangerous it gets. The arena is pretty small, and the party still has Isgebind to deal with too even if Typhoons disappear quick enough to ensure there are only three active at most, the oldest disappearing shortly after the third is formed.
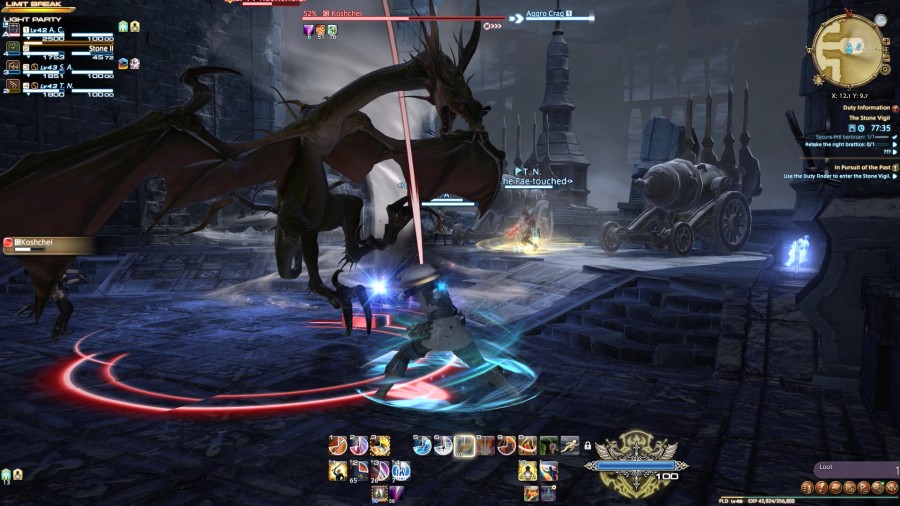
The second frontal cone AoE starts getting at around 35% HP. Unlike Collapse, Blazing Trail has a cast bar and does a lot more damage, hitting Aggro for around 800. The cast bar gives enough warning to buff up in advance for it, basically making this a tank buster. It's magical damage, so magic defence buffs will work while physical only mitigations like Parry won't.
After that it's rinse and repeat. Aggro buffs for Blazing Trail, cannon-duty DPS will fire cannons at Isgebind, and the party must dodge the Typhoons while healers cleanse Windburns and Poison. We got to three Typhoons on the field befire Koshchei dropped dead.
Music: Cold Salvation
Again, we get more aetherial gear for our efforts.
Conveniently, the firewall is now gone. Our first group of enemies are two Dragon Aevis.
Just behind them is another corridor with a... not quite window view.

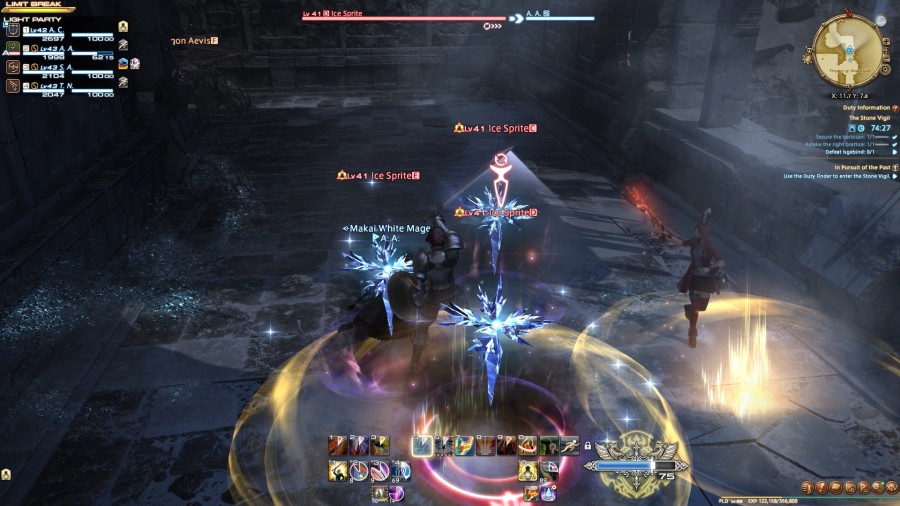
Like before, this exposed corridor means more surprise Ice Sprites. If you're pulling two groups at a time, the first "window" will be where you'll want to stop. As you can see ahead, there are two Dragon Aevis patrolling.
In the room in the middle of the corridor is another treasure chest, as well as two groups-worth of enemies. Tanks should be cautious about how they pull in and around this exposed corridor.
Finally, more surprise Ice Sprites will spawn at the end of the corridor too. You really can't rush through this area, since it can cause way more trouble than it's worth.
You do get a nice view of Ishgard and the Steps of Faith from here, though.
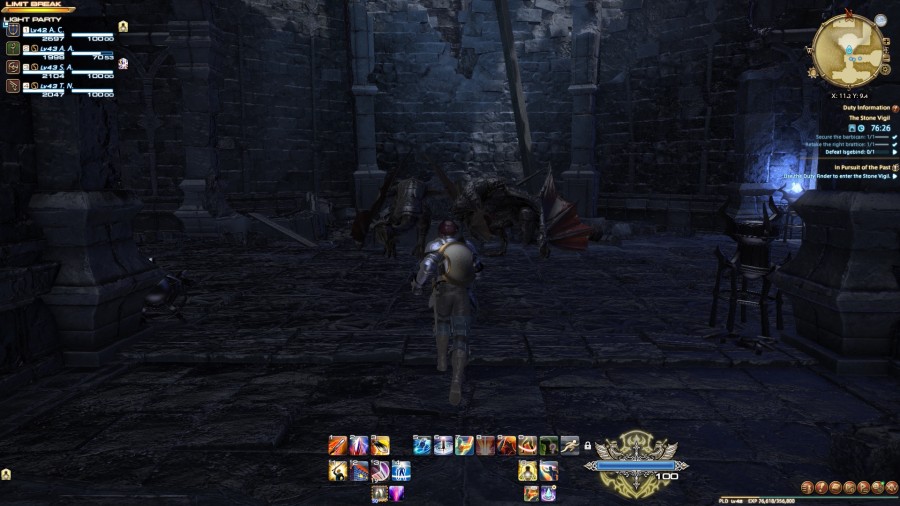
One last group of enemies left, and then it's the boss.
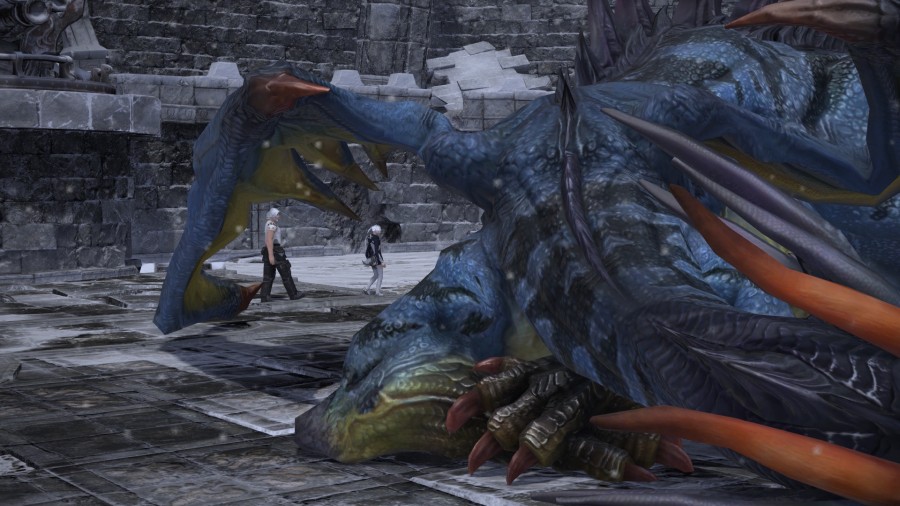
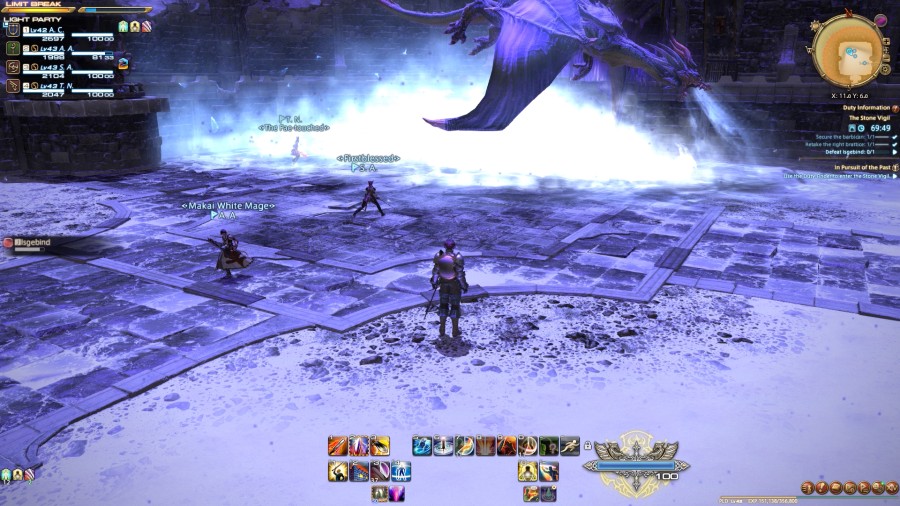
Here we go.

 Yes... just beyond that enormous sleeping dragon.
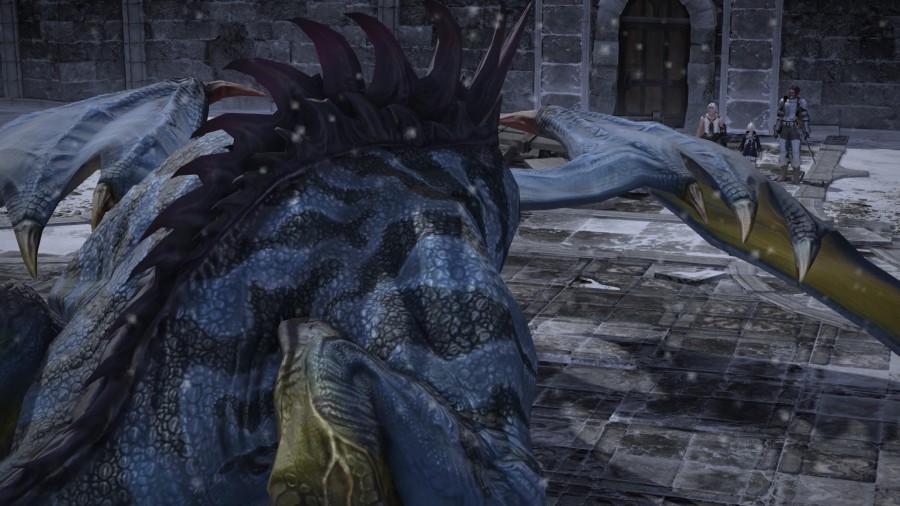
 The dragon is not our concern. We have come for the airship, and only the airship. Cid—you and I will sneak aboard the Enterprise and prepare it for launch. Aggro—you stay here and keep an eye on the beast. If it wakes, we may need you to provide a distraction until we are ready to depart. You can manage that, can't you?
Aggro nods.
That settles it, then. Shall we, Cid?
As you command...
(Soundtrack ends.)
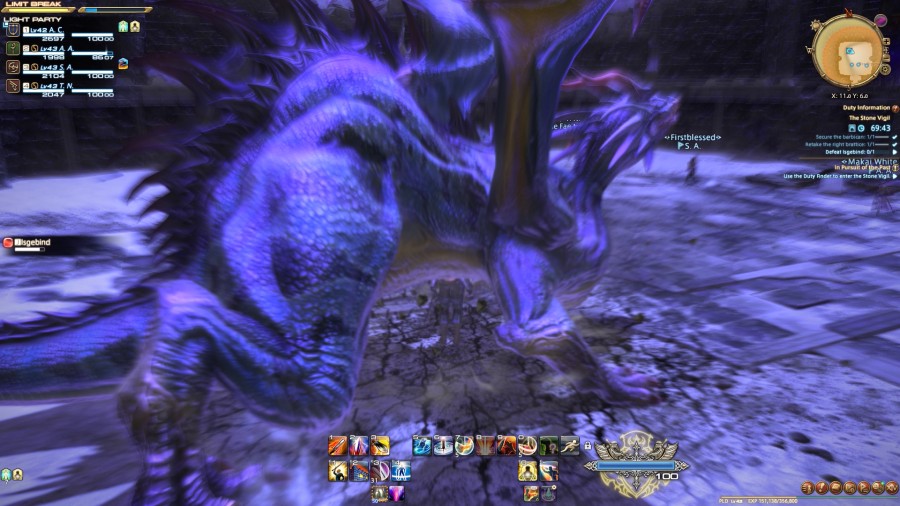
Alphinaud and Cid walk slowly, carefully intending not to disturb Isgebind.
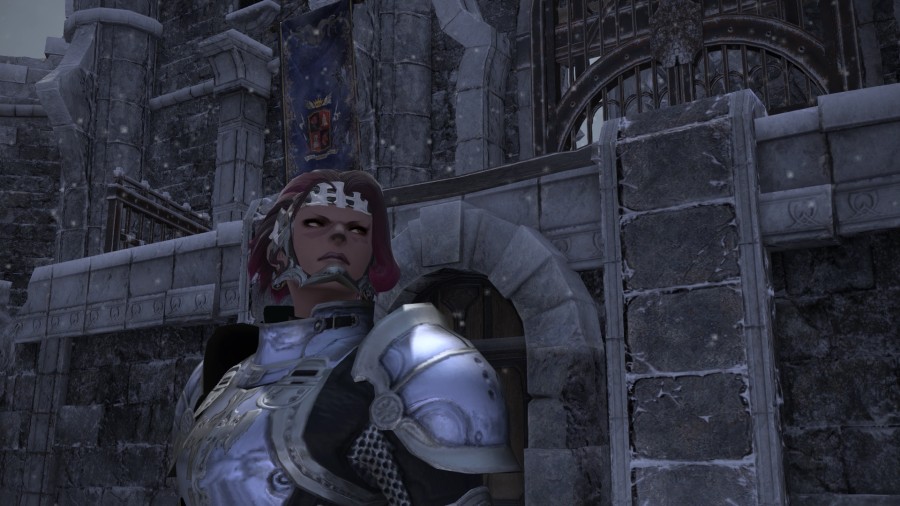
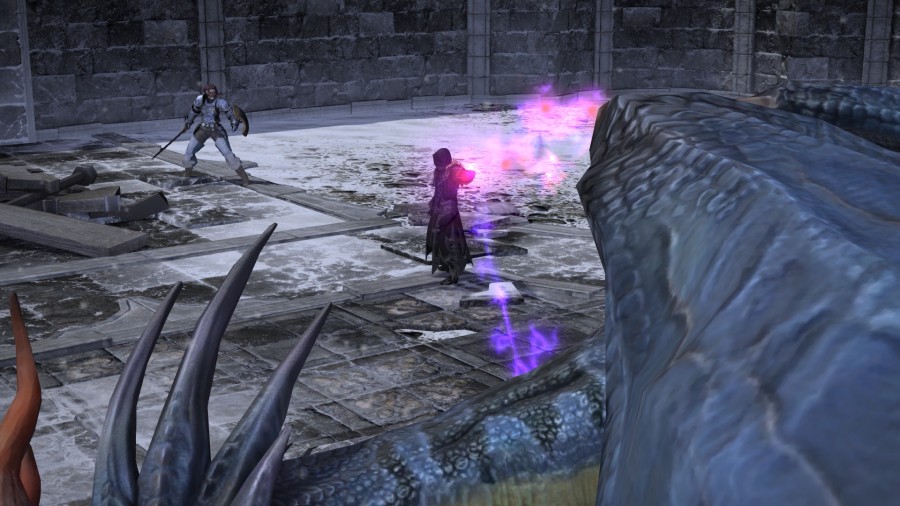
Unfortunately, Aggro spots something that's a greater risk than the dragon.
Music: Without Shadow


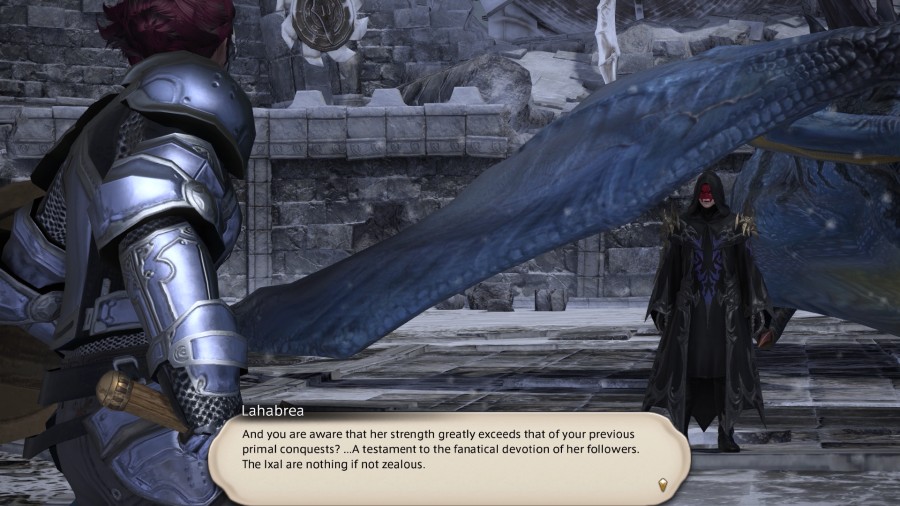
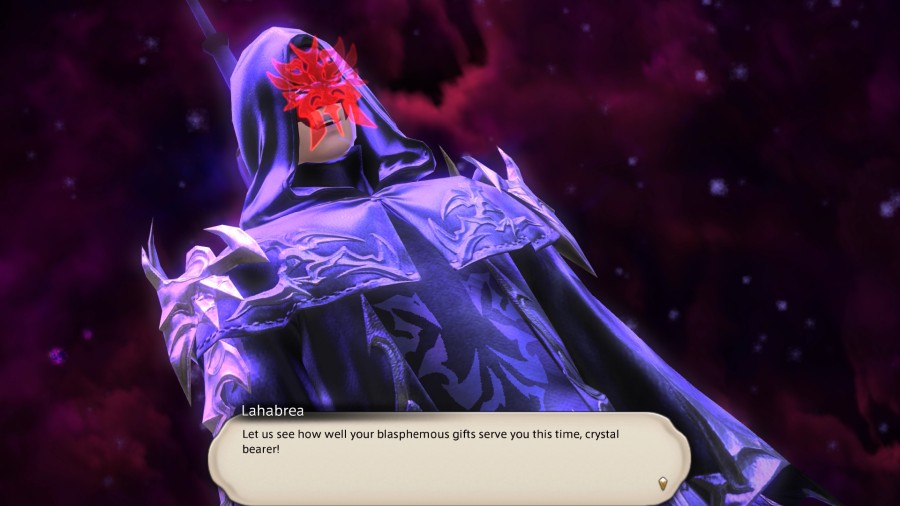
 In spite of your past achievements, I labor to believe that you will best this foe. Yet only a fool would underestimate the great Bringer of Light, slayer of Ifrit, bane of Titan... If any mortal is capable of defeating the Lady of the Vortex, it is you.
Music: Nemesis
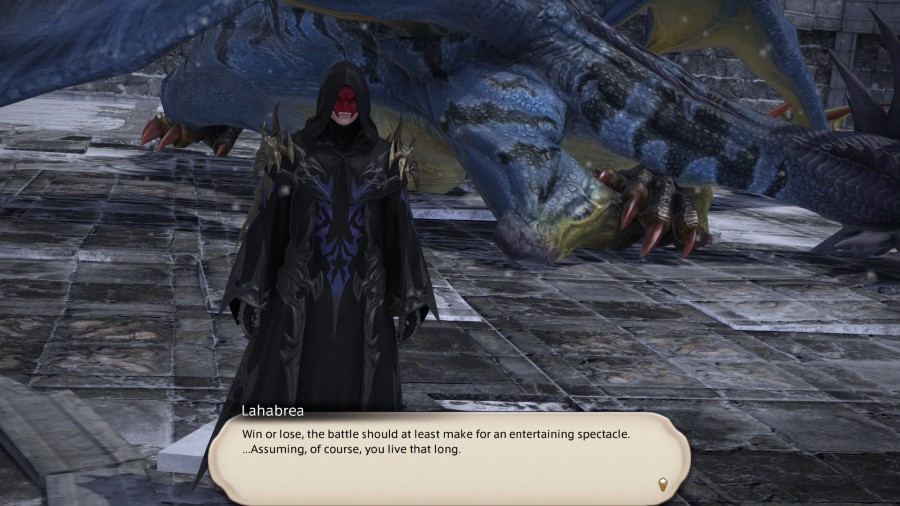
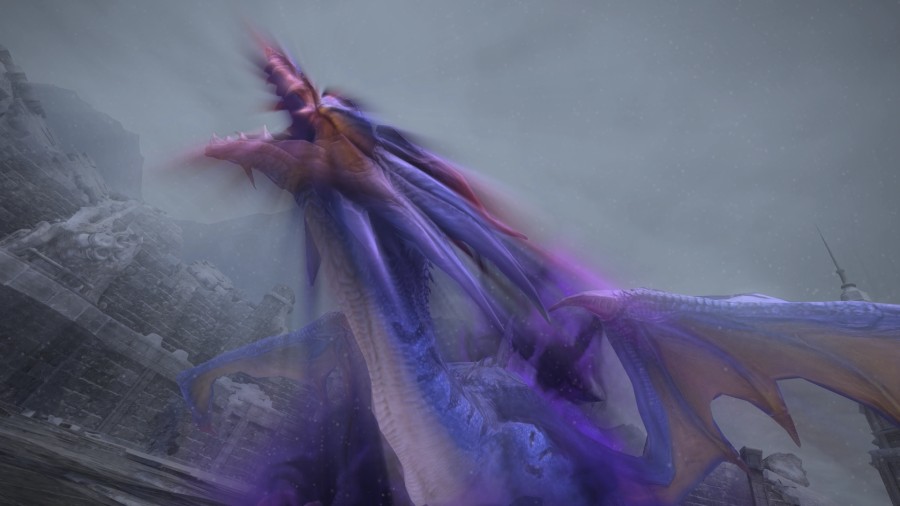
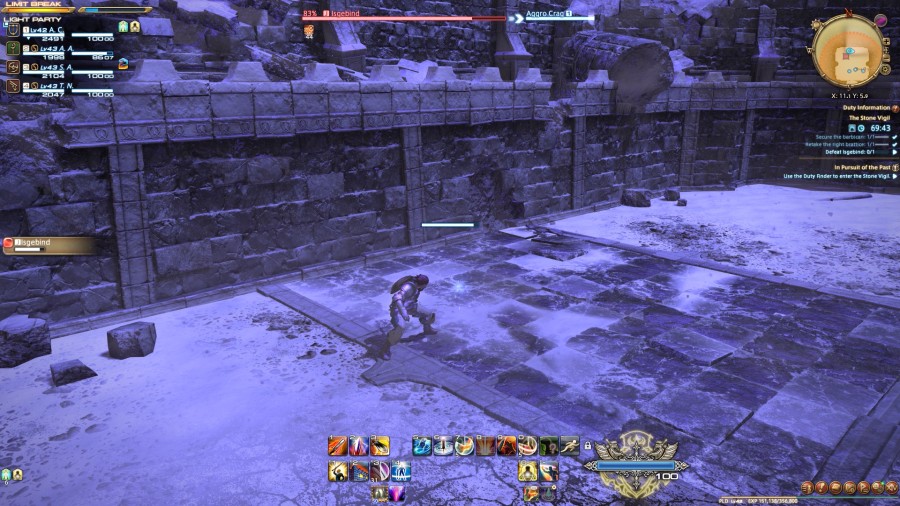
Lahabrea wakes the dragon up, charging it with his dark Ascian energies much like when we saw him in the Thousand Maws of Toto-rak.
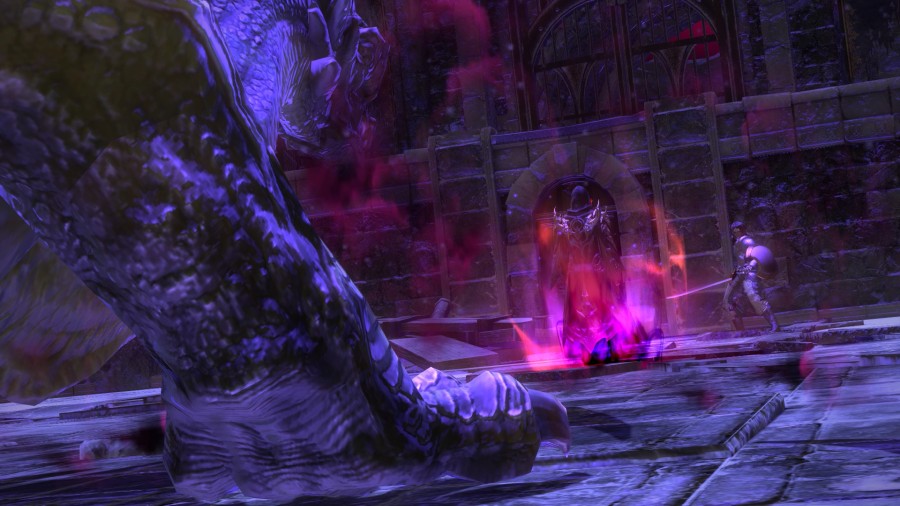
Lahabrea then surrounds us in his dark energy too, as the weather shifts to "Darkness". The area is now sealed off, and Cid and Alphinaud will not be able to lend us a hand. Not that they really could have, to be honest.
The Ascian then promptly disappears, back into whatever void he came from. Aggro is left alone with a powered up Isgebind.
Music: Nemesis
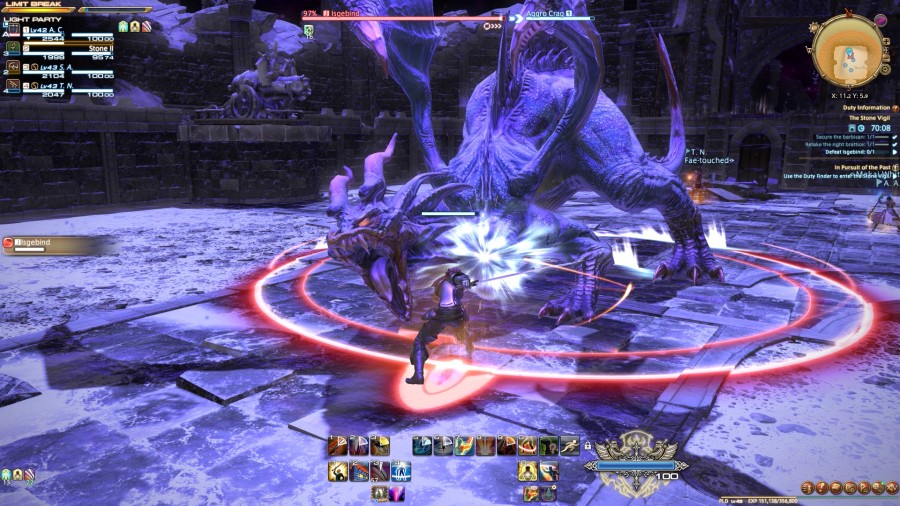
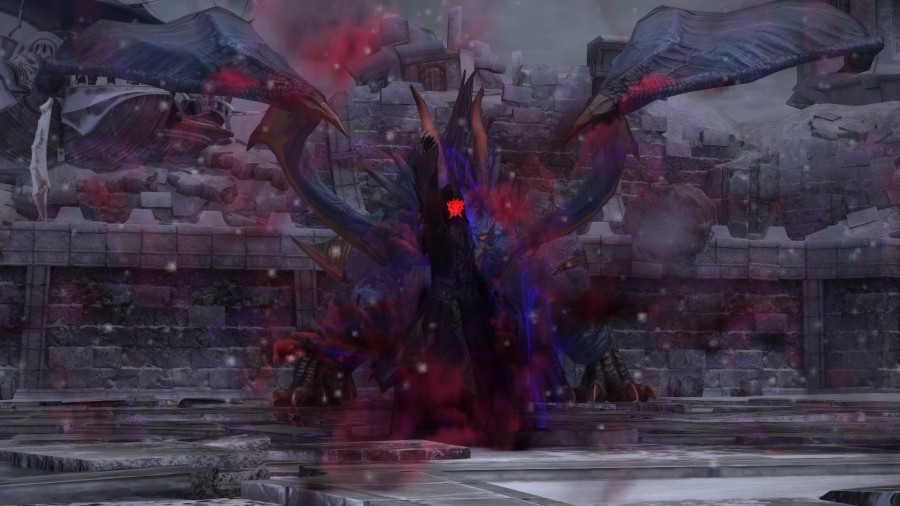
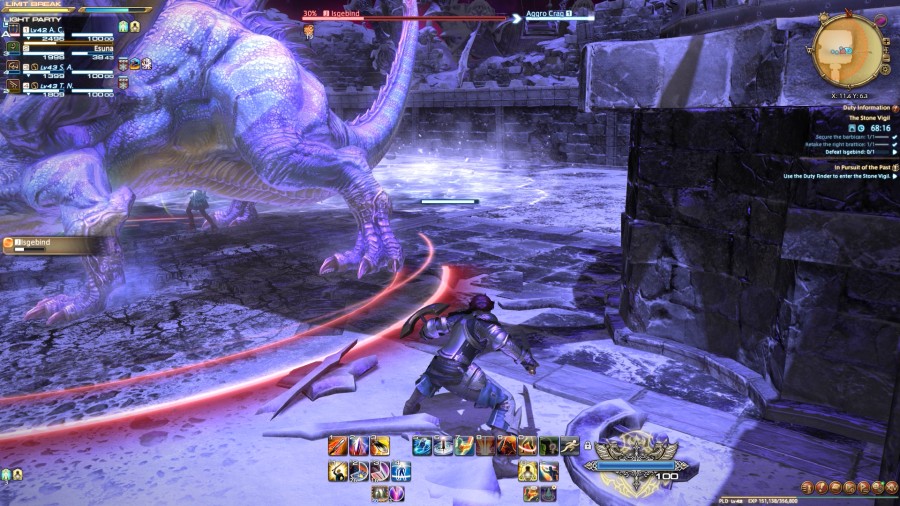
Okay, here we go. Final boss time. Isgebind (51, 436 HP) was enjoying a nice rest after we battered them with cannonballs, but it looks like that doesn't matter anymore when they're Ascian-powered.
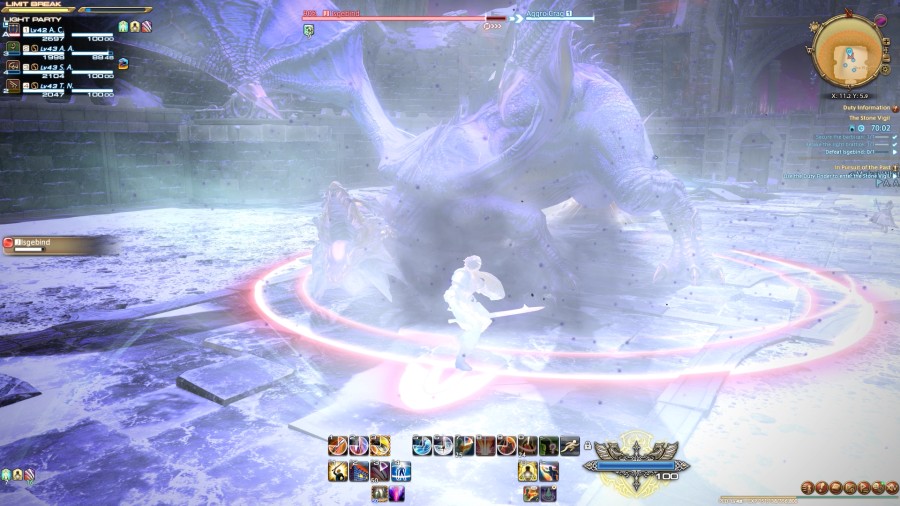
You know the drill. Isgebind's cleave is Frost Breath, and while it has a cast bar it isn't a tank buster. The cast finishes quickly, not providing Aggro with enough time to buff. It's damage is low, but Frost Breath will hurt party members.
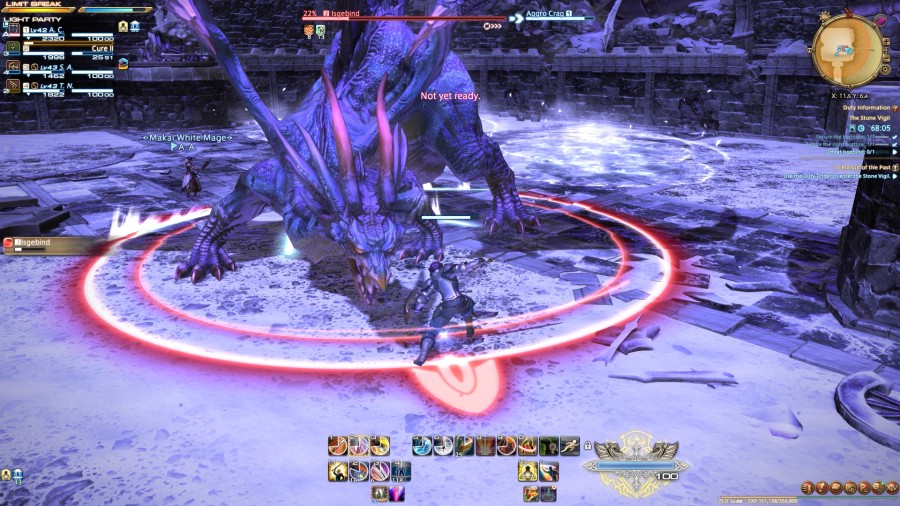
Isgebind can also cast Sheet of Ice, which will drop an icy ground hazard beneath a party member at random. There'll be an orange puddle marker like with most AoEs, so it's easy to avoid before it lands. Failure to dodge the marker quick enough will result in a temporary Paralysis, but that can be cleansed off with Esuna. It's not super clear in the early screenshots for the fight, but you can see a Sheet of Ice in the top corner to the left.
Depending on where the hazard is dropped, it may be worth moving the boss, as standing in it will inflict damage over time.
At 85% HP, or thereabouts, Isgebind will take flight. That ends the easy first phase of the fight.
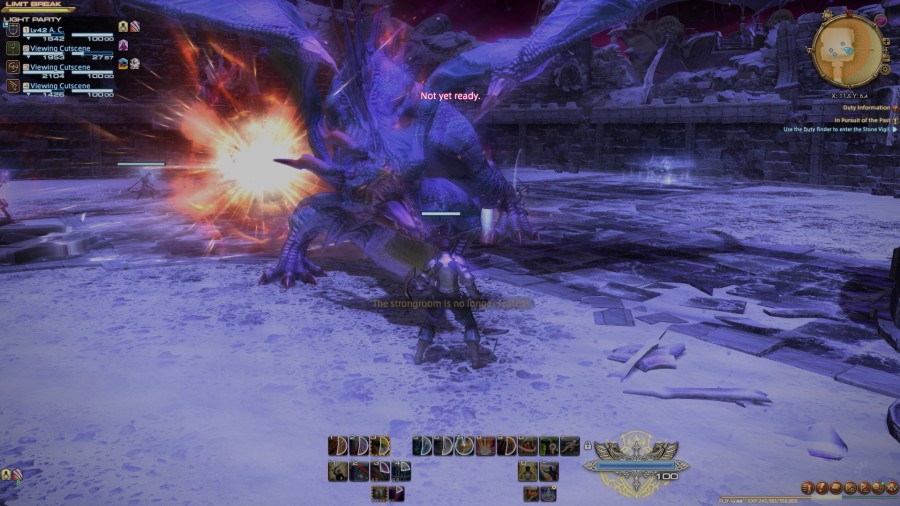
From the skies, Isgebind casts Cauterize, inflicting a lot of damage over 1/3rd of the entire arena and applying Frostbite (a damage over time which can also be cleansed with Esuna). The range for Cauterize is long and large, and can be vertically or horizontally across the field. The easiest way to avoid it is to stick around where Aggro is standing. Whether the middle or wall-facing thirds are targeted, it's easy to step out of the way from here.
When Isgebind lands, they'll inflict knockback damage on the party with Touchdown. You can nullify the knockback with appropriate abilities like Aggro's Arm's Length. We're in the second phase now.
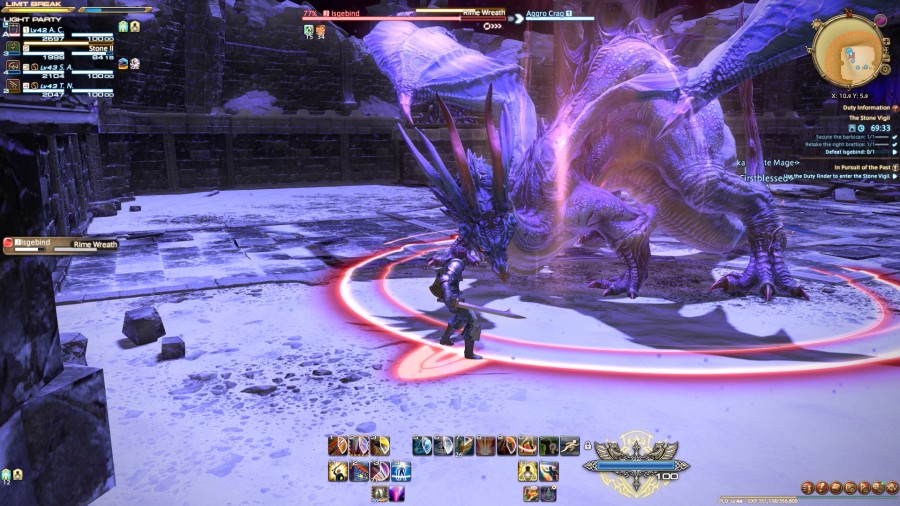
From here on, healers should keep an eye out for Rime Wreath. It's a party-wide AoE that'll hit everyone for a sizeable amount of physical damage. Physical or general damage debuffs can be applied on it to ease the healer's burden a bit.
If the DPS are slow, Isgebind may fly away again and the same pattern follows. Avoid Cauterize then take knockback damage when they land. Below 50% HP and this pattern will change—this will most likely be the next time you see Isgebind fly.
Isgebind will drop two rounds of Sheet of Ice below everyone in the party before using Cauterize. The safest action here is to bait the AoE away from the four points for avoiding Cauterize easily. Sadly, I forgot there was a second round of Sheet of Ice and dropped the hazard right where I wanted to stand.

Cauterize will also be cast twice this time before Touchdown.
Finally, all that remains is the beatdown. Isgebind still uses Frost Breath to cleave Aggro, Rime Wreath to hit the entire party, and will drop a single Sheet of Ice down on a random player at a time. They're easy to manage, and far less complicated than flying mechanics.
After no time, the boss is slain.
(Soundtrack ends.)
The reward for the fight is a unique item level 43 weapon. A big upgrade, for sure, but unfortunately there's no sword for Aggro in this run. Even worse is that there's no shield at all.
We've not seen one of these in a while.
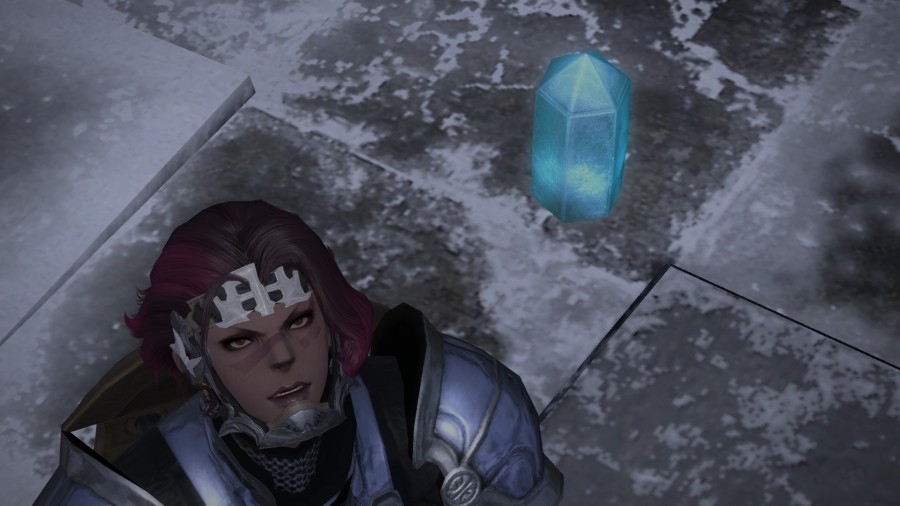
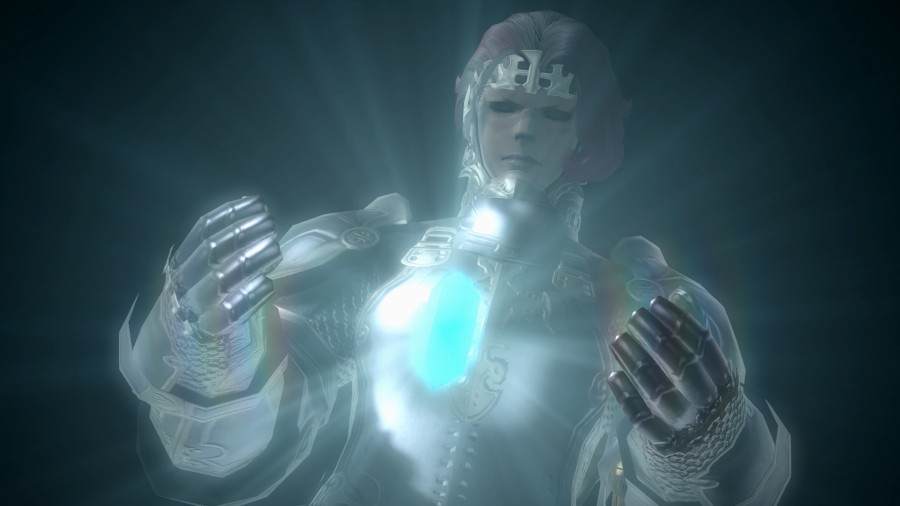
Looks like there'll only be one more left after we do whatever we do with this one.
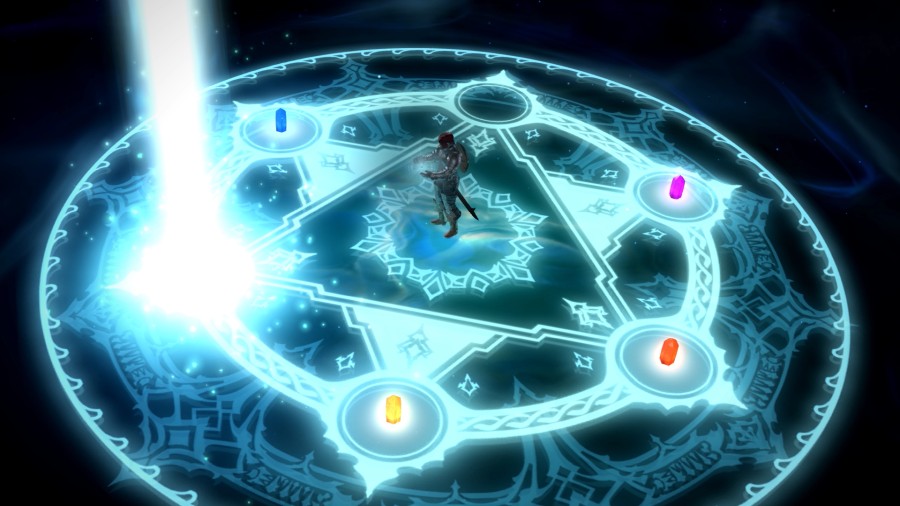


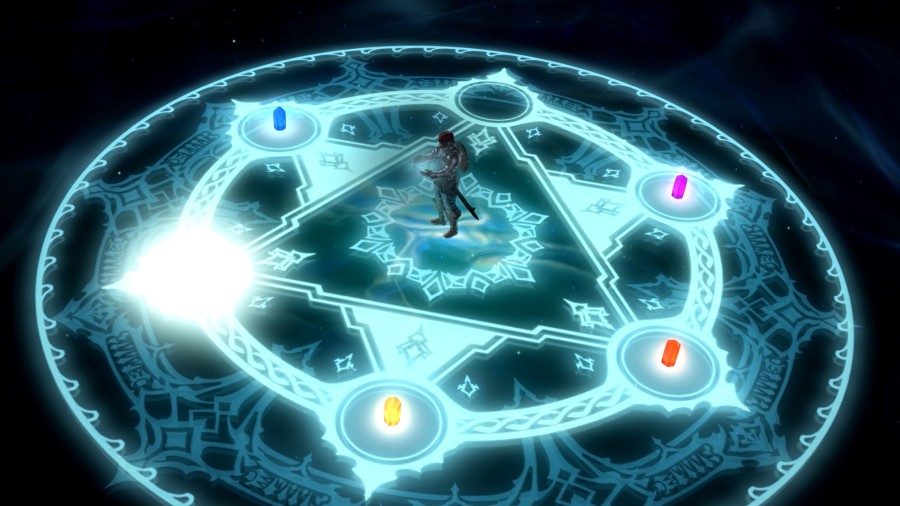
As usual, we fade out once we've restored another crystal.

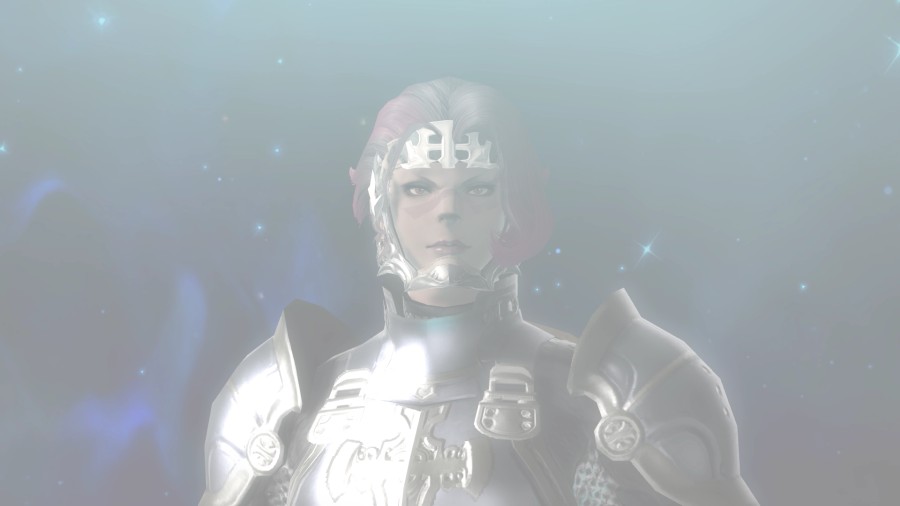
Music: Canticle
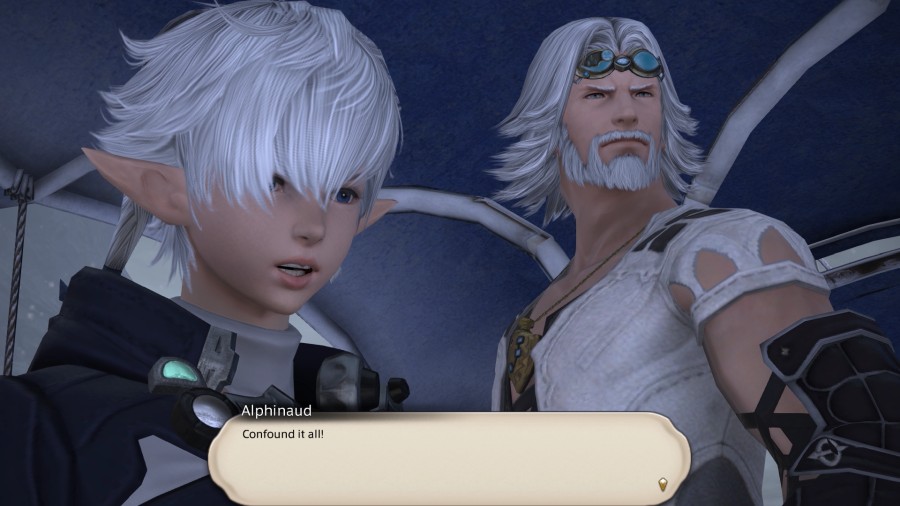
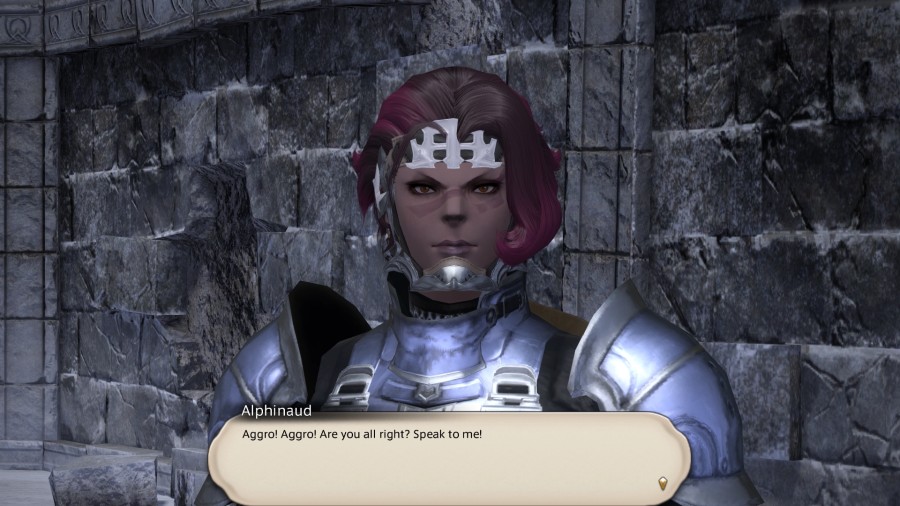
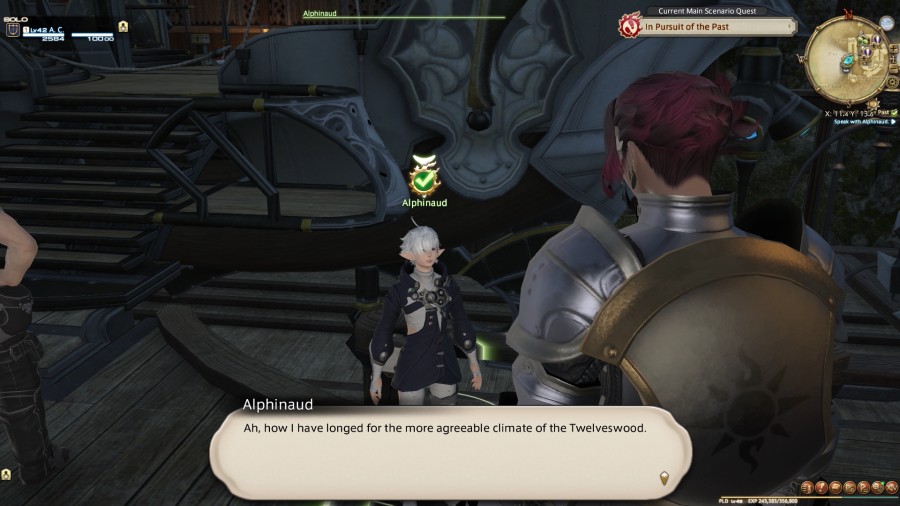
We return to consciousness with Alphinaud worrying over us. It's nice to see that he actually can care.

Thank the gods for sparing me that inconvenience. I have quite enough to do already. Which reminds me—Cid is working on the Enterprise as we speak. Let us go and see what he has to say.
Alphinaud, you're such a little shit.
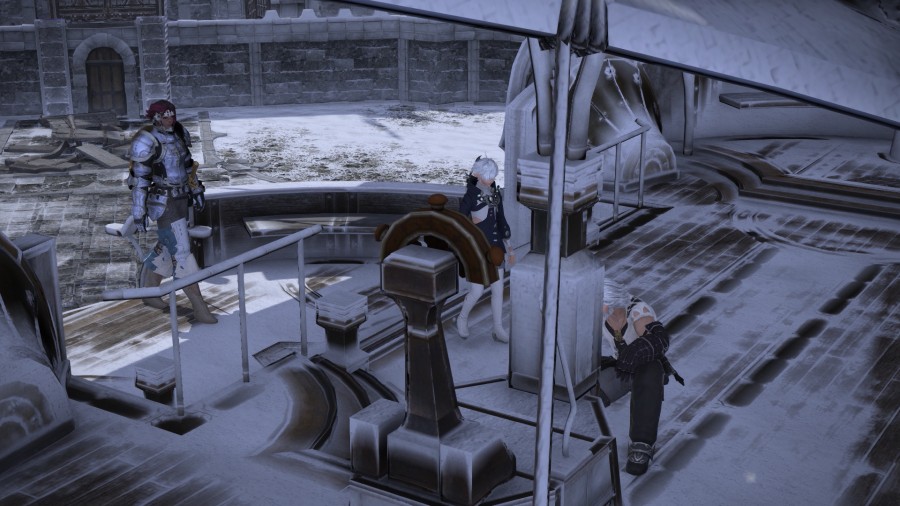
What say you, Cid? Will she fly?
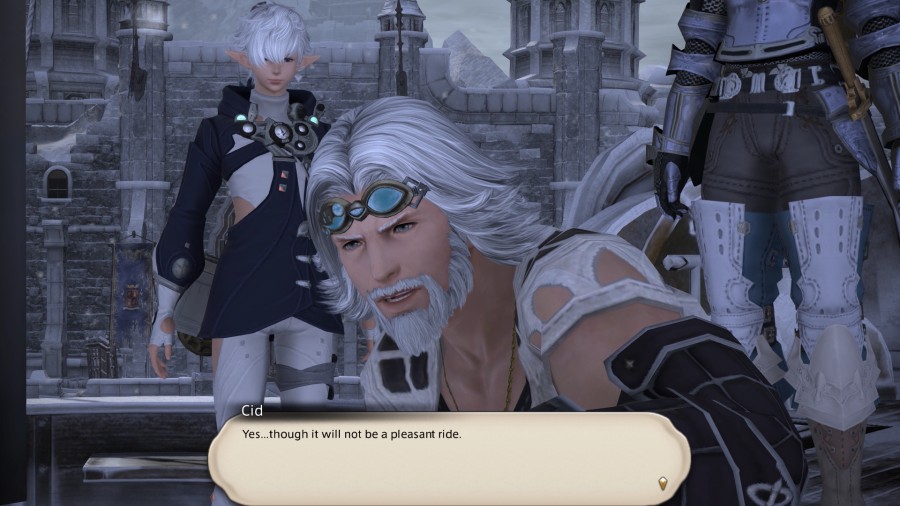
Well, I daresay it will be no more unpleasant than staying here. 'Tis a pity the Enterprise is not in a better state, but if she will allow us to quit this place, I shall not complain. If all are in agreement, let us return to Gridania.
Alphinaud doesn't care about much else beyond slaying Garuda and saving the day, but he's so fed up with Coerthas and Ishgard that he's happy enough to just get out of here for now. Given his attitude, I think that says a lot.
Though I would like nothing more than to set course for the Howling Eye, it is plain the Enterprise is in no condition to weather the storm. She must needs be repaired if we are to proceed with our mission.
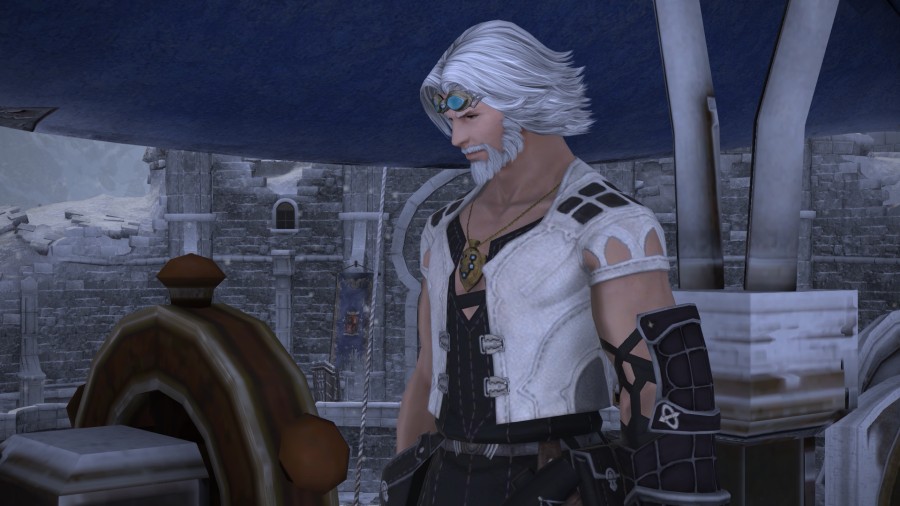
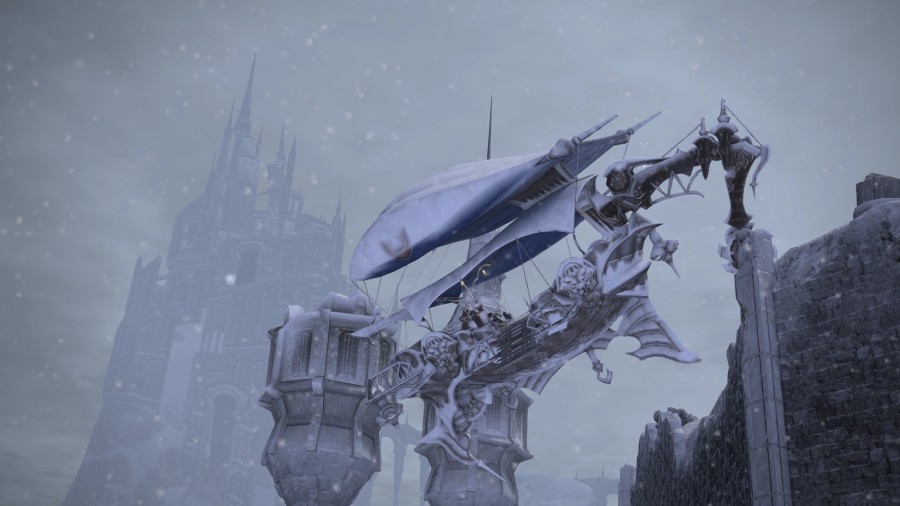
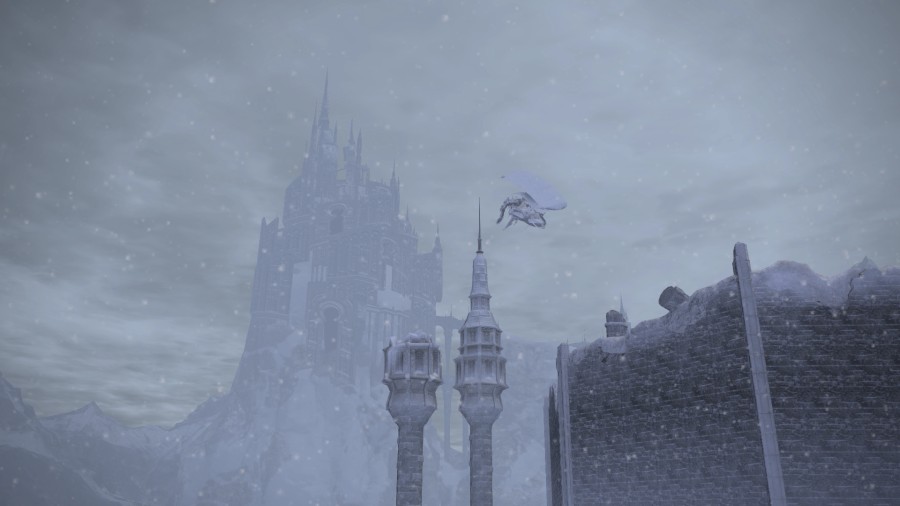
Cid hesitates over the steering wheel for a moment, before finally igniting the airship's engines.
This is all so familiar. I... I know this airship. If I could just... Bah. It's no use... Let's go.
Music: Dance of the Fireflies
The cutscene abruptly ends, loading us suddenly into the airship bay in Gridania.
Yet I will not deny the Holy See had its charms. Endless detours aside, our Ishgardian jaunt proved quite an adventure! Alas, our work is far from done. We still have an airship to repair and a primal to slay. No rest for the heroic, eh?
Alphinaud seems to be in a more cheerful mood now that we're finished with the Ishgardian climate and politics for now.
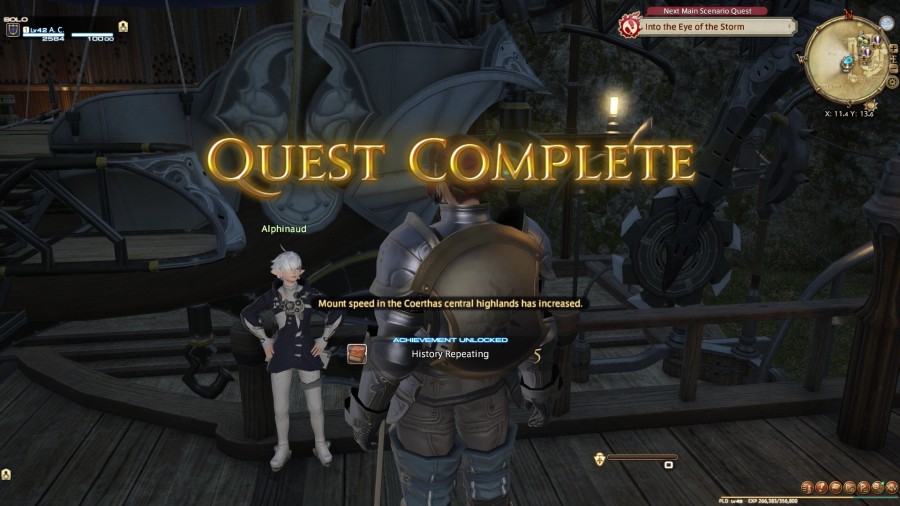
Completing the quest will improve our mount speed in the Coerthas Central Highlands. We're finished with Ishgard for now, leaving us to focus on our main quest: slaying Garuda. Unfortunately, this is A Realm Reborn before the big trim and that means we have a long slog of a quest chain to fulfil before we can take on the Lady of the Vortex. I'm going to be carrying out my own trim to keep it more succinct. If my memory serves correctly then this will be the lowest point in the game. Hooray!
See you then!


Chapter Summary