Toggle Background Color
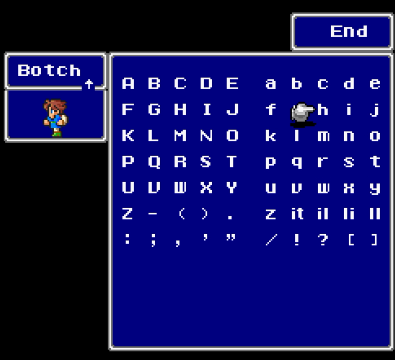
I'm still stuck slamming my head against ExDeath in the alpha timeline, so I figured I may as well start a parallel run with appropriately named characters to see what changes the new version have brought to the table for the previous boss fights.
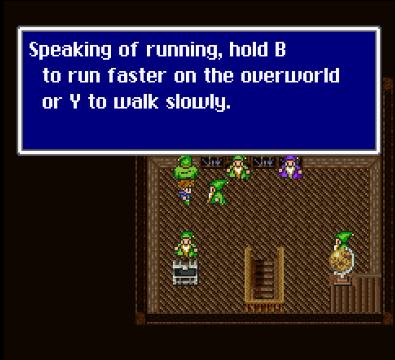
First are some very nice QoL changes: Dashing is always available by default (I have yet to check what this means with Thieves in the party, but I will do that next time), and I can turn random encounters off altogether--so I did, resolving not to grind until I was sufficiently walled by some boss.
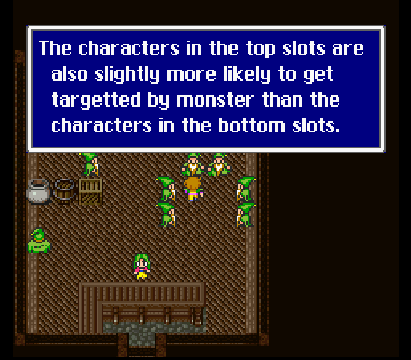
Not sure if party order mattered in the original game; if not, adding in the FF1 system of people at the "front" of the line getting targetted more often is a very weird choice.
Another additional quirk to the elmental system is is Field Combos.
Void Divergence README posted:
===Field Combos===
After the world balance has been sufficiently shattered (2 crystals destroyed) it becomes possible for icons of certain kinds to combine into special icons;
this requires 2 of both to be on the field.
Some of those provide special effects while they are on the field, other effects my be triggered by "consuming" the icon, i.e. pushing it of the list by adding a new one.
Consume effects are not triggered by skills that replace the entire field.
Combination icons support the elements of their components but oppose nothing.
2 fire + 2 ice = 4 water
2 ice + 2 water = 4 ice
2 light + 2 poison = 4 void, reduce def by 5 each
2 fire + 2 light = 4 sun, removes swamp effect, dot vs undead units, heal user if consumed
2 wind + 2 earth = 4 diamond, exp gain +25% while on field, consume for 200 gold
2 ice + 2 wind = 4 snow, +5 atb delay per icon; can't get extra turn from 100 mp
2 wind + 2 void = 4 vacuum, massive dot
2 water + 2 earth = 4 poison, set swamp effect
2 bolt + 2 ice = 4 mana crystal, +2 mp gain per icon after turn, +50 mp if consumed
2 water + 2 wind = 4 (thunder)storm, accuracy down (-5 each), random chance to get thunderstruck
2 water + 2 bolt = -same-
2 bolt + 2 poison = ? icon, +10% power buff, +1 icon creation
2 light + 2 void = "big bang", randomize all icons
2 fire + 2 poison = moon, status chance gains randomness, consume to heal status damage
(This might explain what I was running into when I was attempting ExDeath, but since I'm often barely paying attention to the element icons I'm often taken off guard.)
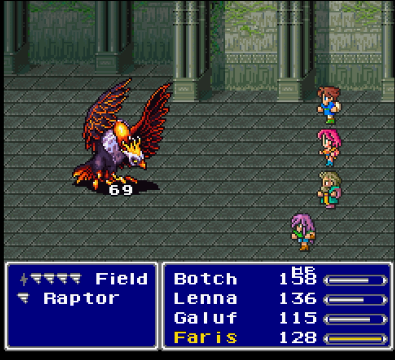
WingRaptor is still pretty much your warm-up tutorial boss fight on how the ATB system works, but with my party in their starting levels he did feel that bit tougher, and maybe it was because the battle ran longer that he felt more aggressive overall as well.
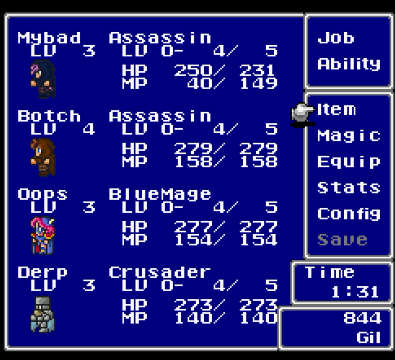
With the new jobs available from the start, I decided to make every character fit a particular archetype (and rename everyone based on my tongue in cheek theme): Bartz is building towards becoming an offensive lightning bruiser, Lenna a magic-based glass cannon, Galuf/Krile a defensive wall that can also cripple the enemies, and Faris a mixed offense/heal/support fragile speedster. However, since I'm impatient and barrelling forward as quickly as I can, it'll be a while before everybody truly settles into their niche.

Karlabos also wasn't much trouble, either because I got lucky or because the additional weapons in its arsenal ironically made it less likely to spam either Tail Screw or Feeler.
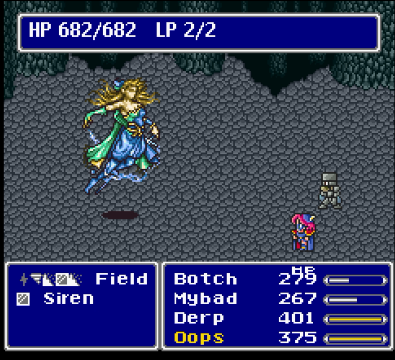
Siren gave me my first TPK. Though she technically had less HP compared to the old version, I still lost the ensuing slugfest.
Instead of kicking you back to the opening menu, losing a boss fight just causes the battle to restart as if you cast Return, which is all right if the only thing that needed to change was luck, tactics, or turn-by-turn decisions, but if I wanted to try a different party setup I would still have to mash reset. I didn't really feel like being fancy this time, so I resorted to chucking Hi Potions at her Undead form (and even then that left her at 1 health and I wasted a few turns accidentally attacking with the wrong weapon type).
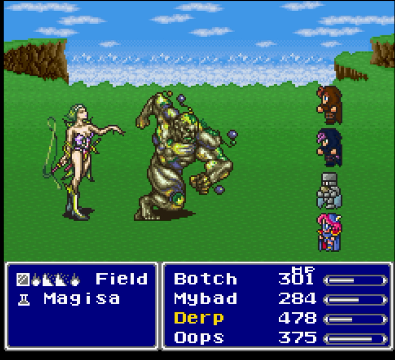
On the other hand, neither Magissa nor Forza proved to be any sort of obstacle.
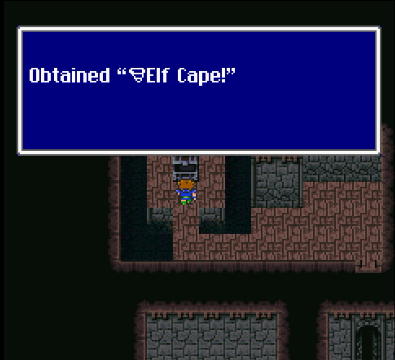
Zero encounters means the Walse basement treasure trove was free for me to loot right away.
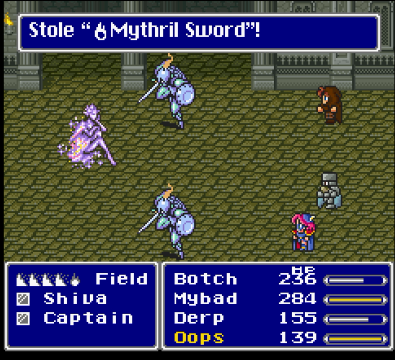
And I think I got supremely lucky with Shiva--she neither constantly peppered the party with AOE magic or focused down on one party member at a time, making it possible for me to sandbag while whittling away at her health. I even managed to Mug a Mythril Sword to help boost my DPS.
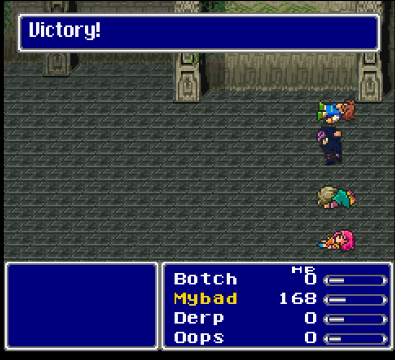
Garula hit like a truck, causing me one wipe and leaving me down to my last party member and pretty much one attack away from death before I eked out a win on the second try. 
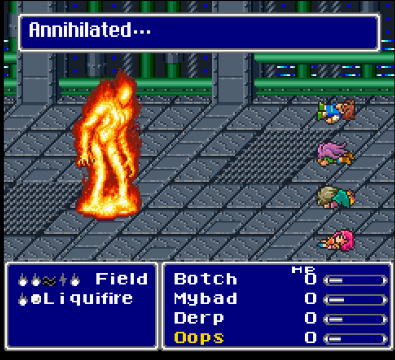
And at minimal grinding, Liquid Flame ended up being my first wall--I didn't have enough money to deck everyone out in its primary water weakness and each of its forms had different secondary weaknesses, plus being peppered with Blaze, Fire 2, and Fingertip as it cycled through its forms meant I was almost always on the back foot just trying to keep everyone alive. In vanilla, the game expects me to be in level 10~15 territory, so I'm definitely going to have to do a bit of grinding to build up levels and abilities, as well as start differentiating my characters into their eventual final forms. However, you guys really don't need to see the training montage, so I will leave things here until I get around to having a party properly prepared to tackle the next set of obstacles.