Toggle Background Color
Update 2: It Begins (Turn 1 - Turn 4)
Apologies for the impromptu April Fools update, here's the real update.
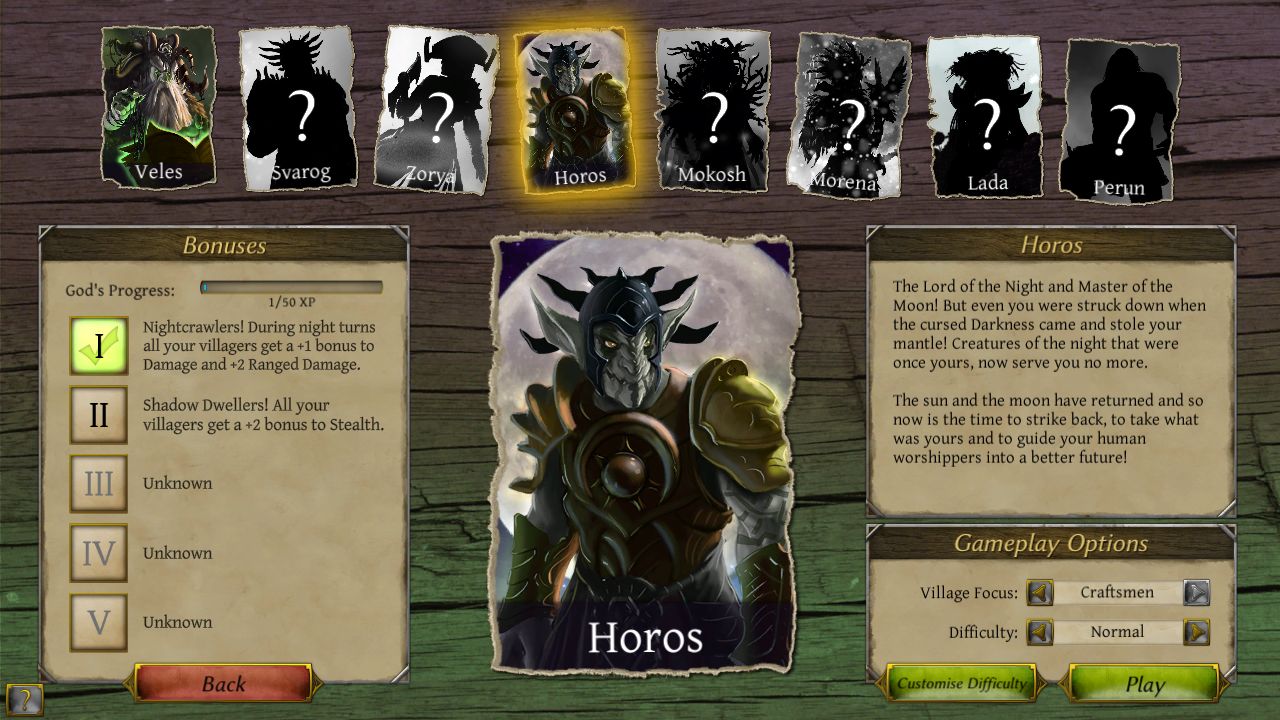
Votes from the beyond have decided that we shall be a crafting culture in worship to the former God of Darkness, Horos.

 : After all, what better choice is there for this shadowy world than the one who knows the dark like the back of his hand?
Now, I'll have a decent bit to explain regarding as to what's going on, but the big thing about Horos's first ability is that it improves survivability at night, though in order to take advantage of it we'll need to be walking around blindly.
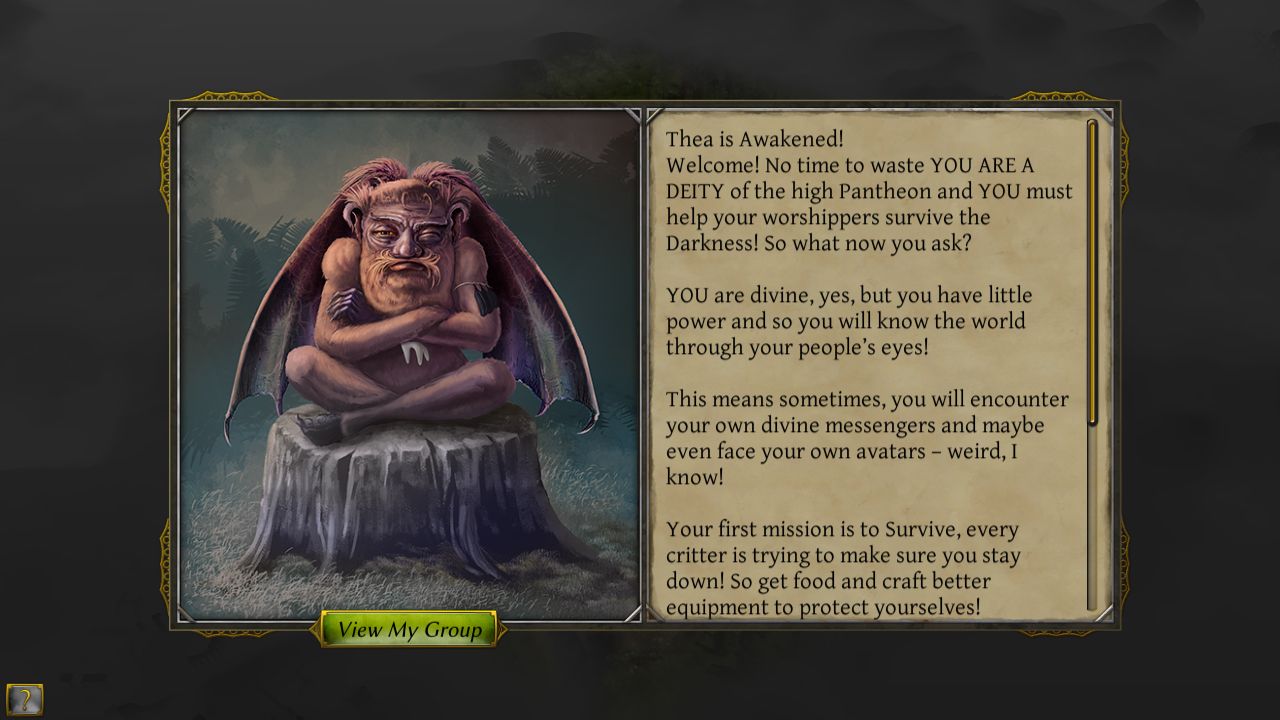
Oh, hey, Theodore. Apologies, but I think I've got it handled from here.
I'll try to keep it brief, though informational where I can. I might not succeed at doing that, though.
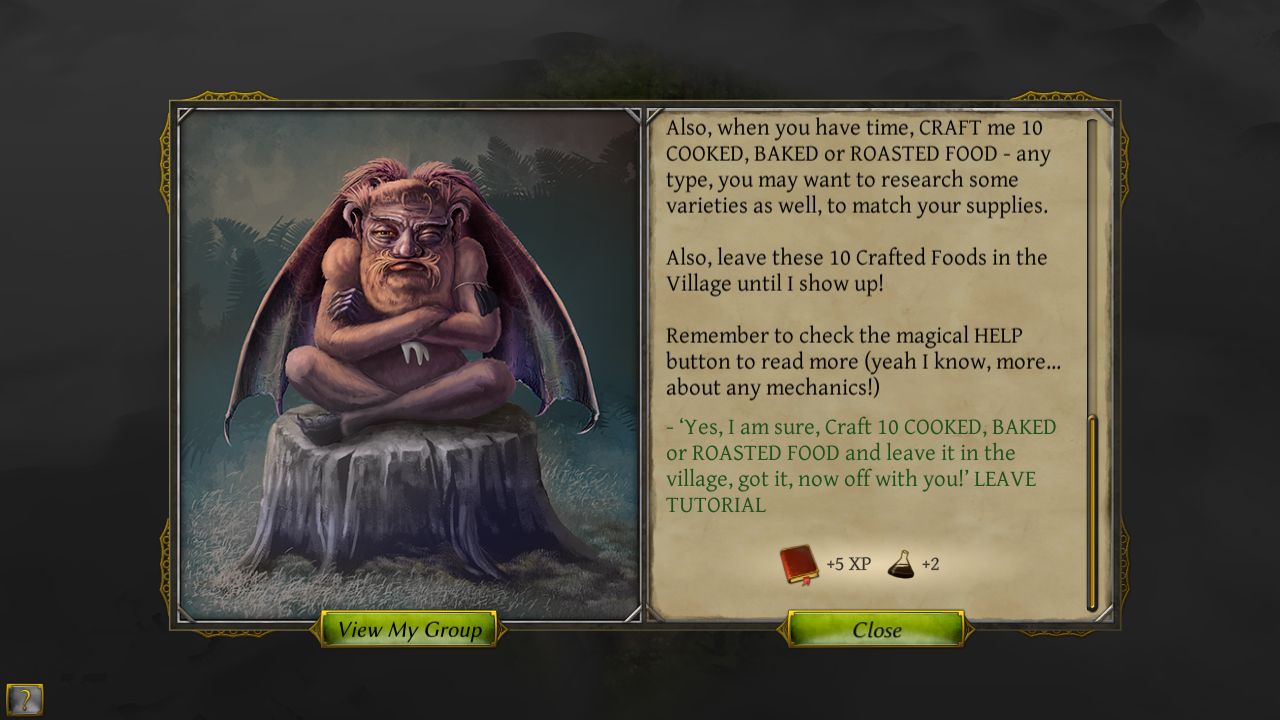
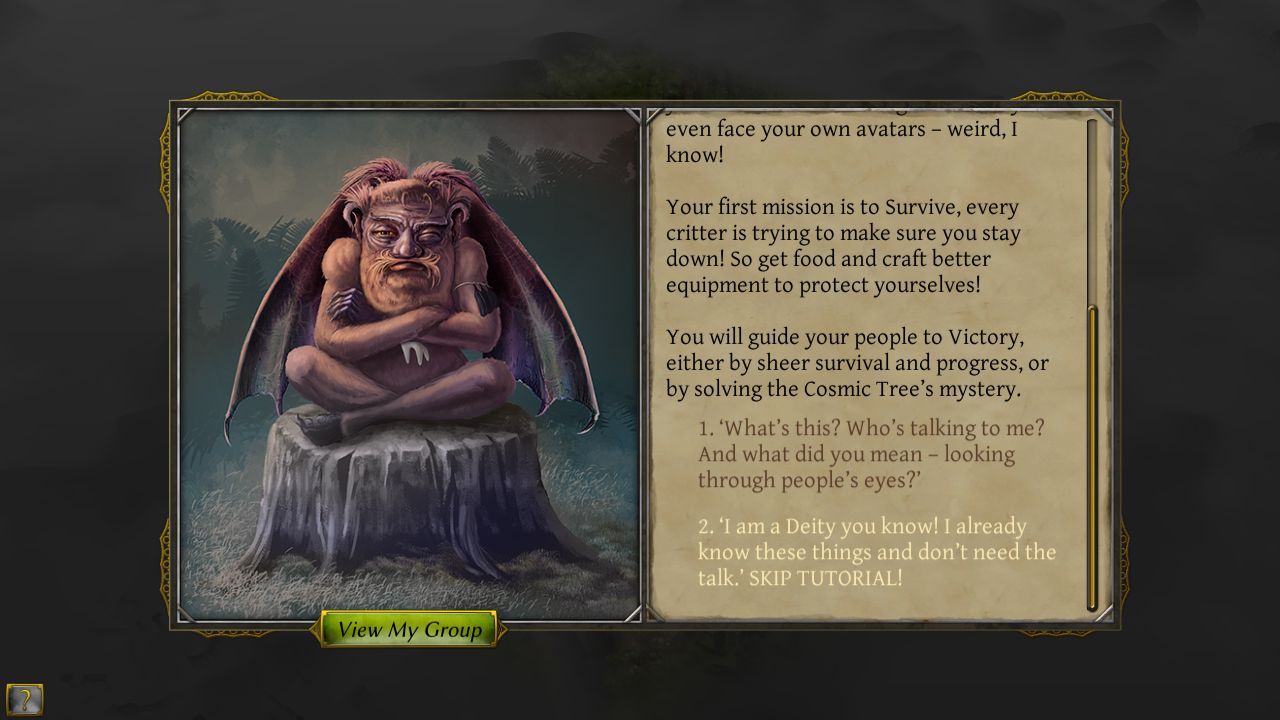
He normally gives you a tutorial at the beginning of every game, but thank goodness it's skippable. Regardless, he still gives you two tutorial quests that sometimes hand out some ridiculously good rewards.
In this case, he's handed us a bunch of Experience, (the book), and a decent bit of Science (the blue bottle).
-------------
Turn 1
-------------
Leave me be, Theodore!
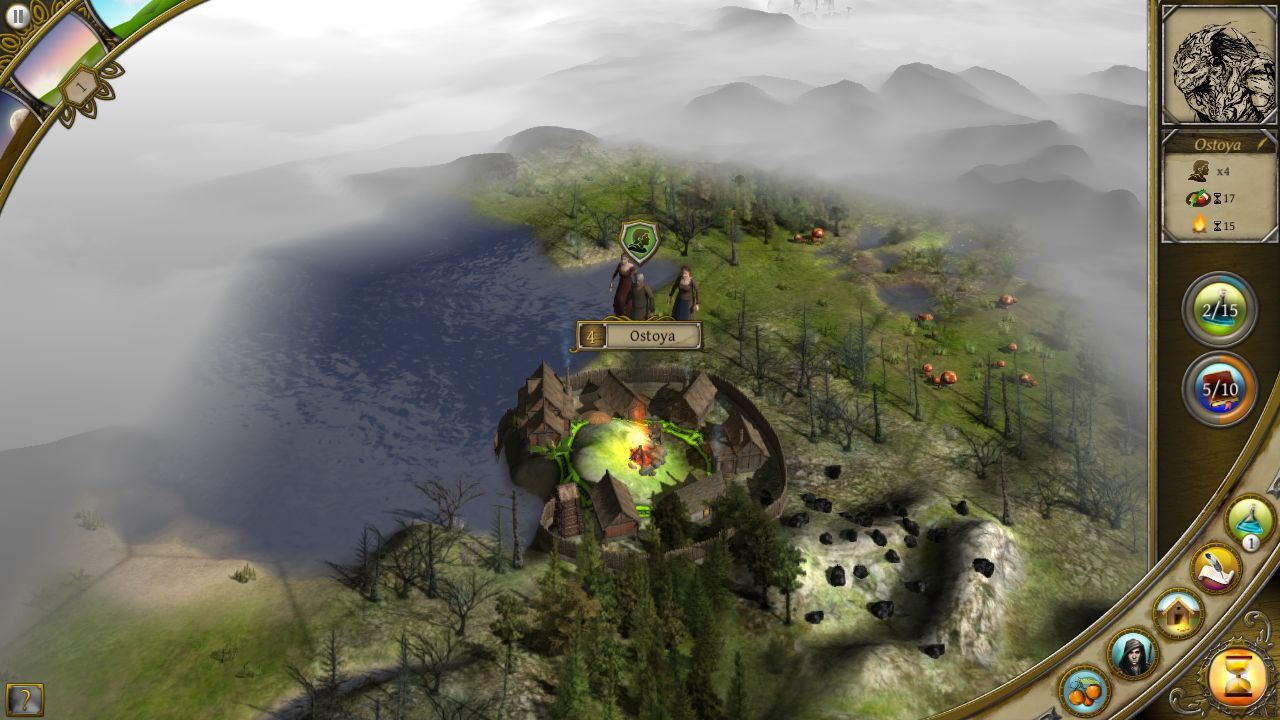
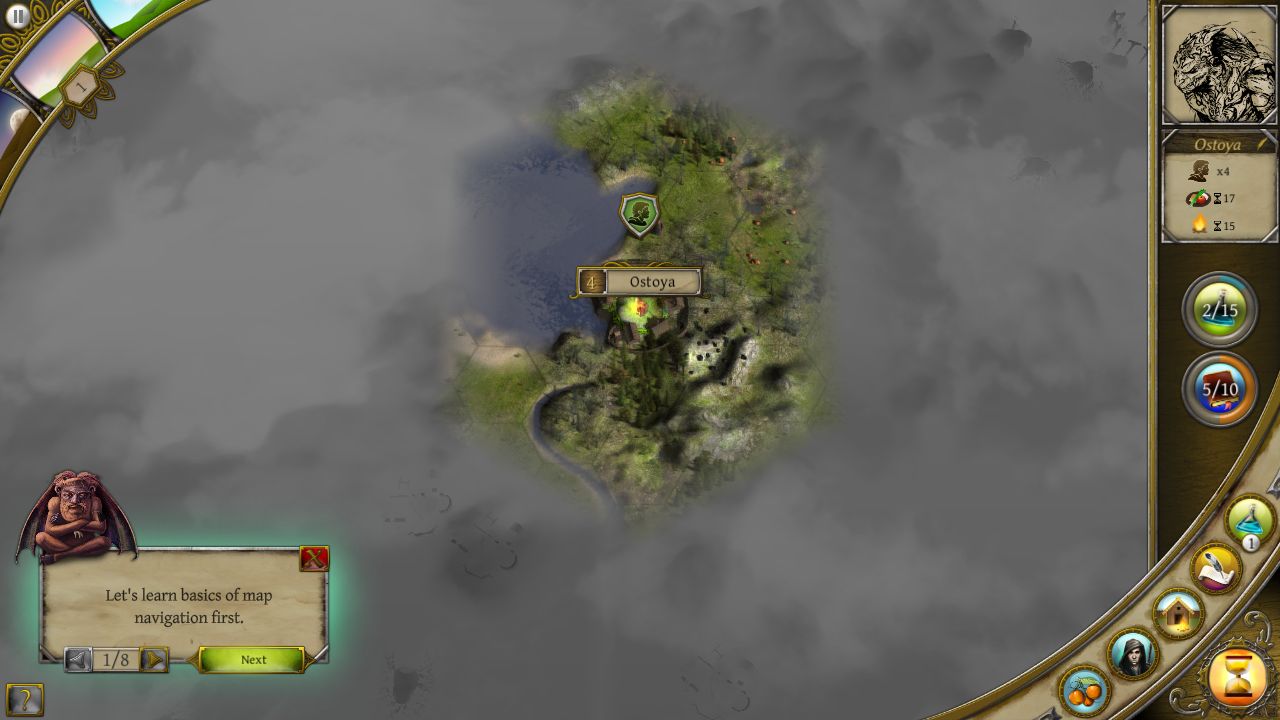
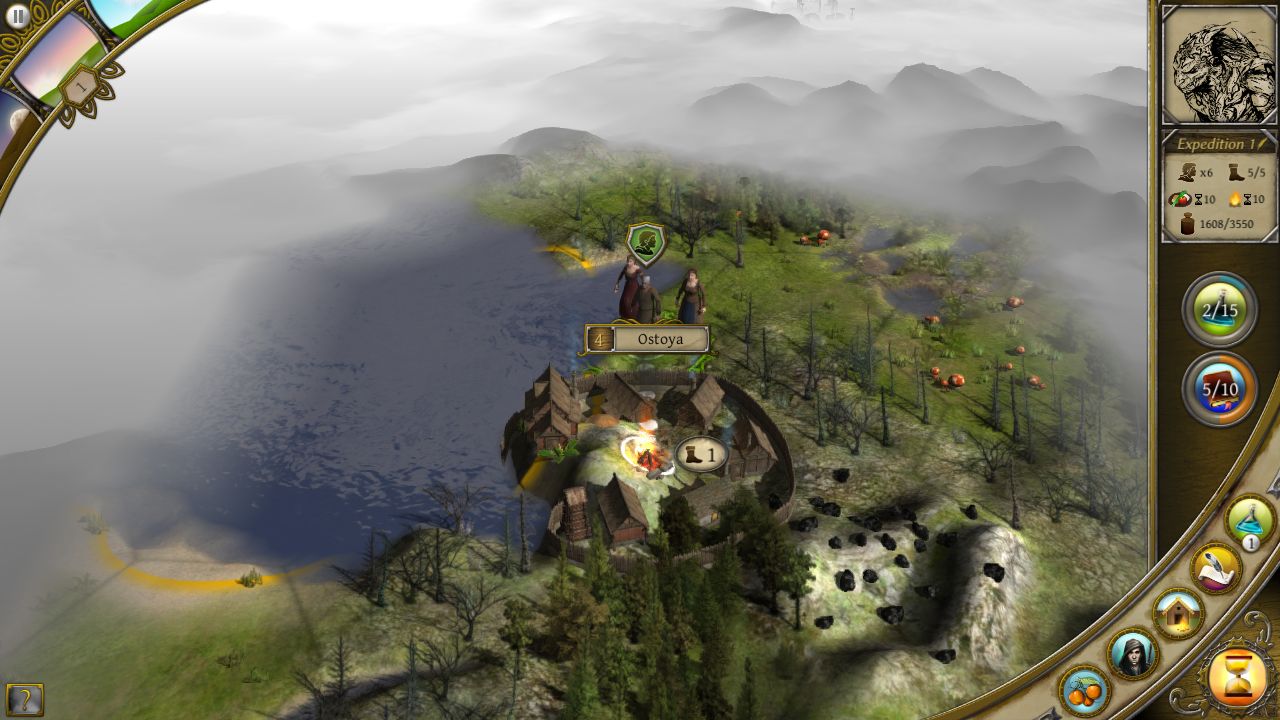
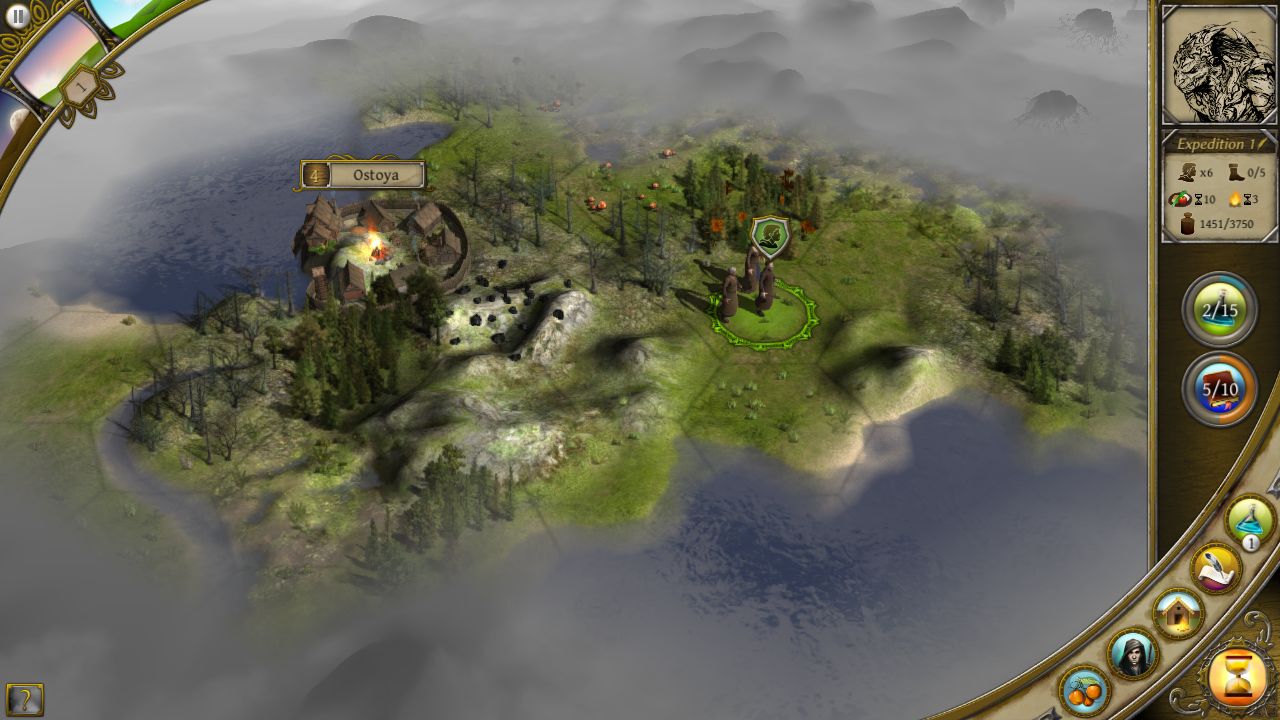
Ah, there we are. You can see our expedition group standing next to the town, named by default Ostoya. On the side bar you can also see how much closer we are to a level up in experience or in science.
I've got a lot to introduce, so let's start with our goon villagers.
By picking Crafters as our village focus, we start with this setup of unit/class types:
2 Gatherers, 2 Warriors, 1 Ranger, 5 Crafters.
This means we're only guaranteed to have two good physical combat units, but we'll do exceptionally at social challenges. As to what that means, I suppose it'll need to wait until we reach actual combat.
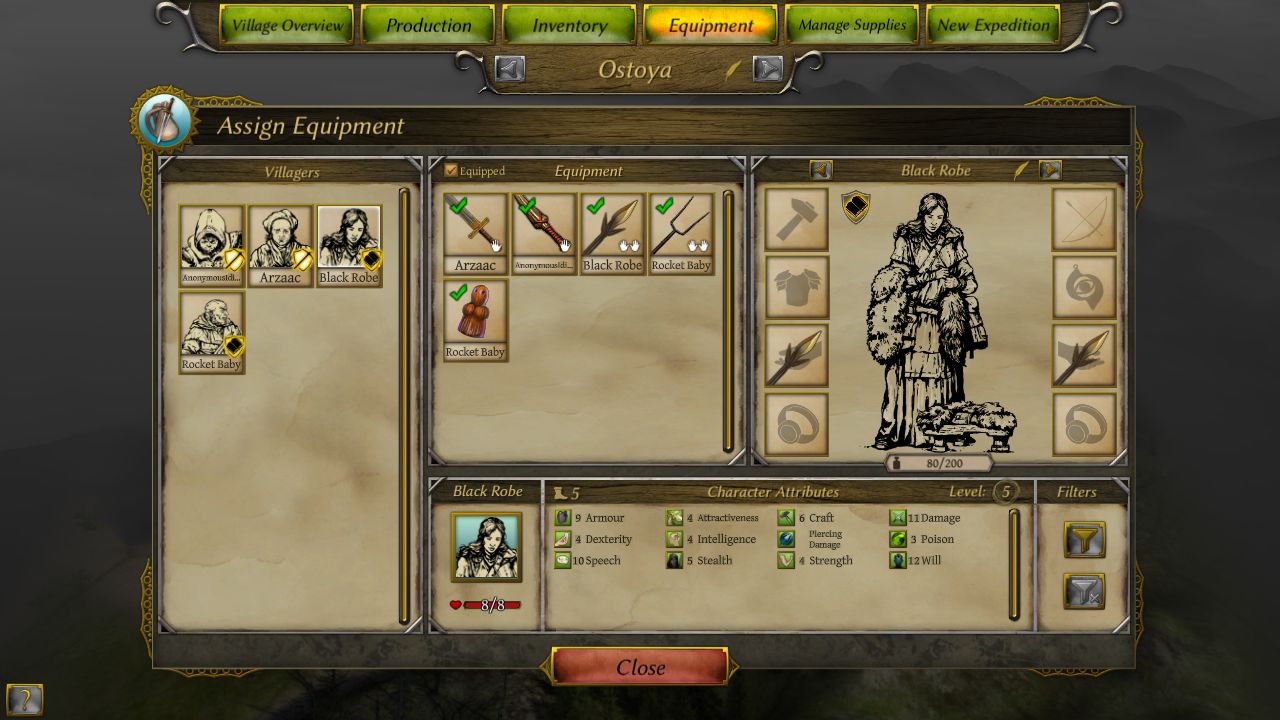
First up is Black Robe, one of our crafters. Crafters are all about having a high natural crafting skill and some good social and mental skills to boot, though often lacking in physical ability (but not always, as we'll see soon).
With only 4 Strength but 10 Social and 4 Attractiveness, she'll be very good if we ever come across any difficult social challenges.
Note: Even though they're technically called attributes, I'll probably keep calling them skills anyways.
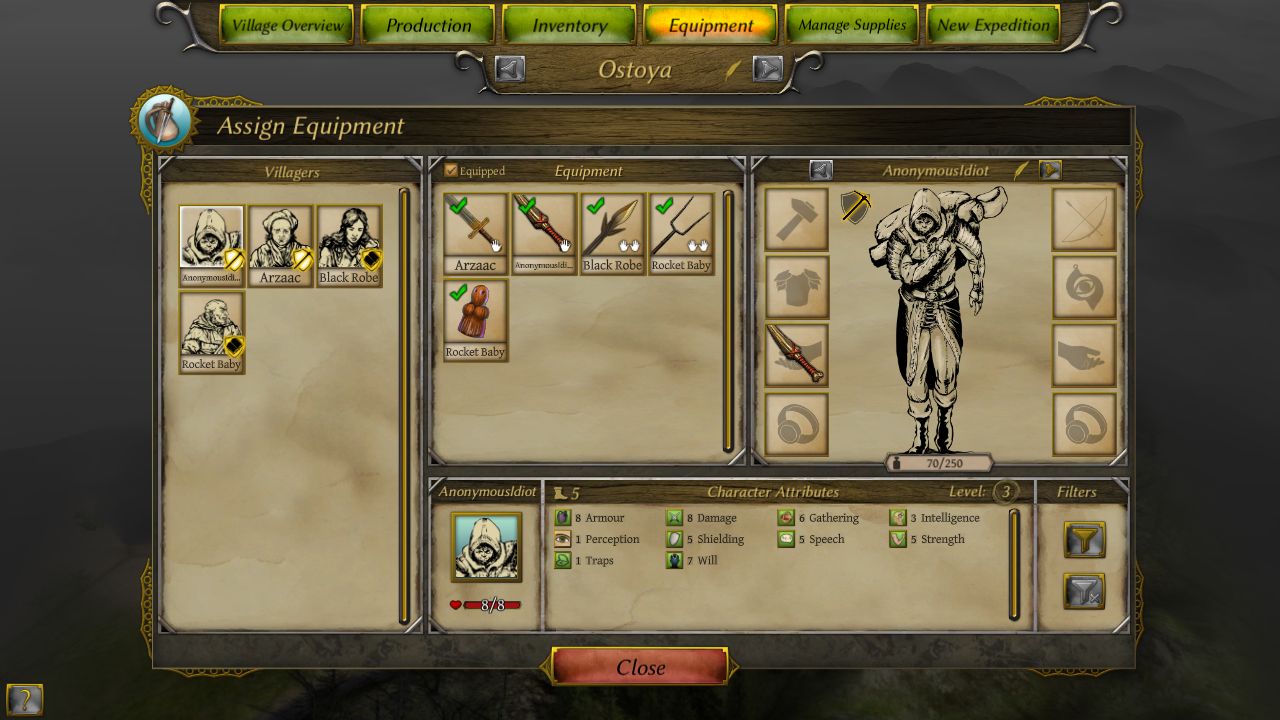
Next is AnAnonymousIdiot, one of our gatherers. Gatherers usually trade some of that natural Intellect and Speech skill that Crafters have for a little bit more strength and their Gathering skill. In the end, it only works out for them sometimes, but gathering is important enough to make it not matter whether they're combat capable or not.
Anonymous here doesn't really have an exceptional amount of stats, but 6 Gathering is very good to have start out.
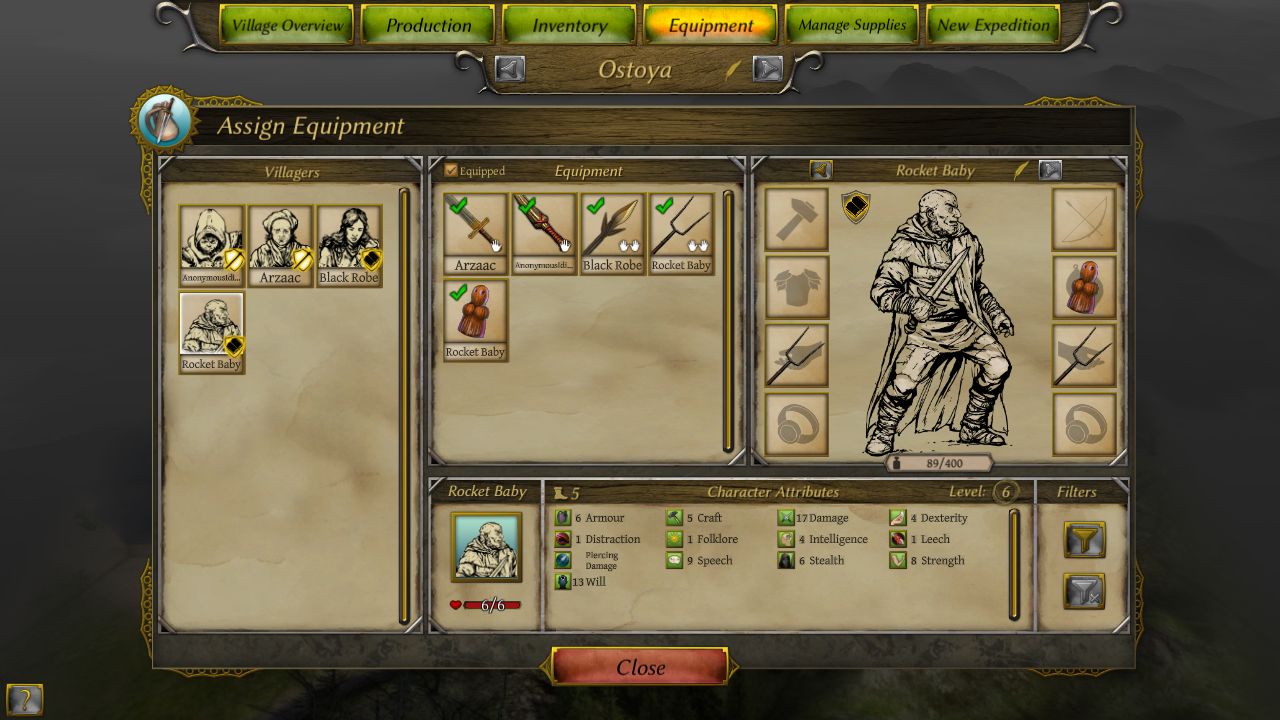
Rocket Baby Dolls is our other Crafter left in town. He's actually got natural Distration and Leech skill as well as being as strong as our Warriors with 8 Strength. Strength not only determines your base damage in combat, but also how heavy of equipment you can wear. I'm probably throwing him on the expedition team as result.
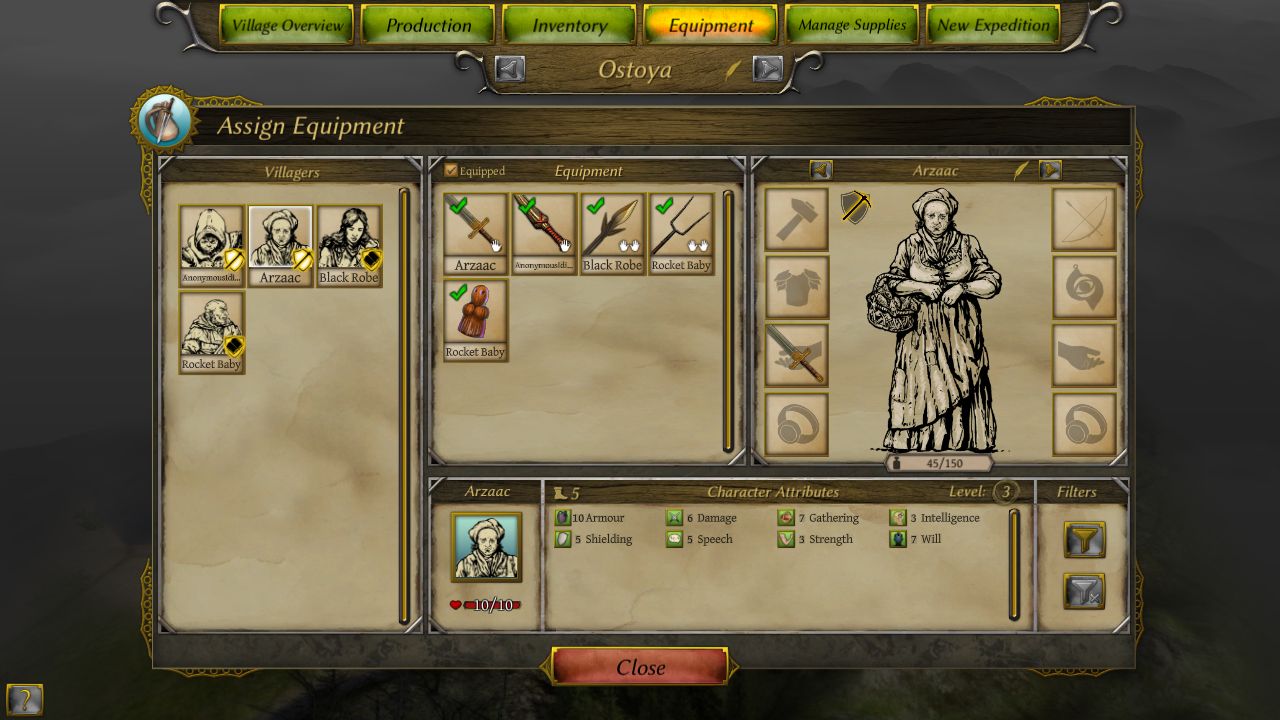
Our last member back in town is Arzaac. She's got 7 Gathering and some high natural HP. Nothing else is particularly stand-out, but she'll be able to hold her own in combat if the town ever gets attacked by something minor.
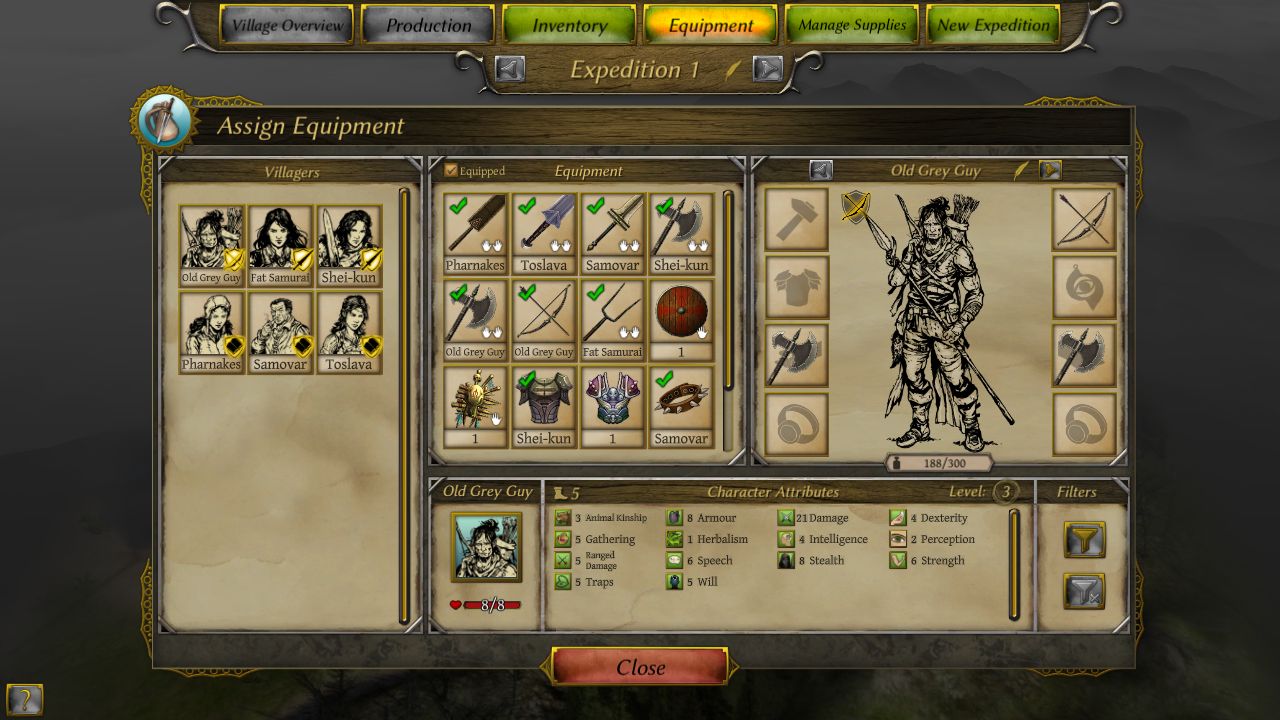
Now, our other 6 villagers on the Expedition team are these. First up, we have Old Grey Guy as our only Hunter/Ranger. Ranger is a special subclass of Warrior that spends less time being swole and decides to have more utility skills, usually Traps, Animal Kinship, Perception, and Herbalism. They also get a good bit of gathering as well, so I really can't complain.
Aside from the very low Herbalism (which isn't too important) and Will, Old Grey Guy is by far one of the better starting Rangers I've seen.
...Far, far better than that one with 4 HP and 3 Strength.
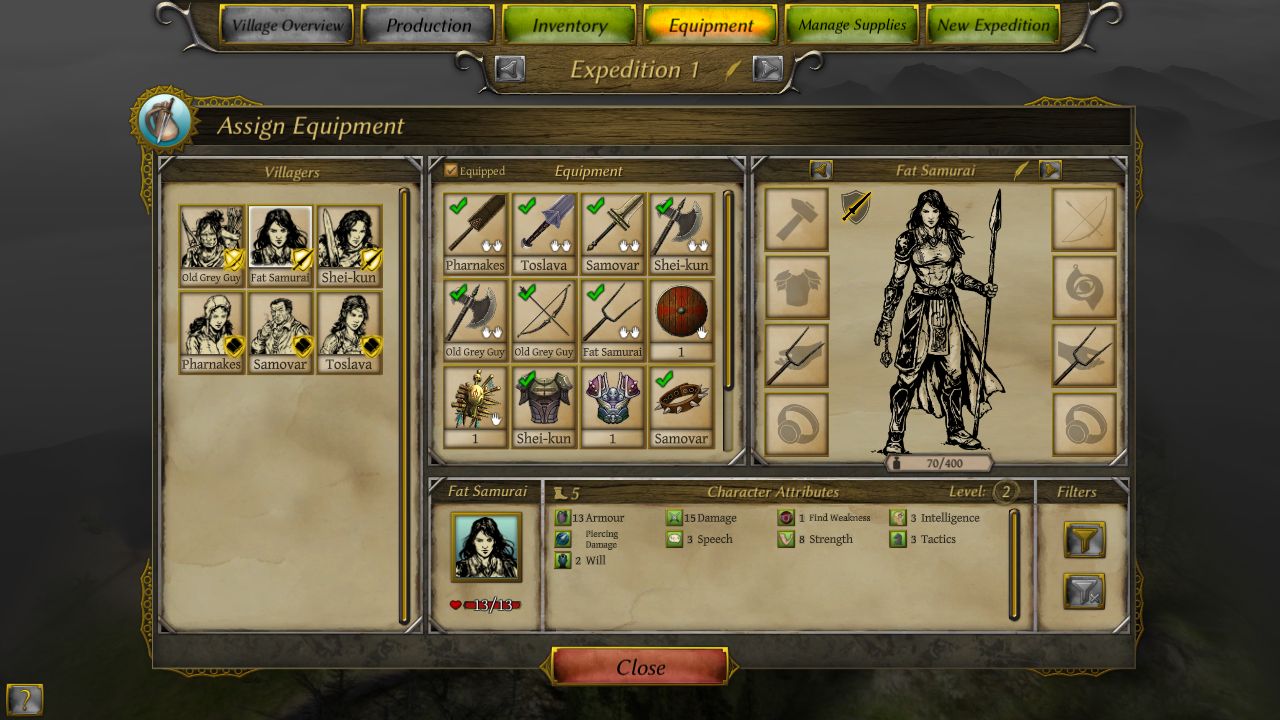
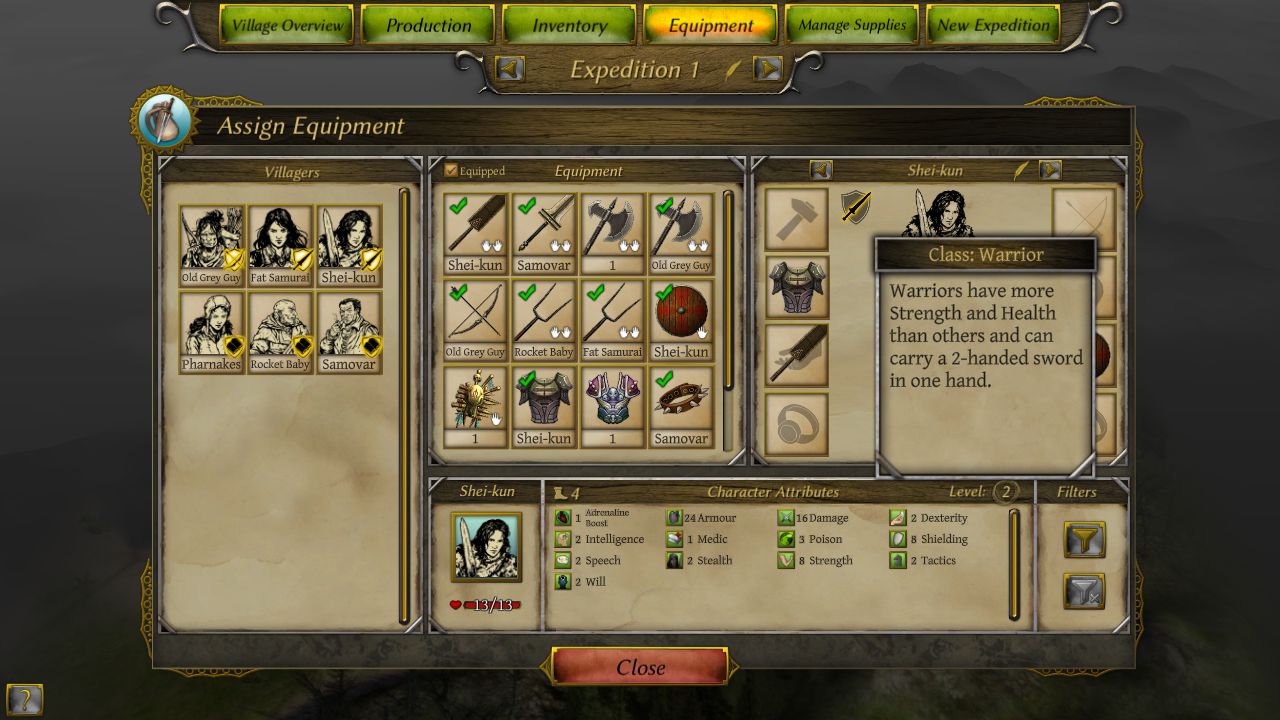
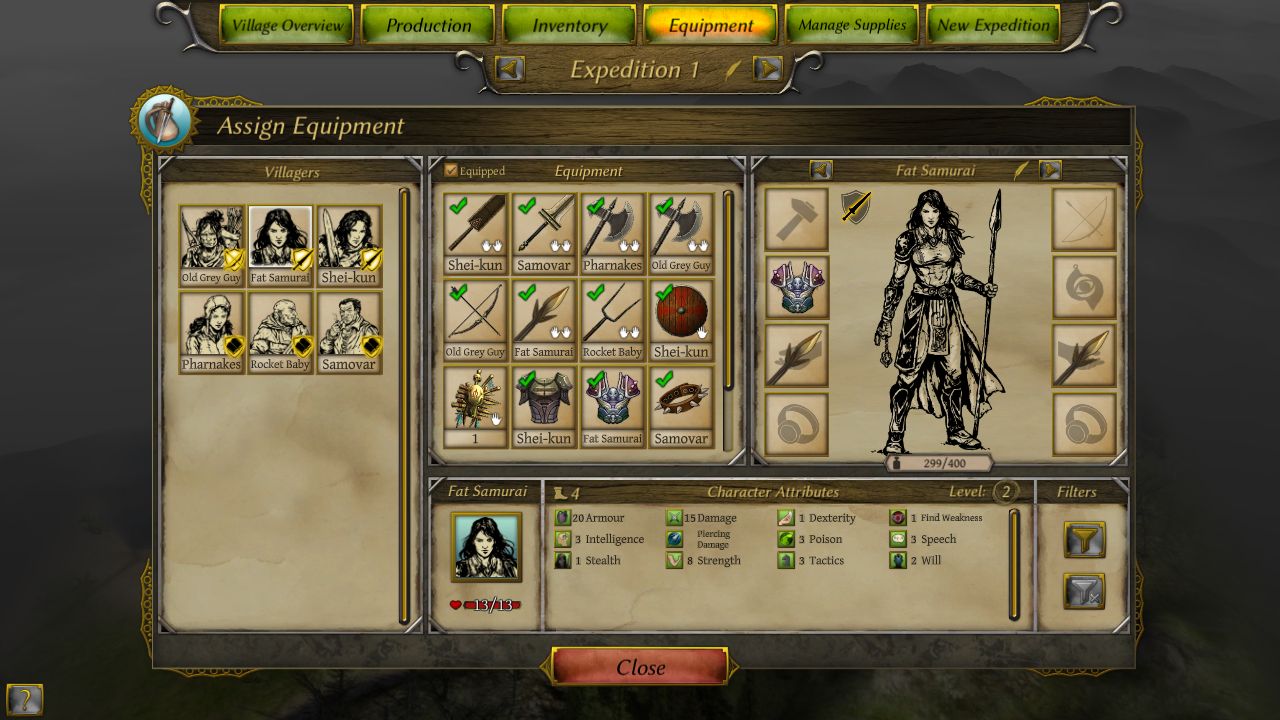
Next up is Fat Samurai, the first of our Warriors. The natural traits of warriors usually makes them decently strong and bestows a bit of Tactics skill and HP at the exchange of having pitiful capabilities in the mind muscles. Oh, and they can wield two-handed swords in one hand, which is rad.
Fat Samurai is a pretty typical Warrior by all means, but has a natural skill point in Find Weakness.
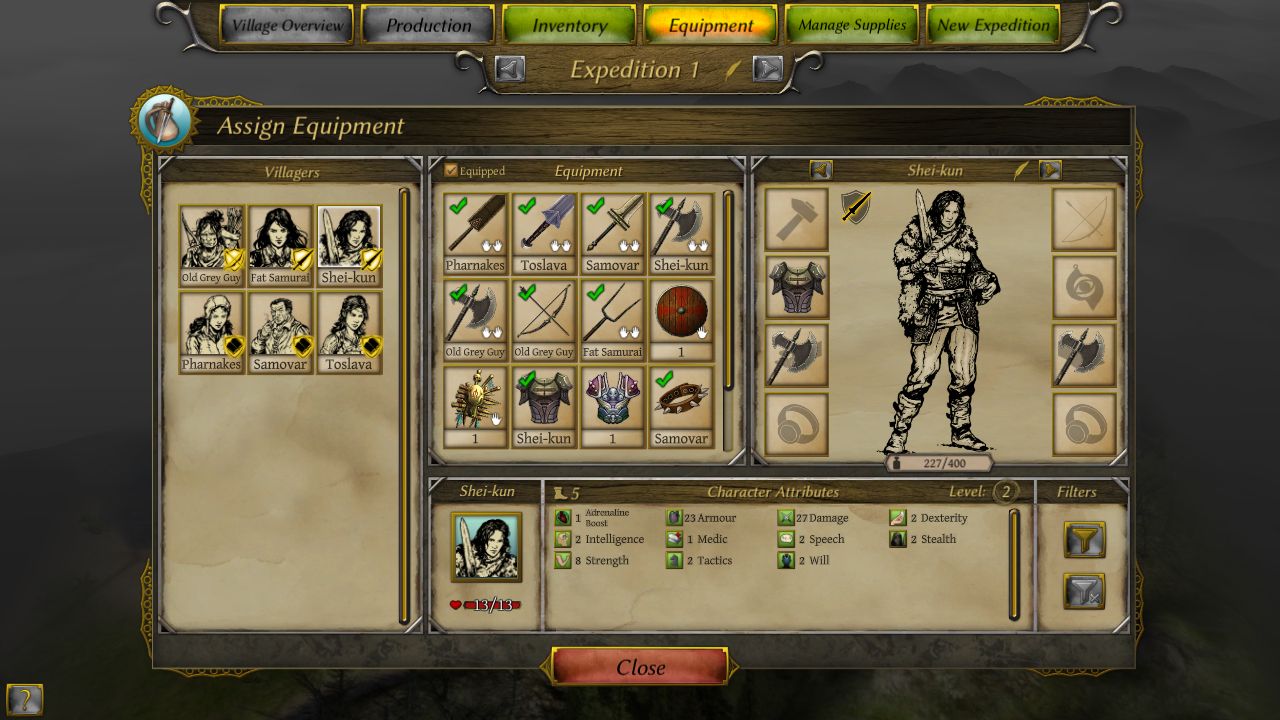
Next, we've got Shei-kun. She's got a lot of stats in really minor values, which isn't helpful, but hopefully those'll grow with some experience. She also is one of our only two characters with the Medic skill, which is kind of a god-send considering we don't actually have a medic.
Only Warrior starts get those, you see. Hopefully we won't have to make use of it, but knowing this game, we probably will.
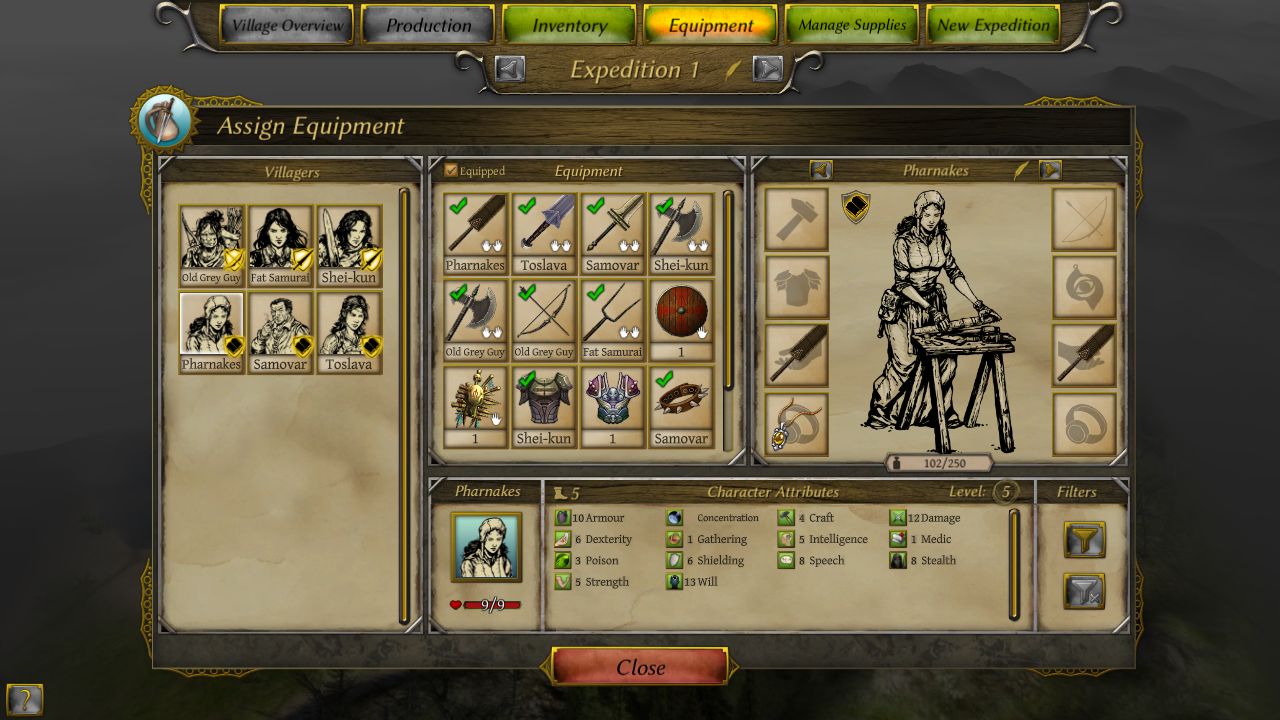
Pharnakes is another Crafter, whose notable traits are her high Stealth and Will for a crafter, as well as another natural point of the Medic skill. She also has an amber necklace which is currently poor quality, but gives 1 Armor, 1 Gathering, and also the Concentration special skill. That'll be important for any intellect or social challenges we come across.
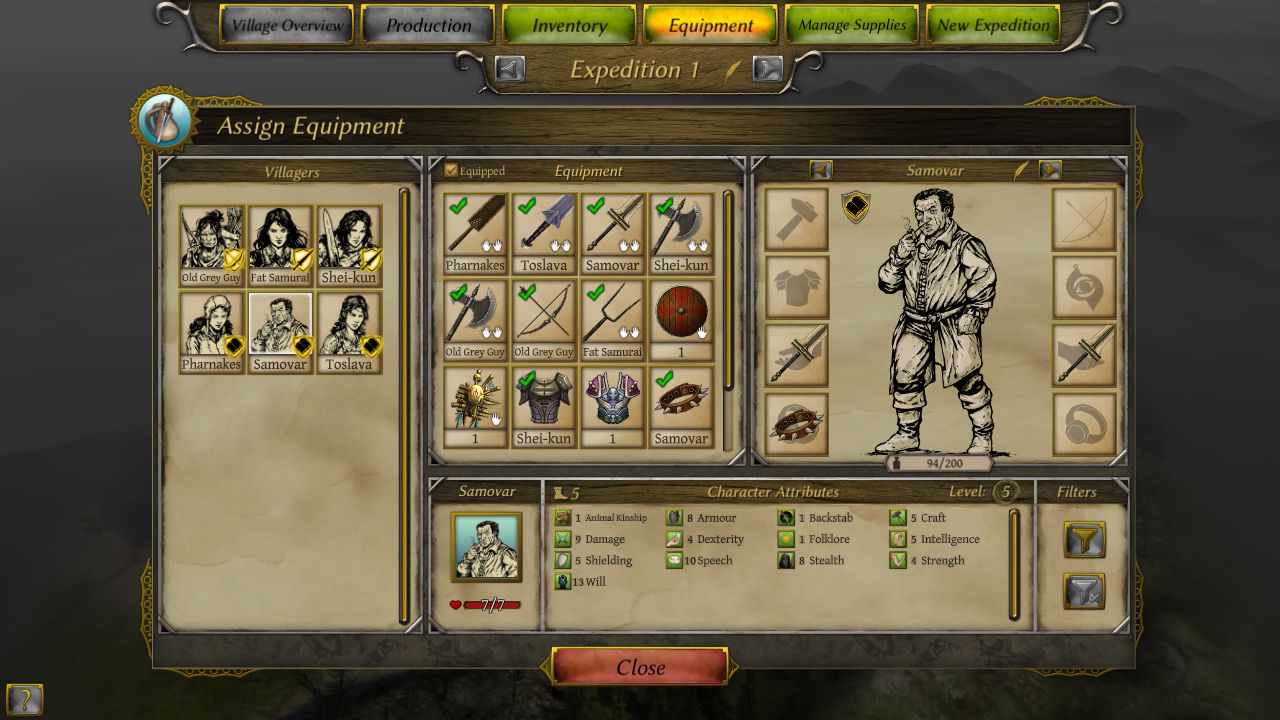
Samovar is another go-to Crafter, though his Speech, Will, and Stealth are quite high.
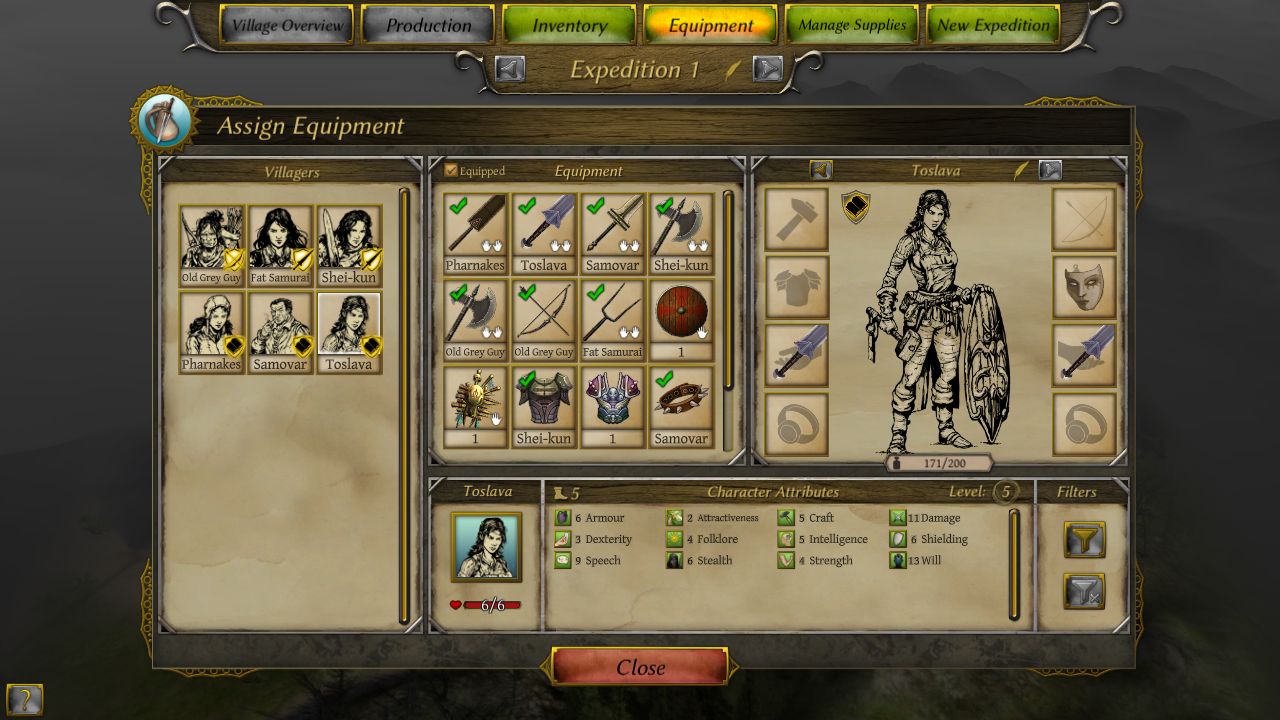
And last but not least, is Toslava, who has not been bestowed a goon title. She's got some decent Attractiveness, some high Folklore and a good Intellect for this point in the game though she is somewhat higher level than some of the others.
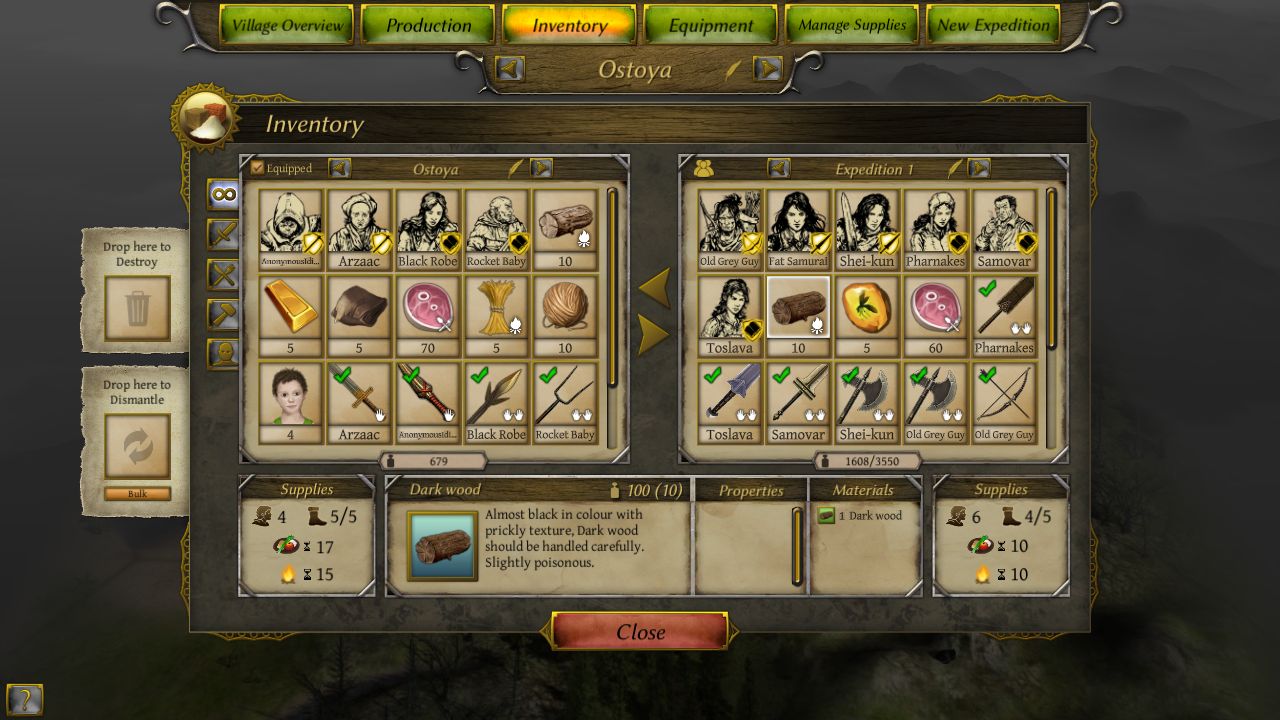
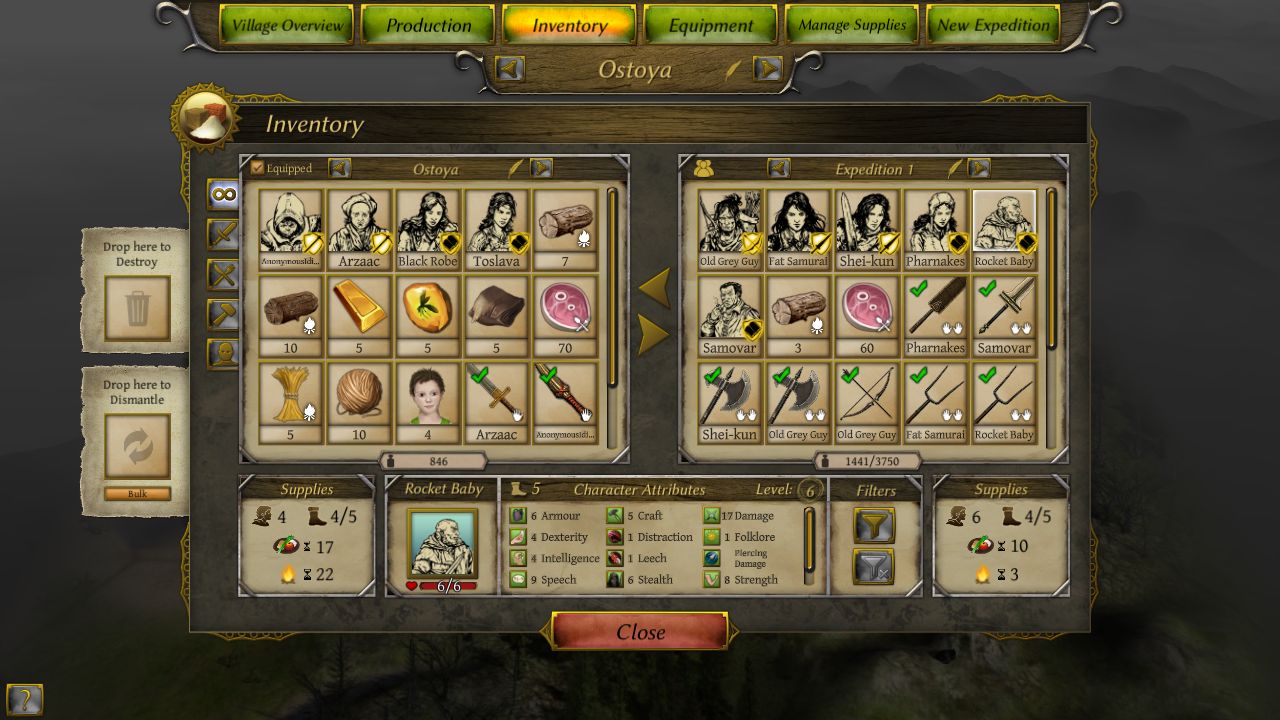
With the introductions out of the way, I move the expedition back to the town and do a little re-organizing on my part.
Toslava gets swapped with Rocket Baby Dolls for now, and some equipment gets shuffled. I take a better spear from town, swap it with one of the expedition's iron pikes, and I give Fat Samurai the unused heavy armor. Shei-kun also trades an two handed axe with one of our crafters for their two-handed sword to make use of their natural ability. We're unfortunate enough to have no hammers, but I'll take the large number of spears.
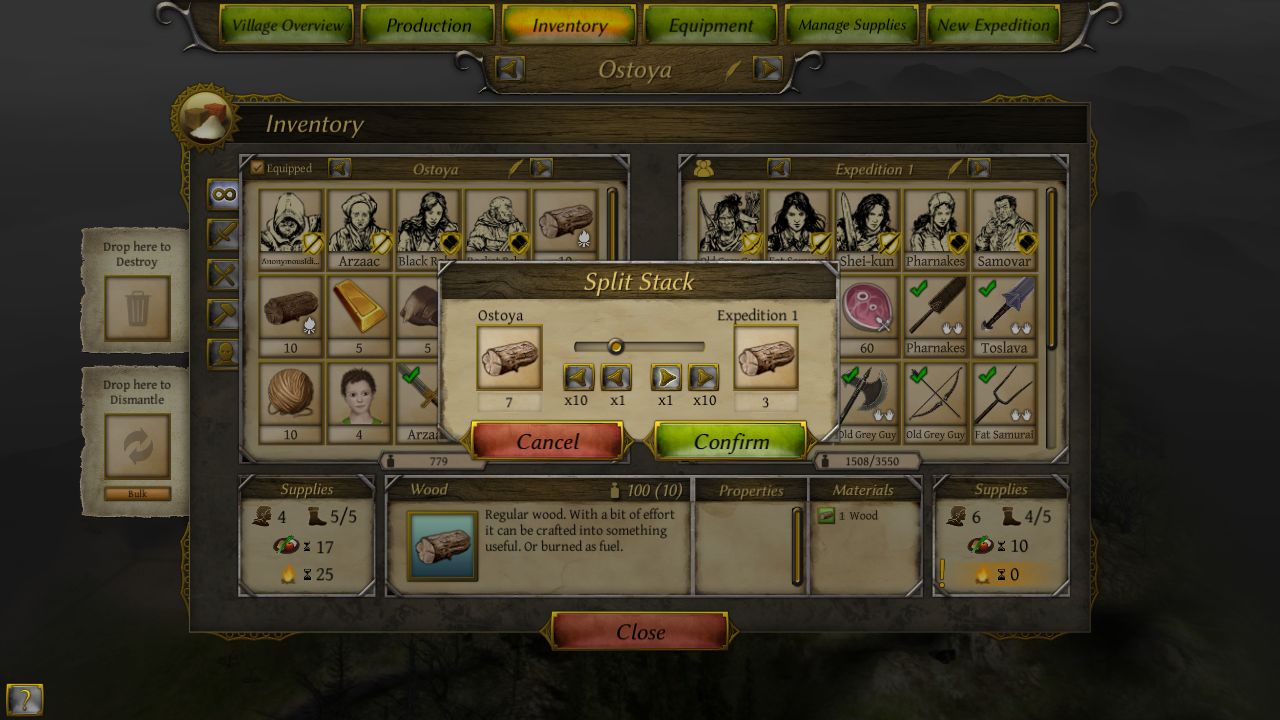
I'll cover the basics of what makes each weapon different in the next update, but for now just know I did some swapping. I also swapped the expedition's dark wood supply with a small amount of normal wood. Dark wood's kinda useful for crafting in the early game, and I'm making the elective decison to keep it for now.
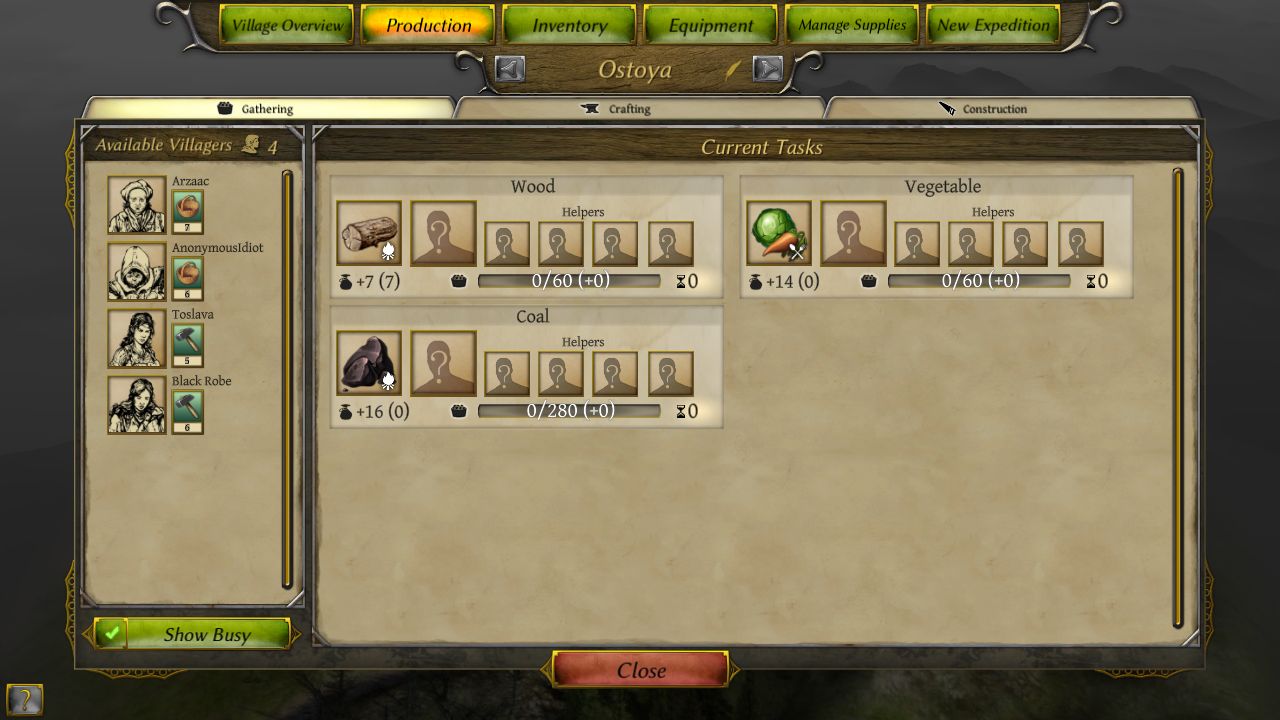
Here's the gathering screen, which shows what resources our town can gather from its surroundings.
Gathering rate is 10x the gathering skill for the main person working on gathering and half that for anyone assisting. If you have no gathering skill, it is 5 as the leader and 2 points while assisting. On lower difficulties, any extra work will carry over to the next turn, so a person doing 70 points of work for a 60 point job will layover an extra 10 points every turn.
It's not easy to explain. In short, really good gatherers or crafters can produce multiple in a turn if they're skilled enough.
Wood resources are consumed one per turn for every turn to keep the lights active. When it goes out, the town gathers and crafts at half speed, as well as significantly slowing HP recovery. This same rule applies to a expedition if they're camping. For the most part, this isn't hard to maintain with just normal wood or straw and can easily become negligble by the midgame.
I set Arzaac to work on this as she'll double produce every 5 turns.
Food is consumed each turn, one for every person. Without it, you starve. We can get 14 vegetables in a turn if I set Anonymous to it, so I do. We started with a decent amount of meat to begin with, but it won't last forever.
Having coal nearby is very nice as it's useful for crafting, though it's best if we get a good supply of base items first. This coal vein is very efficient at a rate of 16 pieces per gather, but its also 280 points to get. We're better off leaving it alone until we need it.
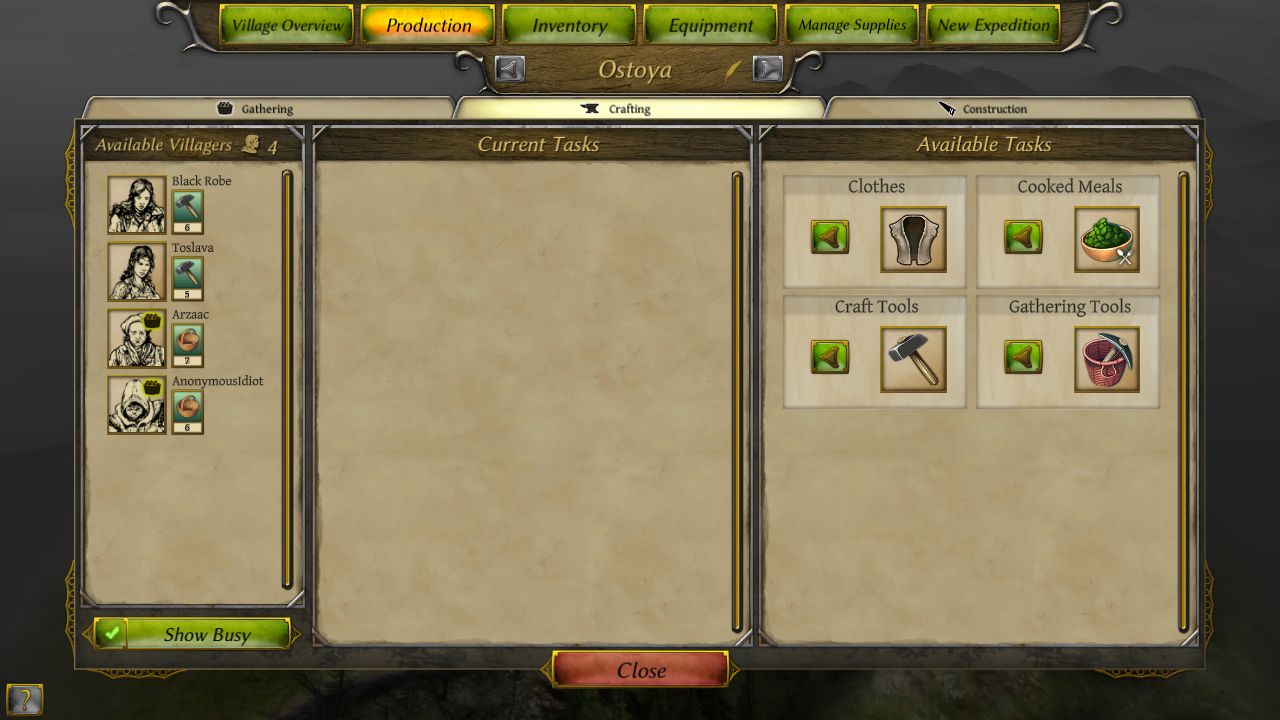
Next is the crafting menu.
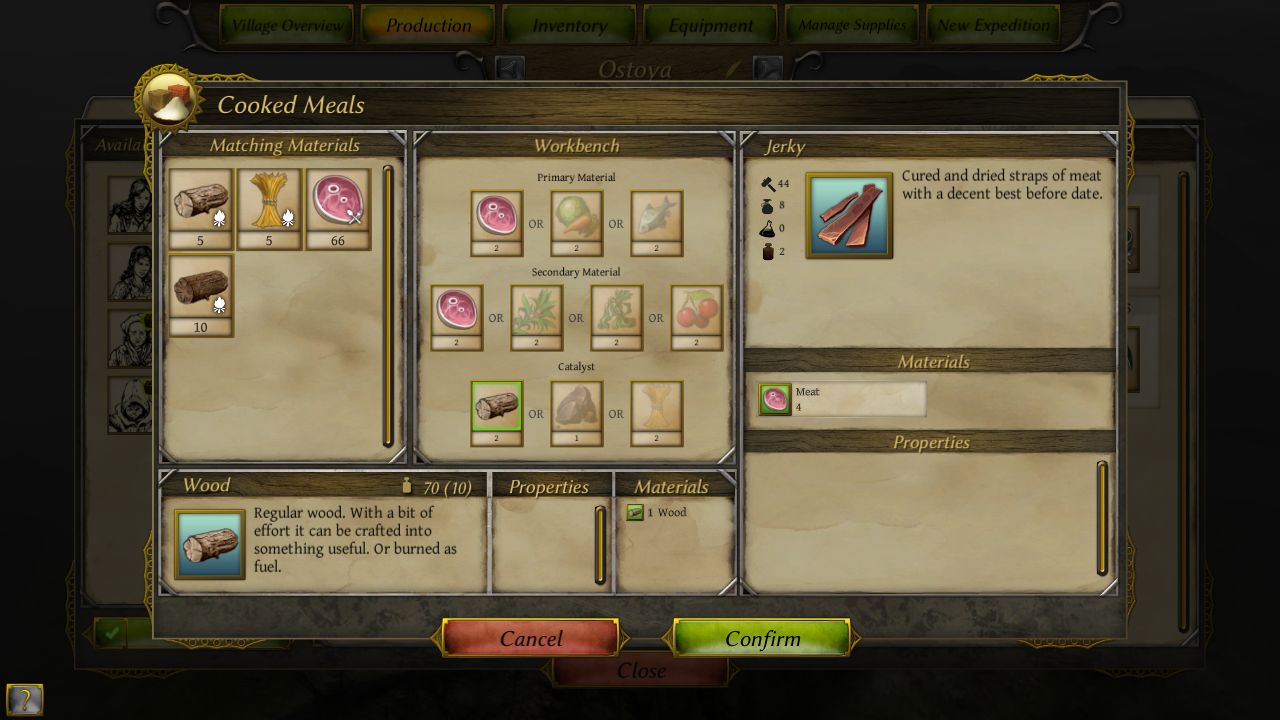
I go ahead and queue up some jerky to be made in order to complete Theodore's request quickly. Its just 4 meat put together. The catalyst in all crafting recipes is basically fuel, and is lost in making the finished product. In our case, we're burning up a bit of wood to prepare our jerky.
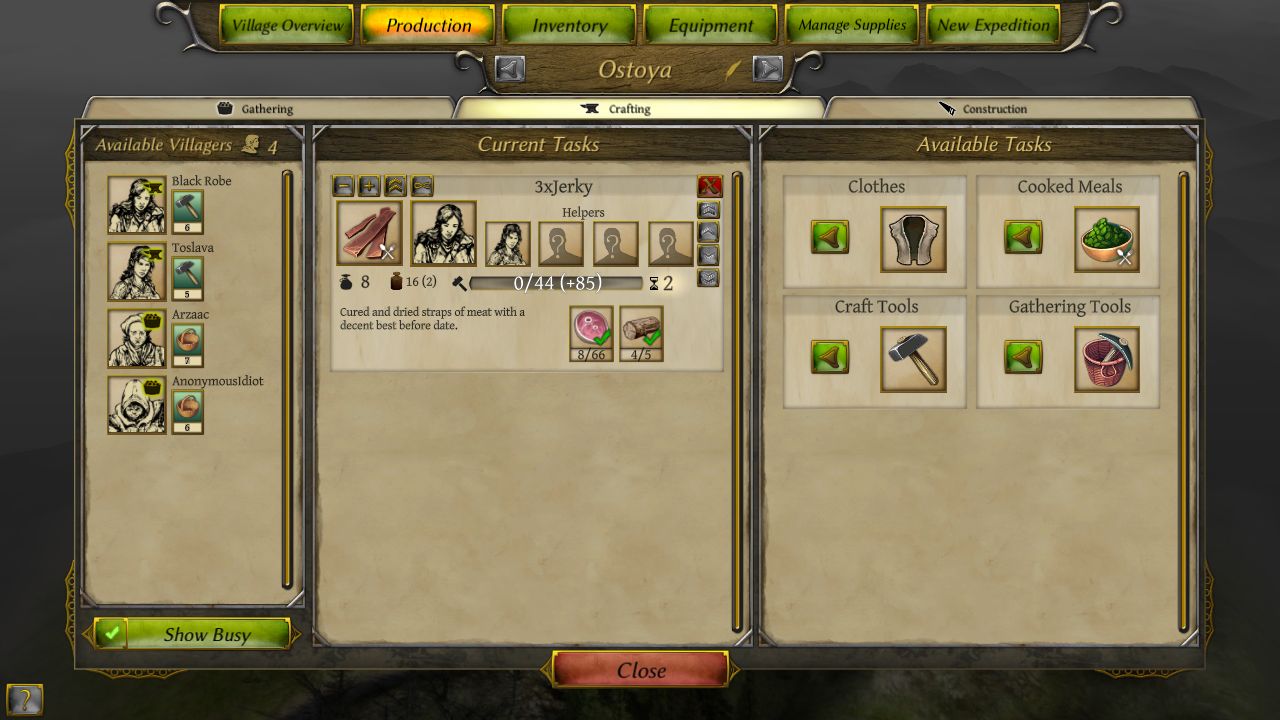
Nothing else is presently worth making, so I set both Black Robe and Toslava to making jerky. Crafting works on the same mechanics as gathering aside from mixing materials and item quality, both of which I'll cover later when we can make something actually worthwhile.
For the moment, jerky takes 4 of our meat and turns it into 8 food items, essentially doubling what we had at the loss of 2 wood. It also counts as another variety of food, which is a mechanic I'll cover soon enough.
...There's a lot to cover overall. This game's a bit overwhelming at first, but not bad at all once you get the hang of it.
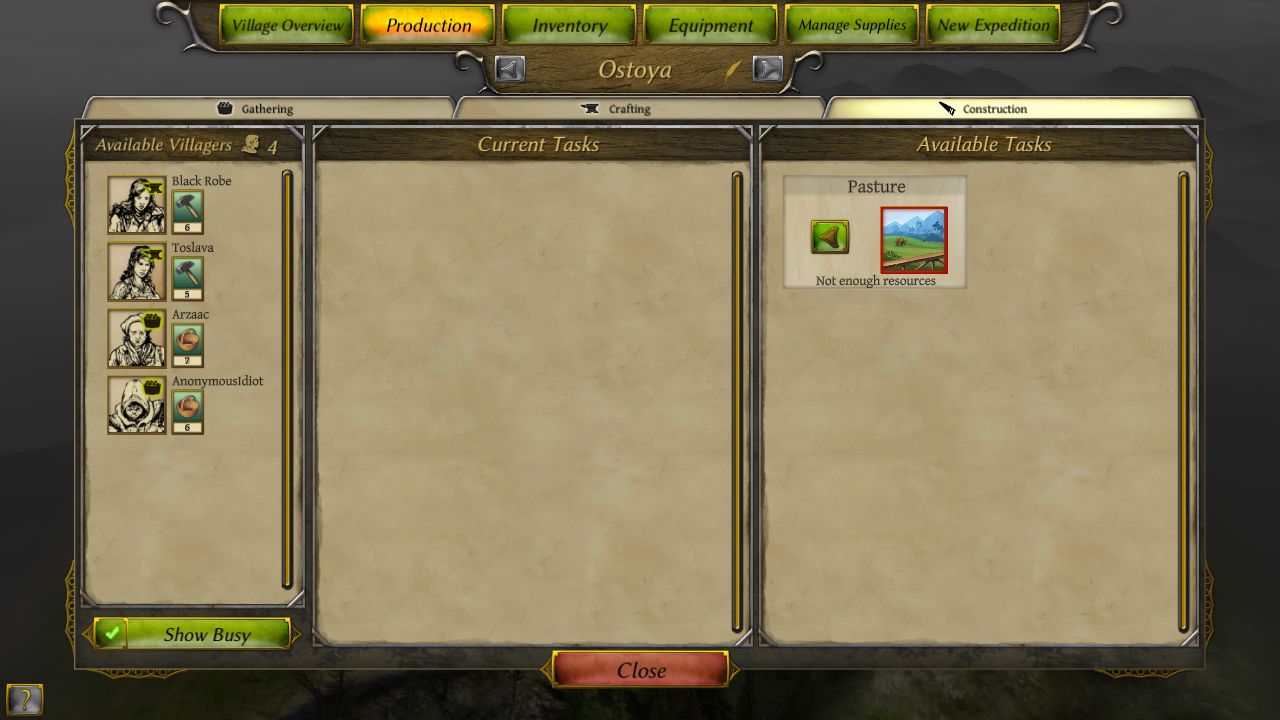
We can also build a Pasture. It'll generate at minimum 1 meat per turn, but can make more if it's made with better materials. It takes more wood and food to make than we've got right now, but it's an option. Pastures are kind of useless by the end of the game, and they typically get demolished to make room for more useful things.
Some buildings do stack, however, and the pasture is one of those.
With all that silly management out of the way, let's do a bit of exploring.
...And we're out of move points already. You normally get 5 move points a turn, and hills and forests cost a bit more to move through than open ground. This is a bit of a pain, but it's not as bad as being surrounded by a snowy circle of mountains.
-------------
Turn 2
-------------
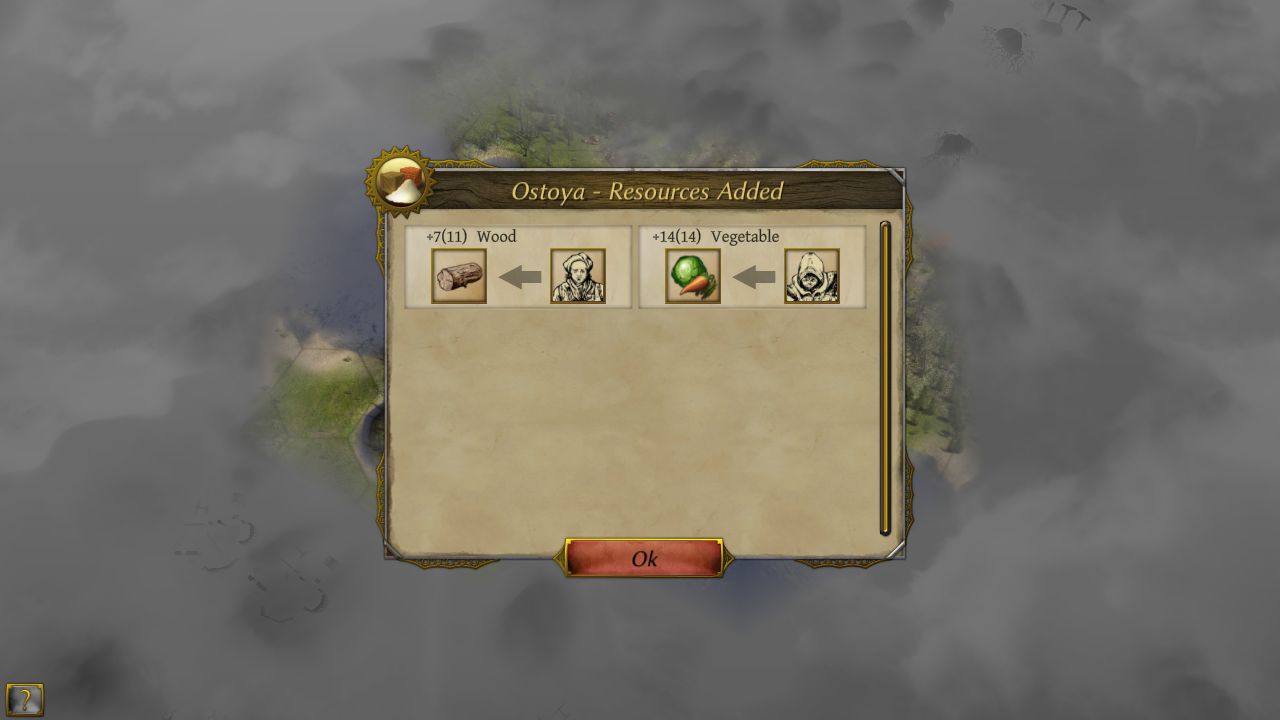
Some jerky got finished, and our gatherers are doing their jobs. We also started with a science point that we haven't invested in anything yet. I'll get to that later.
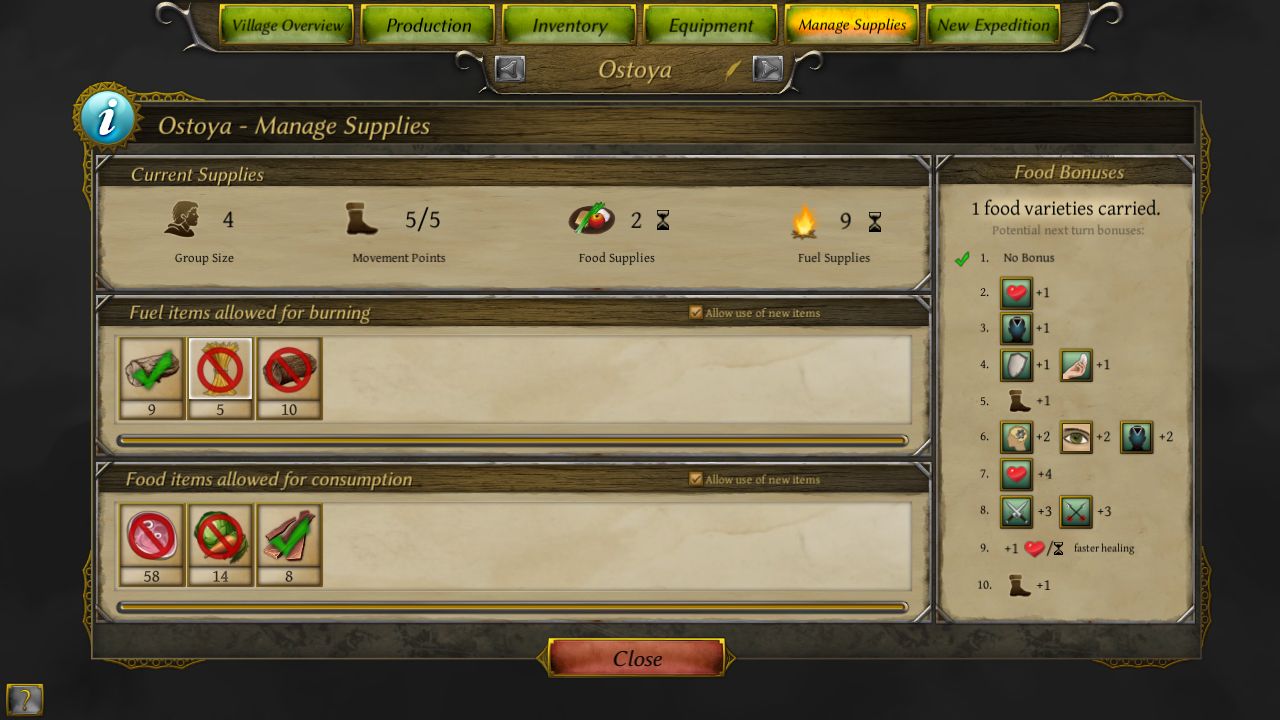
Back in town, here's the first time I bothered to screenshot this menu- Supply Management.
It lets you limit what resources your people will eat or burn for fuel. In our case, I'm only letting our people eat our prepared jerky and burn our normal wood.
The reason I have our people eating only jerky is that bit on the side, the Food Bonuses. For having a variety of food in this game, your people gain increasingly stronger passive benefits. Each prepared food type counts as a variety, and making prepared food often doubles your stock, so it helps to ration out raw materials early to make lots of prepared food with it.
These restrictions are only for the town, by the way. All expedition teams have their own, which is great because they usually end up eating a lot of stuff they find along the way.

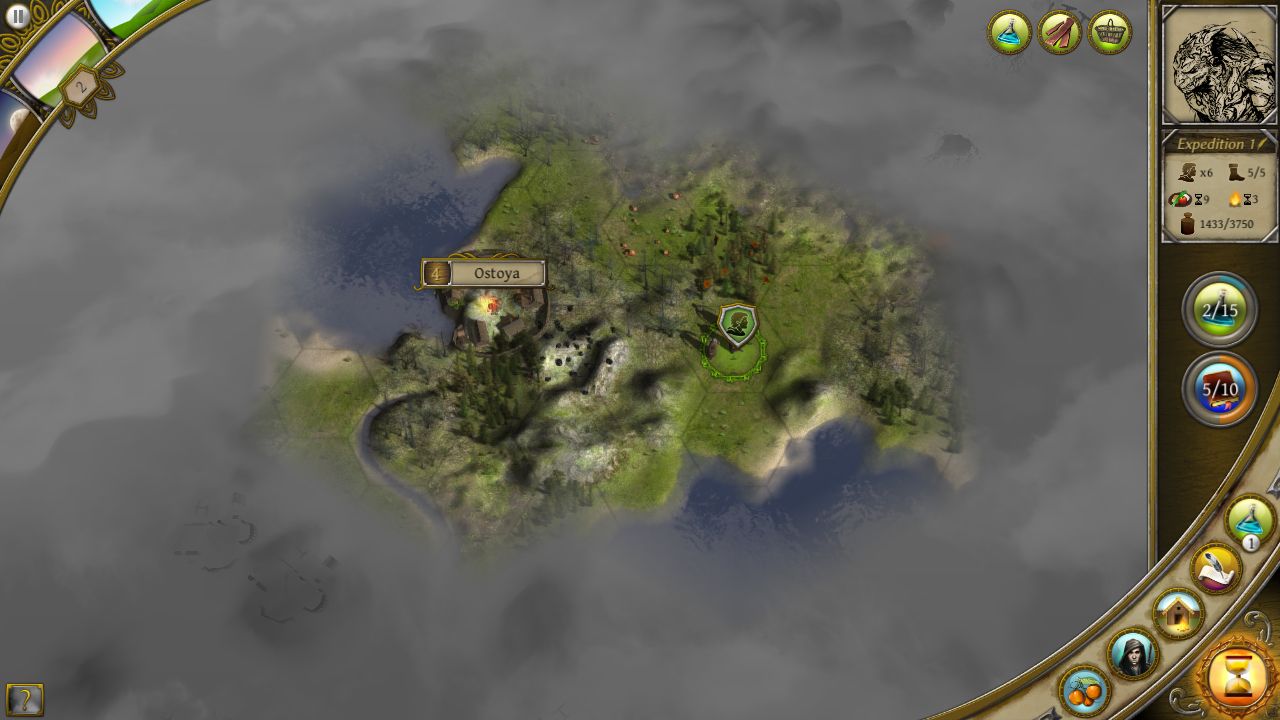
Back in the game, I move upwards some and open up the resource viewing mode. Any icon in color is something we can gather while any greyed out icon means we need to research the material first. Things we can't gather wont be visible on the map without this mode enabled.
The only thing I'm seeing presently that we can't gather yet is Spidersilk, which is a very good thread material. It's light and high quality, making it very good for accessories and light armor.
Next to us are herbs and mushrooms. Mushrooms aren't very notable, but herbs have a minor use in some events throughout the game, and besides, food variety. It'll be beneficial to carry a few, but despite being usable in recipes, they aren't edible raw.
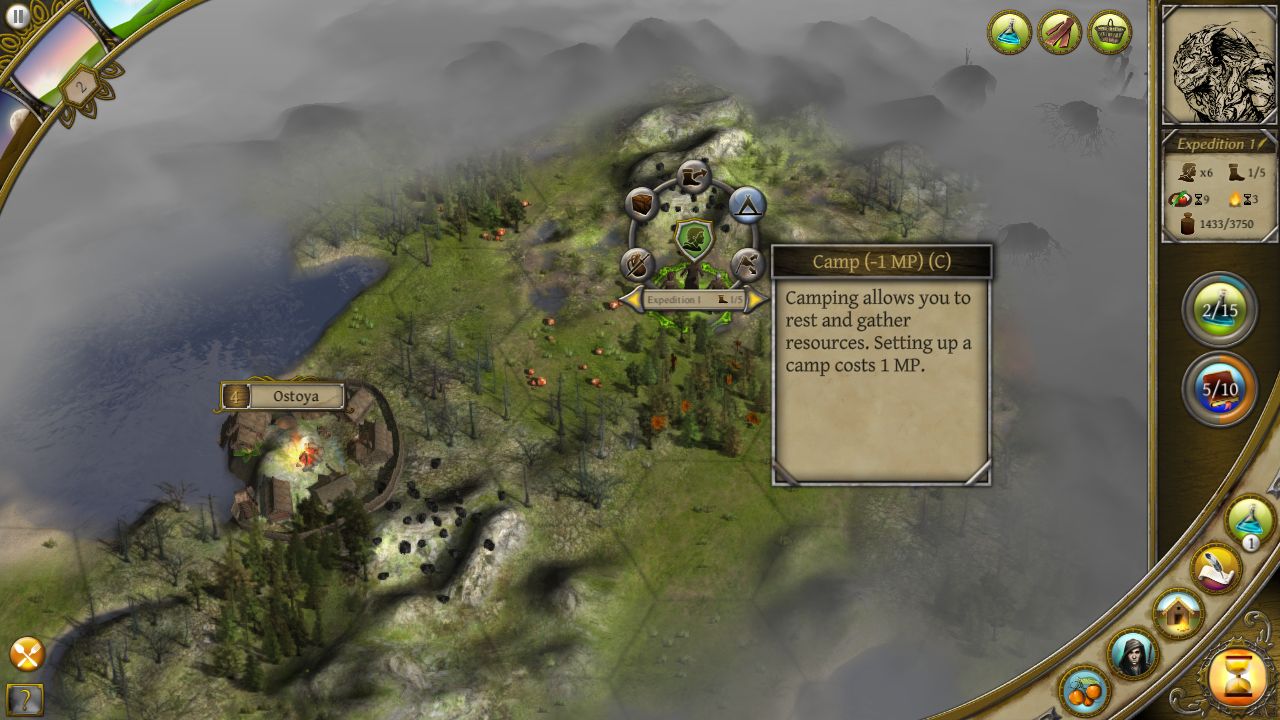
For now, I'll go ahead and set our expedition to camp. Doing so counts as one move point, but sets us up a pseudo-town that can gather resources and regain health faster. As noted before, this does consume wood per turn, however.
I set our team to gather a little bit more wood first and then start on picking up some mushrooms. Having a Gatherer/Ranger or two with you on expeditions lets you survive on the road longer without having to return to camp. It'll also be the only way to gather rare materials that you have nowhere near home.
--------------
Turn 3
--------------
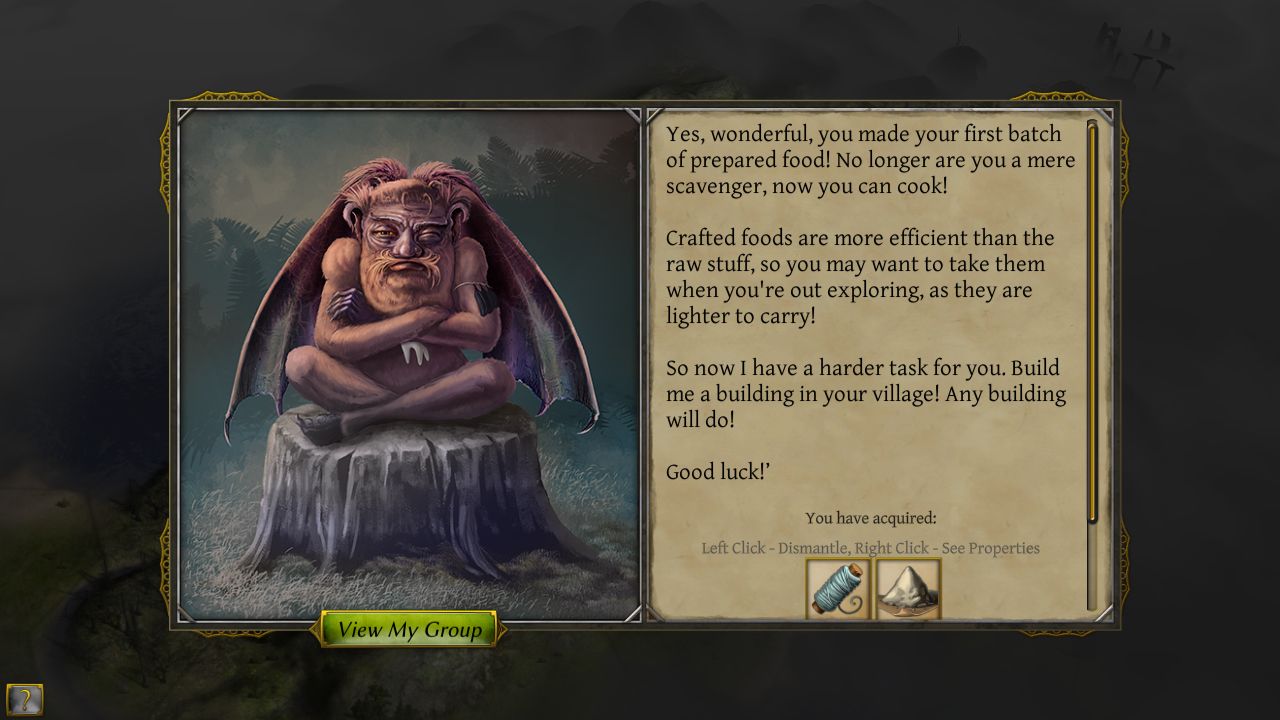
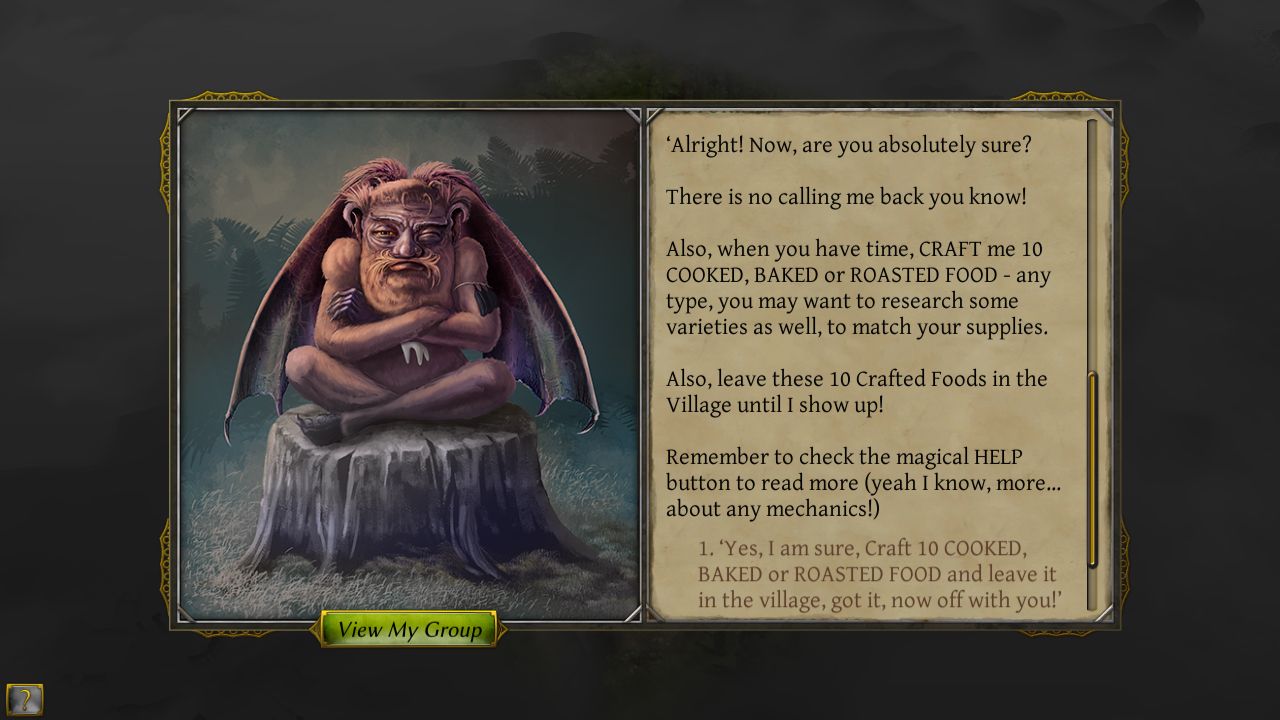
Immediately, we are bombarded with this message. We completed Theodore's lunch task and he's come to congratulate us. And yes, he does indeed take the food you make. Now he wants us to make a building. That can wait for a bit, though.

...But he's nice enough to give out some rewards for it. This is a really "meh" set of rewards, as I've had him give me end-game level stuff before. It's also a really
 : You didn't let me do my tutorial, you see. I'm not in as a generous mood.
Yeah, yeah. Apologies, but I've got this.
...I think.
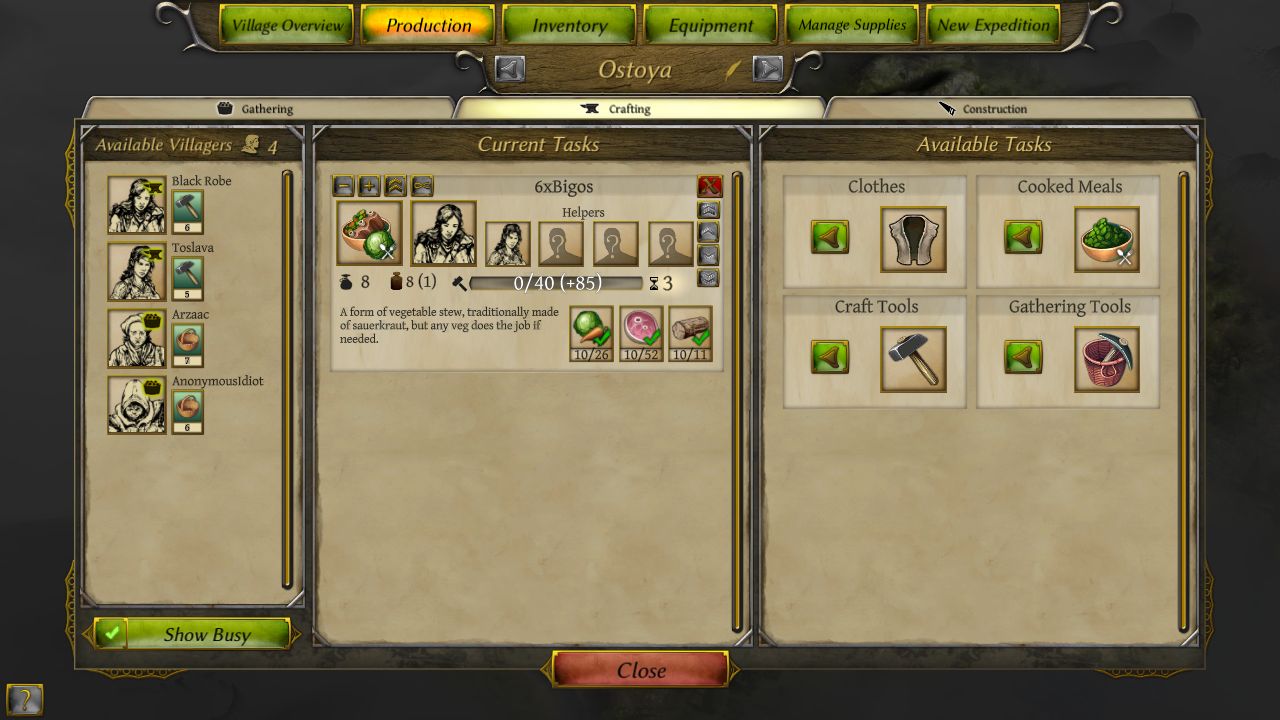
Anyway, back in town, I set our crafters to making some bigos now that we've got vegetables to make it with. Vegetables and vegtables can't be mixed together for a meal, unlike meat. Cost-efficiency wise, we'll get more meals out this way, and quicker since it's slightly faster to make.
I'd also like to note that Black Robe and Toslava are killing it in the kitchen, making 16 meals a turn and still leaving a little prep room.
--------------
Turn 4
--------------
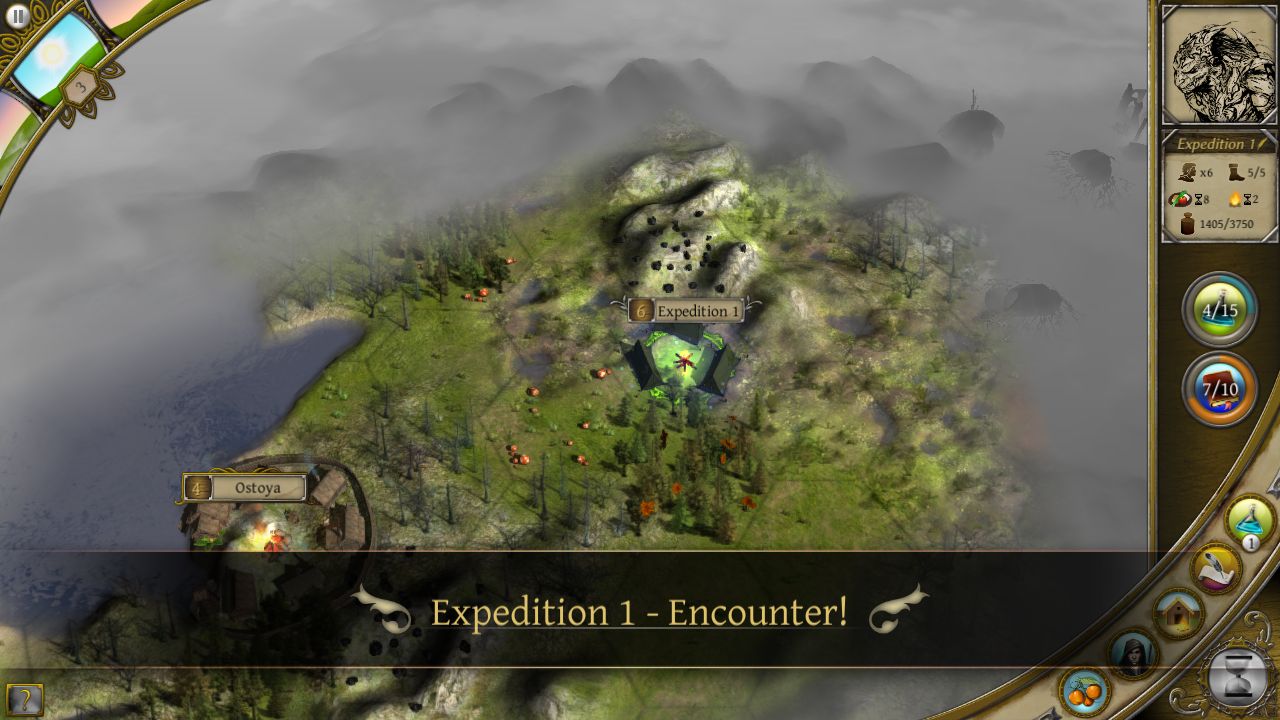
Ah, what's this?
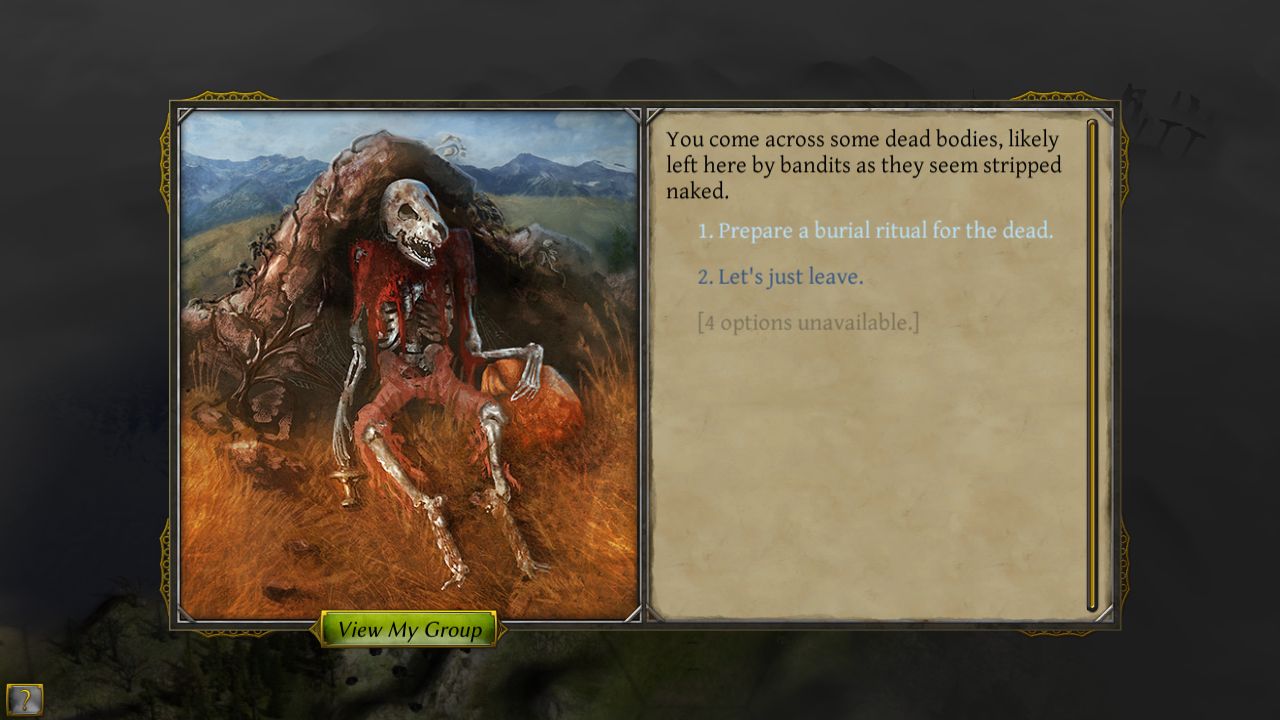
Oh, it's just one of the extra events. This game came with an extra selection of events you can add in, but they're all really minor and in my experience, aren't as interesting as the normal ones.
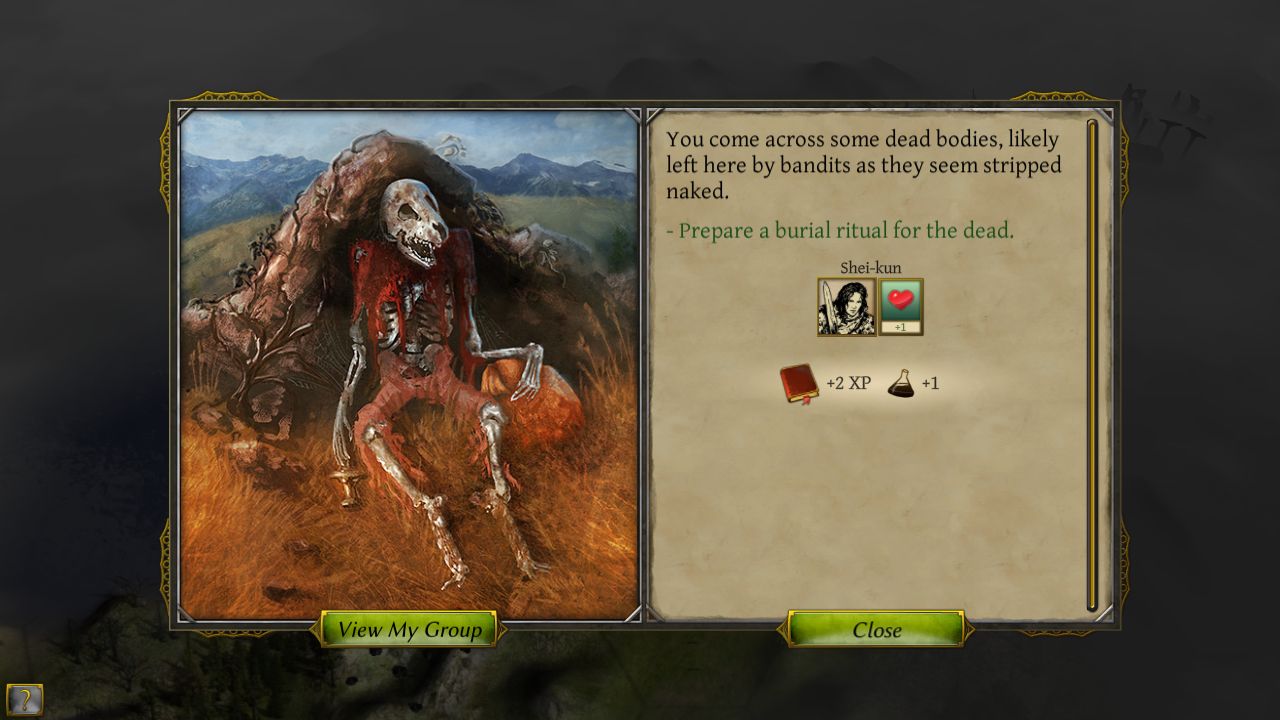
I'll have you all vote on how we handle these in just a bit, but for now, I'll be nice and the game is nice back to us. We get 2 XP and 1 Science, plus a permanent +1 to HP for Shei-Kun.
--------------
Turn 5
--------------
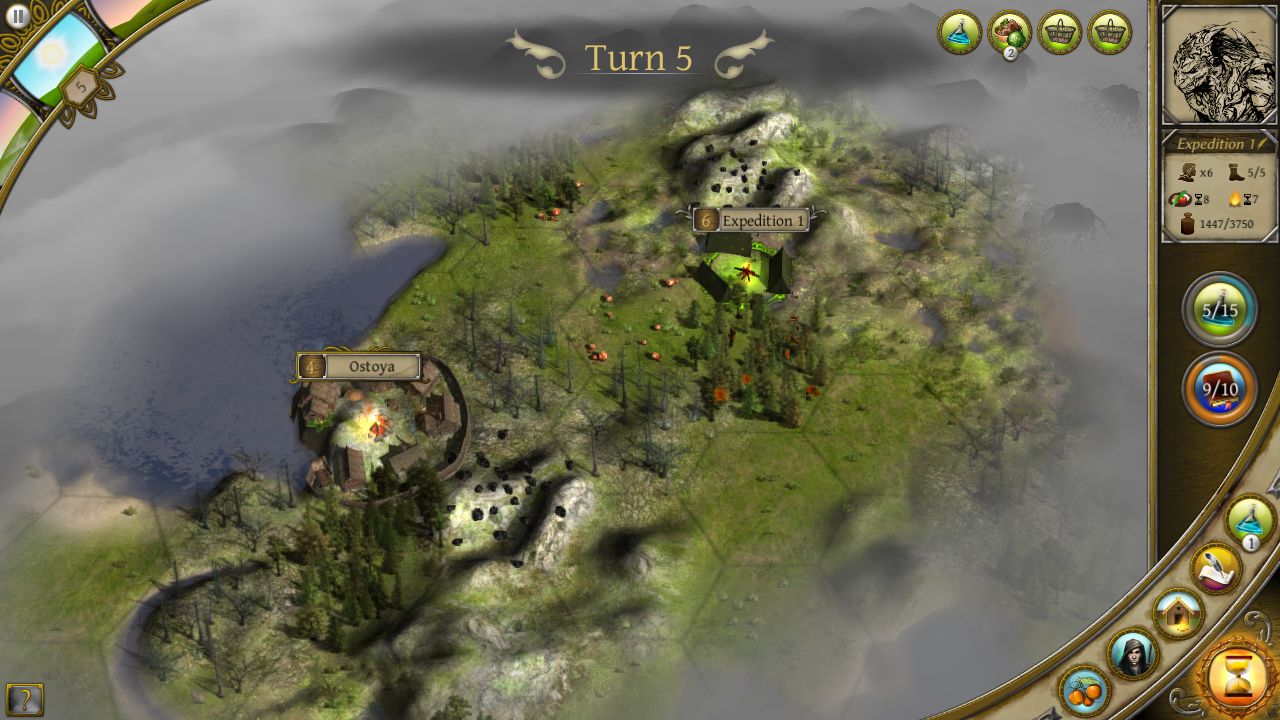
Actually, we'll leave it here for now. Next update, I'll show off the combat and then it's just a really loose hold on the reins from there. I'd show off the science points and research menus, but I've already dumped enough mechanics on the thread for today.
I'll be less informative in the updates after the first and keep the conversation more in-character. I'm presently just trying to hand out some info so that for those voting in the thread can get an idea of what's going on and being voted for, but this game is rather obscure and not everyone's familiar with it.
Speaking of votes, we've got a few more to go for.
First, what should our town be named? (15 Characters Max.)
Secondly, how should we approach events from now on? Shall we:
1. Play it very safe. Avoid taking wounds if at all possible and only fight if it's guaranteed.
2. Take only risks we think we can handle. Wounds are fine, as long as none of us die.
3. Go all in, all the time. We're not backing down from a challenge, if it rears its ugly head.
Lastly, how do we act? Do we always:
A. Do what seems to be the right thing whenever possible.
B. Always try to make the most profit of every encounter.
C. Trust only ourselves, and conquer anyone who seems to be a foe.
(I have to ask this because I can't pause when events show up, and since RNG isn't guaranteed, I can't save/load either. I also need this computer for other memory intensive programs, so leaving it up in the background is something I can only do sometimes.)
If you have any specific requests for your character or a name change, always feel free to say so. If you have any questions about what you see or what's going on, don't hesitate to ask.
Next Time: Malicious Mandibles and the Drums of War