Toggle Background Color
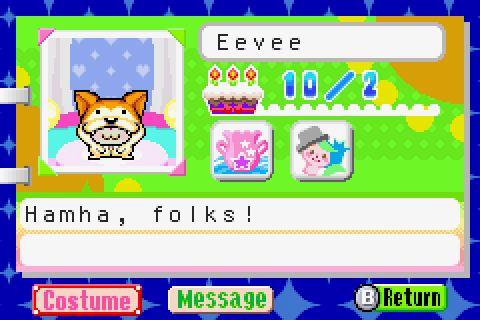
Hamha, folks! That’s right, it’s Yapping Eevee back again with more Hamtaro goodness. This is a GBA game by AlphaDream that some people may remember me mentioning back in ye old Rainbow Rescue LP, where I did a test playthrough of it to see whether it would be suitable for a LP. (The verdict was “yes, but not by me, for Reasons™”.)
But thanks to this one-off thread, I’m going to show you an abridged version of the game, and exactly what those Reasons™ are. So we’re gonna go right ahead and get into Tournament mode, the main story of the game.
 Before you get started, you’ll need to make a Player Card for when you link!
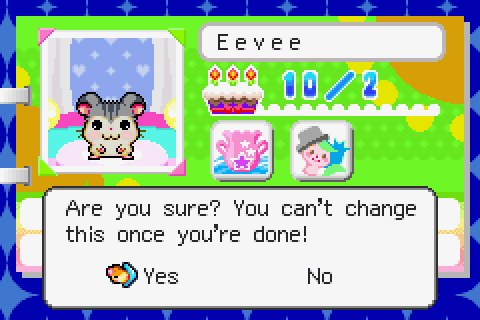
Why yes, I can and will reuse my Rainbow Rescue headshots from five years ago. Anyway, linking is a thing in this game, and required to get certain collectables which we will discuss later. For now, let’s just get this show on the road.
 Thanks for all the information! Let’s get started!
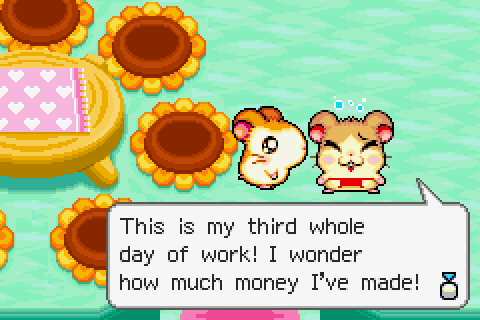
Would you believe me if I said that you needed to at least start the 4th tournament playthrough to get all this game’s collectables? No, really!
Day 1
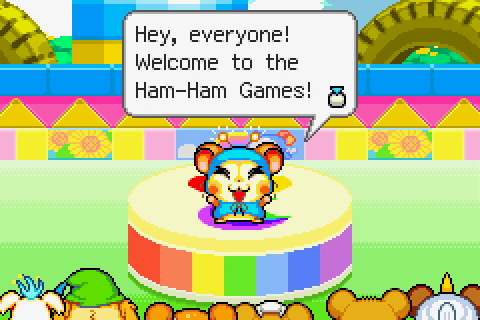
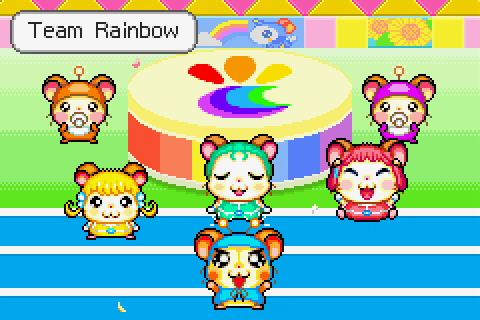
 It’s time to kick off the opening ceremonies! ♩ Let’s get started by introducing the teams!
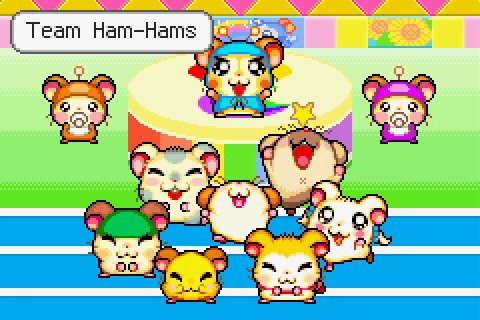
Of course, we’ll be playing as members of the Clubhouse Ham-Hams; Oxnard, Boss, Cappy, Hamtaro, Bijou, Penelope and Pashmina have been selected to compete in varying events.
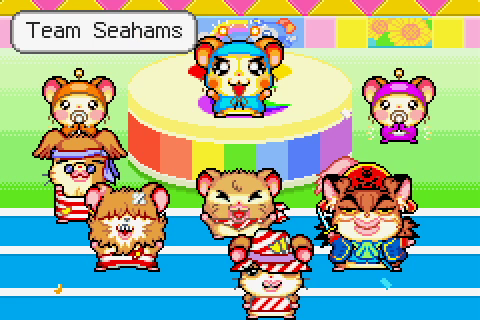
This scurvy bunch are Hambone, Hambeard, Cubby, Hamberto and Captain Hamstern; they appeared as the villains of the third Hamtaro movie, holding Bijou hostage to keep her from... praying for snow?
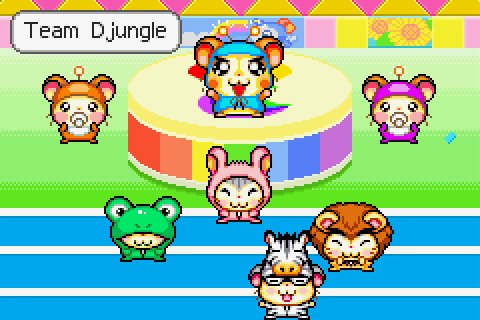
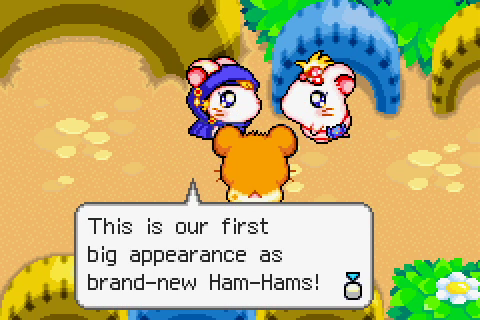
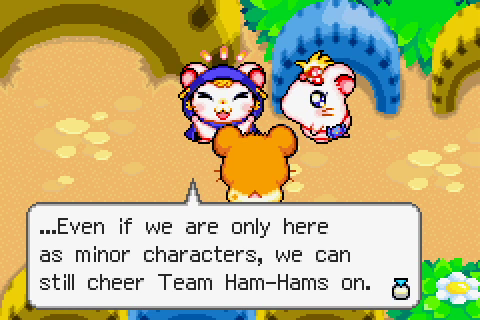
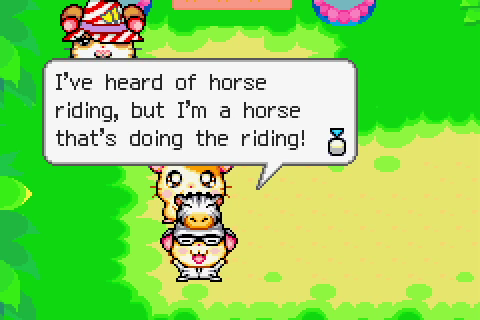
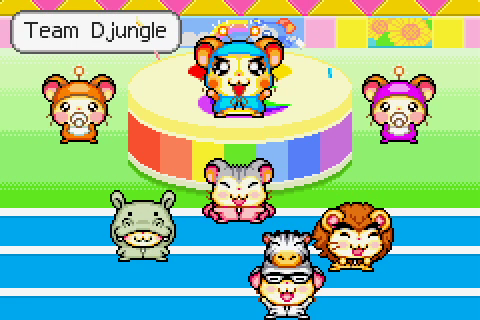
Anyway, here we have Warts, Bunny, Stripes and Leo. They may be little Djungarian hamsters, but they’re here to represent their jungle home! (All of the Djungle-Bell hamsters dress as animals or plants… except for the Djungarian Choir.)
And finally we have Daisy, Ivy, Rosy… and little Prince Bo himself! After being the ‘damsel’ of the last game, it’s good to see him actually taking part.

Everyone: Hamha!
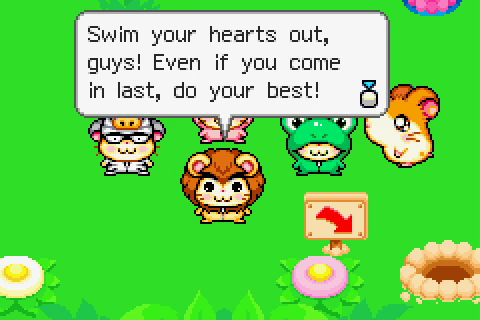
I’ve just got one more thing to say before we go! Play hard, play fair, and do your best for the next seven days! And don’t forget… Play to win
(Yes, no punctuation on that last bit, because it barely fits the speech bubble.)
That’s it! Got it? Get out there and do your best!
Oh, and you may have noticed rainbow-costumed toddlers in previous shots… The seven of them are Bomegrante, Borange, Bopaya, Bolime, Boberry, Bogrape and Boplum. They’re helping organise the games and keep things running smoothly.
And now, we fade in somewhere familiar…
 Hamha!
I’m going to head over there right now. Good luck! See you there! ♩
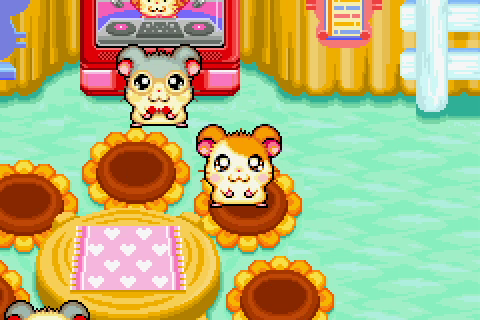
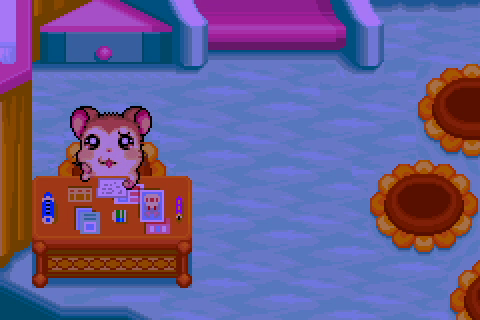
And so here we are, the Ham-Ham Clubhouse itself. There’s a whole hell of a lot to see and do whenever there’s a break between events… which leads to:
Reason #1 I wouldn’t do a full LP of this game - Between each event, you can find the various competitors and assorted other NPCs scattered all through the map, full of unique dialogue and interactions. So you’d have to go everywhere and talk to everyone between each and every event if you wanted to see all the fun flavour text. (And this game barely has a plot if you don’t.)
So you’ll forgive me if the transcription becomes much lighter here, for the sake of my sanity.
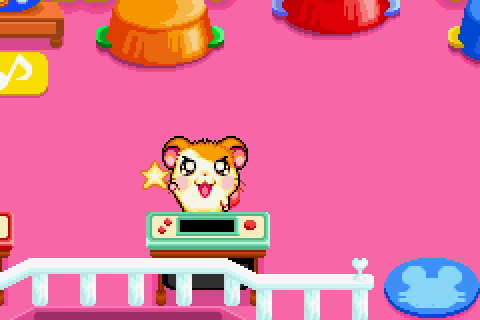
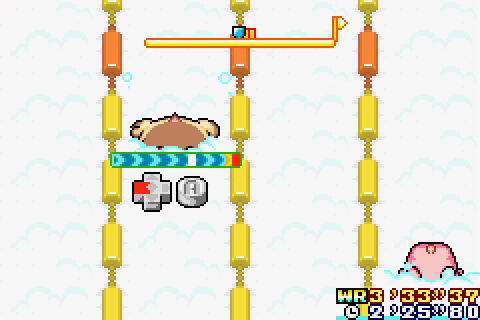
There’s a few side things to see in the clubhouse, like a machine that will let you change ‘Hamha’ in the script to something else, a table full of Maxwell-written tips, and this thing…
...which is a Game&Watch inspired minigame, which you cannot exit without soft-resetting the game. 
Right, let’s move on…
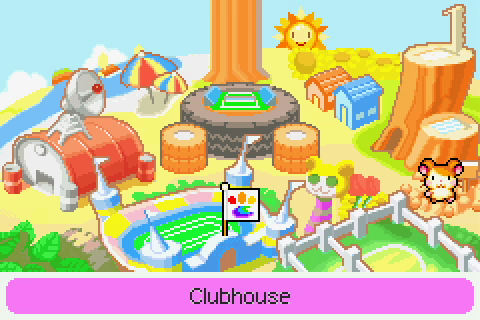
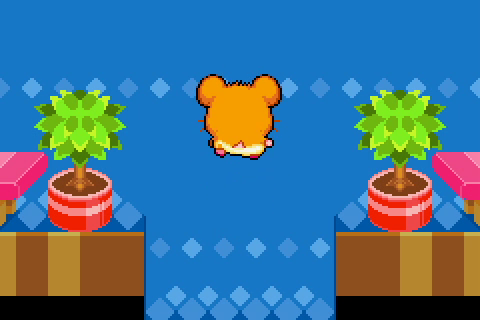
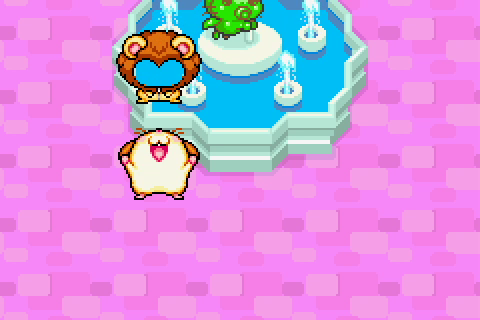
The map is broken into Ham Studios, the Beach, Tennis Court, Stadium, Athlete’s Village, Lawn, Pool and the Clubhouse. Each location has two or three screens, filled with colourful conversations…
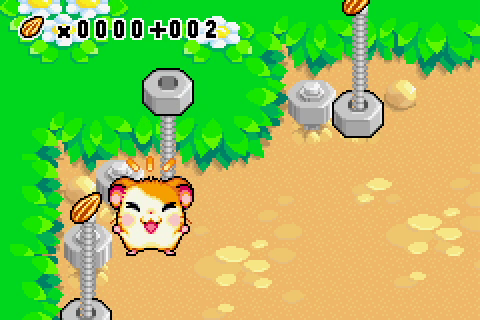
...and of course, Sunflower Seeds! These continue to be used as currency. All the various points you can find seeds at (some of which are hidden) will respawn with the new day, and you’ll want to be on top of gathering them if you want certain collectables.
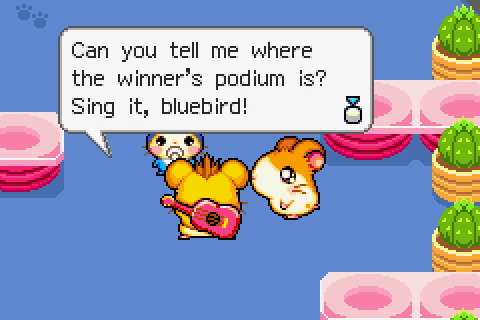
We also have a few side characters around; aside from Lapis and Lazuli, we can find folks like Stuckie, Omar and… well, even a few just for this game.
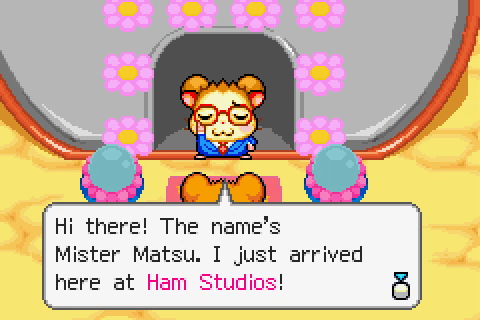
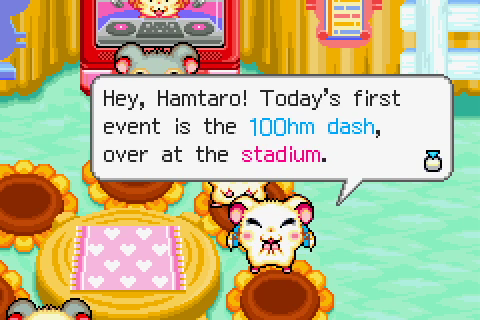
Such as Mister Matsu, who is one of the TV presenters. But enough about that; we really ought to get to the Stadium and get the meat of this update underway.
We’ll just have a little chat with the ham at the reception desk.
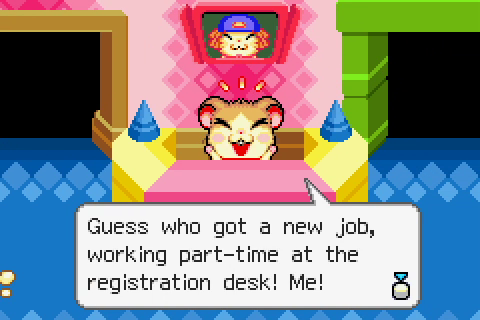
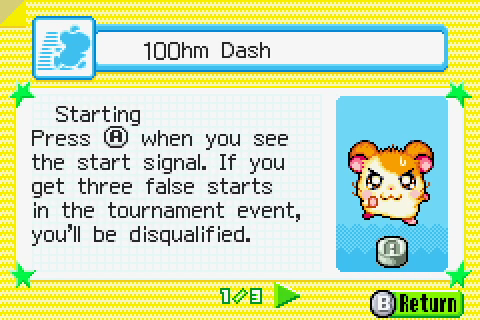
 All right, now listen up! You’ve only got one chance to win each event! If you wanna be a champ, you’ve gotta practice to get the hang of it! Now get out there and do your best! ...I mean, after you’ve registered...
...And what a ham he is. The punster himself, Howdy!

That bit in Howdy’s spiel about only getting one chance ain’t for show; this game quietly saves when you enter an event for real, and you don’t get a redo! If you reset or run out of battery during an event, you’ll get put right after it as if you came in last… So beware! And also worth noting is:
Reason #2 - Because you don’t need to win any minigames to keep the plot of Tournament mode going, a lot of the minigames are pretty tough even on Normal difficulty. And dialing it down to easy is very inconsistent on whether that makes the event “braindead” or “doable by human beings”.
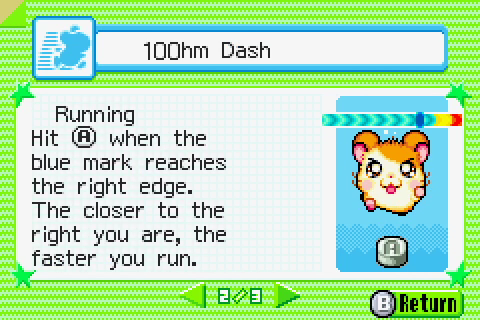
If you press B just before the goal, you’ll stick your chest out and run faster, but you’ll tire out quickly.
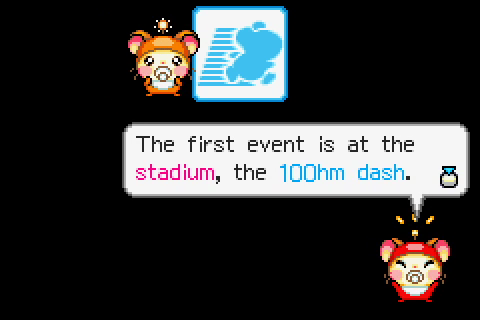
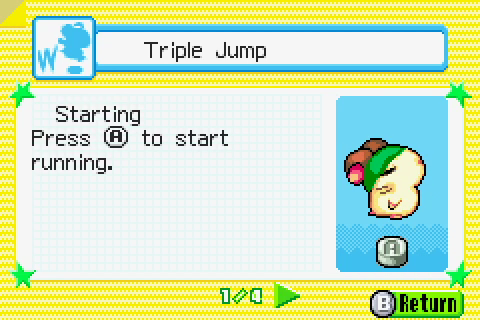
The tutorials are simple and come with animated visual aids, which is nice.

Being the first event, the 100m dash is nothing to write home about… It is the only event I try doing on Normal for this update, because it turns out normal for this one makes the bar move way too fast.
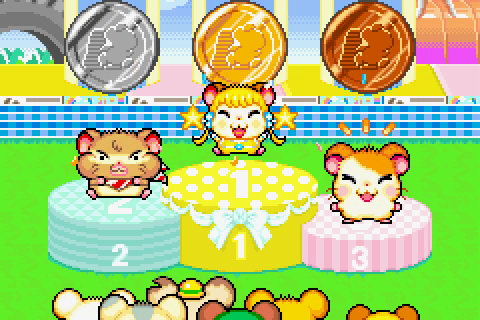
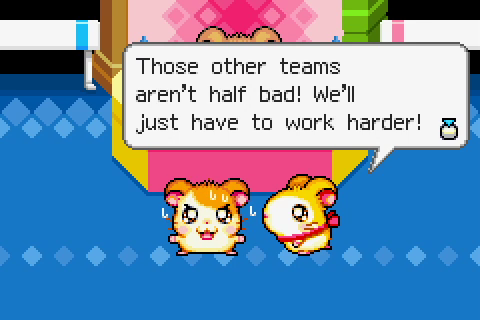
So we’ll just suck up the bronze medal and move on. (Most events will have Bo’s team beating the Seahams and the Djungle team being useless, though the Seahams will beat Bo’s team in some nautically-related activities.)
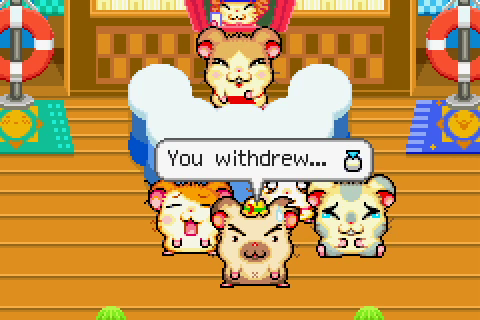
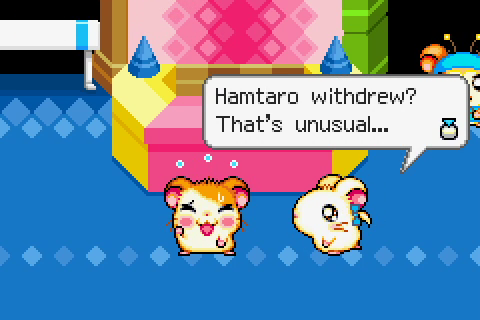
After each event, we get a prize in sunflower seeds (dependant on placing and difficulty selected), and some dialogue about how well we did. This seems to come only in ‘gold’, ‘other’ and ‘withdrew’ flavours. (You can pause during events and choose to withdraw if you’re really struggling.)
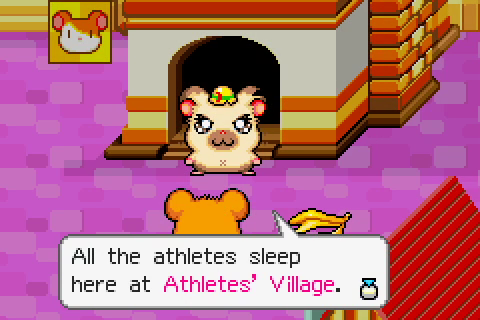
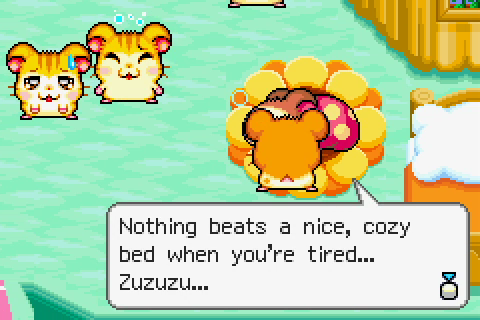
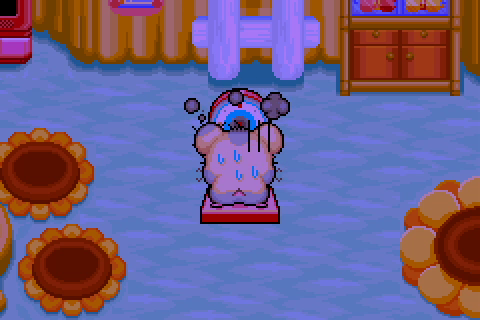
After that, Boss goes ahead and tells us that we need to go to bed at the end of each day… but because we brought so many competitors, Hamtaro has to sleep in the Clubhouse instead.
Stan and Sandy have finally made it, but no need to worry about that. Time to go into heavier abridging!
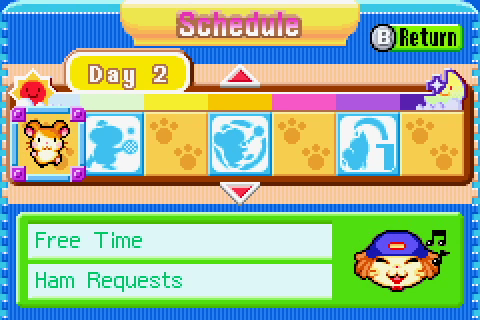
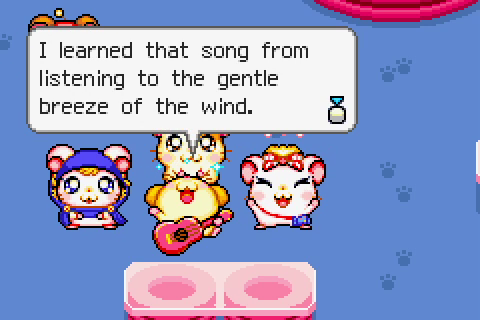
Days 2-6 all have three events each, and there’s a special TV program shown during each free-time period. Ham Requests just has DJ Ham play us a tune. (It’s worth noting that the background music during free time shuffles between a handful of tracks seemingly at random.)
The other three shows are Ham Fortune-telling (where our pal Hamstarr will give us predictions about our luck), Ham Shopping Network (where Mister Matsu lets us spend our sunflower seeds) and Ham Studio News (which has Sparkle recap the day’s events).
Noticeable running bits in free-time dialogue include Jingle getting lost a bunch, and Cappy trying to find his friend Stuckie.
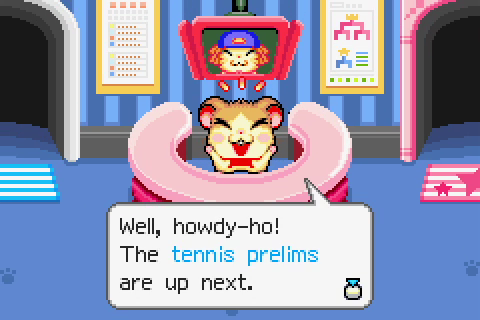
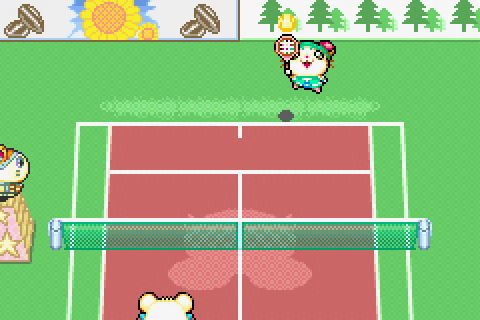
Our first event for Day 2 is the tennis prelims, which are respectably functional.
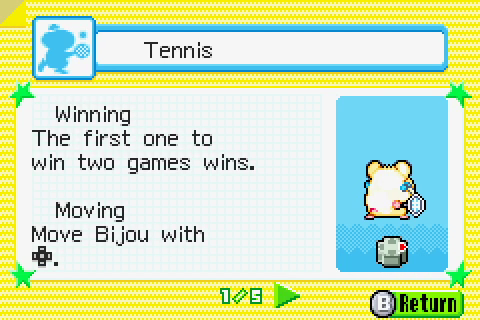
Serving
Toss the ball with A. Aim with [the D-Pad], and serve with A. You have to try over if you get a let. If you get two faults, your opponent scores.
Hitting the Ball
Swing the racket with A. To aim where you want the ball, press the D-Pad while swinging the racket.
Lob
If you swing the racket with B, you can hit the ball up high. (That’s a lob!)
Smash
If your opponent hits a lob to you, return it with A to turn it into a smash.
(And yes, I will continue including tutorial text for each new event.)
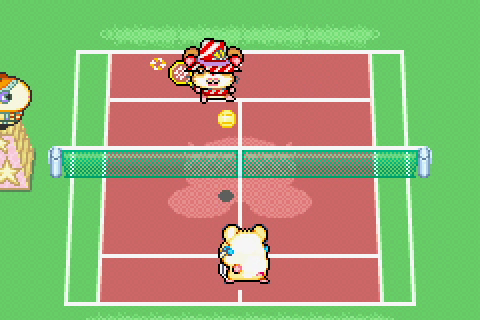
Tennis is tennis, you know how this goes. The second match does come down to the wire somewhat though. (Robo-Joe is our umpire for this and a few other events.)
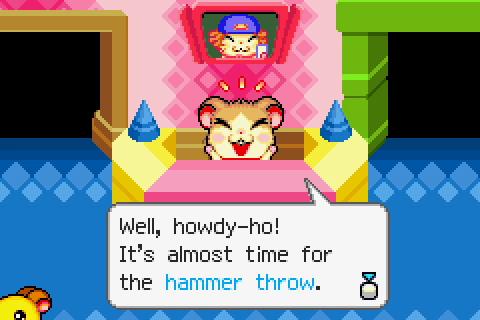
Next up, we’re over at the Stadium again.
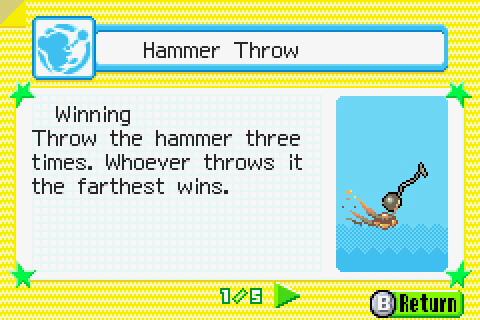
Starting
Press A to start swinging the hammer. You can spin the hammer up to seven times.
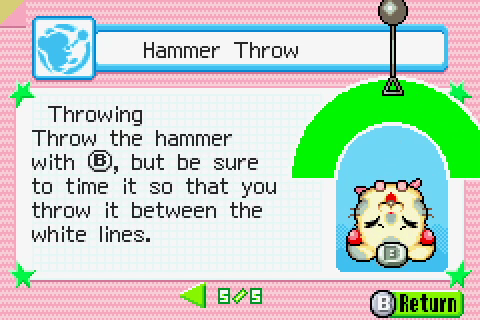
Swing It Fast!
Hold A when the hammer is at the top of the gauge.
Swing It Faster!
Release A when the hammer passes the top of the gauge.
Oxnard’s handling this, and it’s not too tricky either. It’s worth noting that adjusting the difficulty mainly just changes the performance of your competitors, rather than making the minigame itself any easier to actually perform.
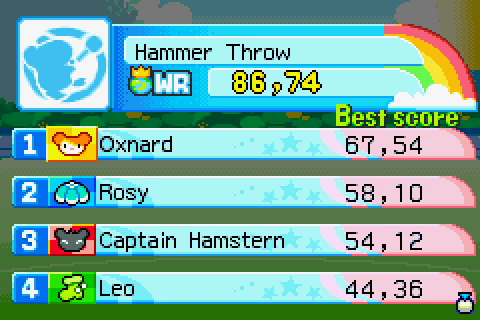
Even my fairly lackluster attempt beats the pants off of the other competitors, because Easy is highly variable.
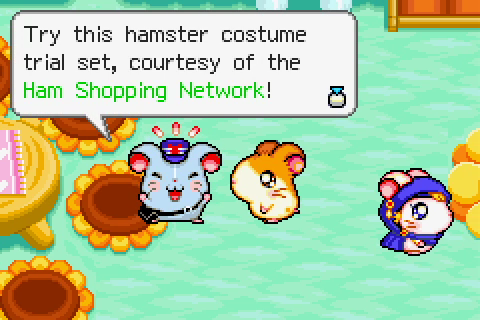
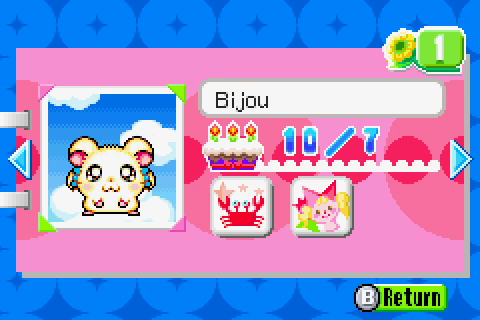
During intermission, Postie appears at the Clubhouse to introduce us to the first major collectible: costumes to wear on your player card. There are a handful of ways to get more: buying them from the shopping network, special events after Hamstarr gives you an ‘excellent’ or ‘terrible’ prediction, interacting with certain spots in the overworld, a special ‘late night’ shopping program that’s only available after your first winning tournament… and then two special ones for a) getting all gold medals in one tournament, and b) breaking all the world records.
Reason #3 - Not only would the two special costumes be practically impossible to get, but a whole bunch of others would be as well. You see, the Shopping Network offers 12 different costumes… but there’s 4 separate sets of 12, and which one it offers is based on your starsign. So you must link with other players of different starsigns to get 36 of the game’s 62 costumes! (And as an extra rub, the four sets aren’t broken into equal amounts of starsigns… Set C only appears for Capricorns!)
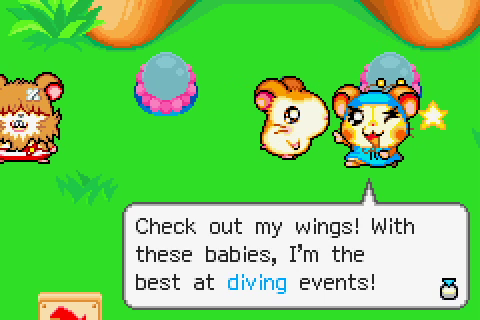
Anyway, next up is the diving competition, where Bo apparently plans to cheat.
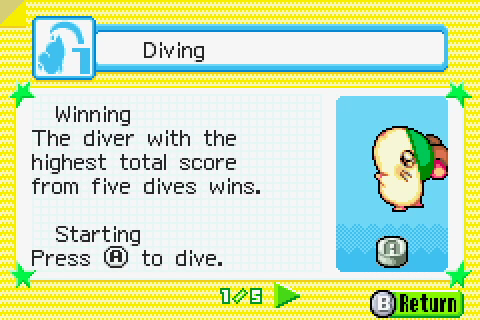
Performance 1
Press the buttons in the order in which they appear.
Performance 2
Press the last two buttons at the same time.
Final Score
You will win a high score if you hit the correct buttons quickly.
Max Score
1st dive: 90.00
2nd dive: 99.00
3rd dive: 87.00
4th dive: 96.00
5th dive: 96.00
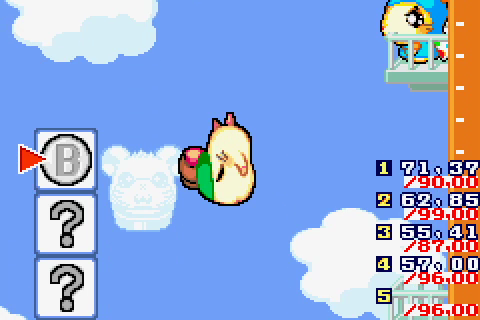
I’m really bad at this one, I’ll admit! I have awful reaction times, and latency with display time is not helping.
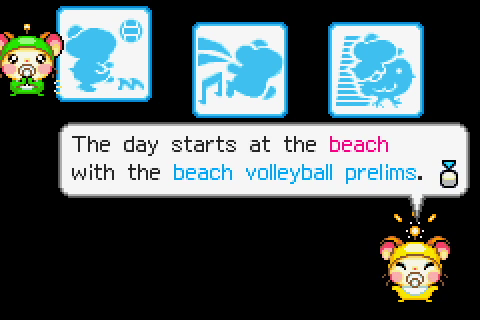
Day 3 starts with our first event to have multiple athletes from each team, so let’s head to the beach for the prelims.
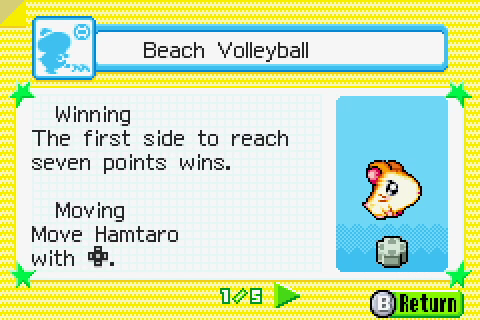
Serving
Toss the ball with A. Aim with the D-Pad, and serve with A. Hit it to an area your opponent can’t reach!
Setting
When the ball comes toward you, follow it and press A to set the ball or hit the ball.
Jumping
Jump with B. Stand near the net to block your opponent’s hit.
Spiking
While jumping, press A to spike the ball. Press B to feint. You can aim with the D-pad.
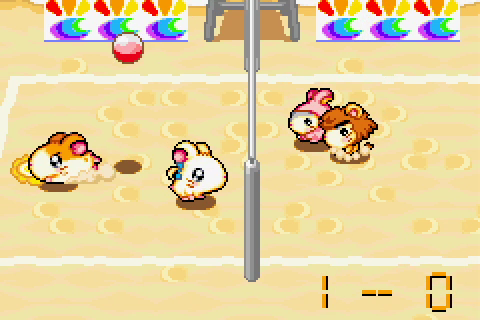
This one’s actually pretty good fun! My one complaint is that if you aren’t on the marker of where the ball is aimed, pressing A makes you dive for it… which is not very effective at actually hitting the ball at all.
The game does have a certain satisfaction though, and the opponents are still mostly on the ball even on Easy. Now, off to the Stadium for some Hurdles!
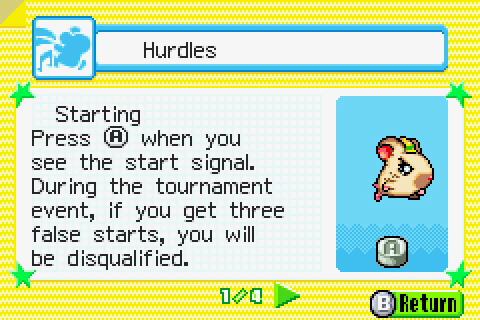
Jumping
Press B to jump over the hurdle. Hold the button to stay in the air longer. Your speed drops while you jump, so make short jumps!
Landing 1
If you jump over the hurdle, your speed will increase.
Landing 2
Press A to land. If you time it right, you will run a bit faster.

This is one of those events where Easy is definitely a little too easy; I won one of my practices even when completely beefing one hurdle by not jumping at all.
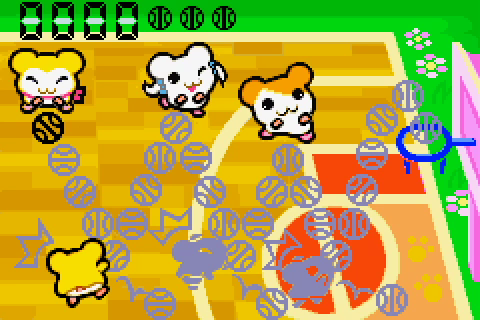
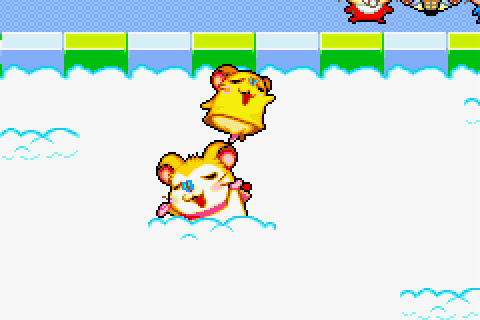
Now to the lawn for some bird-back riding!
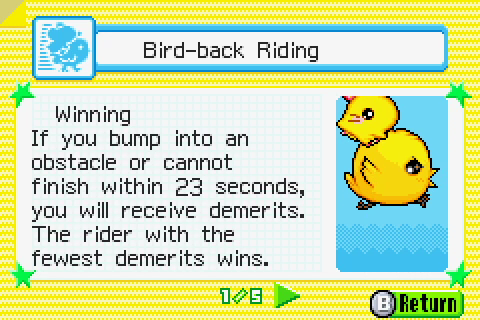
Moving
Turn left or right with the D-Pad. You cannot move backward.
Speeding up
Your speed increases each time you press A.
Slowing down
Hold B to slow down.
Jumping
When you are running fast enough, you will jump over obstacles automatically.
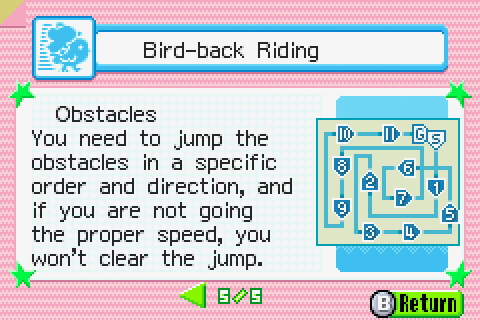
It’s worth noting that different obstacles require different speeds, and the bird’s turns get much more sluggish as its speed increases. So try to keep it only as high as it needs to be for the next jump.
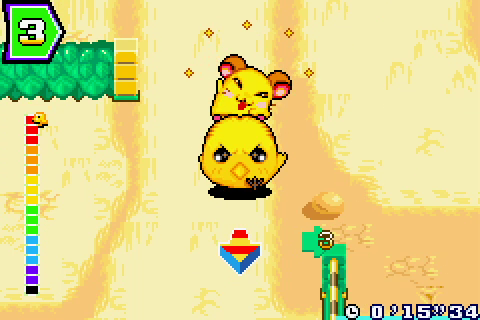
Definitely do not go full-pelt after 2, because the bird will not turn to face jump 3 in time. This was the only stumbling point for me, so I could probably say this is my best event. 
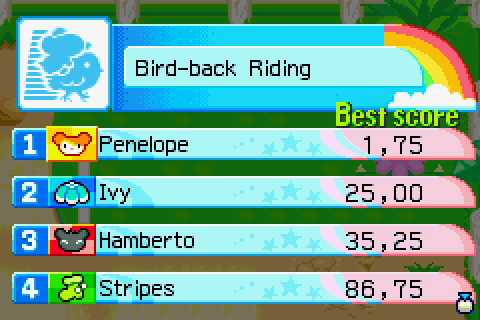
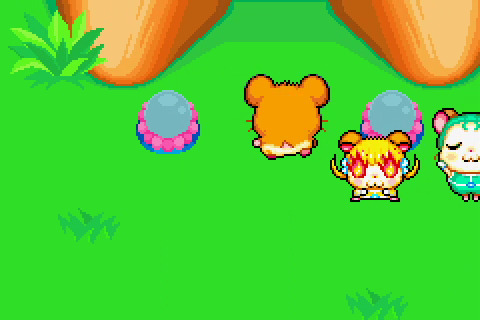
...Stripes, that’s just sad.
Right, onto day 4! Next up is the pole vault, Pashmina’s first event.
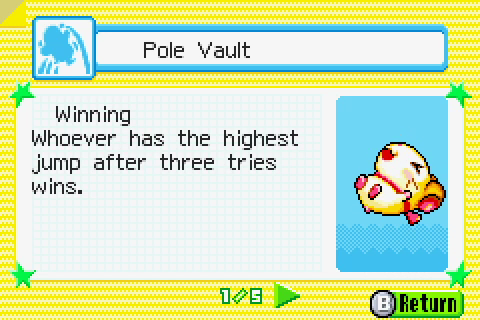
Starting
Press A to run.
Picking Up Speed
Press A when you’re at the A symbols to give your speed a boost.
Jumping
When you drop the pole into the box, you’ll see a gauge. When the mark reaches the top and turns white, press B.
Releasing the Pole
A gauge will appear when you jump. When the mark moves all the way to the right and turns white, press B.
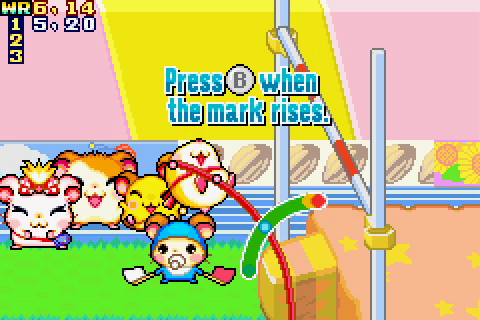
Delays make it basically impossible to hit the A marks reliably, but the opposition does terribly on Easy, so idgaf.
Anyway, moving on in this whirlwind tour of the Ham-Ham Games… Oh, the next event is the tennis final.
Ivy is a better opponent, but otherwise nothing has changed.
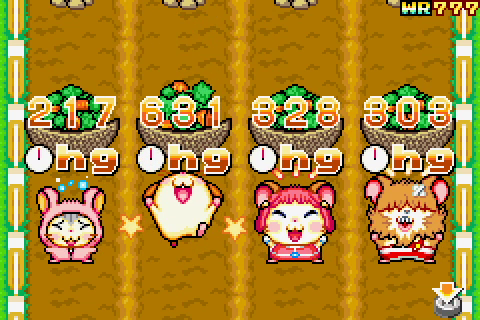
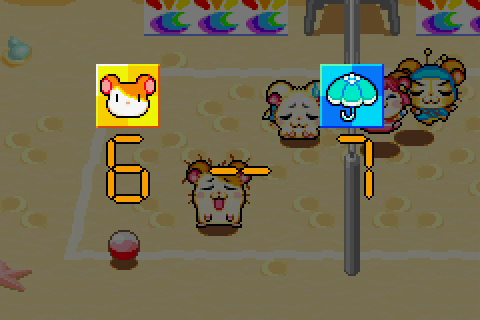
...Oh right, next up is the carrot pull.

Score 1
Your final weight depends on how good your timing with A is. Watch Hamtaro’s mouth, and time your pull for when it’s wide open!
Score 2
The most a carrot can weigh is 30hg (ham-grams).
Score 3
You will get bonus points depending on what place you finish the race in.
The amount of bonus points actually goes up in higher difficulties, but accurate plucking is definitely more important.
Easy is definitely too easy for this one.
As a special ‘reward’, Carrobo from the last game makes a special appearance after the carrot pull, but only if you get the gold! This will be relevant later.
Anyway, we’re done with Day 4. Let’s see what the next has in store for us.
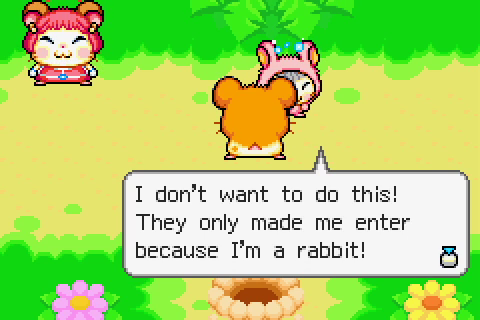
The ever-hopeless Djungle hams are still in good spirits despite everything, so… I might just throw them a bone.
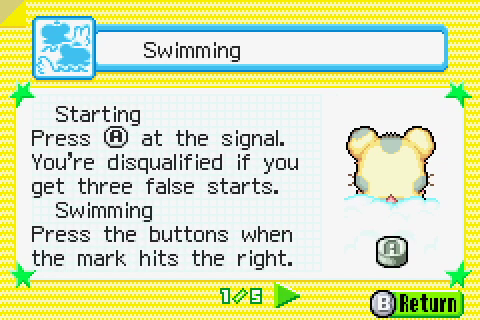
Backstroke
Press A and then B.
Breaststroke
Press ← and A at the same time.
Butterfly
Press ↑, then press ↓.
Freestyle
Press A, then press ↑.
 By which I of course mean “I’m awful at this event”. Easy makes the bar move at a more reasonable speed, but the timing is very tight.
Even the Djungle team is doing better than I am by the time the breaststroke portion is done, especially since pressing two buttons at the same time is questionable on whether it gets registered. (I could have rebound both to the same key, of course…)
But hey, I can always just do this. (This minigame is Reason #4.)
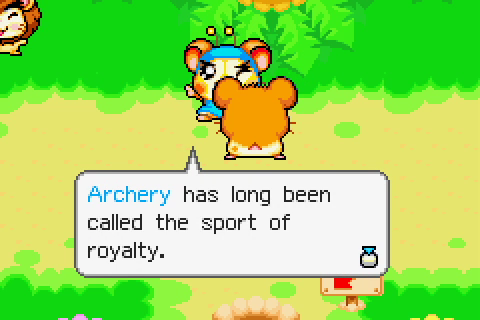
This next minigame, on the other hand, is extremely straightforward.

Shooting
When the mark is in the middle of the target, press A.
Score
A bull’s-eye earns you ten points! Add your score from all six shots for your total score.
Time Limit
You have 40 seconds to fire an arrow. If you run out of time, you earn 0 points.

The wandering aim can decide to really fight you on this one sometimes; it was trying real hard to wander off the top-right. Make your own booze/coffee jokes.
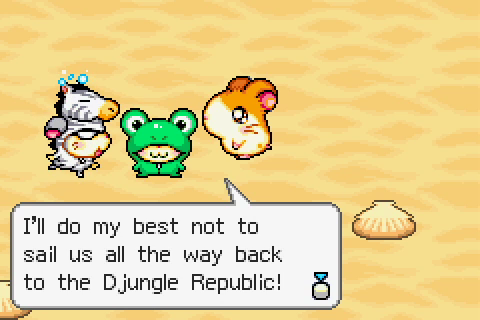
Next up is sailing, with Cappy and Boss.
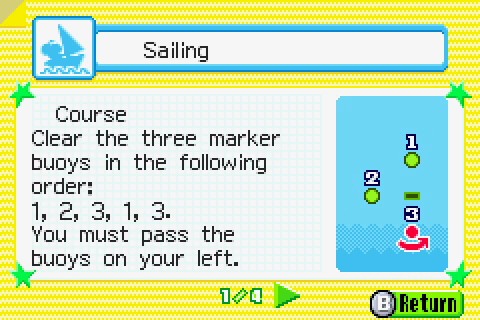
Moving
Move the sail with L and R to change the direction of your boat.
Clearing Marks
When you go around a marker buoy and see “Mark Cleared!” head for the next mark.
Winning
Once you clear the last marker buoy, sail to the line in the middle of the stage to reach the goal.
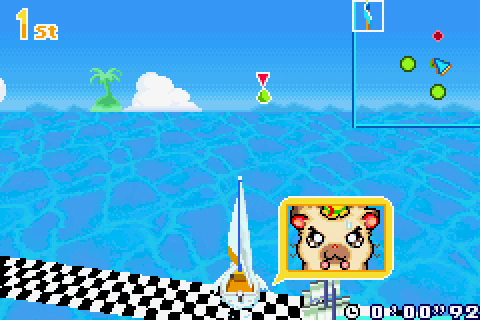
Mode 7 time, baby! The way the wind is blowing means that it’s not possible to sail straight north unless you’re rapidly switching between L and R to keep it mostly in that direction.
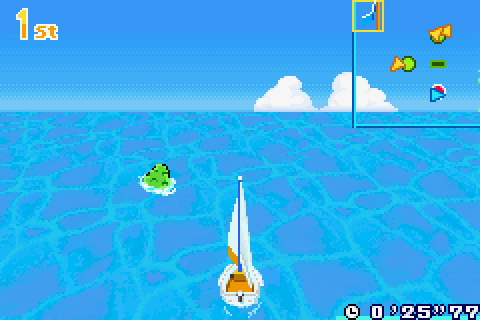
Just don’t oversteer into the buoy itself, and you’re golden.
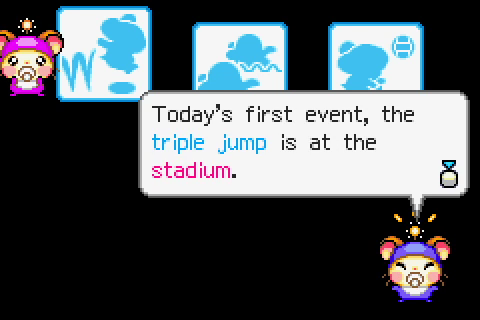
Day 6, almost there!
Speeding Up
Press A when you reach the A symbols on the floor to increase your speed.
Hop
Press B when you reach the white line.
Step/Jump
Time your landing with B. Release B right before the gauge turns red.
This one’s about the same as the Pole Vault, although it does have a few failure animations. Cappy stumbles if you don’t press B at the white line, but if you’re going really fast…

...he just keeps running until a pan spawns out of thin air to stop him???
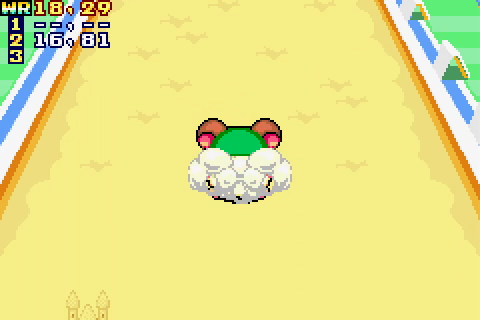
And c’mon, which wiseguy made a sandcastle in the triple jump pit?
Next up is to the treetop cloud pool again for synchronized swimming.
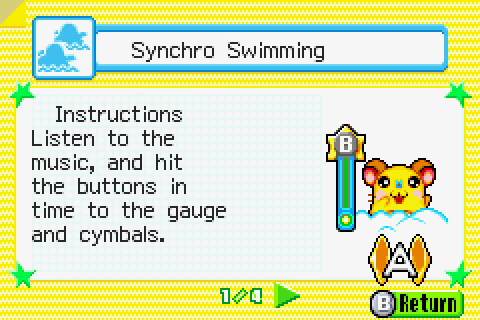
Underwater
When the yellow circle reaches the top of the gauge, press B.
Swimming
Listen to the rhythm of the music, and press A when the cymbals clash.
Scoring
The highest score you can get is 100.000.
Nice and simple again; this gives me Starlight flashbacks, for the FFXIV players reading this.
And yes, Pashmina and Penelope are wearing nose clips. 
The last event of day 6 is the volleyball finals, where I take a loss on what is a remarkably close match.
And that night, Oxnard weighs himself… because of the final closing event, the only event on Day 7.
 Oxnard, the chubby bastard.
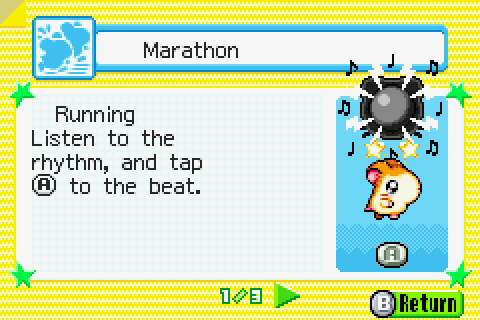
Speeding Up
If your timing is right, the music will play faster.
Rhythm
The rhythm will change during your water break.
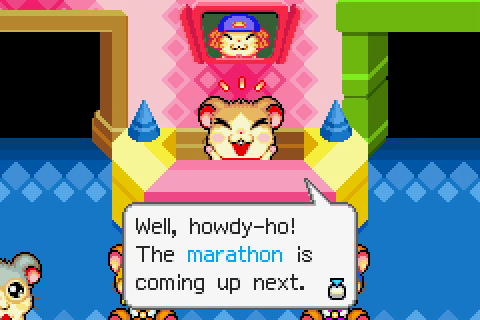
Reason #5 why I wouldn’t do a full LP of this game - Fuck this minigame.
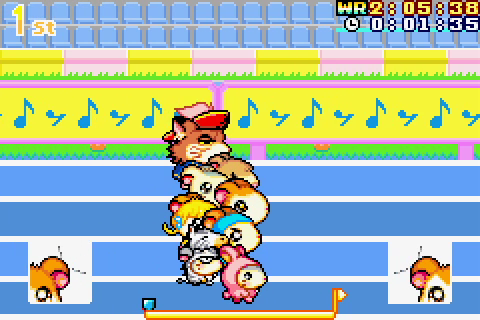
So this is what made me give up on the idea of LPing this back in 2015, the marathon. The rhythm for stage one of this is nice and easy, alternating beats and rests. Even so, it’s easy for the sudden changes in tempo to throw you off even here.
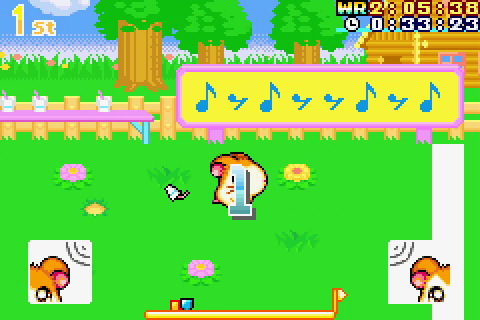
But then at the first water break 20% of the way through… and remember, because this repeats the last and first beats are right after each other. At this point I just completely and utterly lose the plot, because I have all the rhythmic sense and timing of a potato.
Soooo I found this Youtube link for the curious, to show how bad the tempo gets.
Anyway, almost time to close this out…
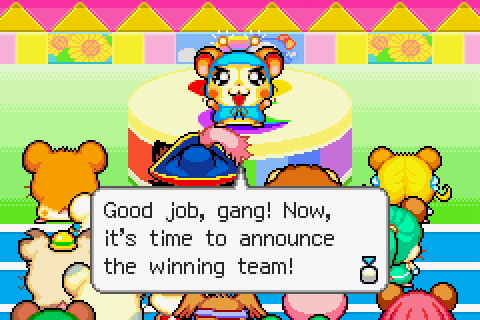
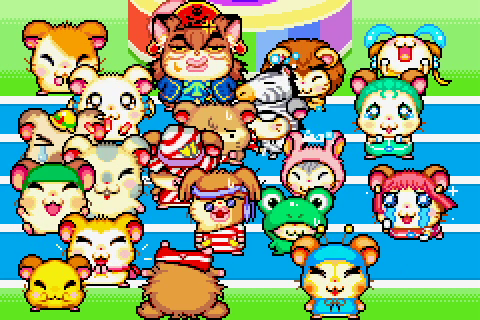
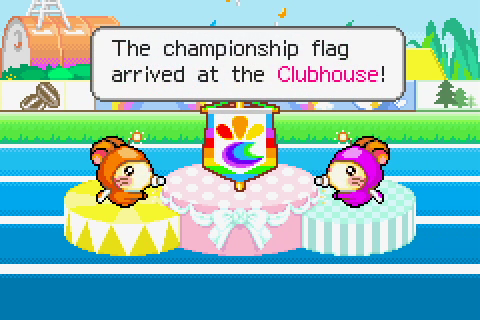
The team with the most gold medals is… Team Ham-Hams!
Well done! Congratulations! And thanks to those who participated and gave their support! Thank you!
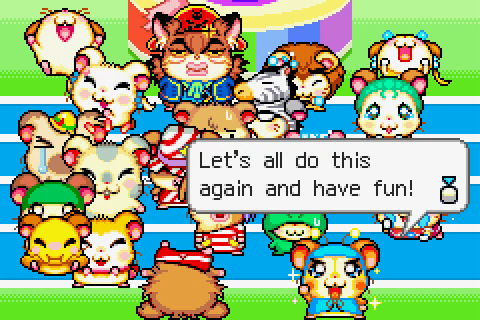
See you again in the next tournament!
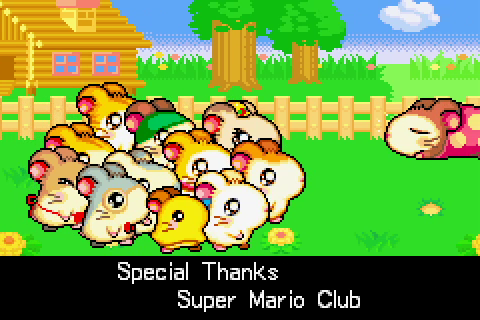
And so the credits roll… Ah, but I still have a little more to show you all to round out this update.
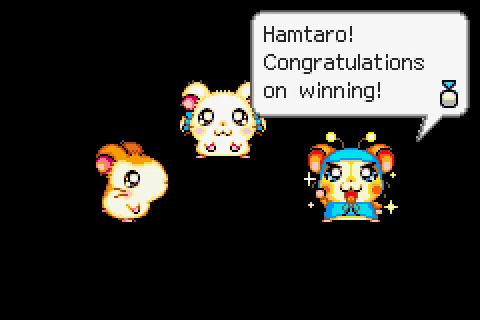
I want to give you this!
Congratulations, Hamtaro!
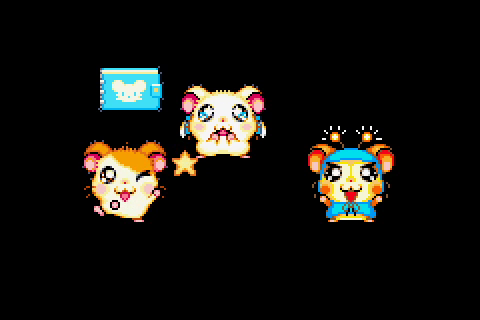
That’s called a Hamigo Card File. You can put 50 Hamigo Cards in it. Hamigo Cards are a symbol of friendship! Try to get one from everyone. If, and ONLY if, you can get all the others, I’ll give you mine, too!
So this is the other collectable aside from costumes, the Hamigo Cards. For most characters, it’s just enough to talk to them between events… but a couple require small events which will be announced after proper sporting events in future tournaments. And of course, you can only get Carrabo’s if you win the carrot pull!
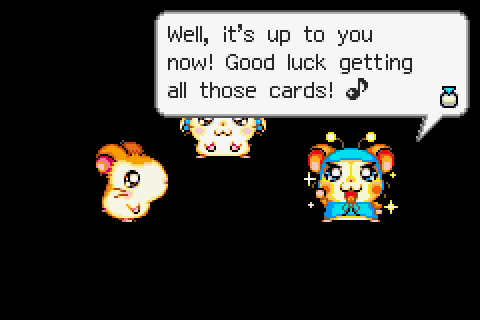
Now you can play Free-Play mode!
Alright, that’s everything in Tournament #1. Let’s tip our toes into #2 for a hot minute to finish off here.
...Right after I put the Dog costume on my card.
So, in subsequent tournaments, a couple of things change.
The most immediately obvious one is that Warts has shown up as a hippo instead of a frog! In the 3rd he shows up as a palm tree, and the 4th puts him back as a frog.

We have the Hamigo Cards now in effect, for whatever that’s worth.
And Leo’s outfit is outside the various buildings in the athlete’s village… Warts’ original costume is inside the Djungle building. In the 3rd tournament, you can find Stripes’ outfit and the Hippo costume this way, and in the 4th Bunny and the Palm Tree. This is why it takes at least 4 tournaments to 100% this game.
The only other point of interest is that some of the free time events change… For example, all instances of Cappy looking for Stuckie will instead be Stuckie looking for Cappy.
And with that, this concludes my abridged playthrough of Hamtaro: Ham-Ham Games! I hope you all enjoyed this insight into another Hamtaro game… Bye-Q!