Toggle Background Color
 Below (Copperbell Mines theme)

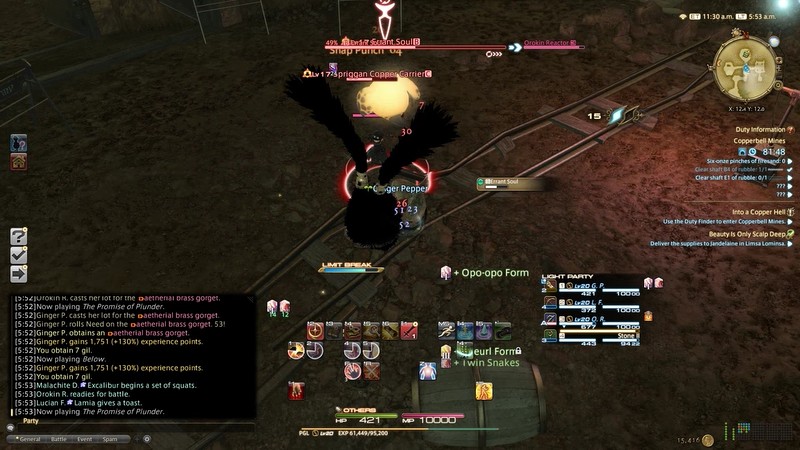
Ginger's the only sprout in the group here. The little flower icon above that person's head means they're a returning player.

Copperbell hammers home the tutorial from the previous dungeon that you will be expected to interact with all sorts of stuff. In this case, it was an elevator switch, but there's a lot of stuff to use in this dungeon.

Copperbell is also home to an oddity in FFXIV. Most dungeon enemies will never leash. If you aggro them, they will follow you to the ends of the earth and back. Copperbell is one of the only exceptions. Many trash mobs in here will leash after a short distance.
Tanks will often, for some reason, pull them to just beyond the edge of their leash radius, so they'll constantly be running back and forth. It happens bizarrely often.

The dungeon is for the most part extremely linear. Though this bit of firesand will be needed in a moment, so we grab it as we pass.

More firesand.

Then someone stuff both pinches of it in the powder chamber and pushes on the plunger. Simple enough so far!

This is an add rush fight. These monsters die in two hits if you're unlucky, and a single hit if you're lucky.

It lasts a couple minutes, so try your very hardest to stay awake.

Eventually Kottos will spawn and I'm pretty sure he doesn't have any mechanics, because all he does is hit hard and then occasionally hit marginally harder.

After, ensure that everyone is still awake and paying attention instead of watching Netflix.

Another elevator.

This room has two wings on either side and another slot for firesand just up ahead. So no points for guessing where the firesand is!
This room in particular has another enemy that will leash if we don't kill it here. For whatever reason, this spriggan will not run to the bottom of the hill. Most tanks, again, try to pull as much as possible and will do a double pull here, so the spriggan will constantly pulse in and out of combat.

The blasting caps drop the firesand we need. There's one in each wing.

There's also some treasure tucked away in a room off to the side if you're into gear that's outdated when you get it.

More firesand for the last explosion in the dungeon.

This is the first dungeon boss with actual mechanics, so pay really close attention. I've marked the relevant sections depending on role, so just scroll down until you see DPS, Healer, or Tank.
Are you a DPS? Cool. Great. Do you see the platform Ginger's standing on? Go stand there and type /dance. Your job is to keep the platform from floating off into space. Don't touch anything. Don't attack anything. Keep the platform right where it is. This is the most important job in the encounter.

Are you a healer? Your job is to push the detonator, which will spawn a bomb add. You also need to heal the tank when they refuse to move out of the clearly marked AOE circle and take 99% of their health in damage. You can see it spawned just next to Malachite at the top of the image.


Are you the tank? Your job is to hold the ooze still until a bomb spawns, at which point you need to tap it once and hold it in place until it explodes. Dodge the explosion and your healer will need to spawn another bomb to repeat the process. The boss needs to be hit by the bomb's explosion. Each time you successfully do this, the boss will split and get smaller.

The DPS should pause their dance battle long enough to kill a Spriggan add, but once it's dead, it's right back to seeing who can shake it harder!

After three explosions, the DPS can stop holding the platform in place with their funky fresh moves and kill the eight tiny oozes.

Fun Fact: If you are dedicated, it is possible to beat the slime to death manually. It has hundreds of thousands of HP and took a relatively well geared level 80 character doing the fight unsync about 3 minutes to kill it. You will probably not succeed in doing this at-level before the dungeon timer runs out.


Groups get lost in this small "maze" all the time. I find that if you drop down in the trench and hang an instant right, you get right through it no problem.


If you don't do that, the room is kinda big and full of monsters and it's super easy to get lost because you're watching Aggretsuko instead of the game.


 SLAVES NO MORE! FREE! FREEEEEEE!


This is yet another loot pinata. Back in the day before everyone was hilariously overgeared, you had to carefully balance attacking adds and the boss. If you ignored the adds, they would destroy the boulders which would overwhelm everyone in a sea of trash mobs causing a wipe. Nowadays? Just beat him like a training dummy. Ignore the adds and burst him down. He will die before they do anything remotely productive.

Orokin and Malachite are well geared, and while I don't know about the returner, they didn't have a job stone. Ginger, for what it's worth, is decked out in about the best possible gear she can have for Copperbell Mines. I'm laying all this out to say the fight took 75 seconds.


Another one down!