Toggle Background Color

Level 2.mp3
Welcome back! It's been a week. Went to grab a coffee and have some McDonalds. It was delicious, thanks for asking.

We head out to explore the other paths we could have taken on this side, but not before a rabbit decides to be my new hat.


Show of hands: who sees what we need to do here?

They say bombing walls is a blast, but I don't think it's as fun as it's cracked up to be.

Oh, this looks pleasant.

It actually was! We get a key for our troubles.
We've seen 7 locks total in this place: One to get the fire rod, 4(!) blocking the boss door, and 2 to reach a switch on the very first screen. Of these 7, we've unlocked 2. Safe to say there's 7 keys to match these 7 locks, so I'll keyp (:wiggle a tally for you.
3/7 Keys Get!


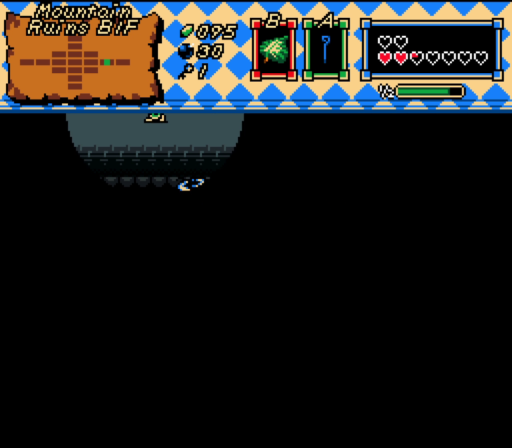
Time to check out the pit.

We land boxed in next to a warp panel. Let's take it!

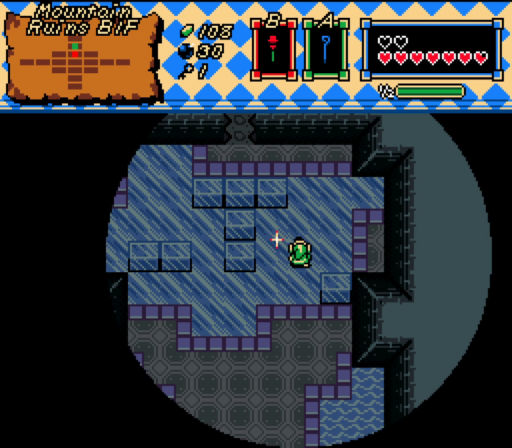
It takes us to the opposite side of the map.

Left is a dead end...

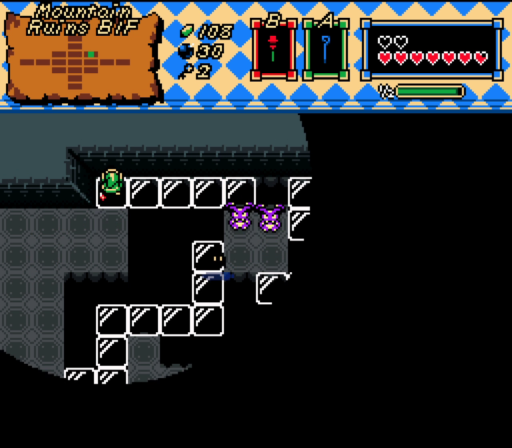
More spike rolly shenanigans, but in the dark. We'll have to duck into these cubbies to dodge them per usual.


Enemies + ice physics = pain.

More leaf flying! :shobun:

This is the fan we triggered last update. We couldn't make the gap otherwise.

The light follows you no matter how high up you are. Makes sense, though it doesn't help with sticking a landing.

More Buns!

Got sniped by a bun 
Confirmed Deaths: 10


I unlock this lock block in hopes that it'll magically give me a shortcut back to the left side without going around the place counterclockwise. It doesn't. 

2 minutes of backtracking, a death in the spiky rolly room to another bunny, and another 3 minutes of backtracking later...
Confirmed Deaths: 11

Only to find we can't actually do anything with this yet; we need to come from above and hit a switch first.
No shortcuts back here, we'll have to make the 3 minute trek again later.

Moosh did the dungeons in this quests while Russ did the overworld (with some exceptions we have yet to get to). I feel kinda bad for Moosh; this is the one he says he put the most effort into, yet it's either the least memorable or the least enjoyable for everyone and it ended up being overshadowed by the stellar level 1 and the yet to be seen level 3.


Killing the enemies lowered the barriers on that screen, so now we can access the other side of the pit.

The pit takes us to another closed off warp space, but this time there's a switch inside the box, and a faintly visible set of barriers at the edge of our vision. We step on the switch, lower those barriers, and step into the warp panel...

Which takes us back here! I probably should've done this first.
With nowhere else to explore on this end of things, we head back downstairs using the stairs near the start, and head past the dark ice blowy room to the room with...

This jerk! I already lost my shield, but I'm not gonna let it eat me again out of principle.
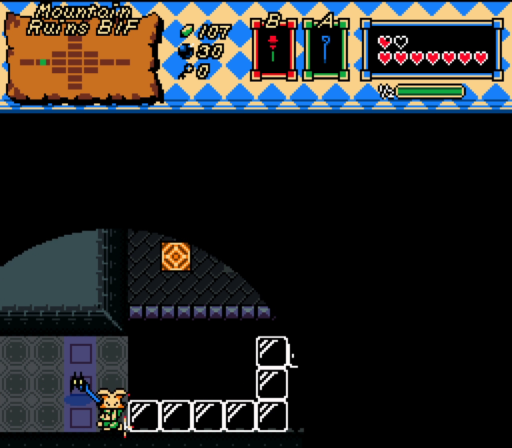
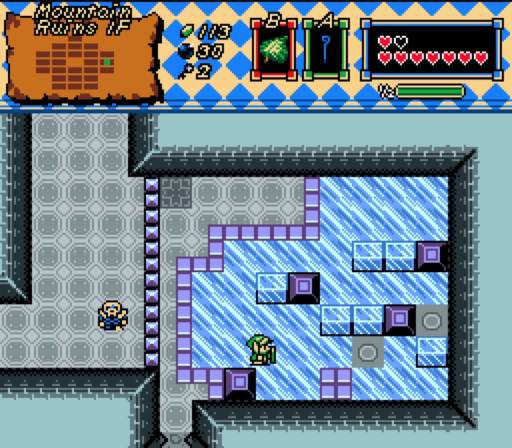
Anyways, you remember this room? Step on the center switch, and...


Not only do we see that there's ice behind those blocks, but stepping on the switch removes the blocks!
These blocks that raise above us block our fire, but...

There's another switch in the room.

Now both the ice and the blocks are gone!

There's the spots we fell in from the floor above. We can cross this barrier now that we hit this switch.


A story in 4 pictures.
4/7 Keys Get!

Near the stairs leading up to where we got the fire rod, we can light these torches to lower the barrier.

There's the crystal spring banana! We can't reach it from here though. So close, yet so far...
Heading north...

oh god
please dont let this be what I think it is

it is 

Push a few blocks like so...

Do some block recovery like so...

And push these up!
Ice block puzzles have a really terrible rep, and for good reason. They're slow, people get stuck on the more complex ones for actual hours, and they kill pacing.

So the original 2 week description of this quest joking called itself "shitty isle of rebirth dlc". Isle of Rebirth is this huge massive Zelda quest made by Evan20000 (a friend of Moosh and Russ), with 13(!) whopping dungeons. Said dungeons are massive; they're intricately crafted multi-floored mazes that take hours to solve and complete, if you don't get exhausted by then. It was, and still is, considered a gem of the engine.

Isle of Rebirth also loves Ice Block puzzles. The final dungeon infamously had one in it that took some of the most skilled streamers about an hour to solve. It's safe to say that Isle of Rebirth tainted ice block puzzles for a lot of people, and the guys who made Banana Blood God weren't afraid to take inspiration from Isle of Rebirth in a few places. Them using ice block puzzles in a quest that takes inspiration from IoR isn't a promising sign, but thankfully that one we just solved wasn't so bad.
oh, um, also, 5/7 keys. rambled a bit there.

Let's check over here. If you guys have been keeping track, we have to come from above on the screen right and down from us to access a chest.
Another Link Between Worlds styled maze. I think this quest came out around 2014-2015 in it's 2 week form, so this has to have been after LBW.


These mazes are kinda cool. I like the concept of having to traverse in the dark to see things.

There we go! Now we can reach that chest and find out what's inside.

Now that we've done practically everything in the dark basement, only now do I bother checking my map and revealing that the entire basement is visible without the darkness by viewing the map. Handy exploit if you guys ever play this and need to keep track of stuff down here.

Before we claim our prize, I decide to inspect the door we unlocked way back after we first got the fire rod and I conveniently forgot about because...

Dead Inside Counter: 1
Okay, I'm exaggerating a bit. But these ice block puzzles are a pain to show off, even if I'm decently good at them.


First switch down...

Second switch down...

Third down...

And done! Not too bad.
6/7 Key Get! Time to go get our last one.

Confirmed Deaths: 12
Second time I've died here, and this time I remember to screenshot it. Remember, ice physics + darknuts = link gets bruised.


7/7 Key Get! That's all of 'em! Let's go redeem them.

Freeze this...

Unlock this...

And the door's open.


The last "puzzle" of the dungeon! Those whirlwinds move around the room's edge and we need to time entering them to reach those blocks and push all of them.


Needless to say, it doesn't pose a threat to us at all. Boss key get!

One set of very satisfying unlocks later, and...
Boss.mp3
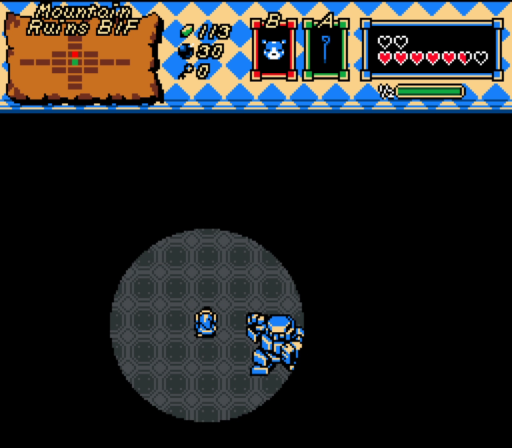
We have our boss! The ice golem I remember being a huge difficulty spike.

It shoots lasers.

It hides in the dark and requires you to charge up to see more than 2 feet away from you!

And it can even dice your healthbar to bits with the big rock fall attack!

Order now and we'll throw in a charge attack to keep your elf boy on his toes!

Yes, that's right! Call now and receive 1 free death, courtesy of Mooshco! Limited supply only, so buy buy buy!
Confirmed Deaths: 13
The biggest issue here is the dark room. The golem can only be hurt by fire, and we need to keep our fire rod charged at all times to even see to dodge attacks. While we could head straight back in, we need to do something about that darkness.


Remember this? We couldn't do much about it when we first passed cause we didn't have the fire rod yet. But now...

Presto! Light's shining down to the floor below. If my spatial awareness is right, we should have no problem with the boss now. So, how about we show a punk who's boss, eh? 
https://www.youtube.com/watch?v=de31b-SVKKc
(if the video doesn't embed properly, click here)

With that, victory and a new heart container are both ours! Let's go claim our banana!


Huzzah!

A new tech is obtained as well.

And this punk decides to snipe me the moment I spawn outside the ruins. Jerk.

With that, we've gotten 2/3 Crystal Spring Bananas!
Total Deaths: 13
Heart Pieces obtained: 9
Heart Pieces taunting: 3
Dead inside: +1
Next Time: The world awaits!