Toggle Background Color
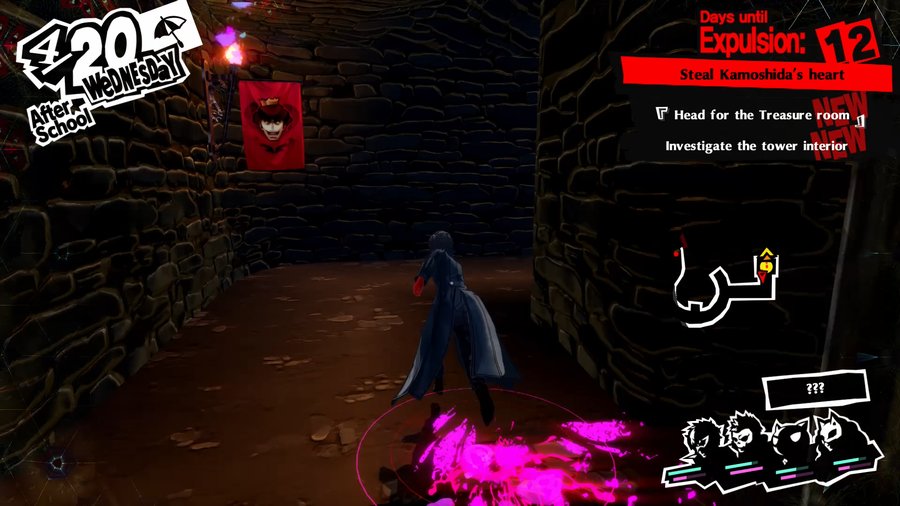
Chapter 16: 4/20: Harvesting Seeds (New)
This update covers Parts 14 and 15 of the original LP.

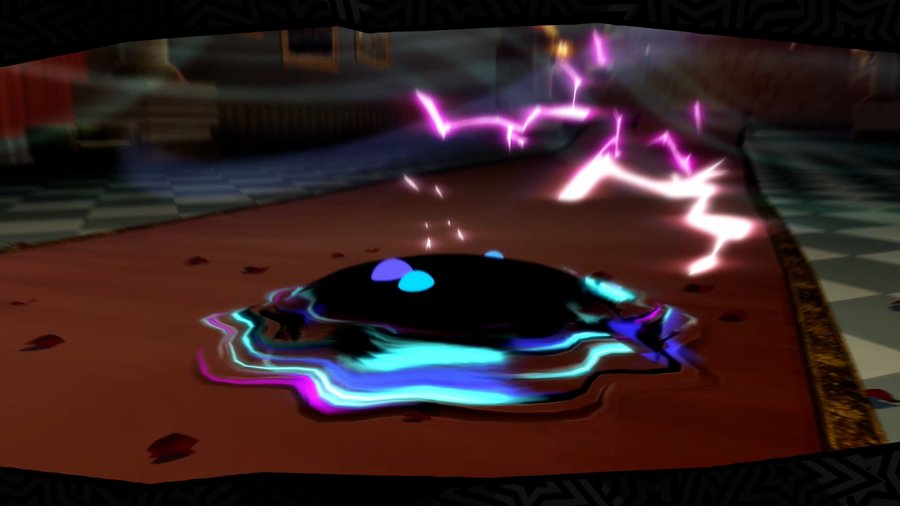
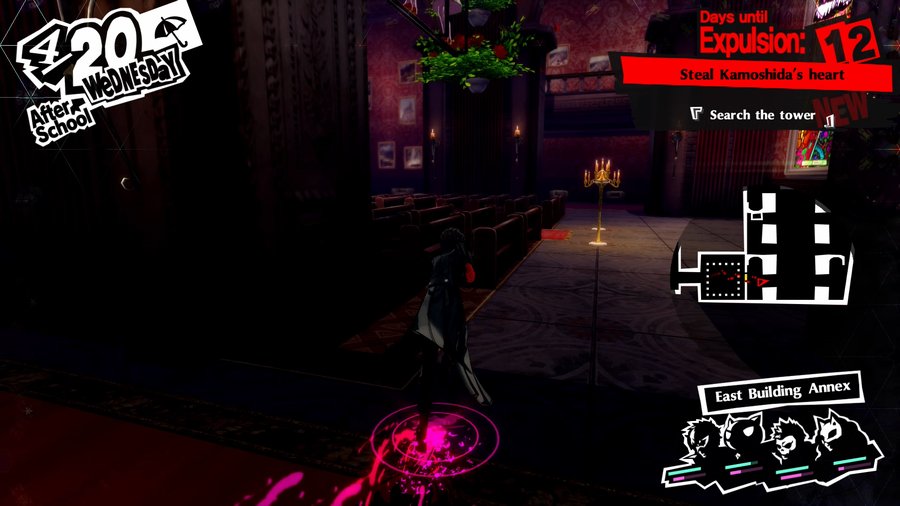
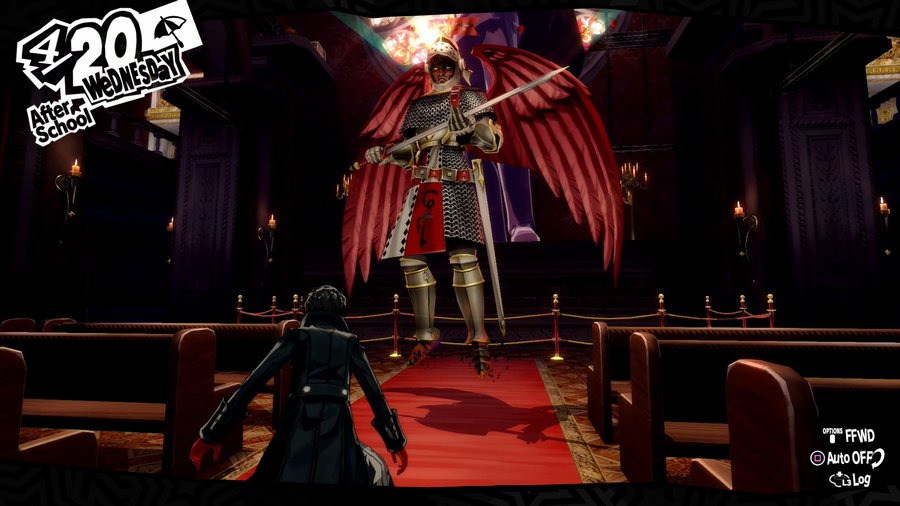
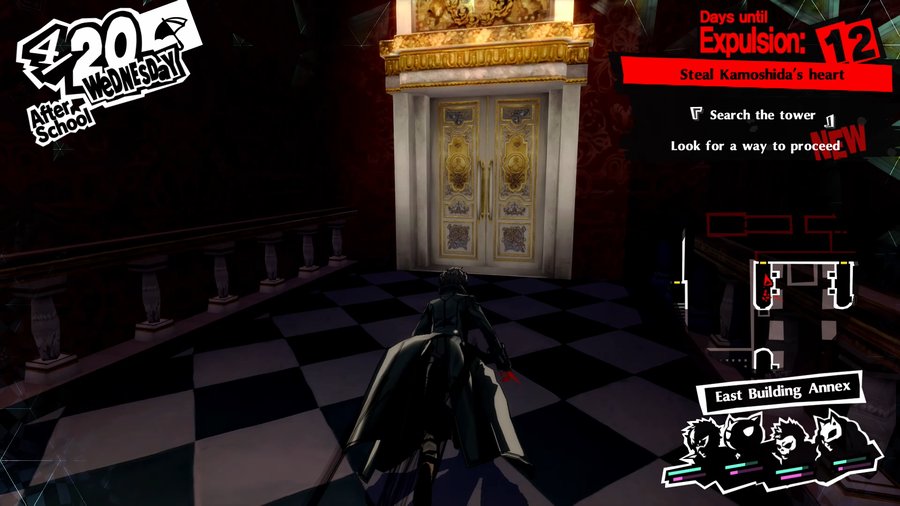
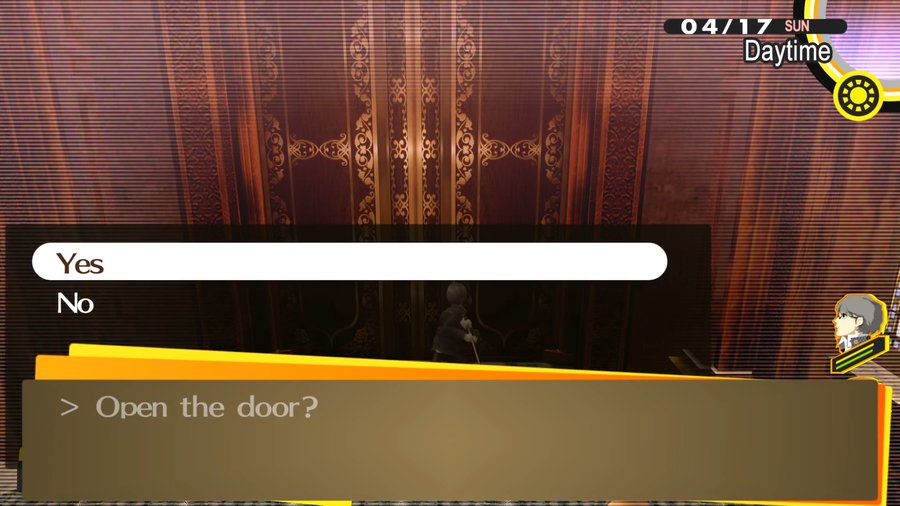
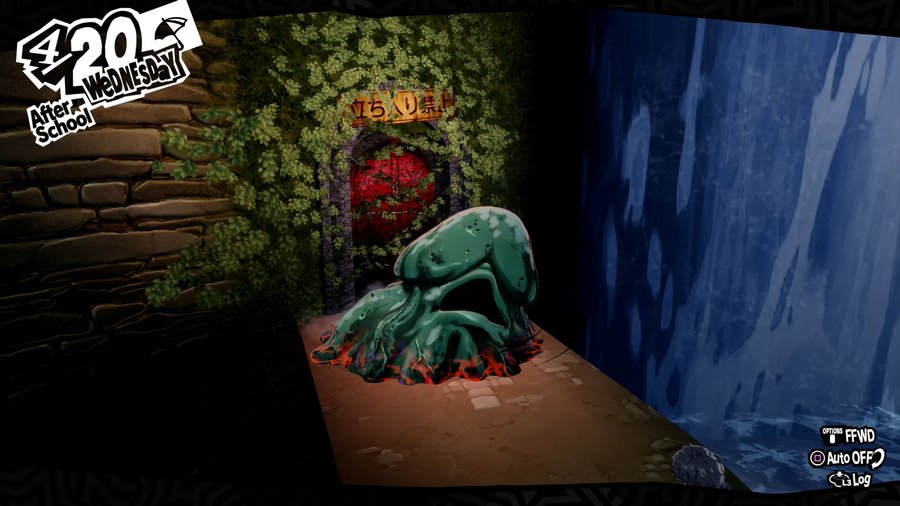
After picking up the medal we need to open the way forward, we turn to leave, but…
Music: King, Queen, and Slaves
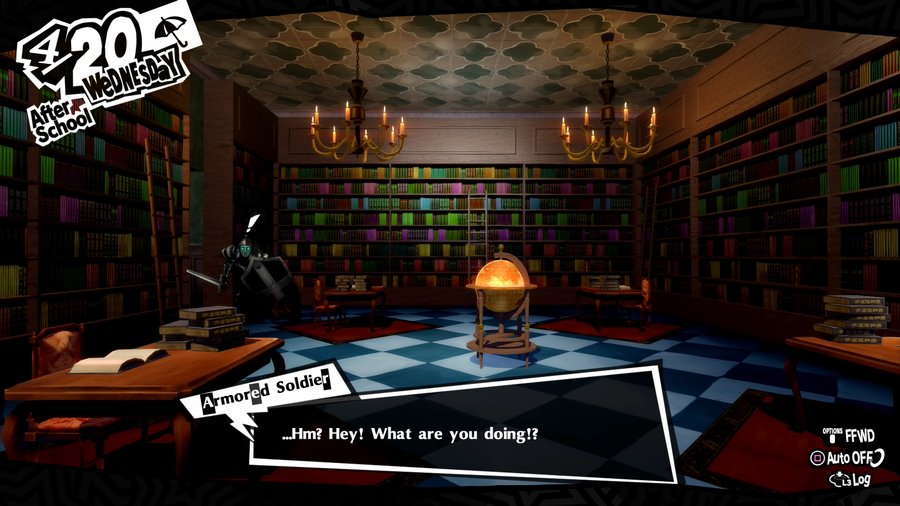
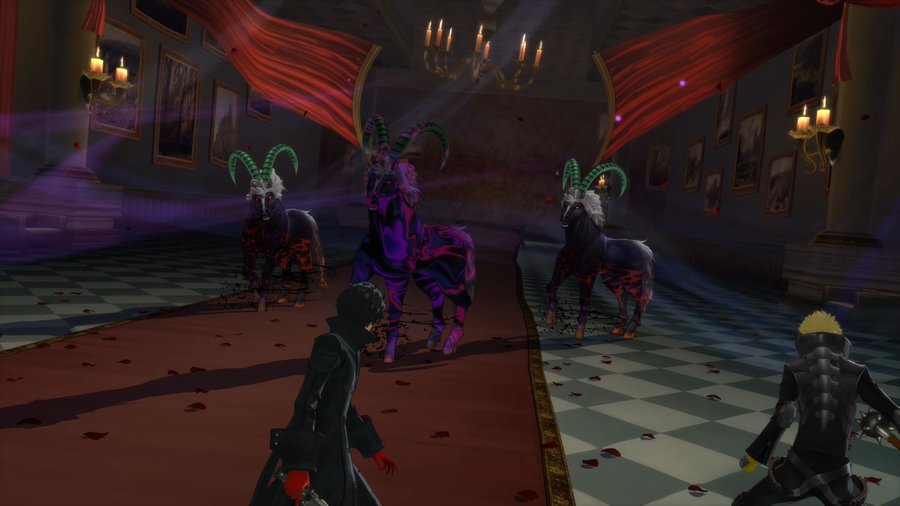
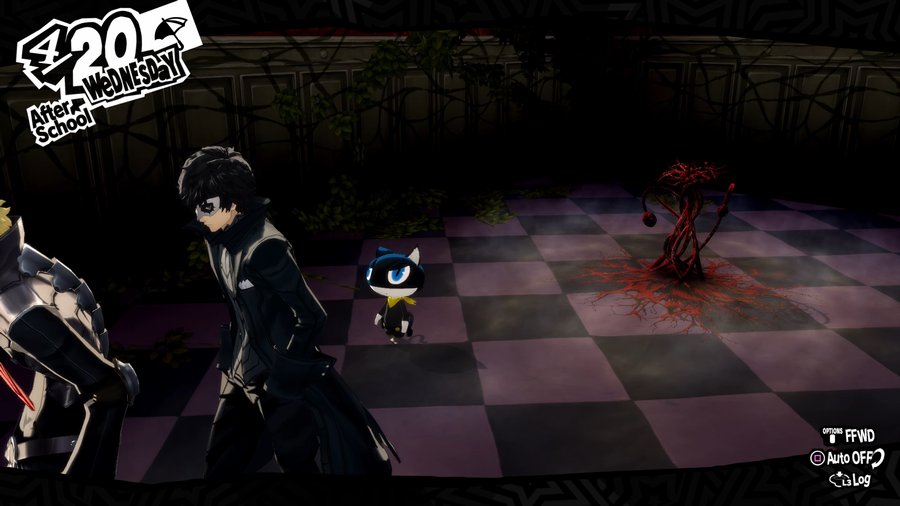
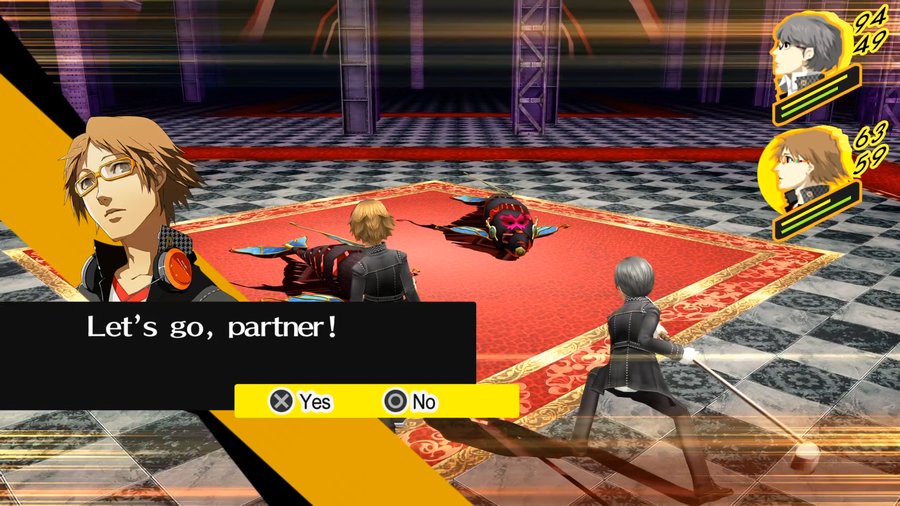
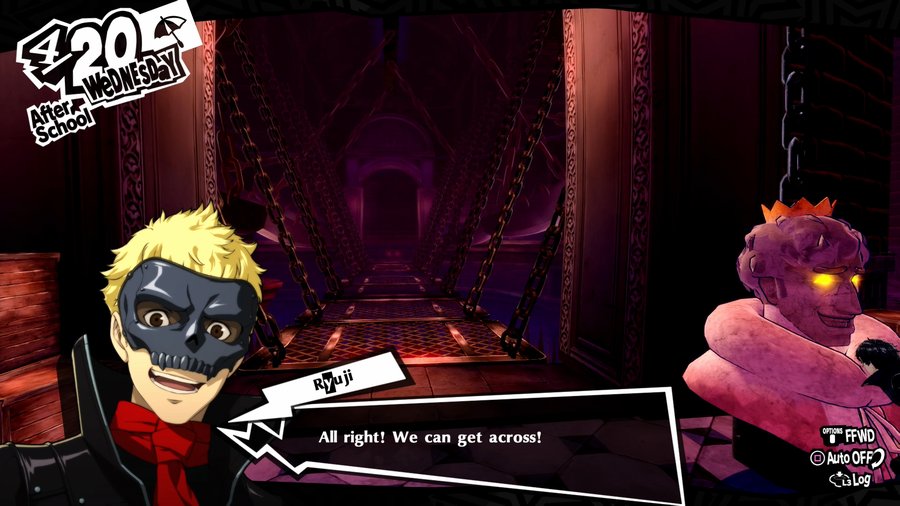
 If we wanna head back, we’ll hafta go through this guy… Time to make a path!
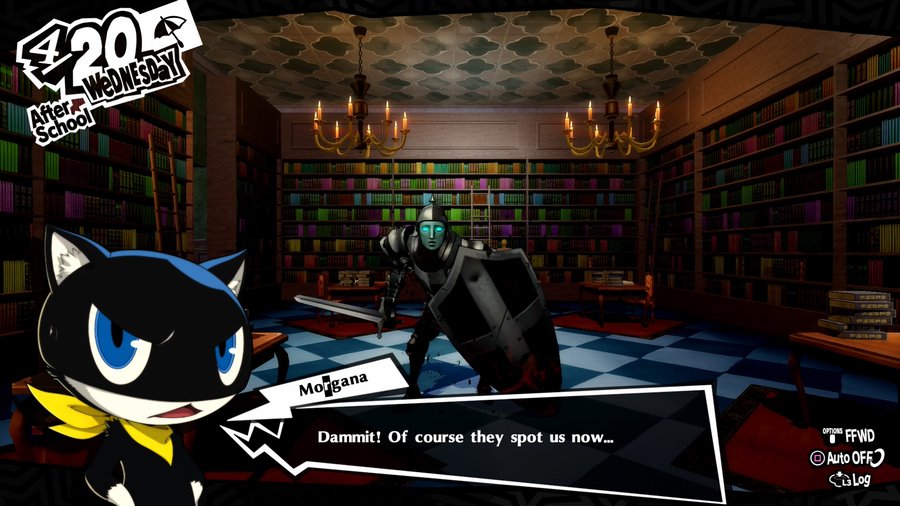
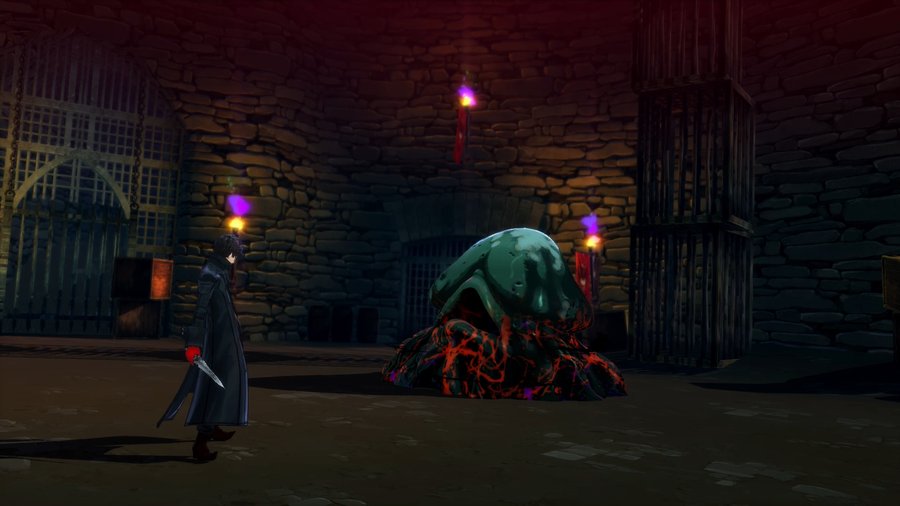
Okay, let’s fight!
Music: Last Surprise

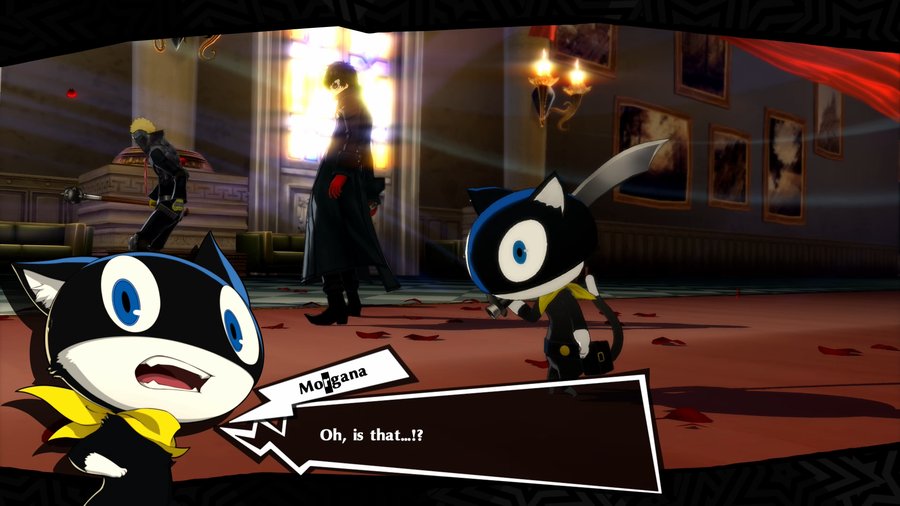
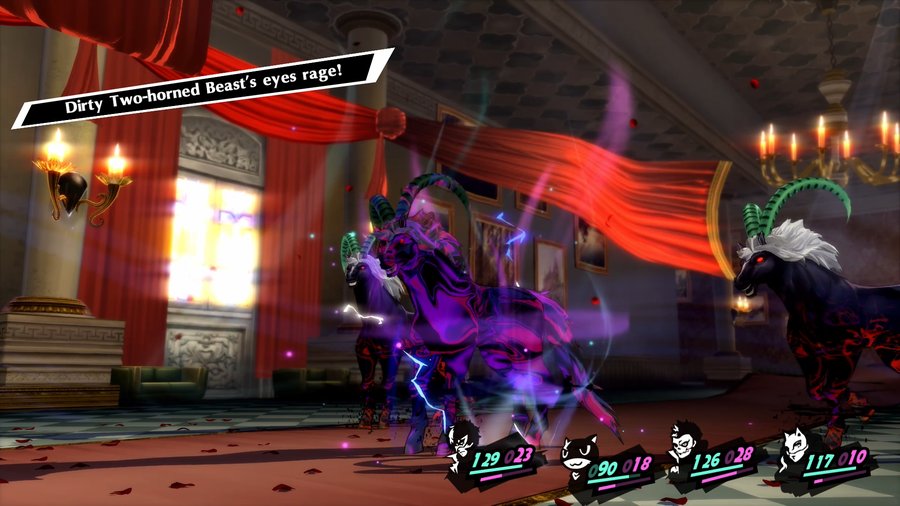
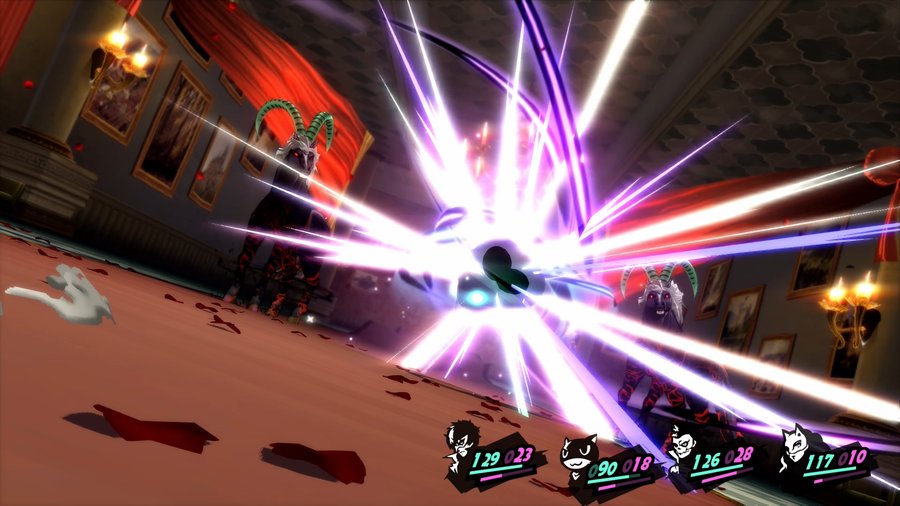
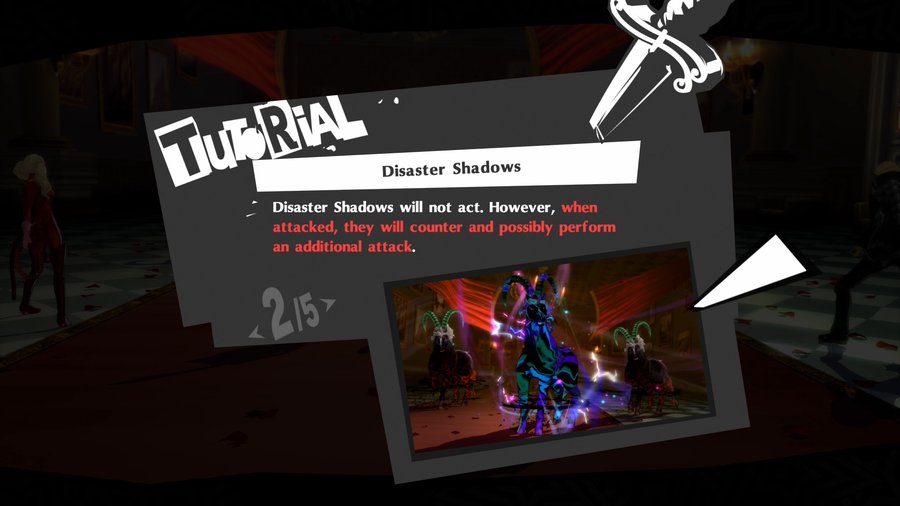
 What’s up with that one? It’s mumblin’ to itself, but… it’s not makin’ any moves.
 Be careful. If my prediction is correct, that one’s a bit problematic for us.
 Alright, then I’ll go take care of it!
Just be careful!
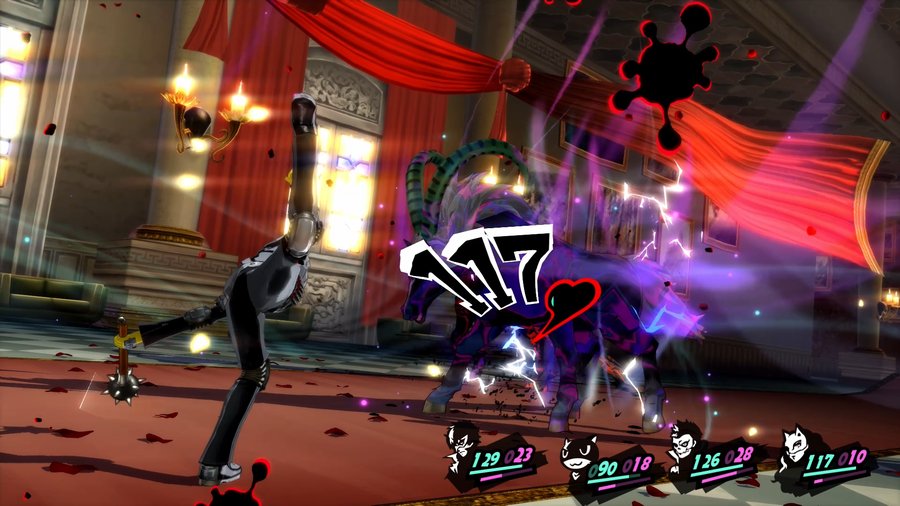
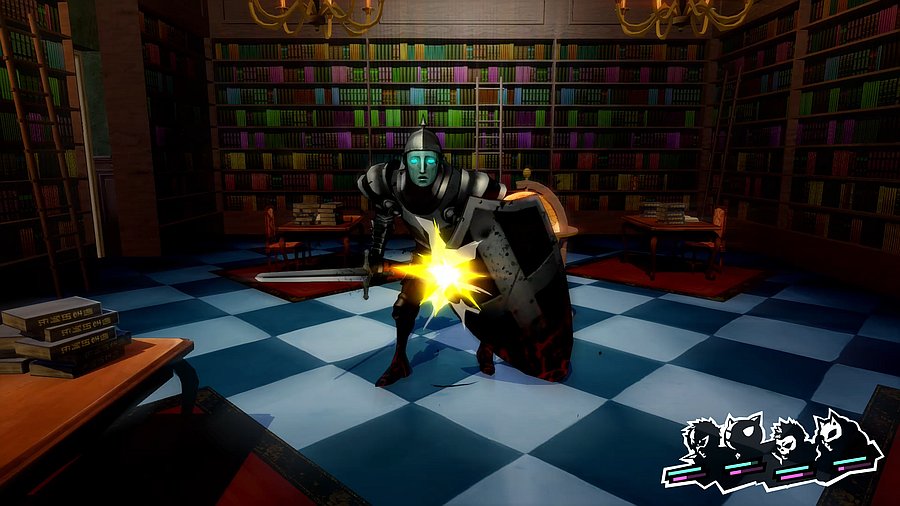
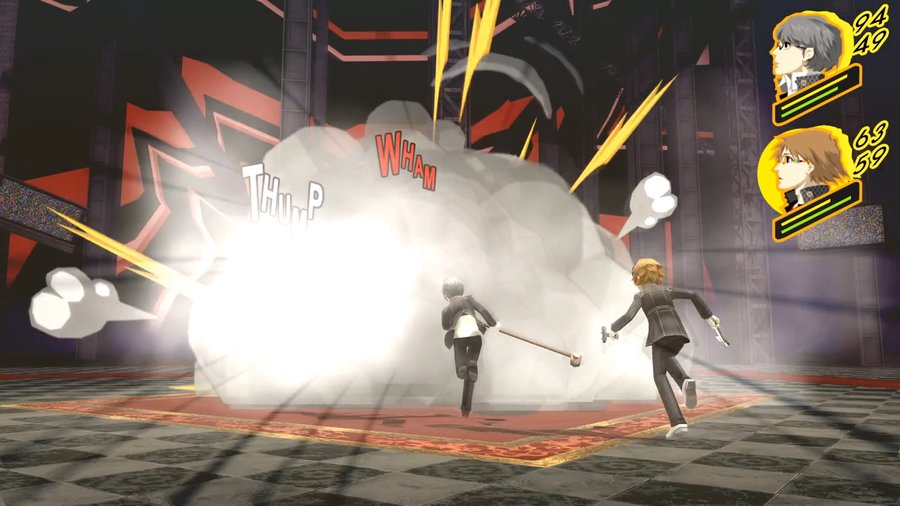
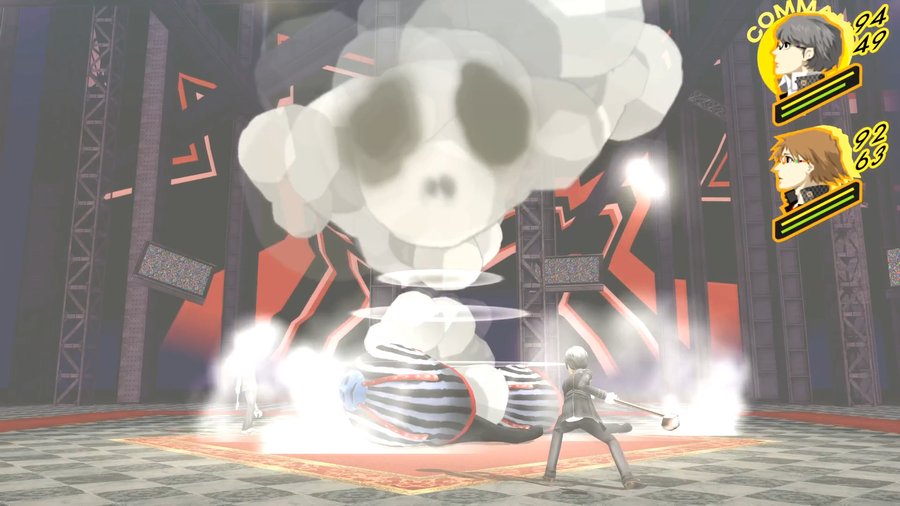
Skull attacks…
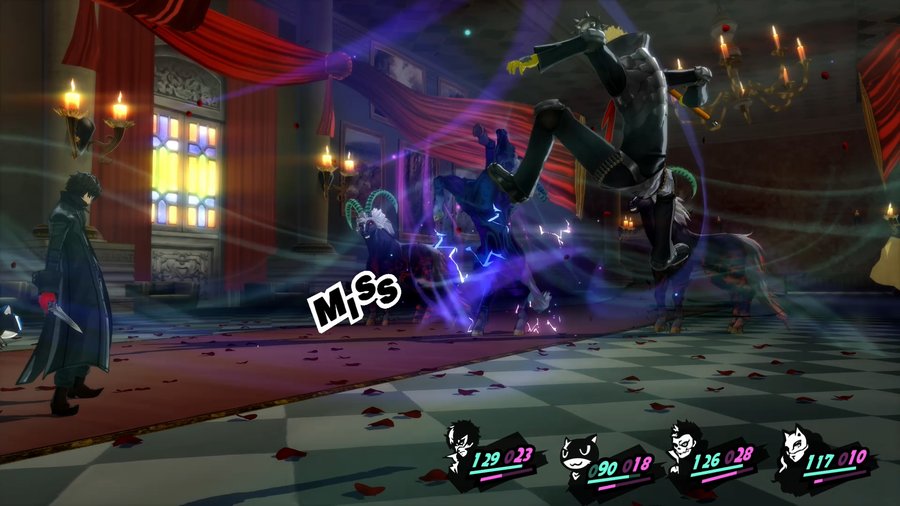
...and the Shadow immediately counterattacks!
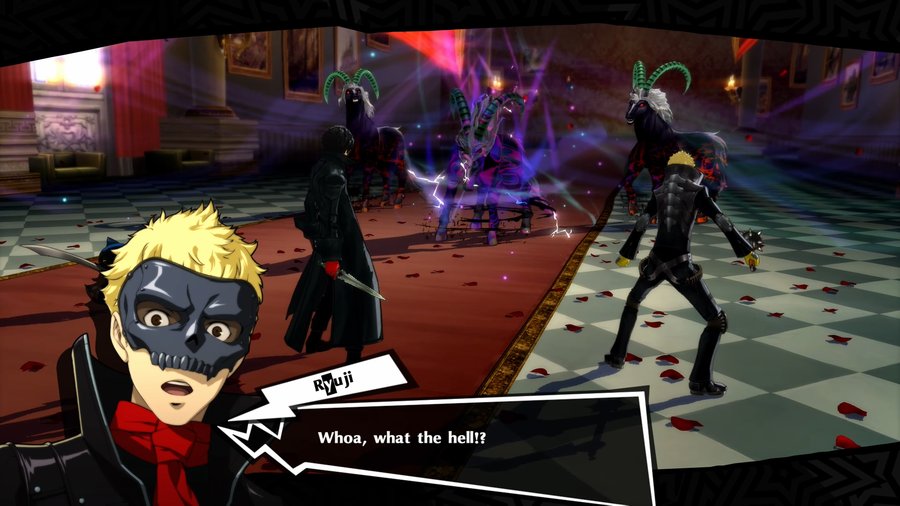
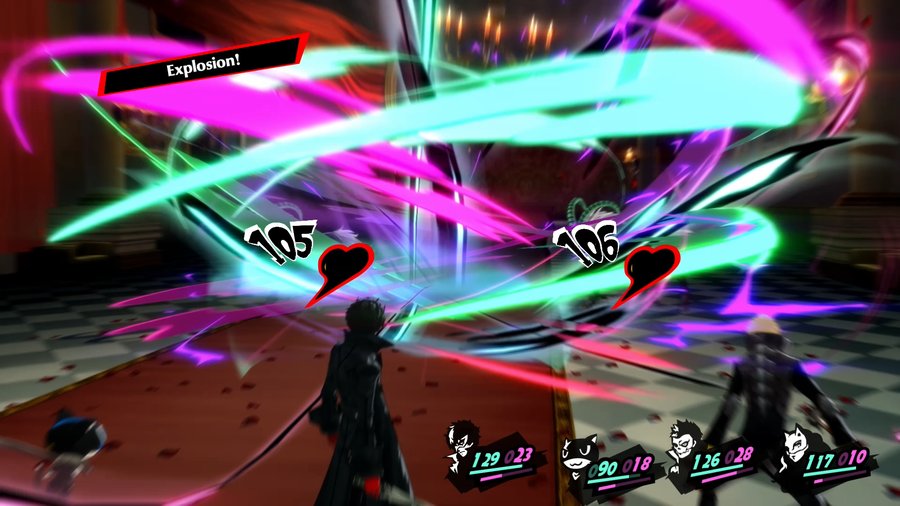
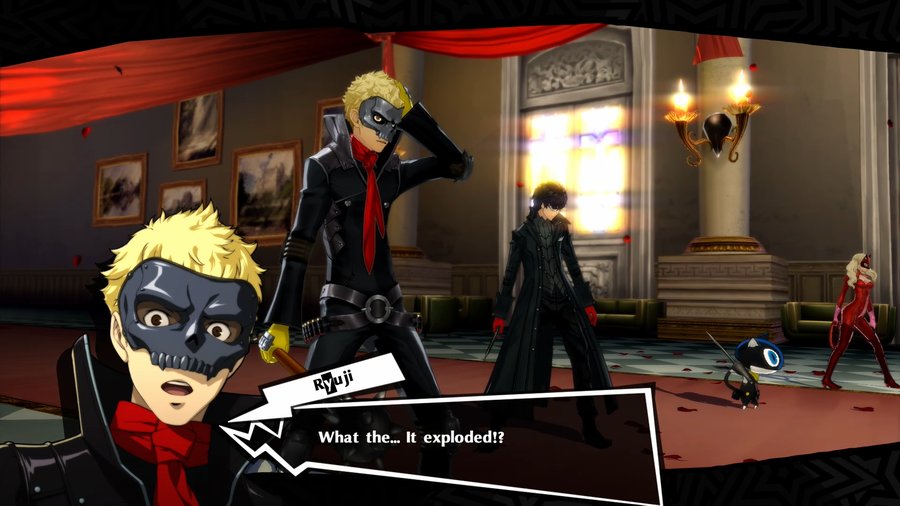
It started moving after we attacked it… Looks like it’s exactly what I expected. Once we take it down—Hey, you two! Watch this!
 Uh, am I not even here…?
Mona finishes it off.
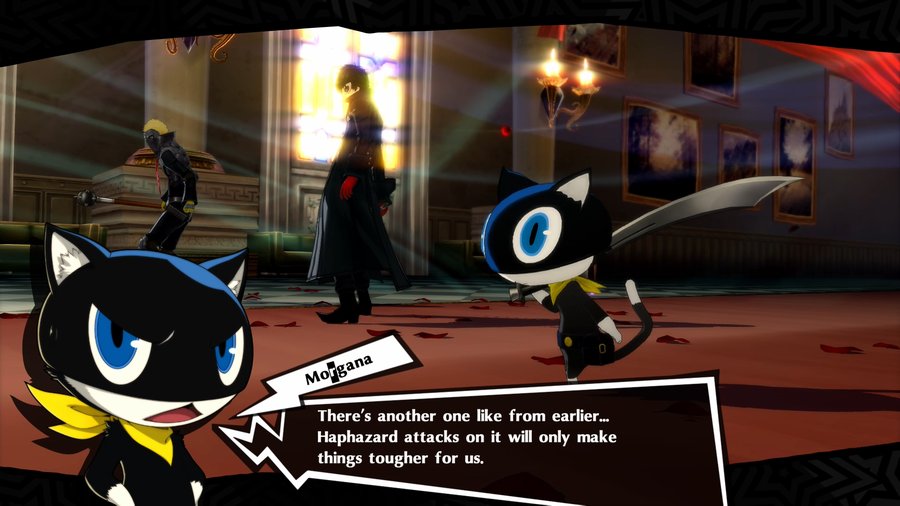
I’ll explain later! Focus on the battle for now!
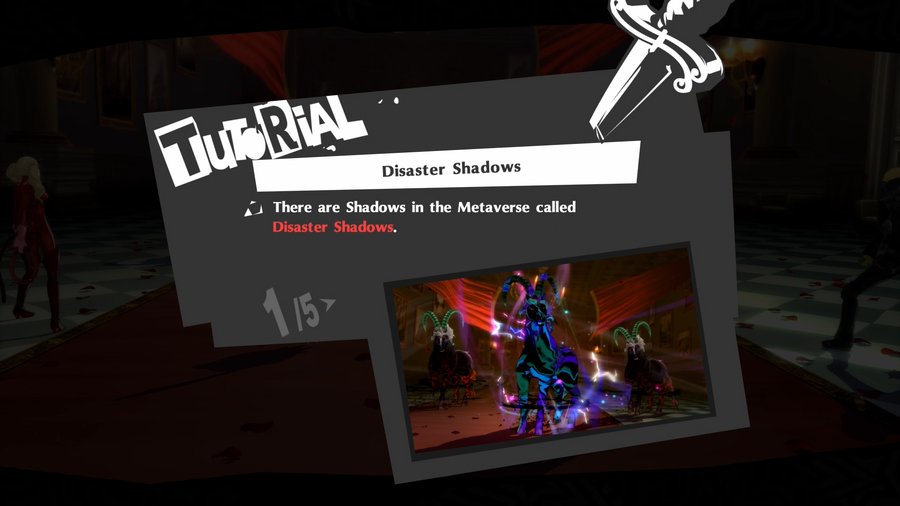
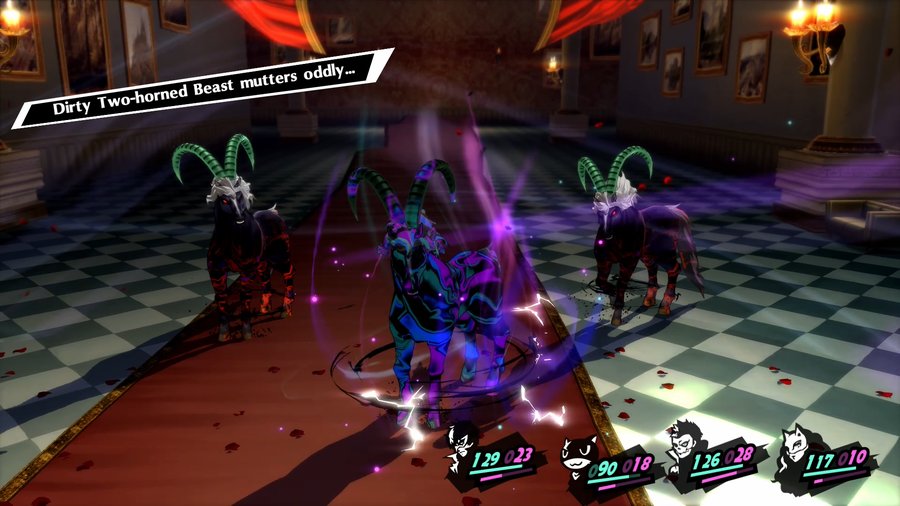
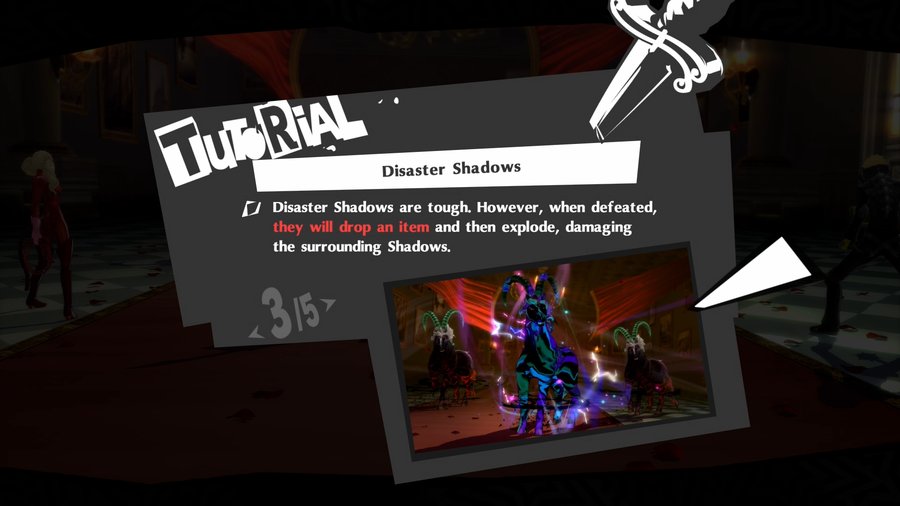
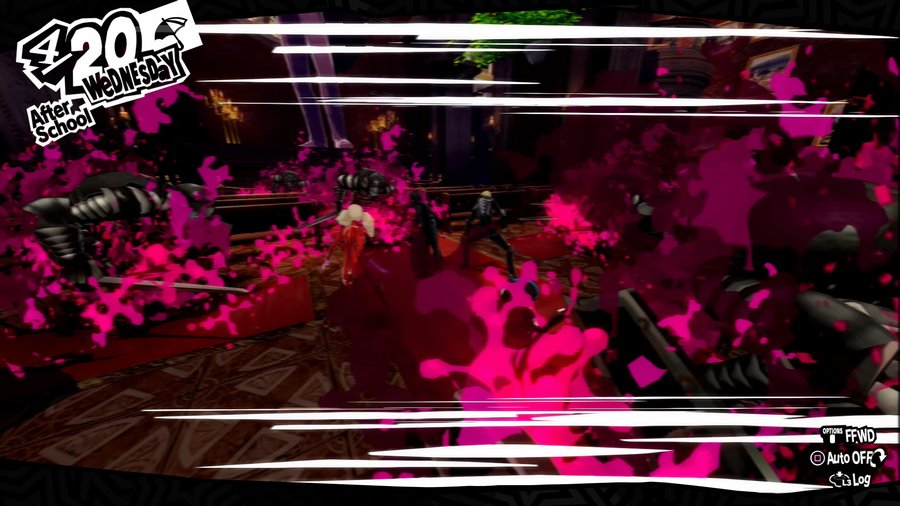
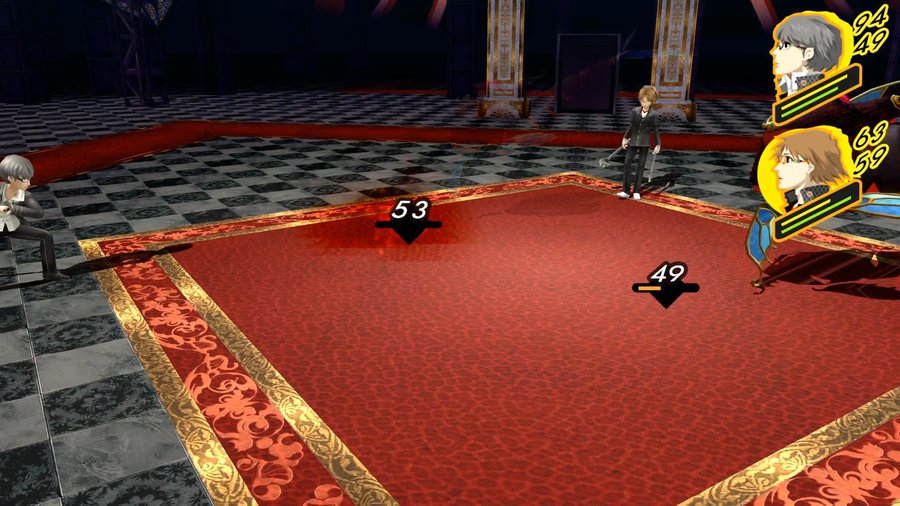
So, these are Disaster Shadows. Despite the name, they’re not actually very scary. They’re just a fun little twist on normal fights.
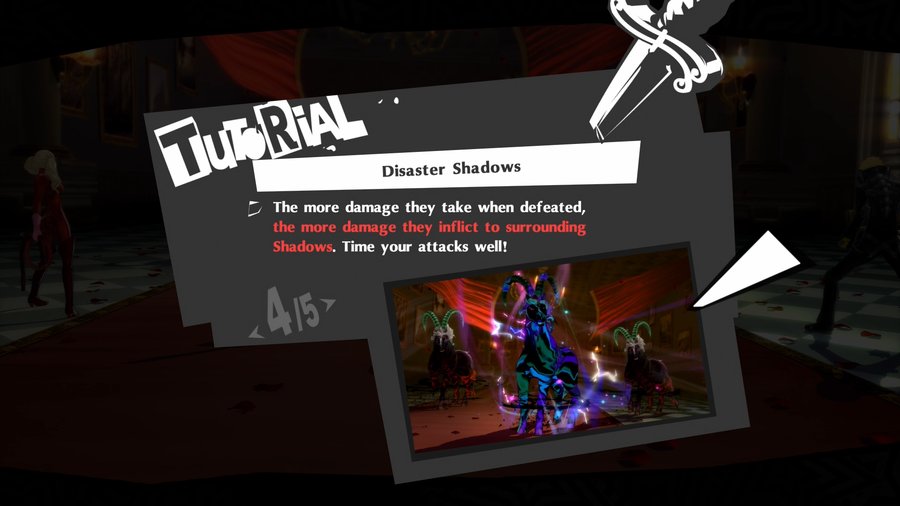
Remember: the more damage the hit that kills them deals, the more damage the explosion causes. So don’t try to kill an almost-dead one with, say, a gunshot, or you’re wasting the free damage.

Okay, let’s finish the remaining Shadows then…
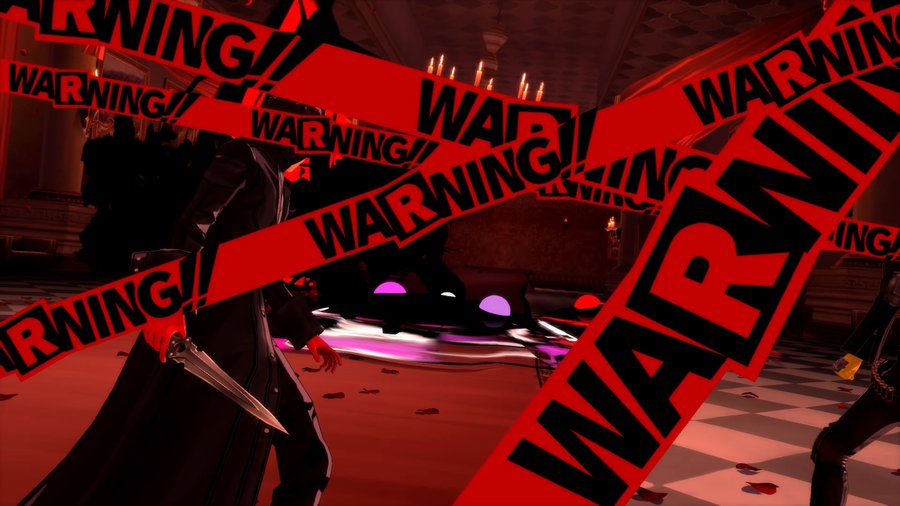
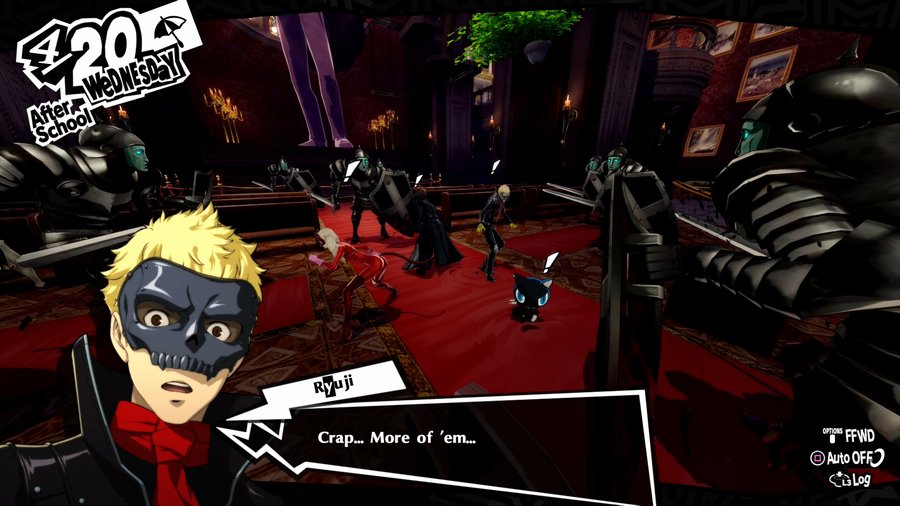
But more show up! With another Disaster Shadow leading the pack!
It’s probably best to take it down fast by striking its weakness and getting it to blow up. Alternately, we could put it to sleep or make it unable to move, then just deal with it later.
Nah, that’s weak shit. We’re gonna do the first thing!
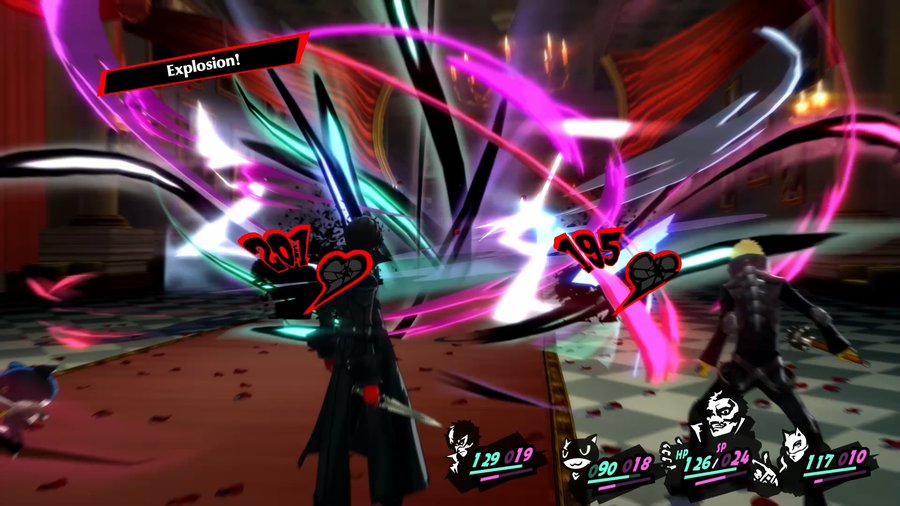
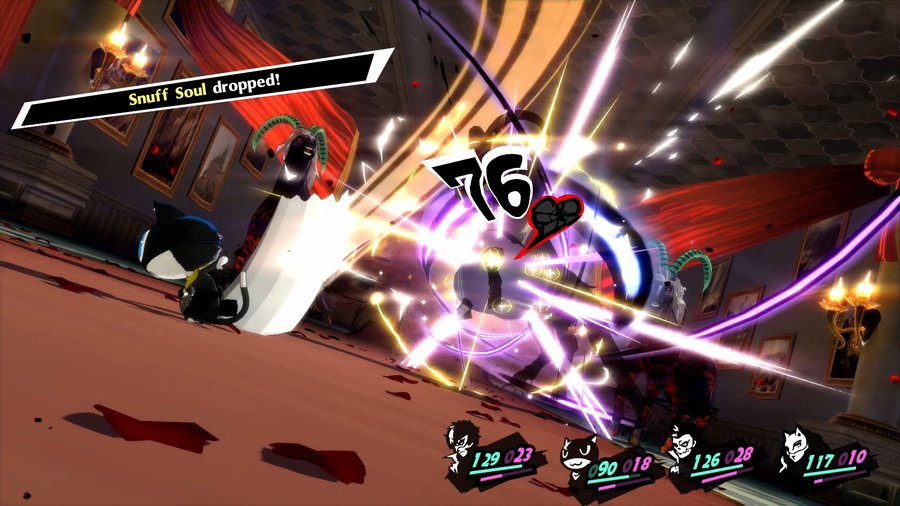
Hit its weakness, Baton Pass over to Skull and get him to hit its weakness again to blow them all up.
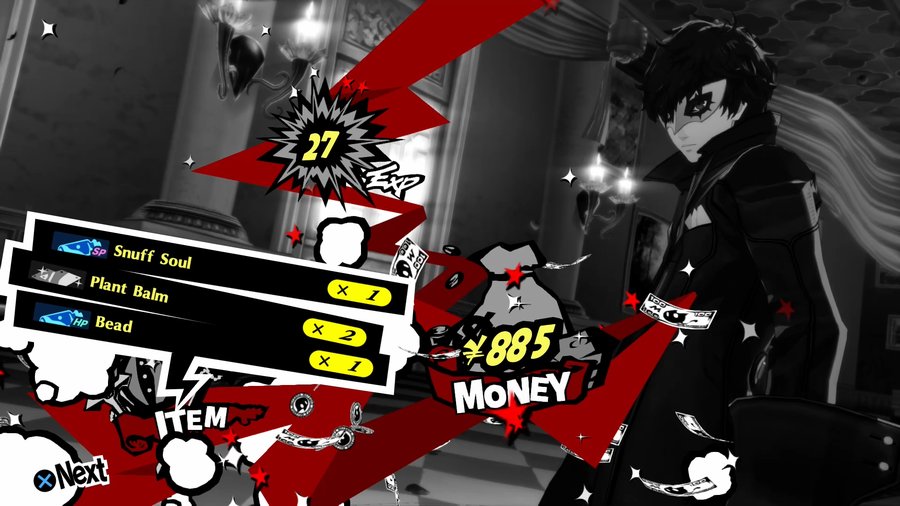
That Snuff Soul will be mighty useful, as it restores 50 SP. So useful, in fact, that we’re going to save it for a later dungeon!
Music: King, Queen, and Slaves
 I call those scary ones Disaster Shadows.
They really are scary…
What did I just say?
 But just so long as we handle ‘em right, we oughta be able to make ‘em useful to us, right?
 Right! If we run across any more of those, I say we focus on them first!

Right, let’s go.
New safe room available, which is good because the fight with that Archangel is coming up.
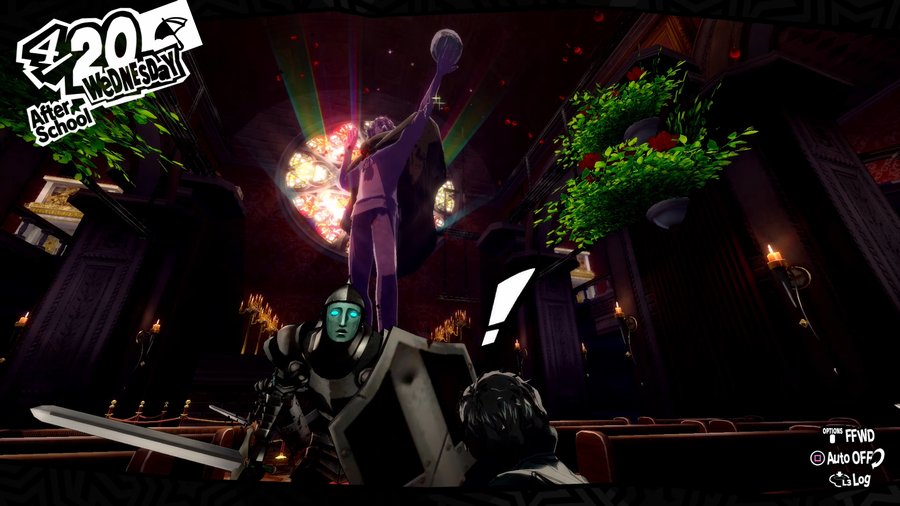
Hm? The statue has a crack in the arm now. Weird.
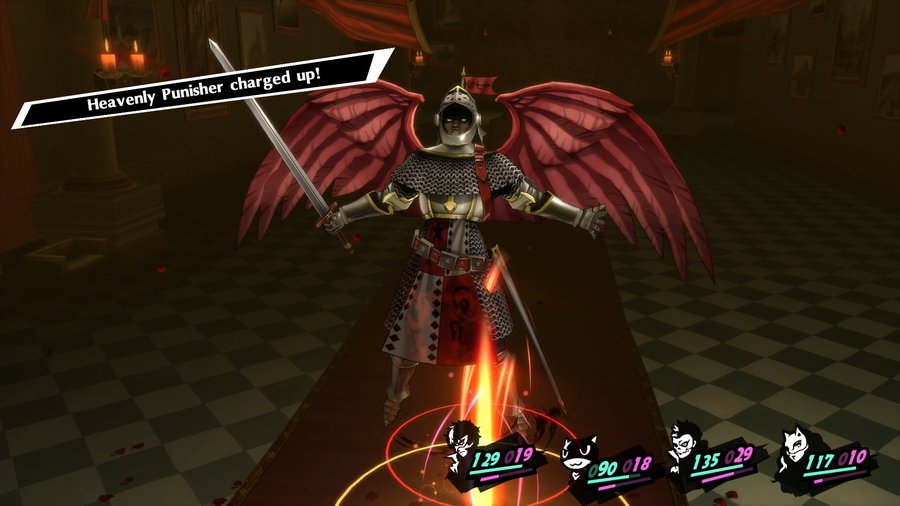
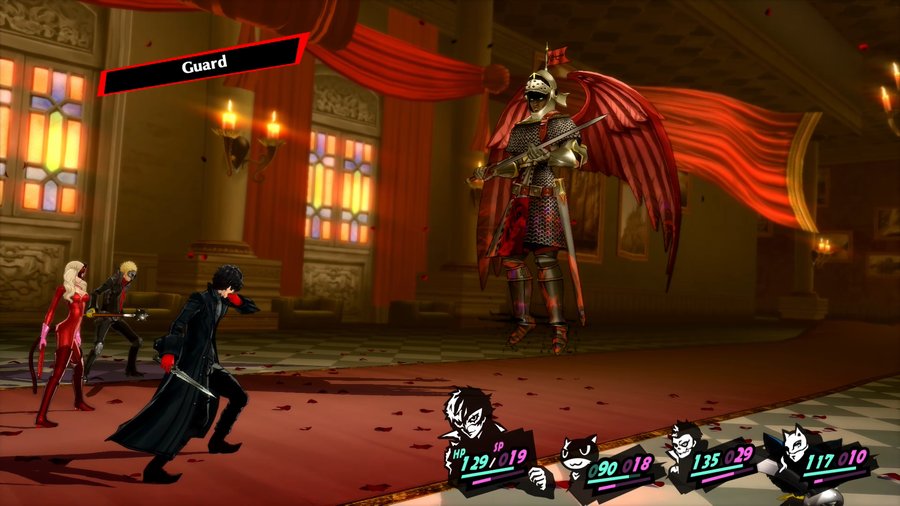
He charges up, we know by this point to guard. Easy peasy.
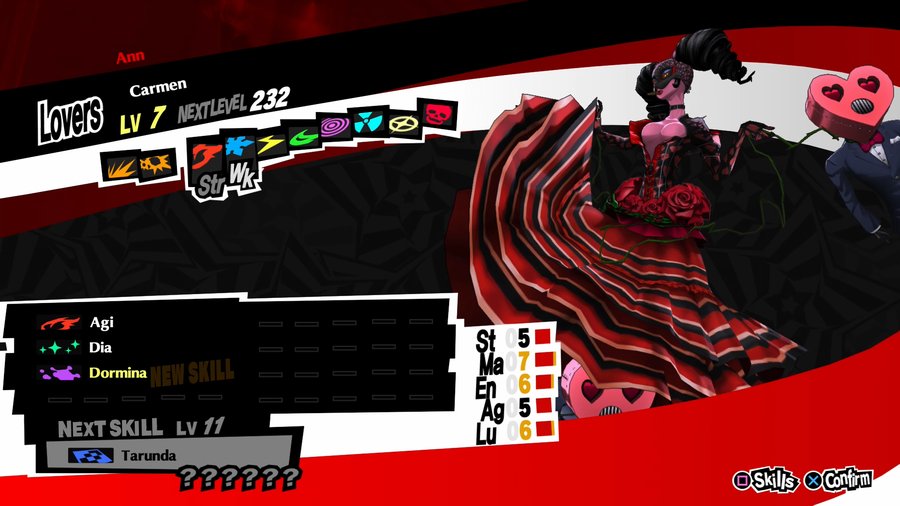
We take him down quickly enough despite his resistance to most elements and lack of a weakness. Panther learning Dormina will really help us out in the future, though.
Nothing huge in here that we haven’t seen before.
Fuck, ambush!
 What should we do? Head back?
No, the Treasure is definitely up ahead, and there has to be a path to it somewhere. See anything that could help us zip by here? Keep your eyes sharp!
The cracked arm…?
And now we can investigate this area! Let’s get to it.
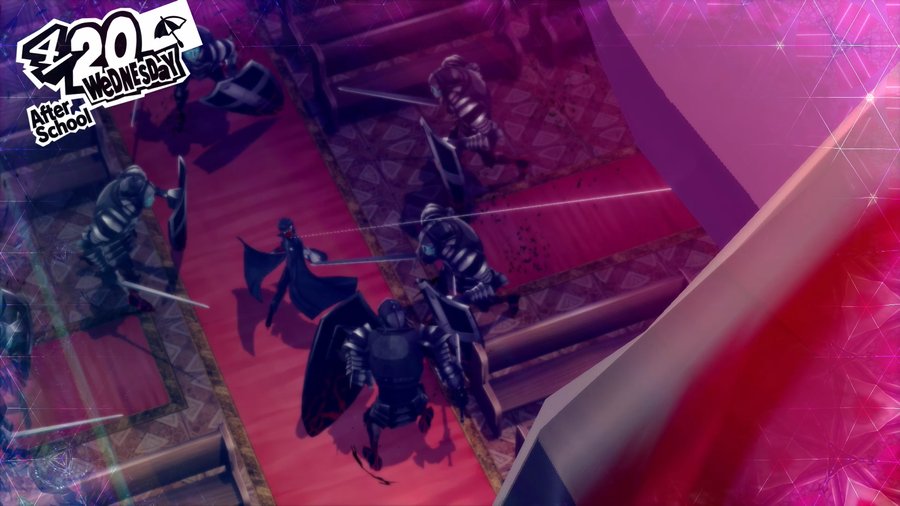
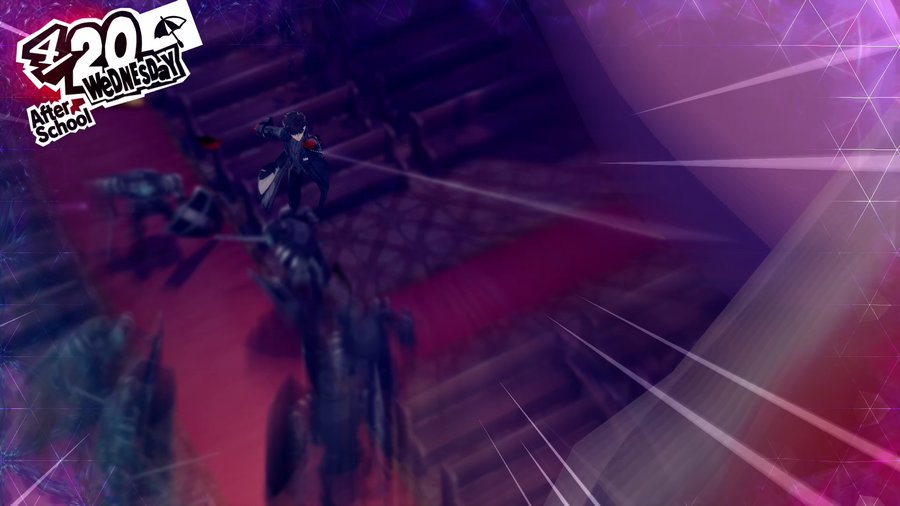
Are the others just, like… grabbing onto Joker and riding him when he grapples? That’s pretty funny if so.
The ambush happened in the original game too, but in Royal you get to just grapple away and never have to actually fight anything on the ground here at any point. It’s way less of a slog, generally. We’re already leaving this room without having fought anything!
(I probably missed a chest on the ground somewhere, but whatever)
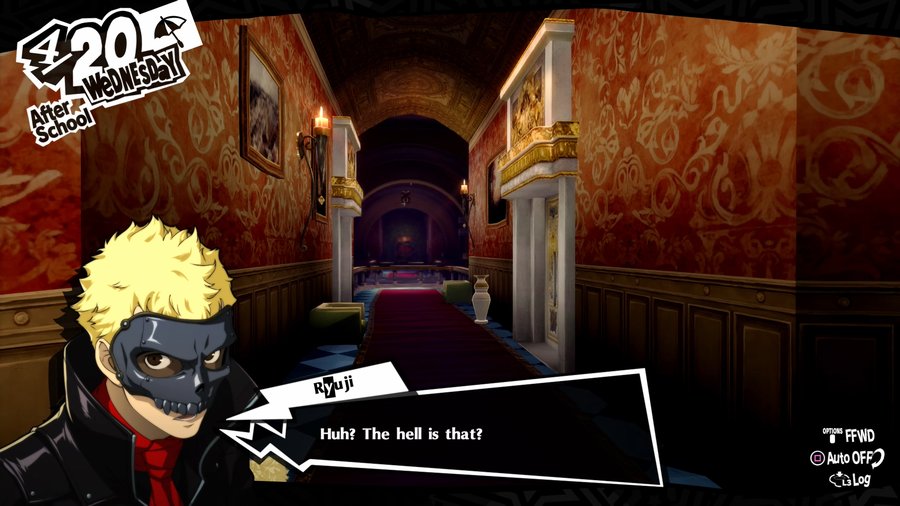
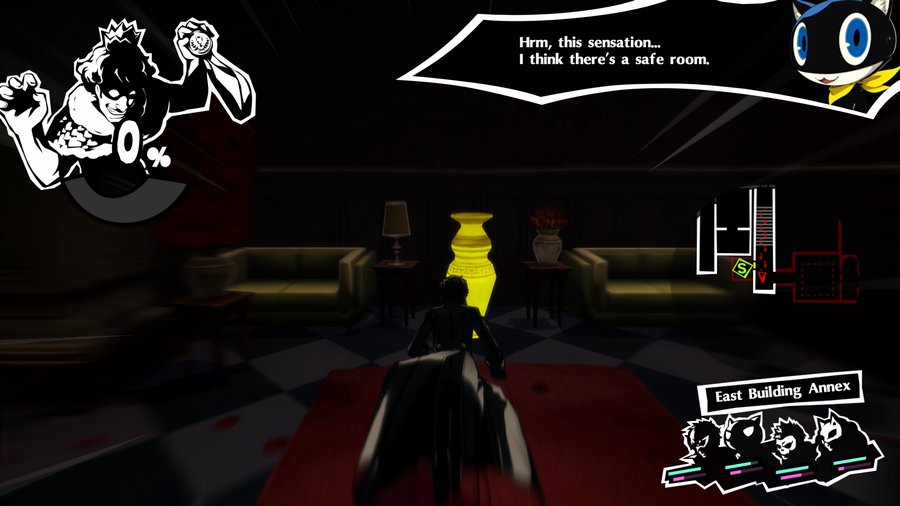
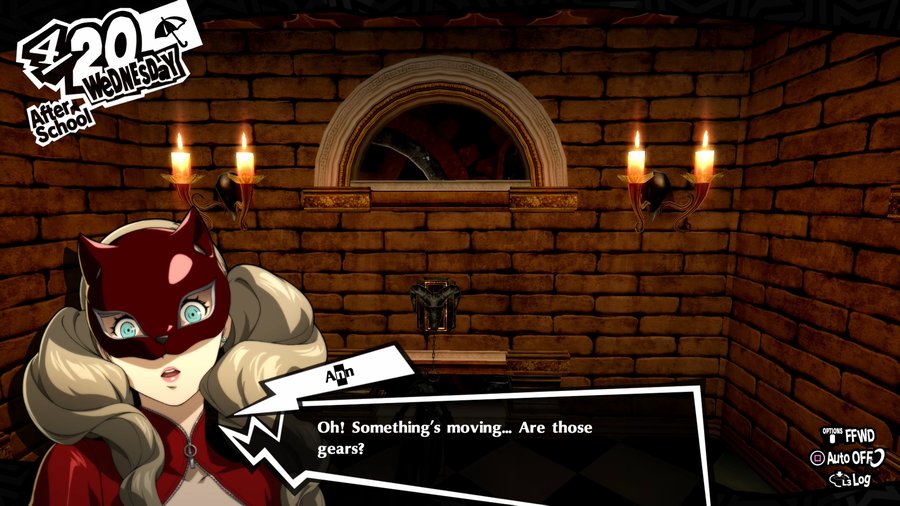
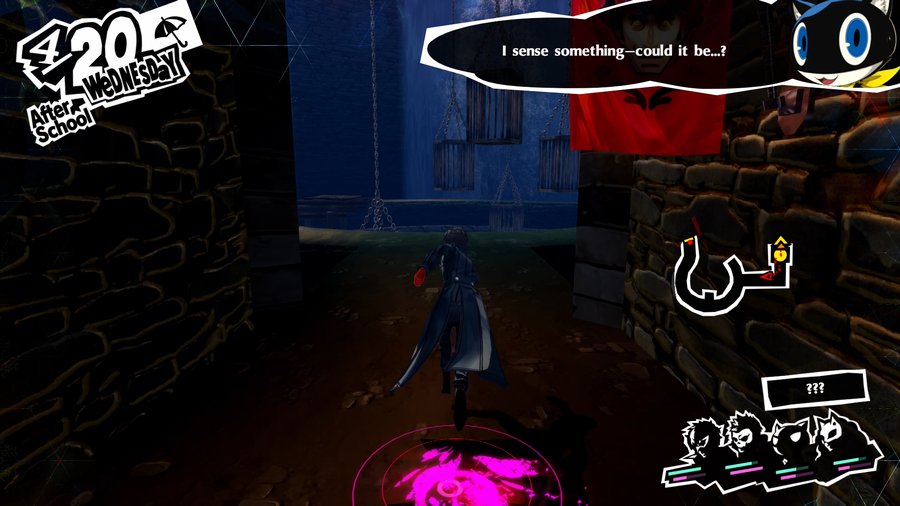
Hm?
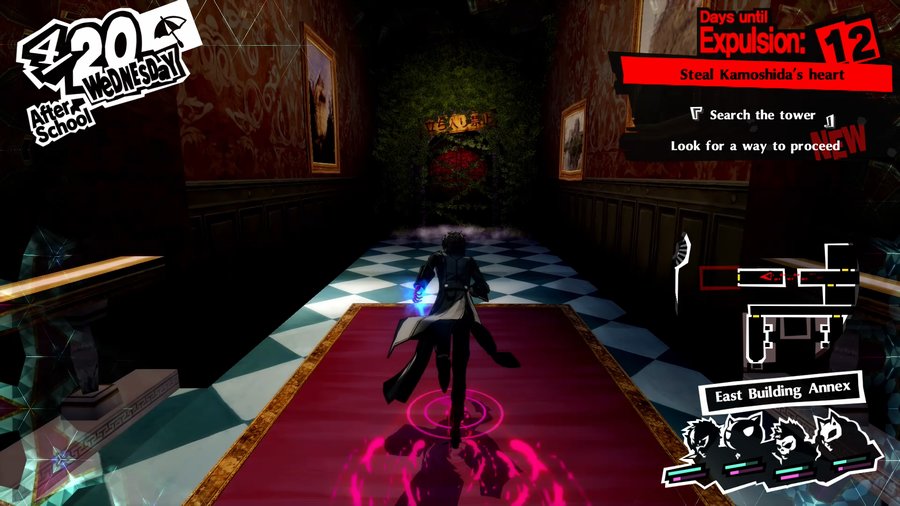
Well, let’s head over then.
Yeah. By the looks of it, no one’s been in there for a long time.
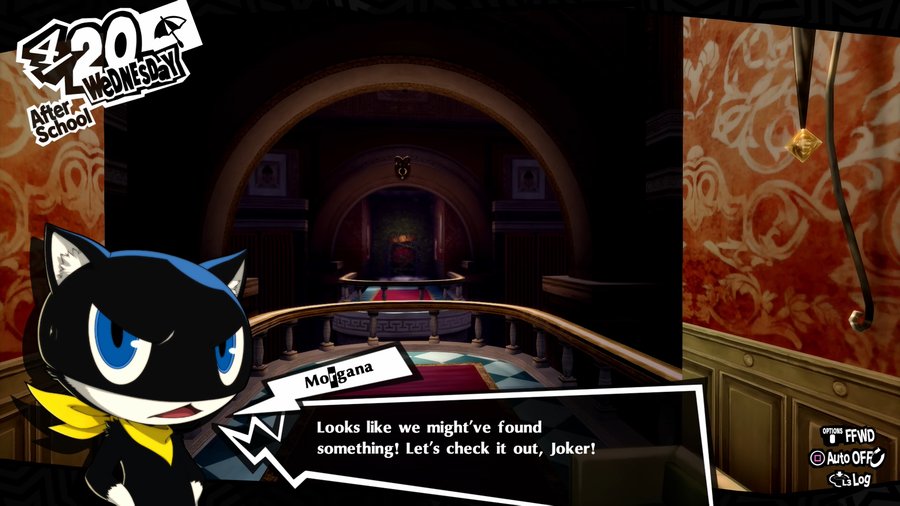
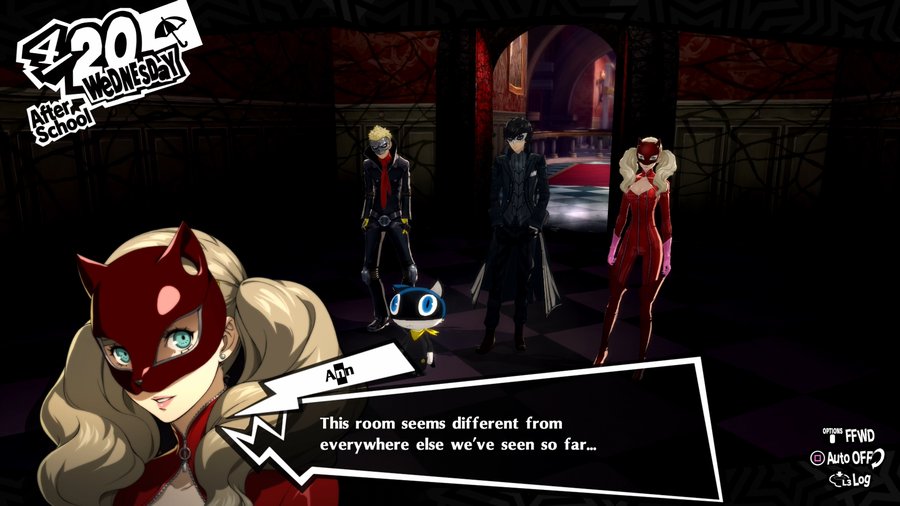
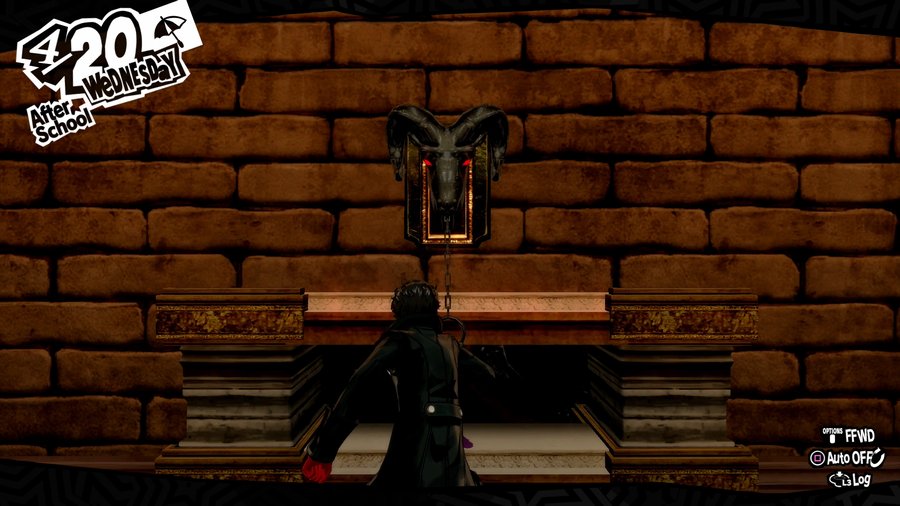
I wonder what’s over there… Should we take a closer look?
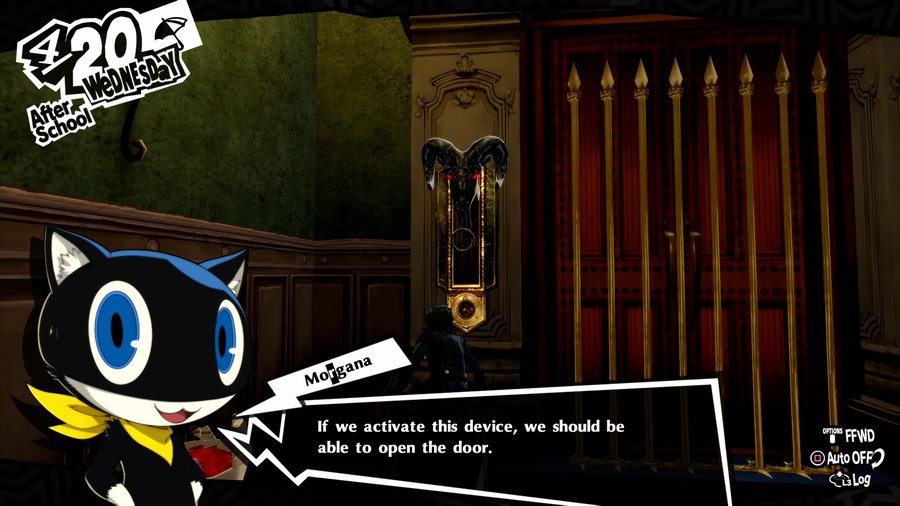
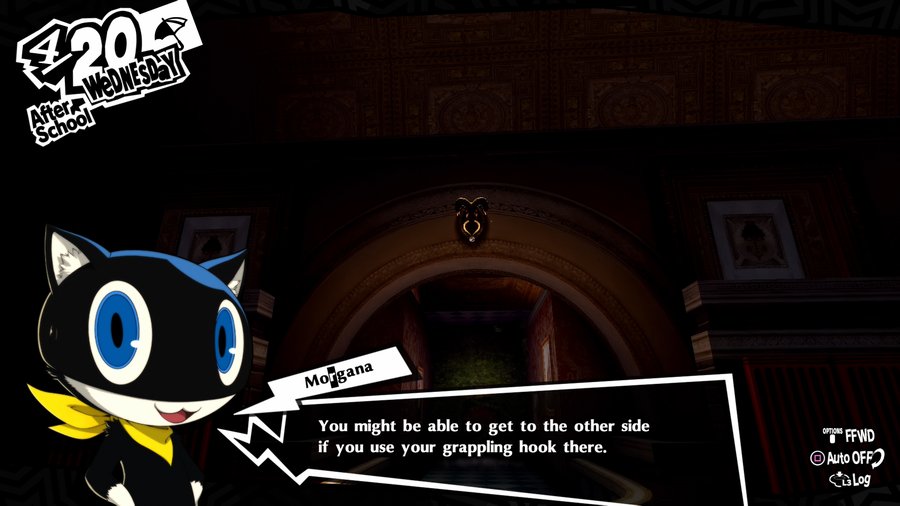
Hey, Joker. Do you see that handle-like thing at the top of that arch?
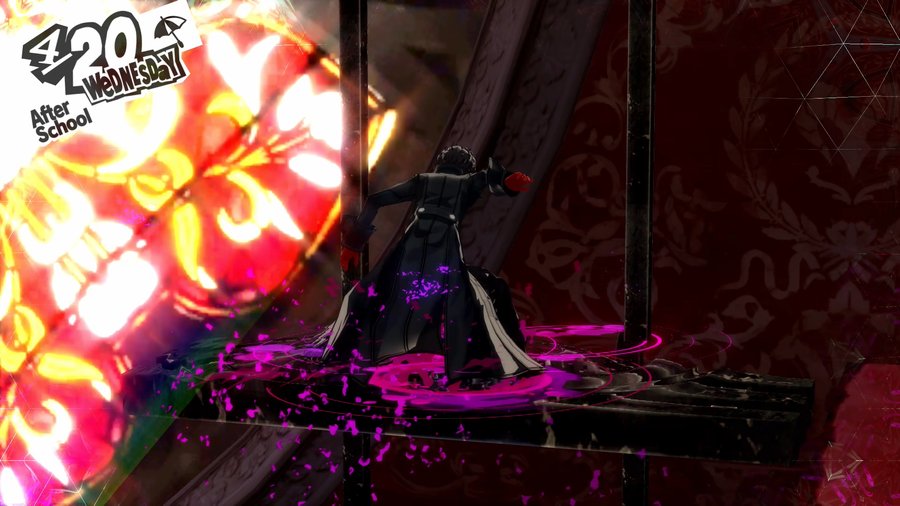
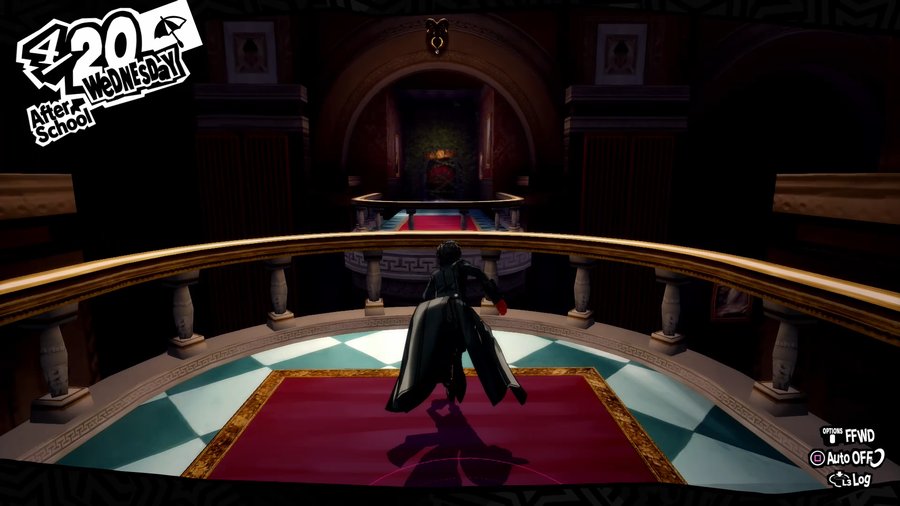
As we approach the door, we begin to hear the indistinct whispers of Kamoshida’s soul…
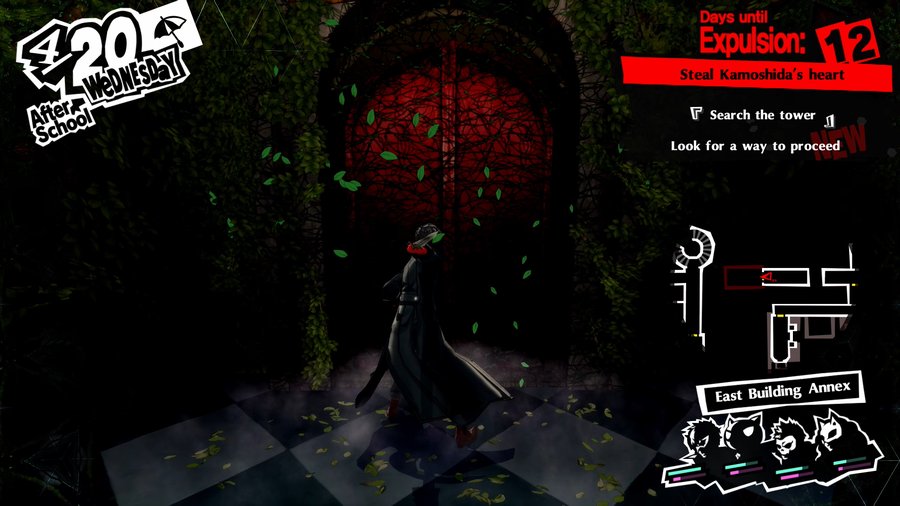
Cut the vines with a flourish.
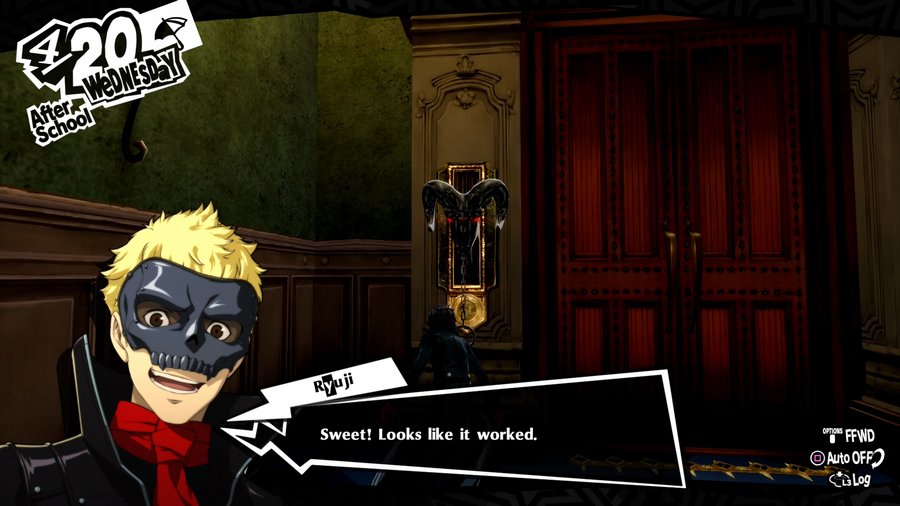
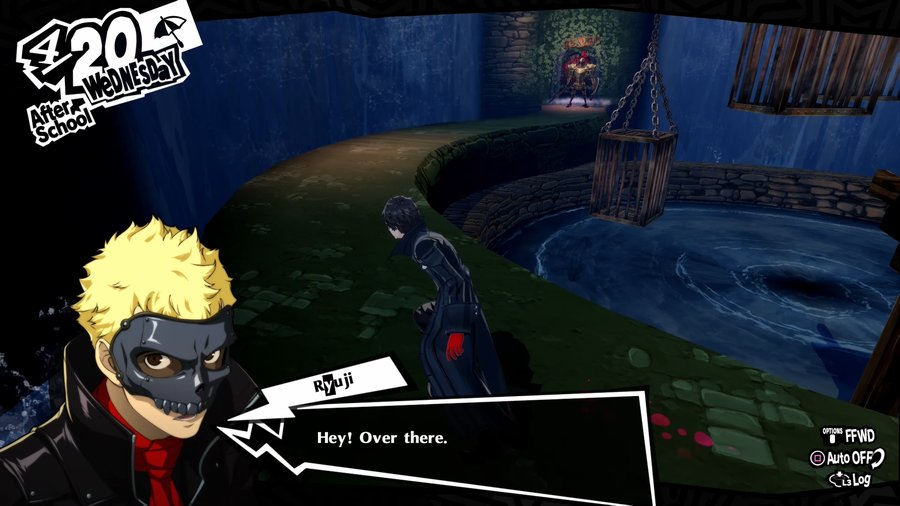
Maaku opens this door like he’s the fucking Chosen Undead.
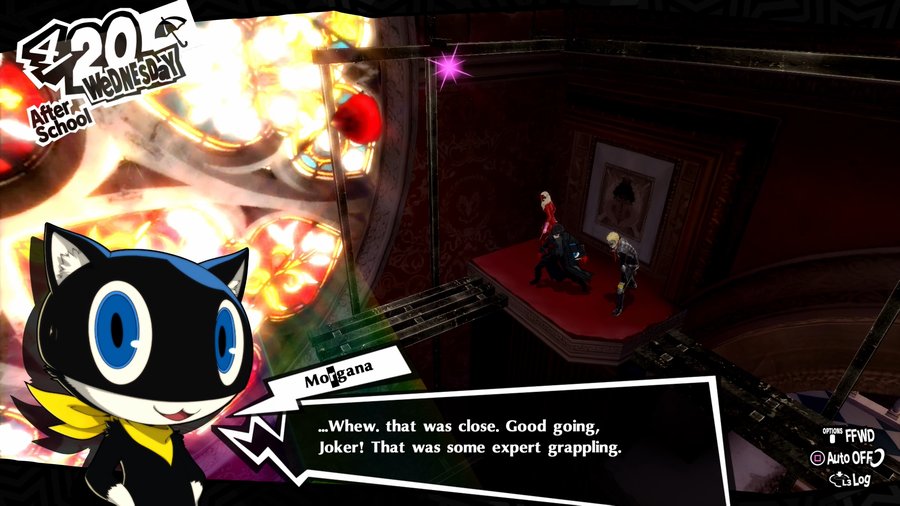
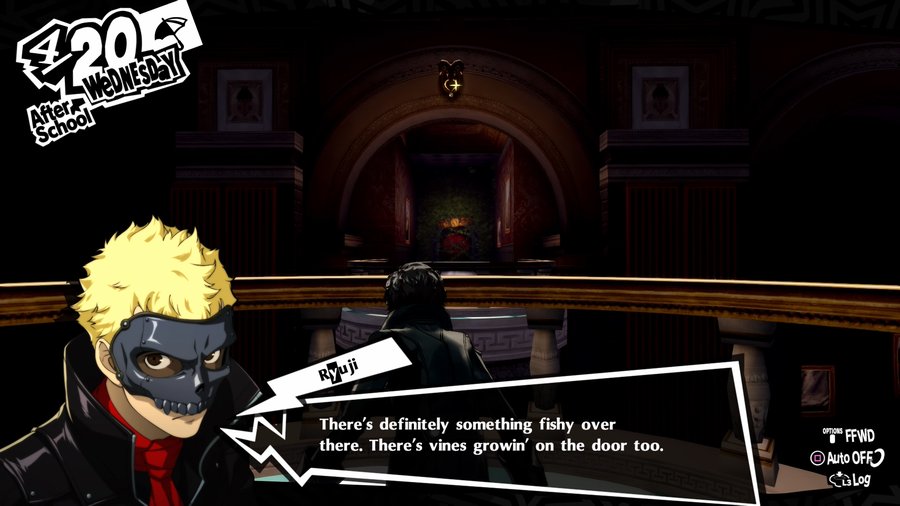
Yeah, and there’s something super-suspicious over there…
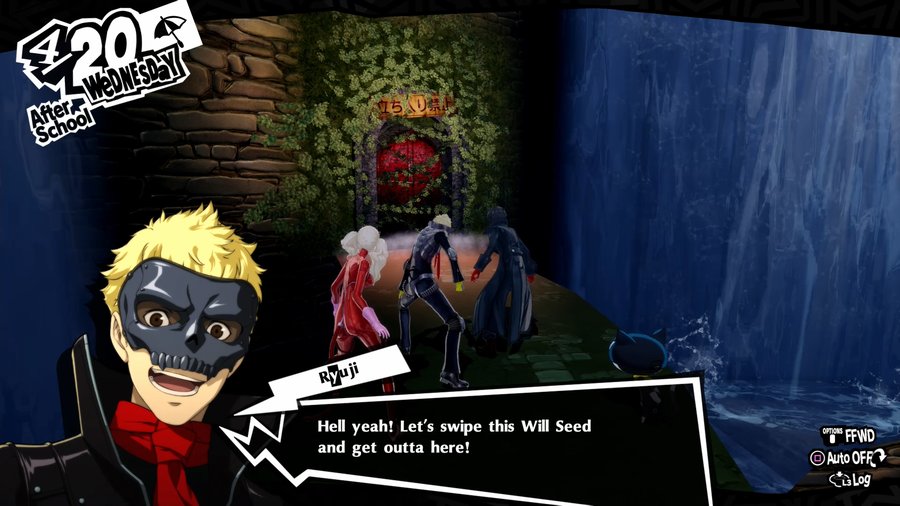
C’mon, follow me!
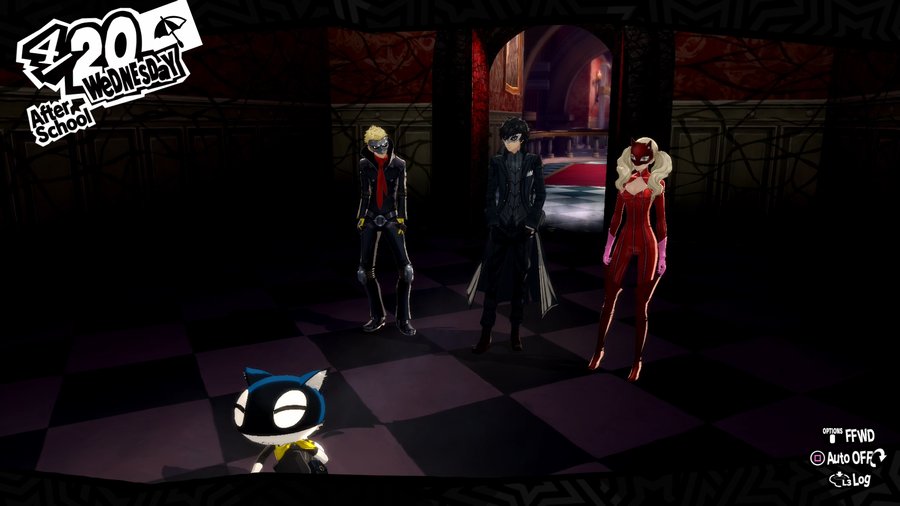
Music: Wicked Plan
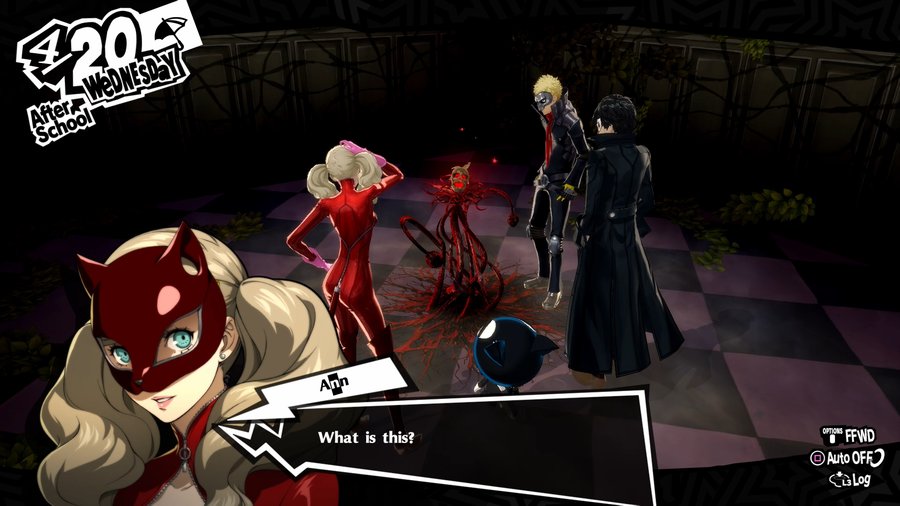
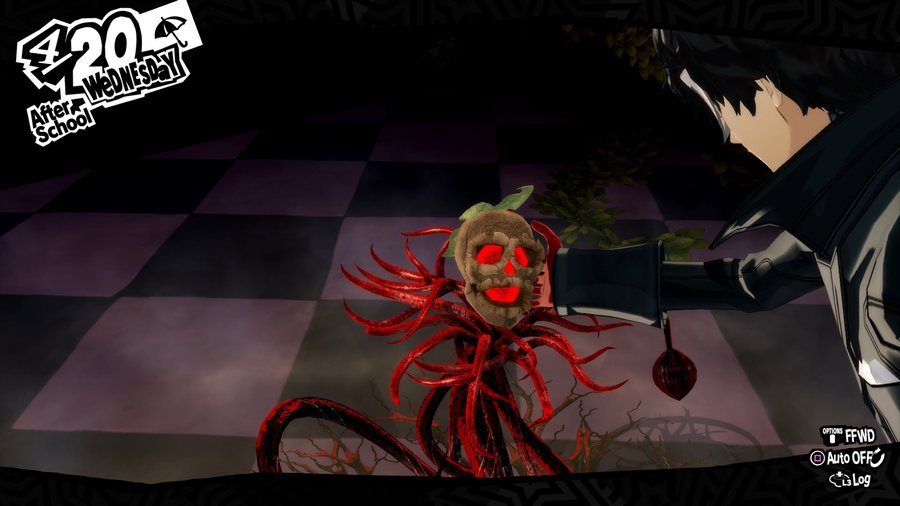
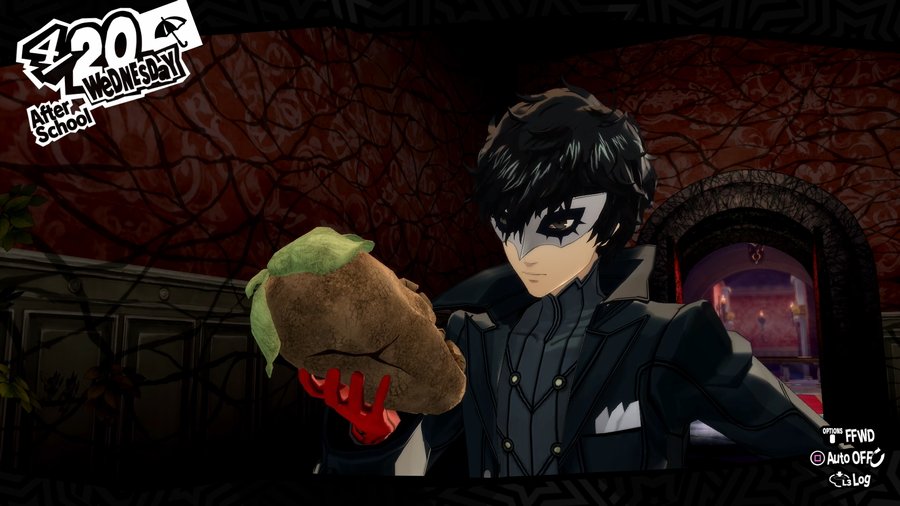
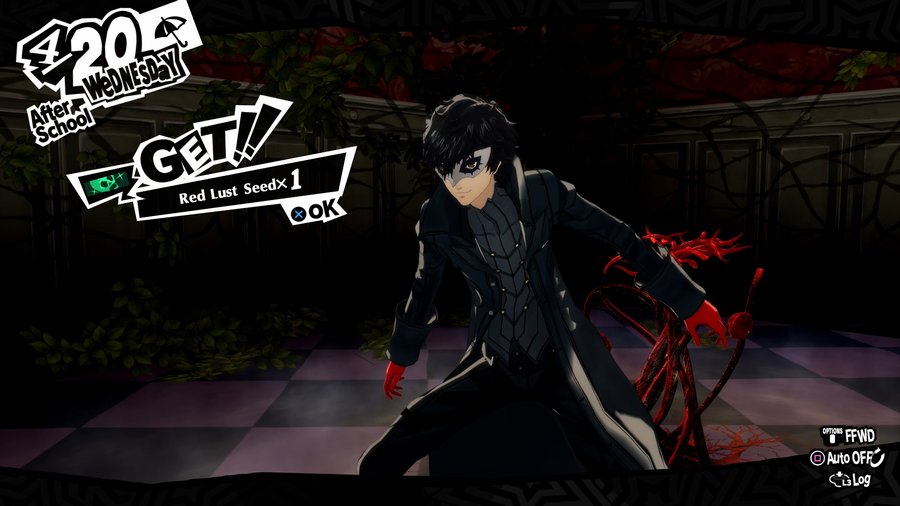
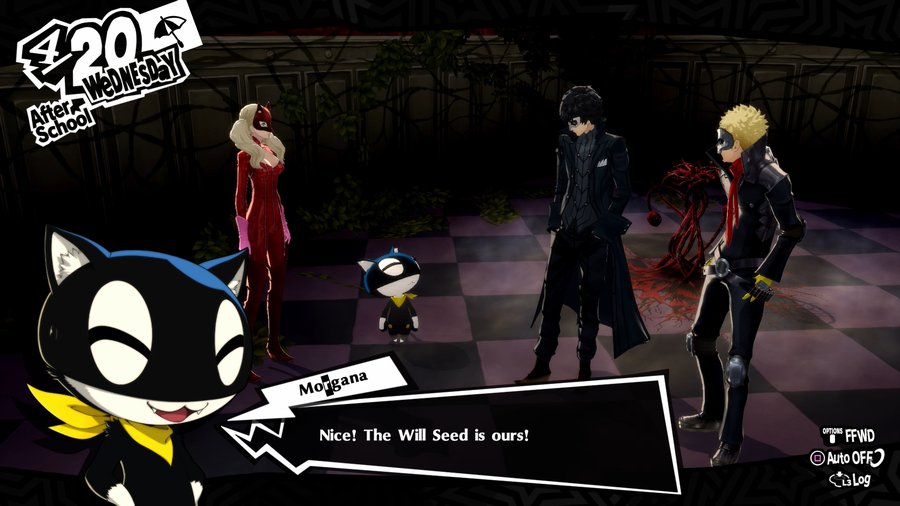
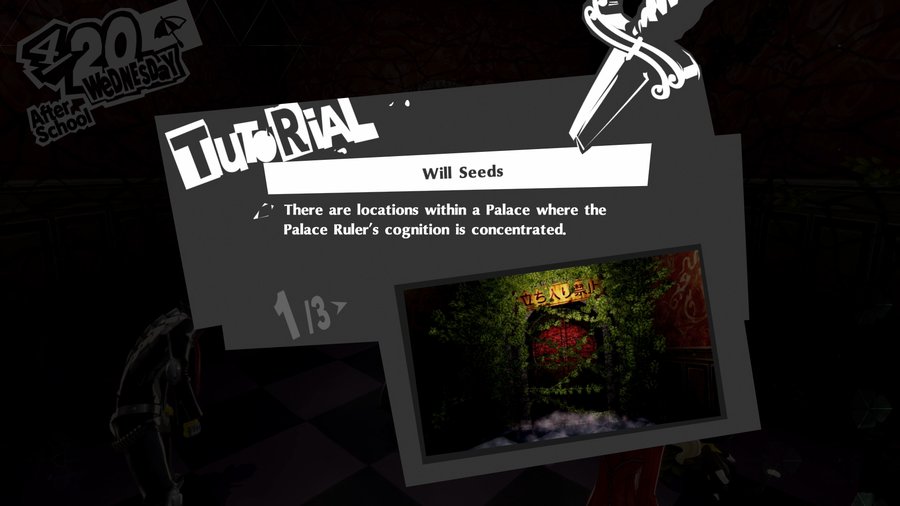
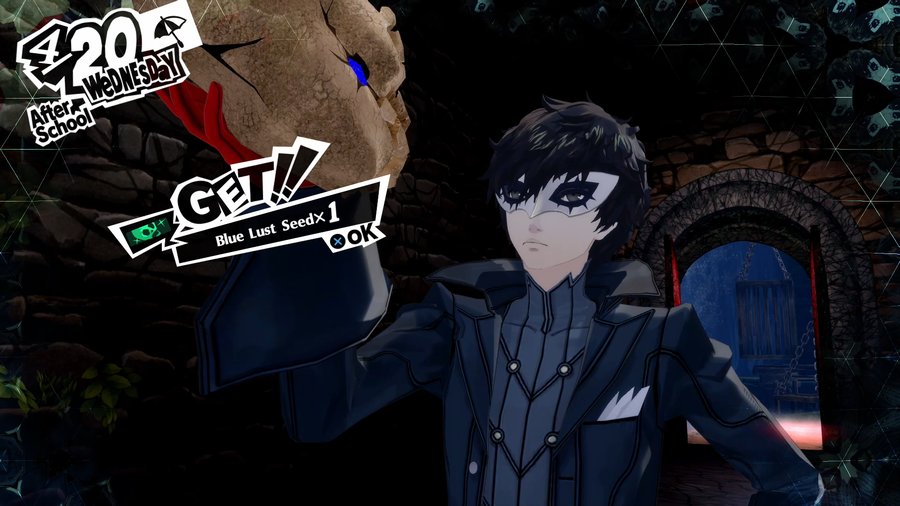
Just what I thought… A “Will Seed.”
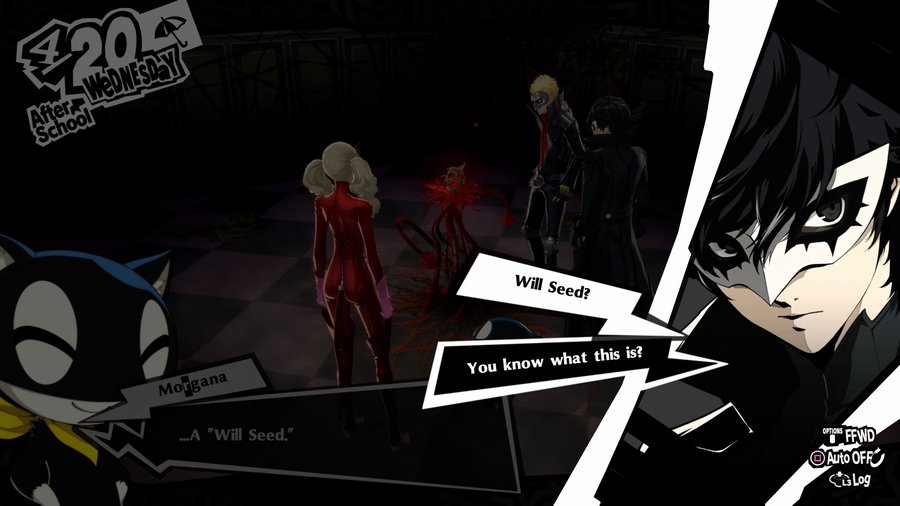
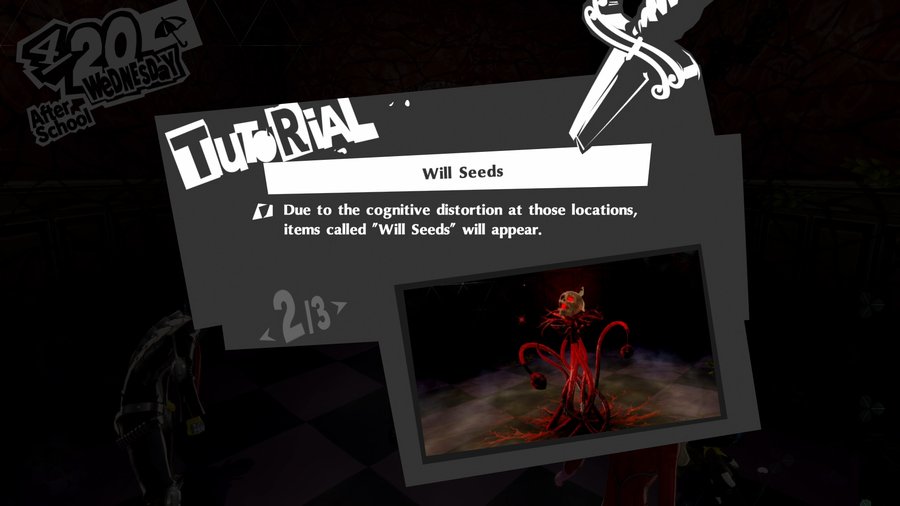
Palaces are locations that grew distorted from their original forms due to their rulers’ cognitions. When such distortions coalesce into form, this is the result—I call it a “Will Seed.”
Distortions… coalesce… into Will Seeds…
 Should I try explaining that again?
Ugh, just forget it! That’s a Will Seed. Movin’ on…
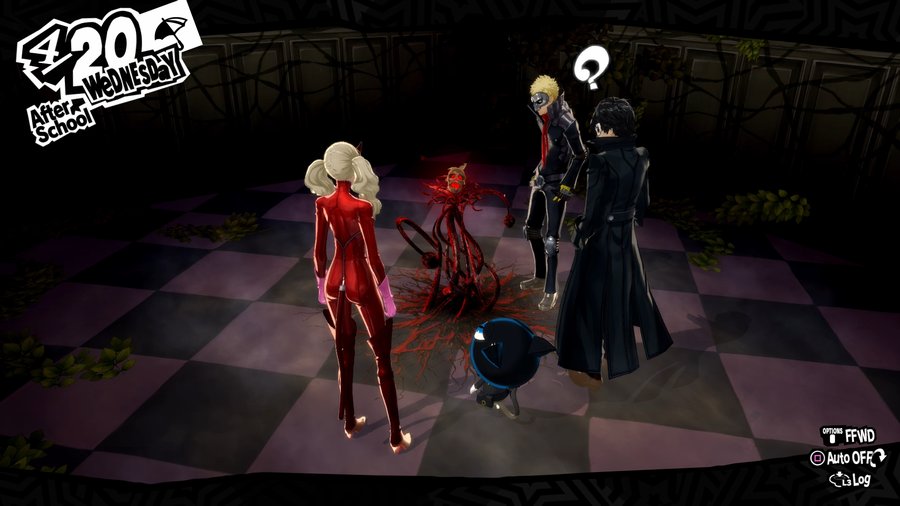
 So, what do we do with it?
We take it. It may not be as prized as a Treasure, but it’s still quite the rare find. Making it ours with only do us good… I think.
Umm, is it really okay to take it?
YOU’RE HERE TO STEAL THINGS, I scream, waking up the neighbors and scaring a cat out of a nearby tree
Nothin’ shitty better happen when you take it—like some trap goin’ off, or we all end up cursed…
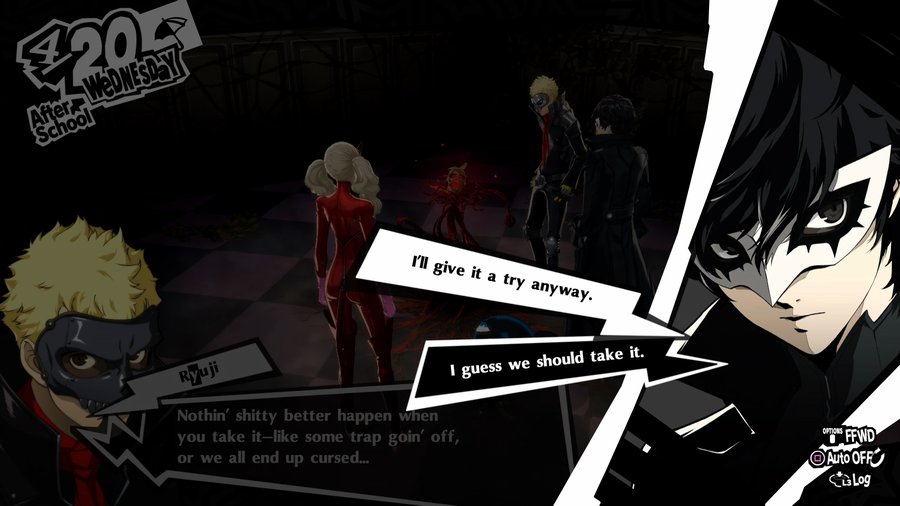
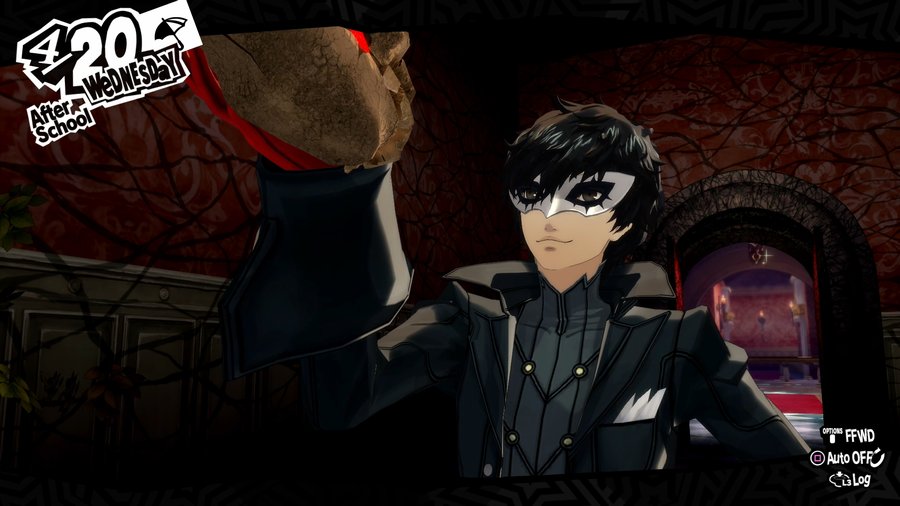
I guess… nothin’ happened?
There are more of these around here somewhere… As far as I can tell, there are two more of them left.
Huh? How can you tell? You smell ‘em or somethin’?
Yeah, like how dogs can—Oh, but you’re a cat.
So, uh… How did Morgana know that there were two more? Oh, whatever.
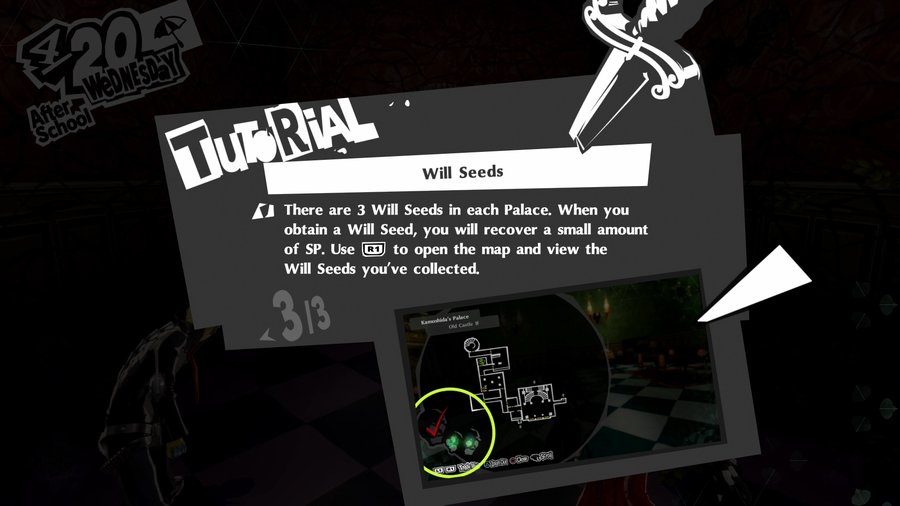
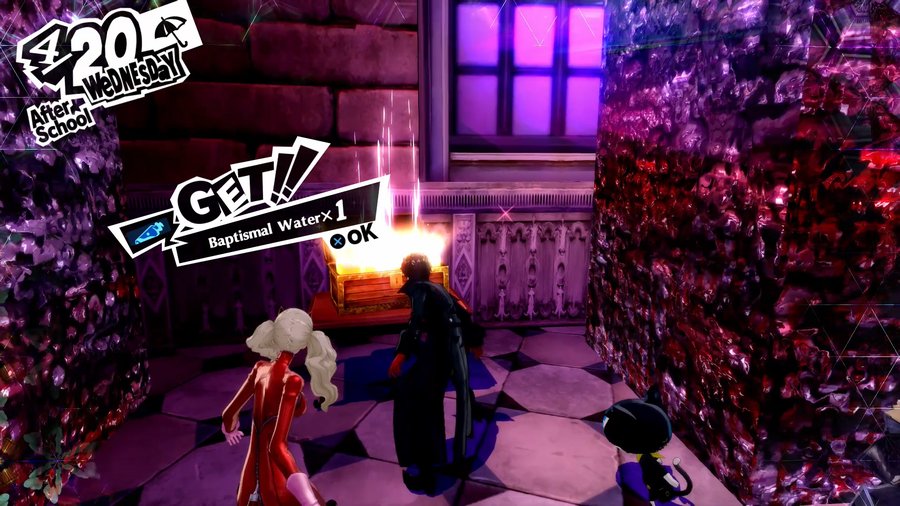
This, in the short term, is vital. The SP recovery is going to be vital for us to get through the rest of the Palace without having to leave. I’m not quite sure if it’s a percentage or a set amount restored (I believe it’s the latter), but it’s still mighty useful.
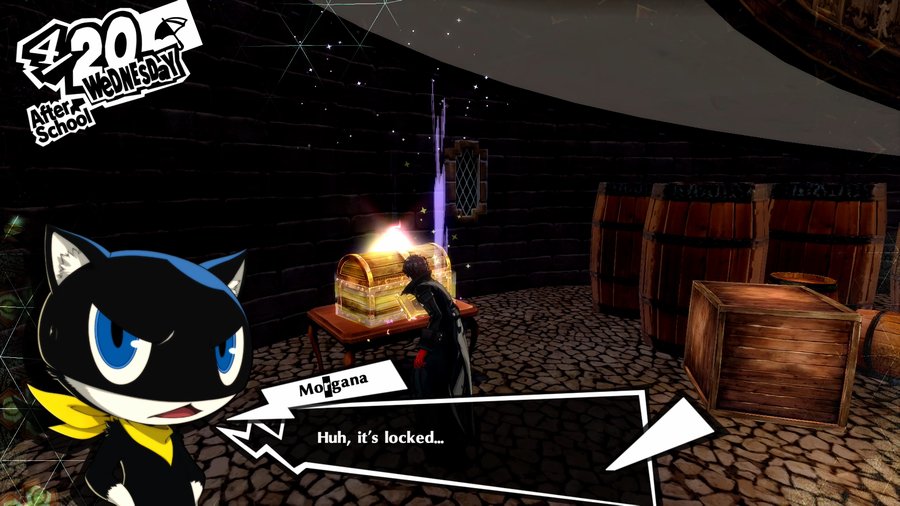

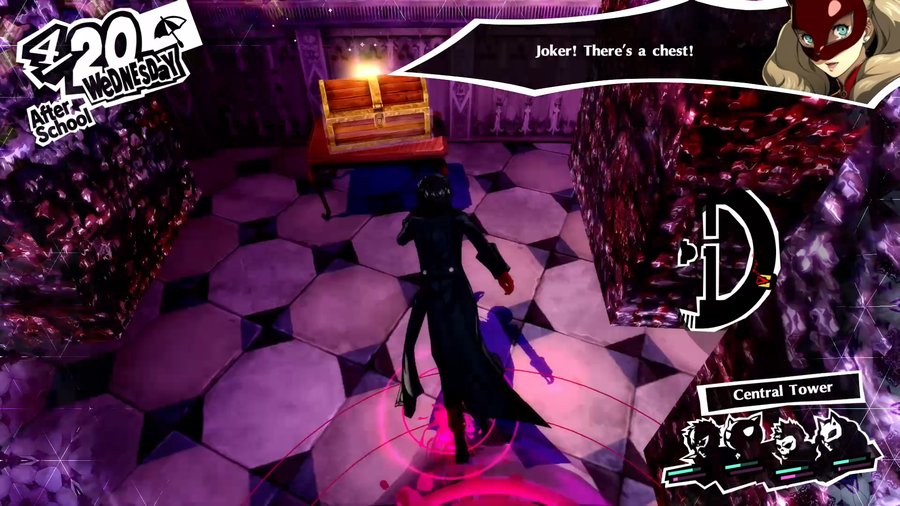
Let’s open this chest with our Lockpick.
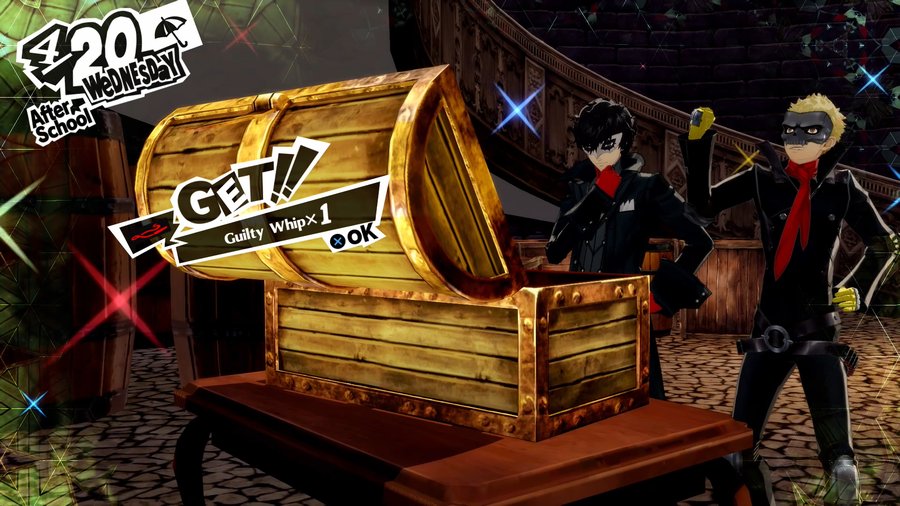
Sure, Panther.
Music: Tension

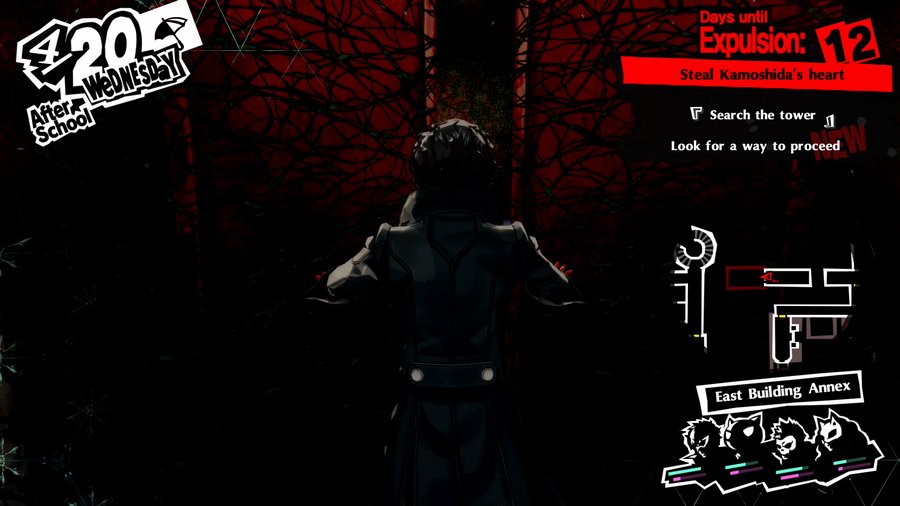
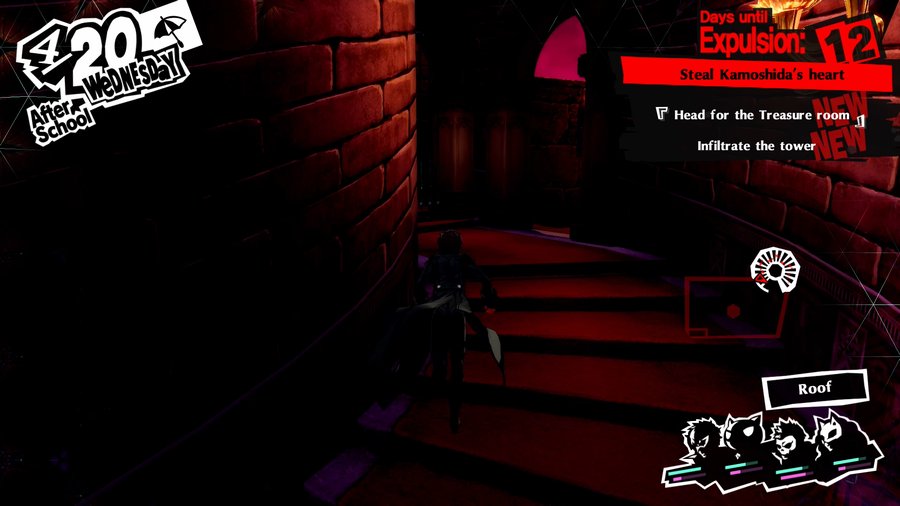
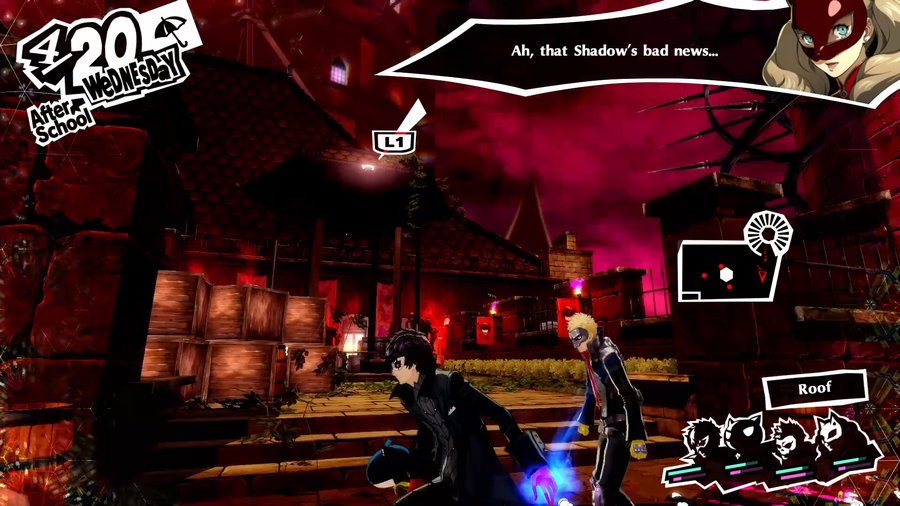
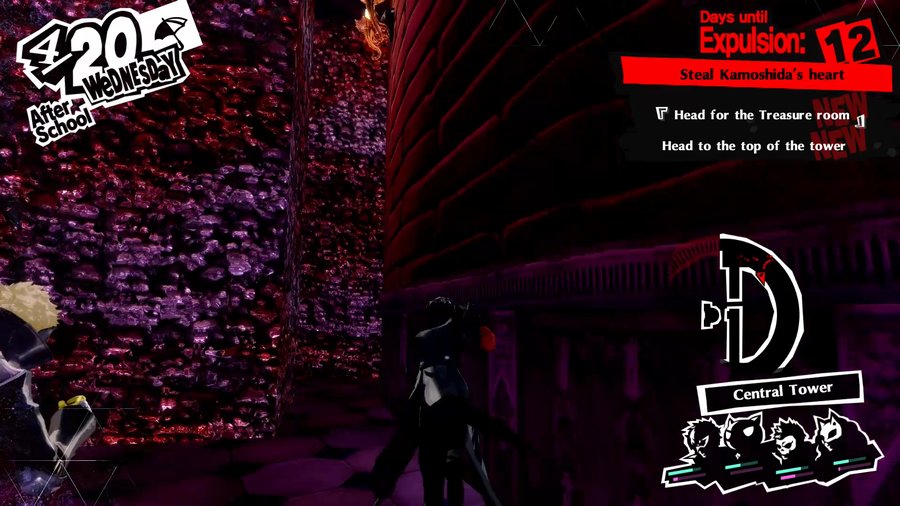
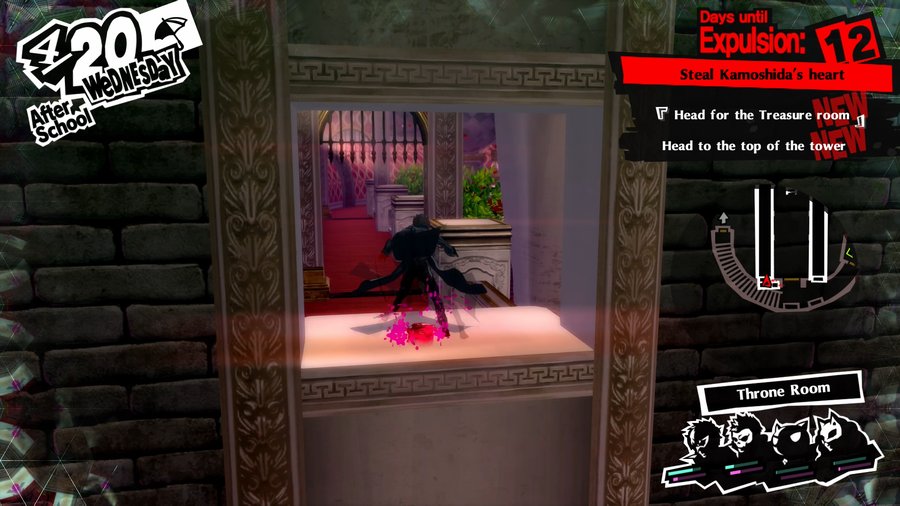
There’s the tower we’re heading towards.
But a bunch of strong enemies block the path…
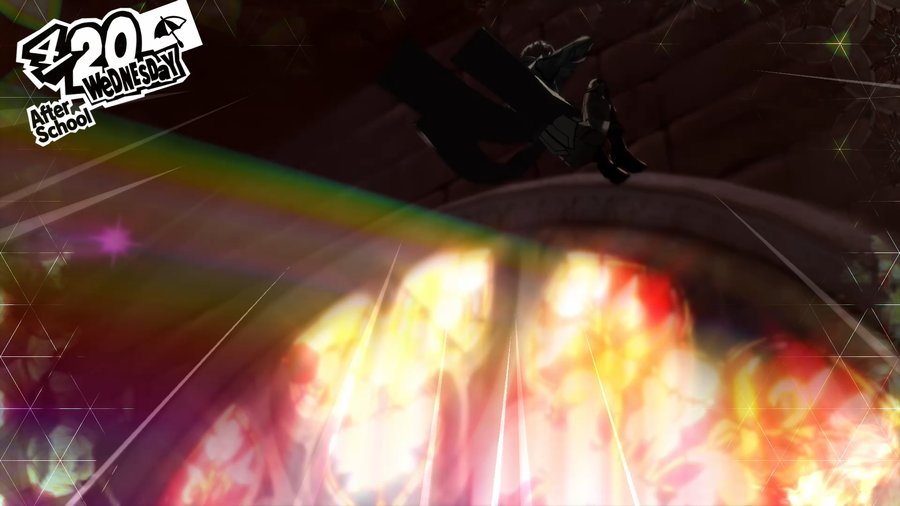
No matter, we can grapple!
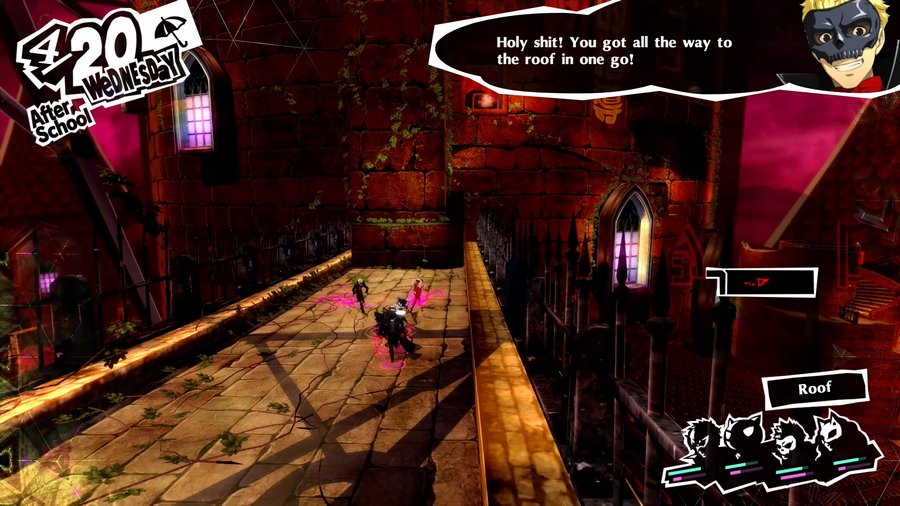
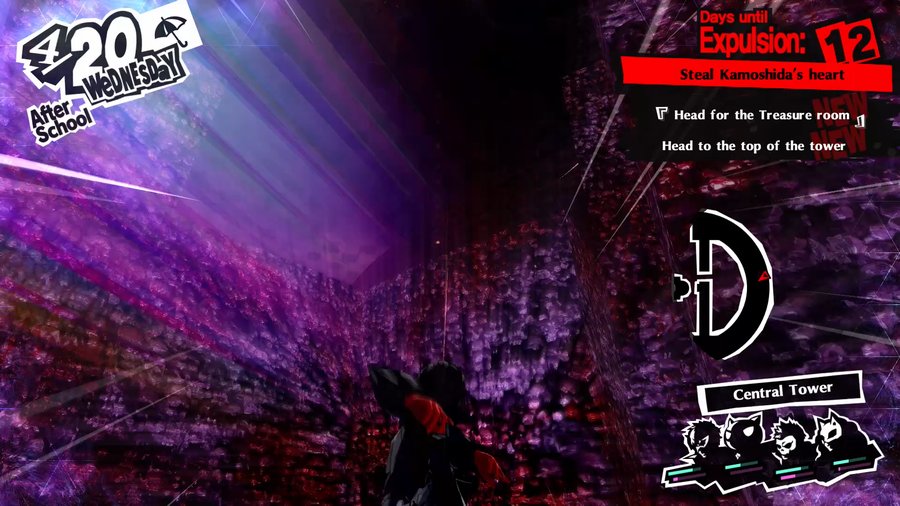
And once we’re up there, we’re just one more grapple away…
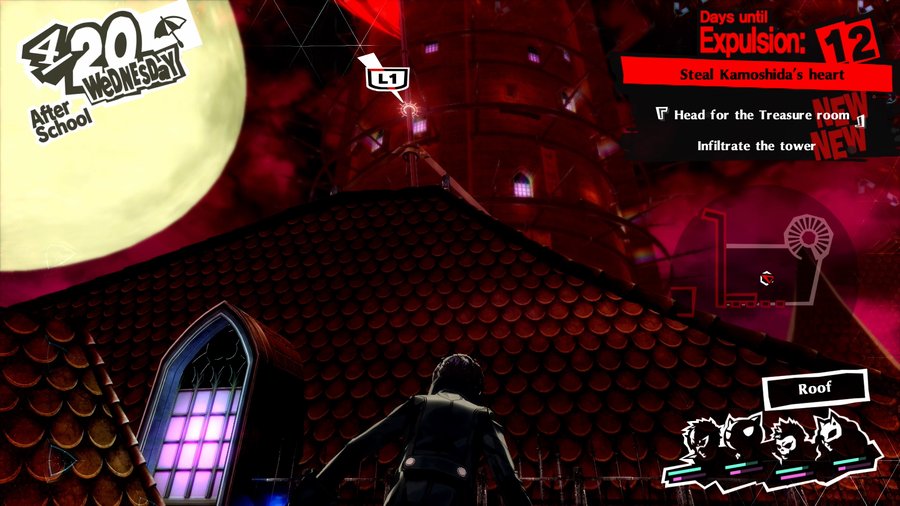
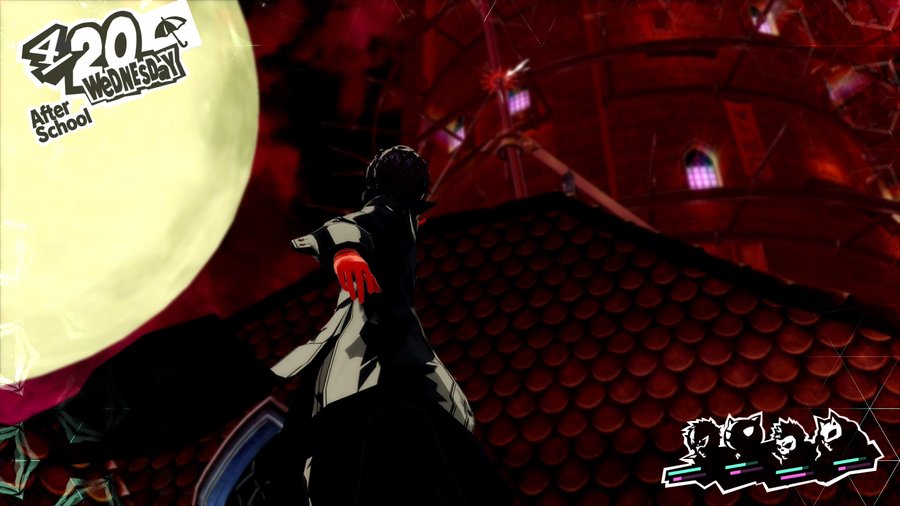
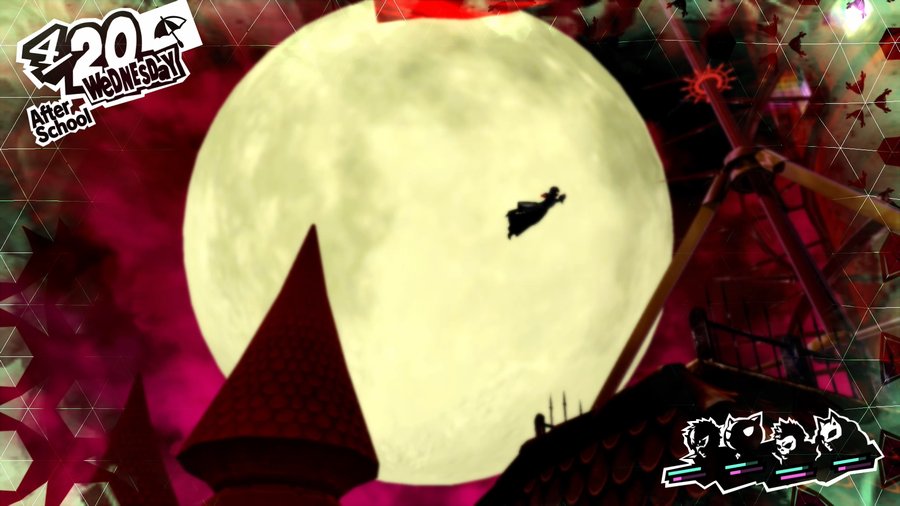
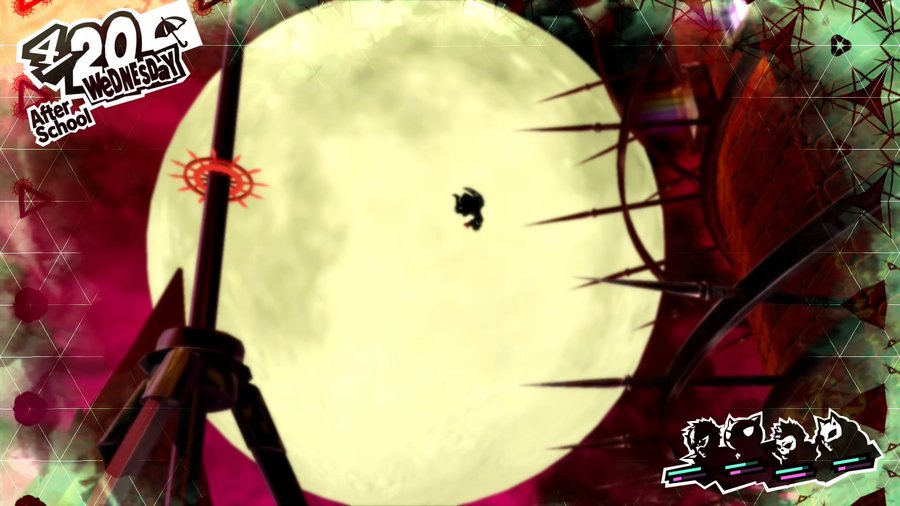
…from skipping the whole damn thing.
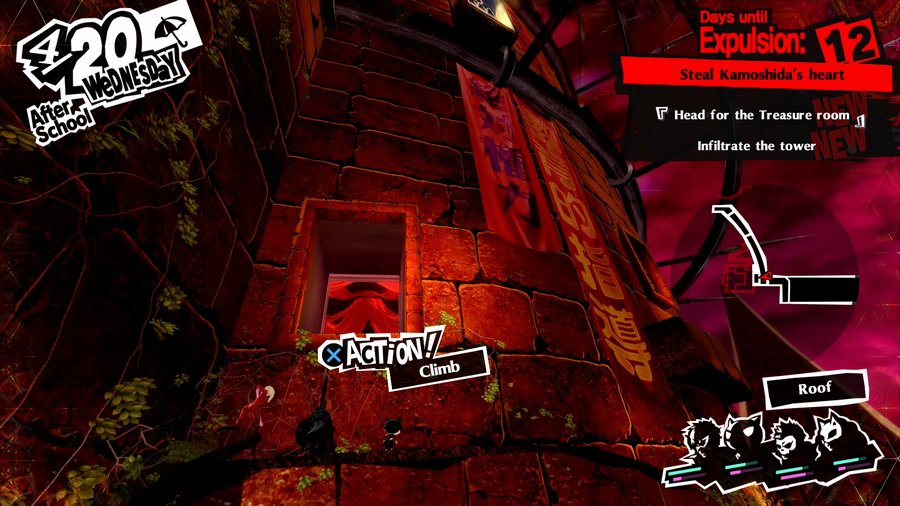
Let’s climb inside.
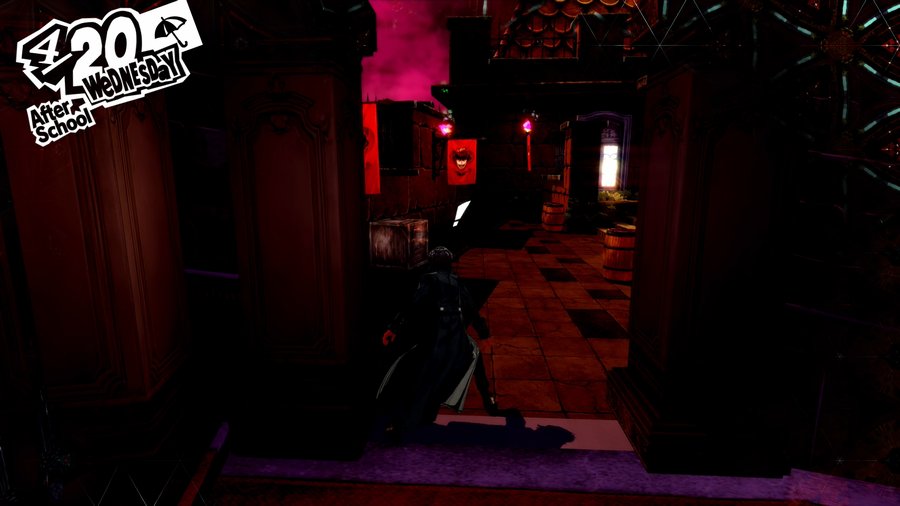
But before we go any further…
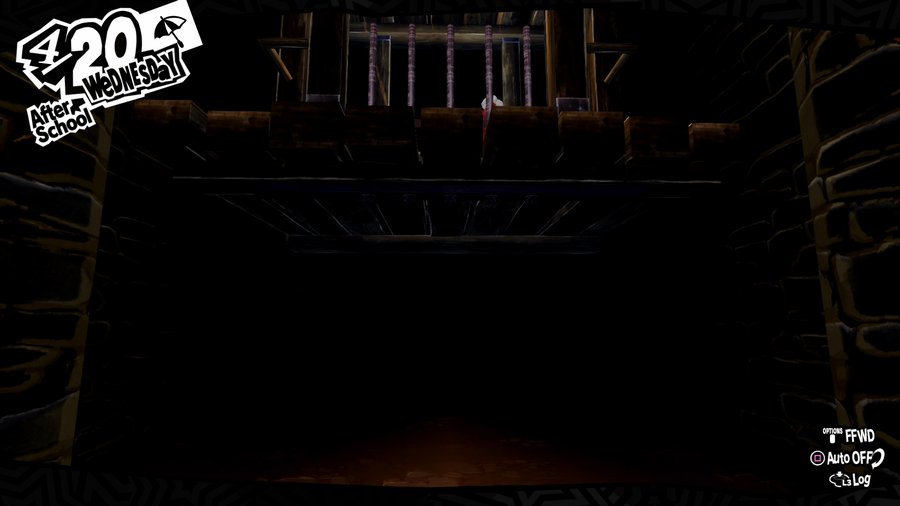
There’s a vent up here that’s deviously easy to overlook.
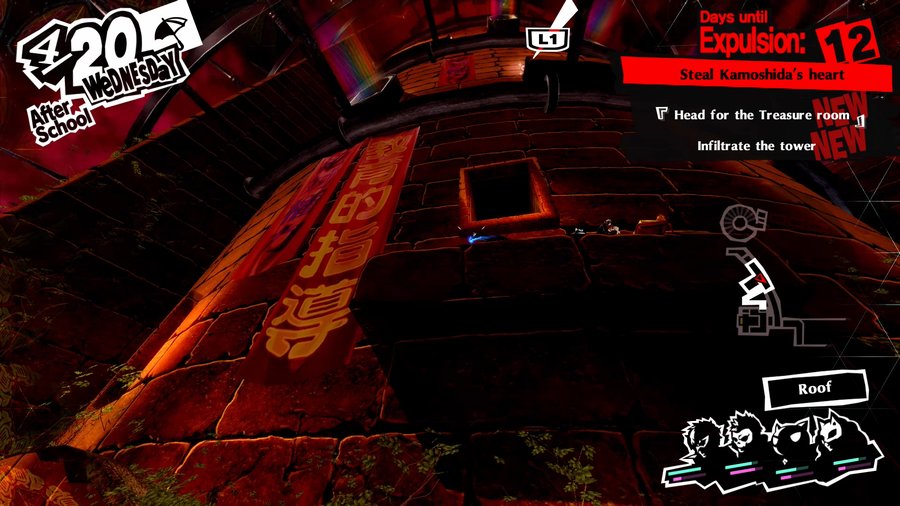

From there, we’re just a few grapples away from the second Will Seed.

Music: King, Queen, and Slaves (Another Version)
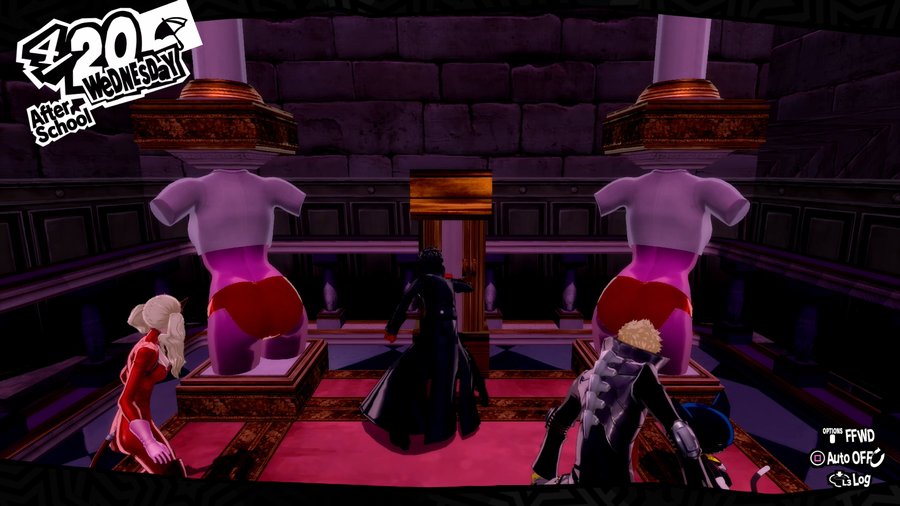
Now we resume our tower infiltration.
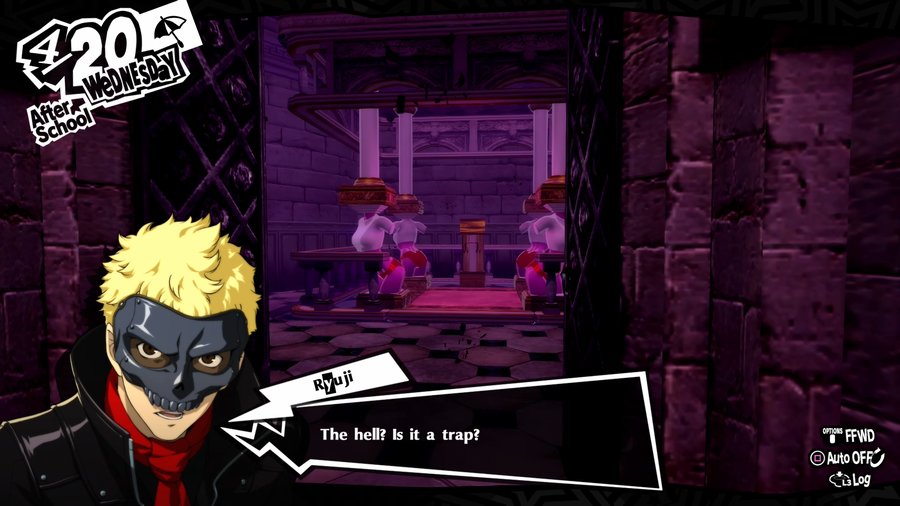
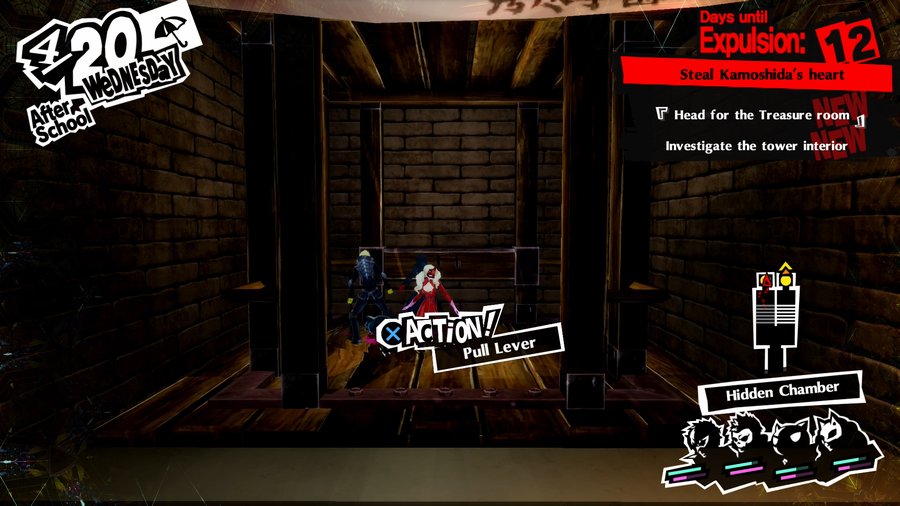
A trap? Are we so repressed that the asses are dangerous to us? What, are we Waylon Smithers?
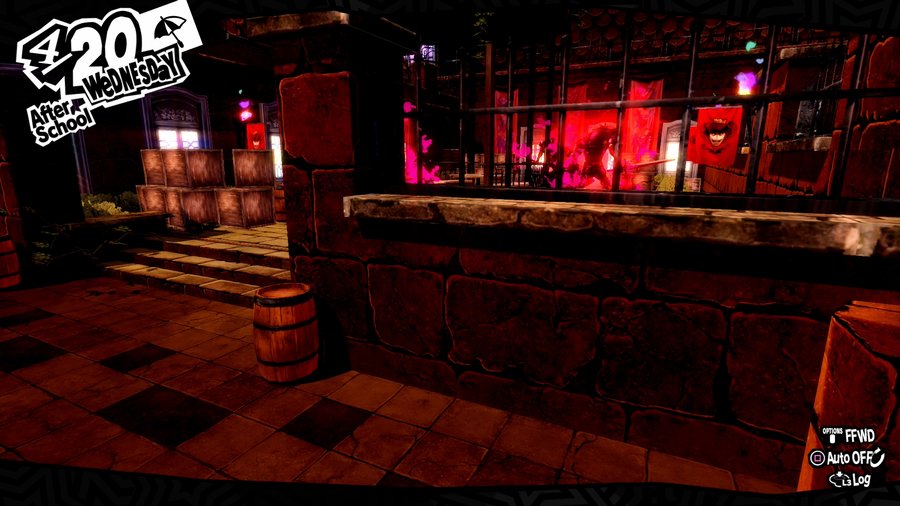
Could be a hidden room. Let’s check it out, Joker!

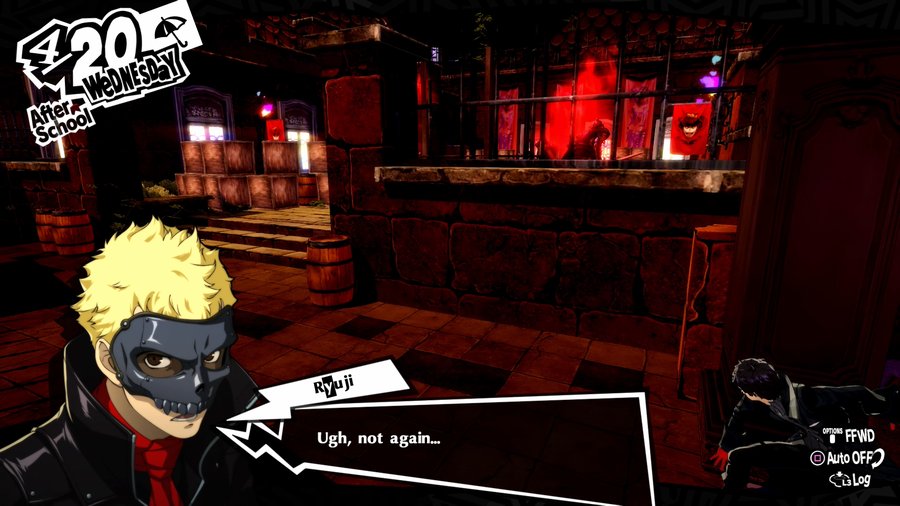
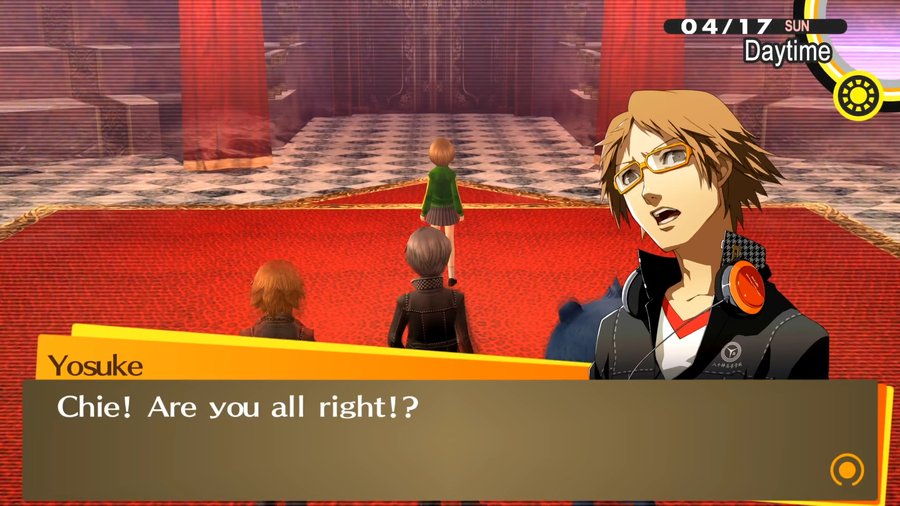
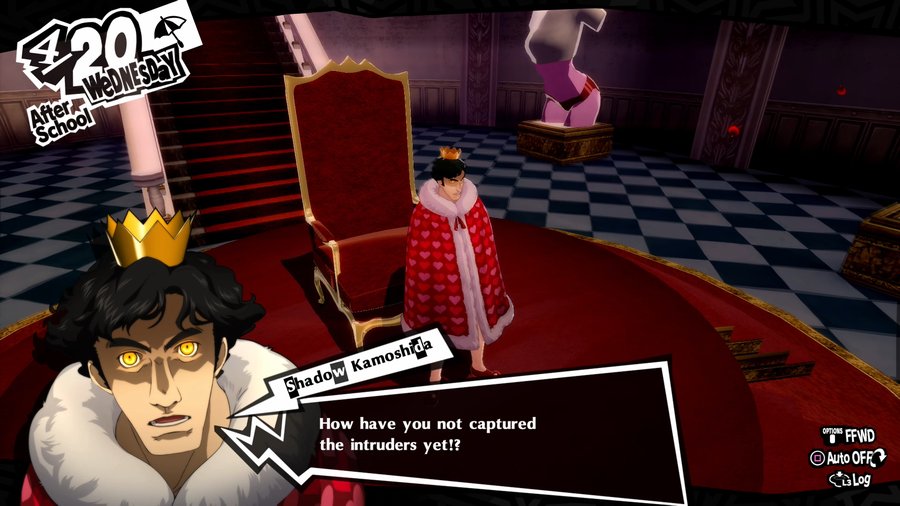
Music: Castle
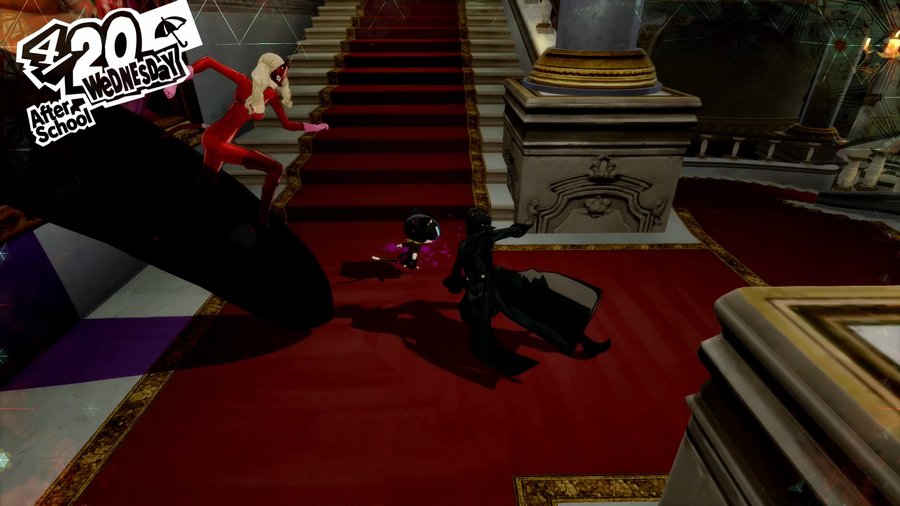
 Ugh, she ran off all alone… Dammit, let’s go!
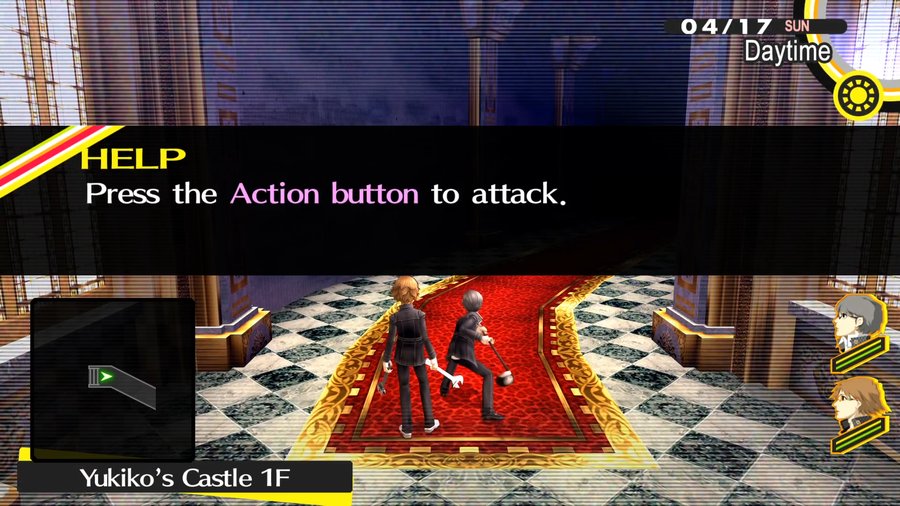
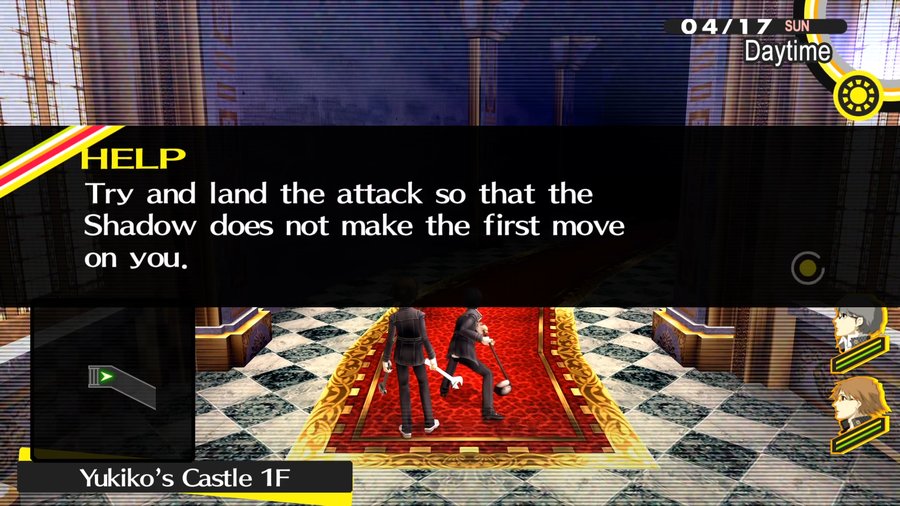
 Um, wait a second! The Shadows have gotten aggravated ever since you two got here. They’ll probably attack as soon as they find you, Sensei. So try to get the jump on Shadows before they can attack you!
Ambush Shadows, gotcha.
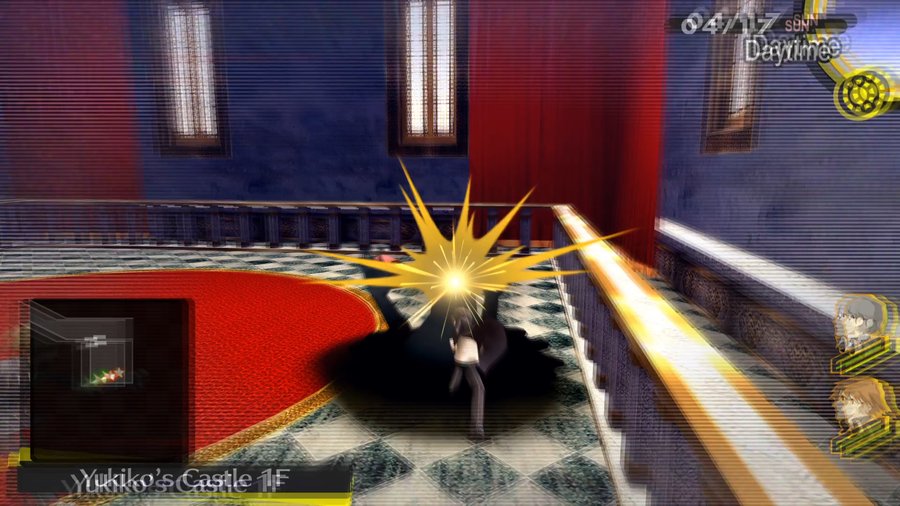
Not quite as stylish as we’re used to, but whatever.
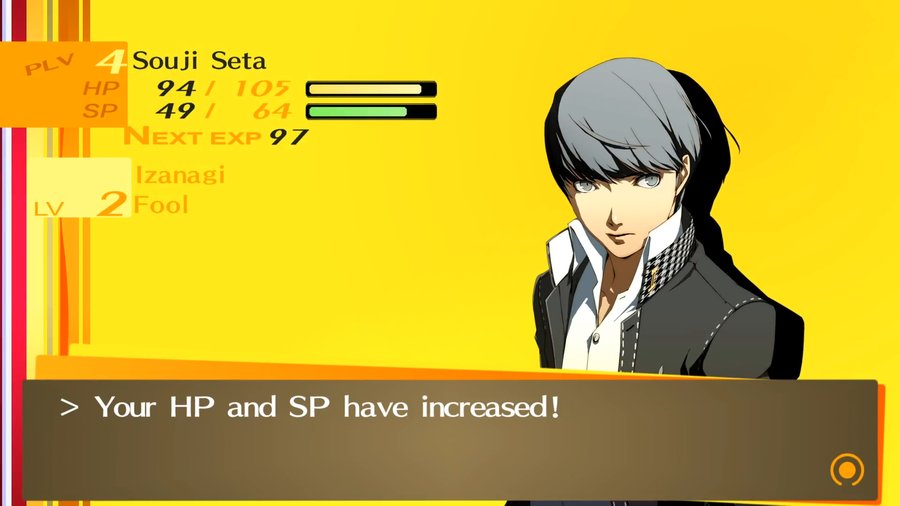
Music: Reach Out To The Truth
Music: Time To Make History
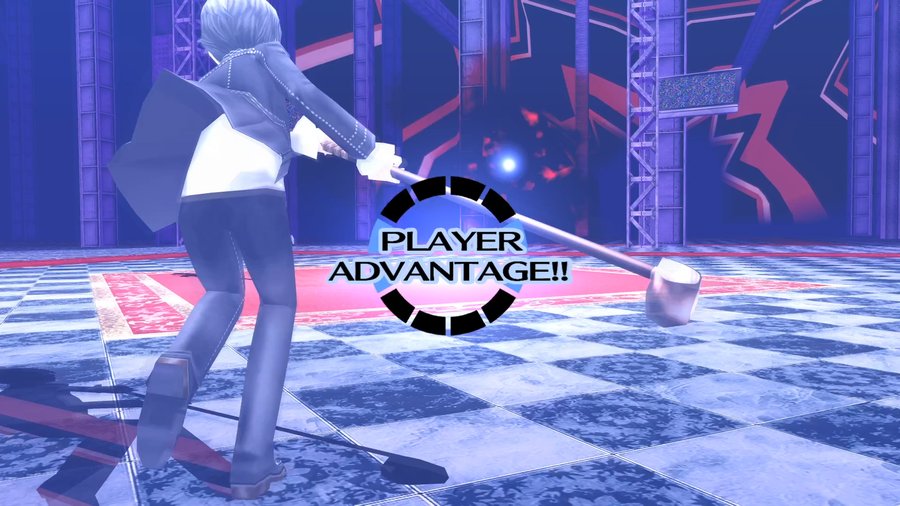
Time To Make History plays during normal battles, and Reach Out To The Truth plays when you successfully get the advantage to start a fight. It’s really easy to get the advantage, which is a shame because Time To Make History is the better track in my opinion.
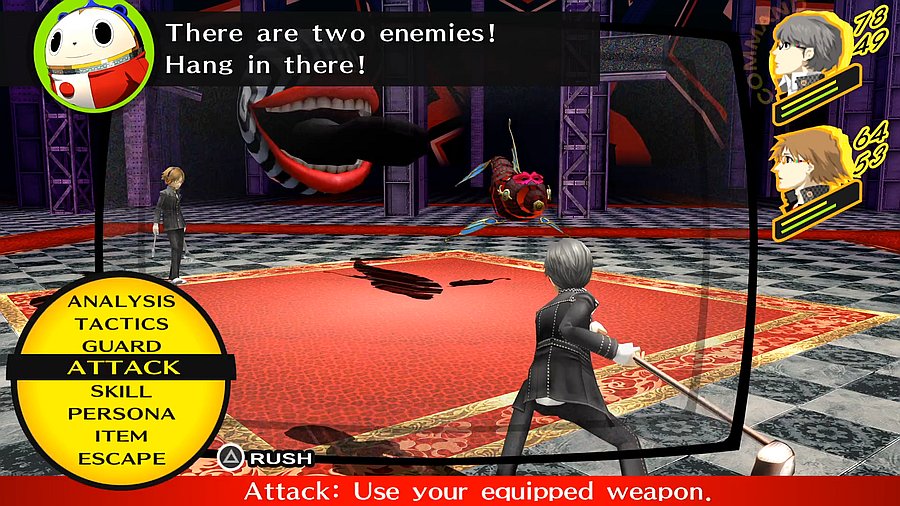
Here’s P4’s battle menu. It’s got its own unique flair in the TV stylings, though again, not nearly to the level we see later.

Knocking enemies down is still the same, though if you hit an enemy that’s already down you can make them Dizzy, which will prevent them from getting up for an additional turn.
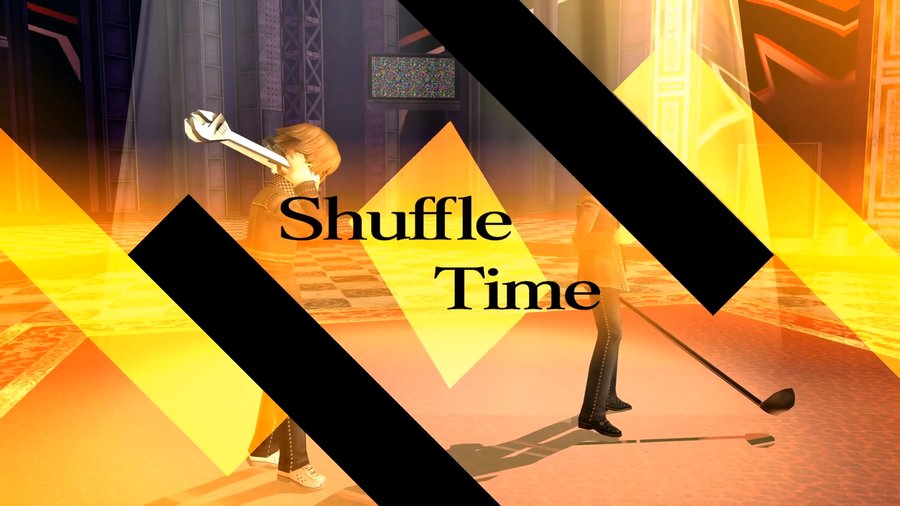
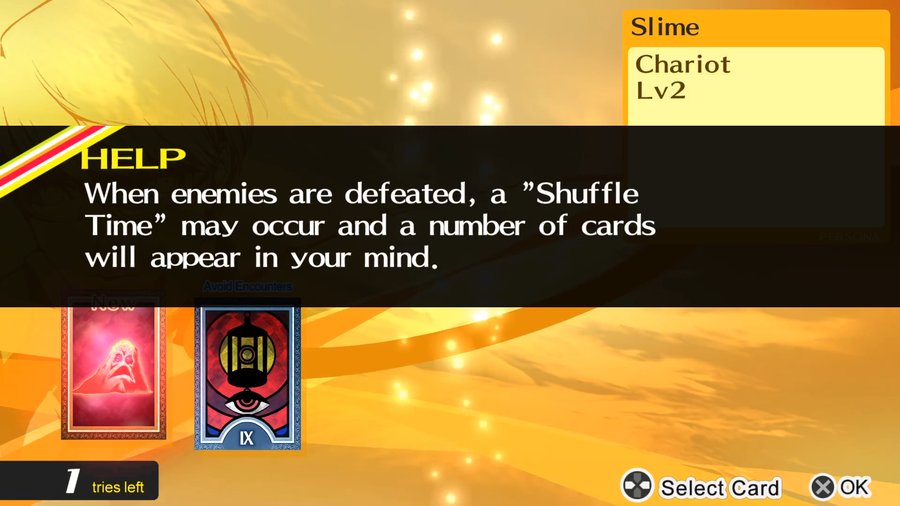
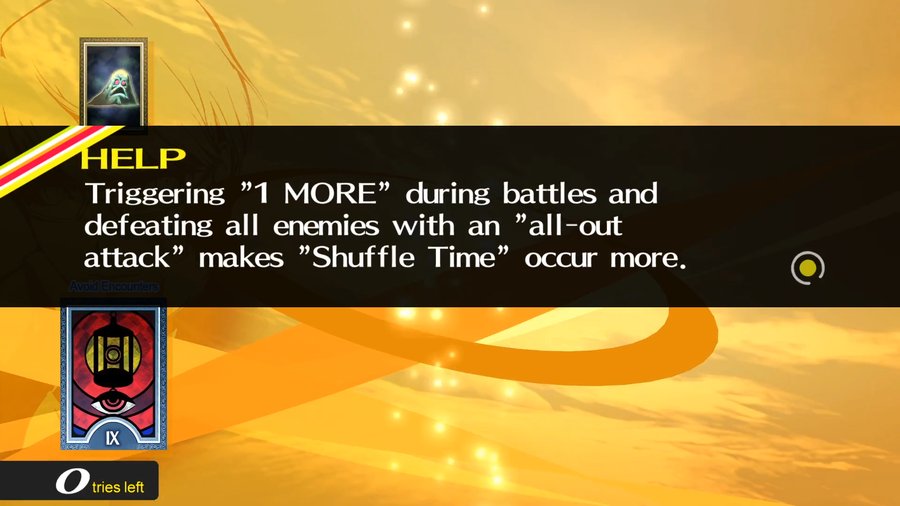
Shuffle Time returns from Persona 3 and the original version of 4, though different than it was in either of those games. No, in its present form there’s honestly no reason for it still to be called “Shuffle Time”, because there’s no shuffle. The cards don’t fucking move anymore! But whatever.
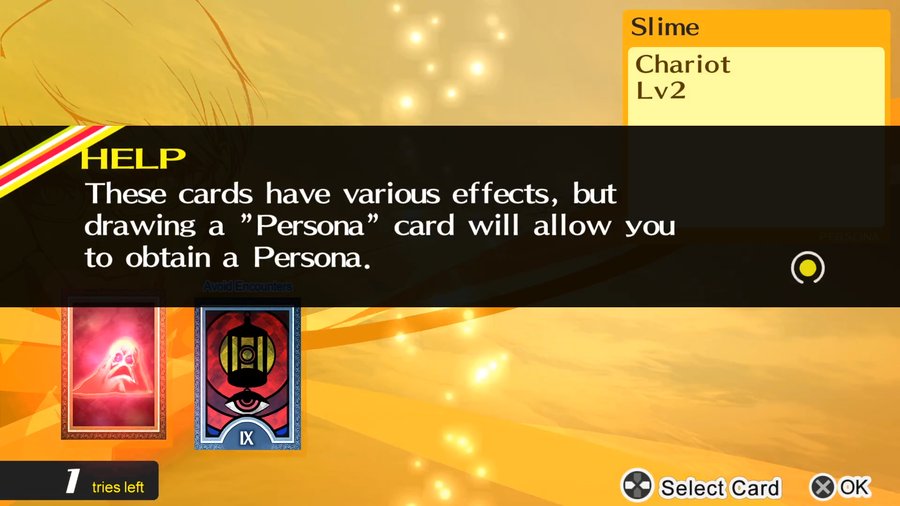
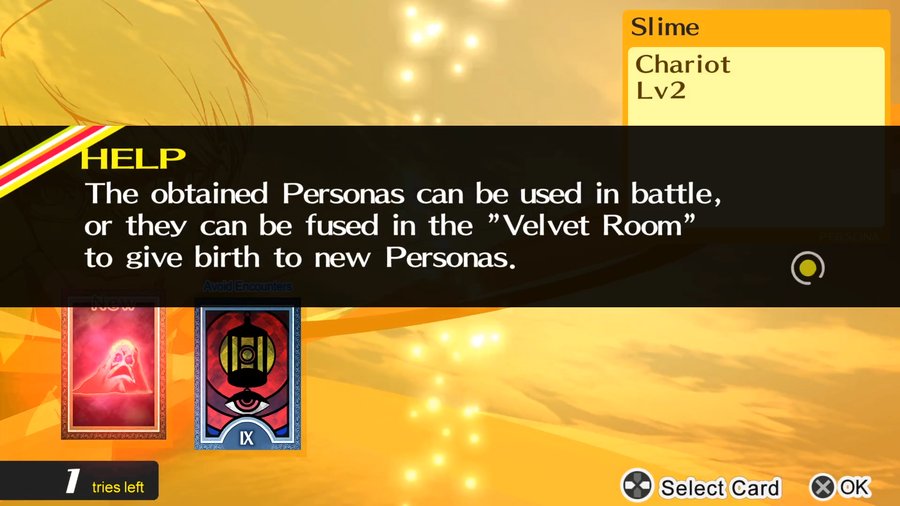

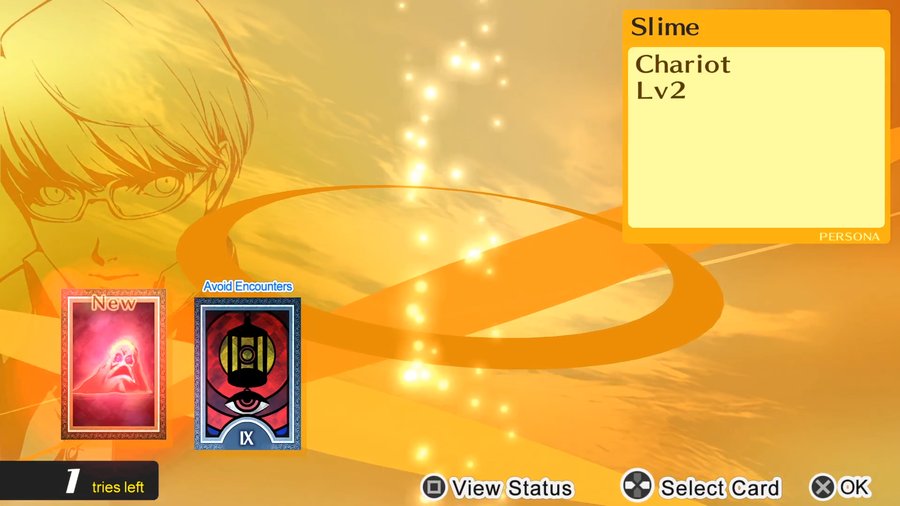
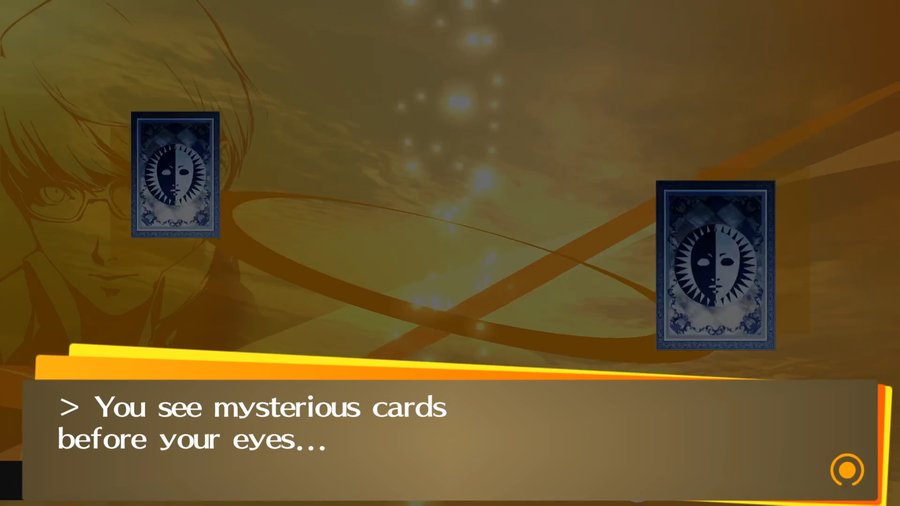
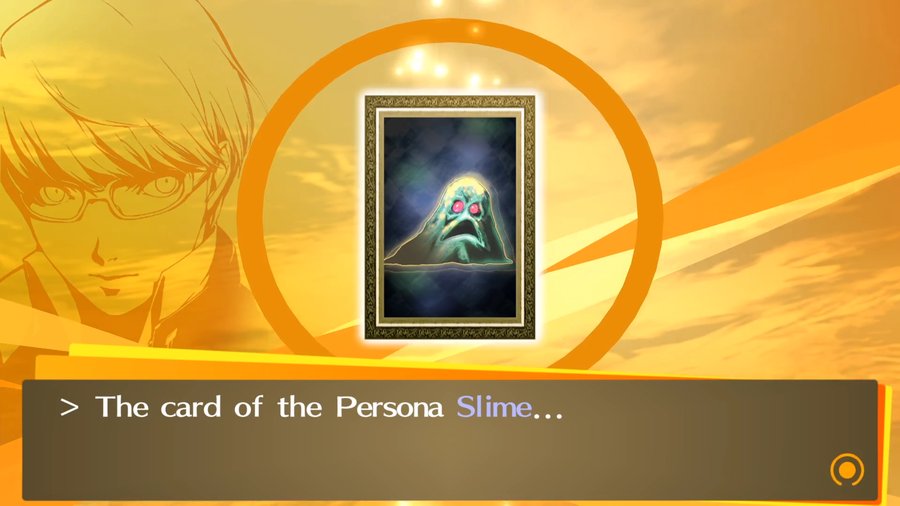
We’re just going to take the Slime and move on. Also, the Hermit effect, “Avoid Encounters”, doesn’t actually despawn enemies, it just prevents them from noticing you.
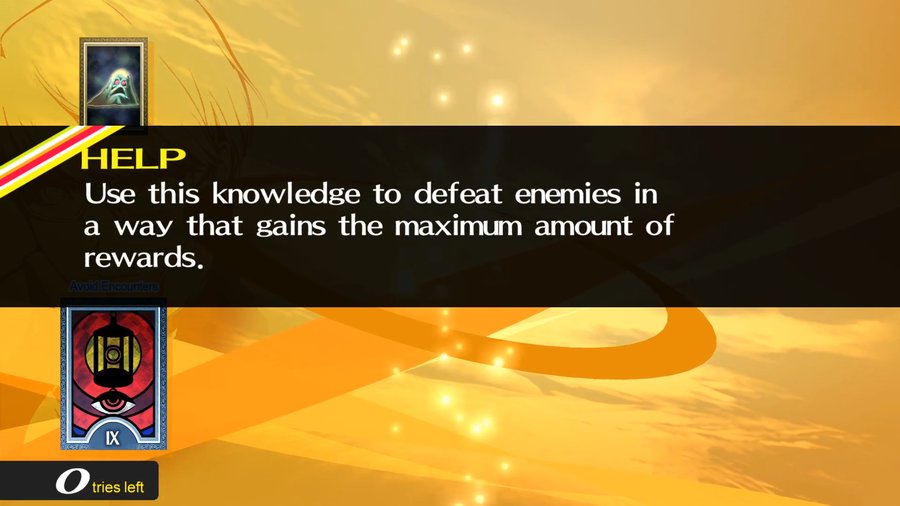
Certain kinds of cards will have you incur a penalty in exchange for letting you pick even more cards, which can end up very worth it. If you manage to grab every card in a Shuffle Time, you’ll get to pick more cards in the next Shuffle Time. It’s very convoluted and hard to explain!
I don’t like Yu Narukami as a name. Bite me.
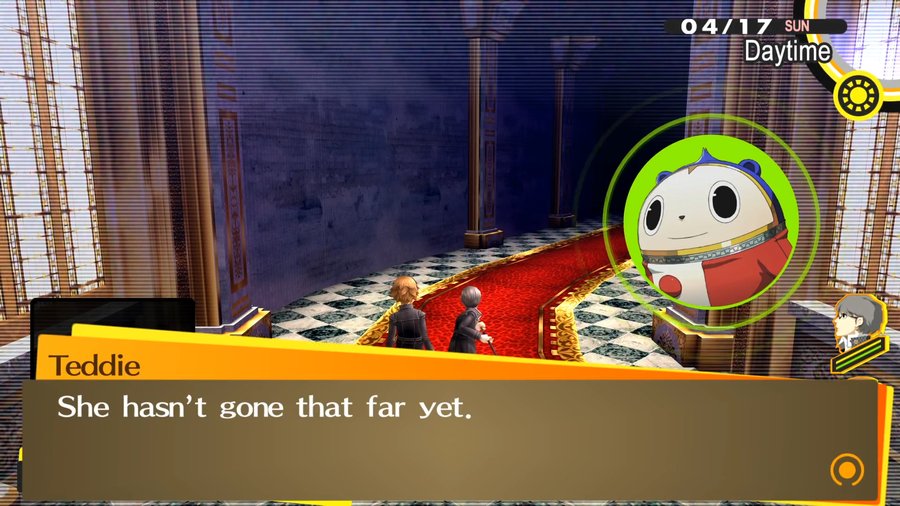
Let’s just keep progressing through the castle and looking for Chie.
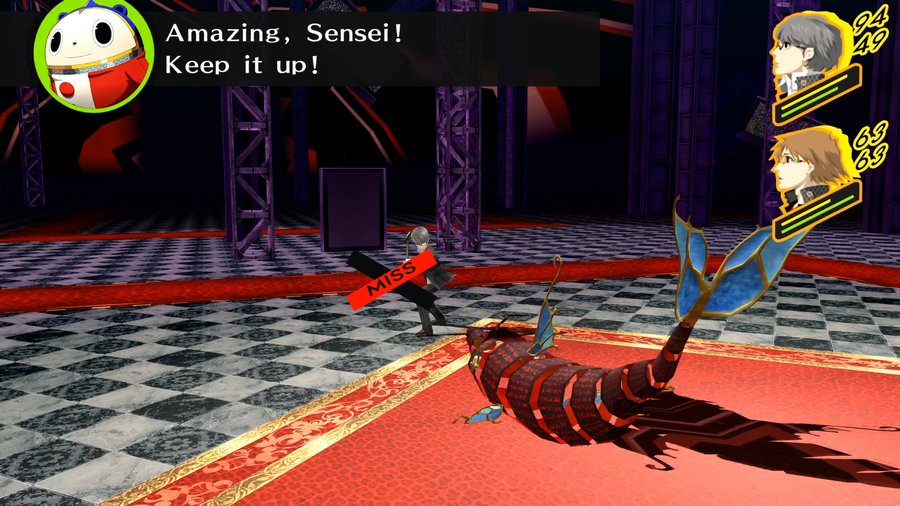
If a party member (or even an enemy) misses a melee attack, there’s a good chance they’ll fall over like a klutz and get downed. What a dingus.
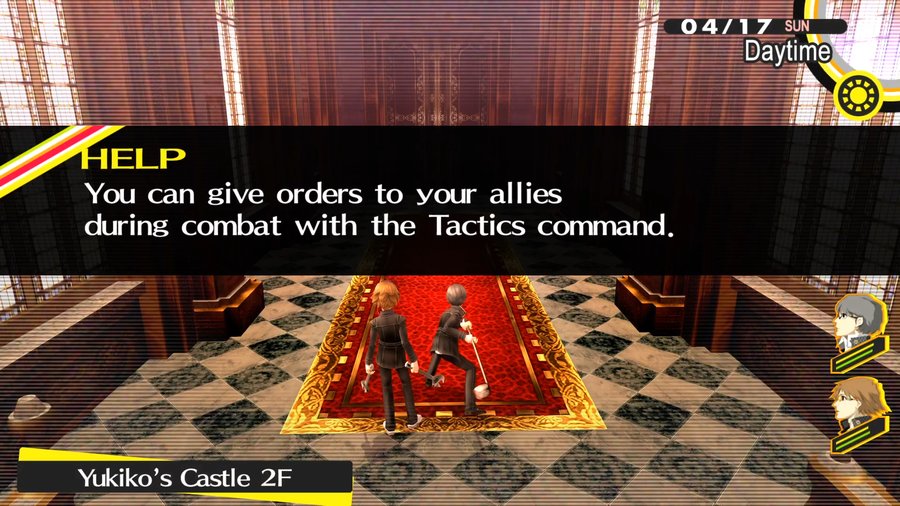
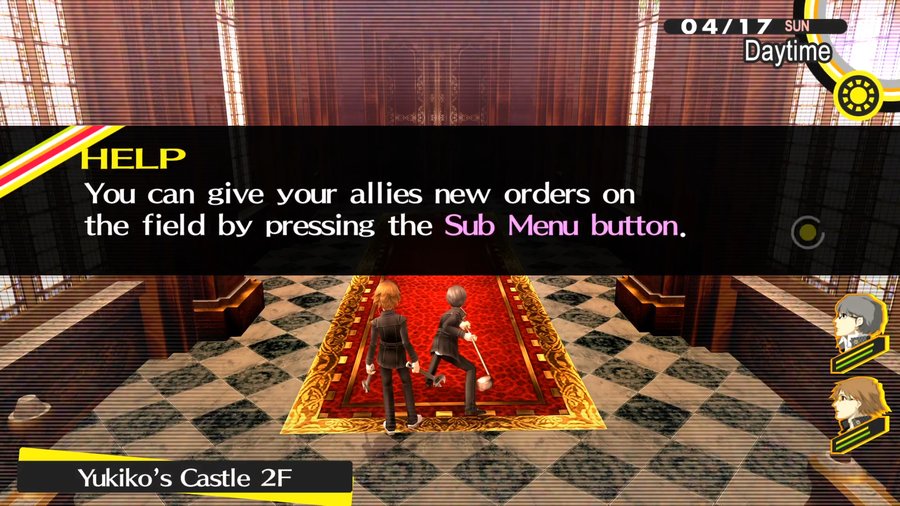
Oh, right. I forgot that in this game all new party members are set to Act Freely by default and won’t let you pick their actions for them until you change that in the Tactics menu. Right.
All the enemies are knocked down, time for an All-Out Attack!
Didn’t quite kill them all, so we just get this.
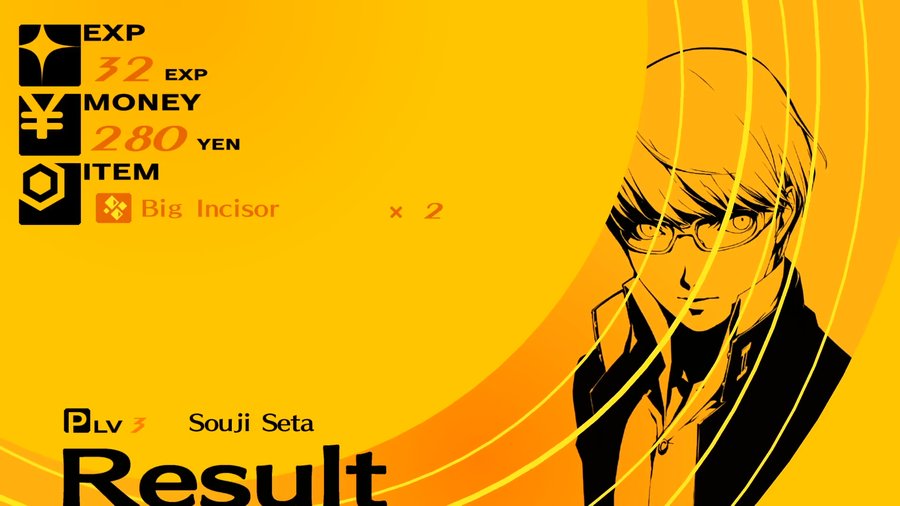
But this is what it looks like when you finish off all enemies.
But, man… what the hell am I even doing here? I spent, like, hours getting to the first dungeon section in this game for this dumb joke that didn’t even go anywhere?
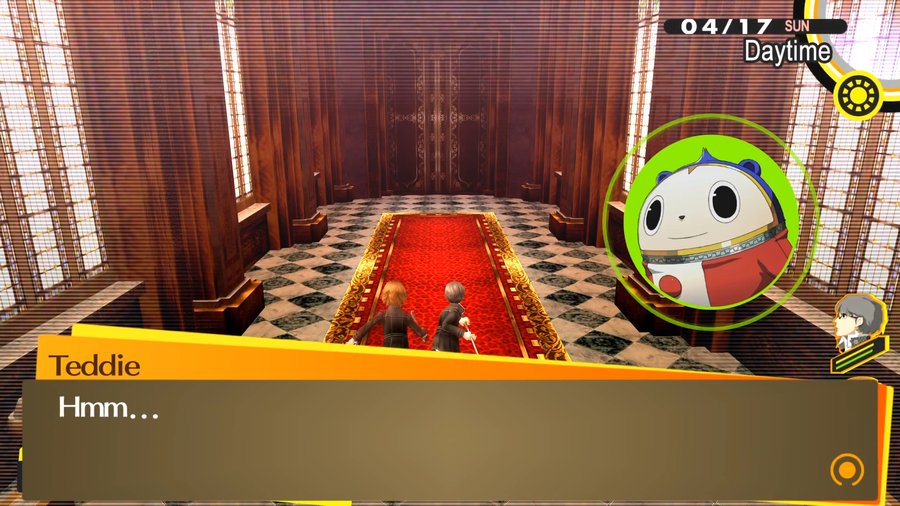
You’re good at fighting, Sensei. Compared to you, Yosuke stinks…
Shut up, Ted! Though I do gotta admit… You have a knack for this stuff.
Doesn’t he? So you should be the one to give Yosuke orders during a fight.
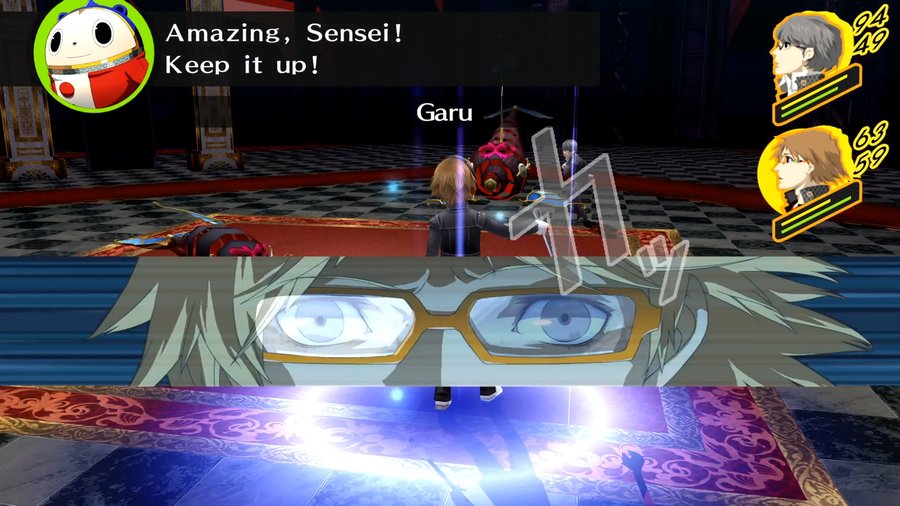
 Already made that executive decision, Ted. Dude was casting Garu on a Lying Hablerie! Can you believe that shit?
Like, I guess I thought I would figure it out when I got there? There wasn’t even a real joke, just a thin sketch of a premise for a joke? Like, “Ohoho, isn’t it weird that the first dungeons of P4 and P5 are both castles? Behold my cutting insight!”
Like, fuck man, this is “Did you know Superman and Batman’s moms are both named Martha?” level. Ugh.
Though at least my thing isn’t the emotional backbone of a three-hundred million dollar movie.
Yeah, really great consolation there, Arist. Christ.
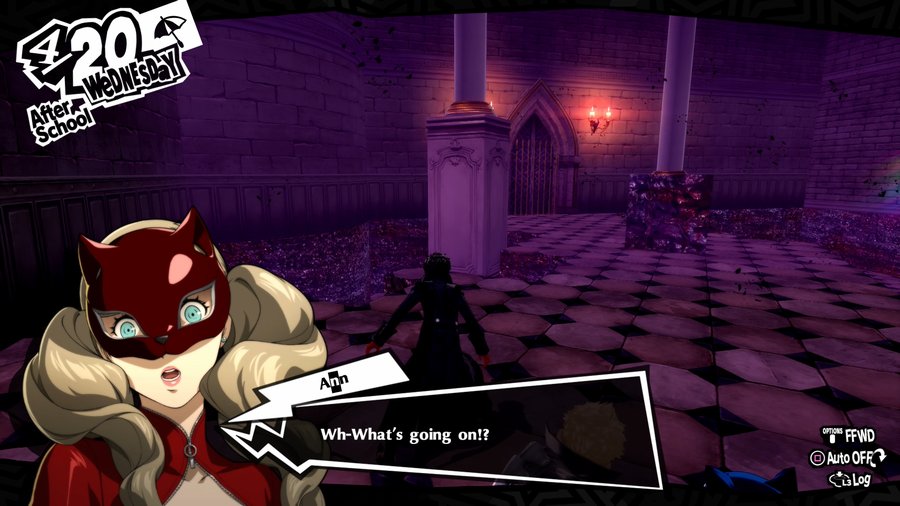
Music: King, Queen, and Slaves
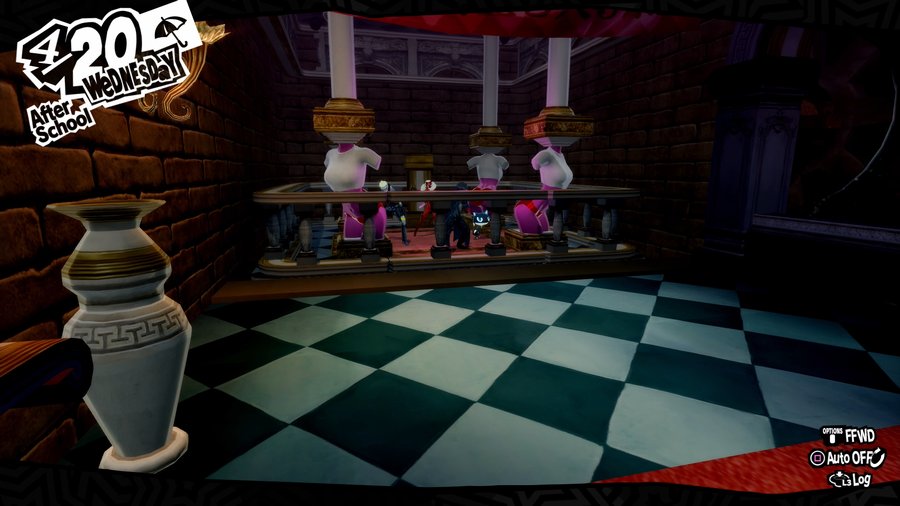
H-Hey, where are we?
So, we’ve descended from the tower to the room behind the main entrance hall, which makes no geographic sense whatsoever but roll with it. In the original game, there was another elevator in this room we could not take, but upon inspection would bring up an enemy and a chest. That elevator is not currently operating, but I forgot to inspect it this run because I’m dumb so you’ll have to take my word for it.
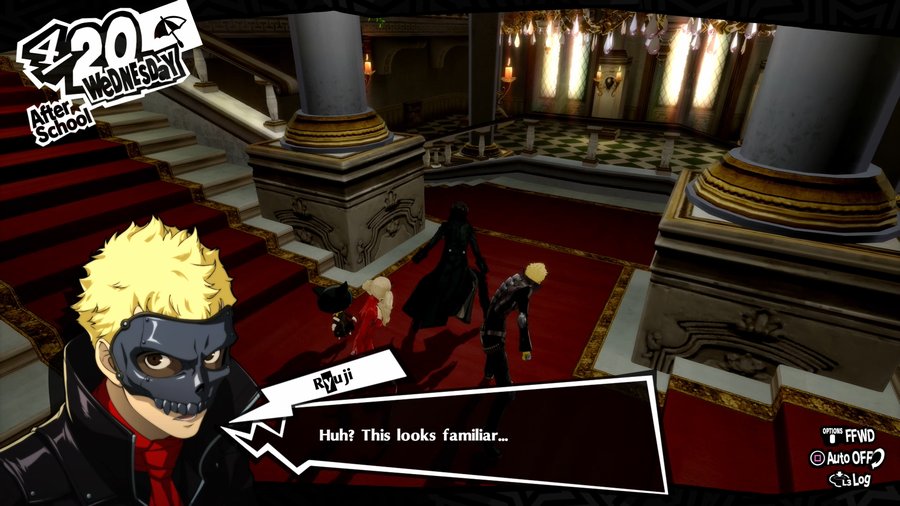
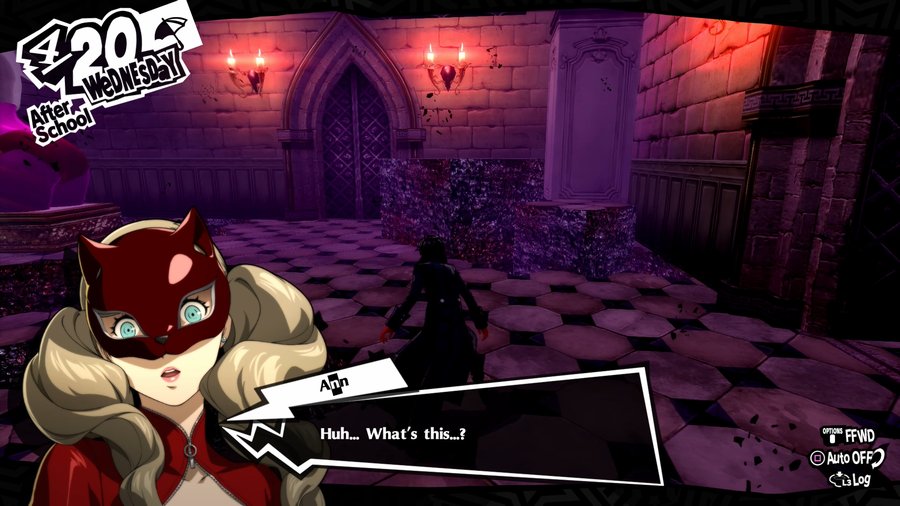
We’re back in the atrium.
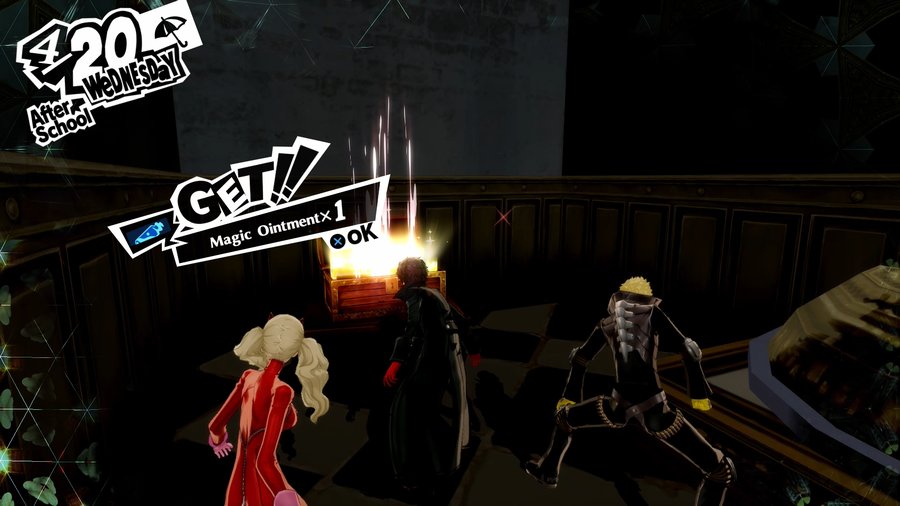
There’s a few chests on either side of the staircase, and this Magic Ointment is worth pointing out, as it reflects a magic attack for one ally.
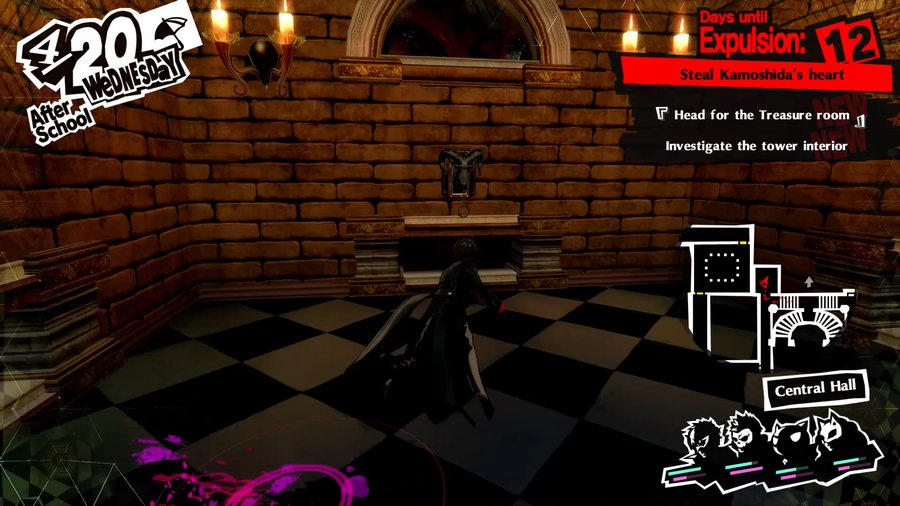
I see. I bet we can access an area that we couldn’t before. Good eye, Joker!

Ohhh, right! We should be able to get somewhere else now!
Yep, we can take the elevator now.
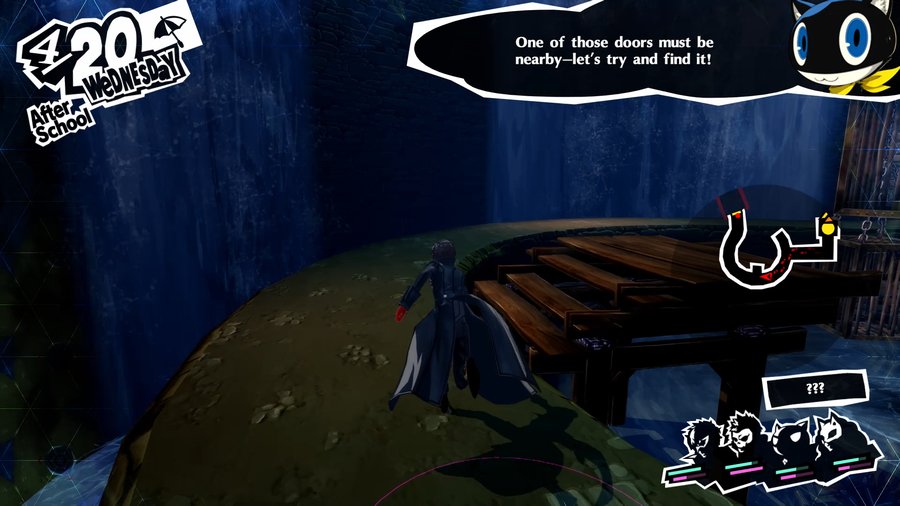
Mona will tell us when we’re near a Will Seed door, like we are now. It’s useful if you’re worried about missing one, but the range is pretty short so you still need to be vigilant.
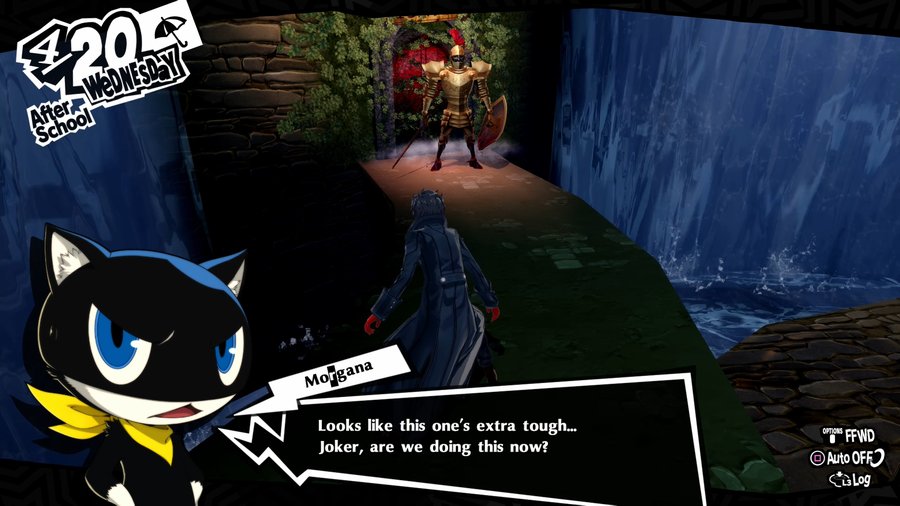
And there’s our final door.
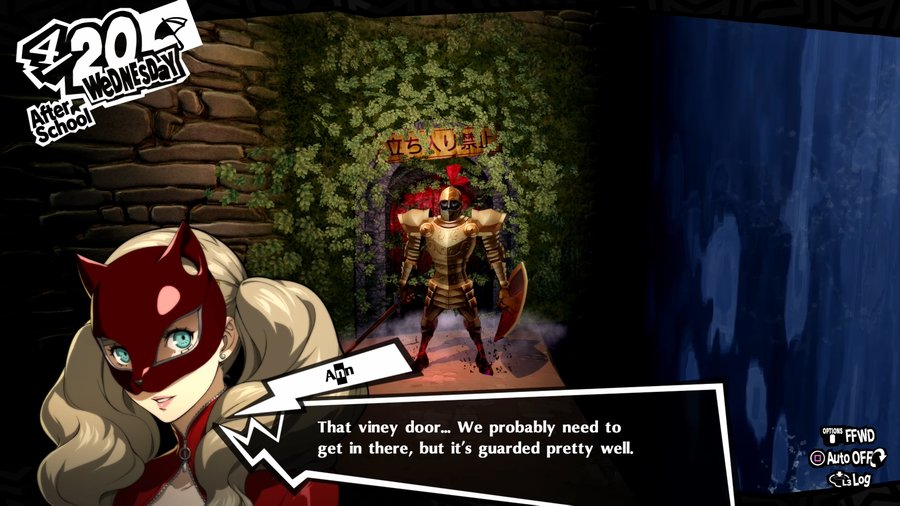
 Right again. I can sense a Will Seed beyond the door, but… it’s gonna be rough going.
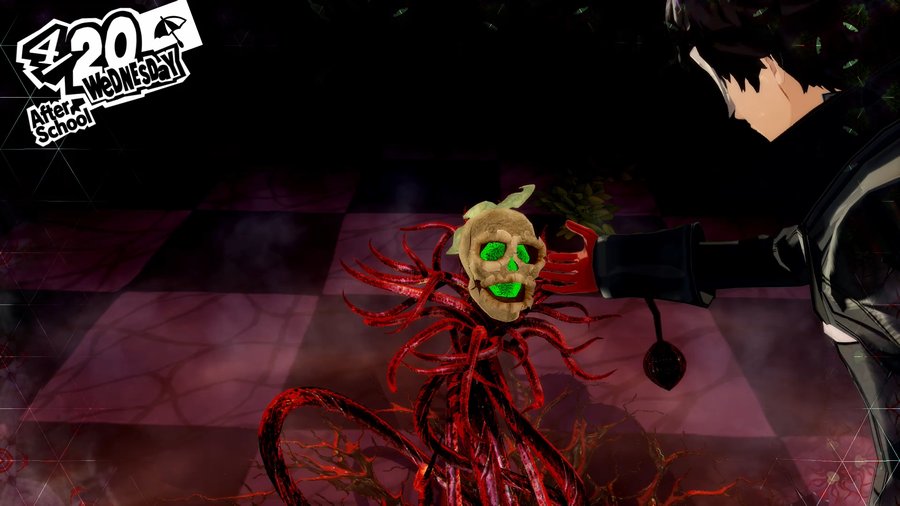
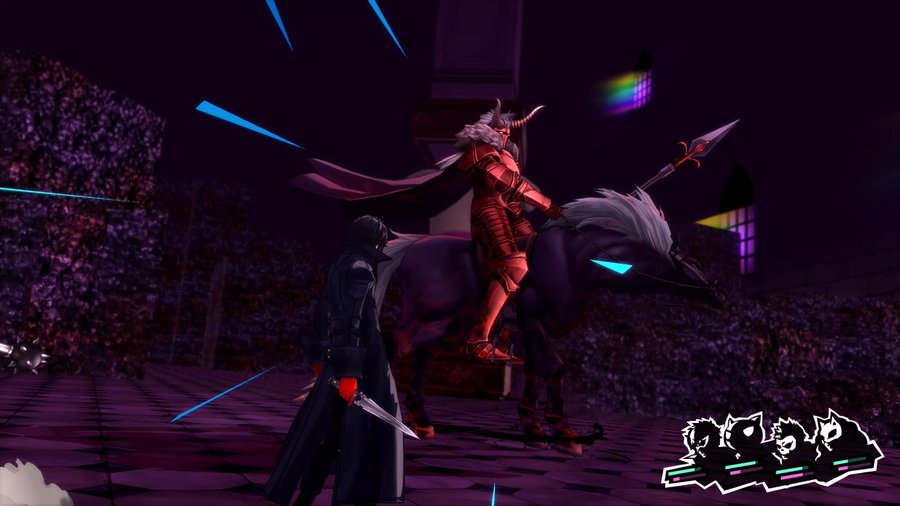
The final, blue Will Seed will always be guarded by a strong Shadow you’ll need to defeat to claim it.
Music: Blood of Villain
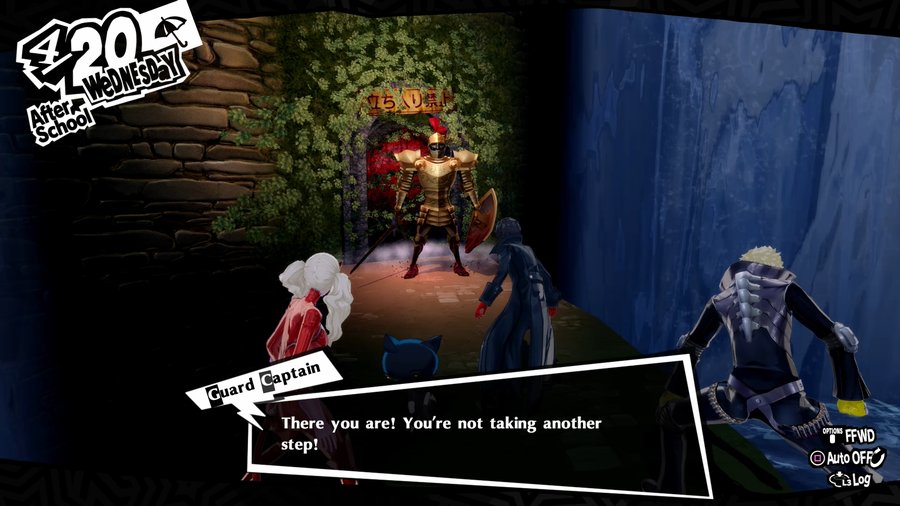
 I guess we’ll just have to step on YOU first! Let’s do thi—
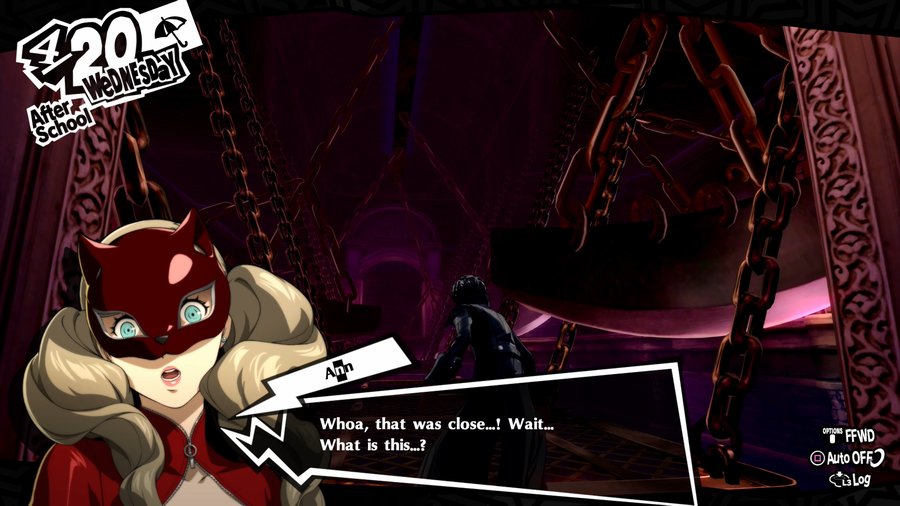
Wait… Panther, don’t talk like that, I think this might be—
AH CHRIST

It’s coming!
Stop! Stop talking!!!!!
Music: Keeper of Lust
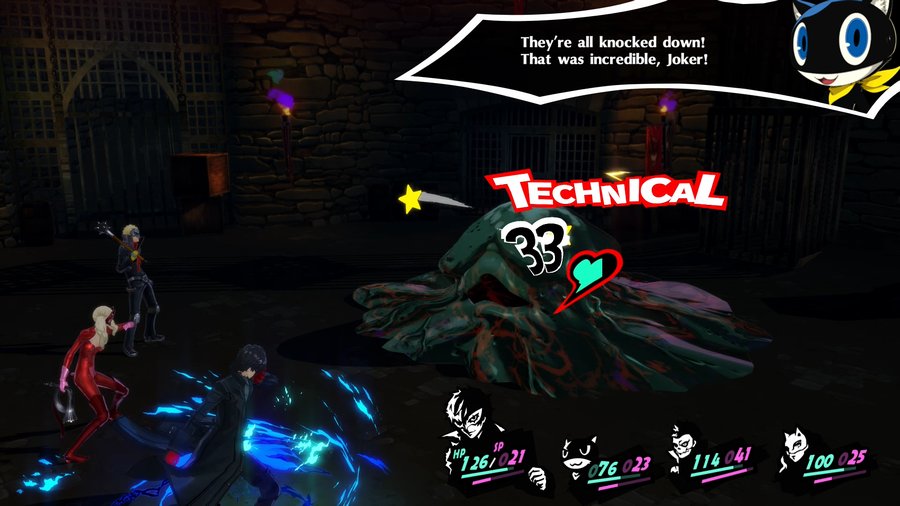
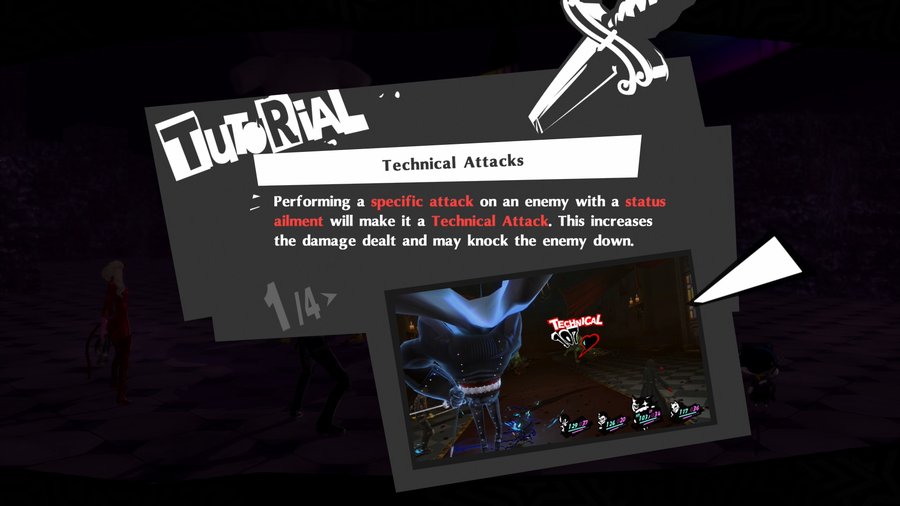
This fight is pretty much identical to the same fight from the original game, they just moved it down here to this weird basement. It’ll still fixate on Ann and then attack her, basically. Here, we’re actually seeing the benefits of Technical attacks a bit before we get tutorialized on them. In this instance, we’re using Physical on a Shocked enemy to knock it down, something we couldn’t do beforehand (Technicals would deal bonus damage, but they would never knock an enemy down). We’ll go into the revamped Technical system shortly once we actually get introduced to it.
Music: King, Queen, and Slaves
 I am SO done with this place…
We’re all almost through here—just hang in there, Panther.

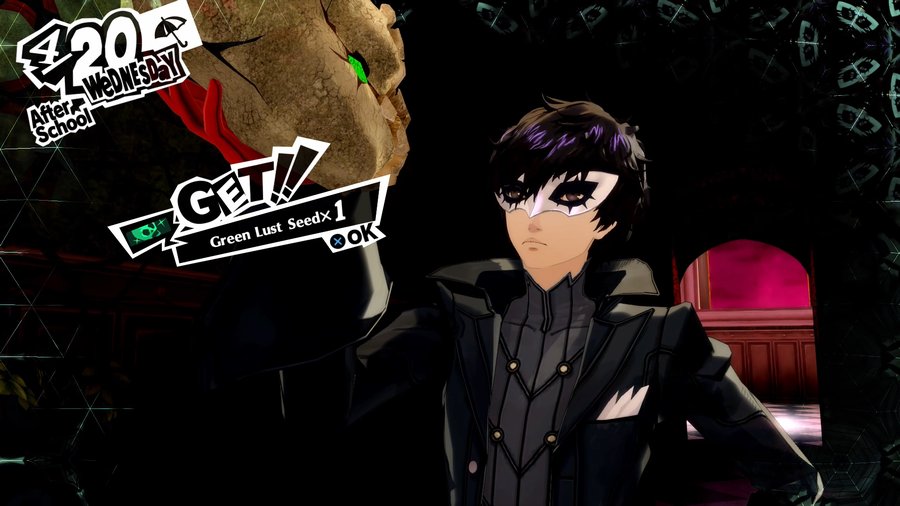
Let’s go collect that Will Seed.

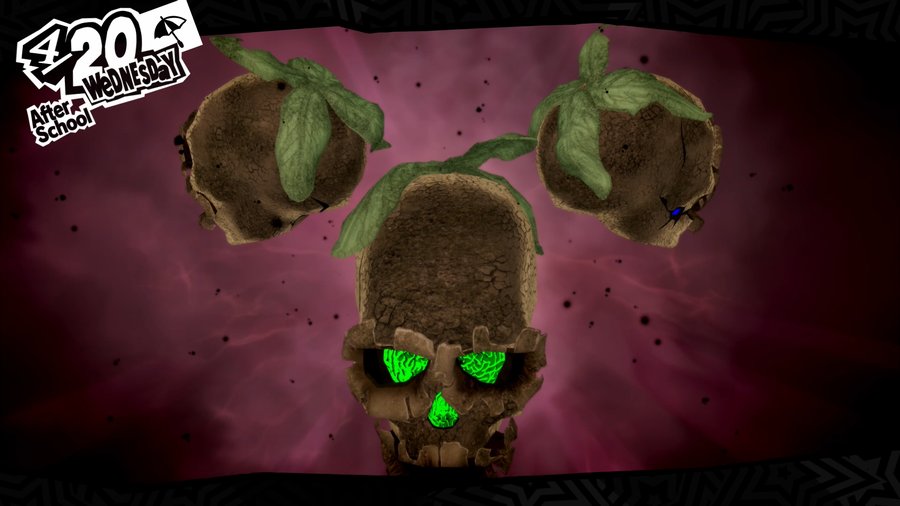
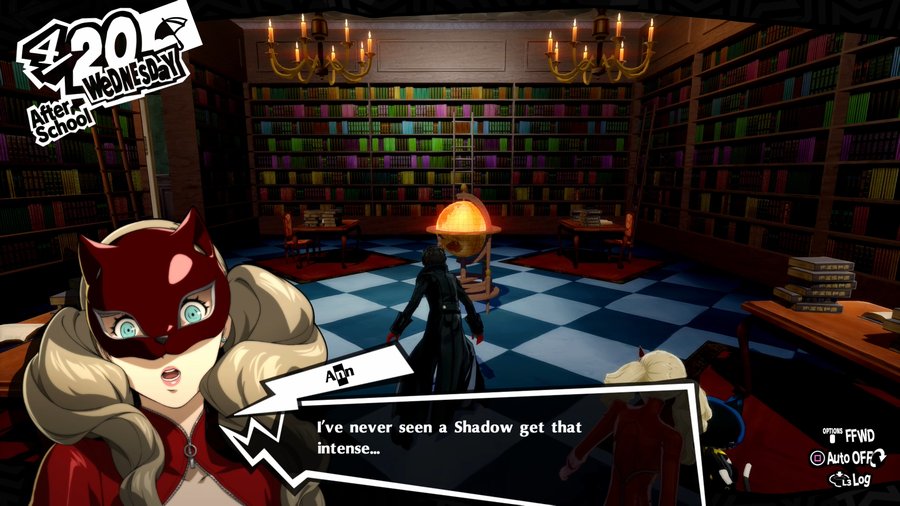
Something’s happening…
And it turned into an accessory!
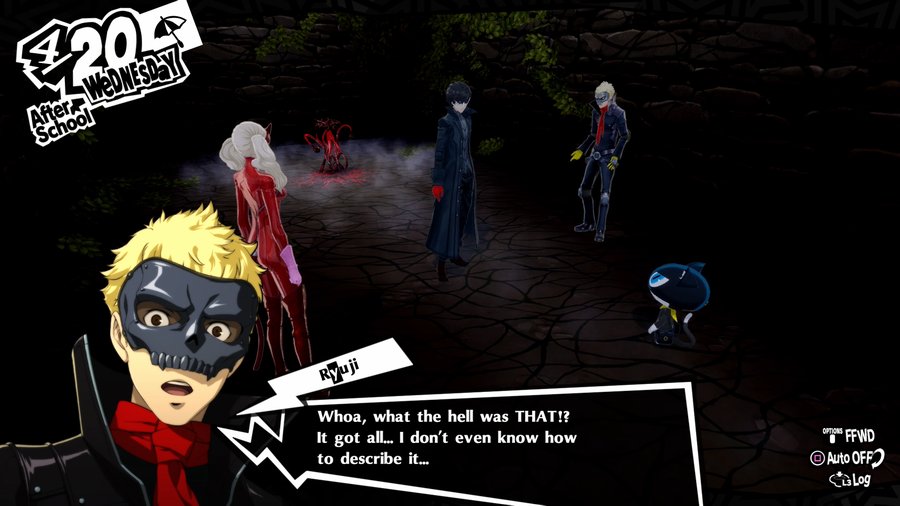
C’mon, Mona! You never told us what these Will Seeds’ll do!
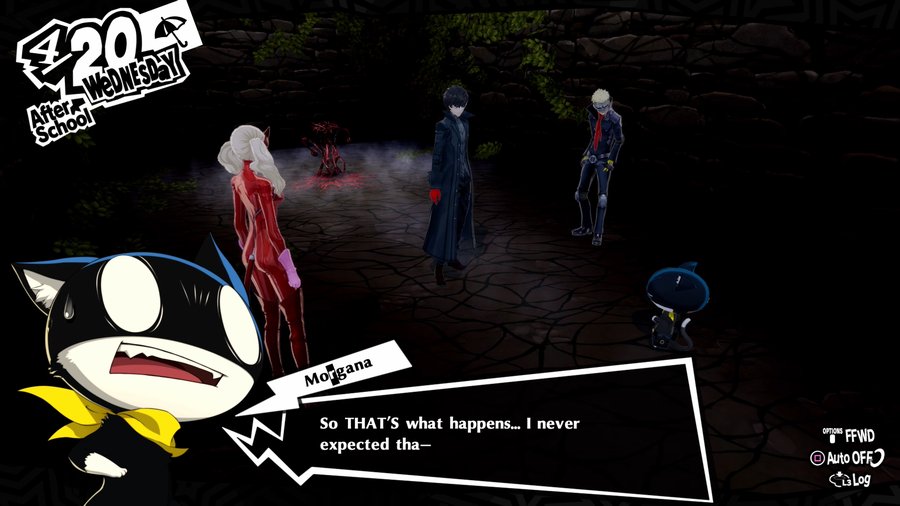
I mean, I never expected anything less than that to happen!
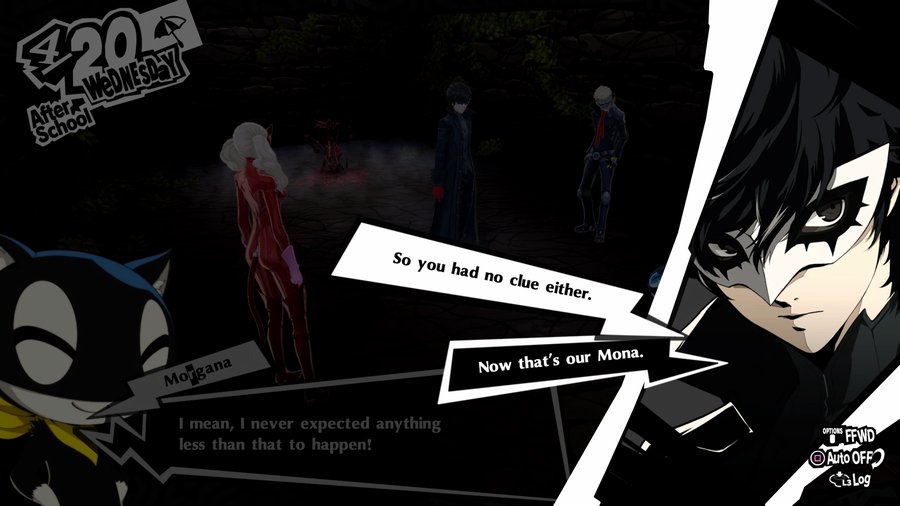
Oh, who cares about the details!? What really matters is the power I’m sensing from it. Maybe it could give us an upper hand somehow in the future?
Wait, we’re just… taking it? I’m not totally sure that’s a great idea…
A phantom thief makes use of any available tool to accomplish a mission.
Who knows what we’ll find next? If we find ourselves in a situation where this could be useful, let’s see what it can do!
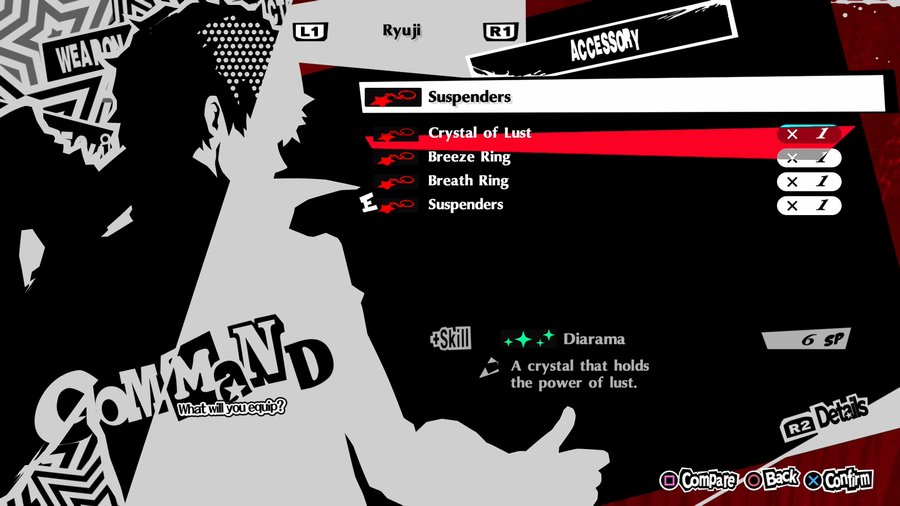
That Will Seed is incredibly useful, giving the wearer access to the skill Diarama (moderate healing). It only costs 6 SP and at this point in the game it will probably heal anyone in the party to full. We’re going to slap it on Skull because he has the most SP at the moment, though I will, again, forget to actually equip this item until later in the Palace.
All right, let’s head back up.
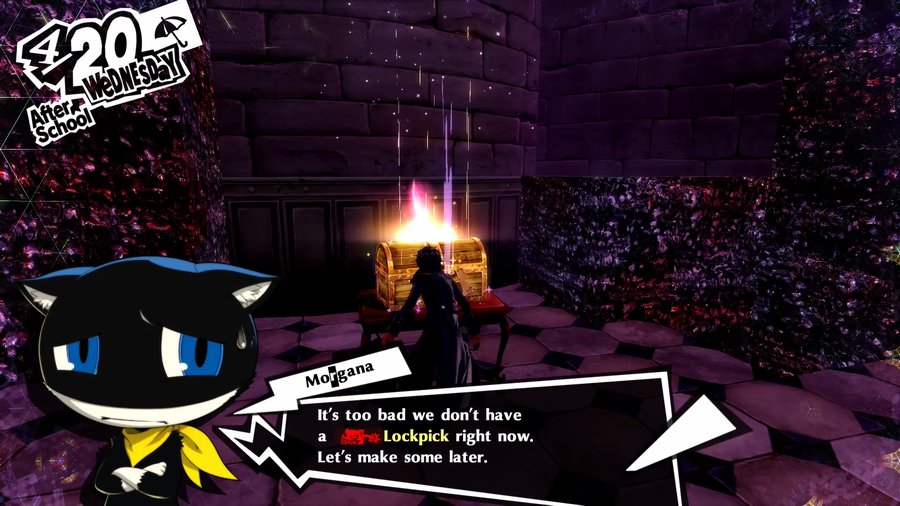
We’re out of Lockpicks. Thankfully, both locked chests we’ve missed are near safe rooms so we can pick them up when we steal the Treasure with minimal fuss.

They’ve moved Angels from Kaneshiro’s Palace to Kamoshida’s, and Andras no longer seems to appear as a Shadow either. Not a huge deal. It’s weak to Gun and Curse (it was only weak to Curse before), nulls Bless, and is strong against Electricity. It also uses Makajama to inflict Forget.
Okay, we get to the top, but need to find those gross horny eyes on the two Eligor Shadows.
Just like in the original game, this is the perfect place to use Panther’s Dormina to inflict Sleep. Waiting out its turn and then hitting it with a Technical attack is still incredibly effective.

That Shadow has a lot of health. This’ll be a pain… Joker, I taught you how to strike your opponents’ weaknesses, right? If you could blind it or put it to sleep, you’d have an easier time doing real damage to it.
Blind isn’t a status effect in this game! The equivalent status in this game is Dizzy, goddammit!

Let’s check out Variations of Technicals then.
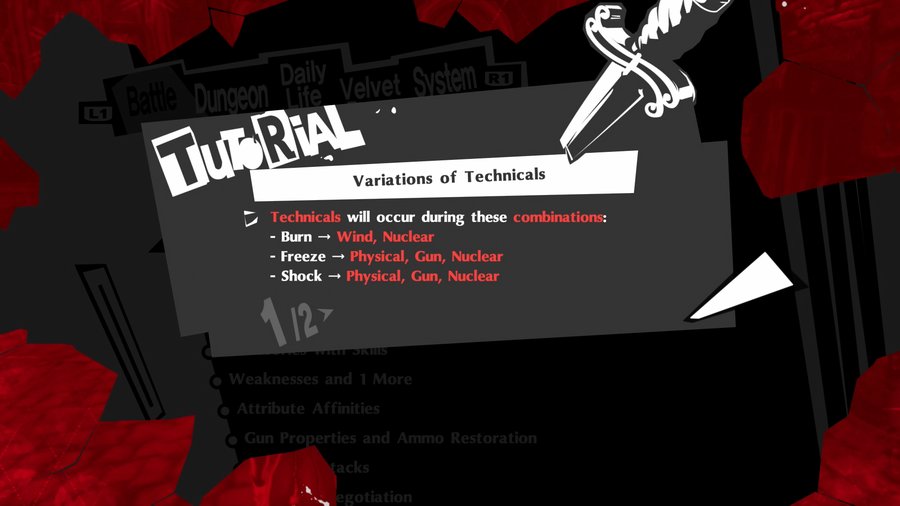
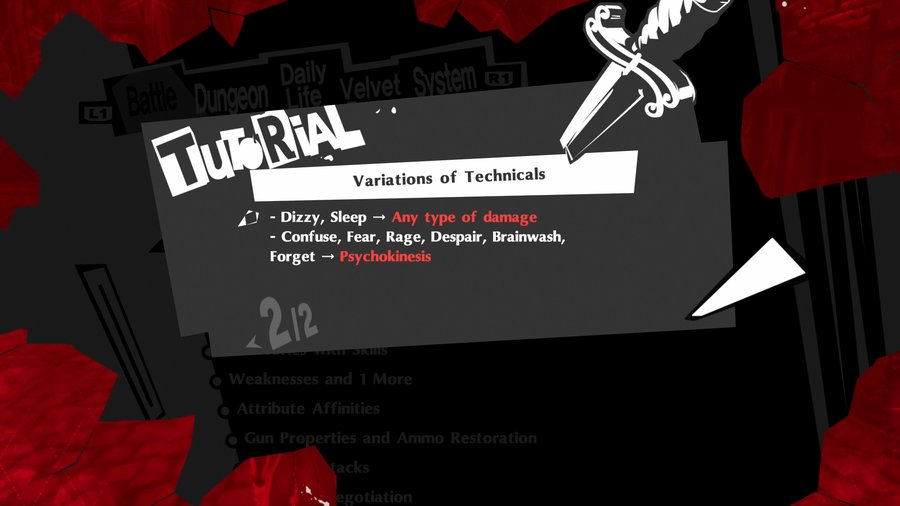
I’m not going to memorize this and you shouldn’t either. Just keep in mind that Technicals are far, far more useful in this game than in the original.
We got both eyes thanks to Panther putting the enemies to sleep, let’s proceed.
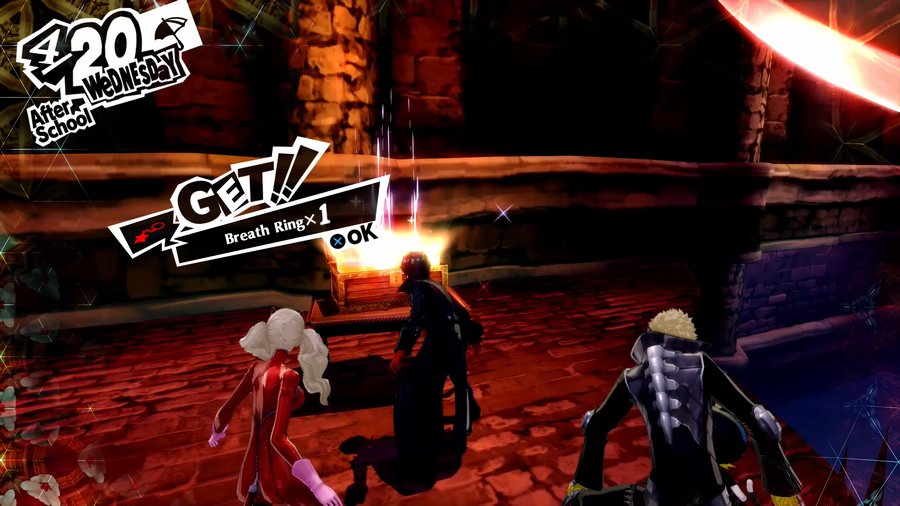
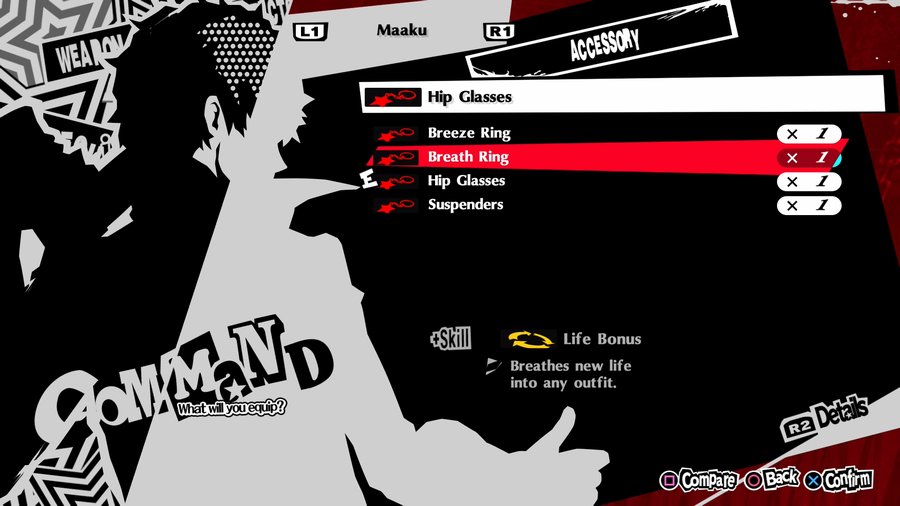
This Breath Ring gives the wearer Life Bonus, which increases their max HP by 10%. We slap that on Mona because he needs the health the most by far. We also finally remember to put the Crystal of Lust on Skull and the Breeze Ring (gives the Garu skill) to Ann.
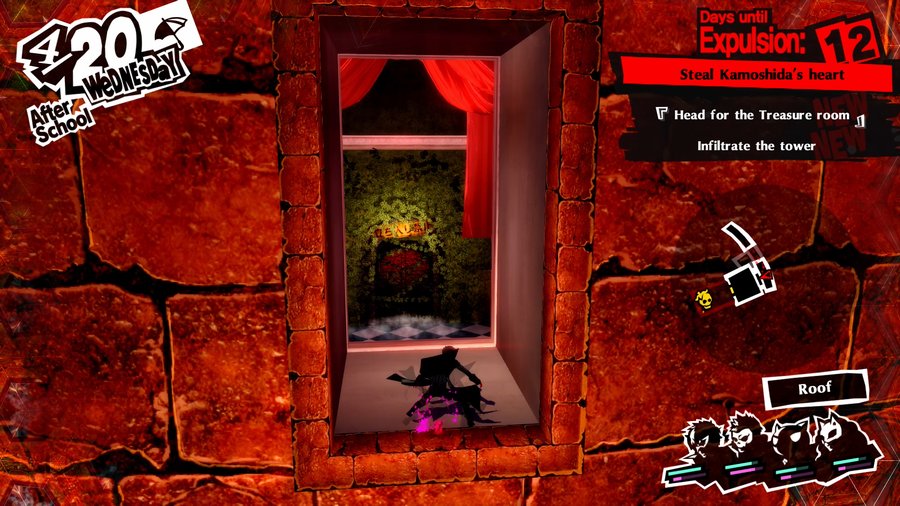
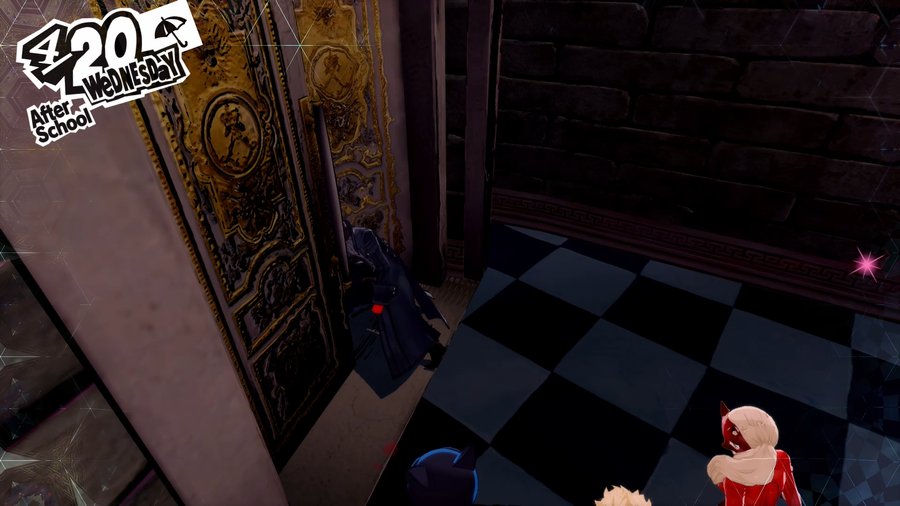
Over on the other side of the bridge is a deviously hidden little item requiring you to investigate an alcove that looks like nothing but a dead end.
Grapple up here…
And claim our reward.
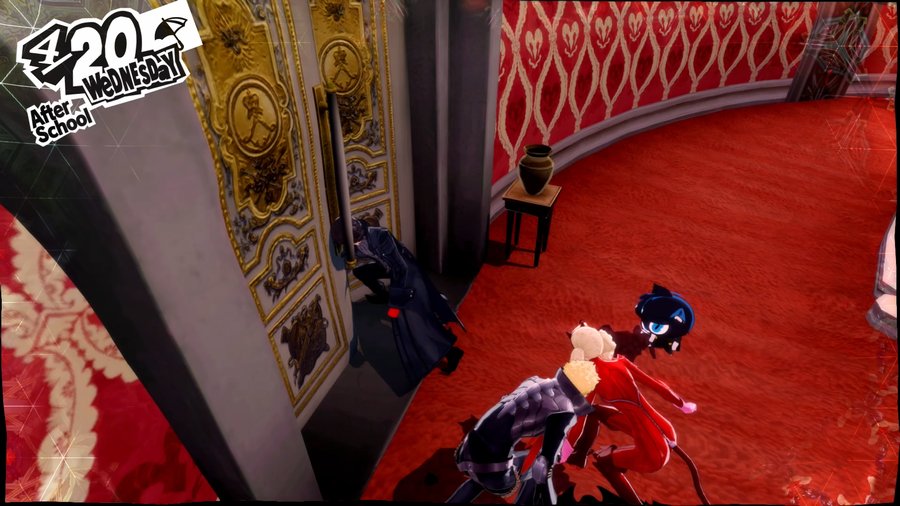
We finally made it to the last Safe Room!
Now, let’s secure the path to the Treasure.
 Sorry, boss…
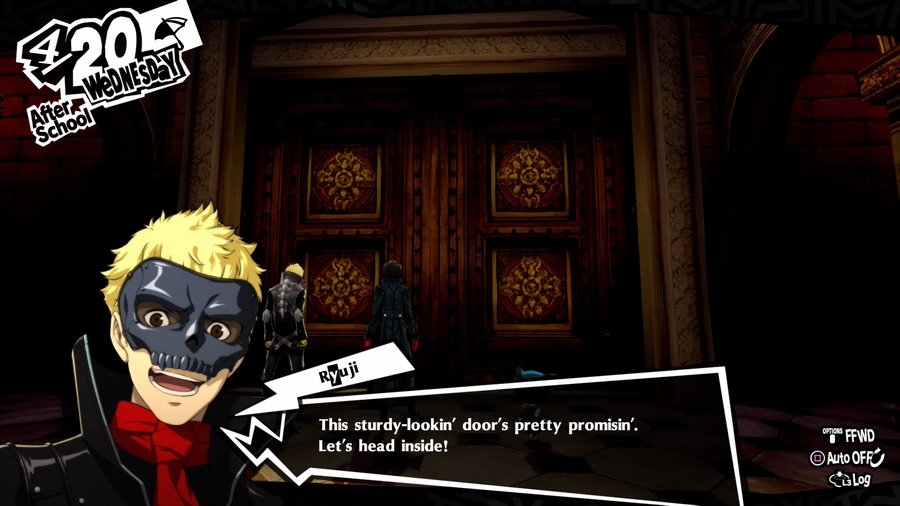
Music: Disquiet

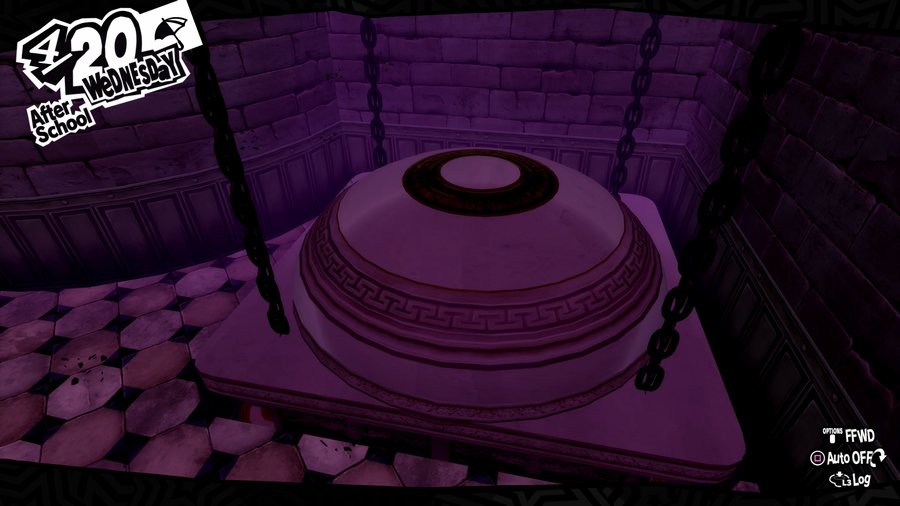
That Treasure thing’s gotta be in here!
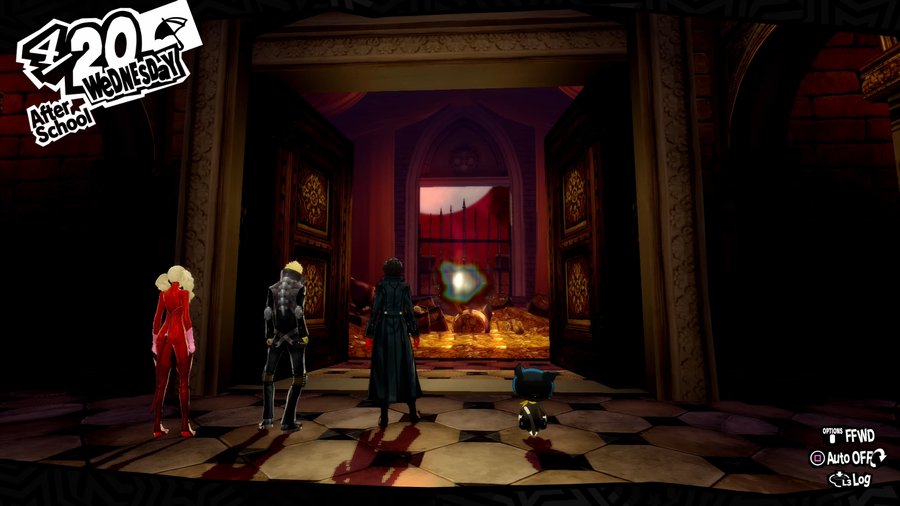
Hey, what is this? It’s… floating in the air.
 Pretty lame Treasure.
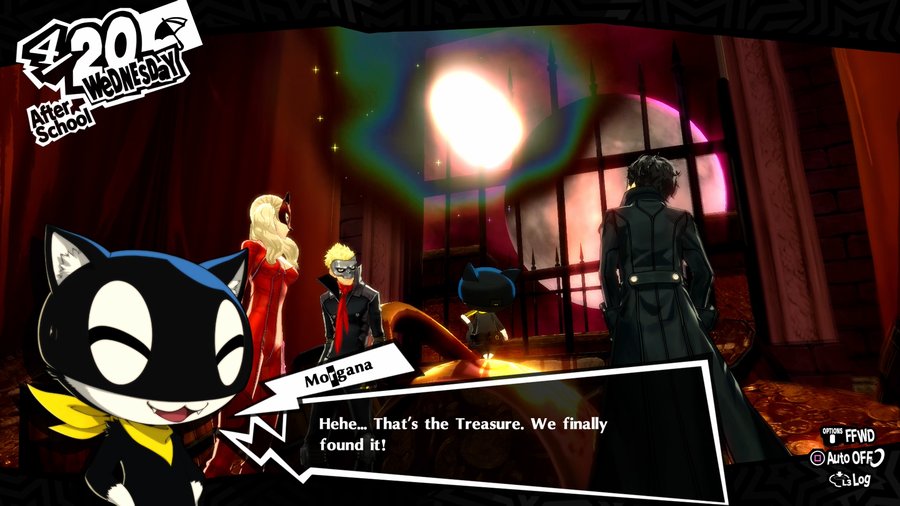
Hold on, it’ll look a lot more impressive once we’ve done what we need to. Basically, Kamoshida’s desires haven’t materialized yet. They’re too intangible. But to make them take solid form…
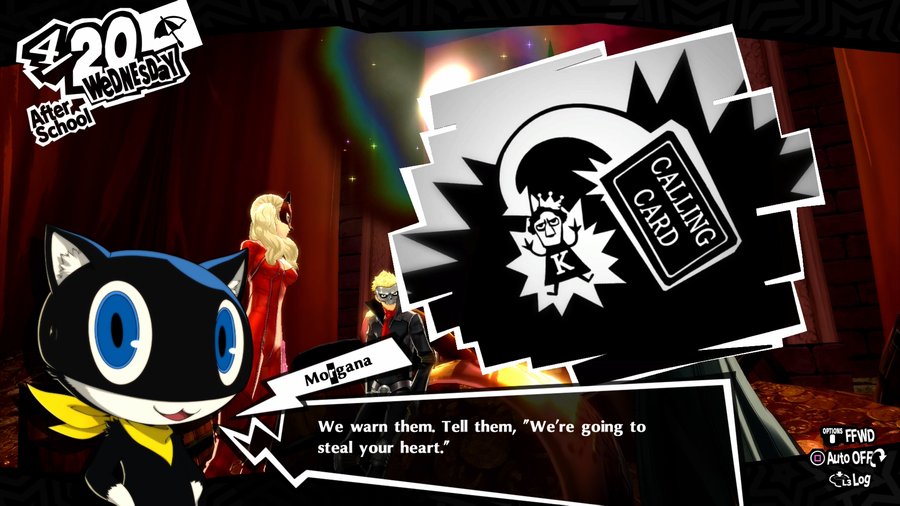
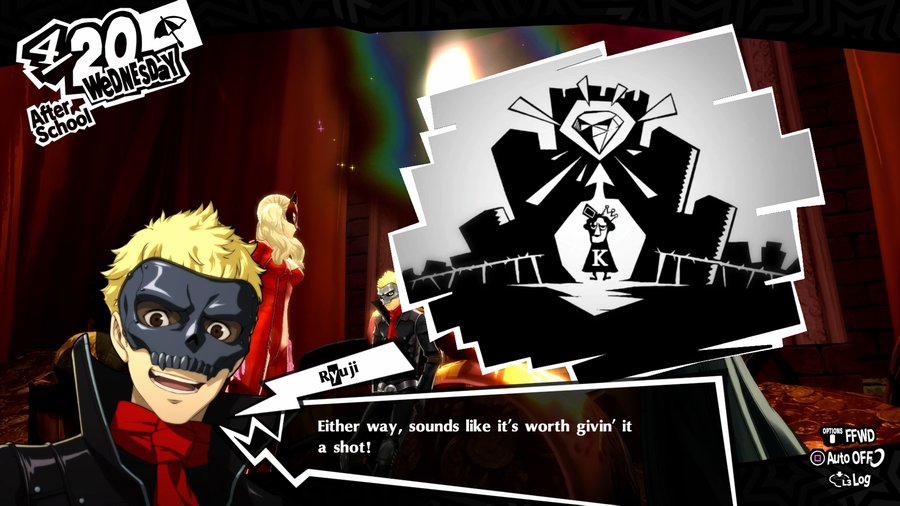
So we’re gonna send a calling card? That’s totally what a phantom thief would do!
Once that’s accomplished, the Treasure should appear… probably.
 You’re real bad at this mentor thing.
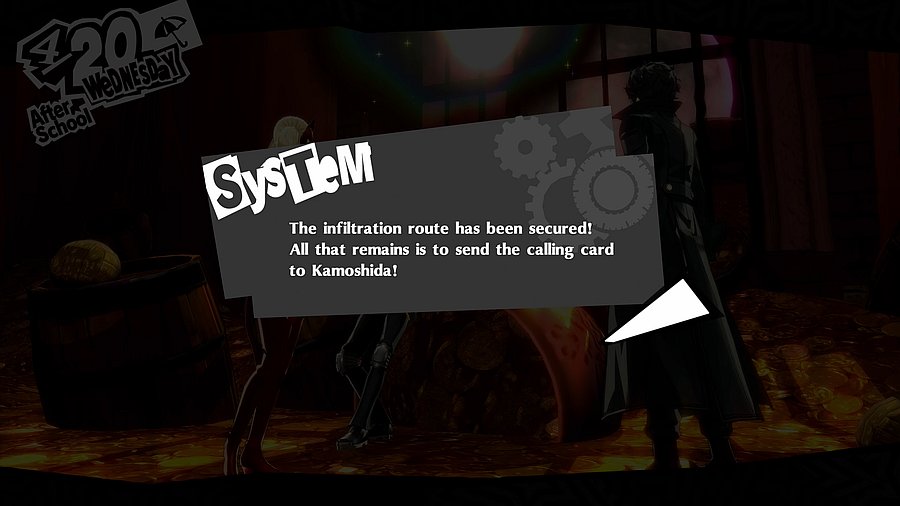
Our infiltration route is secure. All that’s left now is to pump out a calling card in reality, then come back to take the Treasure!
Alright, we got through the Palace in a single day! And without wasting any SP items! Honestly, it was a little easier than it was in the original game thanks to the Will Seeds. I used a lot of melee in that run to conserve SP, and here I didn’t really have to do too much to save on those precious, precious Ps of S.
We also ended up with a good deal of money at the end of the day, with about 28k, which might not sound like much, but we also got an additional 25k in junk items to sell to the airsoft shop. We have enough money to survive for a bit, is what I’m saying. Hopefully it’ll last us until the next dungeon.
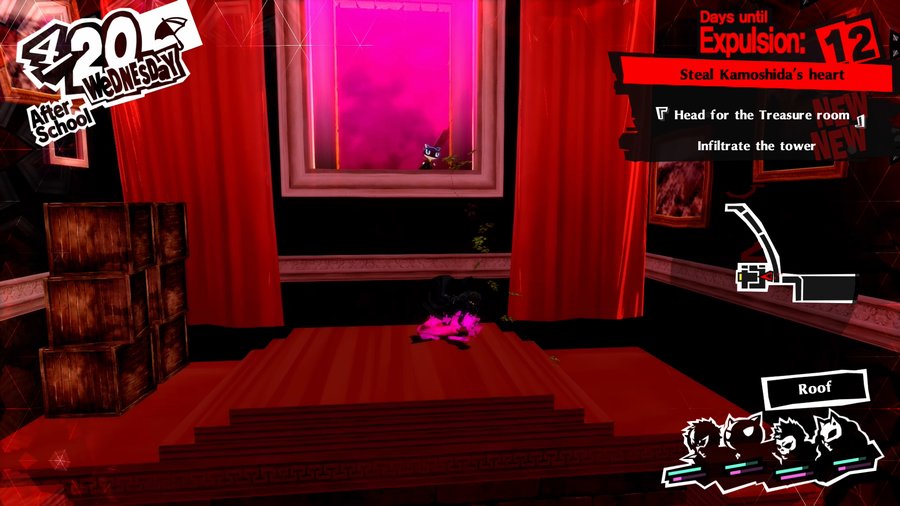
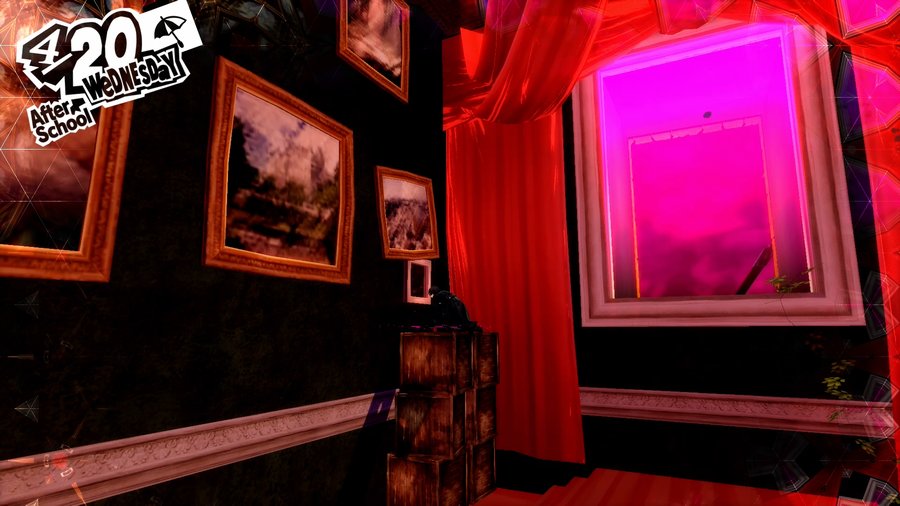
Music: King, Queen, and Slaves (Another Version)
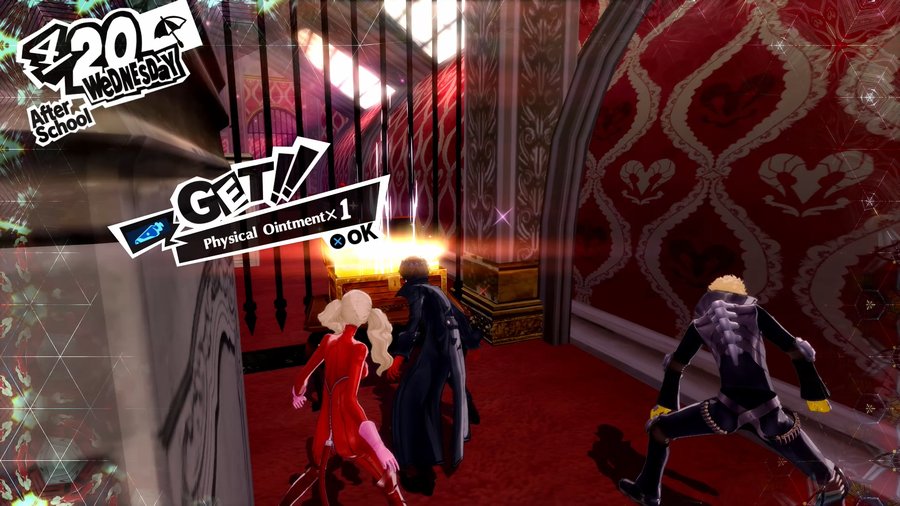
Before we leave, there’s one last chest near the final safe room, accessed by climbing up a bookcase and grappling up to the window on the other side of the door from the one we climbed to get to the Treasure room. It contains this Physical Ointment. We collect it and leave. But we’re not going to leave the Palace just yet, because there’s one thing we still should do in preparation that we’ll start the next update with: fusion!