Toggle Background Color
Level 4.mp3
It's been a hot minute, and it's finally time to seal the deal. Whether Xaya is possessed by Akuma, or just merely an alter ego that never existed, we need to stop her before she covers the land of Fedora in a shroud of darkness.
Er, Fendora. My mistake.


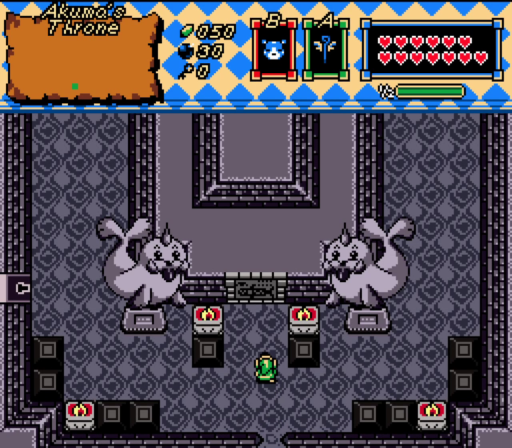
Oh, haha. These seal statues were originally planned for the contest version, but the creators lacked the time to import the seal graphics and make statues of them, so they got added in waaaaaaay after. The fact they put effort in just to have this one bad pun pleases me greatly.

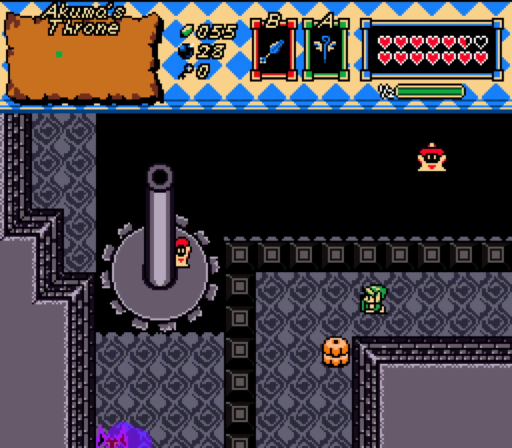
New enemy here: the Beamos! This statue rotates around, and if they see you they fire laser.

Early compass. We know exactly where Xaya is, we just need to get there.

Sadly, heading north is blocked by this dam. This'll be a recurring theme here.

Heading east, we find shrouds of darkness and some high-tier darknuts. What does the darkness do? Does it hurt us?

Oh no.
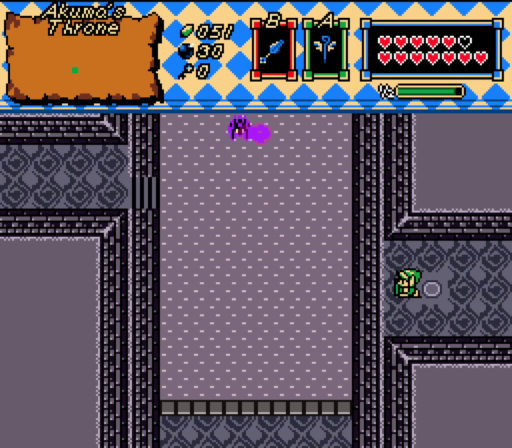
The curse returns! These dark clouds are heavy concentrations of the curse, and they force you into the ice movement we saw at the very start before we got Moosh powers.

Heading north from the darkness, we seem to reach an impasse. However...


Aha! Sneaky unlit torch.
That lowers the dam preventing us from going north on the central path.
We can't continue on this eastern path thanks to yet more darkness, so let's head back.


More darkness... The darkness here doesn't actually stop us though, as we can maneuver through even with the limited movement. Those barriers on the other side are a problem, so we'll need to hit the switch above.


There's another roadblock if we head north through the central path again. That's the gimmick of this dungeon; we need to clear the central path to reach Xaya.

Heading left then.

Asides from the shield-eating devilspawn, these enemies aren't too much of a threat with our double damage (quadruple if you have saber tech enabled).

Heading south lowers the barrier.

Heading north leads us to this intersection here. The darkness makes it so you can only go straight from where you enter.

Gears! 

More enemies. The beamos is the biggest threat here.

Wait... how do I reach the chest?

Answer: Beamos are weak to bombs. There's a kunai panel hiding under this guy!

Key get!

Let's check out what's beyond the barrier we lowered.

More baddies, and a chest we can't get from this side. We have a key though, so we'll be back for that shortly.

An exit?

Our last heart piece! 
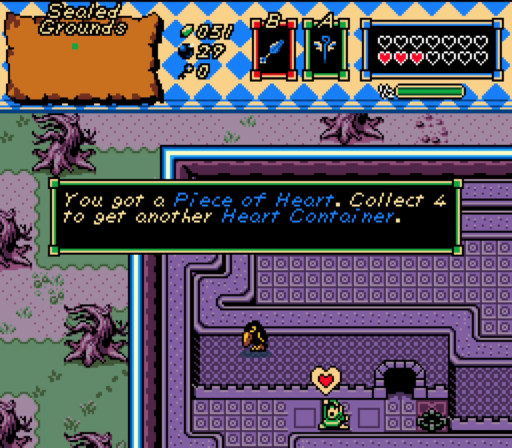
Heart Piece 100%

With that, we head all the way back to the start, and unlock this locked door at the beginning.

I'd show off the puzzle to reach the chest but honestly you can't see anything when the darkness isn't in motion and once you see it it's really easy.
This chest must have something important in it for it to be behind a key. Maybe the dungeon item? Oooh, let's try and guess! We got a Wind themed item, a Fire themed item, an Ice themed item... This one has to be Earth! Cause Moosh returned to the Earth, and it'll complete the se-


Oh.
...the Earthbow of Light, I guess?

Anyways it dispels darkness.

Let's go explore some darkness!

More giant traps we need to dodge.

This weird water room is behind those barriers.

Killing the enemies doesn't do anything if you try to.

Freezing all the water reveals a chest though!

Key get!

We can also head through this darkness as well.

Lotsa wizards here.


Heading east, there's a portal that takes us to another portion of the central corridor! We haven't seen this part yet; it must be north of the previous blockade.
Anyways, it removes another blockade for us.


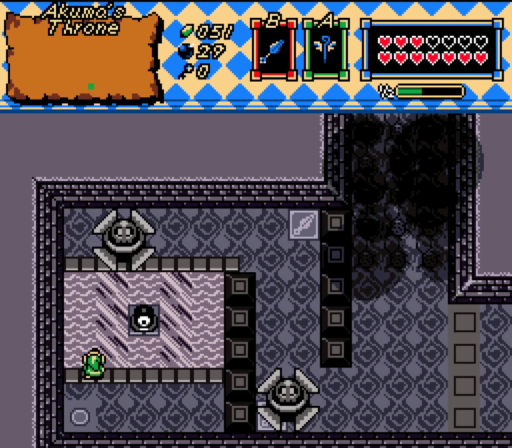
Further north is a boss door. No boss key to unlock it yet though...

We can teleport down here though, so let's head east first!

...Drat.

This is north of the lotsa wizard room, so let's backtrack and solve this puzzle first.

This puzzle is also really easy. There's no really hard puzzles in this dungeon; the dungeon is fast paced.

I can gif this puzzle! Yay!

Alright, let's head north.

Kill all enemies room. Nothing we can't handle at this point.

Welp! There's the boss key. We could go fight the boss now if we wanted, but there's some paths we haven't seen yet in the dungeon.

Confirmed Deaths: 21.
or, it would be, but turns out there were 8 deaths I missed during the boss rush. So,
Confirmed Deaths: 29

Let's head west this time!

Hey, it's the intersection we saw earlier! We can actually traverse this intersection freely with the Light Bow.

Heading west...

G e a r s


Well, there's the map. One problem, though.

We already explored the entire dungeon.
We could have gotten this sooner; we just ended up getting it last by coincidence.

Heading east now...

And it's the last the barrier we needed to unlock the central corridor! Now to acti- wait. It's already activated! How did it get activated? Well, you see...

You can actually sequence break this switch, hehe.


We can also teleport up to the boss door from the central path!
Most of the dungeon is actually optional, you might have noticed! There's multiple paths to get to where you want to go, sequence breaks, and shortcuts! You can take whatever path you want to reach Xaya, and push the boundaries. I really like this dungeon as a final dungeon.

Time to see what lies beyond the door.

One last barrier, and a weird eye thing. Let's shoot it with our light bow!

Oh, it doesn't like that.

It doesn't like that at all.

Hitting it enough times though is enough to slay it and lower the final barrier between us and our goal.

Let's do this.
(To be continued)