Toggle Background Color
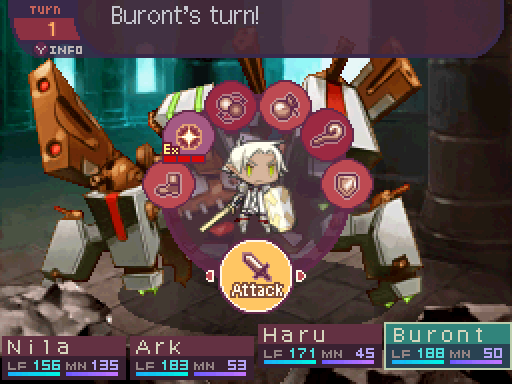
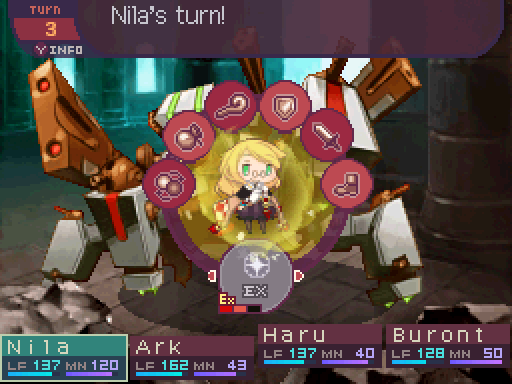
Update 25: Ancient Technology


 New rule in the Odyssey guild, no one is allowed to drink an entire keg of beer all at once anymore! Ye gods, how did you not get severe alcohol poisoning from that? Even anything more than a mug may be too much...
 Mrm. We’re just fortunate Stella has no need to come along for this mission. Do take good care of her, will you?
 Hee hee! No need to worry! I’ve got some of the beeeeest doctors in Eden to look after me! Eheeheeheeee!
Um, I-I’m flattered you think of us that way, I-I really do. But...
 I wish you would stop saying things like that. Our healing capabilities need far more work for one...
 Come on! Just accept the compliments, you two!
Okay Stella, back to bed. Nrrrgh, up you go! Sleep tight, Stella. The rest of you, try not to get killed out there.
 Oh, we’ll be back as always, dear Edward!
No, really, don’t. Remember what Faro told you all and- they left already.
Perhaps it may be time to stop underestimating what we’re capable of. We’ve all still made it this far, haven’t we?
I suppose so. I just wonder how long we can keep it up...
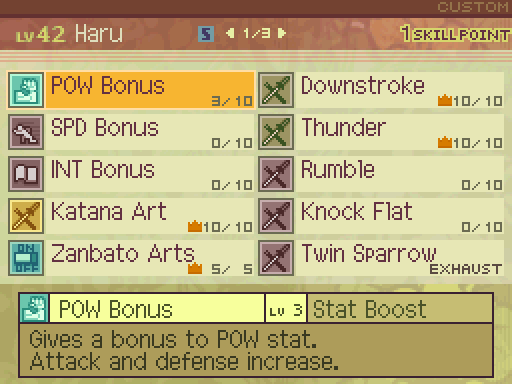
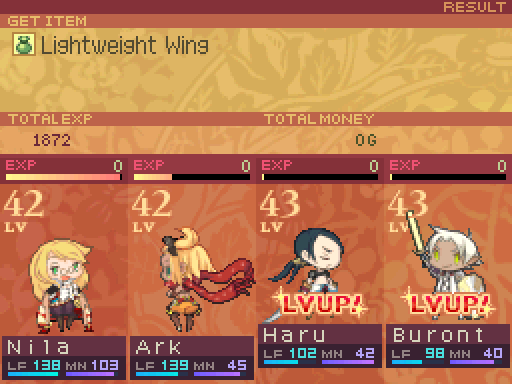
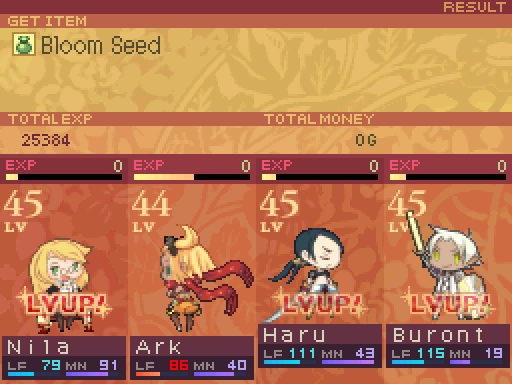
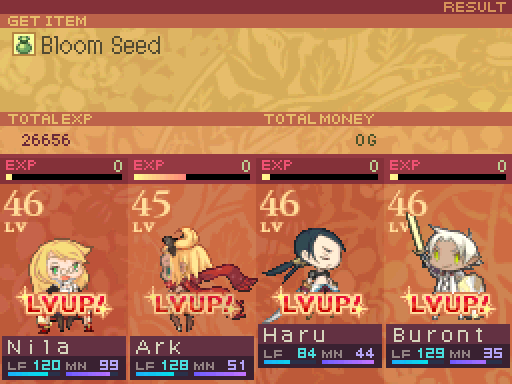
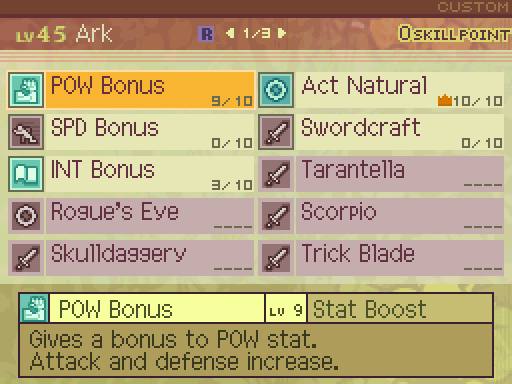
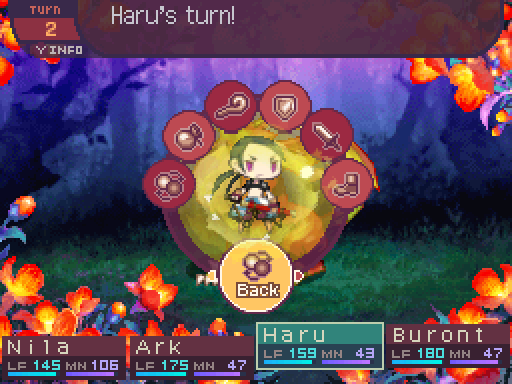
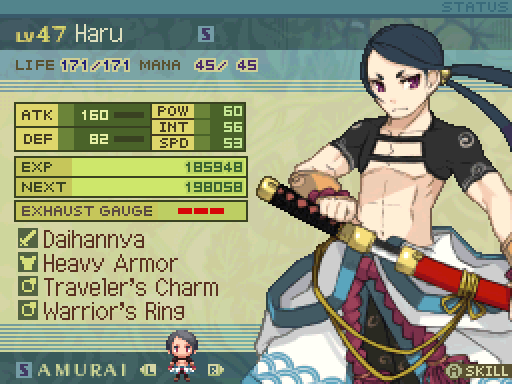
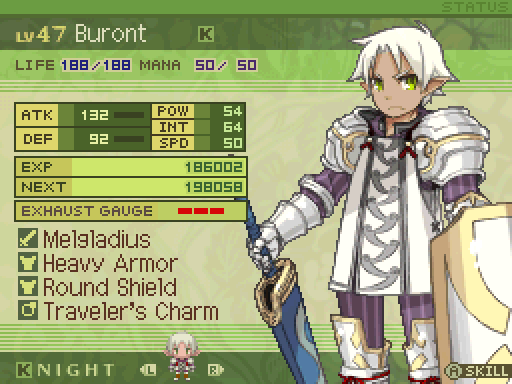
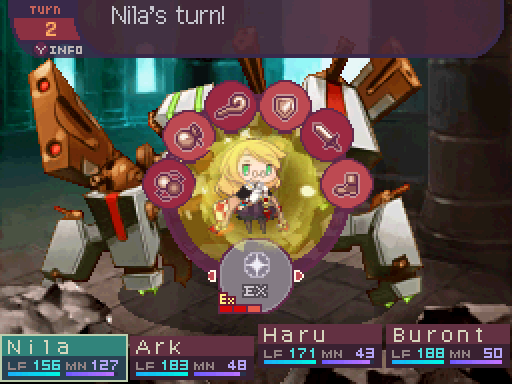
I leveled up Haru and Buront to catch them up with the others after our little side training mission. Haru got 1 more point of POW Bonus.
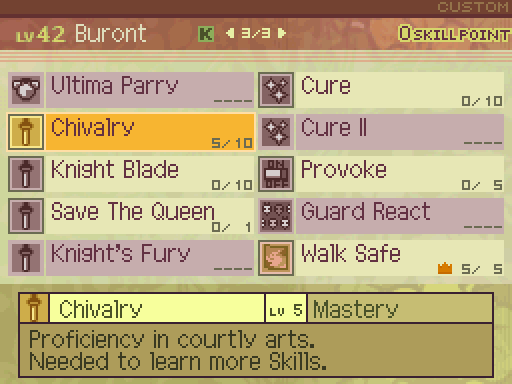
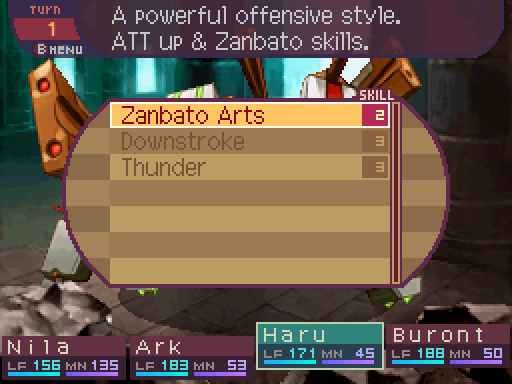
And I had Buront level up Chivalry a bit more. It applies a 126% multiplier to a Sword’s Weapon ATK stat now.

We’ll finally be tackling the mission to take down Invisible.
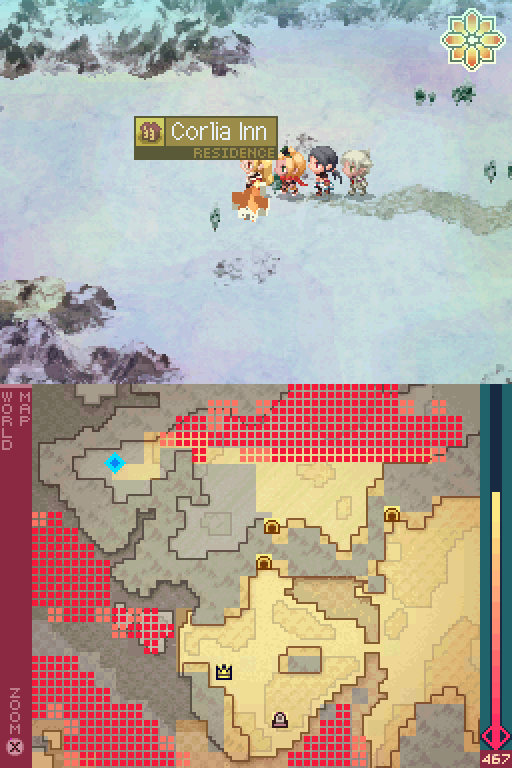
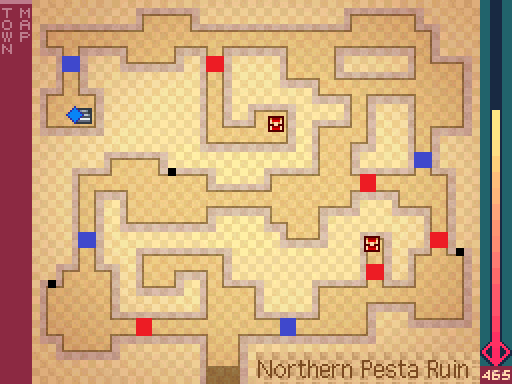
 A message from Faro. Head through Rorakka to the Northern Pesta ruins. That's all...
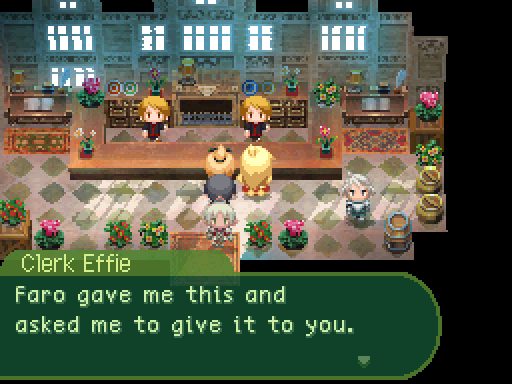
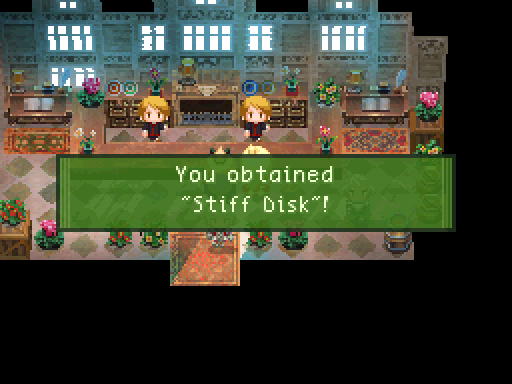
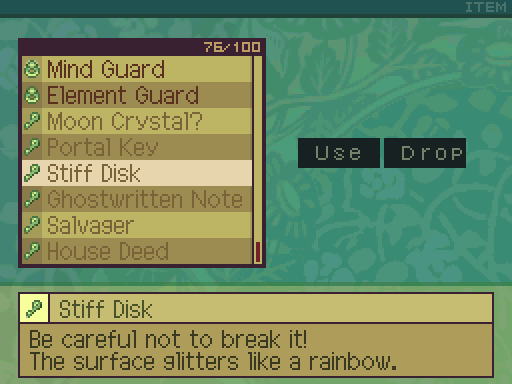
If you accepted the mission before hearing Faro’s battle plan, you would be directed to go to the Starry Site instead, where Faro gives you the Stiff Disk herself after hearing what you have to do.
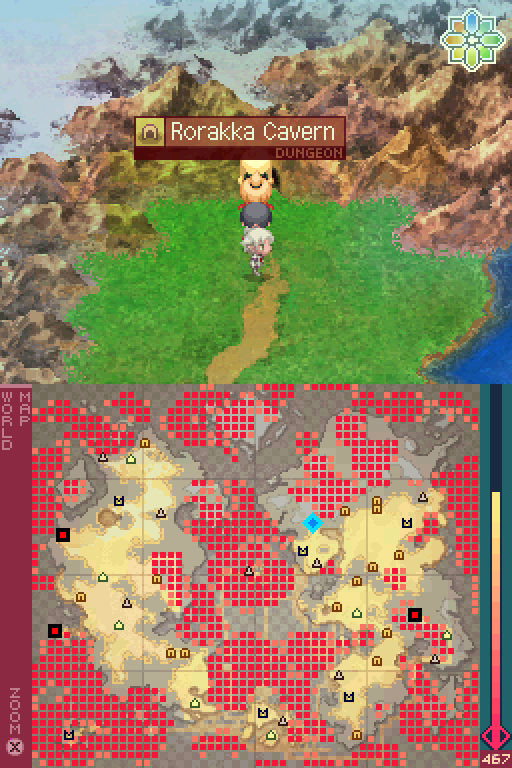
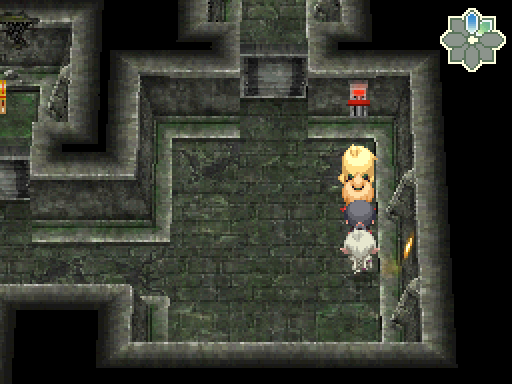
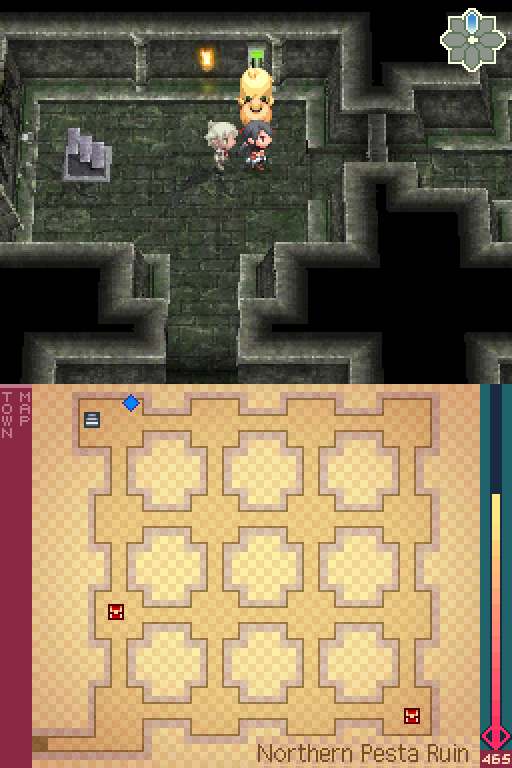
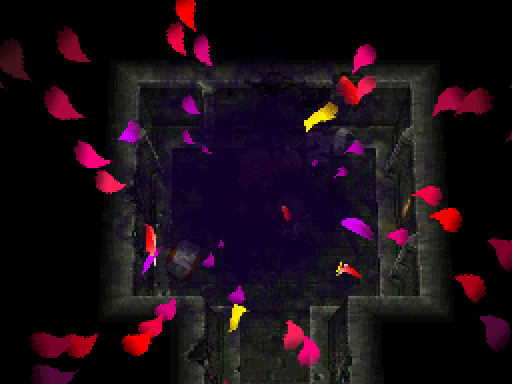
Our objective lies through Rorakka Cavern.
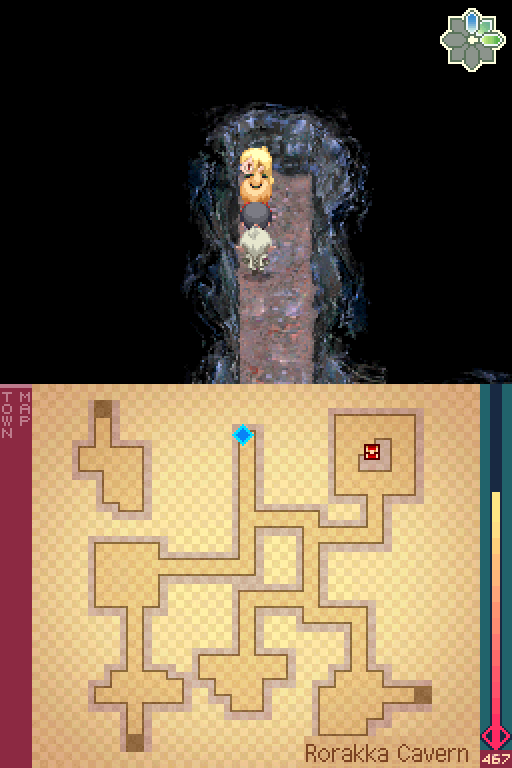
If you remember, there was a secret passage through this wall.
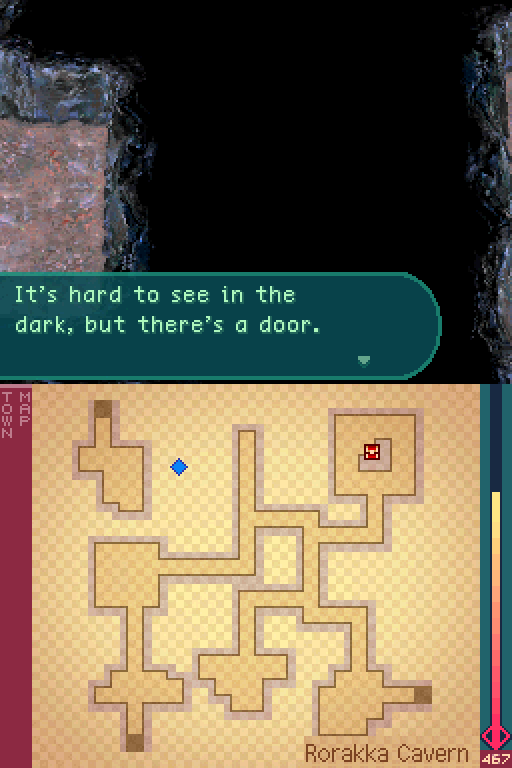
But a door blocked our way before.
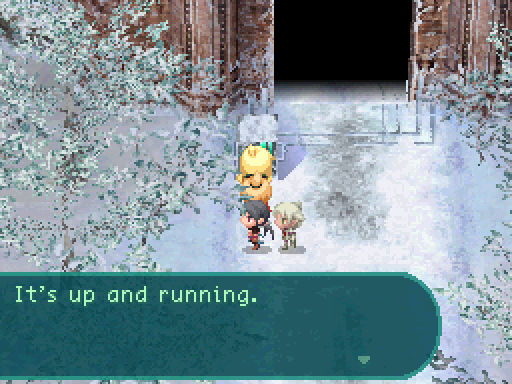
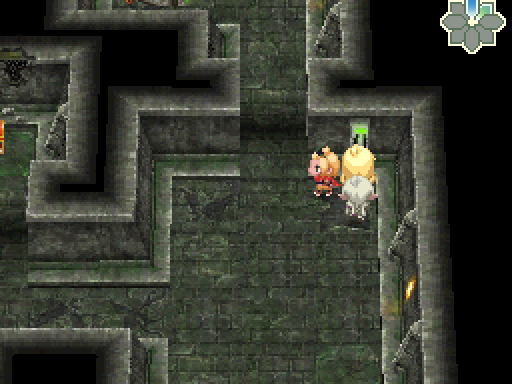
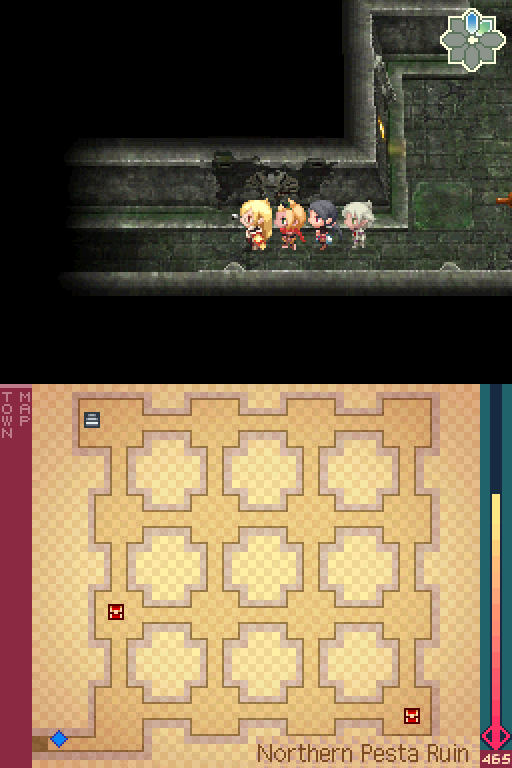
There seems to be a slot at the side. You pushed the disc into the slot... It opened up!
Ha! That did the trick. Shall we move on?

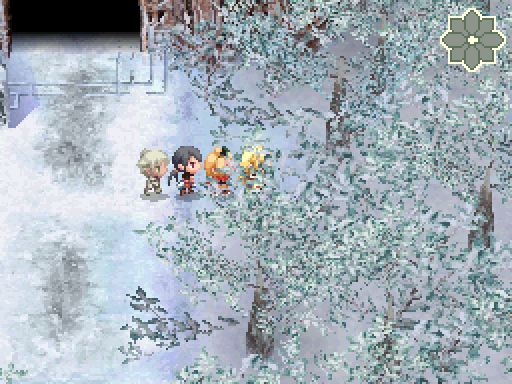
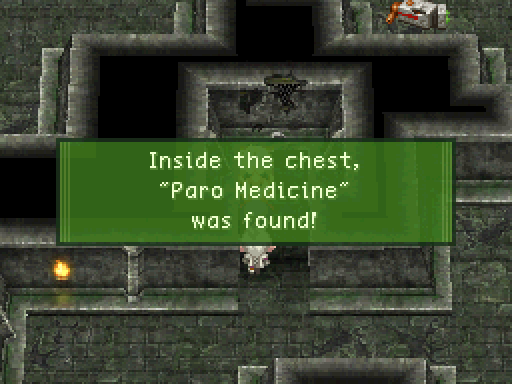
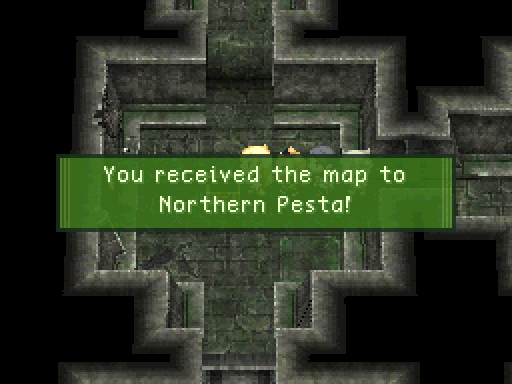
And we get a nice little present on the way out.


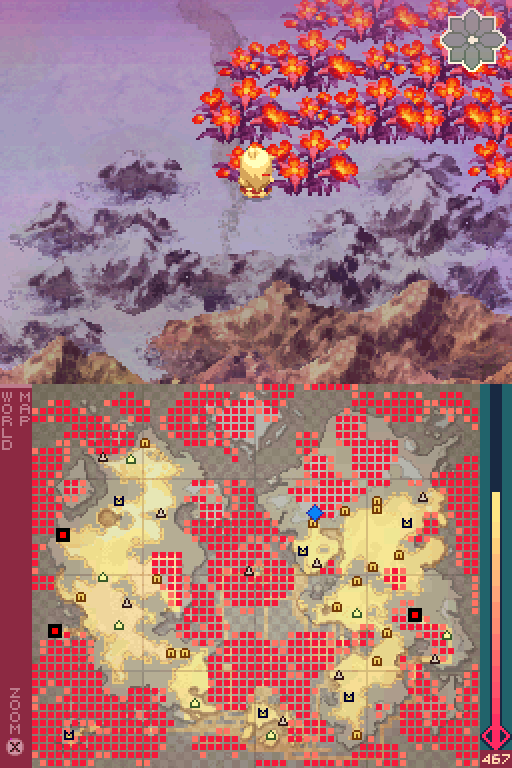
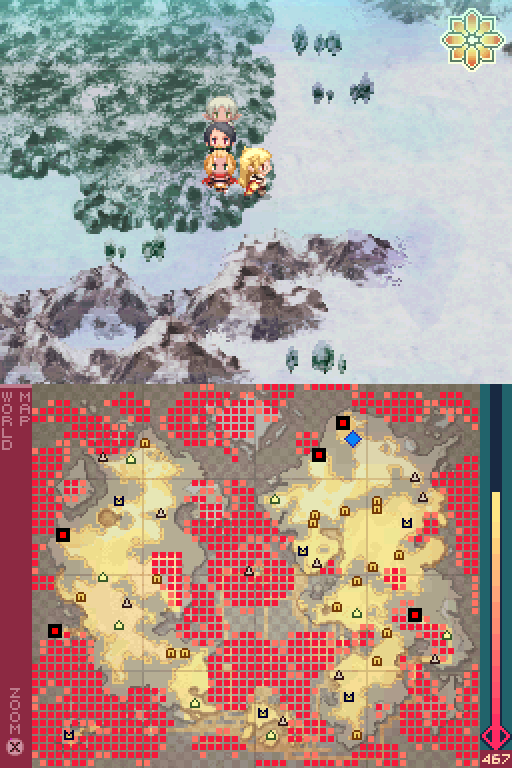
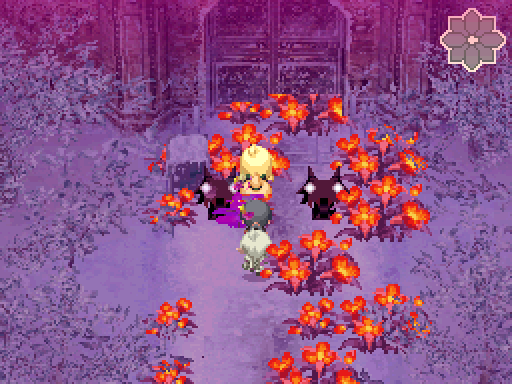
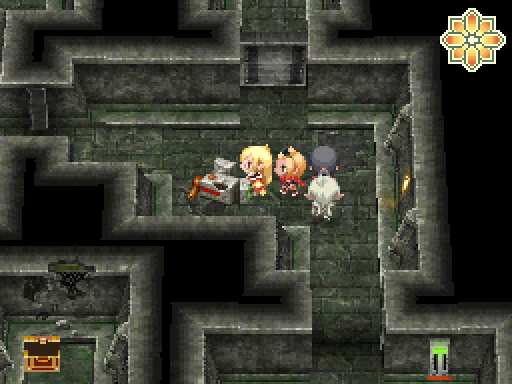
Now we’re in the northern part of the eastern continent.
A lot of Bloom has infested this part of the continent as well...
 Ugh. Flower trampling was one of the things I really didn’t miss.
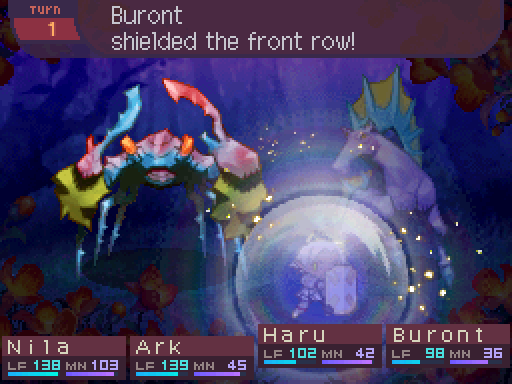
 Worry not, you two! I can protect you from the worst of it, you know.


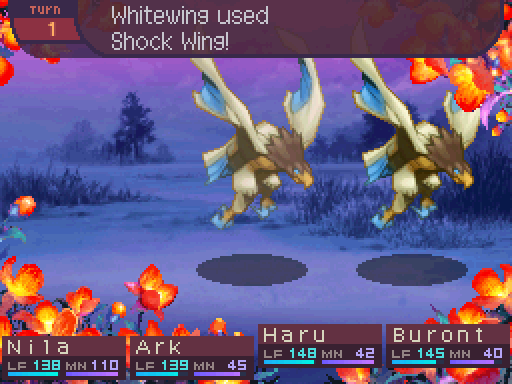
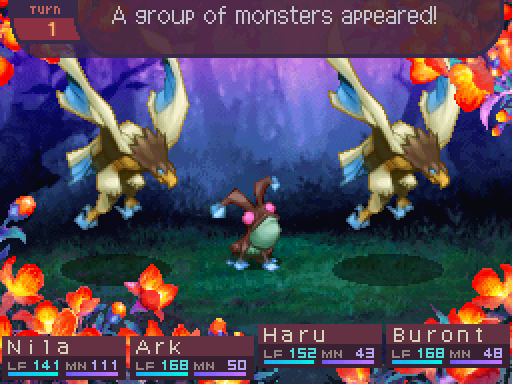
And since we’re back on the eastern continent, both that overworld theme and this battle theme start playing again. As for the random encounters in this area...

Whitewing
Level: 49
LIFE: 290
ATK: 126
DEF: 72
INT: 56
SPD: 72
Attack Type: Thrust
Enemy Type: Large Animal
Exp: 624
Gold: 49
Item Drops:
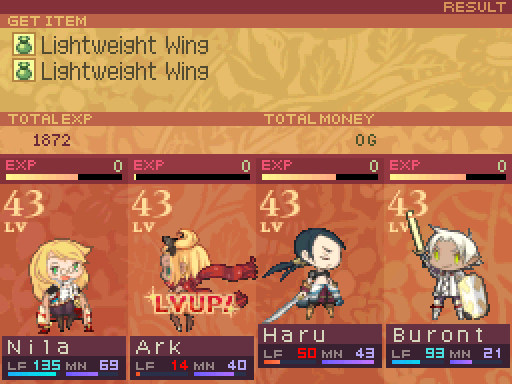
-Normal: Lightweight Wing - 30% Drop Rate.
--Wings of a Whitewing.
-Rare: Hawk Meat - 10% Drop Rate.
--Hawk meat. For carnivores. Increases INT for the day.
Damage Multipliers:
Slash: 100% Blunt: 100% Thrust: 150%
Fire: 100% Ice: 100% Lightning: 50%
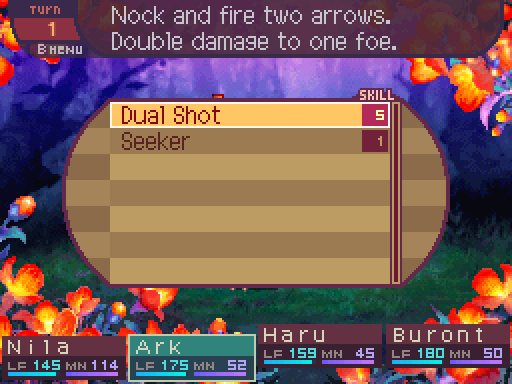
Skills:
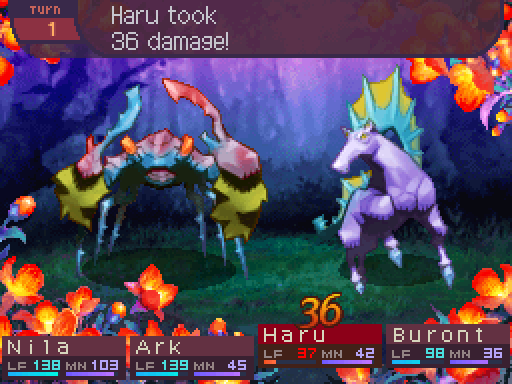
Shock Wing: Deals ranged INT-Based Lighting damage to one party member. Has a base damage of 90. Has a speed modifier of 80%.
Whitewings are pretty hefty enemies to deal with. They tend to come in groups and can take a bit of time to go down. Shock Wing hits pretty hard, and if all the Whitewings decide to use it, you’ll be in for a world of hurt. Some form of Lightning resistance can help against groups if you’re really having trouble. And if you have access to the Knight’s Circuitbreak skill, that will probably be a better skill for them to use instead of Shield Front.
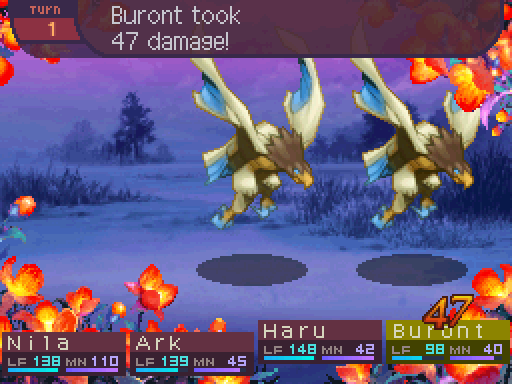
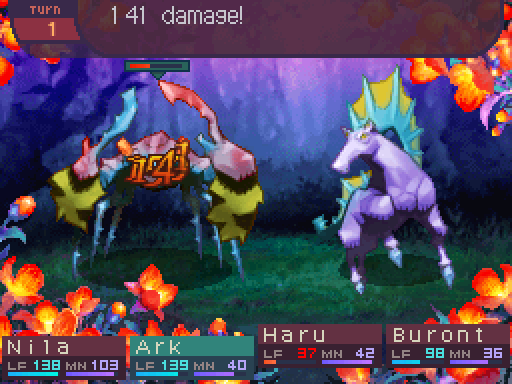
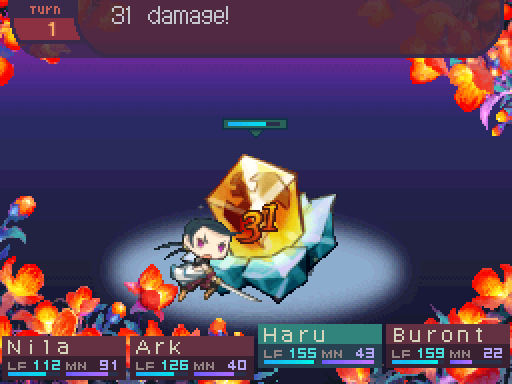
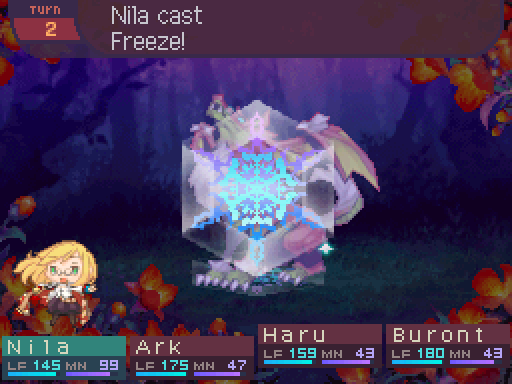
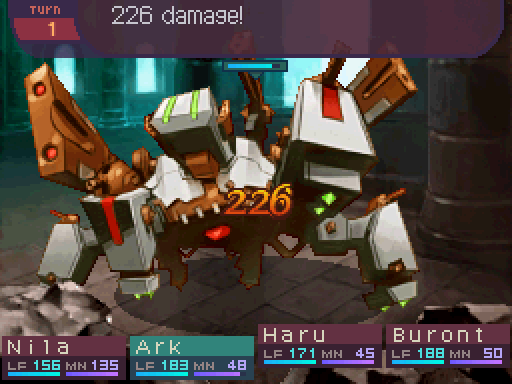
Granted I’m fairly underleveled for the area, but this is about how hard they can smack you around.
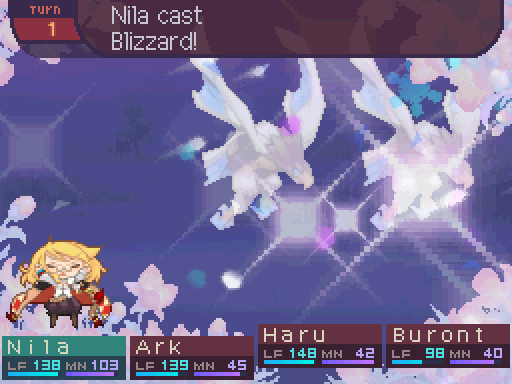

What a frozen drip!
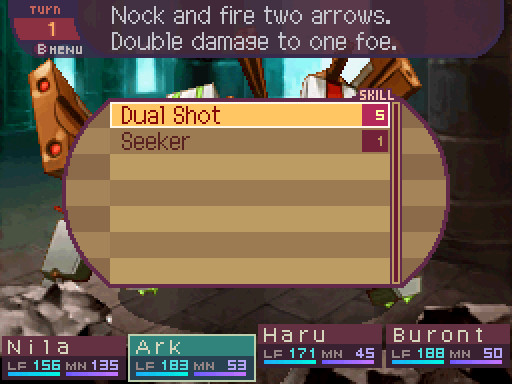
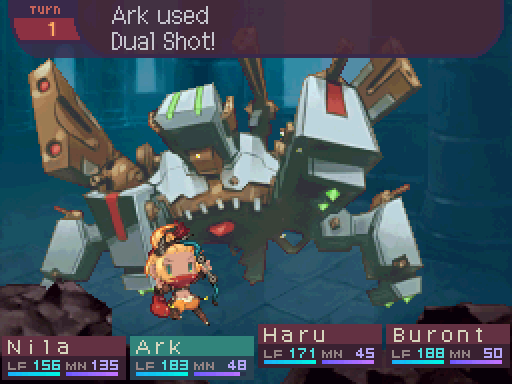
Nila also can’t oneshot them with an AOE spell either. Not without being forced to use up EX, so the encounters in this area are keeping me on my toes a bit. Though Ark can take out one of them with Dual Shot at least.
Level ups for Haru and Buront on our first battle in this area.

More POW for Haru.

Guardian now reduces damage by 26%.
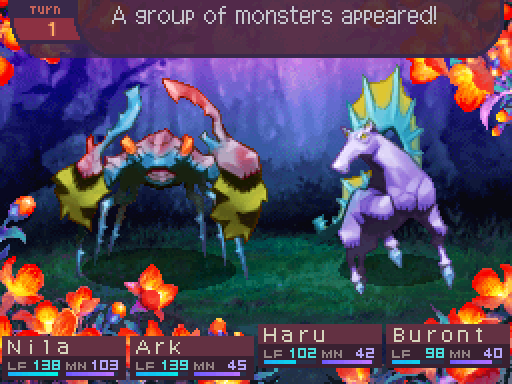
Oh great, these things.

Giant Pincer
Level: 48
LIFE: 450
ATK: 135
DEF: 95
INT: 53
SPD: 56
Attack Type: Blunt
Enemy Type: Large Animal
Exp: 937
Gold: 48
Item Drops:
-Normal: Crabshell - 30% Drop Rate.
--Parasite growing on a Bloomcrab.
-Rare: Crab Meat - 15% Drop Rate.
--Crab meat. For carnivores. Increases defense for the day.
Damage Multipliers:
Slash: 100% Blunt: 100% Thrust: 100%
Fire: 100% Ice: 25% Lightning: 100%
Skills:
Double Scissors: Randomly attacks the party with Slash damage 2 times, dealing 100% melee ATK-based damage per hit. Has a speed modifier of 80%.
Giant Pincers are a northern seas enemy, but they can be encountered here as well. They’re by far the toughest enemy in the area, as they’re the bulkiest of the lot, and they hit super hard. If Double Scissors lands both hits on one party member, get a Hypno Crystal ready. Or at least a good amount of healing if they survive.

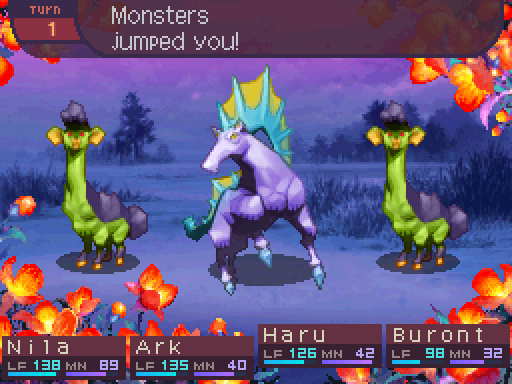
Coldblood
Level: 50
LIFE: 320
ATK: 130
DEF: 80
INT: 65
SPD: 65
Attack Type: Blunt
Enemy Type: Large Animal
Exp: 763
Gold: 50
Item Drops:
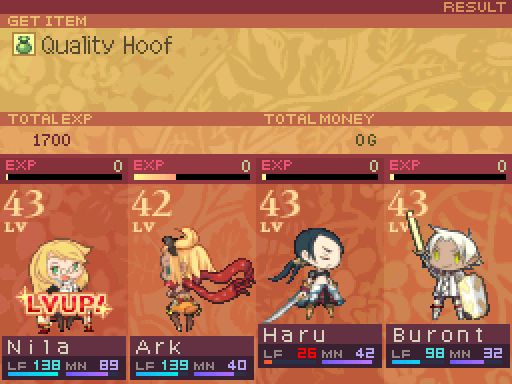
-Normal: Quality Hoof - 30% Drop Rate.
--Hoof of a Coldblood.
-Rare: Horse Meat - 15% Drop Rate. Kill with elemental damage.
--Horse meat. For carnivores. Increases Max MANA for the day.
Damage Multipliers:
Slash: 100% Blunt: 100% Thrust: 100%
Fire: 100% Ice: 100% Lightning: 100%
Skills:
Gale Whinny: Applies a 150% multiplier to everyone’s SPD on the user’s side for 5 turns. Has a speed modifier of 80%.
Backbite: Deals 130% melee ATK-based Blunt damage to one party member and has a 100% chance to inflict Stun. Has a speed modifier of 90%.
These things are assholes. Gale Whinny gives every enemy a massive SPD buff, essentially negating the bonuses from Nila’s Skanda’s Cloak, and gives them a good chunk of evasion as well. Not to mention they have Backbite to force your party members to move last. These are priority targets if possible.
Even though we’re underleveled, Buront is really keeping the party from getting pasted with his defensives.
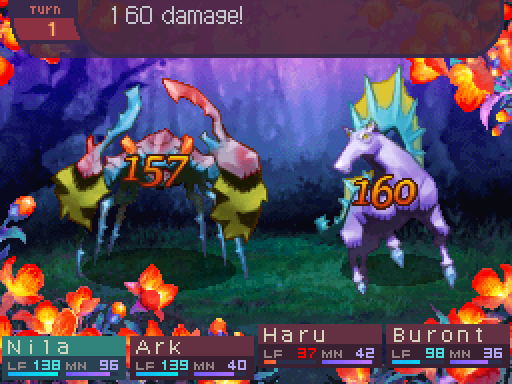
How sturdy are these stupid crabs!?
If the wildlife here is still standing after attacks like that, I am worried about our chances. Perhaps we should have taken Faro at her word some more.
I’m sure we’ll manage as long as we’re smart and careful about what we do. Hopefully. Truth be told I am a little worried seeing them stand up to Nila’s attacks.
Oh, it’s just a minor setback. If they’re still standing, hit them again! Nothing to it!
Yeah that thing survived a Dual Shot from Ark and a Boltstorm from Nila. The enemies here are kind of a hassle to take down, with the Giant Pincer being the strongest.
And Nila gets stronger as well after that.

More delicious INT increases.
Oh no.
Gramps! Ya alright?
I’ll... be fine. As long as I can still stand, there’s no need to fret over me.
Yeah that’s how hard they can hit without Buront defending us.

Black Llama
Level: 50
LIFE: 250
ATK: 124
DEF: 74
INT: 43
SPD: 53
Attack Type: Blunt
Enemy Type: Large Animal
Exp: 624
Gold: 50
Item Drops:
-Normal: Llama Offal - 30% Drop Rate.
--Organs of a Black Llama.
-Rare: Pasture Meat - 10% Drop rate.
--Livestock meat. For carnivores. Increases status defense for the day.
Damage Multipliers:
Slash: 100% Blunt: 100% Thrust: 100%
Fire: 100% Ice: 100% Lightning: 100%
Skills:
Do Nothing: Wastes a turn.
Insipid Orgling: Applies a 75% multiplier to the entire party’s ATK for 5 turns. Has a speed modifier of 80%.
Sad Voice: Applies a 150% multiplier to the party’s ailment susceptibility multipliers for 5 turns. Has a speed modifier of 80%.
Black Llamas are a bizarre trash mob. Insipid Orgling is a pretty annoying debuff to deal with, and Sad Voice looks like it would be an incredibly threatening debuff. Except not only do they rarely cast the skill, they also don’t really get paired up with enemies that can take advantage of it. Only a few enemies can capitalize on it, but such formations are rarity.
Most of the time you won’t even see them cast their skills. Frequently they’ll just end up doing nothing. What an odd enemy.
At the very least, they’re one of the new enemies we can instantly take out with Nila.
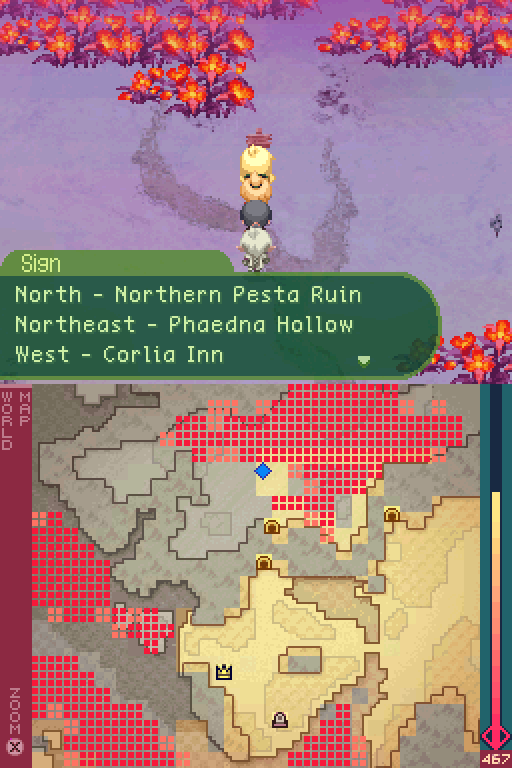
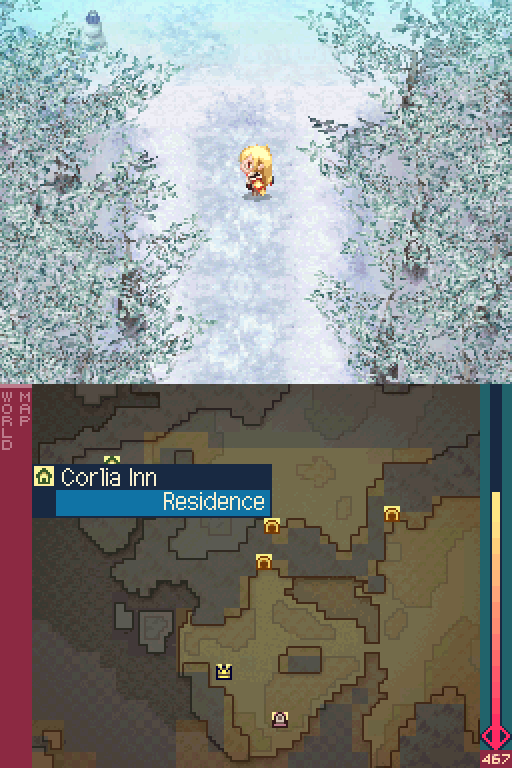
Ooh, an inn! I could use a rest after all that hunting and trampling! Stupid crabs...
Yes, I agree that would be a good idea. Especially with how big this part of the continent is. Oh no, I think I just reopened a wound. Blasted crabs.
Northern Pesta is directly north and is our destination. Phaedna Hollow is actually an optional dungeon you can go to help level up the party if you’re having trouble. But we’re not going there in this update.
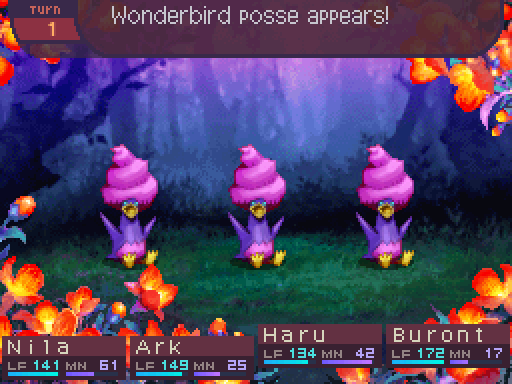

Wonderbird
Level: 50
LIFE: 270
ATK: 122
DEF: 75
INT: 52
SPD: 56
Attack Type: Blunt
Enemy Type: Small Animal
Exp: 631
Gold: 50
Item Drops:
-Normal: Buoyant Bladder - 30% Drop Rate.
--Bladder of a Wonderbird.
-Rare: N/A
Damage Multipliers:
Slash: 100% Blunt: 100% Thrust: 100%
Fire: 100% Ice: 100% Lightning: 100%
Skills:
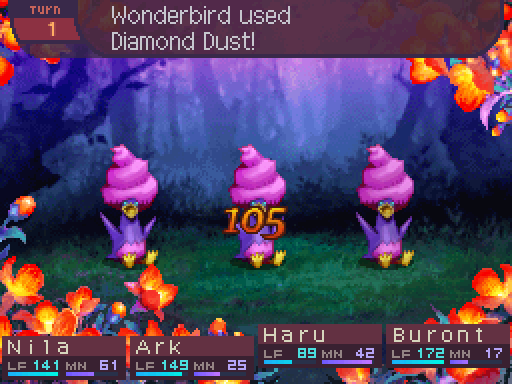
Diamond Dust: Deals ranged INT-Based Ice damage to all party members. Has a base damage of 45. Has a speed modifier of 80%.quote:
I wonder how those birds do their hair. Do they style it themselves, or is it just how they look all the time?
...Stella, are you seriously considering of asking them for hair styling advice?
Can you blame her? That hair looks fabulous!
I- do birds even have hair care products they can use?
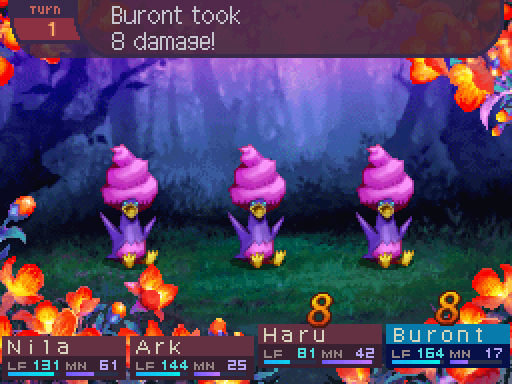
Wonderbirds are kind of weird enemies. Diamond Dust at this point is a really weak attack. Sure it’s AOE, but chances are it’s not gonna chip your party for that much damage. Their regular attacks hurt way more than Diamond Dust, even though they’re single target. Not really difficult enemies to deal with overall at any rate.
Nice bit of snowfall there. Not like there wasn’t enough of it in this region already.
Yeah.


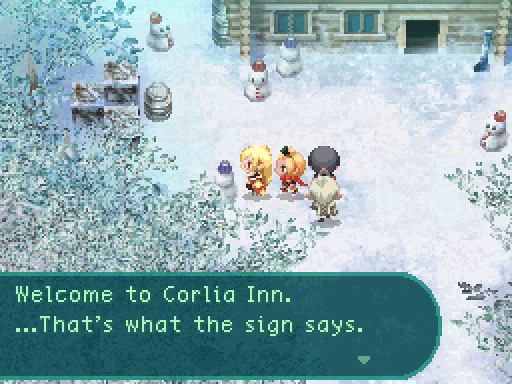
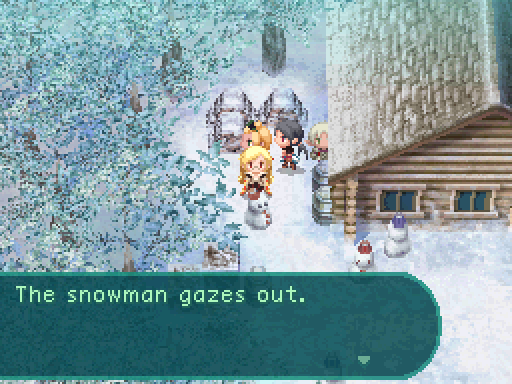

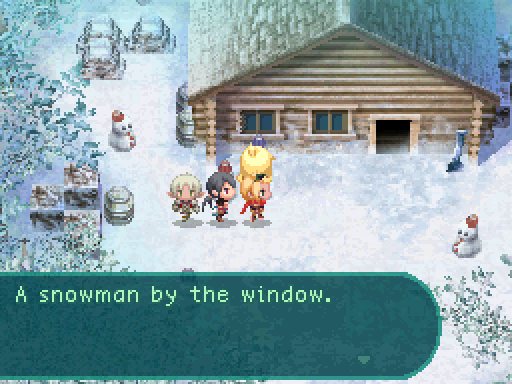


Adorable. I wonder who made all these?
If we go into the inn, we may find out.
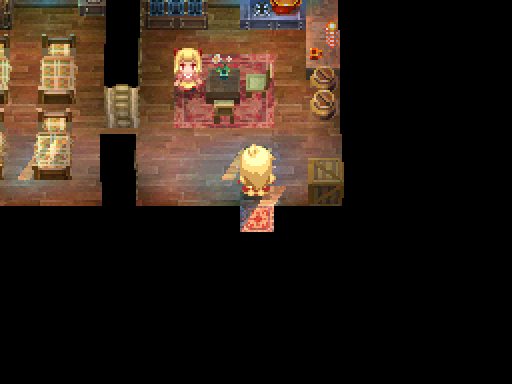

Oh don’t mind us too much, we just have a bit of business out here.
This is an inn, right? Would you mind us staying here until we’ve finished our job in this region?
 If you must, you may use the bed over there.
We thank you for your hospitality.

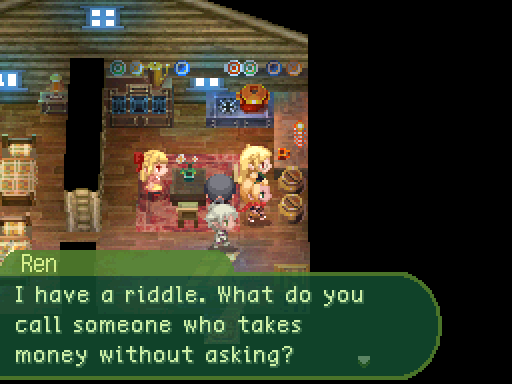
Eheheheh, sorry. Old habits are kind of hard to break.
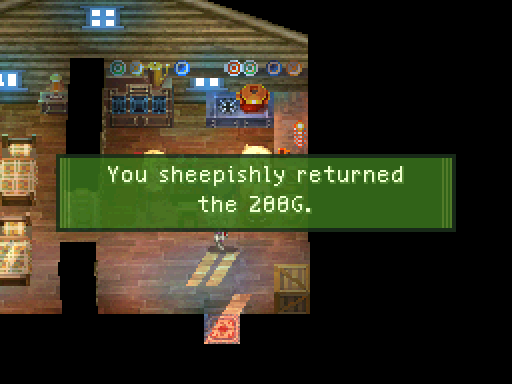
Probably my favorite fake item gag in this game. 


Wasn’t me that time.
Sorry. When you’re setting out for dangerous places, you can’t help but just... forage sometimes.


Heh heh, don’t think she noticed that!
Ark, that’s really not something to be proud of.


Good night.
Fortunately there’s an inn out here so you don’t have to head all the way back to Kazan in case you need to rest up. However, this inn doesn’t have a clinic, so if you’re out of Hypno Crystals, you’ll have to head back to the Kazan inn to revive any dead party members.

Time to head out.

Ribi
Level: 49
LIFE: 260
ATK: 125
DEF: 70
INT: 52
SPD: 56
Attack Type: Blunt
Enemy Type: Small Animal
Exp: 582
Gold: 49
Item Drops:
-Normal: Venom Sac - 30% Drop Rate.
--Poison gland of a Ribi.
-Rare: N/A
Damage Multipliers:
Slash: 100% Blunt: 100% Thrust: 100%
Fire: 100% Ice: 100% Lightning: 100%
Skills:
Oblivion Song: 30% chance of inflicting Skill Seal on the entire party. Has a speed modifier of 90%.
Ribis are a priority target because they can inflict the dreaded Skill Seal ailment on you. Either take them out fast, or defeat them last when it’s too late for the Skill Seal to matter.
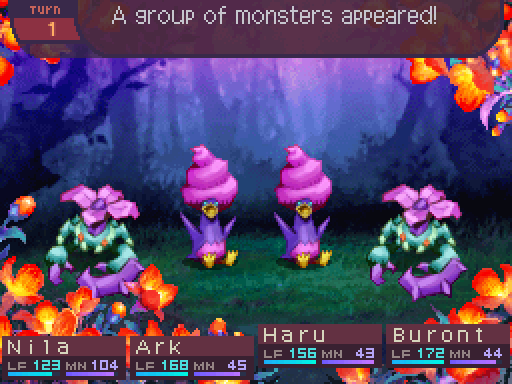
Am I seeing things correctly? Is the Bloom growing out of that crab!?
How unfortunate. That poor crab has likely completely lost its mind and senses to it.
To think the Bloom could do something like that...
That’s just gross! Let’s just kill it and get outta here before it does the same to anything else!

Bloomcrab
Level: 48
LIFE: 280
ATK: 127
DEF: 78
INT: 50
SPD: 54
Attack Type: Blunt
Enemy Type: Large Animal
Exp: 763
Gold: 48
Item Drops:
-Normal: Crab Flower - 30% Drop Rate.
--Parasite growing on a Bloomcrab.
-Rare: Crab Meat - 20% Drop Rate. Don’t cast any spells in the entire battle.
--Crab meat. For carnivores. Increases defense for the day.
Damage Multipliers:
Slash: 50% Blunt: 50% Thrust: 50%
Fire: 200% Ice: 200% Lightning: 200%
Skills:
Clean Guard: Applies a 50% multiplier to everyone’s elemental damage multipliers on the user’s side for 5 turns. Has a speed modifier of 80%.
And here’s the last of the new enemies in this region, and another enemy that can be encountered on the northern seas. Bloom Crabs are basically there to make a Mage’s life miserable unless they have Skyfall. Clean Guard will halve any elemental damage, though Bloom Crabs themselves are ironically weak to elemental attacks. If your Mage is quick on the ball with taking them out, they should be able to take out the rest of the encounters unimpeded.
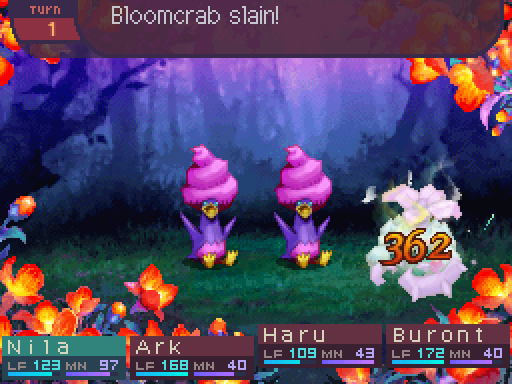
Fortunately thanks to Nila’s Skanda’s Cloak, she exterminates them easily.


A level up is welcome, though it’s not one Ark can do anything with.
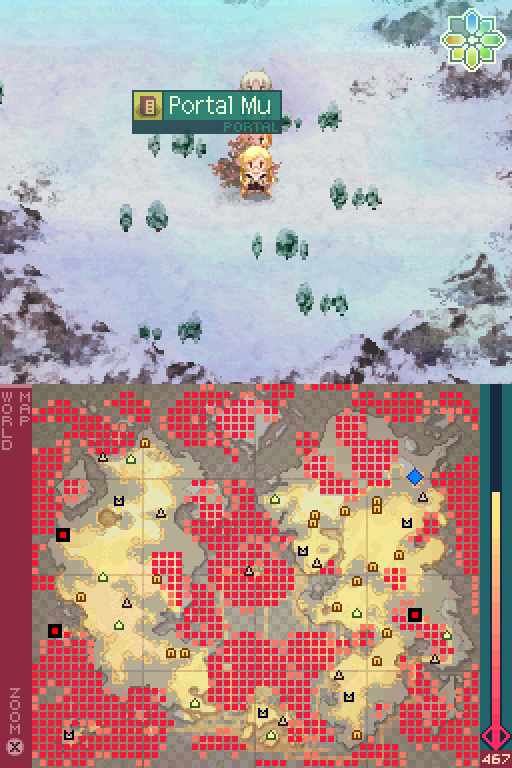
If we keep heading east, we’ll eventually find the next portal.

Only 2 portals left to find.
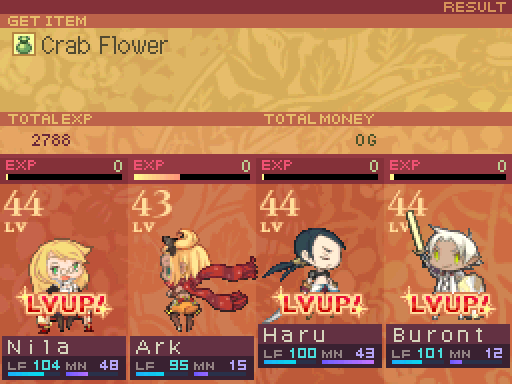
I killed so many enemies in my Bloom trampling rampage that 3 of my party members got a level up.
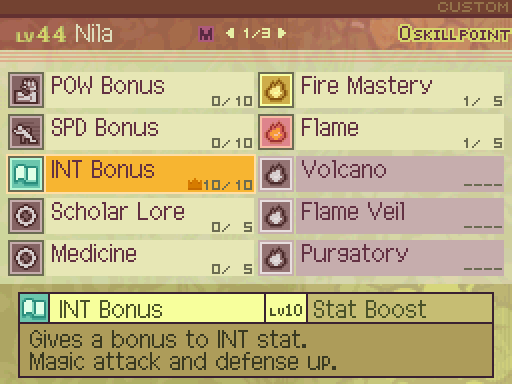
Nila got all the INT she could get from this bonus.

Haru couldn’t afford anything I wanted, but Buront was able to level up Guardian. Now it reduces damage by 29%.
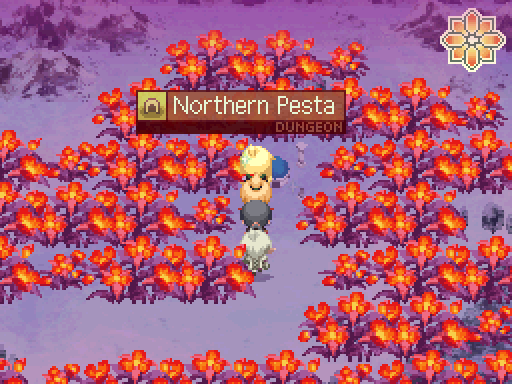
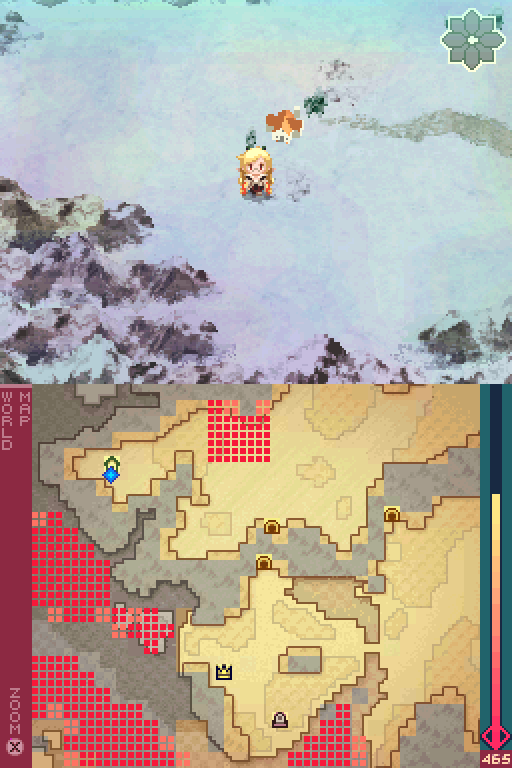
Northern Pesta is located here, though I don’t want to go inside quite yet, as I really want to clear the Bloom out of this continent.

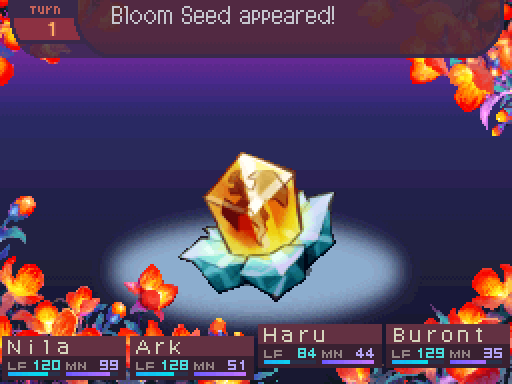
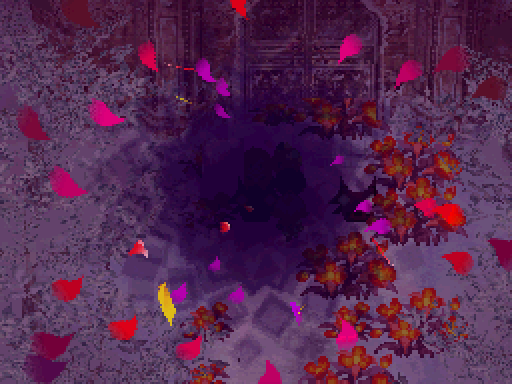
MINE!
Oh hello there.
I’ll just reap what you sowed, thank you very much.
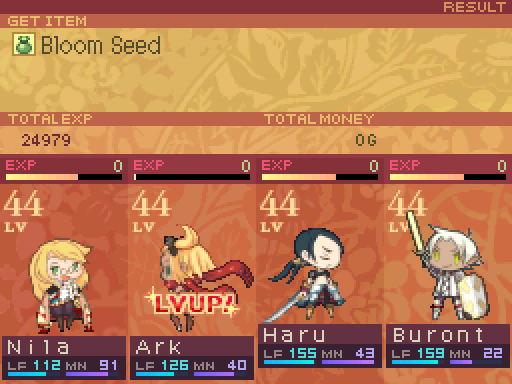
Bloom Seeds are one of the few things that make lawn mowing continents worthwhile.

Ark is about to hit her power ceiling quite soon.
I’m not even winded!
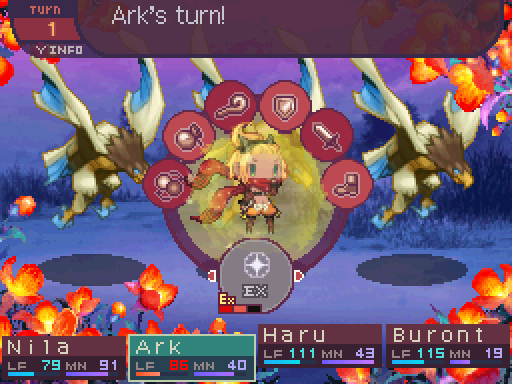
Eventually I got tired of fighting all these monsters, so here’s a handy little thing you can do if you ever find yourself in a pinch.
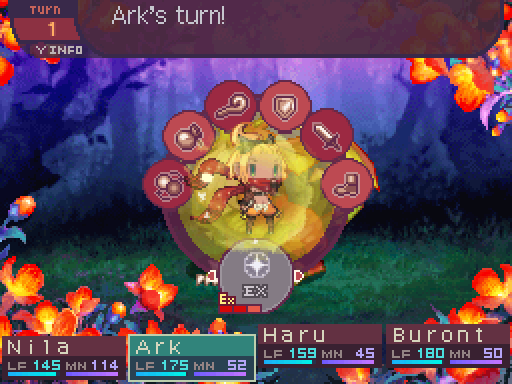
First, pop EX.
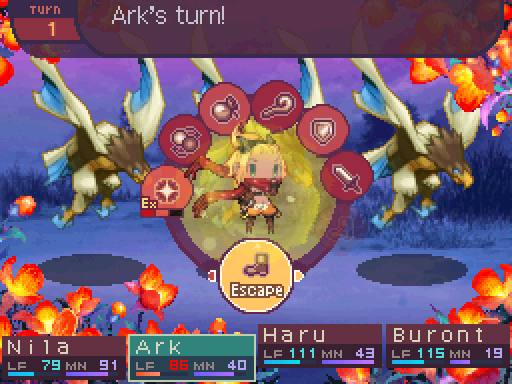
Then escape.
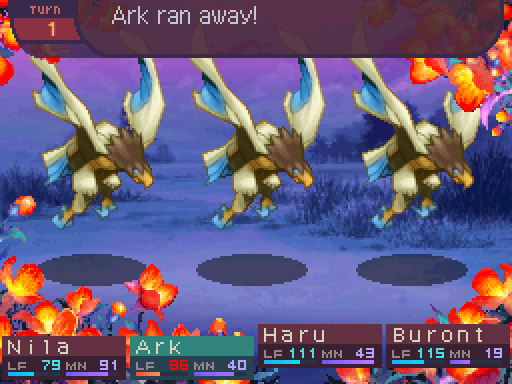
I’m a freakin’ blur here!
EX heavily boosts escape rates, though it’s not guaranteed to let you do so. Still, it’s a handy interaction to keep in mind for sticky situations.
Not only that, you can have everyone queue up EX boosted Escape attempts, and it only eats up the EX of party members who failed or successfully escaped. All the party members that didn’t get a chance to initiate the escape will still have their EX, letting you use it for another time. You don’t have too much to lose by mass queuing EX Escapes like that if you’re just looking to get out of the area for any reason.
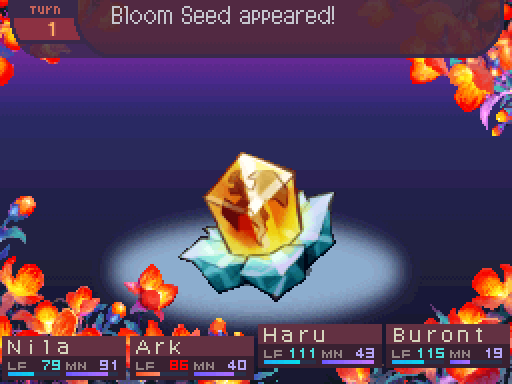
Lawn mowing continents takes a lot of time (this entire session took 2 whole hours. Yeah I cut out a lot so you don’t have to view all that) but Bloom Seeds are always a welcome sight.
I’ll pretty much take any boosts I can get, as that makes us less underleveled as time goes on.
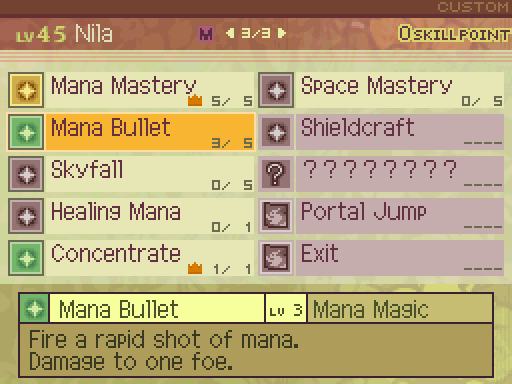
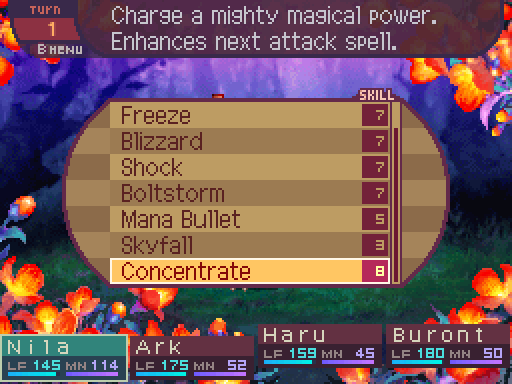
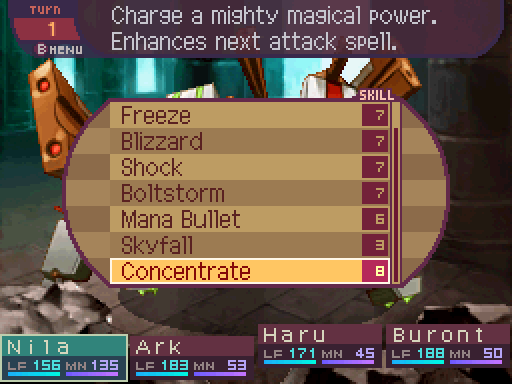
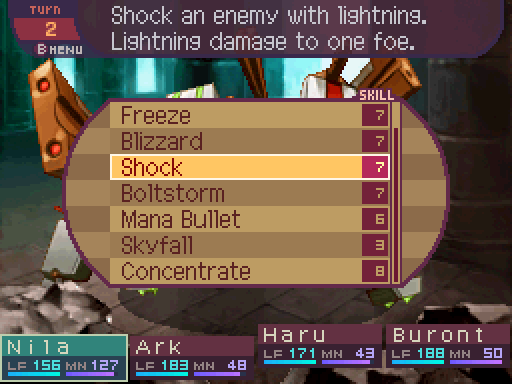
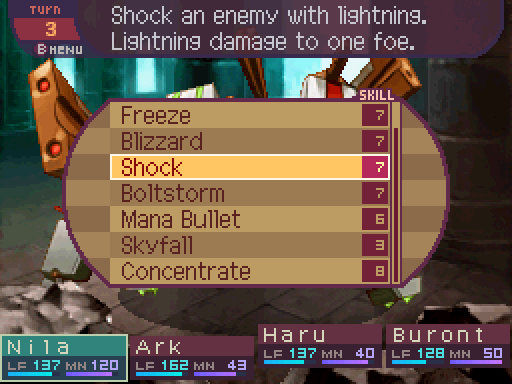
Mana Bullet hasa spell power of 315%, while having a damage multiplier of 170%. Which is real nice and all, but getting it to level 3 unlocked the real prize, Skyfall.

Haru is halfway to maxing out how POW gains.
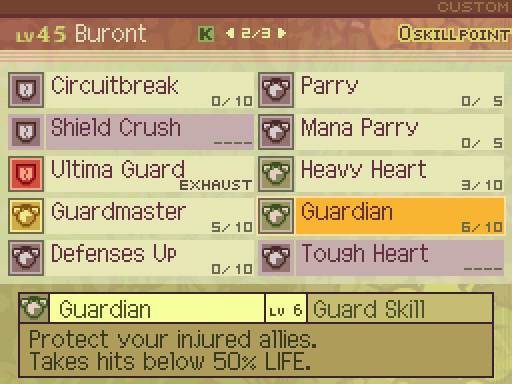
Guardian now reduces damage by a whopping 35%.
Several minutes later, I find yet another Bloom Seed to kill.
For once, everyone got a level up at the same time!

You can’t run from heaven!
This skill is a big pickup for Nila. It’s an AOE spell that deals non-elemental damage to all enemies, ensuring that there’s absolutely no fight she can’t contribute to from now on. At level 1 it has a spell power of 220% and a damage multiplier of 150%.
Ark almost has this capped out.

Haru is just over halfway there.

I got tired of going back to other towns to buy supplies, so I started leveling up Buront’s INT so he too can gain access to Cure II, saving us a lot of money and time on treks.

Right over here is Phaedna Hollow. Like I said earlier, it’s an unrelated side dungeon you can explore to get stronger and whatnot. It’s not of interest to us for now, I’m just pointing out it exists here.
And with that, I’ve pretty much liberated all of the northern part of the eastern continent.
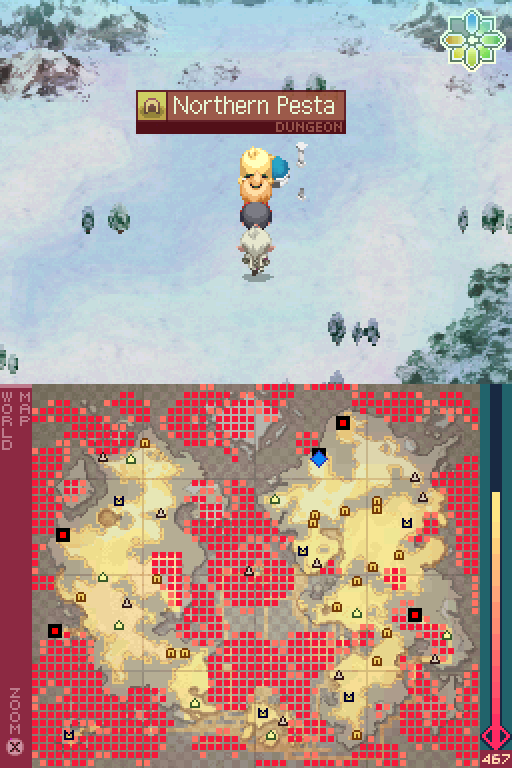
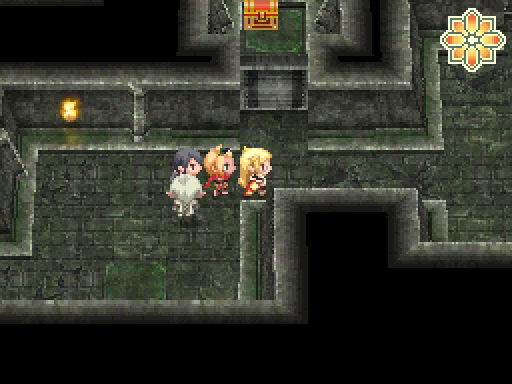
With all that finally done, let’s head into Northern Pesta.


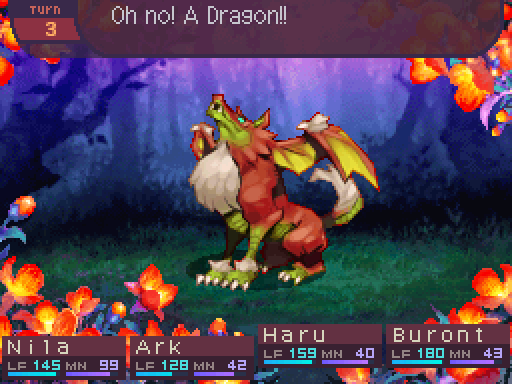
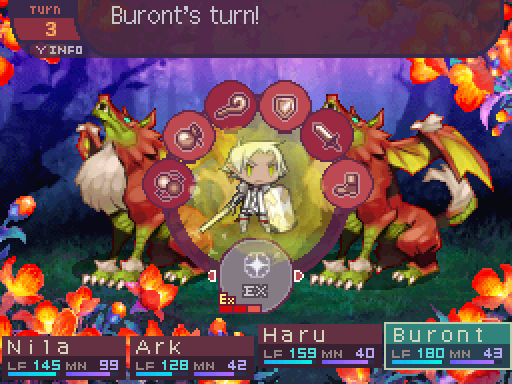
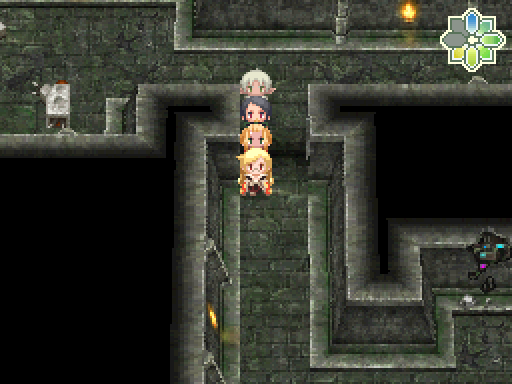
Right here you can see 2 dragons at the entrance. They’ll look around, and if they see us, they’ll get aggressive and try to chase us down. Though they’ll never look up, so you can’t get an easy preemptive that way.
Hmm. It doesn’t look like they’re planning on moving from there. Any ideas?
I think I got one. It’s the perfect plan.
Hmm, I see. Uh huh? Oho, sounds good to me!
Erm, granted I don’t see any other options, but surely-

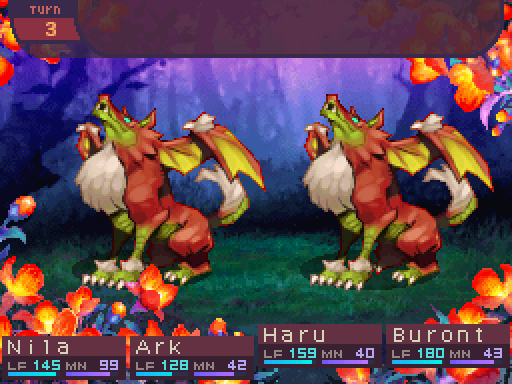
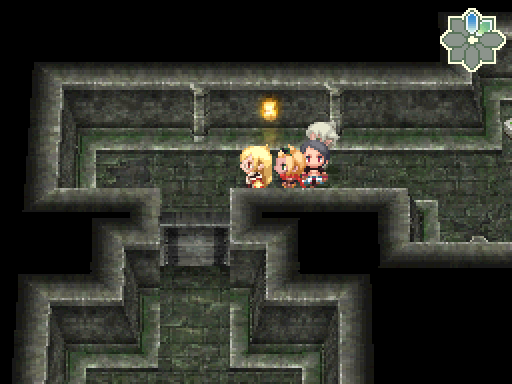
CHAAAARRR-
RRRGGE-
Gah! We overshot!
Uhhh... Go for the sneak attack!
BEHOLD OUR POWER OF SURPRISE!
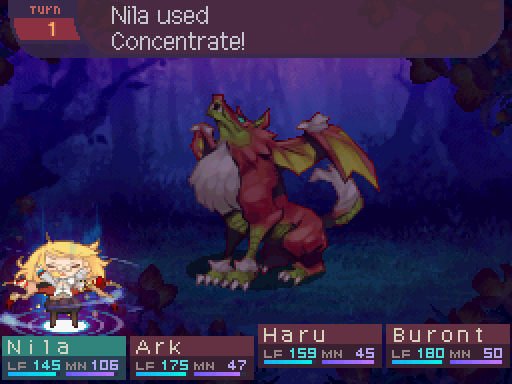
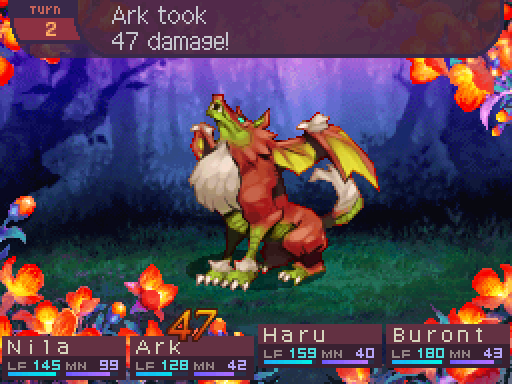
I’m surprised that even worked. I wasn’t even trying to go for the preemptive, instead just opting to take them head on. But as luck would have it, I got a free preemptive.
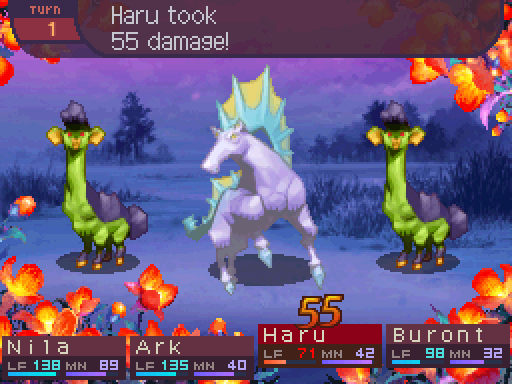
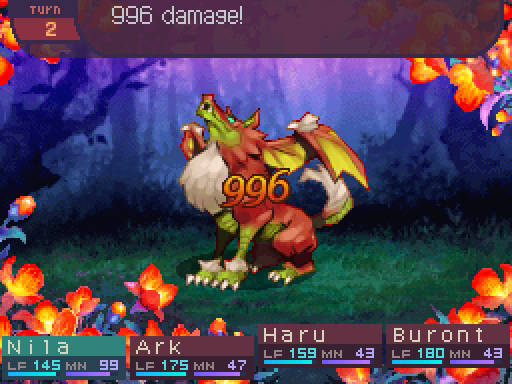
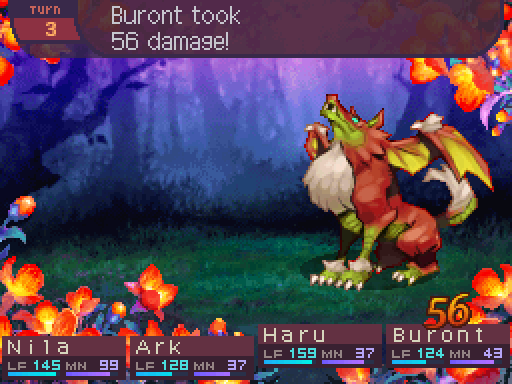
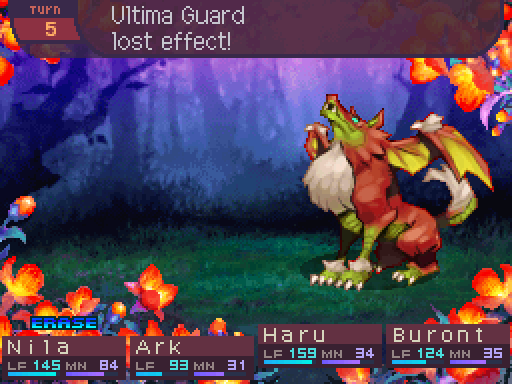
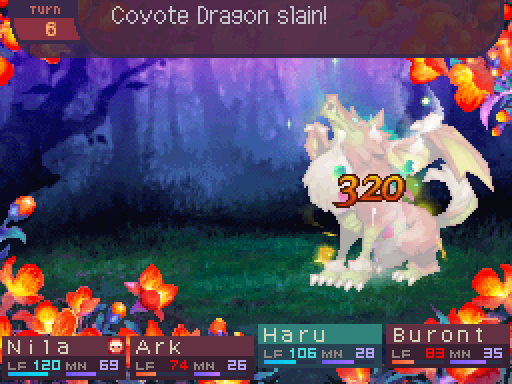
 Video: Double Coyote Dragon


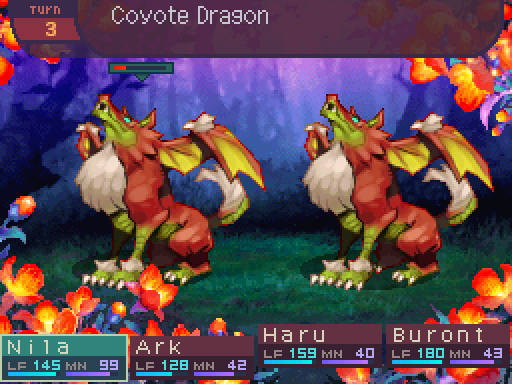
I- You know what, I’m not going to question that. As long as we have the upper hand, I should be grateful.

Coyote Dragon
Level: 48
LIFE: 3300
ATK: 165
DEF: 90
INT: 70
SPD: 67
Attack Type: Blunt
Enemy Type: Dragon
Exp: 10800
Gold: 144
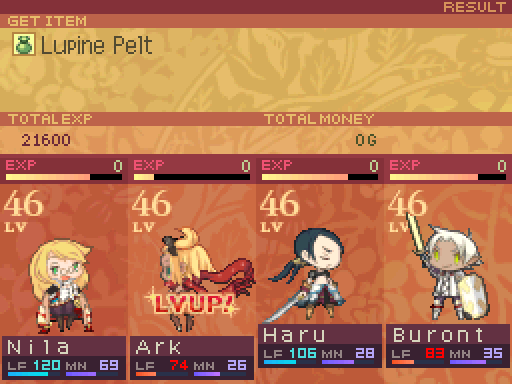
Item Drops:
-Normal: Lupine Pelt - 30% Drop Rate.
--Fur of a Coyote Dragon.
-Rare: Dragon Filet - 15% Drop Rate.
--Medium dragon meat. For carnivores. Increases intelligence for the day.
Damage Multipliers:
Slash: 100% Blunt: 100% Thrust: 100%
Fire: 100% Ice: 100% Lightning: 100%
Ailment Susceptibility:
Death: 10% Masked Pain: 100% Skill Seal: 25%
Fear: 25% Curse: 50% Bleed: 25%
Poison: 50% Sleep: 25% Confuse: 25%
Paralysis: 50% Blind: 25% Stun: 100%
Skills:
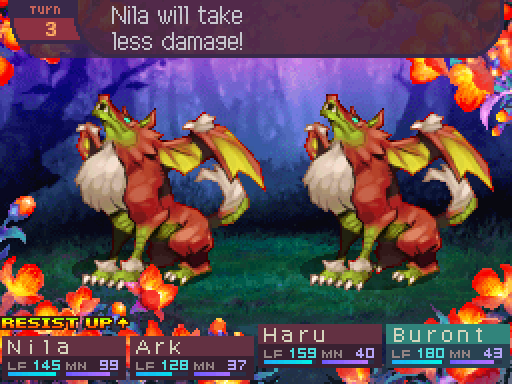
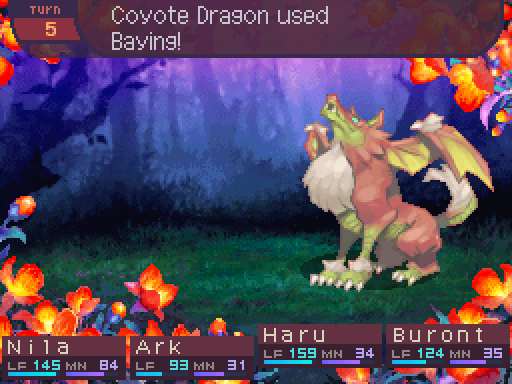
Baying: Applies a 120% multiplier to the entire party’s physical damage multipliers for 5 turns. Has a speed modifier of 80%.
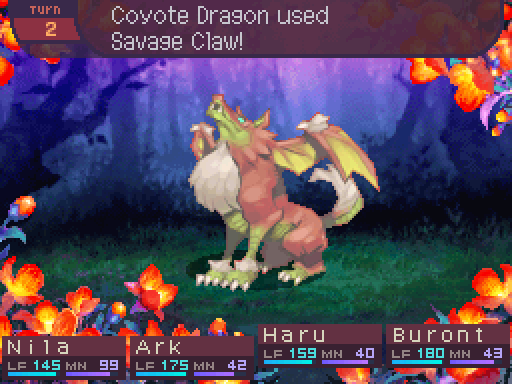
Savage Claw: Deals 120% melee ATK-based Slash damage to one party member. Has a speed modifier of 90%.
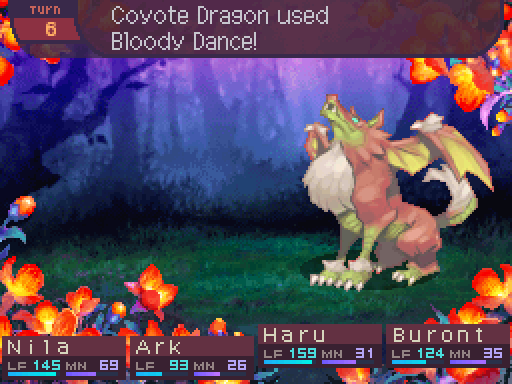
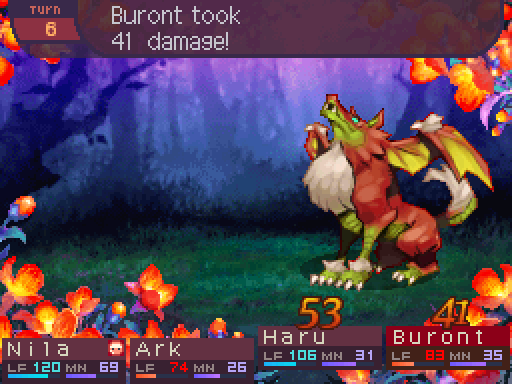
Bloody Dance: Deals 80% melee ATK-based Blunt damage to the entire party. Has a 40% chance to inflict Bleed. Has a speed modifier of 80%.
Coyote Dragons are pretty resilient and powerful foes. Overall they’re stronger versions of Wolf Dragons, though Claw and Fang got swapped out for the weaker Savage Claw. Which is basically the same attack, only Savage Claw doesn’t have the ATK debuff, so they can’t draw out the fight that way.
The real threat is having to deal with 2 of them at once because they’re so close to each other, ramping this fight up to basically miniboss status. You can actually mitigate this by grabbing the aggro of only one of the dragons and luring it as far away from the other Coyote Dragon as much as possible to delay or avoid the possibility of a double dragon fight.
As for me, I just charged in straight in because I thought it would be more fun that way. 
The other Coyote Dragon is 2 tiles away from us, so it’ll join in after 2 turns. During this time, I want to damage this dragon as much as possible so I can take it out quickly when the 2nd dragon finally joins in.
You morons are about to catch a real beatin’.
Normally I don’t want to be using up EX right away with Ark due to the accuracy penalty Bows have, but I really want to burst down this Coyote Dragon as much as possible.

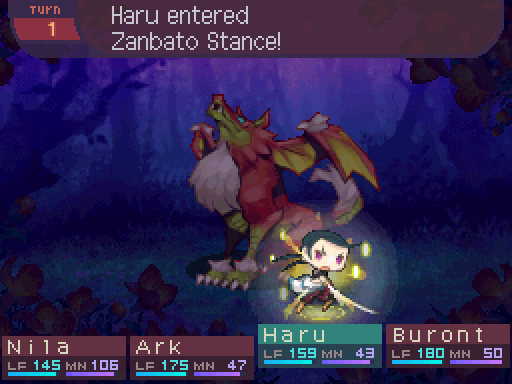
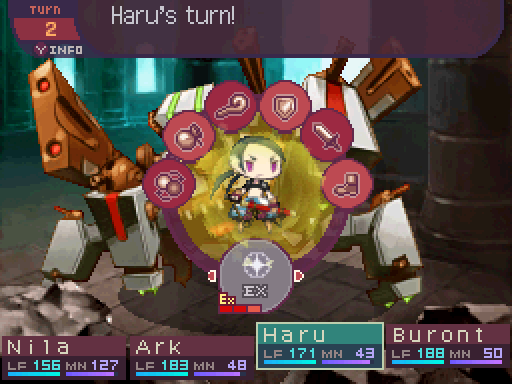
The preemptive gave Haru all the time he needs to set up, so this is real beneficial for him.
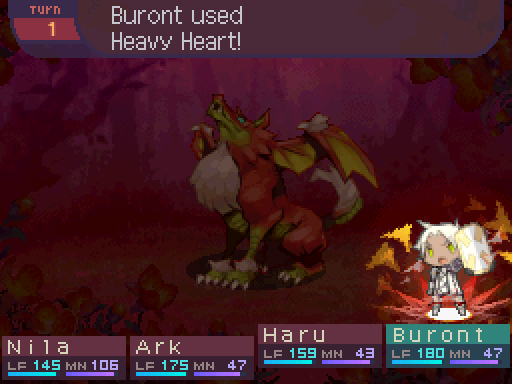
And I’ll have Buront increase his defenses because why not? Not like he can do anything meaningful on this turn anyways.
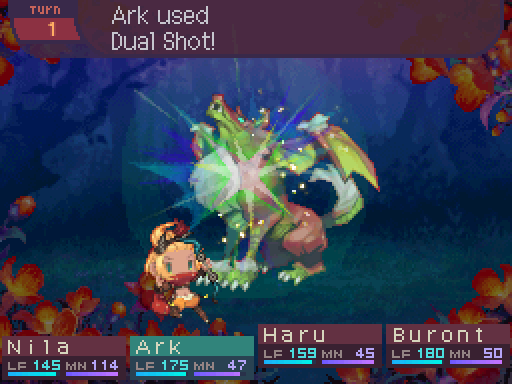
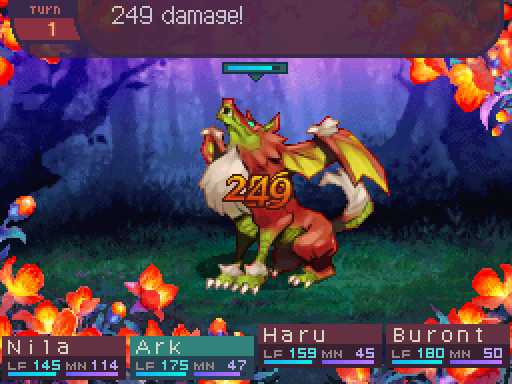
Bang bang! I make it look easy!
Hurry, before its friend gets here!
Now now, you can’t rush destruction, Ark.
Indeed. Even in times of crisis, sometimes it may be best to take things slow.
I shall hunker down!
Ya might wanna hurry up there, Nila!
Patience, Ark. The payoff will be worth it, trust me.

Time to unleash Nila’s destructive powers.
Fear not, Ark. For we’re both ready to go.
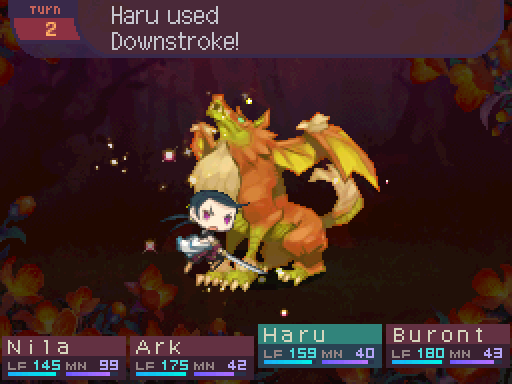
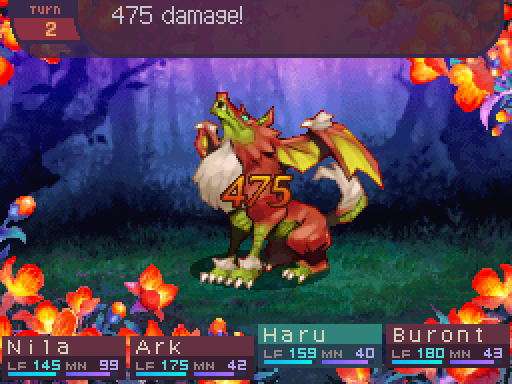
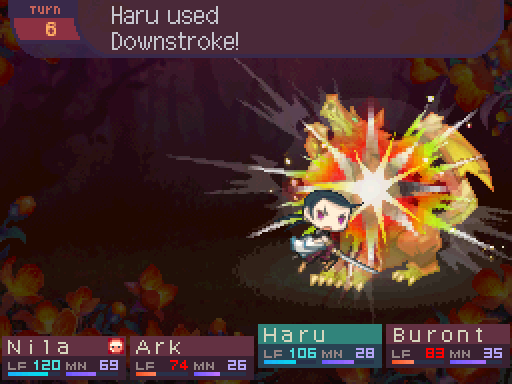
And Haru’s offenses as well.
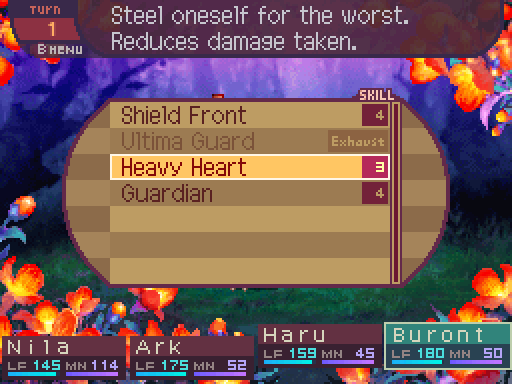
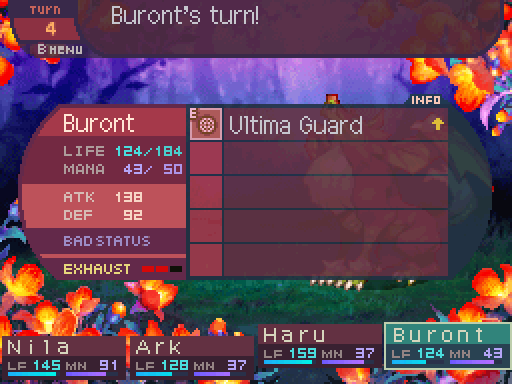
I’ll have Buront utilize Shield Front for now. I considered using Ultima Guard, but its duration is fairly short, so I didn’t want to blow it too early.
See? What did I tell you?
Don’t count me out, either!
Hey hey! Get this giant dog offa me! Oh nonono, not the face!
If Savage Claw kept that debuff from Claw and Fang, that would have harshly cut down on Ark’s offenses right there.
Oh dear, this sure isn’t optimal.
It’s okay! I don’t think that one can stand for much longer.
Even so, you can never be too careful!

This is why I was waiting to use Ultima Guard. In case the beat down Coyote Dragon gets an attack off, this should take a lot of sting out of the attacks.
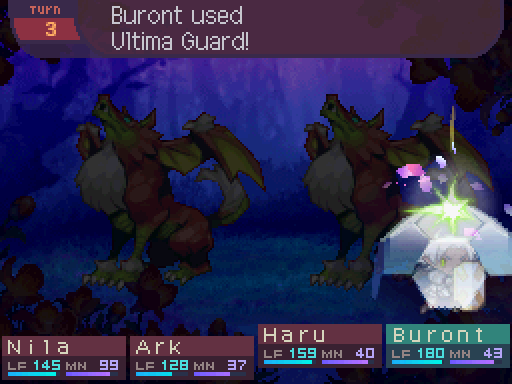
Behold! A painless, perfect defense!
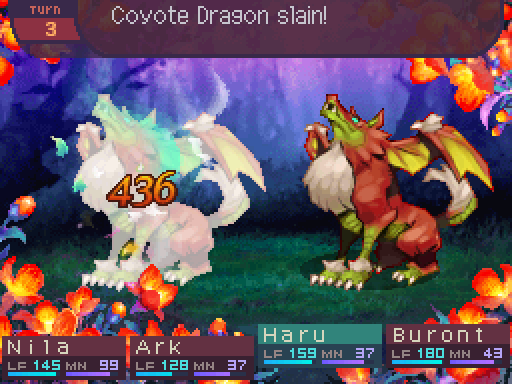
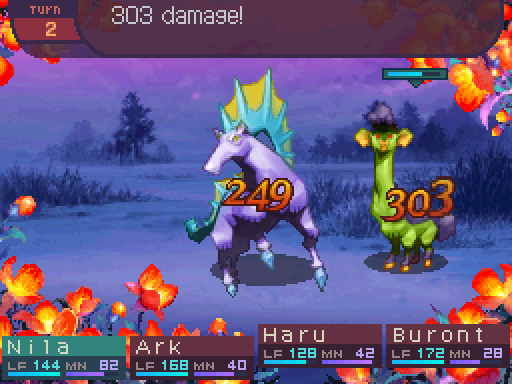
Sorry little dragon, I’m afraid you were too late to provide reinforcements!
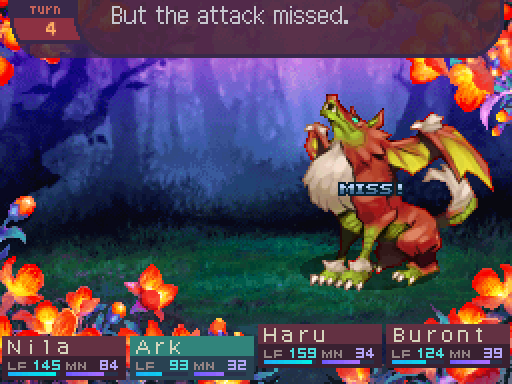
Fortunately Haru managed to snipe the Coyote Dragon before it could get an attack in. We’re basically in the clear now.

A feeble attempt at vengeance!
This was without Shield Front in play, so with that active, the damage should drop to pitiful amounts.
Though I realized because Heavy Heart and Ultima Guard are both resistance buffs, they don’t stack. Whoops!
Oh, this ain’t good.
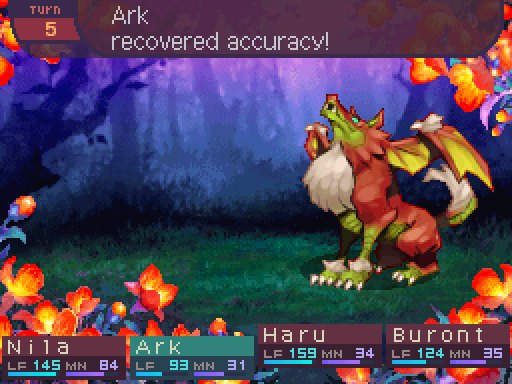
Unfortunately, Ark has fired a total of 8 arrows, so her accuracy is starting to tank hard. Especially since the Coyote Dragon is actually a good deal stronger than our party statistically.
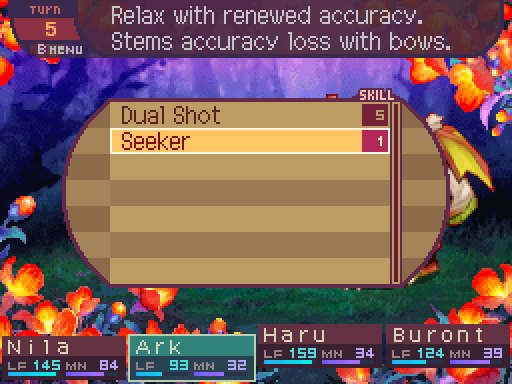
I’m forced to cast Seeker here unless I want Ark to be dead weight.
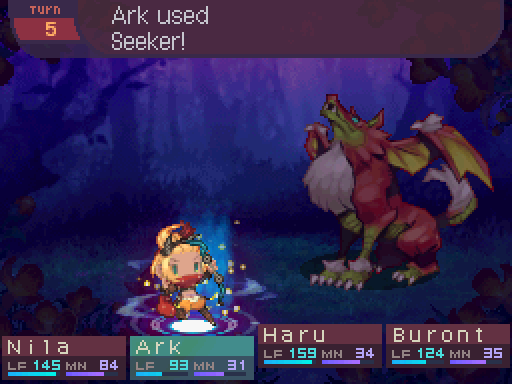
Okay. Calm down, and relax. Just re-nock those arrows like it’s nothing.
Hahahaha! Oh did you really think that would help you?
Ultima Guard was gonna wear off on this turn anyways, so all that accomplished was wasting a turn!
Huh. I didn’t know my body had this much blood in it. Fascinating.
I think you’ll find that your meager attempt at revenge was not worth it. Oh don’t give me that look, it’s too late for regrets.
Got slightly hairy there, but thanks to good usage of defensives and a lot of offensive prowess, I was able to get through that fight just fine.
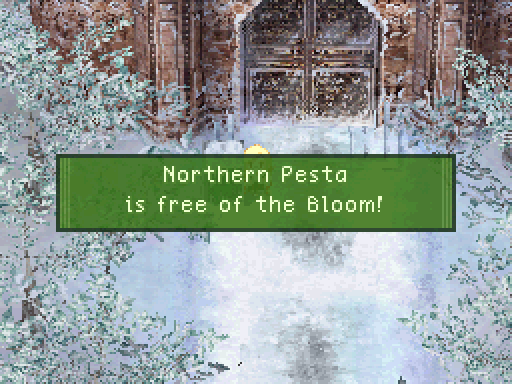
HUH!?
W-was that truly it? Ha, well I suppose that’s a relief!
Oh my goodness, my feet are crying out for joy! We can finally take a break from all that flower trampling!
I guess they couldn’t get inside? Kind of a shame. Here I was looking forward to doing some pest control, and the job is already done for us!
At the very least, our task should be far easier if we don’t have to worry about the dragons or the Bloom!
Yeah so the reason why that dragon fight basically amounted to a miniboss encounter was because they were the only dragons in the area. For once, we get a dungeon without much to worry about. Though there is kind of a reason for that.

I think this is where Faro said we can use the Stiff Disk again... Oh!

A beeping sound is heard.
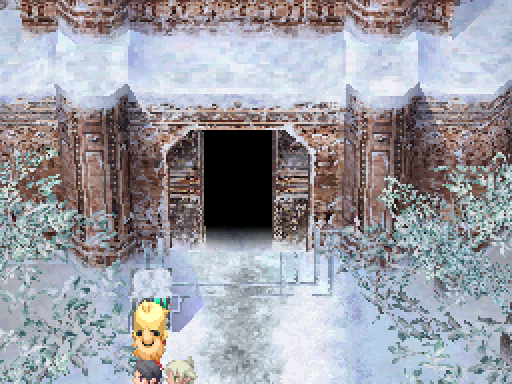
That takes care of that, shall we get going?
I’m amazed you have the gall to say that after the beating we took from those Coyote Dragons.
Yeah, gramps, come on! We could all use a rest here.
Even though this place is free of dragons, it wouldn’t do us any good to push ourselves too far.
Ha ha. Okay, you’ve all made your point. Shall we head back to that inn, then?
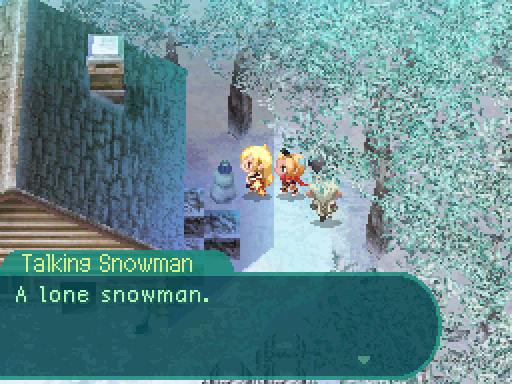
Incidentally...

How curious.
There’s a secret passage through the trees here that leads to an empty spot. But there’s nothing here for us.

One inn rest later...
OH COME ON!
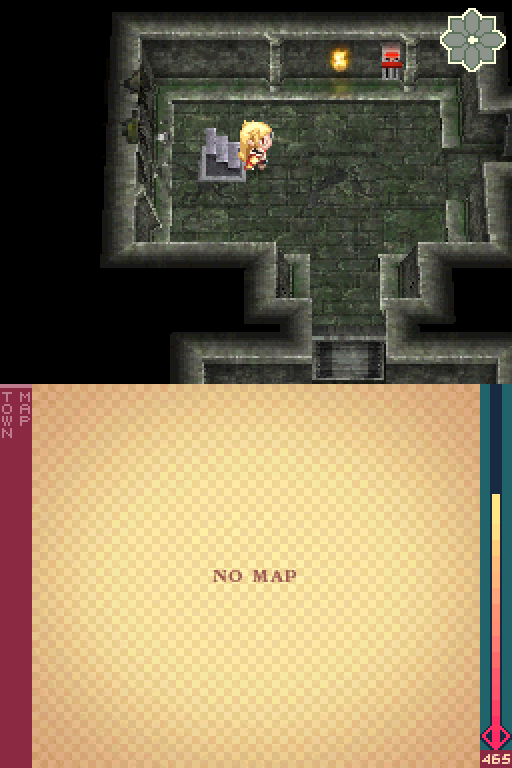
Incidentally certain places without a map and just display the world map on the bottom screen just blot out the Bloom until you leave the place. So if the Bloom regrew, you won’t find out until you enter the world map. One trampling and yet another inn rest later...

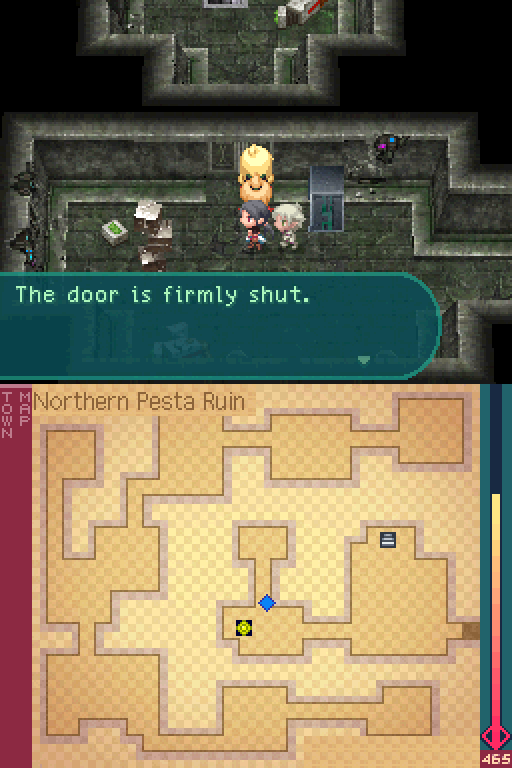
Okay, time to enter the Northern Pesta Ruin.

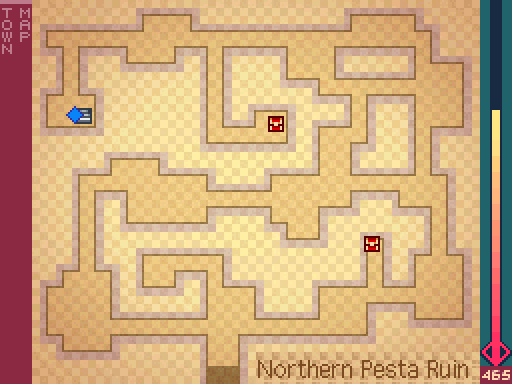
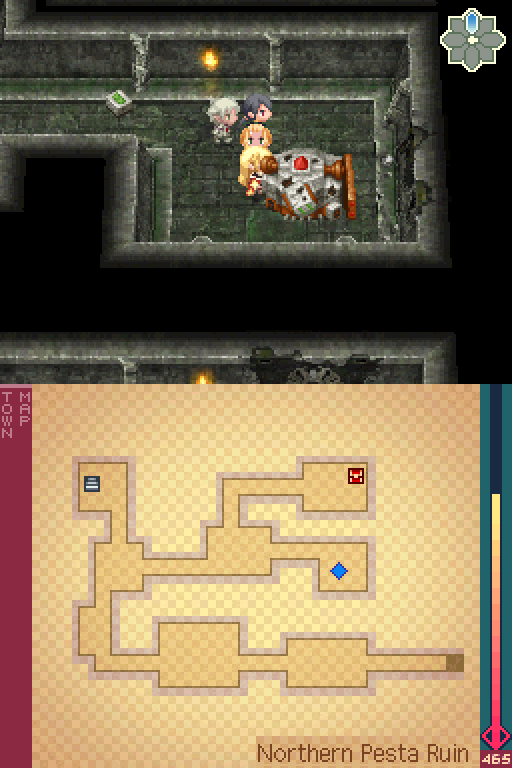
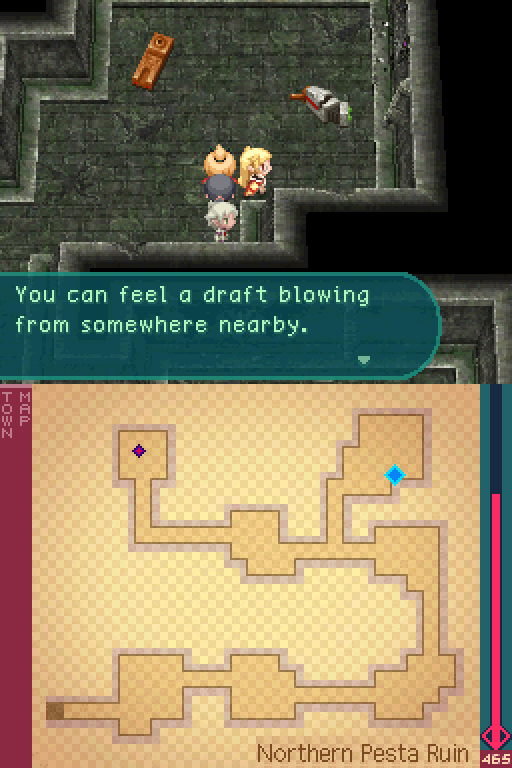
We don’t end up getting the map for quite a while, but here’s a map of this place right now.
Is something wrong, Nila? You’ve been staring quite closely at the walls and floors for a while now.
It’s just... Even when the Bloom goes away, there’s usually some tiny bit of evidence they were there. But here, I can’t find any trace of it at all. No root marks, no leftover petal fragments or particles either.
There must be some high quality security around here if even the dragons nor their Bloom couldn’t enter this place.
Just what are they keeping in here?
An interesting thing to note is that even if you open the door and zip past the Coyote Dragons without defeating them, or you activate a Bloom Seed inside the Ruin, the Ruin itself will never have any Bloom tiles in it. It is completely and entirely Bloom free.
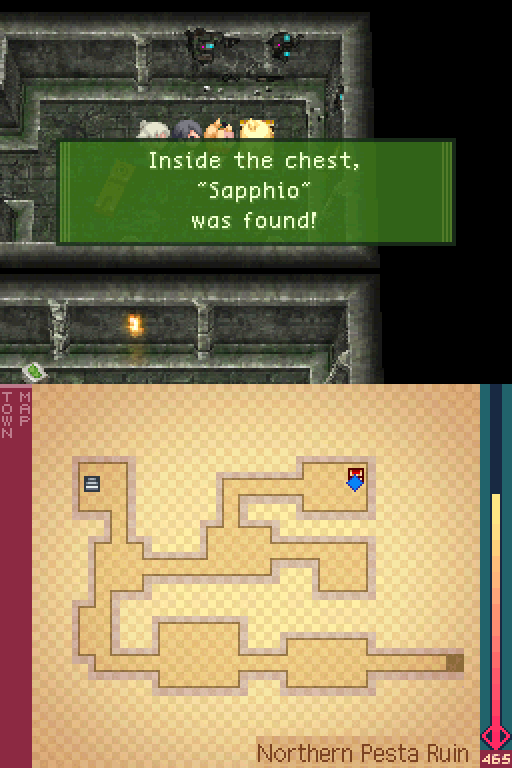
There’s a chest behind a gate we can’t get to at the moment.
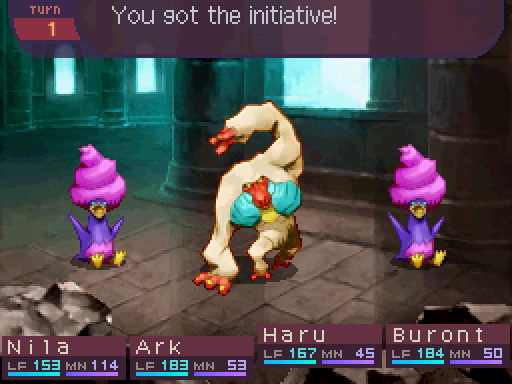
The ruin has its own set of new enemies to deal with.

Dancing Monkey
Level: 51
LIFE: 330
ATK: 135
DEF: 82
INT: 65
SPD: 63
Attack Type: Blunt
Enemy Type: Large Animal
Exp: 867
Gold: 51
Item Drops:
-Normal: Curved Bone - 30% Drop Rate.
--Bone of a Dancing Monkey.
-Rare: N/A
Damage Multipliers:
Slash: 100% Blunt: 100% Thrust: 100%
Fire: 100% Ice: 100% Lightning: 100%
Skills:
Icicle Toss: Deals ranged INT-Based Ice damage to one party member. Has a base damage of 90. Has a speed modifier of 80%.
Excited Charge: Applies a 120% multiplier to everyone’s ATK on the user’s side for 5 turns. Has a speed modifier of 80%.
Dancing Monkeys are more sturdy than the Whitewings and hit a bit harder, but unlike them, they don’t tend to come in groups, so a bunch of formations with them in it are a lot easier to deal with in comparison. Though Excited Charge can make certain formations more dangerous, but how much so depends on the formation.
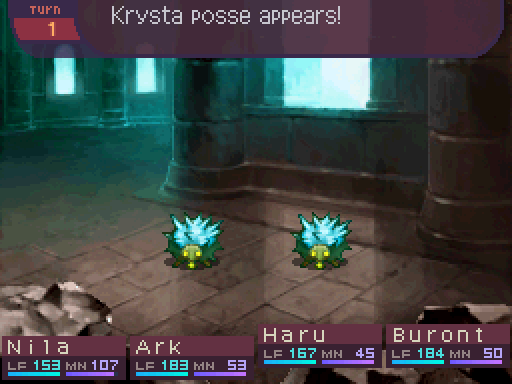

Krysta
Level: 51
LIFE: 240
ATK: 125
DEF: 73
INT: 56
SPD: 55
Attack Type: Thrust
Enemy Type: Small Animal
Exp: 693
Gold: 51
Item Drops:
-Normal: Thick Needle - 30% Drop Rate.
--Needle of a Krysta.
-Rare: N/A
Damage Multipliers:
Slash: 100% Blunt: 100% Thrust: 100%
Fire: 100% Ice: 25% Lightning: 100%
Skills:
Needle Shower: Deals 80% ranged ATK-Based Thrust damage to the entire party and has a 30% chance to inflict Bleed. Has a speed modifier of 80%.
These things are pathetic. You don’t have a counter skill to worry about and Needle Shower hits for a minor amount of damage. Oh and a small chance to be inflicted with one of the least impactful ailments a player unit could be struck with, I guess that’s something.
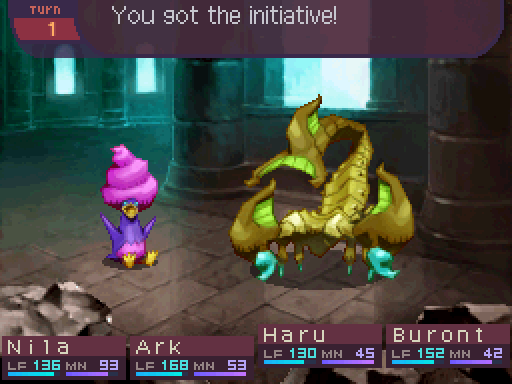

Fantail
Level: 50
LIFE: 475
ATK: 155
DEF: 83
INT: 54
SPD: 58
Attack Type: Thrust
Enemy Type: Large Animal
Exp: 1006
Gold: 50
Item Drops:
-Normal: Deadly Poison - 30% Drop Rate.
--Poison of a Fintail. [sic]
-Rare: N/A
Damage Multipliers:
Slash: 100% Blunt: 100% Thrust: 100%
Fire: 100% Ice: 100% Lightning: 100%
Skills:
Deadly Spines: 15% chance of inflicting Instant Death on one party member. Has a speed modifier of 70%.
And the last of the new enemies in the Ruin. This one is by far the most deadly of the bunch. It’s sturdy, hits hard, and can instantly kill your party members in a region where you don’t have access to clinics. Better have a few Hypno Crystals on hand, just in case.
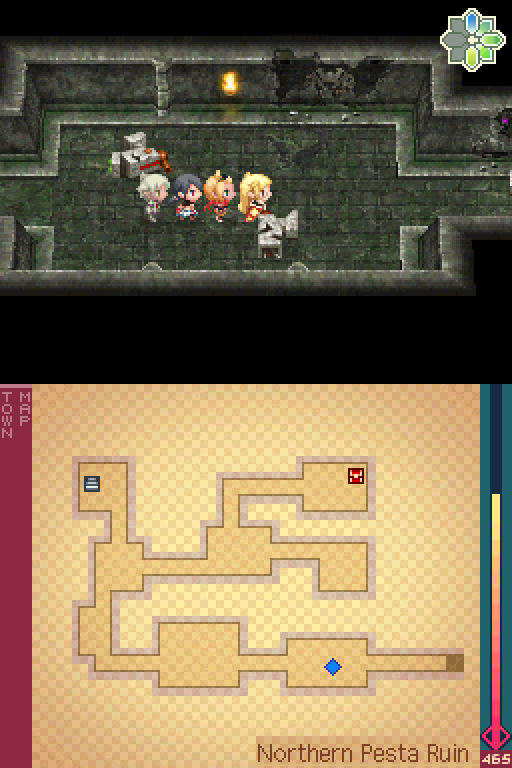
Up here is a switch.
Interacting with it opens up some gates.
However, any open gates close as well. Yeah this area has door switch puzzles. At least there’s no Bloom to get in the way of that.
Here’s a more detailed map of the place. The black tiles are switches that control the doors. All the red gates are closed when you first enter this place, and the switches open up all the red gates, but will close down all the blue gates. The same goes for the other way around.

Another set of level ups. They’re coming rather quickly since we’re considered underleveled for the current area.
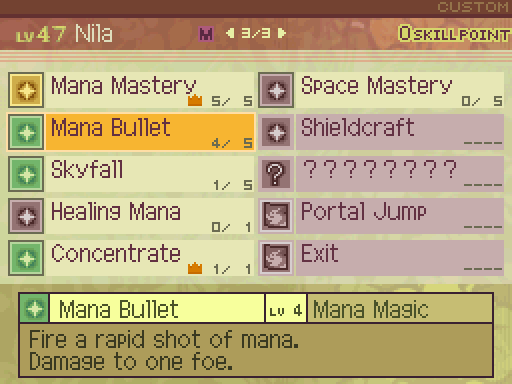
Mana Bullet now has a spell power of 335% and a damage multiplier of 180%.

Haru needs another SP before he can level up POW Bonus again, but Buront can now finally start learning Cure II.
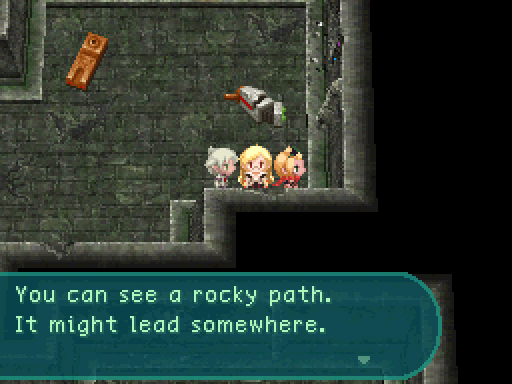
If we keep on heading north, there’s a corridor we can go into.

That leads to a treasure.
Though we can’t proceed onwards. So we need to go back and flip a switch to get past here.

Anyways, that’s the end of this floor.
Another set of door switch puzzles to deal with.

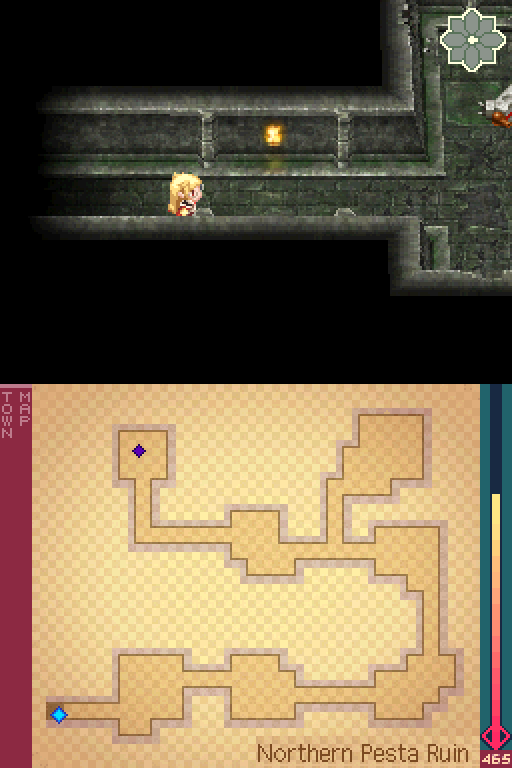
Here’s the map for this floor.
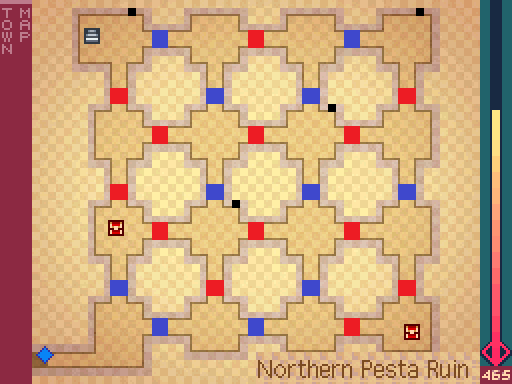
And the gate and switch placements.
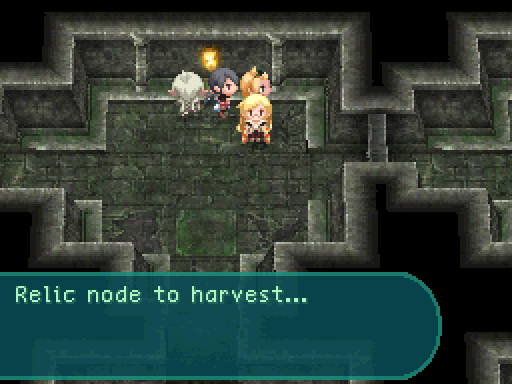
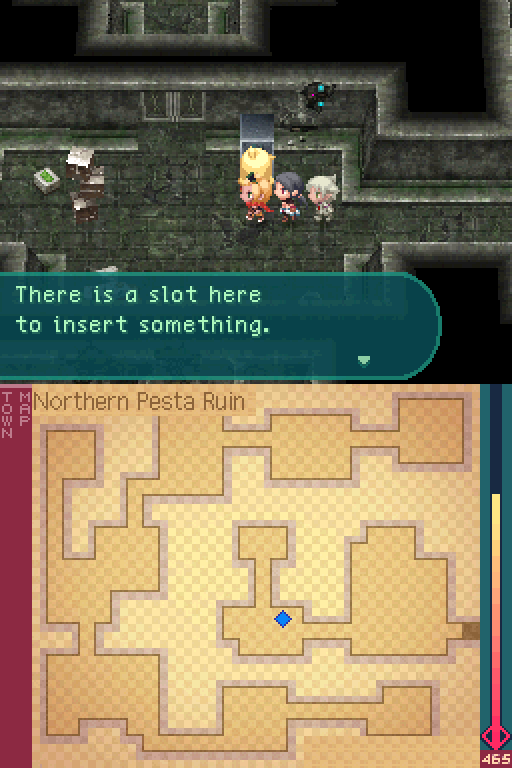
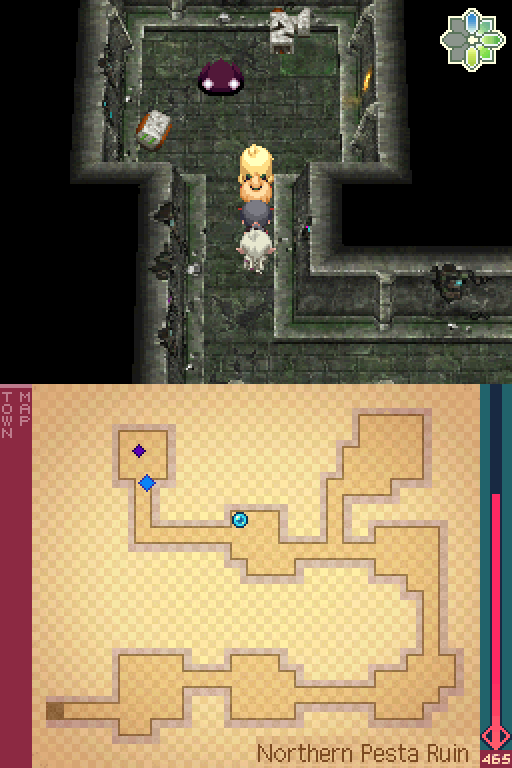
Hm? There seems to be something buried here. Let’s see if we can just get that out.

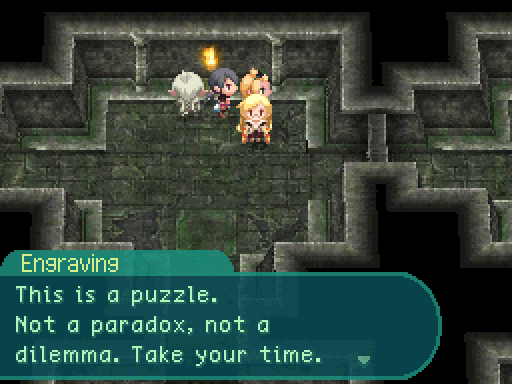
And now we finally discovered the 3rd type of gathering node in this game. Though to call it gathering is really a stretch. Relic nodes basically have something for us to read, be it a hint or just some text relating to the area. While you do need the Keen Eye gathering skill to read these, they fortunately do not actually eat up gathering attempts, nor is what you can read there randomized.
Ugh, this is gonna be a pain.
Now now, Ark. I’m sure it won’t be that bad as long as we calm down and think things over.
Let’s have a look around this place as best we can. I’m sure the solution will come to us- Nila. I-I don’t think those doors will burn down that easily.
It was worth a shot. These gates certainly are sturdy. I can see how they kept out dragons!
Only now do we finally get the map to this area.
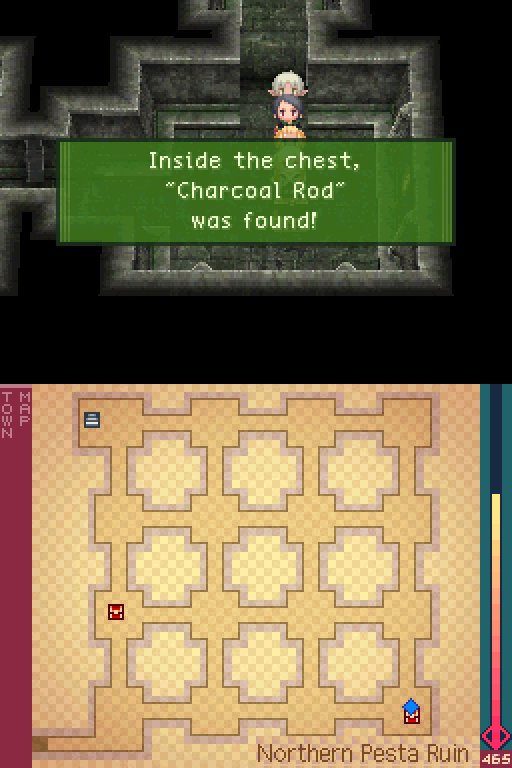
If you flip the switch at the beginning of this area, you’ll have an easy path to both of these chests.
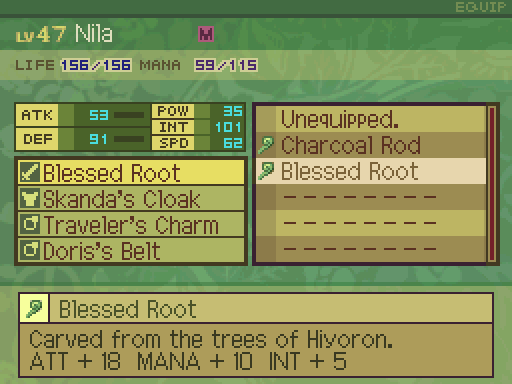
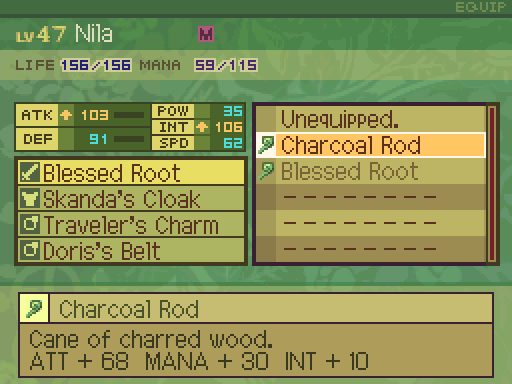
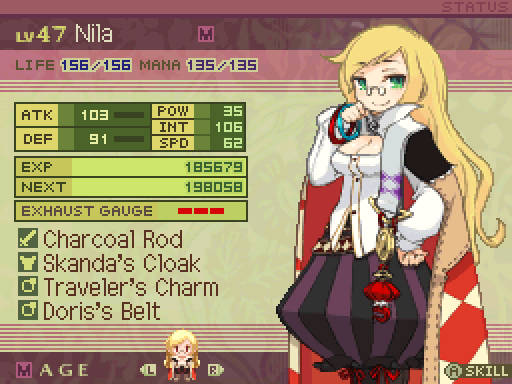
Nila can finally graduate from using the Blessed Root, and switch to using the Charcoal Rod instead. Even more Mana and INT? Yes please!
The solution to this room is ultimately fairly simple. First, activate this switch.

Then deactivate this switch.
From there, you can go south, then west, for a clear shot to the exit. Really the hard part is just learning which gates are what and mentally mapping out the area. Once you have a clear view of everything, it’s pretty straightforward. And fortunately, that was the last puzzle in this dungeon. The rest of it is pretty straightforward from here.
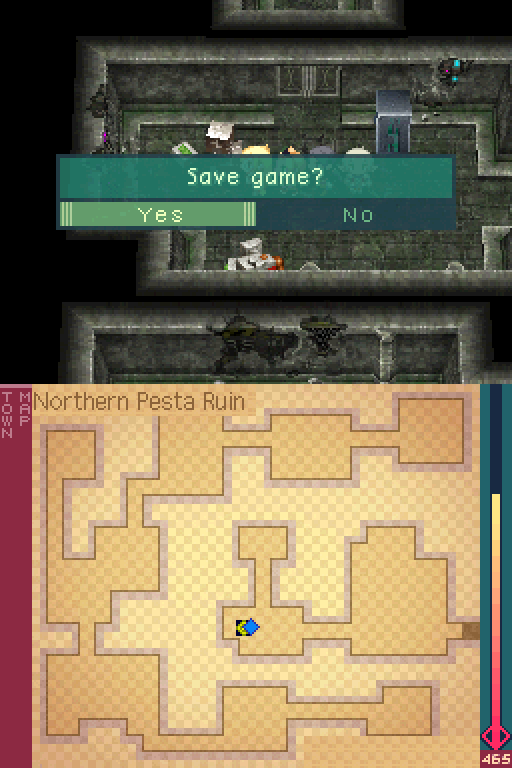
There’s a save point here, which serves as a very nice break.
Hm, doesn’t look like that Stiff Disk works here.
Maybe we don’t have to worry about this part of the Ruin for the mission. Or at least until later.
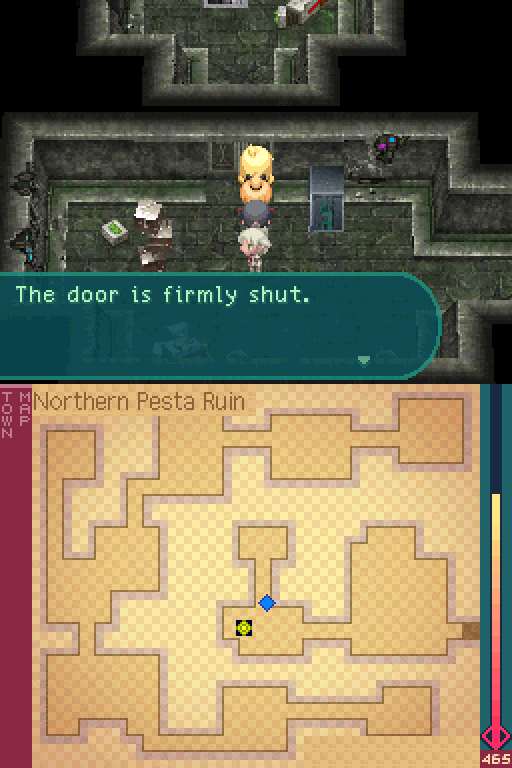
We can’t get past these doors at the moment.
Only one way to proceed.
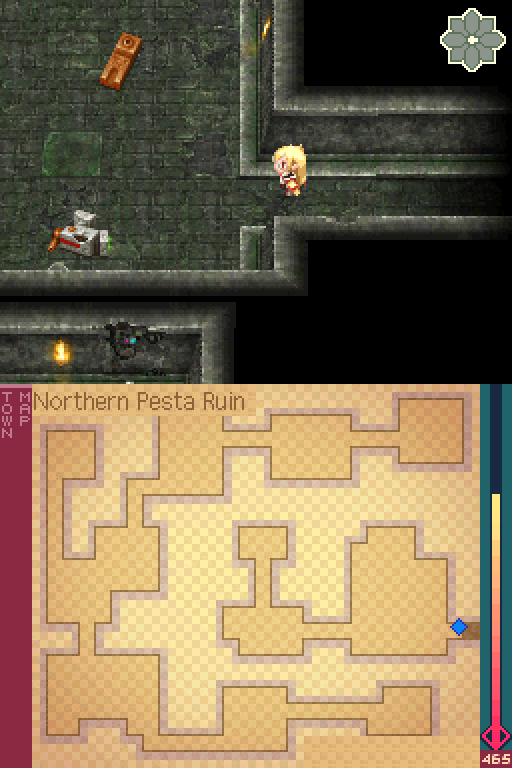
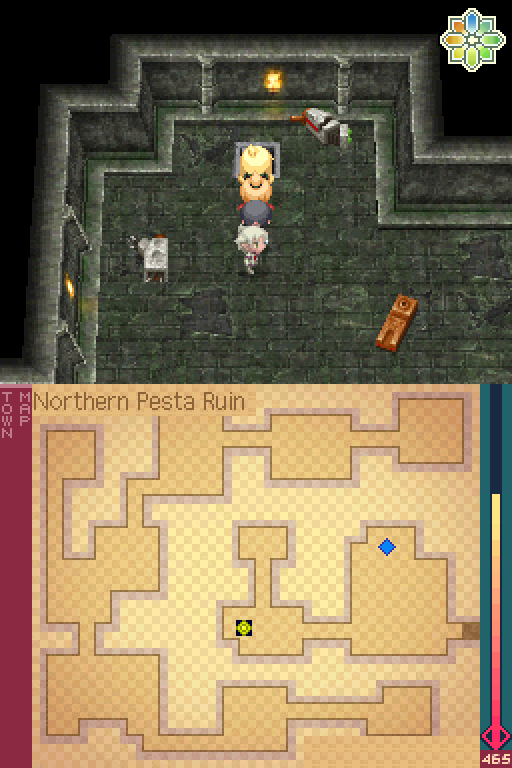
What’s with all this junk?
Looks like some contraptions here broke down over the years. Though given the state they’re in, I don’t think any of this would be suitable for Faro’s plan.
We’ll just have to keep on looking. There has to be something we can salvage here.
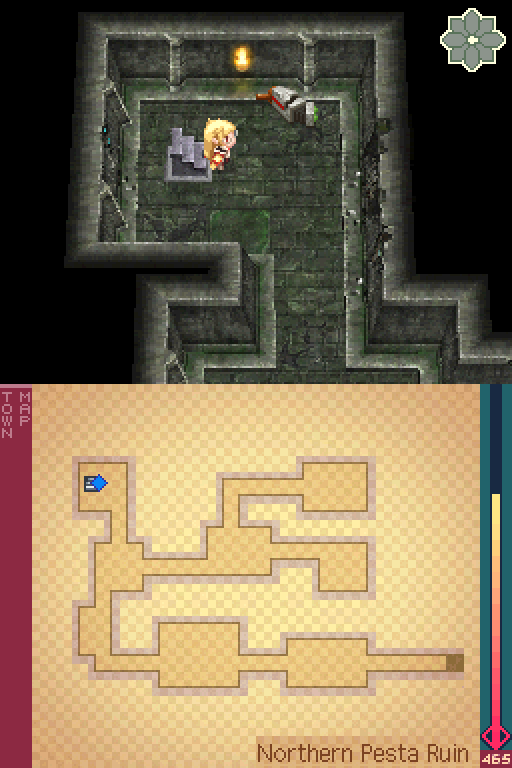
Nothing much to this area.
And right over here, we can see an enemy waiting for us at the end.

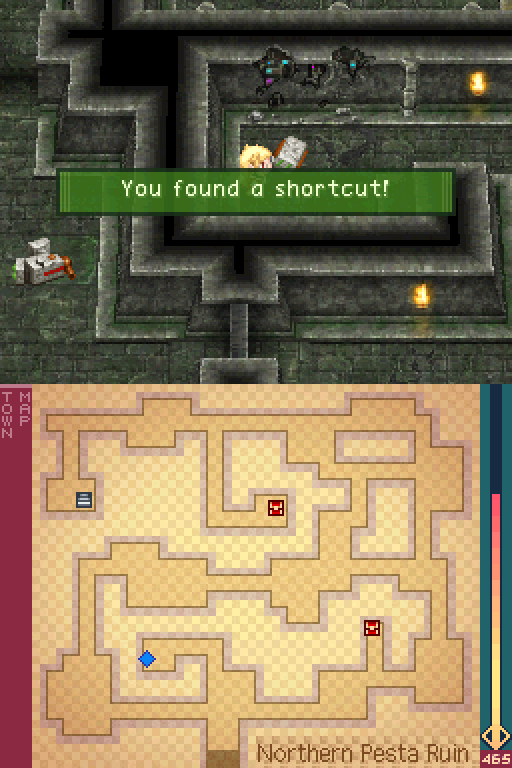
And that leads straight back to the beginning. Though this shortcut is weird. You can’t check this spot to go right back to the end area like every other shortcut in the game.
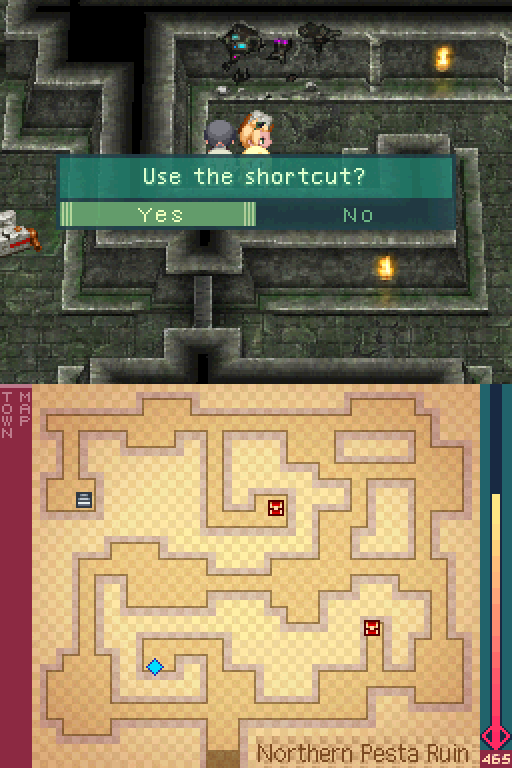
You have to check this spot for the shortcut back.
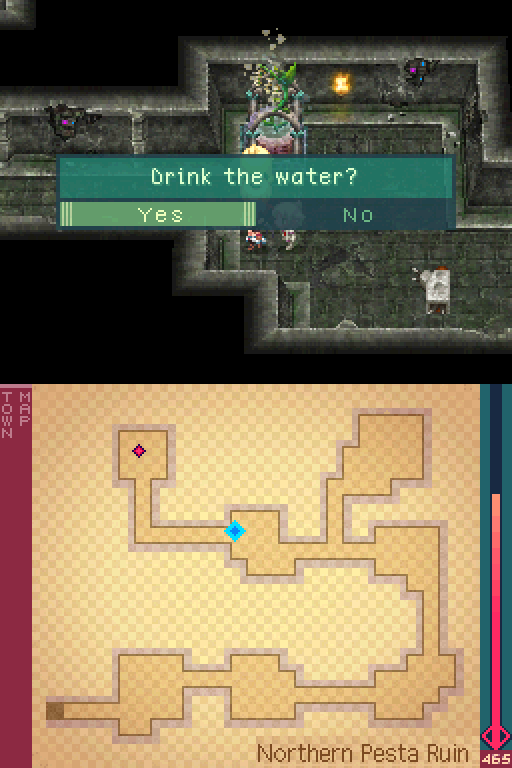
Right on the final floor, there’s a healing spring before the enemy.
The hell is that thing?
It’s certainly not a dragon, that’s for sure.
Seems like it’s still active. Think we could salvage some parts for the airship from that?
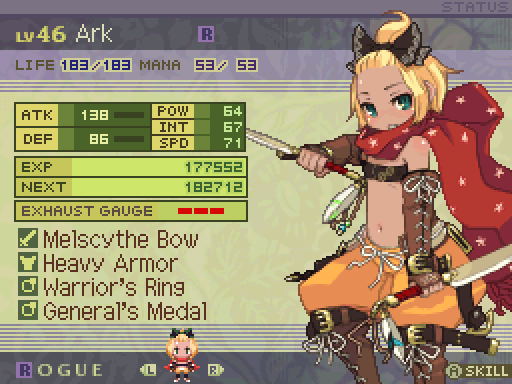
A quick look at our current stats before we engage the enemy.
Only one way to find out!
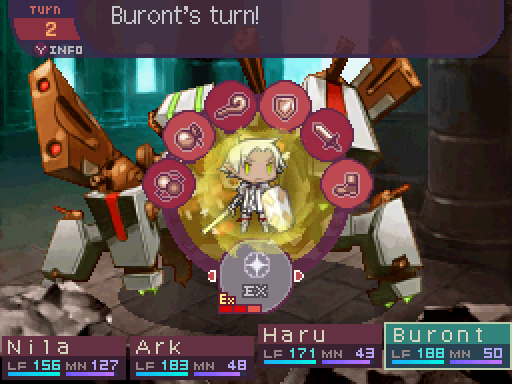
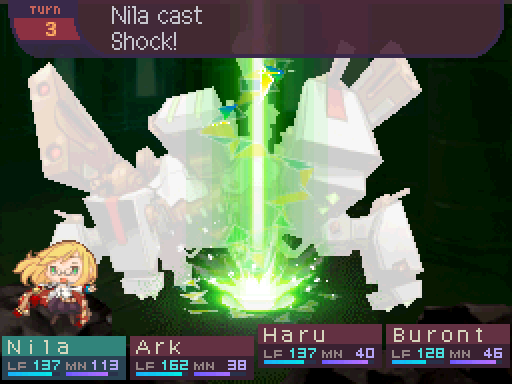
Video: Anti-Dragon PZ


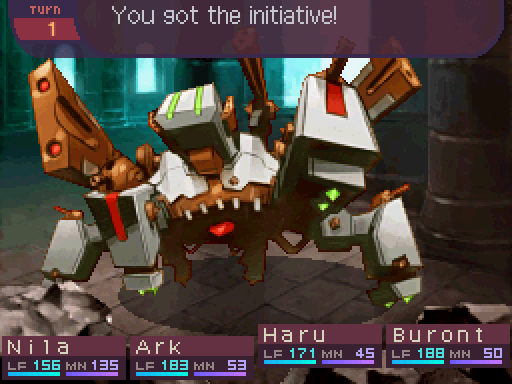
Wait, that’s an anti-dragon weapon! I didn’t think those actually existed!
Huh. So, if that thing’s meant to fight dragons, ya think we could take it along with us?
Given the way its aiming those weapons at us, I doubt it’s going to let us do that.
Ah, what a shame. Only thing we can do is dismantle it and salvage it for parts, I suppose.
You may want to hurry up with the dismantling! I don’t like those sounds it’s making...

Anti-Dragon PZ
Level: 48
LIFE: 3200
ATK: 180
DEF: 97
INT: 80
SPD: 62
Attack Type: Blunt
Attributes: Boss, Disables Escape, Large, Death Resistant
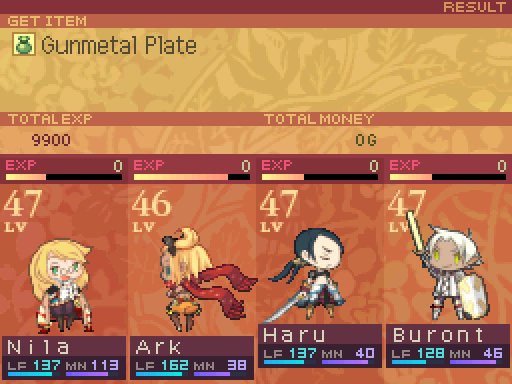
Exp: 9900
Gold: 360
Item Drops:
-Normal: Gunmetal Plate - 100% Drop Rate. 1 needed to unlock the Durandal (Knife. +100 ATK, +10 POW.)
--Armor of Anti-Dragon PZ.
-Rare: N/A
Damage Multipliers:
Slash: 100% Blunt: 100% Thrust: 100%
Fire: 100% Ice: 100% Lightning: 150%
Ailment Susceptibility:
Death: 0% Masked Pain: 100% Skill Seal: 5%
Fear: 10% Curse: 50% Bleed: 25%
Poison: 25% Sleep: 10% Confuse: 10%
Paralysis: 50% Blind: 25% Stun: 100%
Skills:
30mm Cannon: Randomly attacks the party with Thrust damage 5 times, dealing 50% ranged ATK-based damage per hit. Has a speed factor of 80.
Flash Ball: 50% chance of inflicting Blind on the entire party. Has a speed factor of 80.
Freeze Beam: Deals ranged INT-Based Ice damage to one party member. Has a base damage of 120. Has a speed factor of 80.
The Anti-Dragon PZ is not a particularly hard boss to deal with, especially if you have access to Lightning attacks. The tank’s only real threatening move is 30mm Cannon since that can deal a ton of damage to your party. Freeze Beam does hit hard, but the game provides a lot of Cold Regulators at this point to deal with it, and it only hits one party member. Flash Ball is fairly annoying to be hit by, but Blind can easily be bypassed with good usage of EX.
Frankly, the two Coyote Dragons were way harder to deal with since you had to deal with 2 big enemies at once there, and way more overall Life to deplete. Here, they give you a preemptive attack for free, and it has a very big weakness.
Time to play a game. It’s called guess how hard Nila will annihilate this tank.
Here’s a schematic for ya: my ass!
Right off the bat, I’ll have Ark whittle it down.
Haru will set up.
And Buront basically has nothing to do this turn. So uh, might as well get some free chip damage in.
I broke your stupid crap, moron!
Hmm, those two cannons look like they’ll make for excellent nodes. Heh heh heh...


What a sturdy machine!
You tried, Buront.

I thank you for your patience.
Just gotta put my palms here and here. Ohoho, this is gonna be explosive!
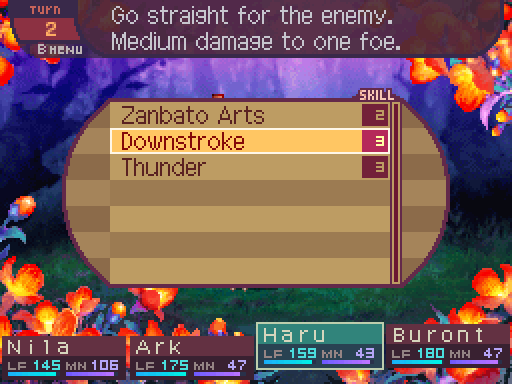
Time to blow up a tank.
I may need a different technique to deal with a foe such as this.
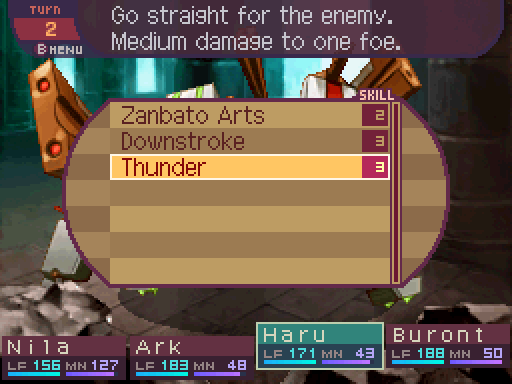
Because this boss is weak to Lightning attacks, it’s far better for me to use Thunder than Downstroke here.
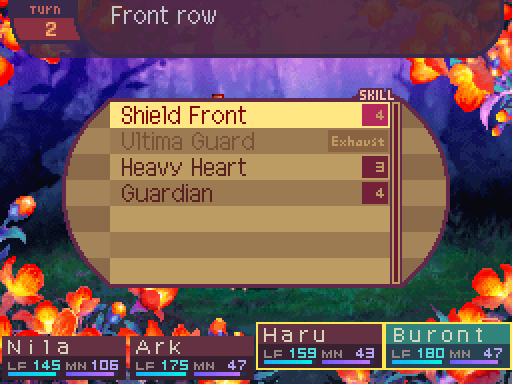
It looks like it’s preparing to fire!

Ultima Guard should help a lot against 30mm Cannon and Freeze Beam.
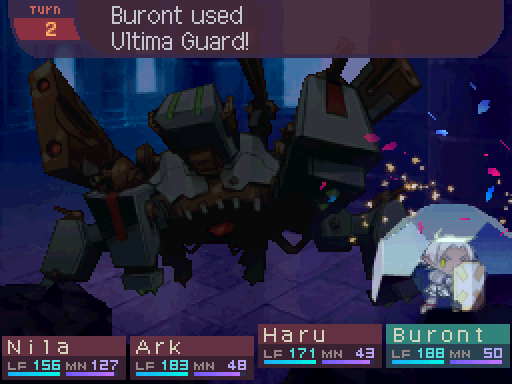
Behind me, now!
Time for a good old-fashioned OVERLOADING!
And that’s already half of its HP gone.
A thunderous strike!
Very respectable damage from Haru.
Seriously. Behind me. Now.
Ah, right, coming!
Ow. Ouch. Seriously ow!
30mm Cannon can hit pretty hard if it’s unmitigated.
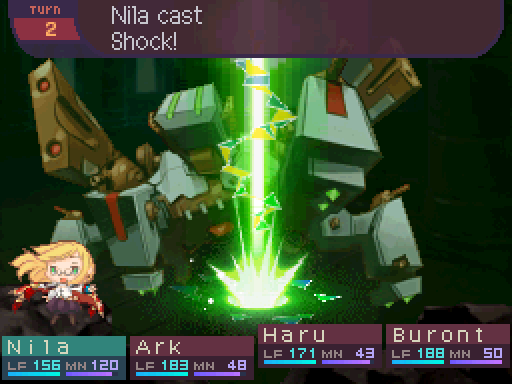
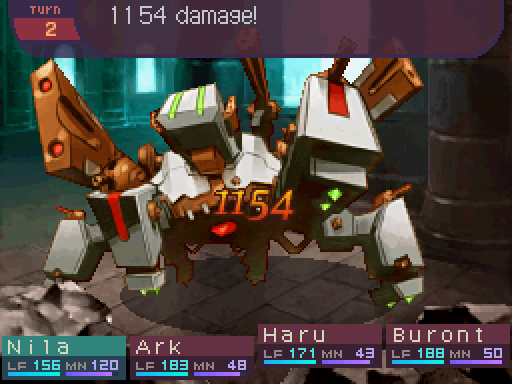
Since the Anti-Dragon PZ is really close to being scrap metal, I opt to just use an EX-boosted Shock instead of boosting it with Concentrate to finish it off right away.
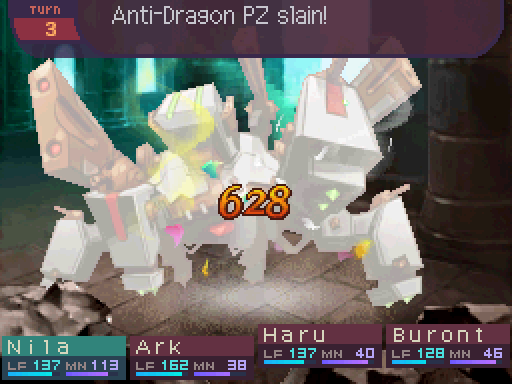
Short circuited!
Do you really think you can salvage something from this?
It’s worth a shot, otherwise we came here for nothing.
Doesn’t look too badly beat up. Pretty sure there’s something interesting in there for us to take.
Oh you all worry too much. This thing isn’t completely scrap metal. Just help me peel off this metal plate. Ah! Oh, that looks good. Hmm, let’s see. Tinker with this, just weld that over this and...


Presto! One airship engine, ready to go!
Your skills with ancient technology are something to be admired!
Hmmhmm. Don’t underestimate the power of a good old fashioned magical soldering! Come on! NRRRRGH! We have to lug this thing all the way back to Faro!
A-are you sure you don’t need help carrying that?
Oh I’ve handled worse cargo before. This is nothing compared to those crates of explosive fruit I had to escort across the continent this one time.
...The hell was your old job!?
Oh yeah, still doesn’t look like we can open this up. Wonder what’s behind here.
A curious mystery indeed. Sadly, without a way to get in there, none of it matters to us at the moment.
Unfortunately, even after defeating the Anti-Dragon PZ, we still don’t have a way to open this door. We’re forced to ignore it for now.
Mrm...
Is something wrong, Haru?
There is something else that concerns me. The existence of an anti-dragon weapon surely means that dragons must have tried to invade this world in the past. Yet such an important event seems to be unknown to all parties we’ve encountered.
Maybe all this was just built in the 3 years that the- yeah I can’t take that theory seriously either. This place looks way too old for them to do all that back then. Maybe that invasion took place a suuuuper long time ago? And they must’ve succeeded in beating the dragons if we’re all still here today.
You do have good points but... I wonder... Oh, right. Ugh, wouldn’t matter.
Hm? Is there something on your mind, Nila?
I remember overhearing a conversation 3 years ago. Before the dragons invaded. I think someone was warning Doris about the dragons, but I have no idea who that person was, and Doris is... Anyways, even if they were still around, they likely wouldn’t have known about this place. It was a long shot.
Perhaps we could ask Dia about this? The one possessing the actual Dia, I mean. She did say she was sealed for a thousand years. Perhaps she knew something.
You’re right, it could be worth asking her about later. But first, let’s get this engine back to Faro! I have a few words to say about her calculations, heh heh heh.