Toggle Background Color
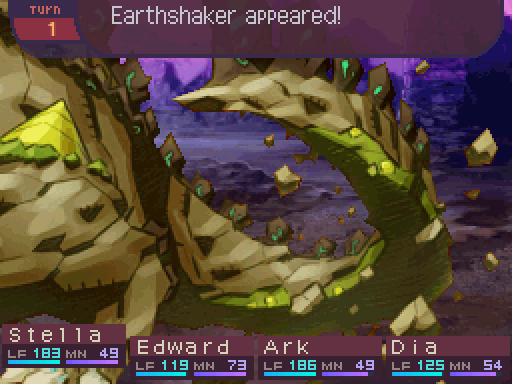
Update 27: An Earthshaking Revelation


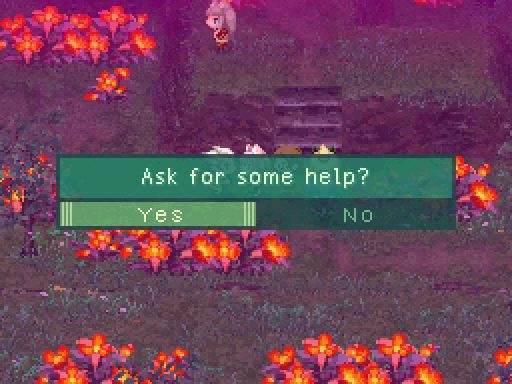
 ...And so, that’s why we were wondering if you knew anything about any previous dragon invasions while you were sealed. You’ve lived longer than the rest of us, so you’d most likely know more than we do.
 I’m happy to disappoint you, as there is basically nothing interesting I can tell you about those thousand years I was imprisoned. Really, I don’t know what you were expecting. I was trapped inside the molten core of this planet, unable to view the outside world for all that time, what else did you want me to say to you? Oh, and thank you for forcing me to dredge up one of the worst times in my entire lifespan, I really appreciated that.
 Oh well, it was worth a shot.
 Uhhh, s-sorry about that. Mmm, what about before then? Ya gotta be older than just a thousand years old, unless you somehow ruled the world as some sorta demon baby.
I can assure you I was far older than a mere infant when I took charge. But again, I have no idea just what you’re expecting from me. I have hundreds of years, possibly thousands of years worth of memories, I’m not really sure which, inside my head. Do you honestly expect me to remember every last waking moment of my life? I barely remembered my time sealed in the molten core as is.
 I could you know, help you with that if you want?
...I know you mean well Dia, but unless you wish to do the equivalent of turning your brain into scrambled eggs, I would heavily advise against that. I’m not even sure how far back this lifespan of mine goes. After a certain point you just stop counting.
O-oh, I see.
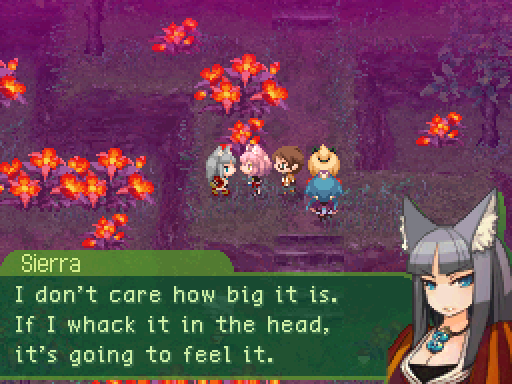
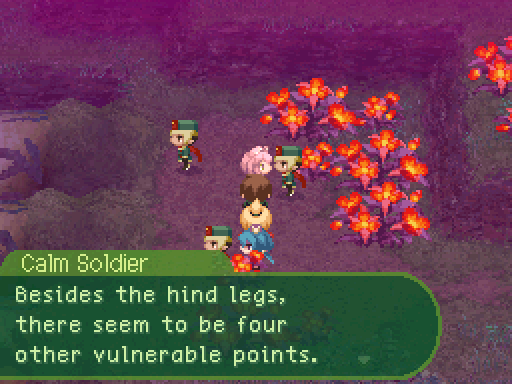
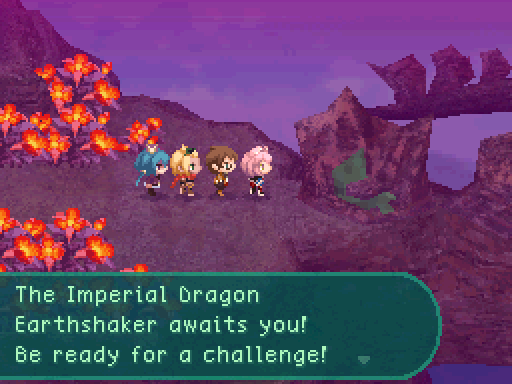
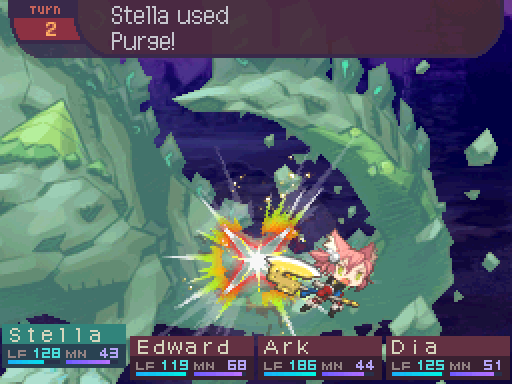
Besides, I have little time to entertain your nonsense when we have an Imperial Dragon to kill.
 St-Stella, are you sure you’re feeling alright? You can still stay in bed if you’re still feeling hung over.
 I already told you, I’m fine! You two took really good care of me while the others took down Invisible! And I can’t just stay in bed all day when you’re all working so hard!
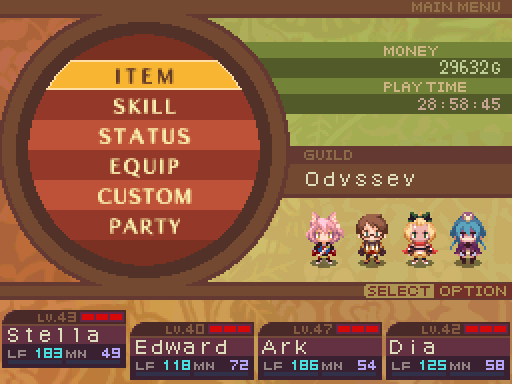
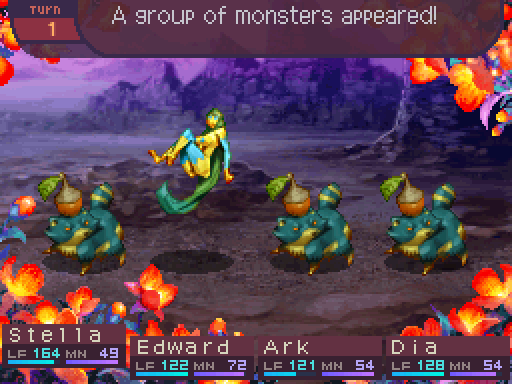
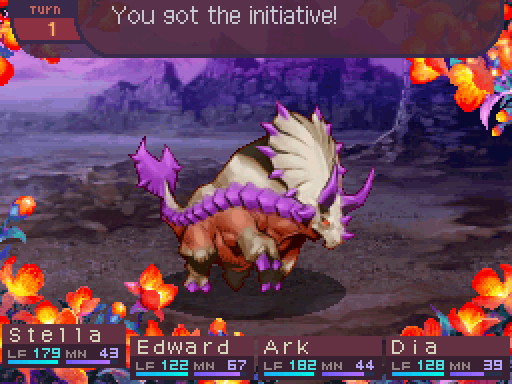
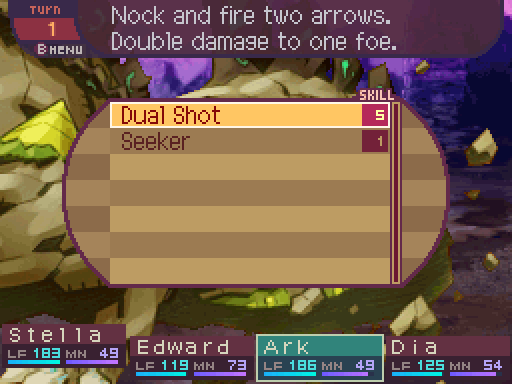
Meet the party that’s going to take on this next mission. It’s... far from ideal, I’ll say that much. Also I didn’t bother to do any catch up grinding here, as that will be completely unnecessary for this mission since it’s scaled for taking it on right after Flame Eater 1.
I thought they were on the western continent?
They must’ve wrote down the directions wrong.
It’s not like it matters. We know where the meeting place is.
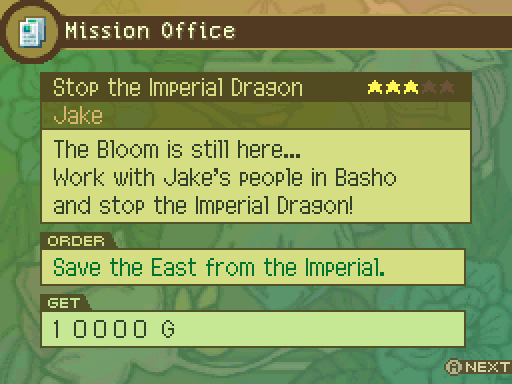
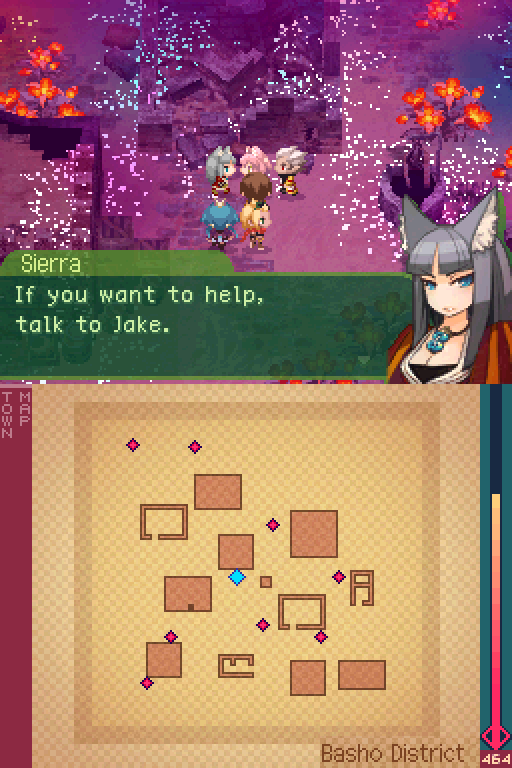
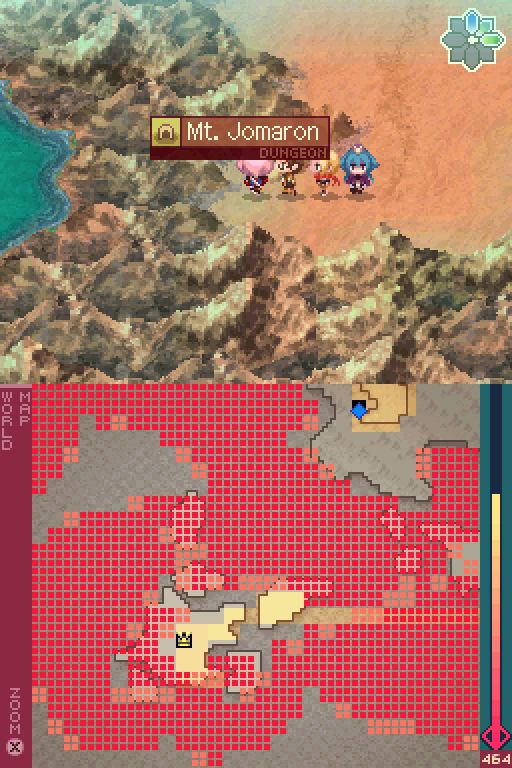
This is the mission we’ll be taking on, and it’s one of my favorites in the entire game. First, we need to head over to the Basho District.

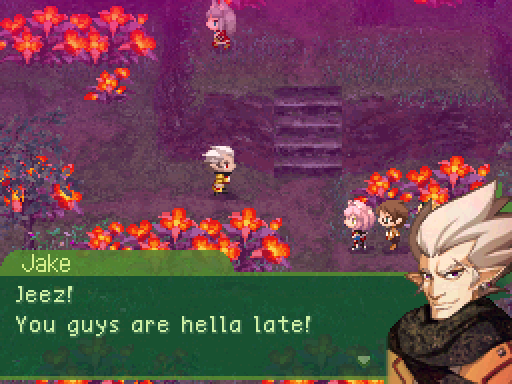
Noted. Hey, Jake. We accepted the mission, and are ready to help!
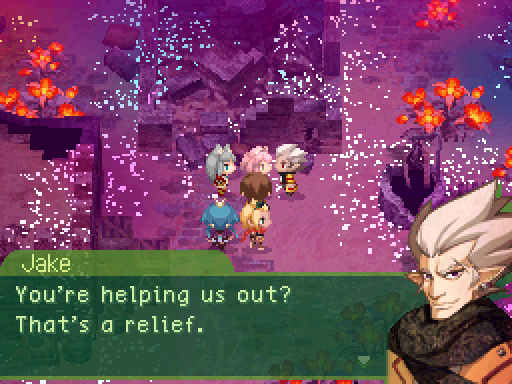
Right, so where should we start with dealing with this... mystery dragon?
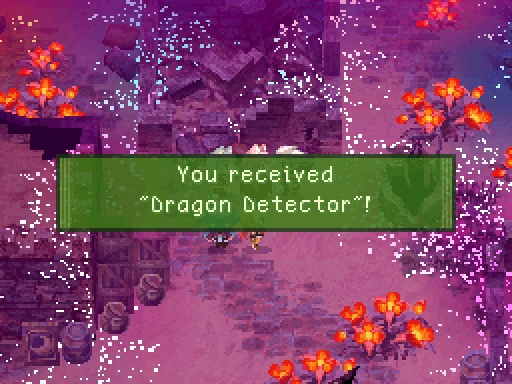
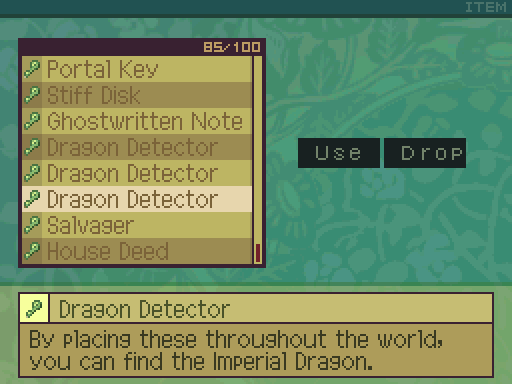
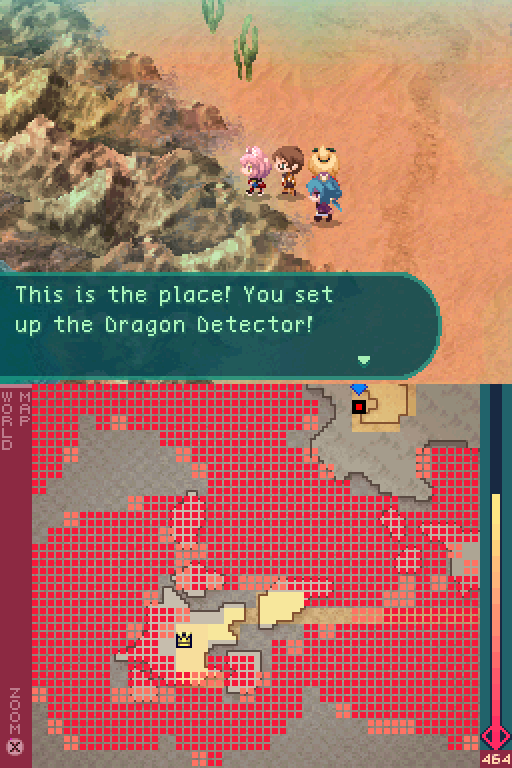
 The first thing to do is pinpoint where it is. Pleroma sent us these Dragon Detectors. You need to set them up.
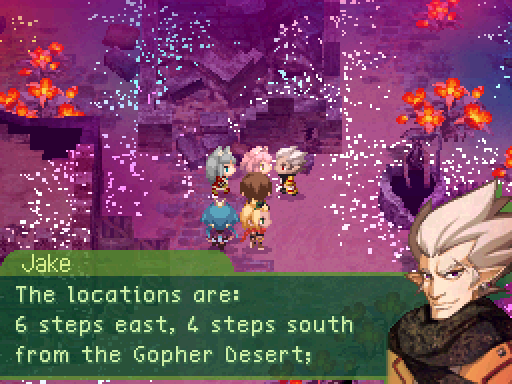
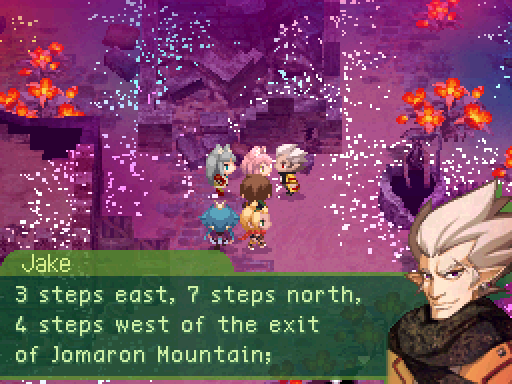
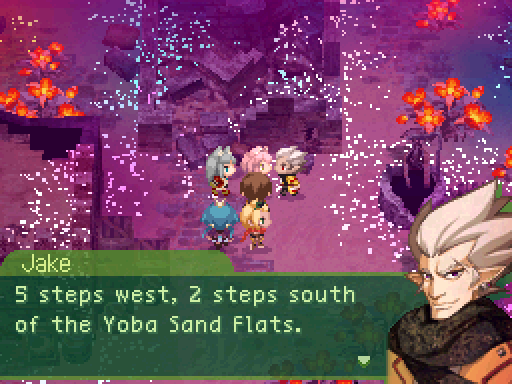
Jot these down or memorize them, as you’re not getting an in-game memo for this other than heading back to Jake.
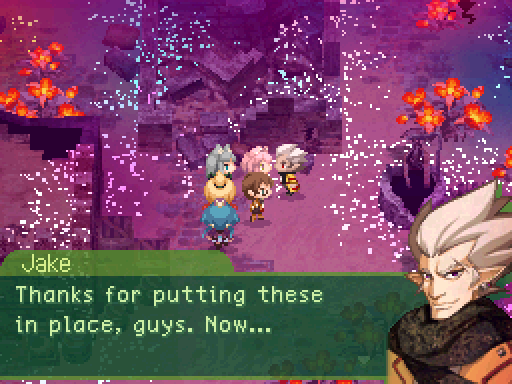
Come back when you have them in place!


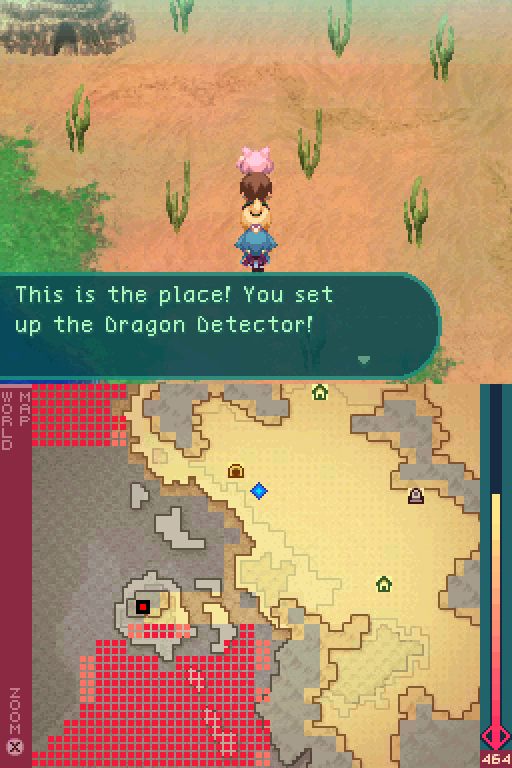
Gopher Desert now has its Dragon Detector set up. When you arrive at the correct tile, the game will automatically place the Dragon Detector for you.
That being said, the directions are a little ambiguous on where you should actually start, so you could end up at the wrong spot if you don’t start from exactly the right tile. For all 3 of these locations, if you enter the dungeon and leave, that will start you off at the correct tile, and you can follow the directions from there.
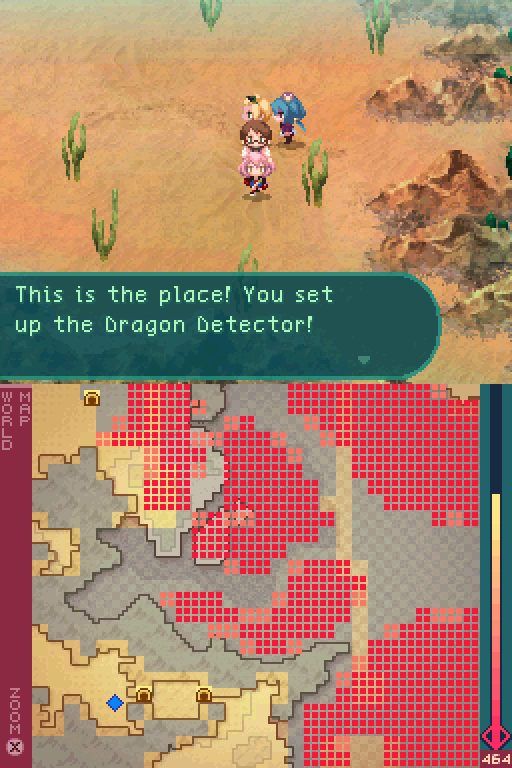
And there’s Yoba Sand Flat’s Dragon Detector.
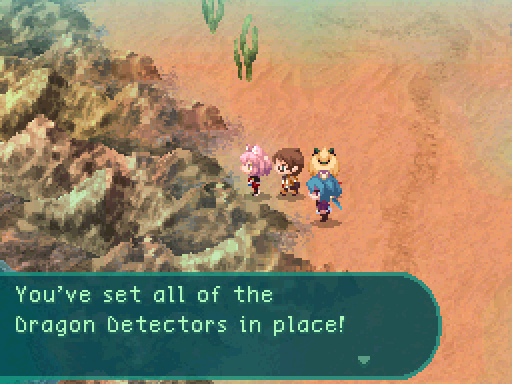
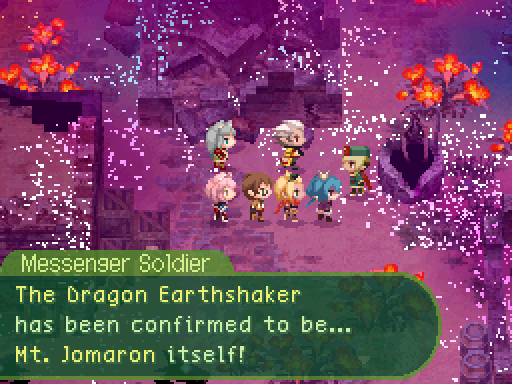
And Mt. Jomaron’s detector. Simple as that. Now we just need to head back to Jake.
We should be able to find that Dragon.

Fade to black.


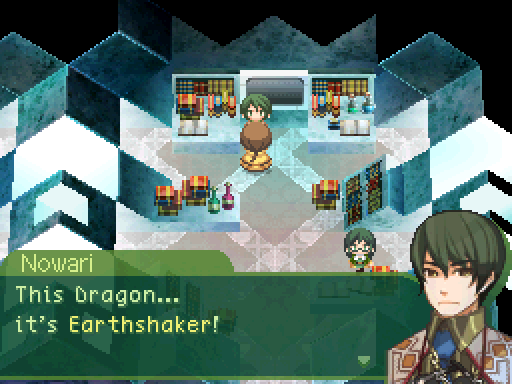
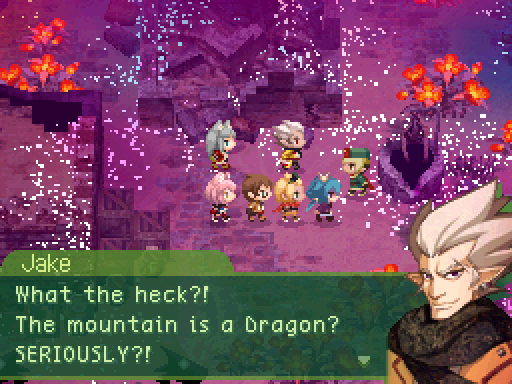
 ...!! We didn't realize it before because... it's so huge!

Fade to black.
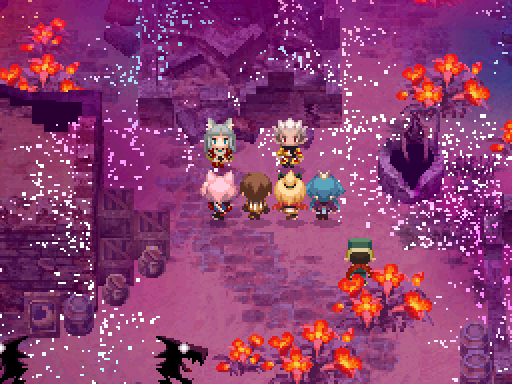
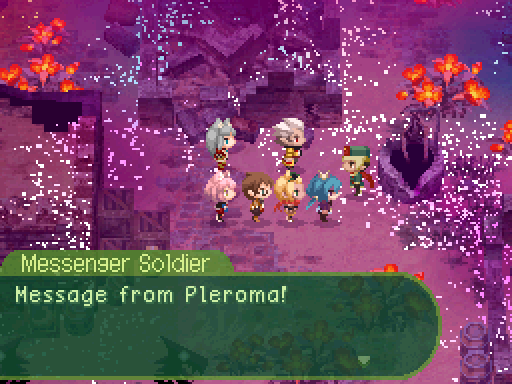
A soldier arrives to deliver the news.
WHAT!?
 This is too much for us to handle on our own. Let’s see the King.

Fade to black.
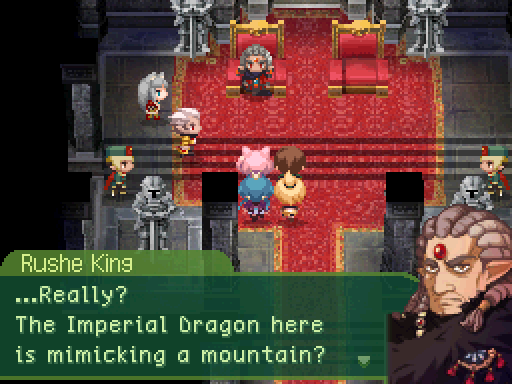
 Well, it'll take more than that to scare the Rushe. We'll organize an offensive immediately to take back our land!
Excellent! My sword arm was getting rusty!
Jake and Sierra leave.
...Eager as usual. But, I worry. Is this how you plan to rule Nevan someday? ...My son... In order to defeat an enormous Dragon, we will need multiple teams. Odyssey? I hope you will play an active role as well.
We will! Come on, Mt. Jomaron isn’t going to die by itself!
Yes, that’s right! We’re actually doing this! We’re going to kill an entire mountain!
WELCOME TO 7TH DRAGON! 
A mountain. A mountain. W-we have to k-k-kill an entire m-m-m-m-m-
I know! It sounds amazing! It’ll be tough, but I know we can do it!
What, did ya dream about getting to be a mountain slayer someday?
Not really, but now that this is happening, who wouldn’t jump at the chance to do something like this!?
Stella. While I’m happy to rain on your parade whenever I get the opportunity-
And failing every single time.
-Just how do you expect to kill an entire mountain all by yourself!?
Don’t be silly, I’m not gonna do that by myself. We’re all going to kill a mountain together!
Gods help us.
They won’t. They’ve abandoned us, and stuck us with this pink haired devil.
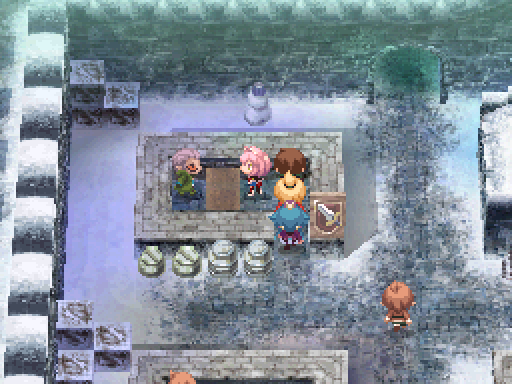
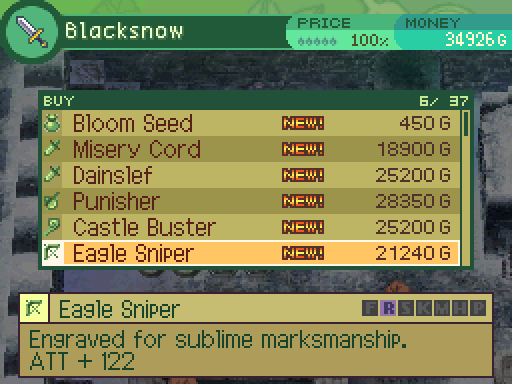
Now that we have the Racketeer party skill, we can interact with this shop at long last.


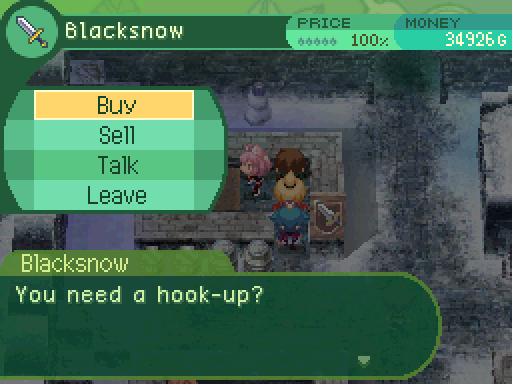
 This is a special store.
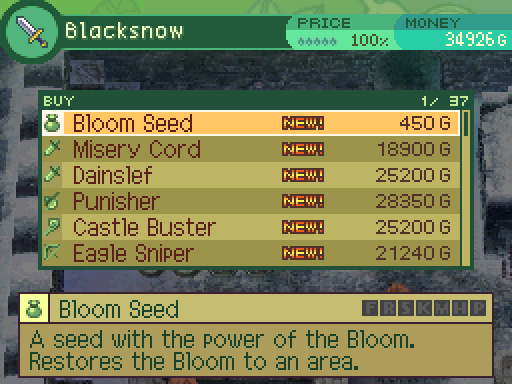
This is where you finally get the ability to purchase Bloom Seeds. In case you needed 3 of them for Penny’s quest.

This weapon name is a mistranslation. From forums user Ratoslov:Ratoslov posted:
Oh, you remember the Misery Cord weapon from the update before last? That's probably a Misericorde. Either a translation error or wierd joke.
The Japanese name flat out calls it the Misericorde and the Japanese description mentions it's a dagger.
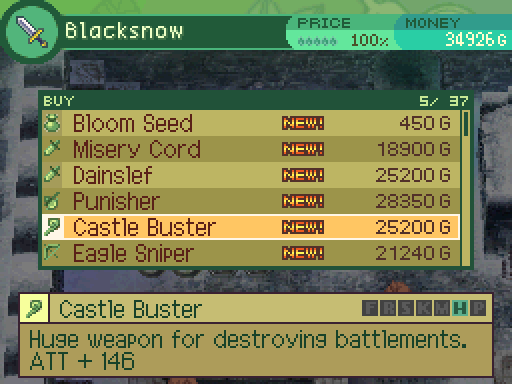

Whoa. Look at all this equipment! It looks so strong!
And real sturdy too! This is some real quality work, I’m telling ya!
And really really expensive! We’ll be bankrupt if we try to buy any of these! Come on, let’s get going. You can stare at this selection some other time.
Awww...
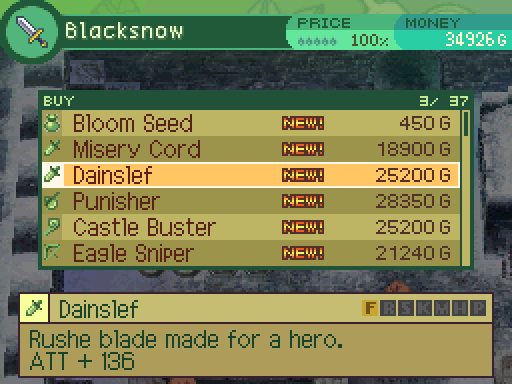
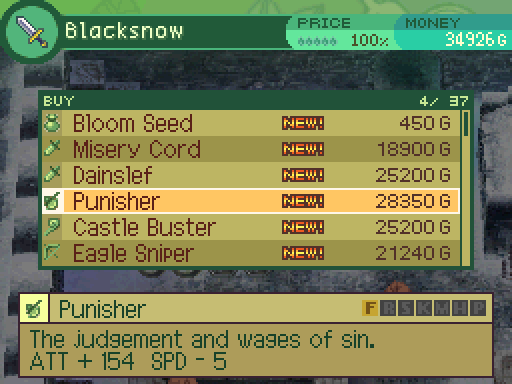
This store gives us access to some lategame equipment, Unfortunately, it’s much too expensive for us to afford, so I opt to ignore its wares for now.
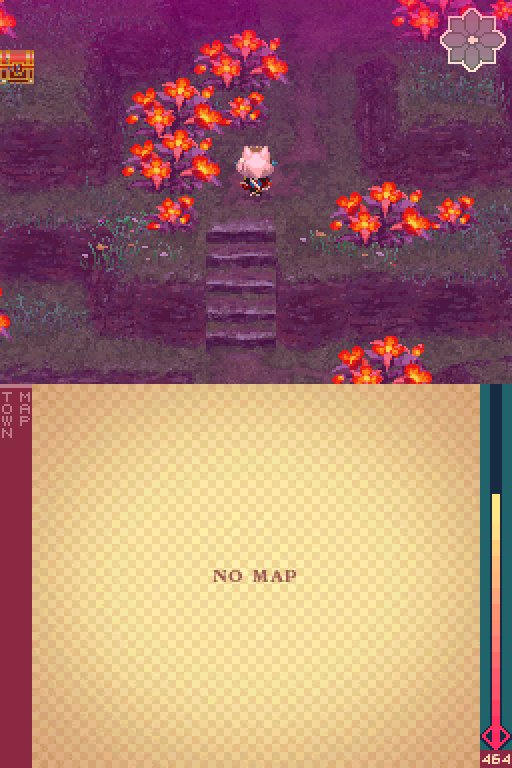
It’s time to kill a mountain.


Hey give us a break, there was an entire snowfield and desert between Nevanplace and here! Ugh, think I scratched my mitts on the boulders nearby.
"Wah, we're babies! The rocks hurt our soft little hands!"
Hey, come on now!
I think I like him already.
S-Sorry about that. How can we make it up to you, ehehe?
You want me to forgive you? Hurry the rest of the way up the mountain and help! After all, when it comes to straight-up dragonslaying, you've got more practice. Just say the word and we'll be ready to go. I'm leading the Rushe. Tell me if you need help.
If you didn’t talk to the dying soldier to learn Falling Star and Ecstasy Kiss, don’t worry. Because if you don’t have those skills unlocked...
Oh, oh, right! Lemme show ya a couple tricks before the fight. They'll help ya out.
Oohoohoo! Niiiice. Aw man, these are some cool tricks. That more than makes up for the insult earlier, heh heh.
Jake will teach them to you now.
This statement is slightly mistranslated. In Japanese it’s referring to “the dragon”, by which he’s referring to Earthshaker. The distraction won’t be in place for any other dragons.
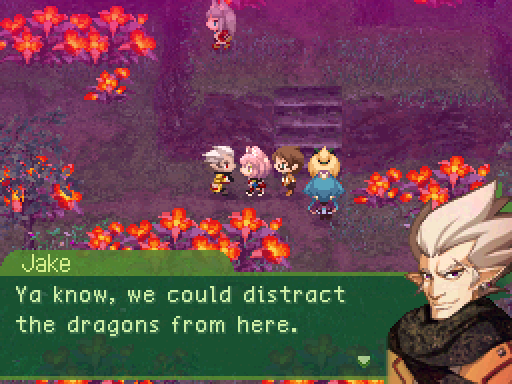
We’d appreciate the help!
All right! Leave it to us!
I accept the help as that can end up making the battle against Earthshaker slightly easier.
Okay, now that we’re here, just what are we supposed to do against a goddamn mountain!?
Slash and stab away at the ground over and over until it dies?
Do you even feel how hard the ground is right now? If this is even hurting it, it would probably take ages to- Stella, Ark! Stop! There’s no way you can kill a mountain like that!
IT’S! WORTH! A! TRY! NRRRRRGH!
Mrgrgr, that’s some tough ground! They’re just bouncing right off of it!
Keep doing that for the next hour or so and I’m sure you’ll kill your axe and arrows faster than you’ll murder the mountain. Hmm, the rest of the forces are up ahead, maybe they’ve figured out something.
Hey, there’s an idea. Maybe we could climb all the way to the top and start whacking it from there.
Will that even work? ...Oy, might as well give it a shot. I don’t hear any better ideas, and we have to kill this thing somehow.
There has to be some way to kill it. Nothing’s truly invincible. Even if that something is as big as a mountain.


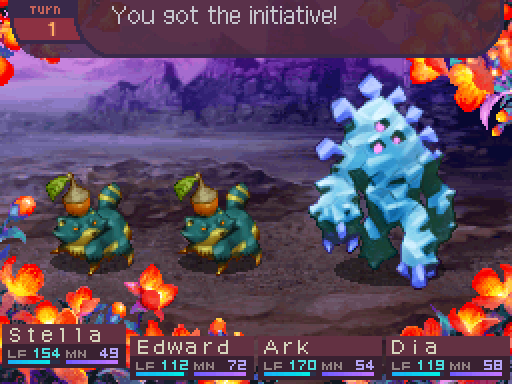
The encounters here share a lot of enemies with the ones in the Melluride Mines, along with a couple of new faces.

Iceman
Level: 45
LIFE: 390
ATK: 130
DEF: 100
INT: 30
SPD: 48
Attack Type: Blunt
Enemy Type: Large Animal
Exp: 555
Gold: 45
Item Drops:
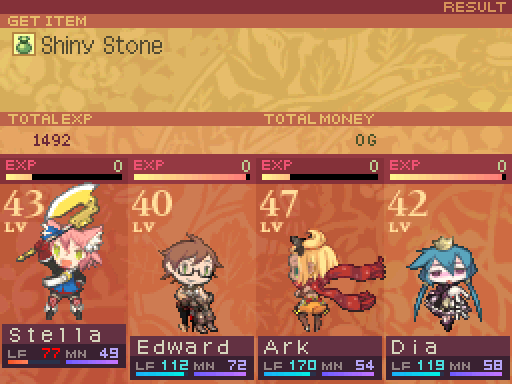
-Normal: Shiny Stone - 30% Drop Rate.
--Rock from an Iceman.
-Rare: N/A
Damage Multipliers:
Slash: 100% Blunt: 100% Thrust: 100%
Fire: 150% Ice: 0% Lightning: 100%
Skills:
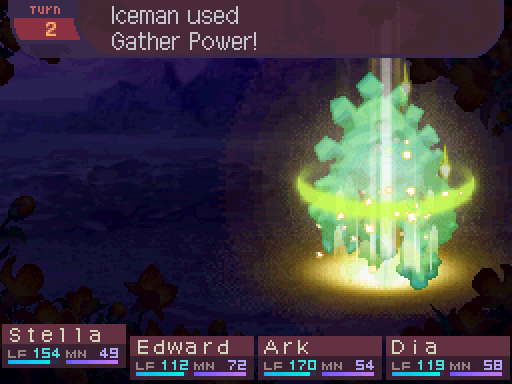
Gather Power: Multiplies the user's ATK by 150% for 2 turns. Has a speed modifier of 100%.
Subtle Curse: Has a 30% chance to inflict level 3 Curse (34% damage reflection) on the entire party. Has a speed modifier of 75%.
Icemen are a bit bulky, and they can hit pretty hard, especially after using Gather Power. So you’ll want to finish the battles fast. Unfortunately, Lost Souls and Tanucorns can be found here, and those are far higher priority due to them being able to incapacitate the party easily.
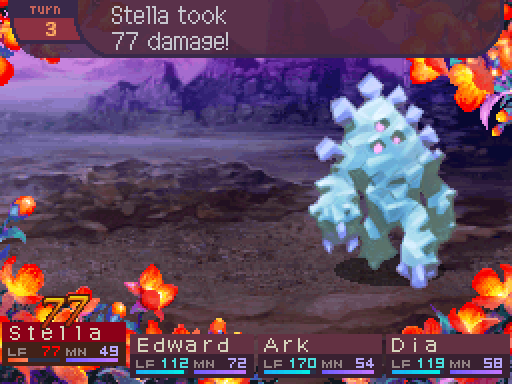
Fortunately they only take 2 turns to deal a lot of damage, but it’s not something you want to take a lot of hits from.
Also a bit of a problem this party has is that they don’t really have any AOE attacks available, so encounters take a bit longer than usual.
You’ll want to be a bit mindful of the encounters here as they can take a bit of time to get through, and mass Confusion or Charm can really lead to a wipe.
 But getting back up would be a lot harder.
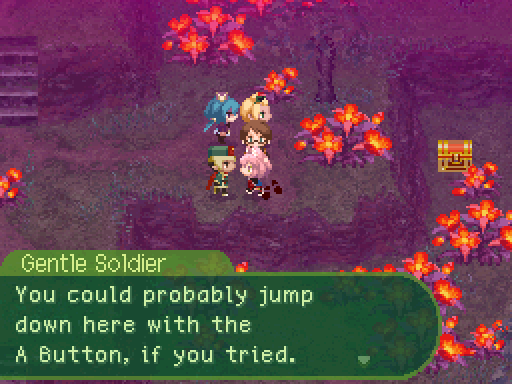
And here’s one of the gimmicks for this dungeon. Ledges! You can jump down them, but you can’t climb back up.
Hup! Perfect landing!
Except now we can’t get back up.
Not the same way at least. We can just walk back around.
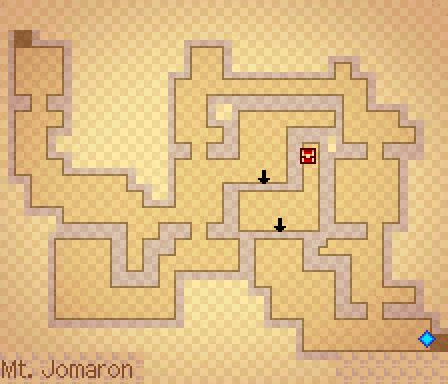
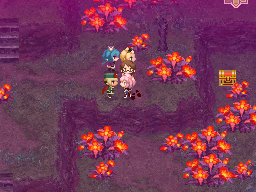
Incidentally, here’s a map of the first screen, with the jump spots from the ledges maked. There aren’t any dragons in this area, so I’m not showing that off.
Eh, I’d say a short jog is worth that.
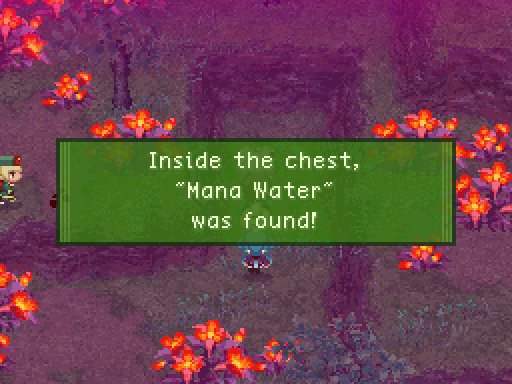
Though jumping off of that ledge isn’t a complete waste of time, as we get a Mana Water for our troubles there.
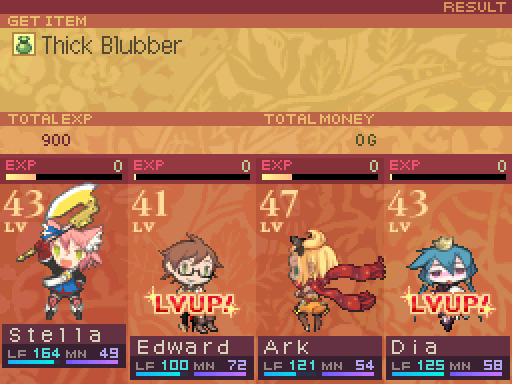
An encounter with some Tree Lions gave level ups to Edward and Dia. That being said, I decide to hold onto their skill points for now, as I haven’t decided on what I wanted them to do next by this time.
Huh. I guess we have them to thank for this dragon not moving around too much. Ye gods, if it were to roll over or something like that while we were on it... I don’t want to think about it!
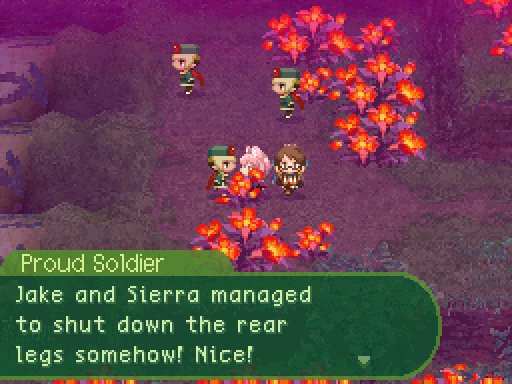
Down in the southwestern part of the screen are some Rushe Soldiers.
If we attack every inch of its body, that's gotta slow it down! Everyone move!
Heh. Told ya nothing’s invincible! So now we know how to take down this friggin’ mountain!
Alright, it’s a plan! Take down this mountain part by part!
Oh, good. We have an actual battle plan now. I sure hope this works.
And here’s our main objective for the dungeon. Take down Earthshaker’s weak points to weaken it, and then finish it off!
It’s such a cool idea for a dungeon and a boss fight, and this is by far my favorite mission in the game. And it’s also a pretty big dungeon, easily the biggest one so far with a ton of dragons to kill.
Though the encounter formations here can be rather harrowing. Just look at all those sources of Confusion and Charm!
That’s all for the first screen.
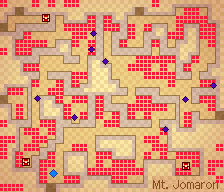
Here are the dragon movement paths for this screen. There are 2 types of dragons in this dungeon. Ones that just move around an area, and ones that dash back and forth.
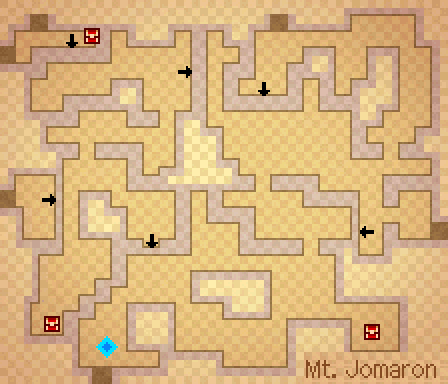
And here are where the ledge jump spots are on this map.
The dashing dragons are stuck facing the wall for a bit after crashing into it, which is a prime opportunity to go for that preemptive!


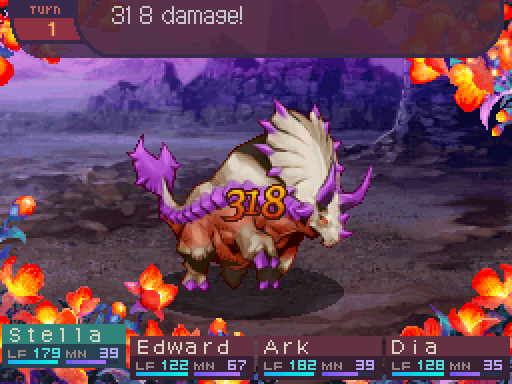
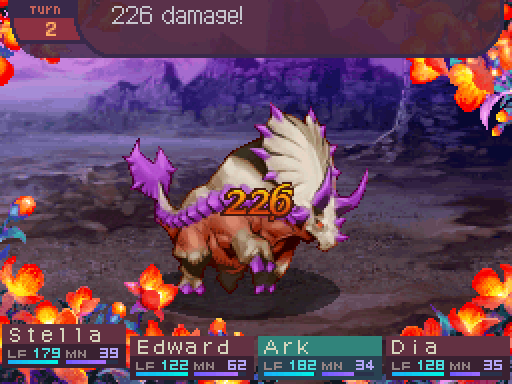
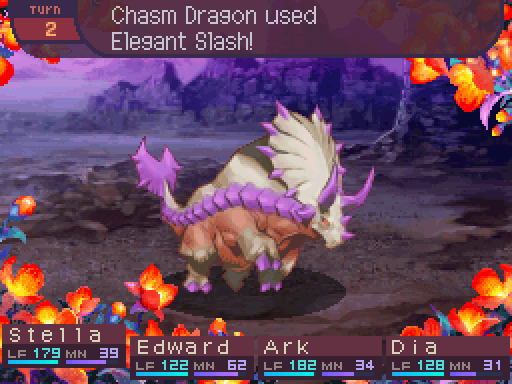
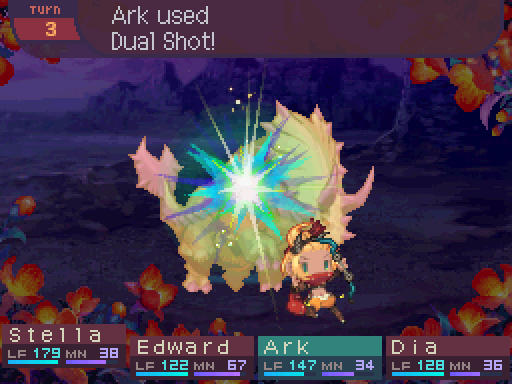
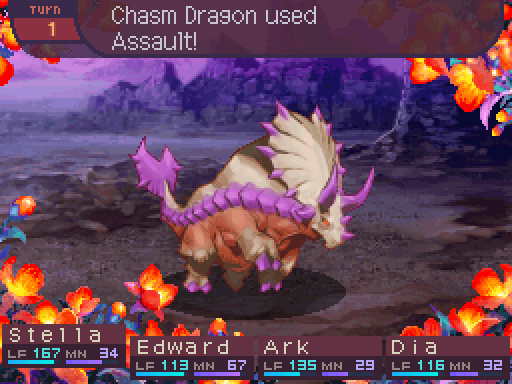
Chasm Dragon
Level: 41
LIFE: 2000
ATK: 140
DEF: 83
INT: 50
SPD: 50
Attack Type: Blunt
Enemy Type: Dragon
Exp: 6912
Gold: 124
Item Drops:
-Normal: Charger Horns - 30% Drop Rate.
--Horns of a Chasm Dragon.
-Rare: Dragon Steak - 20% Drop Rate.
--Large dragon meat. For carnivores. Increases might for the day.
Damage Multipliers:
Slash: 100% Blunt: 100% Thrust: 100%
Fire: 100% Ice: 100% Lightning: 100%
Ailment Susceptibility:
Death: 10% Masked Pain: 100% Skill Seal: 25%
Fear: 25% Curse: 50% Bleed: 25%
Poison: 50% Sleep: 25% Confuse: 25%
Paralysis: 50% Blind: 25% Stun: 100%
Skills:
Gather Power: Multiplies the user's ATK by 150% for 2 turns. Has a speed modifier of 100%.
Assault: Deals 100% melee ATK-based Thrust damage to the entire party. Has a speed modifier of 80%.
Elegant Slash: Deals 120% melee ATK-based Thrust damage to one party member. Party members that are hit have an 80% multiplier applied to their DEF for 5 turns. Has a speed modifier of 90%.
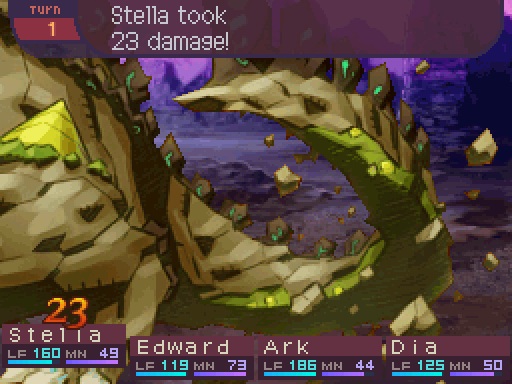
Chasm Dragons are basically souped up Triceratops. They swapped out Uppercut, which was a single target attack with a stun attached, with Elegant Slash, an attack that inflicts a defense debuff. If your defenses aren’t great, you may want to defend after seeing Gather Power come out, as a charged Assault can hit pretty hard. Otherwise, it’s basically a dragon you’ve seen before.
Ha ha! The first strike is mi- hey wait a minute.

Fight with all your might!
Would’ve been nice to have that earlier!
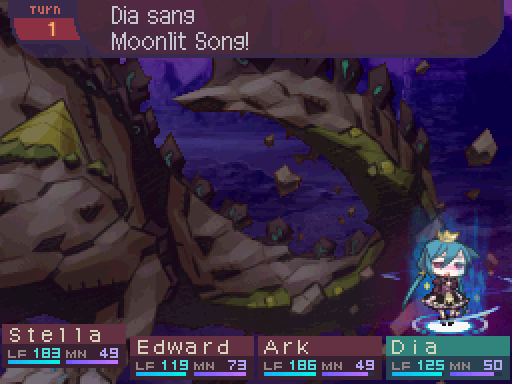
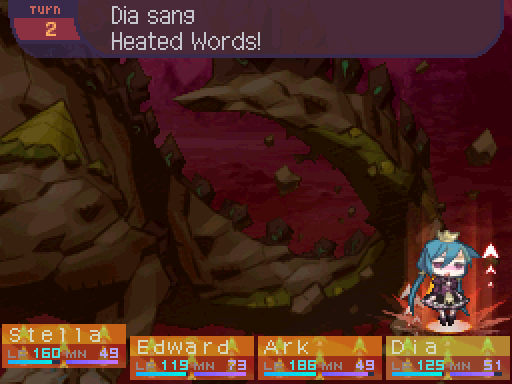
Maybe if you weren’t in such a hurry, we could have sung before you starting firing away.
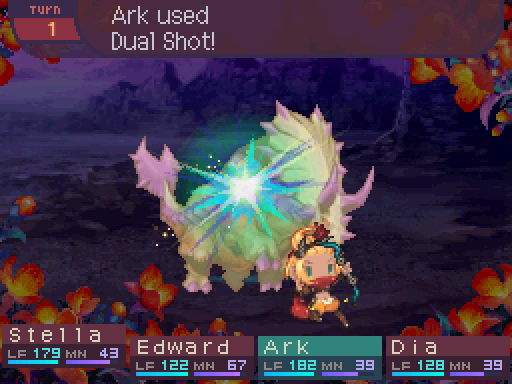
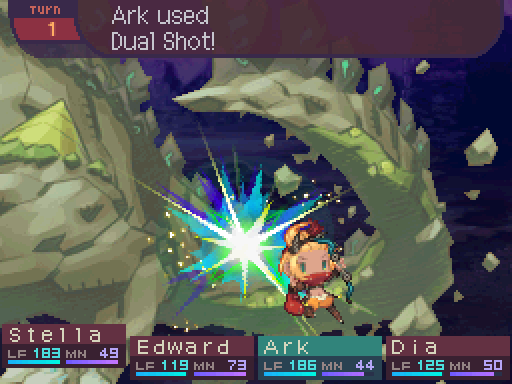
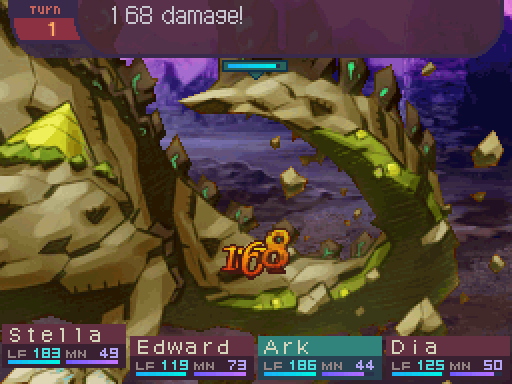
Ark lost out on the ATK boost from Heated Words, but it’s not a big deal. We can shred these dragons pretty fast either way.
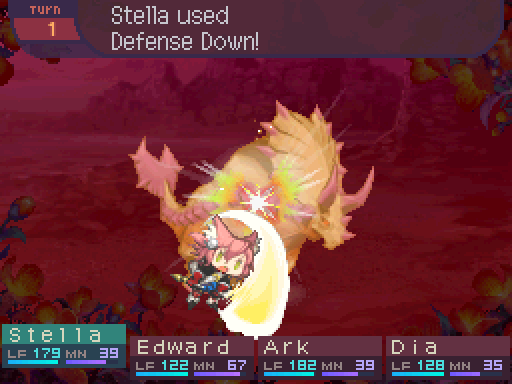
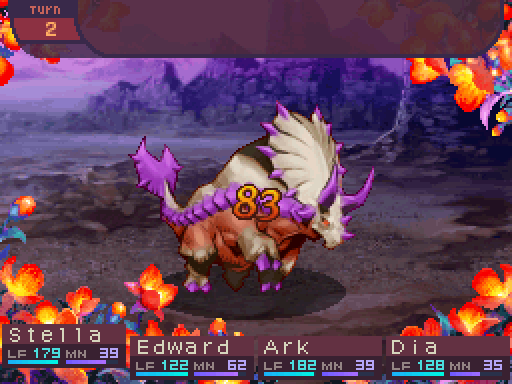
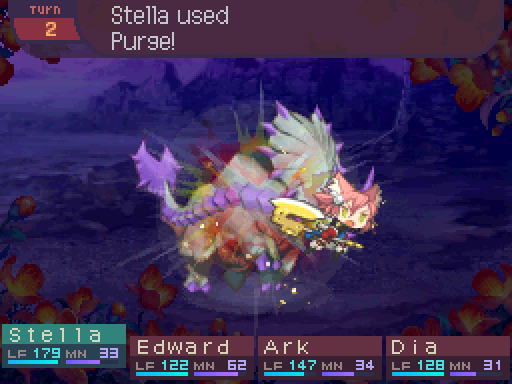
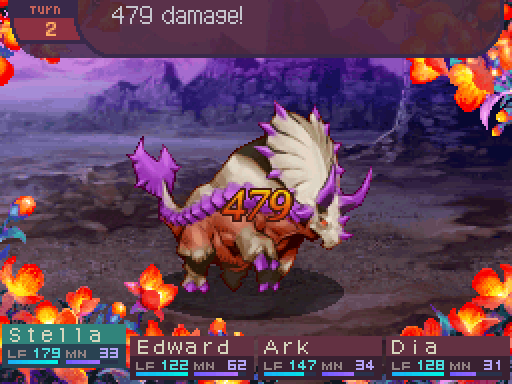
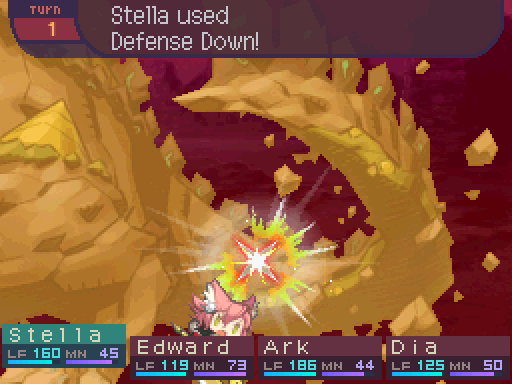
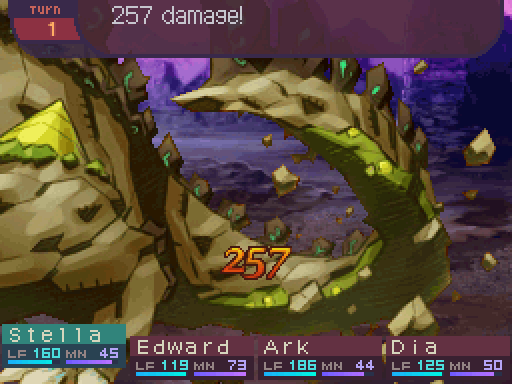
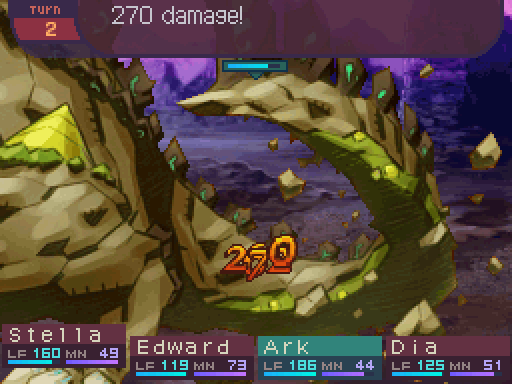
Even Defense Down is doing pretty hefty damage to it.
I guess things are looking up after all!
That’s a real nice... cough ya gave it...
...Or maybe I should find a better way to contribute.
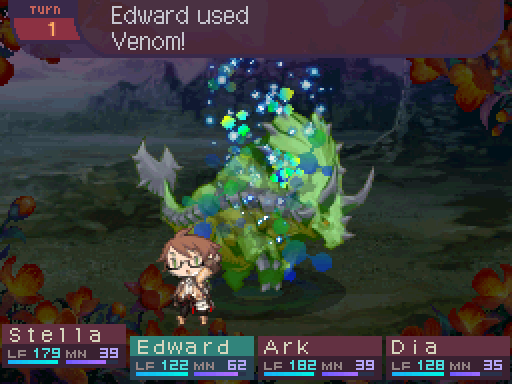
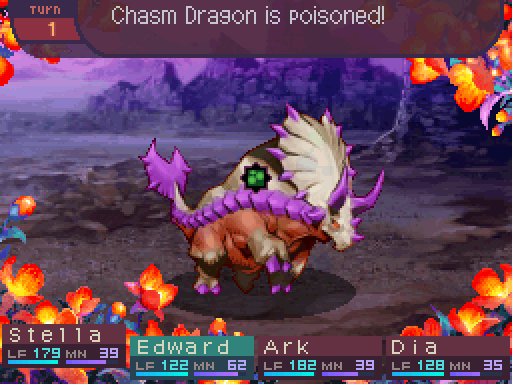
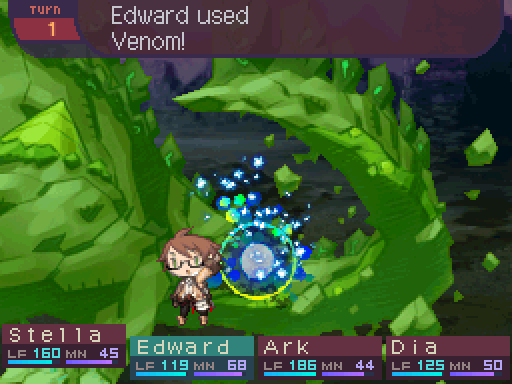
Edward’s Poison techniques have fallen off hard by now, so it may be time to think about giving him a different role to play in battles whenever he’s not healing.
Now we’re talking!
Oh that is much better damage.

Snrk. That all ya got?
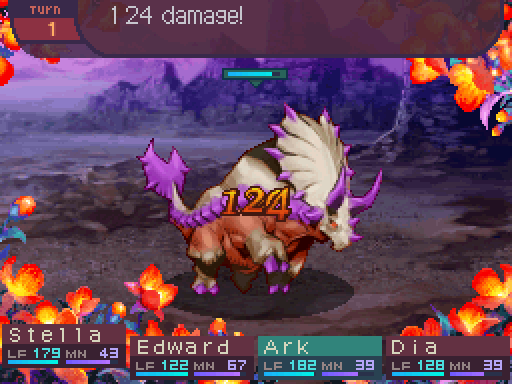
Ark is in the back row, so that damage was halved. That’s a pretty decent amount of damage on front liners, and you really do not want to see a Gather Power boosted Assault. And Elegant Slash makes that hit a lot harder.
A mountainous collapse! No no, that’s not snappy enough. Maybe-
Stella, what are you doing now?
Oh. You know, killing a mountain dragon is like, really heroic and cool, you know? I want to come up with some sort of cool finishing yell whenever we kill the mountai-
Stella. Dragon. Focus.


Stella, you have plenty of time to come up with a cool finishing shout! So don’t worry too much about- hey, it’s dead already?
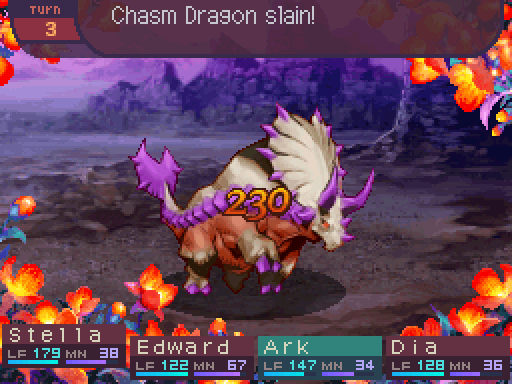
While ya’ll were yapping away, I took care of the dragon for ya. Yer welcome, by the way.
Eheh. Sorry about that. Thanks, Ark.
...Heh heh, no problem.
Chasm Dragons aren’t too much more difficult than Triceratops to kill, though it’s not a dragon you want to leave alive for too long as it can wear you down with Assaults if you let it cast those often.
Oh that’s just not fair! Hmm, maybe...
Ark, get down from there! You’ll just end up with a bunch of scrapes if you keep climbing that thing!
Can’t ya just give me some medicine after I’m done?
I could, but I would prefer not to waste medical supplies while we’re on top of a goddamn mountain dragon if possible.
Fine. Ya made yer point. Grumble.
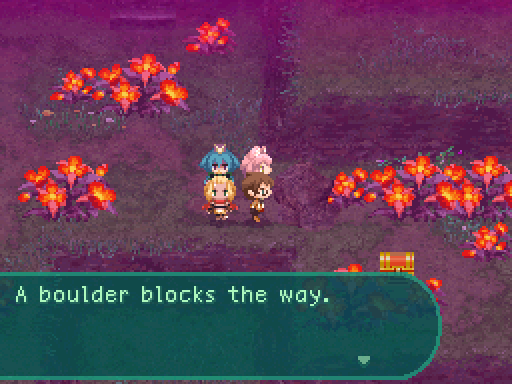
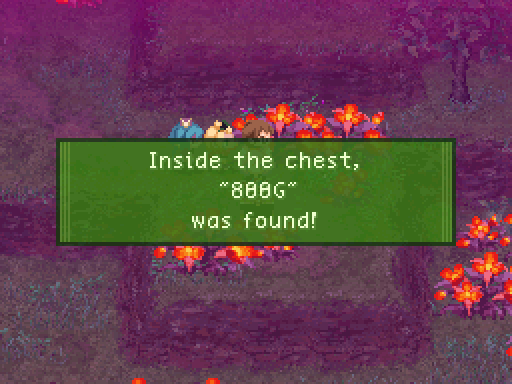
There’s a chest in the southeastern corner of the map, but we can’t get to it at the moment.
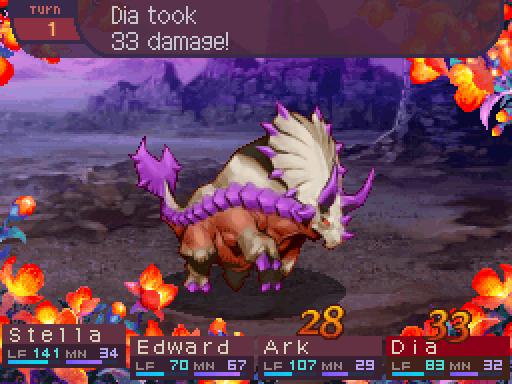
That’s how hard these things can hit with an unboosted Assault. Nothing a Cure All can’t fix, but don’t leave them alive for too long to let them get charged versions off.
There was a patrolling dragon over to the eastern side of the area. Let’s check that one out. It’s slightly slower than a running party, so it’s possible to get preemptives on them. You’ll just need a bit of good timing to do so.

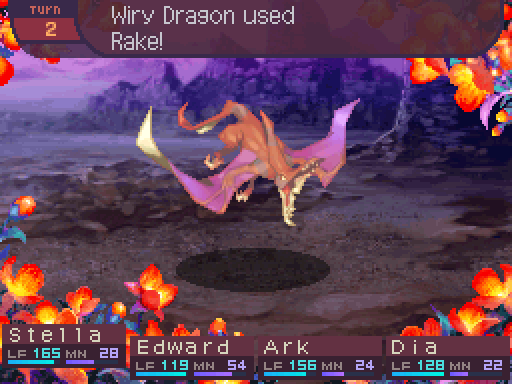
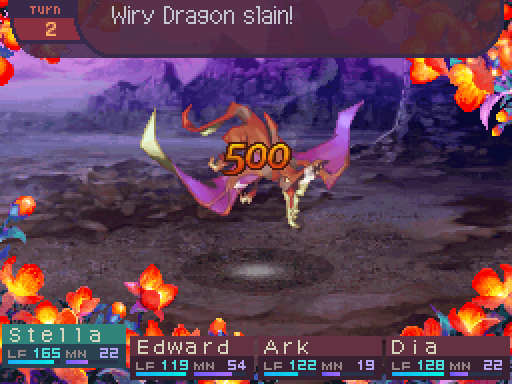
Wiry Dragon
Level: 42
LIFE: 1500
ATK: 140
DEF: 80
INT: 60
SPD: 70
Attack Type: Blunt
Enemy Type: Dragon
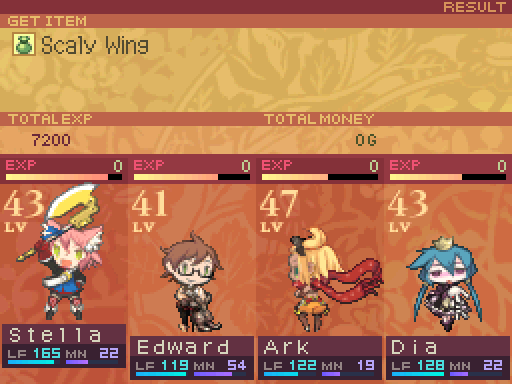
Exp: 7200
Gold: 126
Item Drops:
-Normal: Scaly Wing - 100% Drop Rate. 1 needed to unlock the Sergeant Cape. (Accessory. -10% Physical Damage.)
--Wing of a Wiry Dragon.
-Rare: Bloom Seed - 5% Drop Rate.
--A seed with the power of the Bloom. Restores the Bloom to an area.
Damage Multipliers:
Slash: 100% Blunt: 100% Thrust: 125%
Fire: 100% Ice: 100% Lightning: 100%
Ailment Susceptibility:
Death: 10% Masked Pain: 100% Skill Seal: 25%
Fear: 25% Curse: 50% Bleed: 25%
Poison: 50% Sleep: 25% Confuse: 25%
Paralysis: 50% Blind: 25% Stun: 100%
Skills:
Grind: Deals melee 120% ATK-based Thrust damage to one party member. Has a speed modifier of 90%.
Riot Scream: 20% chance of inflicting Confusion on all party members. Has a speed modifier of 75%.
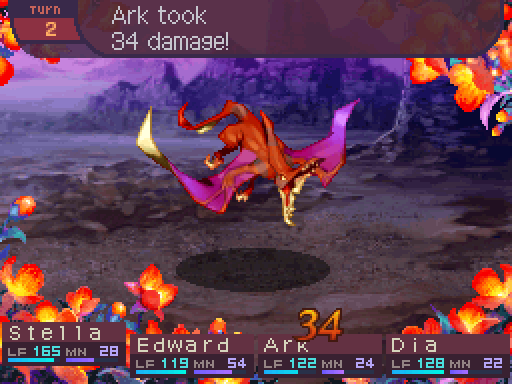
Rake: Deals melee 130% ATK-based Slash damage to one party member and has a 40% chance to inflict Bleed. Has a speed modifier of 90%.
Here’s the other type of dragon we’ll be encountering in this dungeon, Wiry Dragons. Wiry Dragons are can be a bit dangerous for one reason. They have access to an AOE Confusion skill when they’re a dragon, and more sturdy than random encounters as a result. Outside of that, the rest of their skillset is rather mediocre. It’s just single target damage you can easily heal back up, nothing too noteworthy.
Yeah.
Boom goes the dynamite! No, that’s too cheesy. And doesn’t make sense.
Are we really going to have to deal with this all the way through?
You might as well get used to it. It’s kind of cute, to be honest.
Hee hee, that means a lot coming from you!
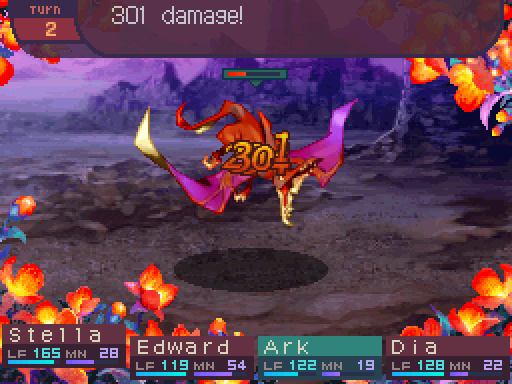
If it wasn’t for Riot Scream, these dragons would be complete and utter jokes compared to Charger Dragons since they take way less time to kill.
My mana pools are fairly low right now, so I start abusing the Moonlit Song strategy here in less dangerous encounter formations to help alleviate that. This dungeon is pretty long, so you’ll need a good amount of supplies or a good way to heal up your party periodically. Or head back to a nearby inn, but the closest one to Mt. Jomaron is the one in the Border Camp, but that’s a good distance away from here.
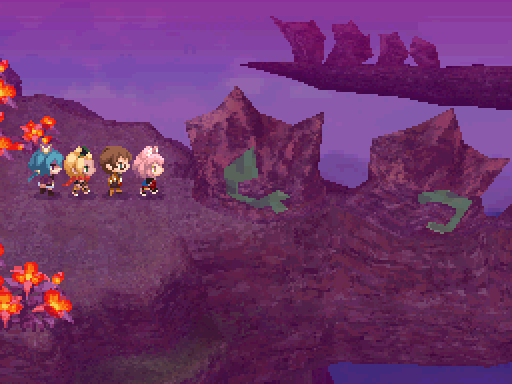
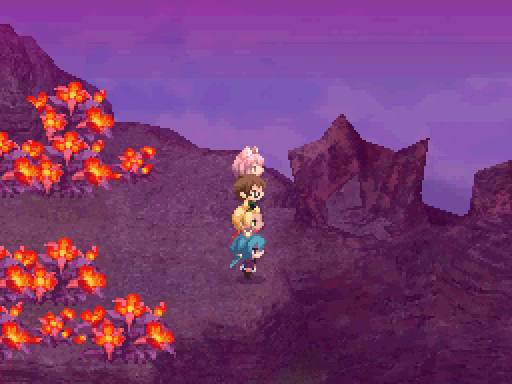
There are 2 exits in this area we can take, though we’ll want to take this exit in the southeast corner.
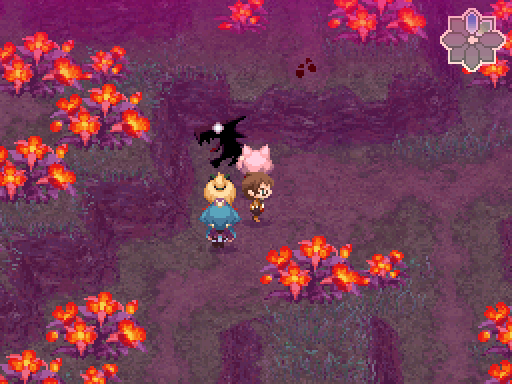
I-Is that this mountain’s tail? It’s so huge...
Looks like it. You think that’s one of Earthshaker’s weak points?
It’s big, and has glowing spots. I’d bet my gold pieces for sure that it’s one of them.
Slight mistranslation, it’s actually saying one of Earthshaker’s body parts is up ahead.
These body parts serve as miniboss fights. Each one you kill will make the battle against Earthshaker easier. It also serves as a way to inject a lot of experience points into your party what with all the dragons and these minibosses, so you can take on the later missions more easily, which is one of the reasons why this is the mission that the game recommends you take on first.
It’s like Ark said. Nothing is truly invincible. No matter how big it is, we’ll take it down!
The screen shakes and rumbling sounds are heard.
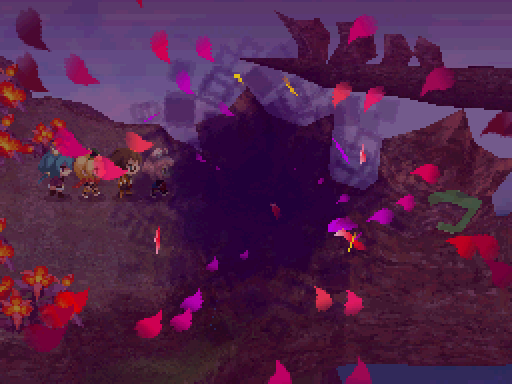
Video: Earthshaker’s Tail

To think this is truly what we’re up against...
Don’t have second thoughts now, Dia! One way or another, we’re killing this mountain!

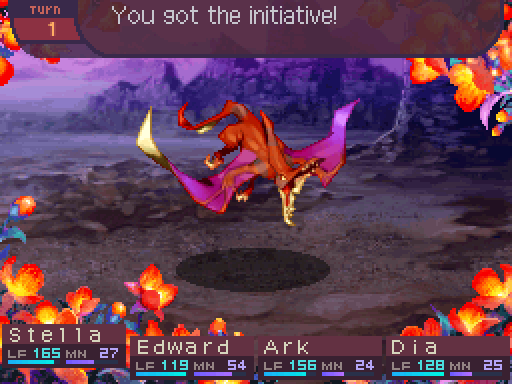
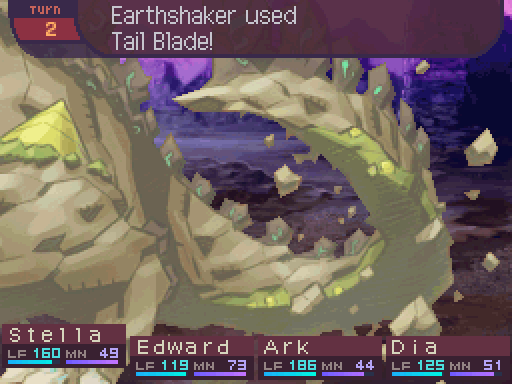
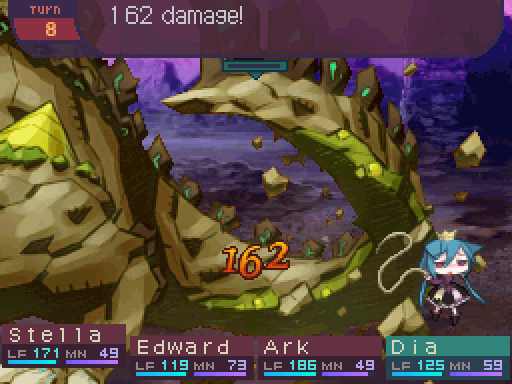
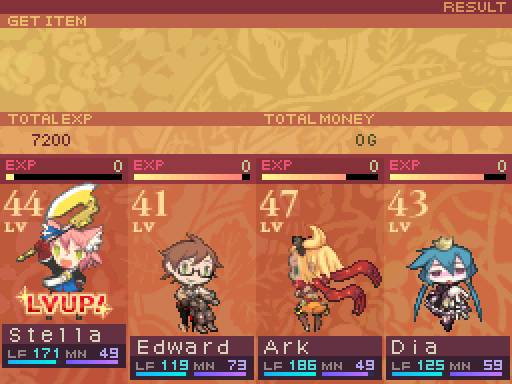
Earthshaker (Tail)
Level: 45
LIFE: 5000
ATK: 140
DEF: 50
INT: 65
SPD: 56
Attack Type: Blunt
Enemy Type: Imperial Dragon
Exp: 7200
Gold: 340
Item Drops: N/A
Damage Multipliers:
Slash: 100% Blunt: 100% Thrust: 100%
Fire: 100% Ice: 100% Lightning: 100%
Ailment Susceptibility:
Death: 0% Masked Pain: 100% Skill Seal: 5%
Fear: 10% Curse: 50% Bleed: 25%
Poison: 25% Sleep: 10% Confuse: 10%
Paralysis: 50% Blind: 25% Stun: 100%
Skills:
Tail Blade: Deals 130% melee ATK-based Slash damage to party members in the front row. Has a speed modifier of 80%.
Tail Guard: When taking damage from physical attacks, all damage is nullified, and 200% melee ATK-based Blunt damage is dealt to the attacker. Has a speed modifier of 100%. Counterattacks cannot miss. Has defensive priority.
Grand Crush: Deals 130% melee ATK-based Blunt damage to one party member. Has a speed modifier of 90%.
I’ve said the spritework in this game is top notch, but holy fucking shit is it absolutely amazing here! This was the moment where it truly sunk in for me what I was doing. Yes, we are killing a goddamn mountain, and you better believe it! The mission’s concept is so amazingly absurd, and the spritework here does a fantastic job of selling you on that! This is by far my favorite mission in the entire game, and my favorite Imperial Dragon in the entire series due to the sheer ridiculousness of it all. And I love how the fact that the mountain is an Imperial Dragon isn’t just (really awesome) window dressing. The way this dungeon works with you hunting down the weak points and visibly seeing Earthshaker’s body parts as you travel through it really makes it stand out as one of the coolest concepts for a dungeon and boss I have ever seen.
And yes, that sprite is genuinely too big to fit on the DS’s screen. 
Combined with how surprisingly fucking metal the back half of this game turned out to be, such as the concept of the Invisible battle, all of this basically cemented the thought of “I have to LP and show off this game!”
And to make things even more metal, Earthshaker’s name in Japanese? It’s “The Earth”!

As for the fight itself, there isn’t too much too it, though there’s a pretty big wrinkle I’ll go over in a bit.
I go with my standard opening tactics, but because this dungeon is so big and there are more of these big fights to go through, I’m going to be playing a bit more conservatively than usual. I want to keep my party’s Mana pools topped off as best I can, and I’m going to refrain from using EX, as this fight isn’t that bad to go through when you know how it works.
Think carefully about what you do next. The last thing we need is to be flattened by its tail.
Ha! That actually made a dent!

STELLA! Are you okay!?
So that’s what it’s like... to be flattened by a mountain...
I’m genuinely amazed and utterly frightened that you actually lived through that.
The tail’s damage output isn’t too bad by itself.
But it’ll take more than being squashed by a mountain to keep me down!
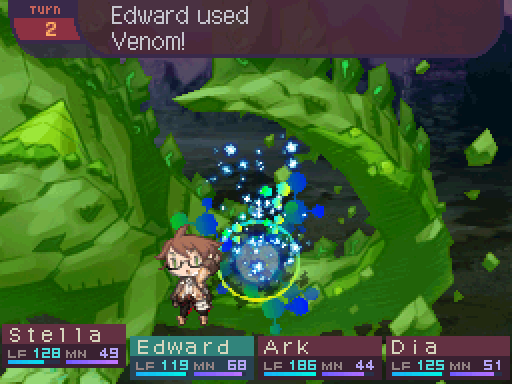
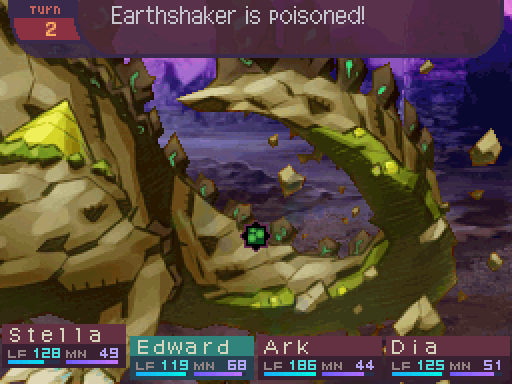
I don’t know why I thought trying to inject the ground with a syringe full of poison was a good idea.

Now that things are set up, we can go on the offensive a bit more.
Kick its butt, girls! Literally, this time!
That’s some more respectable damage.
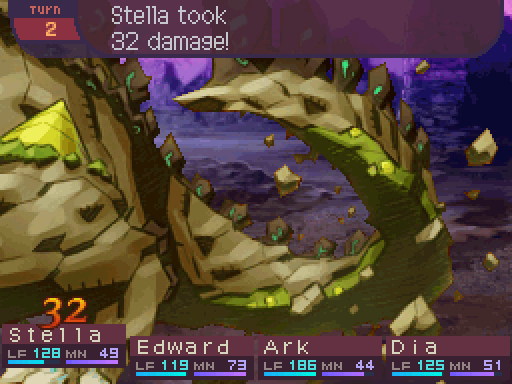
Tail Blade hits everyone in the front row instead of just one party member. However since Stella is my only frontliner, it’s effectively the same thing as being hit by Grand Crush.
What.
I guess ya just needed a more sturdy needle, nyeheheh!
Tail whip!
Hm? Hey Stella, don’t do anything for a while!
Huh? Why?
Call it a hunch, but I smell a rat.
After Earthshaker’s Tail casts Tail Blade, do not use any physical attacks on the next turn! Unfortunately, imbued regular attacks and stuff like the Samurai’s elementals also count as physical attacks. Only the Mage’s spells and the scroll items are allowed to be used here.
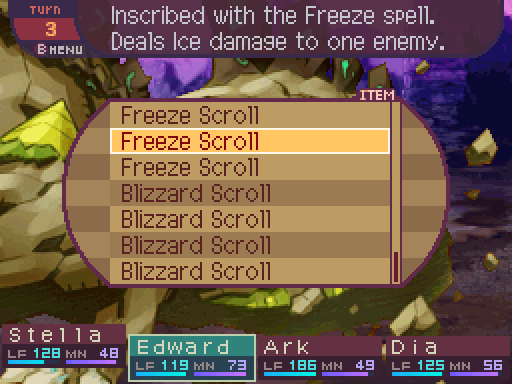
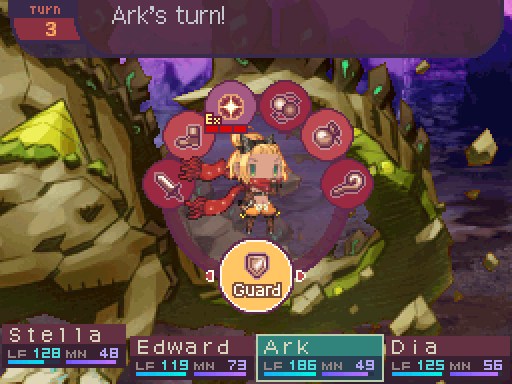
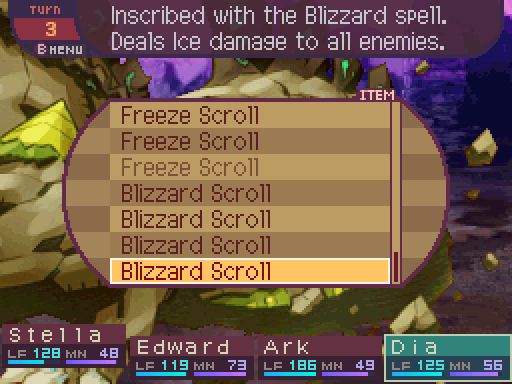
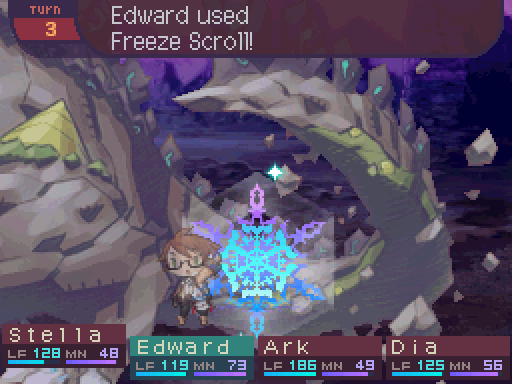
I have Stella and Ark defend, while Edward and Dia throw out scrolls I bought just for this purpose.

Ha! Figured as much! Yer dirty tricks won’t work on us!
Woo! Nice going, Ark!
The main reason for that is Tail Guard. Earthshaker’s Tail will always cast this after using Tail Blade. It’s a counter skill that nullifies any damage done to it this turn, and smacks the attacker with a hard hitting physical attack. And because the damage is nullified, it’s really not worth trying to tank the counter damage at all. A Mage can ignore this mechanic entirely, but your physical attackers will have to sit still for these turns.
And if you have a Rogue with Dual Shot, you’ll really want to avoid using that on Tail Guard turns, as both of those hits will trigger counter attacks, likely taking them to very low Life, or outright killing them.
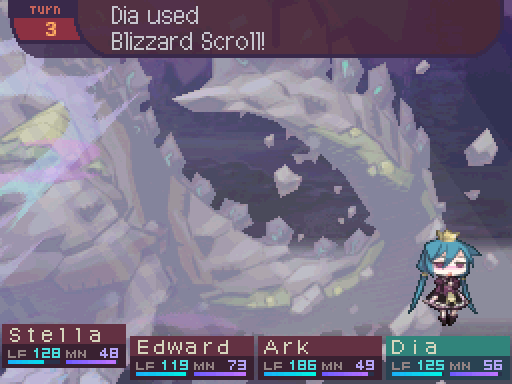
Oh I’ve always wanted to be like Nila! Feel the chill!
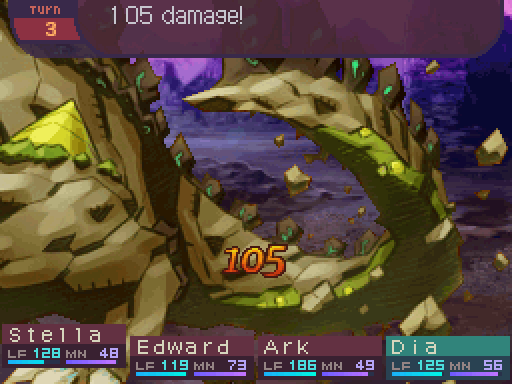
...I guess that’s better than nothing?
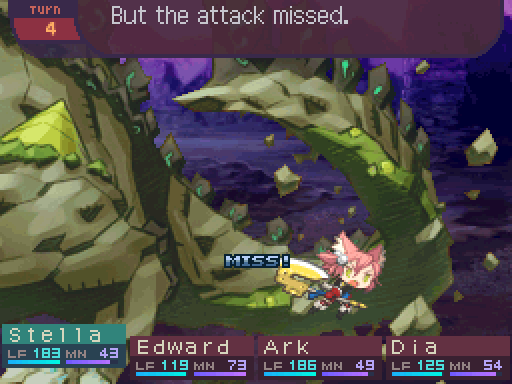
Have a bit of frostbite!
Yech. Not much better either.
You tried, and that’s what matters!
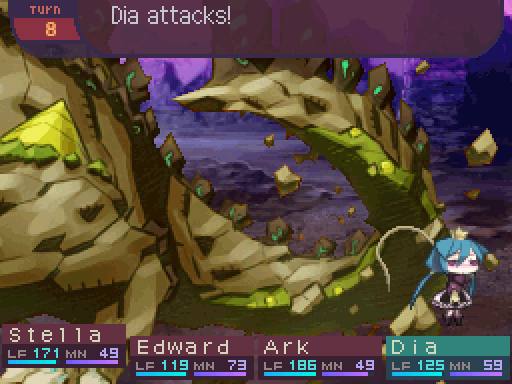
Besides, it’s not like we can do much while that tail’s waiting for us to strike. Ooh wait, looks like it’s letting its guard down! C’mon, Stella!
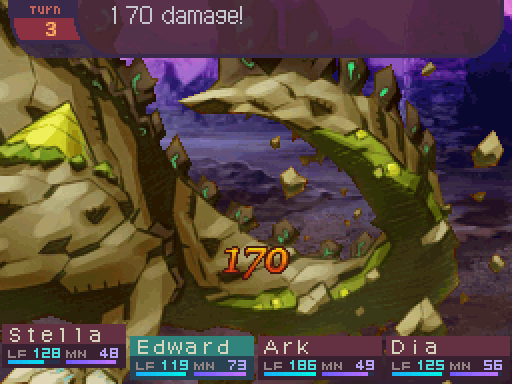
The reason I had both Freeze and Blizzard Scrolls was because I forgot which ones did more damage, and decided to scout it out in this battle. Also they’re not too great since they’re just level 1 versions of the Mage spells, but there’s nothing else I can really do on Tail Guard turns.
Oh, can’t you just stay still!?
Basically just whittle it down and don’t have your physical attackers do anything after it casts Tail Blade. It’s a pretty simple battle overall.
Eventually...
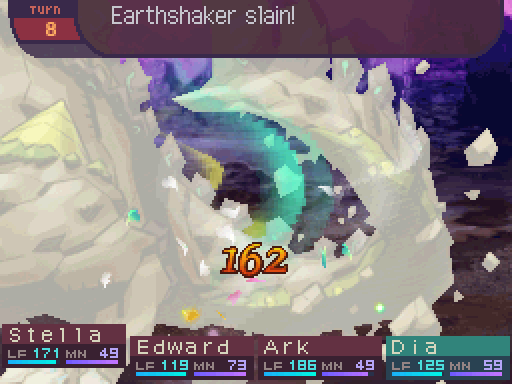
Time grinds even mountains to dust!
Overall if you know how the battle works, it’s a pretty simple one to go through. Even if you keep running into Tail Guard, it’s not too hard to heal up your party members after that as while it hits hard, it doesn’t hit hard enough in most cases to be a huge problem.
The screen shakes and the sound of rumbling plays. Eventually the tail stops moving and the glow fades from it.
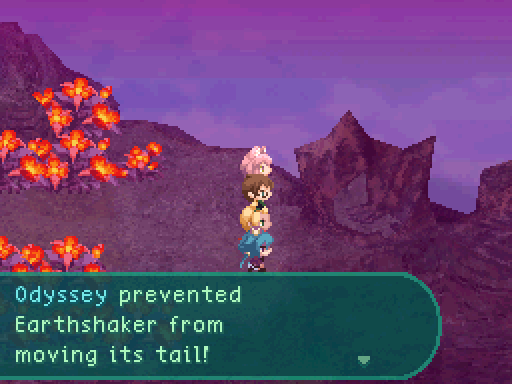
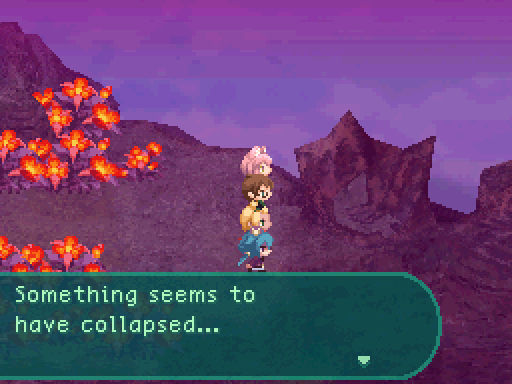
We... we really did it! We took down part of a mountain!
Never thought I’d really end up killing a mountain when I was growing up but-
Hey, we haven’t killed the mountain yet. Don’t forget there are other weak points to go after, and the dragon itself. We’re nowhere close to finishing this mission yet!
Yeah, but now that we know what to do, it’s looking a lot less crazy and impossible! Where’s the next weak point? Lemme at it!
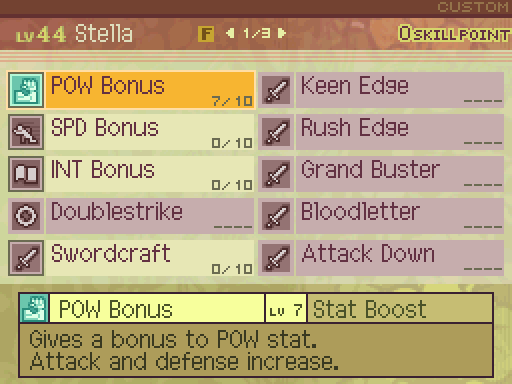
That level up granted Stella enough SP to level up POW Bonus again.
Now taking down one of Earthshaker’s body parts does 2 things. Earthshaker itself has 9000 Life, which is quite a bit to burn though, and the fight itself can be really harrowing if your team composition is less than ideal. Each time you take down a body part, you’ll end up lowering its maximum Life by a certain amount. In this case, taking down 1 body part lowers its Life by 7%, down to 8369 Life. (The function that handles this appears to have a bit of a rounding error.) As for the other effect...
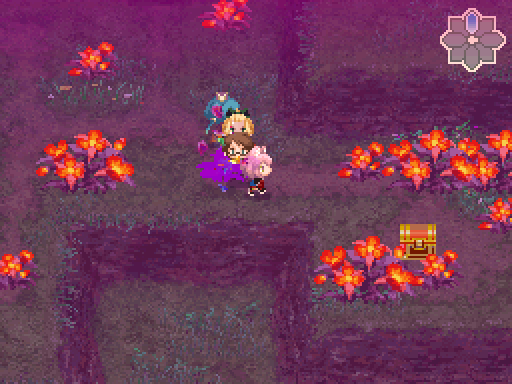
Ooh, that boulder’s gone! Gimme!
Heehee! As if we needed any more reason to hunt down the weak points!
Each time you take down a body part, it’ll destroy one of these boulders, letting you investigate the chest it was blocking off.

The exit up north is what takes us further into Mt. Jomaron. This dungeon is pretty long, so I’ll be ending things off here for now. Next time, more mountain slaying.