Toggle Background Color
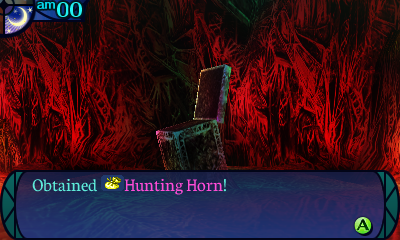
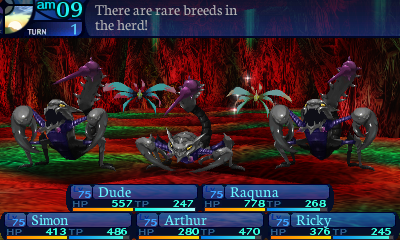
Story Update 30: Dracopelagic (Blizzard King)


 Let's go kill another dragon.
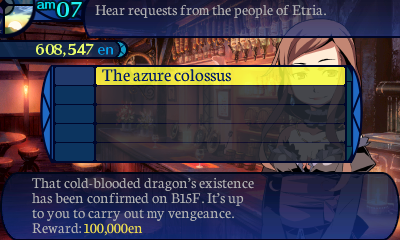
 Decided to take the request, have you? Good, I've been hoping someone would. The Hall's investigation team went back to the area where you found that blue dragon. But they couldn't even scratch it. We can't allow that beast to run loose, so they're hiring you to kill it. This is really dangerous, so I feel bad even asking you to do this... But somebody's got to do it. This problem isn't going to solve itself... The dragon is far in the hidden area you found on B15F, in the room where you discovered that man's Frozen Arm. Everyone... This is a dragon you're dealing with. Be careful.


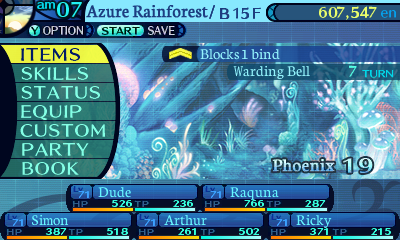
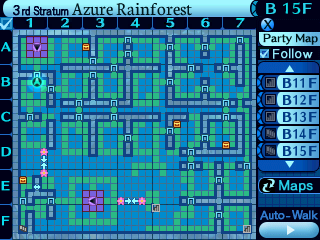
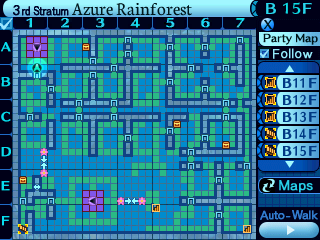
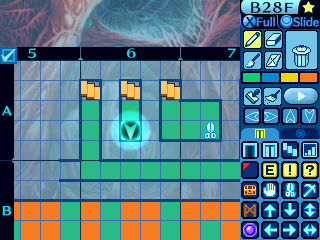
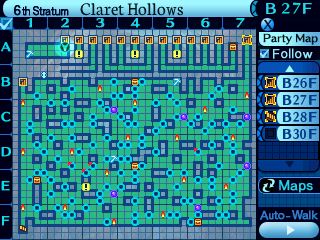
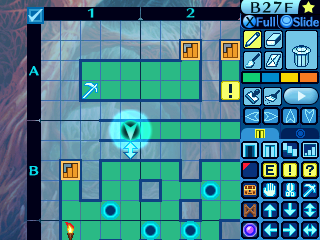
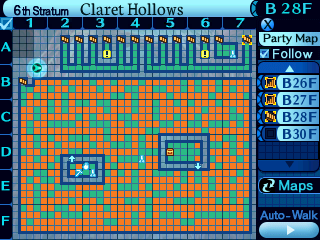
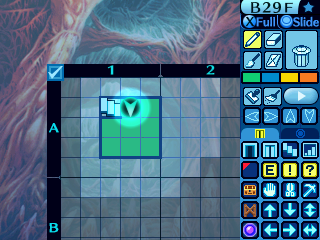
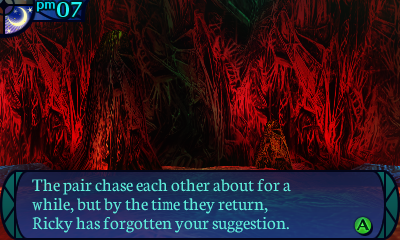
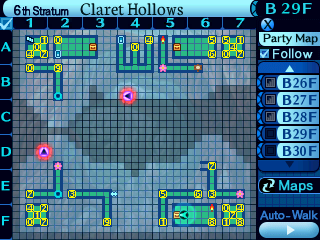
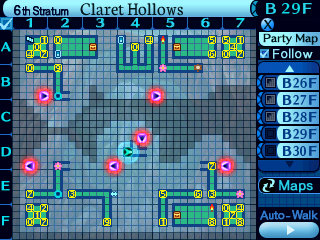
Ward Bells really make the trek back to a boss less annoying, as you can see, the dragon in question is a good distance away from the stairs, even with the shortcut.
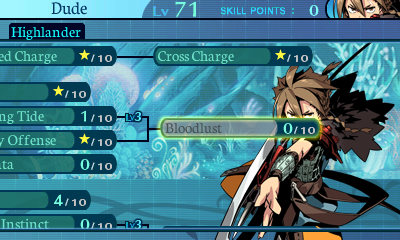

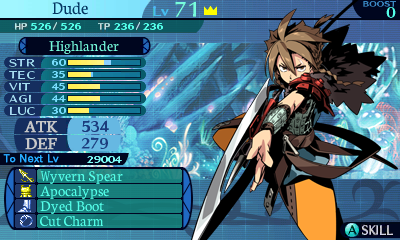
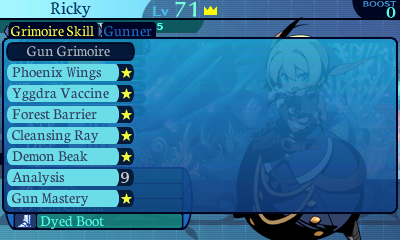
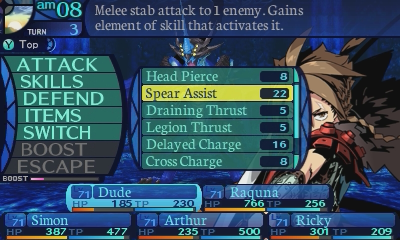
By the way, if your Highlander knows Bloodlust, I heavily suggest resting to unlearn it, as it'll make the upcoming fight way harder than it needs to be.


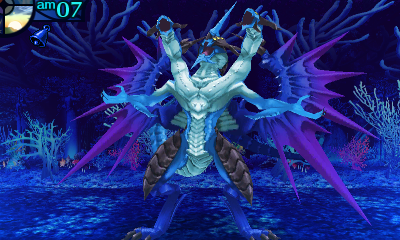
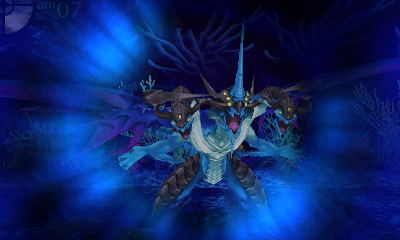
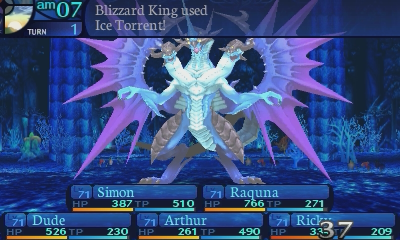
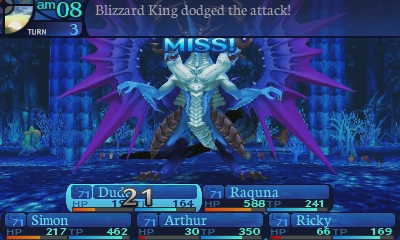
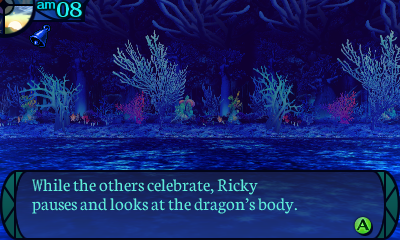
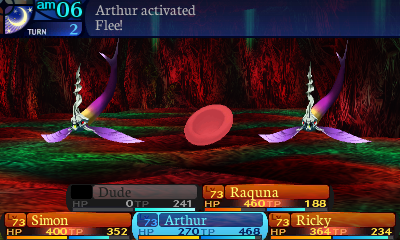
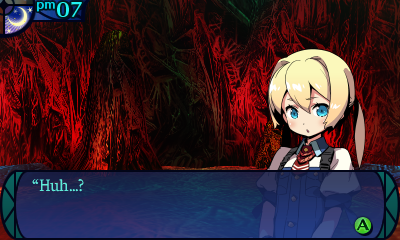
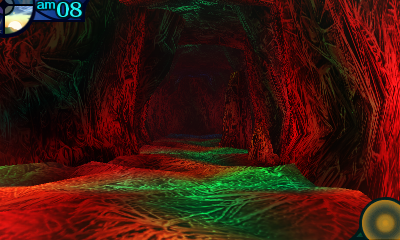
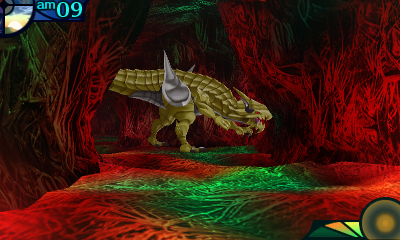
 As you walk along the frozen path and pass through the doors, a squall of ice blows past you. A dragon stands in the middle of the ice storm, its deep blue wings spread wide. Your courage and hope wither in the face of this dragon's icy rage.
Do you have the courage to take on this dragon!? There is still time to turn and run...
 Video: Blizzard King


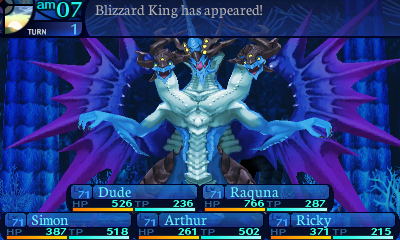
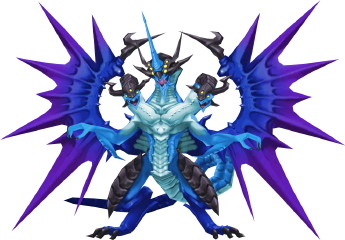
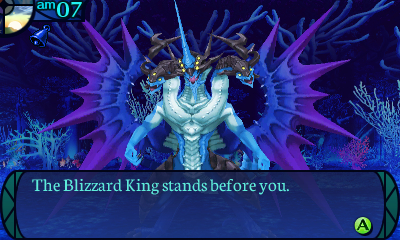
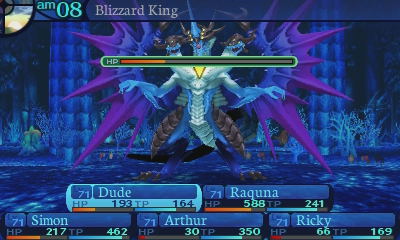
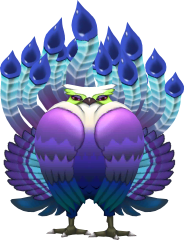
Blizzard King
Level: 80
HP: 35000
STR: 90
TEC: 68
VIT: 65
AGI: 60
LUC: 61
Attack Type: Bash
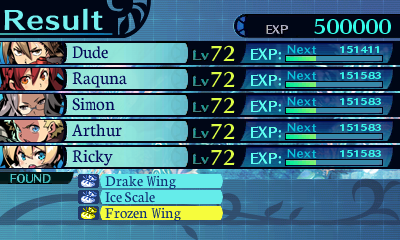
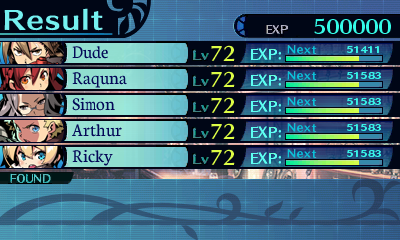
EXP Given: 500000
Damage Vulnerabilities:
 100%
100%  100%
100%  100%
100%
 100%
100%  0%
0%  150%
150%
Disable Vulnerabilities:
 30%
30%  75%
75%  30%
30%  30%
30%  10%
10%  30%
30%  30%
30%
 0.1%
0.1%  0.1%
0.1%  20%
20%
 30%
30%  30%
30%  50%
50%
Mechanics:
Ice Torrent: Deals overkill ice damage to all party members. Slow.
Mirror Shield: Nullifies all damage to Blizzard King for one turn. All damage is countered by overkill bash damage to all party members. Has priority.
Crushing Arm: Deals severe bash damage to all party members. Attempts to bind the heads of hit targets, with a moderately low chance. Slow.
Cold Regen: Gives the Blizzard King a buff that heals it for a moderate amount at the end of every turn for 4 turns. Average speed.
Wail: Reduces all party members' physical defense by 50% for 4 turns. Attempts to inflict sleep on all party members, with a high chance. Average speed.
Triple Strike: Deals 3 instances of severe melee cut damage to random party members. Average speed.
Skill Data:
Ice Torrent: Deals 500% ranged TEC-based ice damage to all party members. The damage ranges from 921 to 1269 on average. Has a 50% speed modifier and a base accuracy of 180%.
Mirror Shield: Nullifies all damage to Blizzard King for one turn. All damage is countered by 250% melee STR-based bash damage to all party members. The damage ranges from 1363 to 1657 on average. Initial prep has priority. Counterattacks have a base accuracy of 99%.
Crushing Arm: Deals 80% melee STR-based bash damage to all party members. The damage ranges from 436 to 530 on average. Attempts to bind the heads of hit targets, with a 20% base chance. The effective chance ranges from 26% to 34% on average. Has a 70% speed modifier and a base accuracy of 99%.
Cold Regen: Restores the Blizzard King's HP, for around 2029 to 2043 HP, at the end of the turn, for 4 turns. Has no speed modifier.
Wail: Reduces all party members' physical defense by 50% for 4 turns. Attempts to inflict sleep on all party members, with a 50% base chance. The effective chance ranges from 52% to 68% on average. Has no speed modifier.
Triple Strike: Deals 3 instances of 100% melee STR-based cut damage to random party members. Has no limit on how many times one target can be hit. The damage ranges from 545 to 663 on average. Has an 80% speed modifier and a base accuracy of 99%.
Enemy Behavior:
-Ice Torrent is always used on the first turn. After that, it is used as a follow-up to Wail. Ice Torrent has priority over Mirror Shield.
-Mirror Shield is used on turns that are a multiple of 4 (4, 8, 12, 16...) and has priority over Wail.
-Crushing Arm is the Blizzard King's preferred physical skill.
--When the Blizzard King is at 30% HP or lower, if its head is bound, it will always use Crushing Arm.
--When the Blizzard King is at 50% HP or lower, it prefers to use Crushing Arm if 1 or no party members have head binds, and vice versa.
-Wail and Cold Regen each have and start the battle with 6 turn cooldowns.
-Wail and Cold Regen are not guaranteed casts, even when their cooldowns are 0.
-At above 50% HP, Wail has a 5 turn cooldown, though this randomizes to 4 to 6 turns once Blizzard King's HP below 50%.
-Cold Regen is also very likely to be used if the Blizzard King is at less than 30% HP, and can only be seen once he falls below that threshold. After that, he can use it at any time as long as it's off cooldown.
AI Script:
-If this is the first turn, initialize the Wail cooldown and Cold Regen cooldown to 6.
-Decrement the Wail cooldown by 1.
-If the Cold Regen flag is set, decrement the Cold Regen cooldown by 1.
-If this is the first turn, use Ice Torrent.
-If the Ice Torrent flag is set, use Ice Torrent. Unset the Ice Torrent flag after this.
-If the current turn is a multiple of 4, use Mirror Shield.
-If the Blizzard King's HP is at 50% or below:
--If the Wail cooldown is less than or equal to 0, use Wail, set the Ice Torrent flag, and set the Wail cooldown to 6.
--If the Wail cooldown is less than or equal to 1, 39% chance to use Wail, set the Ice Torrent flag, and set the Wail cooldown to 6.
--If the Wail cooldown is less than or equal to 2, 29% chance to use Wail, set the Ice Torrent flag, and set the Wail cooldown to 6.
-Else, if the Wail cooldown is less than or equal to 1, use Wail, set the Ice Torrent flag, and set the Wail cooldown to 6.
-If the Blizzard King's HP is at 30% or below and the Cold Regen flag is not set, 89% chance to use Cold Regen, and set the Cold Regen flag.
-If the Cold Regen cooldown is less than or equal to 0, 69% chance to use Cold Regen, and set the Cold Regen cooldown to 6.
-If the Blizzard King's head is bound, use Crushing Arm.
-If the Blizzard King's HP is at 50% or below:
--If two or more party members have their heads bound:
---39% chance to use Crushing Arm.
---61% chance to use Triple Strike.
--Else:
---59% chance to use Crushing Arm.
---30% chance to use Triple Strike.
---11% chance to Attack.
-If the Blizzard King's HP is at 75% or below:
--49% chance to use Crushing Arm.
--30% chance to use Triple Strike.
--21% chance to Attack.
-If the Blizzard King's HP is above 75%:
--29% chance to use Crushing Arm.
--10% chance to use Triple Strike.
--61% chance to Attack.
Learnable Skills:
Ice Torrent: Deals ice damage to all enemies. Very slow.
Cold Regen: Restores the user's HP at the end of the turn, for 4 turns. Average speed.
Triple Strike: Deals 3 instances of cut damage to random enemies. Average speed.
Grimoire Skill Data:
Ice Torrent: Deals ranged TEC-based ice damage to all enemies. Has a 40% speed modifier and a base accuracy of 120% at all levels.

Cold Regen: Restores the user's HP at the end of the turn, for 4 turns. Has no speed modifier at all levels.

Triple Strike: Deals 3 instances of melee STR-based cut damage to random enemies. Has no limit on how many times one target can be hit. Has no speed modifier and a base accuracy of 99% at all levels.

Drops:
-Normal:  Drake Wing. 100% chance. Sells for 25000 en.
-- Hisamemaru (+242 ATK, cut+ice normal attacks): Made from 1 Drake Wing. Costs 221000 en.
-Rare: Ice Scale. 25% chance. Sells for 35000 en.
-- Shinryuu (+210 ATK, +5 all stats): Made from 1 Fire Scale (Great Dragon rare), 1 Ice Scale (Blizzard King rare), and 1 Volt Scale (Storm Emperor rare). Costs 200000 en.
-Conditional:  Frozen Wing (Kill with ice damage). 100% chance. Sells for 60000 en.
-- Holy Armor (+113 DEF, +10 HP, +10% cut/stab/bash resistance; Protector only): Made from 1 Frozen Wing. Costs 120000 en.
Something I want to bring up about the Dragons is that in the previous games, once you've unlocked the fights with them, you could potentially do them in any order. Not so much from this game onwards. This game started enforcing an order of sorts by ramping up the dragons' stats, where they used to be equal before. Storm Emperor is statistically the weakest, with the Blizzard King being a step above him, and the next dragon being the strongest out of all of them statistically.
Blizzard King is... weird. Out of all the dragons, he's essentially the one that got the most reworks throughout the series. The next dragon basically stayed the same in the games he showed up in, and Storm Emperor went through some minor tweaks here and there, but kept the overall concepts of the fight in each entry. And Blizzard King's latest incarnation is... something, I guess.
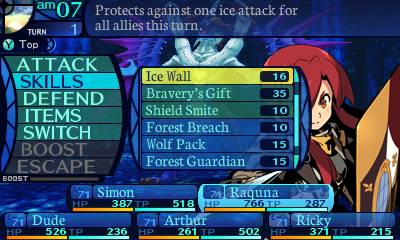
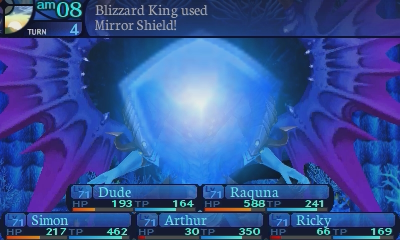
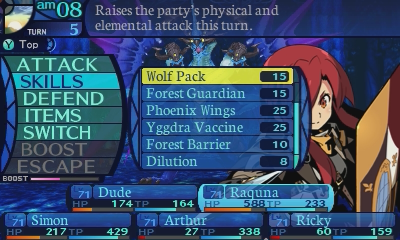
The fight basically centers around his special attacks. One of them being the dragon breath, obviously, and the other is Mirror Shield, which is his new special attack he picked up this game. It nullifies every form of damage and causes the Blizzard King to counterattack with a strong physical nuke that's very likely going to cause a party wipe. Unfortunately there isn't much counterplay to it, as Phoenix Wings does not outspeed Mirror Shield. Mirror Shield has absolute priority, so it will go first, even triggering before the likes of the attack from Sagittarius Shot. So you'll want to time the usage of that attack carefully if you're using a Survivalist. So basically the best thing to do on that turn is to not attack. Though non-damaging skills such as debuffs and inflictions won't trigger it, so you're free to do that. However, Bloodlust in this game does trigger Mirror Shield, which is why I told you to unlearn it, as it can turn this fight into an RNG inducing nightmare depending on when it decides to proc.
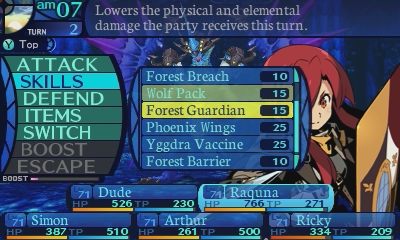
That being said, Mirror Shield is little more than a "gotcha!" So once you know how to deal with it, it's little more than a free turn. Just keep in mind Ice Torrent is used over Mirror Shield, and Mirror Shield is used over Wail. And the rest of Blizzard King's toolkit is basically standard boss fare. Unlike with Storm Emperor, there's not as much to prepare for, as the only disables he has access to are Sleep, which is tied to his telegraph skill, and head binds, which doesn't put your Protector out of business. So you can just slap Sleep immunity onto your party, or bring Yggdra vaccine and a defense buff to turn Wail into a free turn. Overall, once you know his tricks, the Blizzard King isn't too bad to deal with, and you can basically just focus on mitigating his damage if you need defensive measures.
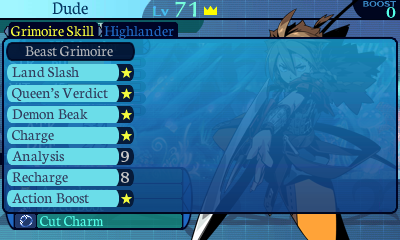
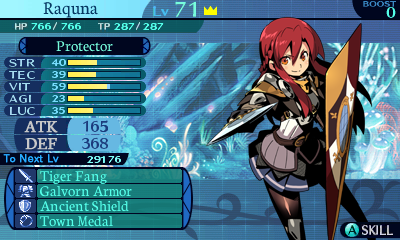
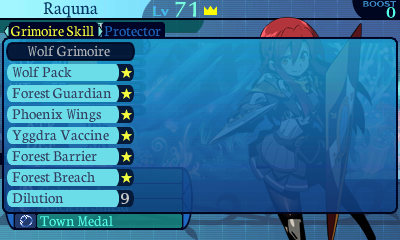
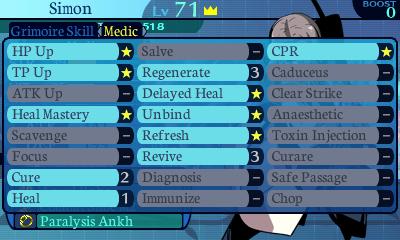
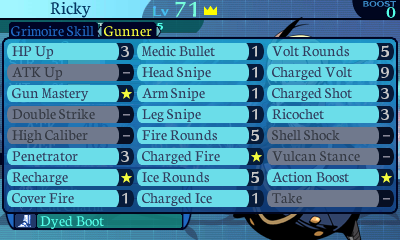
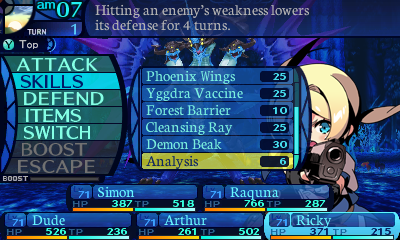
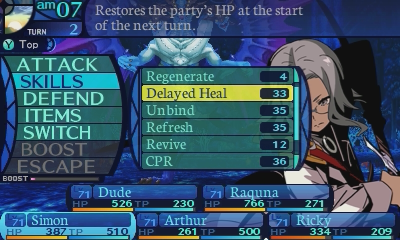
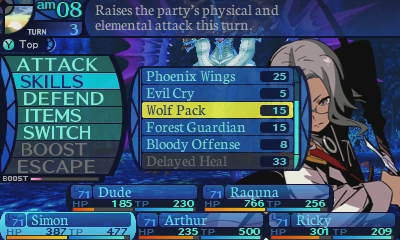
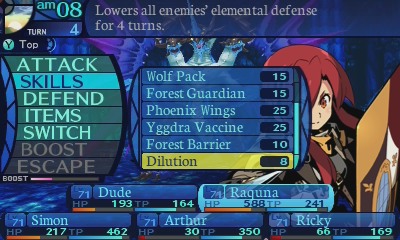
Regarding Grimoire Skills, you already know about the Torrent, but Cold Regen is also a very good one to pick up. It places a regeneration buff on the user for 4 turns, and has a base heal of 186 at level 10. That's a little more than what Delayed Heal gives you! Place this on Raquna to let her to become even more unkillable! Assuming she can find the time to cast it anyways.
 Ah, Drake, while Dragon was by far the easiest, well, dragon, Drake had 3 Ice moves that could be blocked, though one was a composite attack and could still eke through Anticold, and the other 2 attacks were buffs that an Erasure Troubadour laughed at. This was the first dragon I fought at like level 58 and it wasn't too bad. The fight was 41 turns long, but I never felt like my entire team was gonna die. EOU Blizzard King no longer has 0-Point, which was basically Ice Torrent but had an ID effect. Level 5 anti skills in the original were bugged to nullify every aspect of the element's attack, which wasn't intended, meaning you were meant to block it and have people just drop dead, wow how fun. Iceblock turned from a 1% resistance buff that forced you to use said Erasure Troubadour to a one turn reflector, much better. The added attacks make this a more interesting fight, but it also puts it in line with standard bosses from this game, so you should have the tools to get through.

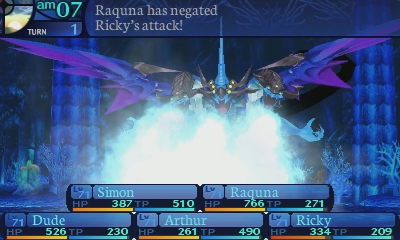
Raquna will let the Blizzard King waste his turn.
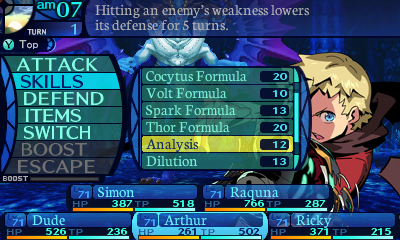
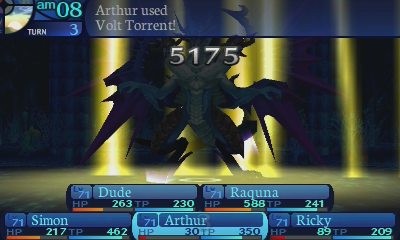
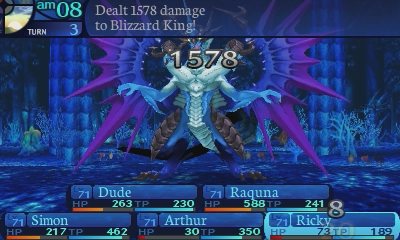
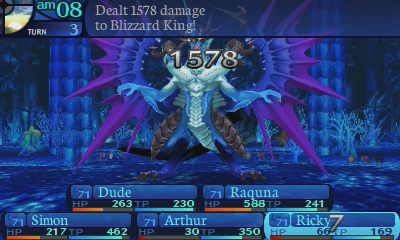
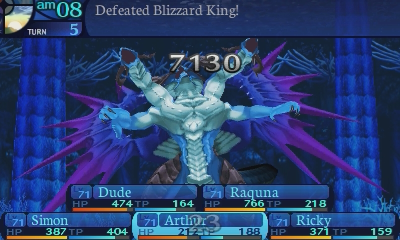
And we are going to defeat the Blizzard King, with the power of math. Firstly, we need to start stacking numbers. At this point, I wanna see some huge numbers!
EOPostgame.png
This series will teach you how to count to 4...
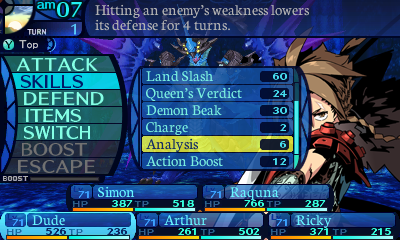
Blizzard King's damage output is my main concern in this fight, as I'm not really too worried about his disables.
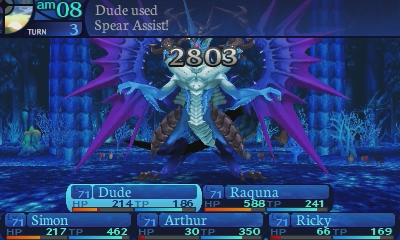
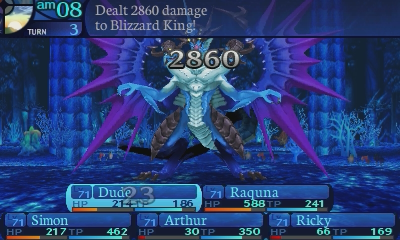
And I pile on triple the math for good measure.

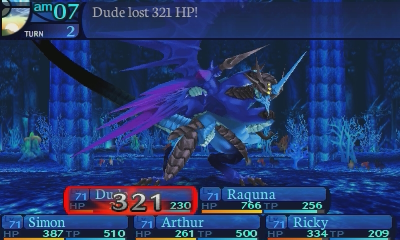
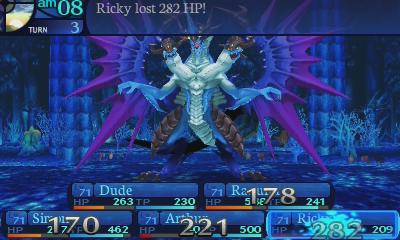
Yeah, you can see why that's my main concern, as he hits pretty hard! Especially if you're doing the fight as early as I am!
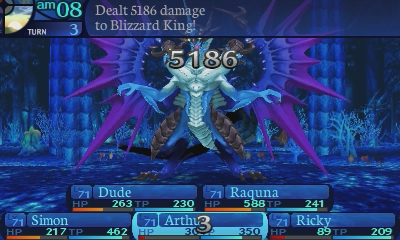
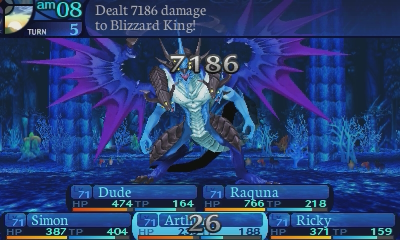
And now, it's time to unleash the math! Take your bets now on how high the numbers are going to get!
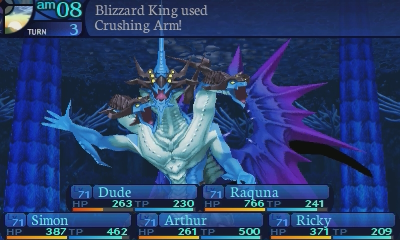
Okay I have no idea why Crushing Arm is displaying the attack as an ice attack when it's really bash. Odd visual glitch there, but Ice Wall won't work on it despite that.
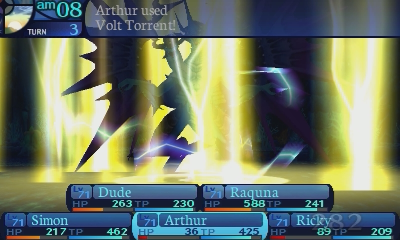
And now to the part we've been waiting for.
SO.
MUCH.
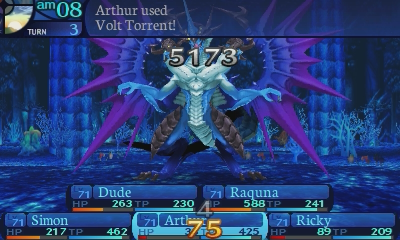
POWER!
Oh just look at those numbers! Beautiful, isn't it?
Blizzard King had the same HP in the original and, uh, that 41 turn fight I was using a Bravery boosted Axe Landy and Ronin, two of the strongest attackers in that game. I was much lower level, sure, but Arax is in a similar position. You can see how skills have been power crept to fuck lol.
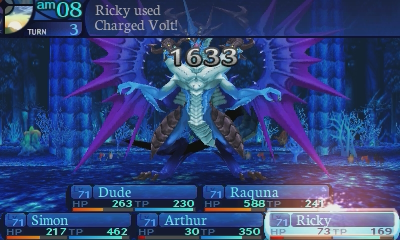
Sadly, Ricky has basically hit the ceiling of her power. There's not much more she can do to push her damage output further.

Dude is at least faring better with regards to damage.
Also fuck you for dodging that last hit! 
Man that would have killed Storm Emperor by now. We've skipped all the way to the last phase at least.
Normally this would be a turn where Wail has the potential to come out but, the turn count is a multiple of 4, so it's Mirror Shield time instead.

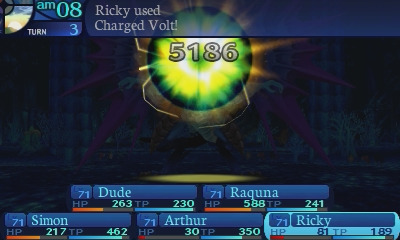
So let's see how much bigger these numbers can get!
What do you mean they're already big enough? Nonsense! They can always get bigger!
Whatever.
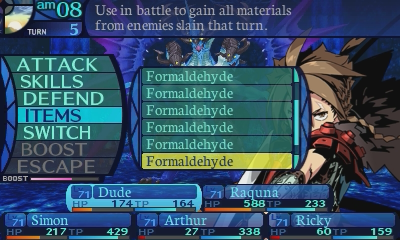
Oh, can't forget to shower him in my Formaldehyde!
I've basically ensured my victory at this point.

That is a terrifyingly large number. I'm starting to think I may have made a huge mistake.
Wow, Arthur is so cool!!!


Overall, Blizzard King is a pretty straightforward fight once you get past the little "gotcha" trick he has for you. Probably one of his easier and less annoying incarnations outside of Mirror Shield.
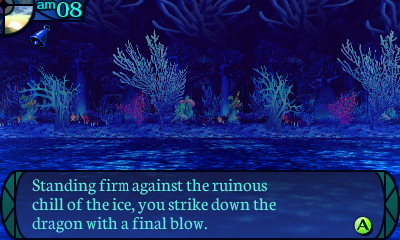
You gasp for breath as you watch the dragon closely, but it does not stir from where it fell. You have managed to defeat the Blizzard King, ruler of snowstorms!
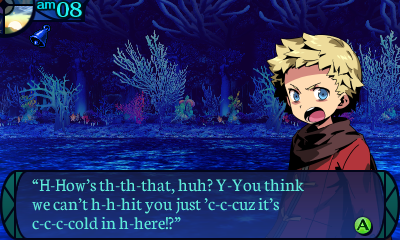
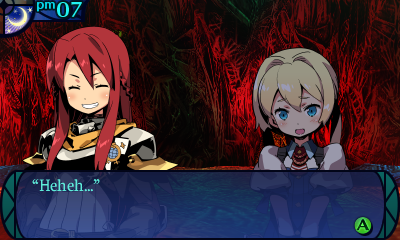
 W-We d-did it, ev-ev-everyone!
 Hahah! It's already warming up in here now that this thing's dead! You see what I can do when I get serious?
Yes, and as everyone can see, it is utterly terrifying.
 Indeed... But don't get cocky now. It's still dangerous in the Labyrinth, after all.
I know, I know. Stop being such a Simon, Simon.
What is that supposed to mean?
Hell if I know! You're all a bunch of blurs of nothing to me. I guess Raquna has Canada, but...
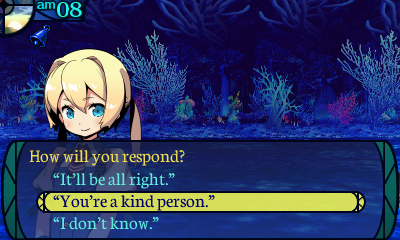
 You're a kind person.
 You're the kind one. I'm just following your example.
 Now, let's return to town and make our report.
Yeah! I'm hungry, too!
My throat's dry!
You laugh at Arthur and Raquna and decide to return to town.
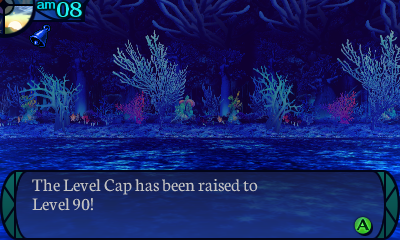
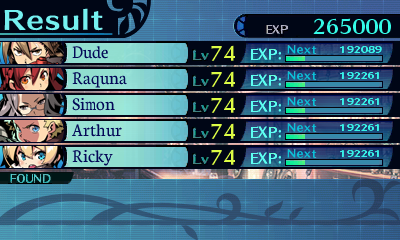
Excellent. Even more power!

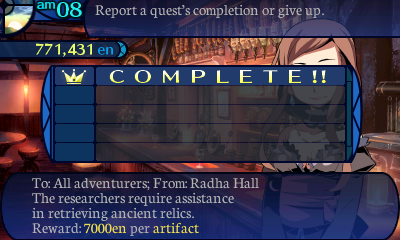
Another crowning to celebrate this occasion. Only 1 left.


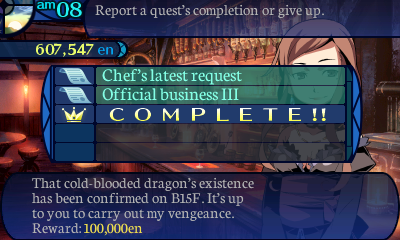
Good work. I'm amazed that the blue dragon even exists, but you managed to defeat it. I'm surprised both by your discoveries and by your strength. I'll report this to the Hall. I'm sure you're tired. Why don't you get something warm to drink and rest up?
Excellent rewards. And now to check out our loot drops.
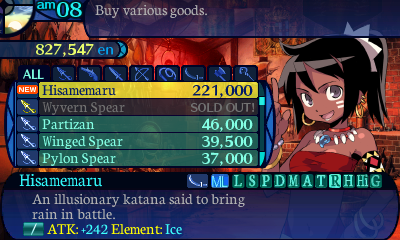
The Blizzard King's normal drop makes what's effectively the ultimate Katana for Classic Mode, as they don't really have access to the Ameno Habakiri under normal conditions. And wow, that secondary effect is garbage compared to the Ameno Habakiri. Your regular attacks get slightly stronger. Compare to that amazing 80 HP boost you could have gotten for your Ronin.
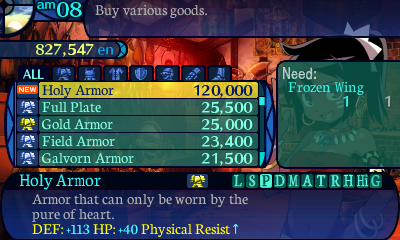
The Blizzard King's conditional drop on the other hand, makes the Protector's ultimate armor! Gives 20 less HP than M.I.K.E.'s corpse armor, but it also gives a 10% resistance to physical damage! Which is a really damn good deal and I get this for Raquna.
As for the scale? You'll just have to wait a little longer on that, but they're definitely worth going for if you have any class that can use Swords.
And now, back to the blood and darkness.


May as well deal with this FOE now. It's very easy to get a preemptive on them in the dark.


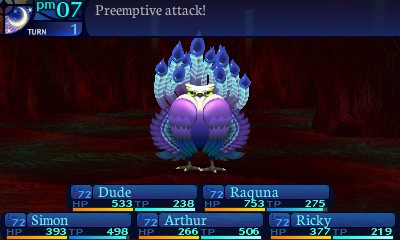
Songbird
Level: 84
HP: 14400
STR: 86
TEC: 60
VIT: 57
AGI: 58
LUC: 51
Attack Type: Stab
EXP Given: 160000
Damage Vulnerabilities:
100% 100% 100%
100% 100% 50%
Disable Vulnerabilities:
50% 50% 0% 50% 50% 50% 50%
10% 10% 50%
50% 50% 50%
Mechanics:
Thunder Dash: Deals very heavy volt damage to all party members. Attempts to inflict paralysis on hit targets, with an all-but-guaranteed chance. Slightly slow.
Skill Data:
Thunder Dash: Deals 170% ranged TEC-based volt damage to all party members. The damage ranges from 239 to 334 on average. Attempts to inflict paralysis on hit targets, with an 80% base chance. The effective chance ranges from 92% to 123% on average. Has an 80% speed modifier and a base accuracy of 99%.
Enemy Behavior:
-Songbirds are equally likely to open by either using Thunder Dash or by summoning two Leukocytes.
-Songbirds are fairly likely to summon two Leukocytes if they're the only alive enemy.
-Songbirds are more likely to use Thunder Dash when they're at 50% HP or lower.
AI Script:
-If this is the first turn:
--49% chance to use Thunder Dash.
--Else, summon two Leukocytes to the front row.
-If the current turn is less than or equal to 30, and the Songbird is the only alive enemy, 59% chance to summon two Leukocytes to the front row.
-If the Songbird's HP is at 50% or lower:
--74% chance to use Thunder Dash.
--Else, Attack.
-If the Songbird's HP is at 100% to 51%:
--34% chance to use Thunder Dash.
--Else, Attack.
Learnable Skills:
Thunder Dash: Deals volt damage to all party members. Attempts to inflict paralysis on hit targets. Average speed.
Grimoire Skill Data:
Thunder Dash: Deals ranged TEC-based volt damage to all party members. Attempts to inflict paralysis on hit targets. Has no speed modifier and a base accuracy of 99% at all levels.

Drops:
-Normal: Crystal Plume. 100% chance. Sells for 7000 en.
-- Ichibal (+170 ATK, +30 HP, +4 AGI): Made from 1 Crystal Plume. Costs 52700 en.
-Conditional: Ruffled Feather (Kill while panicked). 80% chance. Sells for 21000 en.
-- Dragoonery (+75 DEF, +30 TP, +15 LUC; Gunner only): Made from 1 Ruffled Feather. Costs 62900 en.
Songbirds can cause the fight to spiral out of control very quickly if you don't have the upper hand. Their elemental attack can hit pretty hard, but it can also inflict Paralysis. Which can make for a painful time when they summon the Leukocytes. Which can then take advantage of the fact you no longer have evasion to petrify you and give you a game over. Disable protection can make this fight a bit easier, and Yggdra Vaccine can really take a lot of the sting out, though it's not a perfect form of defense since they can just beat you down. Though the fact that you can get a very easy preemptive on them can do a lot to take the sting out of this fight depending on how you decide to take that first turn.
Of course if they intrude in on a battle, they can quickly become an unwelcome presence due to how overwhelming they can be, but that's true for nearly every single FOE.
Claret Hollows FOEs are nothing to sniff at. It's similar in the original, though did a standard Fire attack instead.
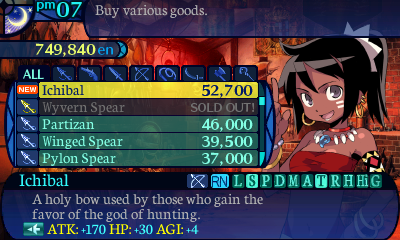
The Songbird's regular drop makes an alright weapon we can't even use.
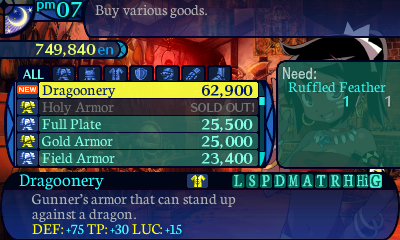
Their conditional drop on the other hand, makes Ricky's ultimate armor! ...I don't know what those secondary stats will do for her, but they're there. At least she's less likely to be locked down, and less likely to miss? At any rate, Story party has access to all of their ultimate armor!
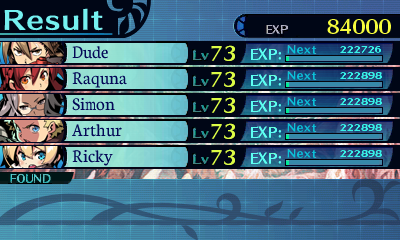
YES! Level 73 is also a very important threshold, as it makes it much easier to grab higher quality grimoires. May end up optimizing my Grimoires more in the future as a result.
...optimise??? Fuck you.
Something I almost forgot was that while the quest "Chef's latest request" doesn't have any story exclusive text within the quest, it does have some outside of it. I'll post Valerie's dialogue so the upcoming conversation makes sense.

Good work. That must have been difficult, huh? Did you think this was a strange request? I sure did, so I went and asked Jackson about it. He told his reason for making this request. When Jackson was young, he used to be a pretty famous alchemist. With his skills, he defeated many monsters in the Labyrinth. The various materials he found gave him the idea to start a restaurant.Now that his restaurant is successful, he's been living the easy life... But, he's always had one regret. He wants to be able to pass his knowledge on to someone. That's why he's been posting these strange jobs. Huh? You don't think you've learned anything from him...? That's far from the truth. You've learned how to select your skills when facing certain enemies and use them to obtain specific items. According to him, all that's alchemy. He says you should keep training.
And now we leave the bar.


What's wrong, Arthur? It's rare to see you so deep in thought.
 Well, you know, I was thinking about the quest. I always thought of formulas as things you just fire off without really thinking about it. But, really...
 Dang it, I can't think of a good explanation!
 I guess it's a good sign that you're actually thinking about things like that.
Haha, why don't you try cooking something, then?
 Damn it, I'm an alchemist, not a cook!
And now back to the Labyrinth.
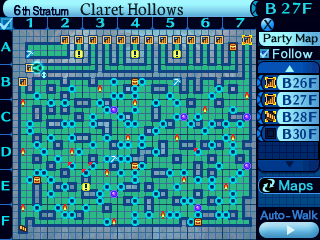
We're finally done with that rather tense floor! Onwards!
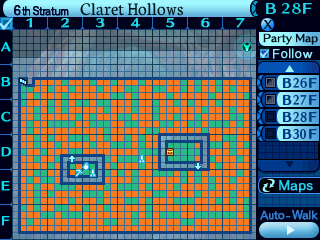
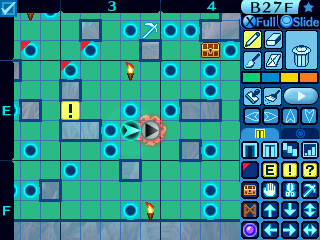
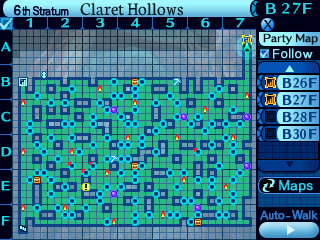
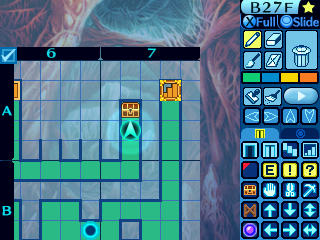
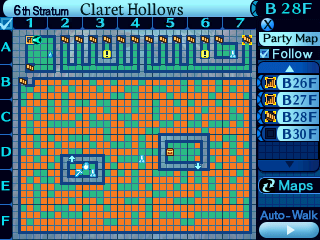
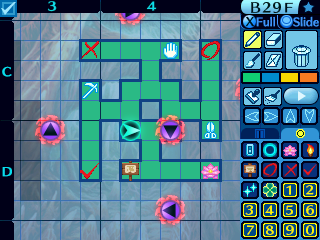
Okay, so that big central area is the slaughter house of doom. How it works is that after spending 3 turns down there, 2 Depth Dancer FOEs will spawn from the walls. One will spawn at you X coordinate (which side they spawn on is random), and the other one will spawn at your Y coordinate, essentially. These fuckers move 3 tiles at a time, but will stop at the same column or row you're on if they reach you. From there, they'll turn and home in on you, but thankfully they can only turn once and will be forced to fly in a straight path afterwards. If a Depth Dancer happens to get in another Depth Dancer's way, one will essentially devour the other.
Oh by the way, the Depth Dancers spawn indefinitely. So you really want to get the hell out of there if you can!
There were just 5 of them in the original along the top wall and aggroed towards you if you got on the same vertical line as them. You needed 10 of their drops for a useless bow outclassed by Cotrangl's conditional, but you shouldn't be unlocking all gear in a game anyway. Yes even in EO2.

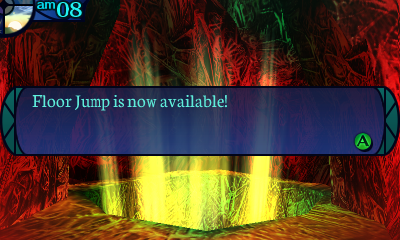
This section is basically "pick the right staircase" to move forward, but you're going to have to do that anyways to unlock floor jump for all of them for 100% completion.
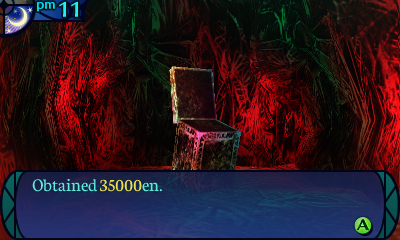
Very nice! Though money is starting to get very meaningless for us now.
 Oh, hey, look at this!
Whoa!?
Wh-What the...? When I touched it, I felt a little zap!
Arthur carefully holds up a small cylinder with a strange protrusion at one end. You recall the Hall's quest to find and recover any relics you see. Perhaps the Hall would be interested in this strange tube that apparently shocked Arthur?
That's a good find. That level of technology definitely doesn't exist here now.
 ...I'm more surprised that there was any charge left in it.
You decide to collect this cylinder and take it back to the pub.
We have completed the minimal requirements for the request. But, we will get paid more if we find additional artifacts. What shall we do, Dude?
You may continue searching for artifacts if you wish a bigger reward.

Hey, look at this thing! It's kind of pretty, isn't it?
Wow! Check it out, Dude! It changes colors when you move it! That's crazy!
Arthur holds up a circular disc that shines with all the colors of the rainbow. You recall the Hall's quest to find and recover any relics you see. This shining disc should satisfy the Hall.
Well, there may not be any point in having it without a reader, but... It's still something that we don't have in our civilization, so we may as well take it with us.
Ricky seems to have some knowledge of this disc, so you decide to take it with you to the pub.
This appears to be... a bottle? No, it seems far too flimsy to be of use. Could it serve some other purpose?
Simon picks up a light, translucent object that appears to be a bottle of some sort. You recall the Hall's quest to find and recover any relics you see. This strange container should be of interest to the Hall.
Tch! Even after 1,000 years, they haven't degraded. How typical of those bottles!
That's pretty much garbage... But I guess it's a 'historical artifact' now... It feels weird to bring this thing back for a reward...
Ricky seems puzzled, but you decide to take the strange bottle back with you to the pub.
Kinda surreal to think what we think of garbage or common objects could meet such importance in the future, but it isn't really out of the question.
Yeah the fact it doesn't degrade after a 1000 years is the reason it'll be important to those in the future and you might be able to guess why.
You find something fascinating within the red-soaked halls and stop. It appears to be a thin metal box with a hinge on one end. It is folded flat.
What's this? It looks like it can open... Should I try it?
The folded box easily opens with a slight click. One side has a smooth black surface, and the other is covered in tiny buttons. You have no idea how to use it. You recall the Hall's quest to find and recover any relics you see. This unusual device must surely be the sort of thing they want you to acquire for them.
I think they'd be happy with that. ...Though it's not going to work anymore.
You have little understanding what Ricky is referring to, but you decide to take this object back to the pub.
You find something rare within the red-soaked halls and stop.
Whoops, accidentally missed that screenshot, sorry about that.
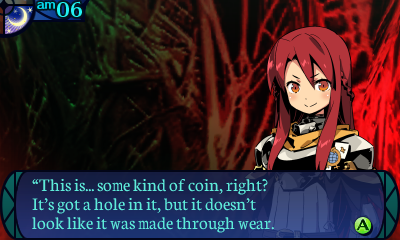
This is... some kind of coin, right? It's got a hole in it, but it doesn't look like it was made through wear.
Maybe they were carried on a string? Haha, that's pretty smart!
Raquna holds up an odd coin with a hole in the middle. You recall the Hall's quest to find and recover any relics you see. The coin is inscribed with unfamiliar lettering. This should be worth the Hall's interest.
I don't think it's anything special... But I guess it's worth picking up now. ...It feels strange.
Ricky looks amused, but you decide to take the strange coin back with you to the pub.
We have found a great deal of objects. Certainly, we have more than fulfilled the terms of the request.
Counting everything you found, you have obtained five relics. This should be more than enough for the Hall. All that remains to do is take theseartifacts to the pub and turn them in to complete the quest. You should return to the pub when you have time.
ARE YOU KIDDING ME!?
PHEW! Only Dude died. Which means...
NOT TODAY CLARET HOLLOWS!
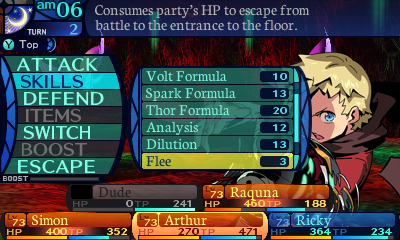
That investment in Flee has paid off big time.
Yes I actually invested in that skill, what of it? It's been mocked, but Arthur has nothing left to invest in, so I may as well take the tools that help me get out of a disadvantage state. And it certainly helped me out here!
Honestly, skills like that are usually complete garbage, which is probably why they made the escape rate garbage to make them look better in comparison. Since some classes do not have SP to spare and it seems silly to waste it on an ESCAPE SKILL LOL, most players will just fail to run 6 turns in a row and die then ever touch them.
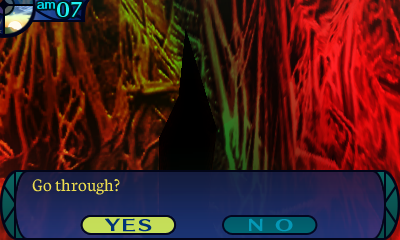
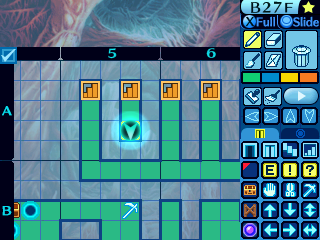
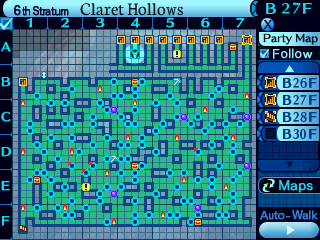
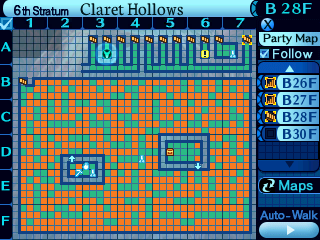
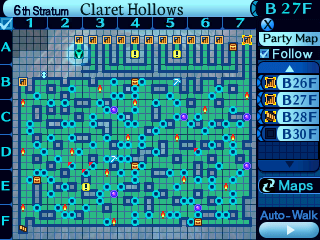
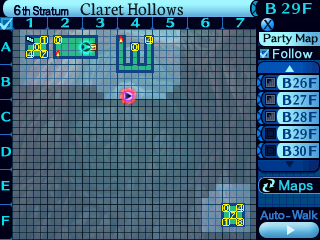
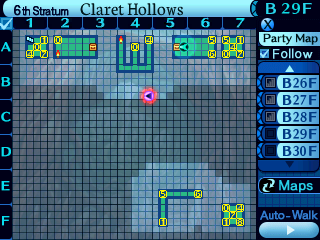
So here's a shortcut so that you can just rush straight to the end if you opt not to use Floor Jump for whatever reason.
This one did have another purpose. In the cut adventures of the great Claret Hollows trek in Story Mode, accepting Ricky's help would open up this shortcut, and reveal a portion of the pitfalls on the floor so you can head straight here from the stairs without falling into them. Though given the torch placements, I'm not sure if that was really necessary, as there aren't any Songbirds on the western side of the map. But may have been a safety measure of sorts to ensure players would be less likely to fall down them anyways. Assuming it stayed in the game of course.
If you did fall down a pitfall anyways, there was actually text for that, and the story party would pipe up about going down floor 28. Though leaving that place alive would have been something...
Shortcuts in Claret Hollows... what a world...
And now we're entirely done with floor 27. It has nothing more for us.
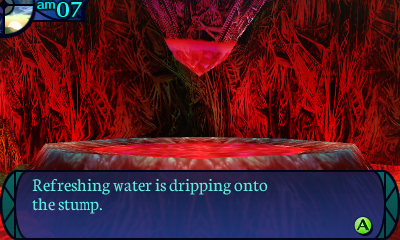
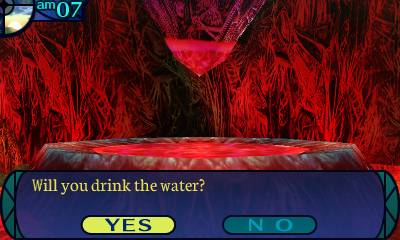
Despite the... interesting color, this is safe to drink. It's not a "gotcha" spring or anything. Man, could you imagine if they did something like that? Have a fake spring at the end that just kills you?
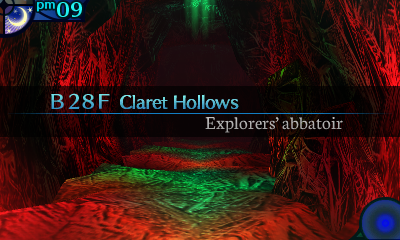
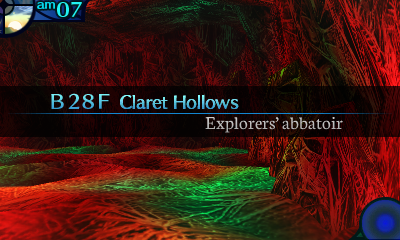
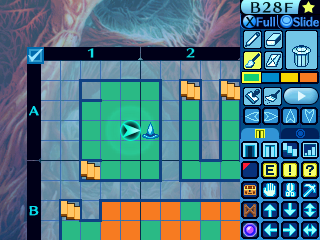
And by extension, we're done with floor 28 as well.
That sure is foreboding. Let's head back to town immediately before anything bad can happen.
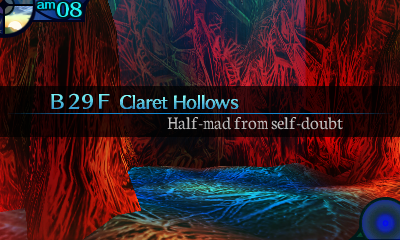
lmao B29F

There's something about this weapon I really have to point out. Don't buy it. It may seem like a normal Sword, but it has a rather unfortunate hidden attribute. Most weapons in this game have a base accuracy stat of 98%, with your starting Dagger having 100% for some reason. But the Dainsleif is the only other exception, and has a base accuracy of 60% instead of 98%. Why? I dunno, it's probably a mistake or something. But regardless, avoid getting this weapon, there's very little benefit to doing so.
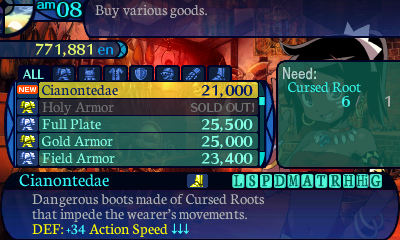
This one is a bit interesting. Instead of providing +10% speed like most other boots, this one instead has a -50% speed penalty, effectively halving your speed. You could use it for manipulating turn order in your party if you really needed to.


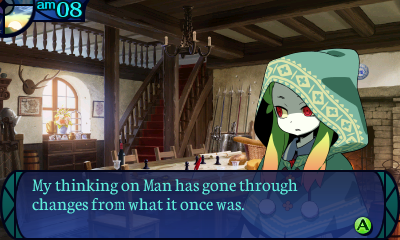
 ...I suppose even we of the forest folk can yet change, e'en after all these years...
Fighting yesterday, fighting today, fighting tomorrow, and fighting the next day, too! At least I'm not in the front, like our leader is! Enemies don't attack the back line that often! But sometimes they do! Without mercy! Physical attacks to the entire party! Wham! It happens!
...D-Duly noted.
Welcome back. How did it go? Did you find a lot of stuff?
We hand over all the items.
There were five ancient relics. Which means your reward is 35,000en.

We were able to learn a little more about the ancient civilization thanks to your work here. It was fun. Good work, everyone.
These 5 relics were found on various tiles throughout Claret Hollows, one on each floor. Use an online map for the original, for the love of god.
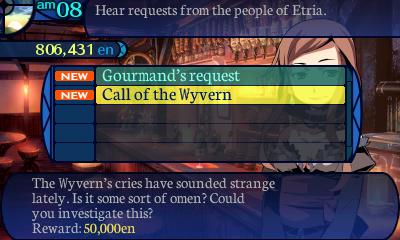
Neither of these quests have Story exclusive dialogue, but it's important to get Call of the Wyvern done, as that unlocks the final dragon. Just kill Wyvern again, and that's it.
We go and leave the bar.
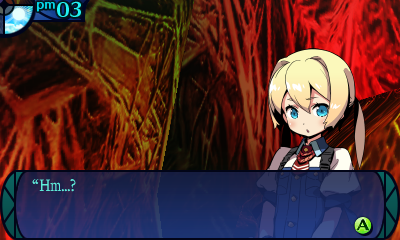
Huh? What's wrong, Ricky?
Nothing, really. ...It just hit me that I'm really a thousand years in the future...
Why is that bothering you all of a sudden? You already knew that, didn't you?
Well, I never expected things to have become so different...
It's rare for any relics from the time before to be discovered. I'm sure our research seems ludicrous to someone like you, knowing so much more than we do.
That's a weirdly underexplored part of her character. Like you'd think she'd suffer from some culture shock due to being in such a changed world, but whatever.
That's it for the new town dialogue, so it's back to suffering we go.

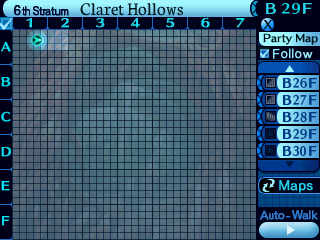
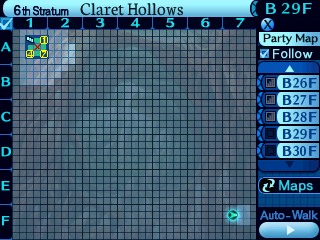
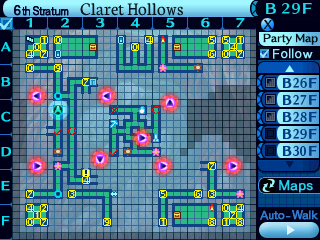
So. Floor 29. I'll be blunt. It's a gigantic teleporter maze. Most teleporter mazes in the series after the early titles, had a set of clear and concise rules they followed so you'd know where you'd end up. Even the Sandy Barrens teleporter maze followed a set of clear rules so you'd have some idea of where you'd end up. Not this one. It's purely trial and error at this point. Pick a teleporter and hope you get sent to the right place. That's it, you're basically slamming your face into random teleporters for this entire floor, all while every single thing in this Stratum wants you utterly dead. Welcome to teleporter maze hell. Suffer. Suffer for all eternity.
We're going to be in for one hell of a time down here, that's for sure. I certainly hope your map making skills are up to snuff, because you are going to need them!
Most of the time, you can't really map teleporter mazes, which is bad, because it makes your maps look like shit. Oh, I guess it's annoying to do it blind, but lmao why the fuck would I do that???
Hey, Dude. This isn't at all where we were a second ago...
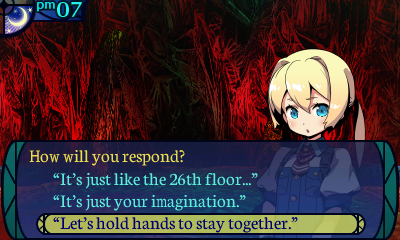
Let's hold hands to stay together.
 Huh?
Huh?
Ricky seems hesitant when you offer your hand to her, but a bit encouraged as well.
 Okay then...
With that, Ricky reaches out to take your hand!
 ......
Alas, as Ricky notices Raquna's sly grin, she not only withdraws her hand, but takes a step back from you...!
 Aww, what a waste...
Wh-What's that supposed to mean?
You don't need to play dumb, you know.
......
 For heaven's sake, Raquna!
No other option but returning to the investigation presents itself, so you collect yourself and resume the search.
Welp. We better get back on our bullshit then. Back to more suffering.
I'd ship it. You know, if I gave a shit.
Dude and Frederica's "relationship" is really weird. The two honestly don't interact too much with each other personally in the main story, and late-game and post-game they try to push those romantic undertones when neither of them are really characters nor have really gave each other that much of a time of day.


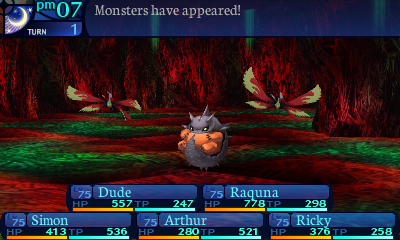
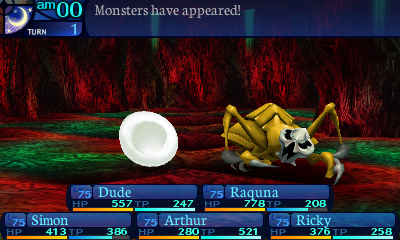
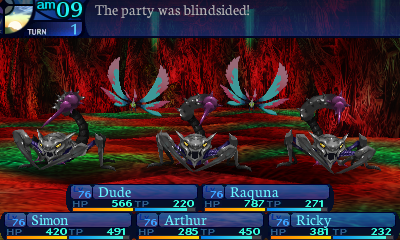
Holy shit what the fuck is this formation, EOU!? Sure, just pile on every single AOE imaginable!
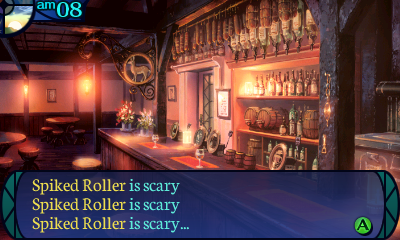
Anyways, this is one of the two new enemies on this floor.
Spiked Roller
Level: 80
HP: 655
STR: 76
TEC: 55
VIT: 58
AGI: 45
LUC: 45
Attack Type: Bash
EXP Given: 29000
Damage Vulnerabilities:
75% 75% 75%
100% 100% 100%
Disable Vulnerabilities:
50% 100% 50% 100% 10% 100% 50%
50% 50% 50%
100% 100% 50%
Mechanics:
Quick Strike: Deals severe bash damage to all party members. Average speed and moderately inaccurate.
Skill Data:
Quick Strike: Deals 110% melee STR-based bash damage to all party members. The damage ranges from 410 to 497 on average. Has no speed modifier and a base accuracy of 80%.
Enemy Behavior:
-Spiked Rollers are more likely to use Quick Strike when they're at 50% HP or lower.
AI Script:
-If the Spiked Roller's HP is at 50% or lower:
--59% chance to use Quick Strike.
--Else, Attack.
-If the Spiked Roller's HP is at 100% to 51%:
--39% chance to use Quick Strike.
--Else, Attack.
Learnable Skills:
Quick Strike: Deals bash damage to all enemies. Average speed and moderately inaccurate.
Grimoire Skill Data:
Quick Strike: Deals melee STR-based bash damage to all enemies. Has no speed modifier and a base accuracy of 80% at all levels.

Drops:
-Normal: Roller Tail. 30% chance. Sells for 736 en.
-- Rat Whip (+169 ATK): Made from 1 Roller Tail. Costs 43500 en.
-- Aquael (+159 ATK): Made from 9 Black Roots (Evilroot normal) and 5 Roller Tails (Spiked Roller normal). Costs 39200 en.
-Rare: Roller Spikes. 15% chance. Sells for 868 en.
-- Torador (+195 ATK): Made from 1 Roller Spikes. Costs 57500 en.
-- Rat Armor (+79 DEF): Made from 8 Roller Spikes. Costs 22800 en.
-- Asclepius (+148 ATK, +140 TP, +6 TEC): Made from 3 Gold Carapaces (Huge Ant rare) and 3 Roller Spikes (Spiked Roller rare). Costs 31400 en.
Hi do you like hard hitting AOE physicals? Because this enemy is here to fulfill that need! And because they're a Roller-type enemy they resist physicals slightly. Only saving grace is that Quick Strike is moderately inaccurate.
You will learn to fear any formation that has this enemy and a butterfly in it. Especially Hellflies since they basically guarantee that Quick Strike will hit your entire party. Hell there's one other enemy here we haven't seen yet that would also induce a nightmare formation.
Since the cone crab was in Lost Shinjuku, the Plated Roller got moved from there. They were bitches, just constantly attacked until you got them under half health, then they'd Defend and waste so much of your time. This version isn't much better, especially in this place, but considering how much of a pain they were, they fit right in.
How lovely.
Meh.
AAAAAAAAAAAHHHHHH!!
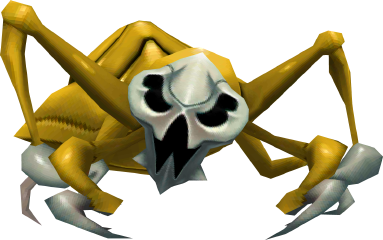
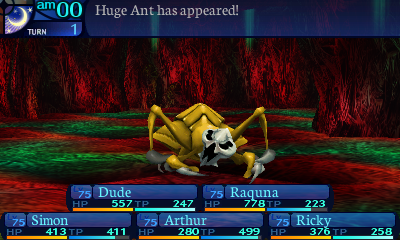
Huge Ant
Level: 80
HP: 2826
STR: 83
TEC: 60
VIT: 53
AGI: 48
LUC: 49
Attack Type: Bash
EXP Given: 63000
Damage Vulnerabilities:
75% 75% 75%
50% 125% 100%
Disable Vulnerabilities:
50% 50% 50% 100% 100% 50% 50%
50% 50% 50%
50% 50% 50%
Mechanics:
Earthquake: Deals severe bash damage to all party members. Attempts to bind the legs of and stun hit targets, with a moderately low chance. Average speed.
Skill Data:
Earthquake: Deals 100% melee STR-based bash damage to all party members. The damage ranges from 441 to 538 on average. Attempts to bind the legs of and stun hit targets, with a 20% base chance. The effective chance ranges from 22% to 29% on average. Has no speed modifier and a base accuracy of 99%.
Enemy Behavior:
-Huge Ants are more likely to use Earthquake when their HP is at 50% or lower.
AI Script:
-If the Huge Ant's HP is at 50% or lower:
--59% chance to use Earthquake.
--Else, Attack.
-If the Huge Ant's HP is at 100% to 51%:
--49% chance to use Earthquake.
--Else, Attack.
Learnable Skills:
Earthquake: Deals bash damage to all enemies. Attempts to bind the legs of and stun hit targets. Average speed.
Grimoire Skill Data:
Earthquake: Deals melee STR-based bash damage to all enemies. Attempts to bind the legs of and stun hit targets. Has no speed modifier and a base accuracy of 99%.

Drops:
-Normal: Ant Claw. 50% chance. Sells for 1425 en.
-- Doujigiri (+210 ATK): Made from 1 Ant Claw. Costs 70700 en.
-- Moon Spear (+185 ATK): Made from 5 Ant Claws. Costs 52600 en.
-- War Boot (+31 DEF, +30 HP, +2 STR): Made from 1 Moschino (6th Stratum Chop 1) and 3 Ant Claws (Huge Ant normal). Costs 9090 en.
-Rare: Gold Carapace. 20% chance. Sells for 1900 en.
-- Superior Gloves (+38 DEF): Made from 1 Gold Carapace. Costs 11200 en.
-- Asclepius (+148 ATK, +140 TP, +6 TEC): Made from 3 Gold Carapaces (Huge Ant rare) and 3 Roller Spikes (Spiked Roller rare). Costs 31400 en.
-- Freiturnier (+95 DEF): Made from 7 Gold Carapaces (Huge Ant rare) and 7 Gray Shells (Iron Crab normal). Costs 27000 en.
-- Judgement Sword (+177 ATK): Made from 9 Gold Carapaces (Huge Ant rare) and 9 Gray Pincers (Iron Crab rare). Costs 48000 en.
-Conditional: Binded Jaw (Kill while head is bound). 80% chance. Sells for 2950 en.
-- Stun Seal (Immunity to stun): Made from 1 Binded Jaw. Costs 12000 en.
WELCOME TO ANTHELL!
Hi, do you like taking large amounts of damage? Hi, do you like any survivors of said damage being stunlocked and having their evasion disabled? Hi, do you like the enemies dishing out this pain to be tanky motherfuckers that take a good while to kill while everything else is mauling you? Hi, FUCK YOU!
Man what an upgrade, lmao, Hugeant was a support enemy in the original, healing wounded enemies and buffing their attack. So they could hit hard after that, but you're probably fine to ignore them. You cannot do that here, they were moved from B26F to here specifically so they wouldn't absolutely murder you before you even made 5 steps. I love it.
What the fuck EOU!?
This garbage isn't helping matters.
Ah.
Mother of god. 
Oh yeah the two line system introduced in EO4 presents some super nasty formations that would've been impossible in the original, especially since it had sprite space limitations.
These FOEs are known as Bane Lizards. Their movement pattern is designed to fuck you up. They move forward in their patrol route 3 tiles, then walk back 1 tile, and repeat the pattern. If they see you, they'll chase after you. You can break the aggro by running into the nearest teleporter. Fortunately they can't see behind them, but they do turn around whenever they decide to walk backwards, so be aware of that. Their sightline is limited to 3 tiles in front of their general area, so as long as you keep that in mind, they won't aggro onto you.
There's a reason they were moved 3 floors up from the original, since they were nasty, but otherwise not too notable. They had wider sight, being a 3x2 square, but that didn't really matter much, with the same movement pattern.
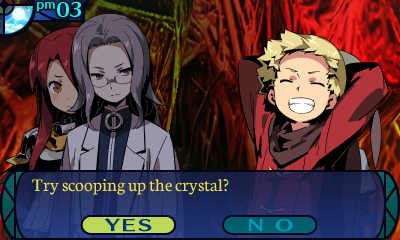
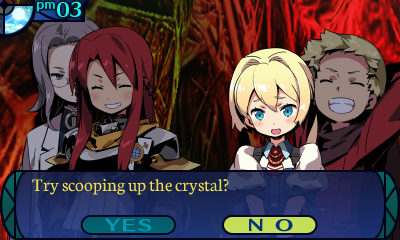
Hey, Dude. Isn't there something odd about that water puddle...?
You take a closer look at Ricky's urging and see something shiny half-buried in the puddle's bottom. You try scooping whatever it is out of the water...
Wow, what a beautiful stone!
...Huh?
The stone loses coherence in your hand and quickly disintegrates.
Interesting. It's not stone at all, but something like a crystal formed of various sediments. That one seems to have been only partly formed, but perhaps there are others of stronger composition.
So we have to get lucky!
With a bit of luck, you may be able to collect an intact crystal... If you are confident in your luck, then you can try plucking a crystal.
Anything to take my mind off of teleporter ant hell.
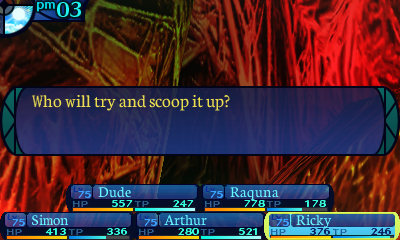
Ricky has a lot of luck right now, let's send her in!
You just need me to scoop one out, right? Like this?
Ricky carefully dips a hand into the puddle and spends a moment looking at the crystals before selecting one.
How's this one...? ......
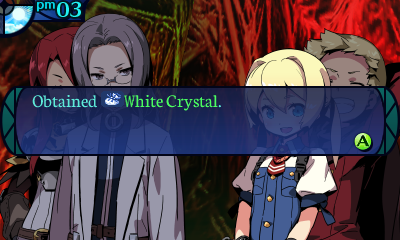
The crystal she scoops out of the water does not crumble, and shines intact in Ricky's hand...
 Whoa...!
Great work, Ricky!
...Heehee.
There are still crystals remaining in the puddle. If you wish, you can try your luck again.
I think we're good.
You give up on collecting the crystals and return to the investigation at hand.
Okay, so as for what that event was, it was both a luck stat check and an actual luck check.
The character you choose has 50 subtracted from their LUC stat, and the resulting number is dvided by 2. After that, a random number from 0 to 99 is rolled, and is added onto the resulting number. If this number you get is equal to or greater than 69, you'll get a crystal. If not, it just crumbles in your hands.
If you successfully fish up a crystal, then it rolls for the type of crystal you get. You have a 20% chance of getting a Red Crystal, a 30% chance of getting a Blue Crystal, and a 50% chance of getting a White Crystal. You can attempt to fish up a crystal 3 times per day, after which you have to wait until the next day to try again.
Neat
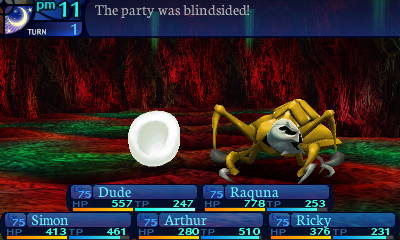
OH DEAR GOD!
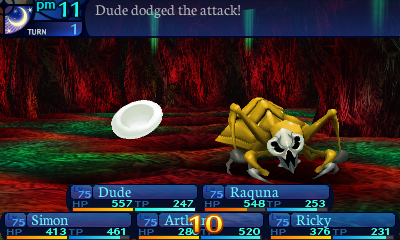
Okay that was way too fucking close!
...Never mind. We're sewered. We're so sewered.


You know what? I think that's enough Etrian Odyssey Untold for this update.
The real Etrian Odyssey starts here!