Toggle Background Color
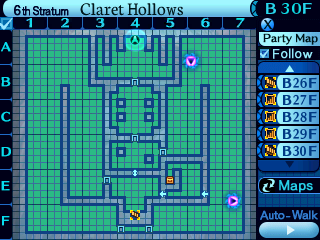
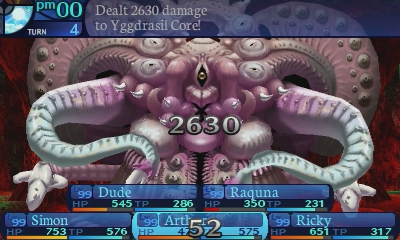
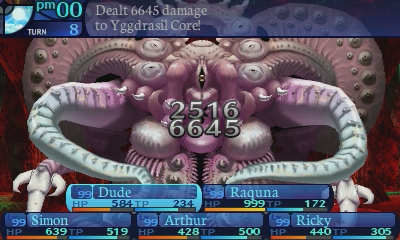
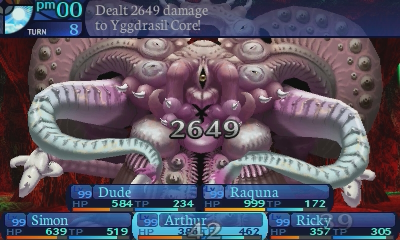
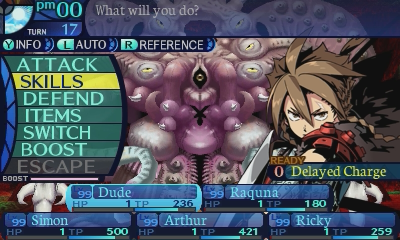
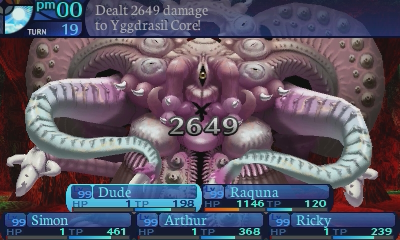
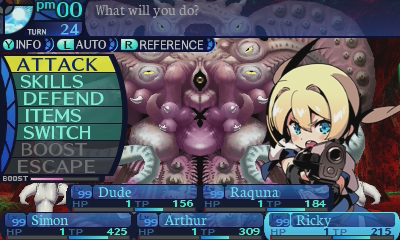
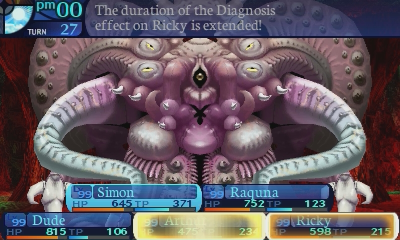
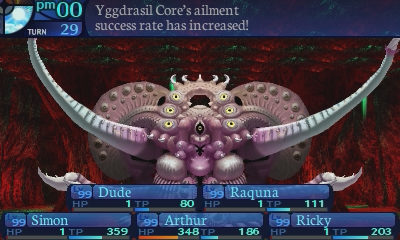
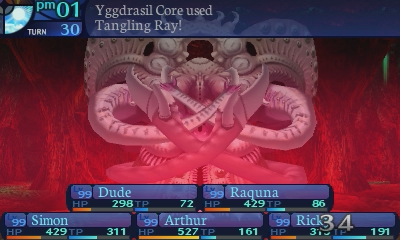
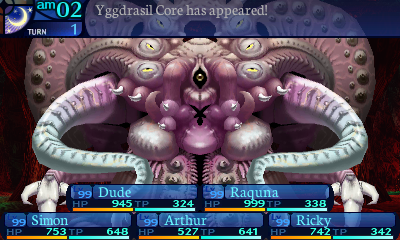
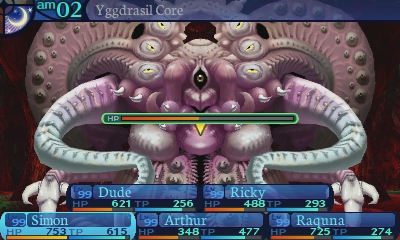
Story Update 32: Anima (Yggdrasil Core)
 I'm back from my grind and uh, well in actuality, I got up to level 88 before getting sick of killing birds. So I had my save file edited so I could save myself a lot of time. Many thanks to kyasarintsu for editing my save files for me, and saving several, and I mean several hours for me.

(She asked for a cameo.)
 Play however you wish, but don't make it hard on yourself, cheats exist for a reason!


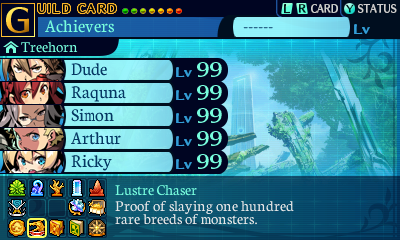
At any rate, you do get a guild card medal if you manage to kill 100 rare breeds.
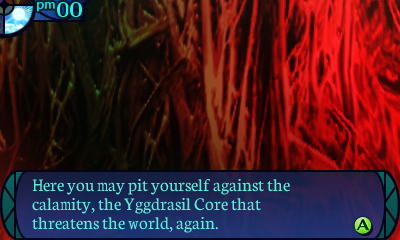
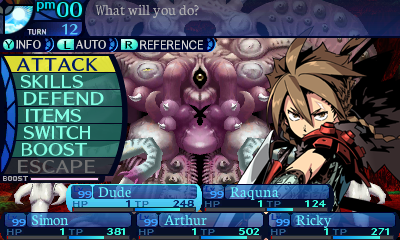
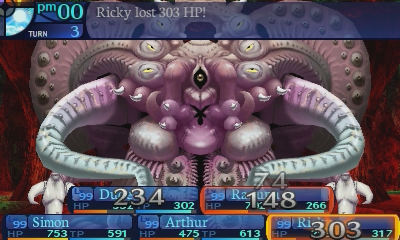
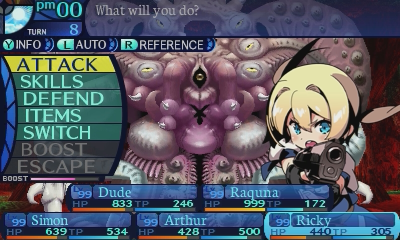
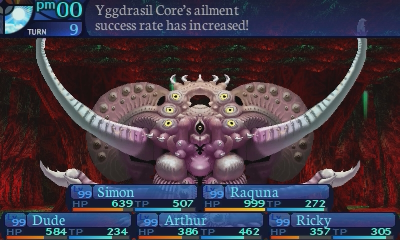
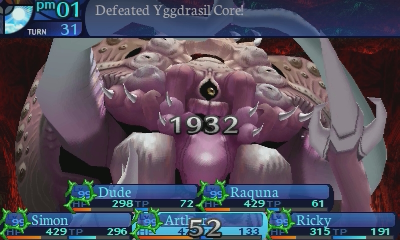
So, let's get onto killing the true version of the Yggdrasil Core. The true final challenge of the game. For those of you worried that I'm just going to just be a 1-trick pony that doesn't know how to fight bosses normally and just burst this thing down like all the rest of the bosses in the game (even though Rea showed off normal kills for them), don't worry. We're going to be taking things slow this time. (And for those of you that do want to see that, just sit tight, mmkay?)

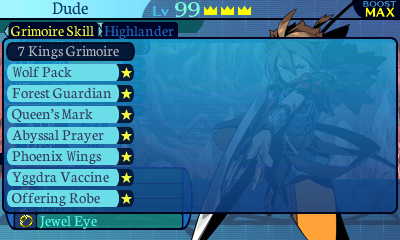

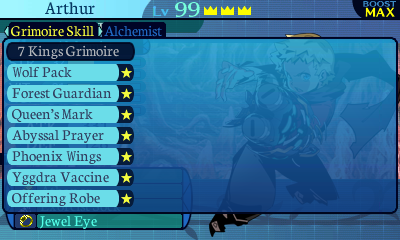
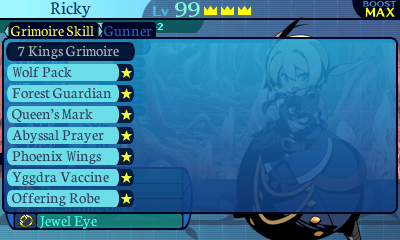
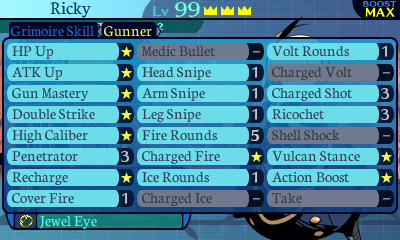
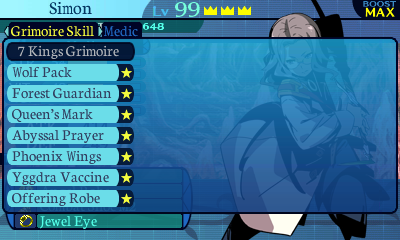
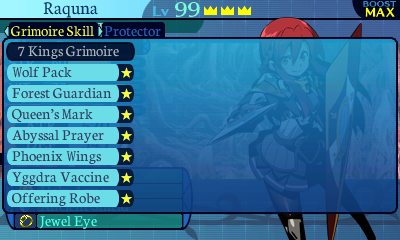
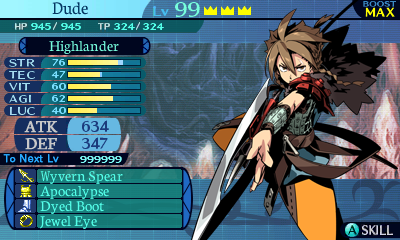
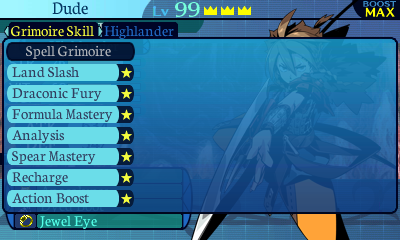
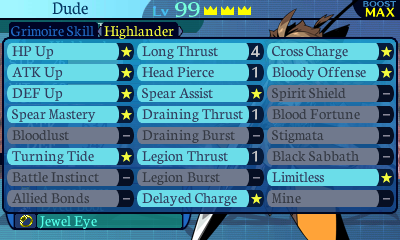
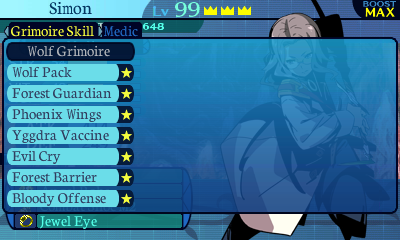
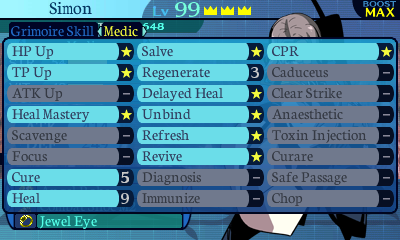
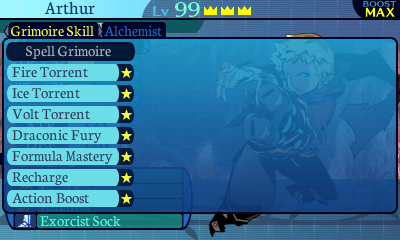
As neat as Grimoires can be and I've made them look, ultimately, getting them is time consuming, and very reliant on RNG. So for this kill, I'm only going to be working with the base classes' skillsets. No cross classing or enemy skills are allowed. The only Grimoire Stones I've allowed myself to use are the King Grimoires, as those are the only skills you can 100% reliably get your hands on.
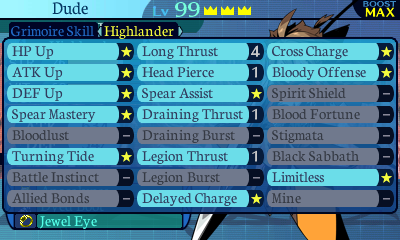
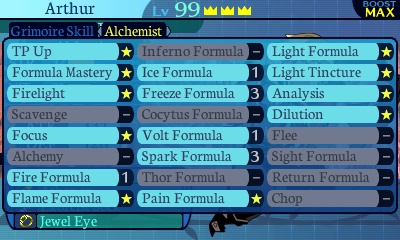
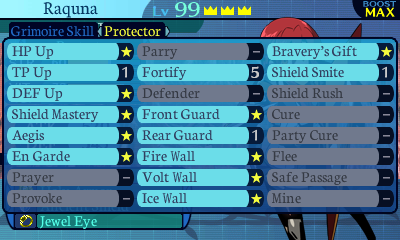
My skill builds may look incredibly baffling, and terrible even, but this is what I have to work with.
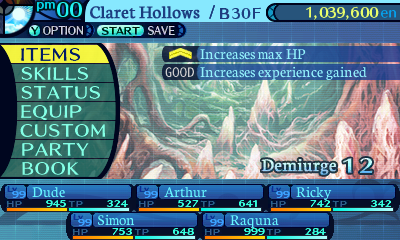
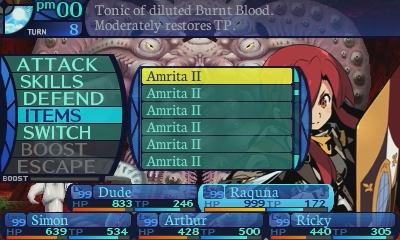
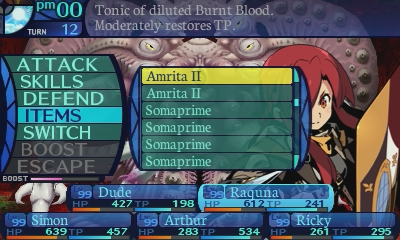
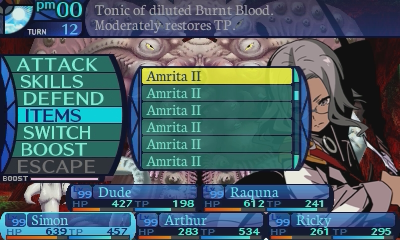
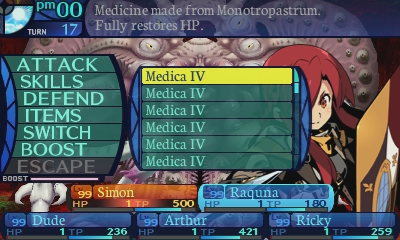
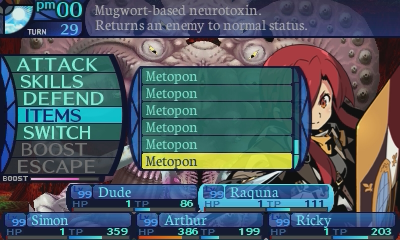
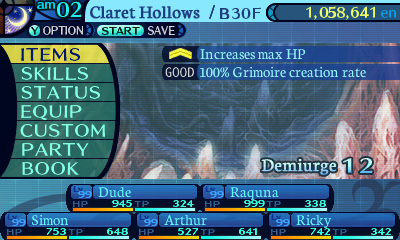
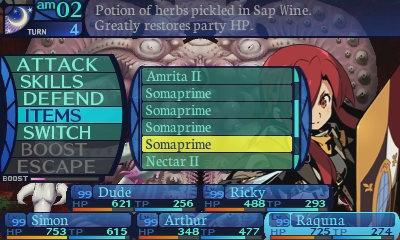
As for supplies, I brought a decent amount of Medica IVs, a large amount of Amrita IIs, a few Somaprimes, a good amount of Nectar IIs, quite a few Axcelas, a handful of Metopons, and some Theriaca As. Though while I'll need most of these types of supplies, the amount I've brought is really overkill, and I really don't need every last one of them. A lot of them are just safety nets in case things went wrong.
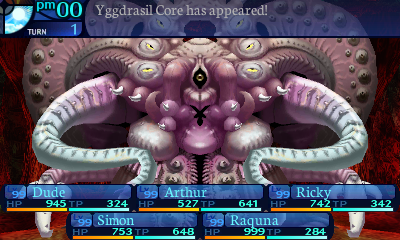
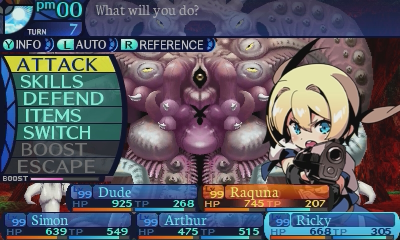
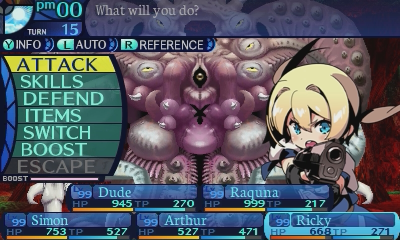
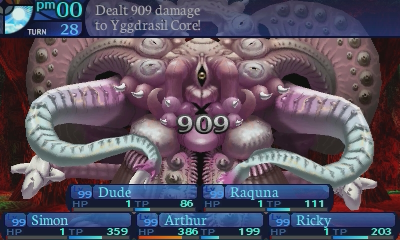
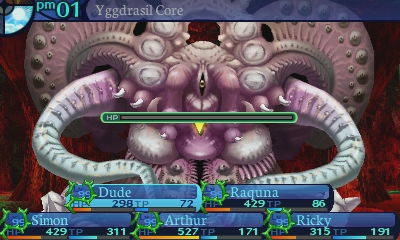
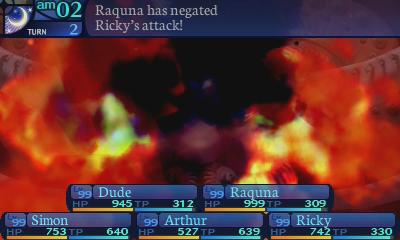
You also may have noticed that I'm going into this fight with 100% Boost on everyone. This is known as a 100% meter start, where you just build up meter on weaker encounters beforehand, and just go into an FOE or boss fight with a head start. It's a tactic some players used in previous games to give themselves an edge against the boss. Yeah that's right, I could have killed those previous bosses even harder, but chose not to. At any rate, because this was a fairly common tactic among the playerbase, the developers opted to just let the player start out with full meters when starting a labyrinth exploration instead of emptying them out from 2U onwards, so that players no longer had to grind for full meters before a big fight.
 Video: Yggdrasil Core


Now with all that out of the way, let's get started. Remember, that the Cutscene Core was basically a severely weakened version of the true Yggdrasil Core, even having mostly similar AI and everything. And if you remember how long that AI writeup was, don't worry. I'm going to go and break it down, and go over it 1 step at a time.
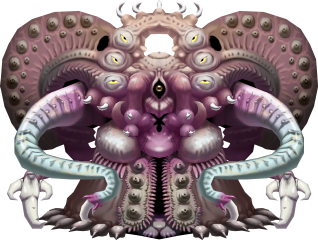
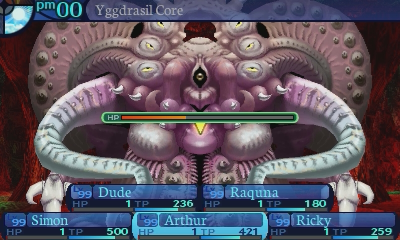
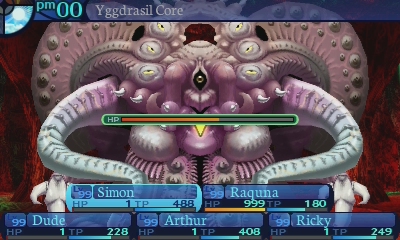
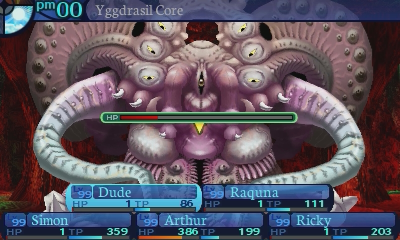
Yggdrasil Core
Level: 99
HP: 90000
STR: 99
TEC: 99
VIT: 75
AGI: 65
LUC: 85
Attack Type: Bash
EXP Given: 1000000
Damage Vulnerabilities:
 100%
100%  100%
100%  100%
100%
 125%
125%  125%
125%  125%
125%
Disable Vulnerabilities:
 20%
20%  50%
50%  10%
10%  0%
0%  20%
20%  0%
0%  10%
10%
 0%
0%  0%
0%  0%
0%
 20%
20%  20%
20%  30%
30%
Skill Data:
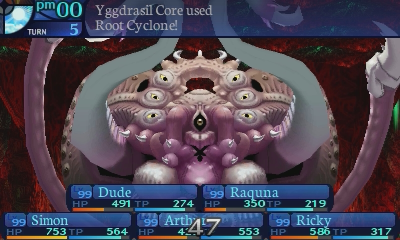
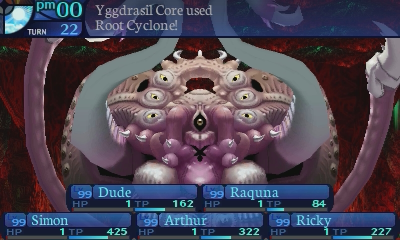
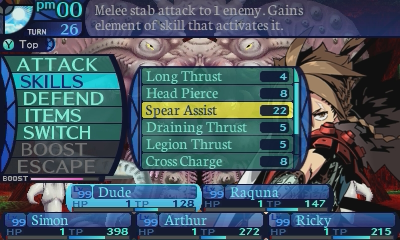
Root Cyclone: Deals 170% melee STR-based bash damage to all party members. The damage ranges from 958 to 1171 on average. Has a 40% speed modifier and a base accuracy of 99%.
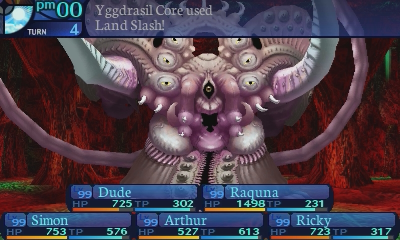
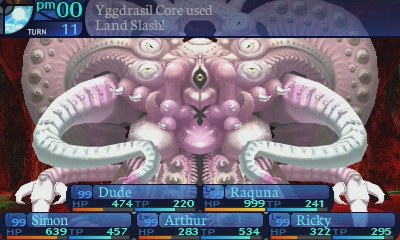
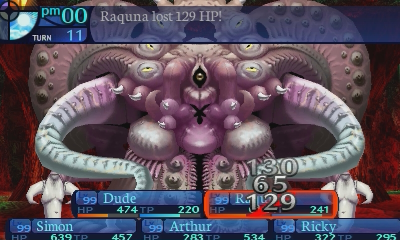
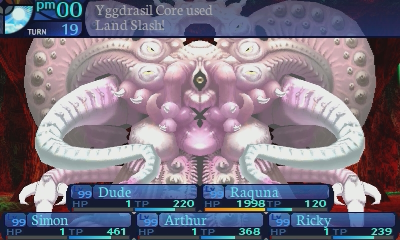
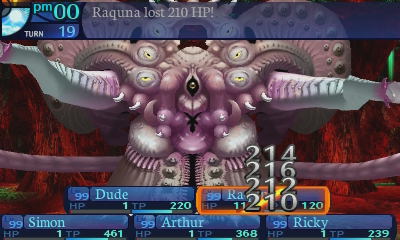
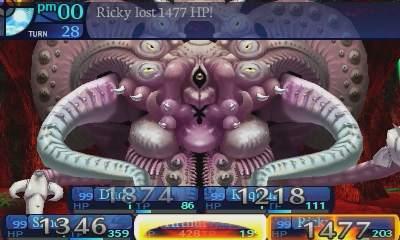
Land Slash: Deals 4 instances of 115% melee STR-based cut damage to one party member. The damage ranges from 648 to 792 on average. Has a 150% speed modifier and a base accuracy of 95%.
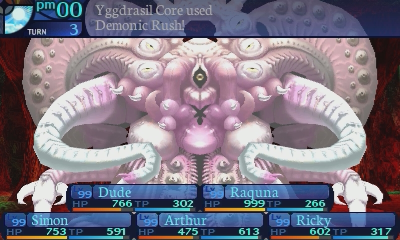
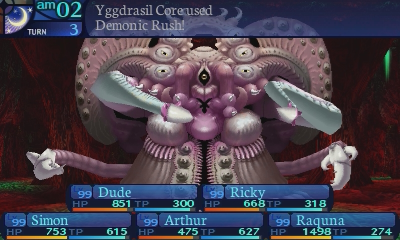
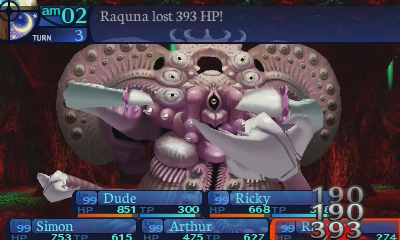
Demonic Rush: Deals 3-6 instances of 135% melee STR-based stab damage to random party members. Has no limit on how many times one target can be hit. The damage ranges from 760 to 930 on average. Has an 80% speed modifier and a base accuracy of 95%.
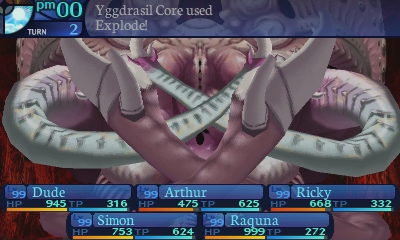
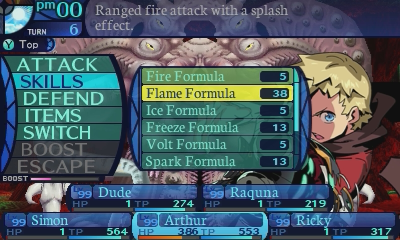
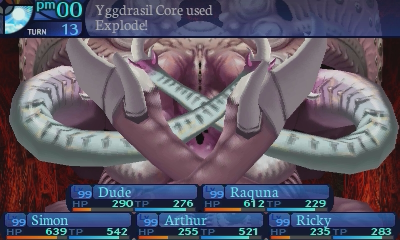
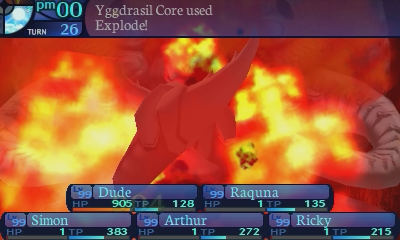
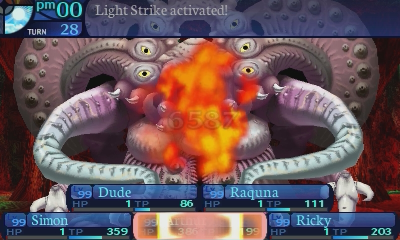
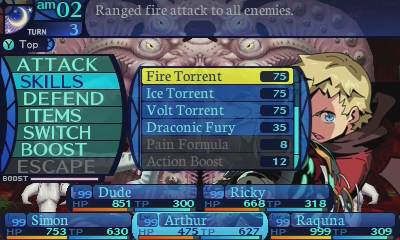
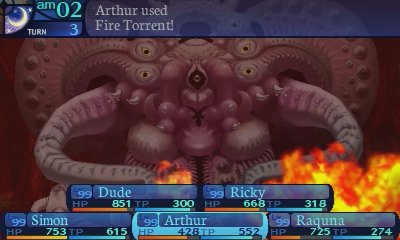
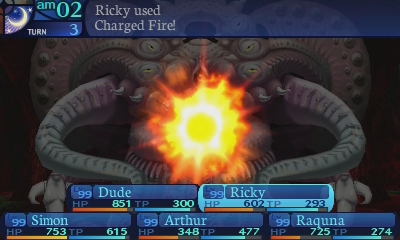
 Explode: Deals 450% ranged TEC-based fire damage to all party members. The damage ranges from 1463 to 2042 on average. Has no speed modifier and a base accuracy of 200%.
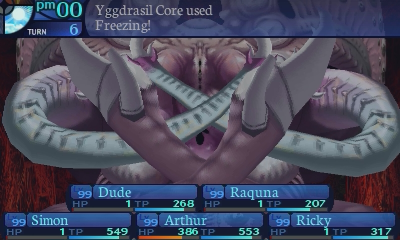
Freezing: Deals 450% ranged TEC-based ice damage to all party members. The damage ranges from 1463 to 2042 on average. Has no speed modifier and a base accuracy of 200%.
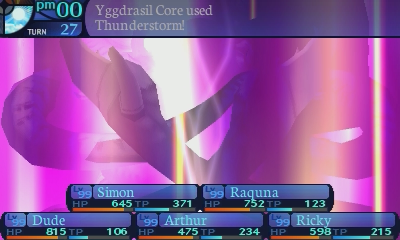
Thunderstorm: Deals 450% ranged TEC-based volt damage to all party members. The damage ranges from 1463 to 2042 on average. Has no speed modifier and a base accuracy of 200%.
Activate: Multiplies all ailment/bind infliction chances by 500% for 6 turns. Has no speed modifier.
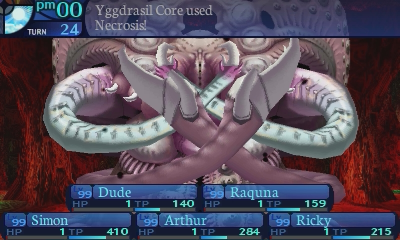
Necrosis: Attempts to instantly kill all party members, with a 15% base chance--75% with Activate. The effective chance ranges from 21% to 30% on average, normally, and 109% to 150% with Activate. Has a 70% speed modifier.
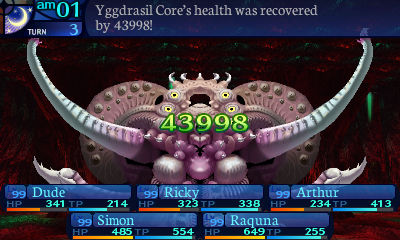
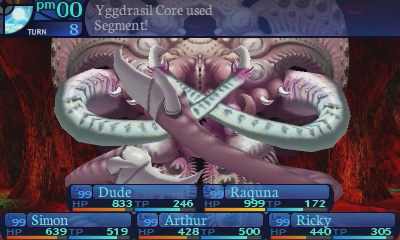
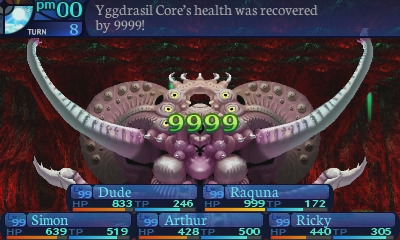
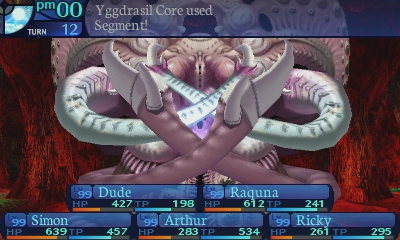
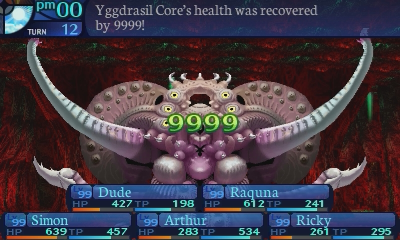
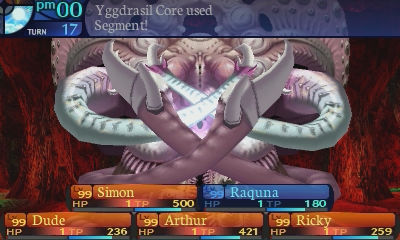
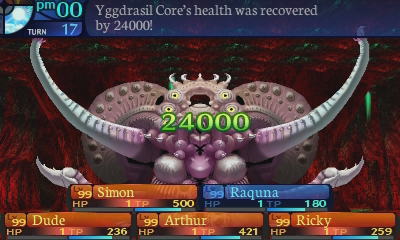
Segment: Restores 9999, 19998, 24000, 33999, or 43998 HP when used, depending on when it's used in the pattern. Has a 500% speed modifier if healing 9999, 19998, or 24000 HP. Has a 100% speed modifier if healing 33999 or 43998 HP.
Cell Membrane: Nullifies all damage to Yggdrasil Core for one turn. All damage is countered with 250% melee STR-based damage to all party members. The damage type depends on what attacks triggered the counterattack. Initial prep has priority. Counterattacks have a base accuracy of 99%.
Ancient Pollen: Attempts to inflict blind, paralysis, panic, sleep, curse, fear, and petrification on all party members, with a 10% base chance--50% with Activate. The effective chance ranges from 14% to 40% on average, normally, and 72% to 200% with Activate. Has an 80% speed modifier.
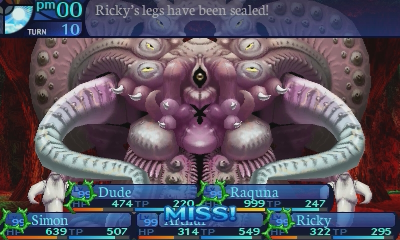
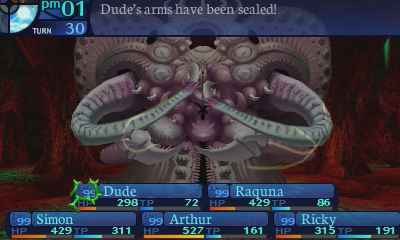
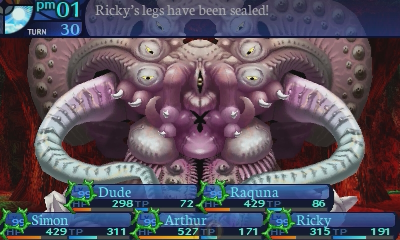
Tangling Ray: Attempts to bind the head, arms, and legs of all party members, with a 30% base chance--150% with Activate. The base chance ranges from 43% to 60% on average, normally, and 219% to 301% with Activate. Has no speed modifier.
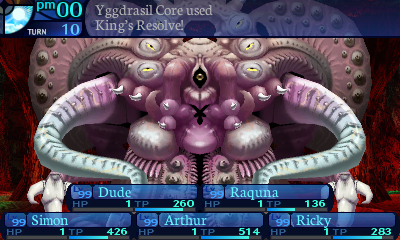
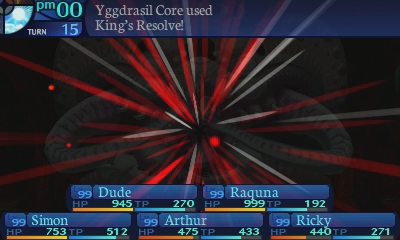
King's Resolve: Purges all buffs from all party members. Has a 120% speed modifier.
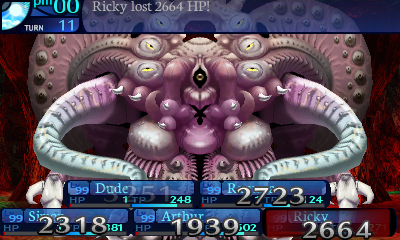
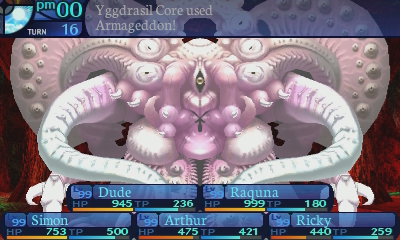
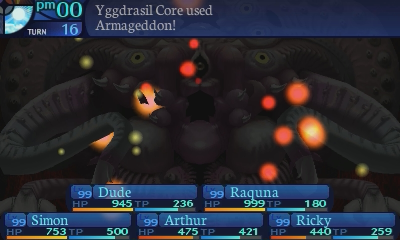
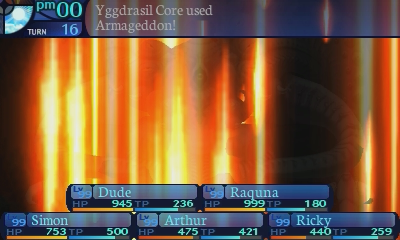
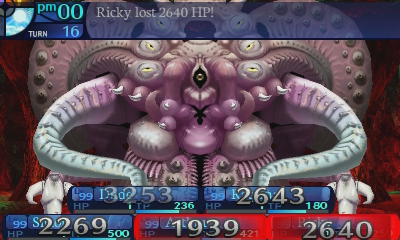
Armageddon: Deals 800% ranged TEC-based almighty damage to all party members. The damage ranges from 2601 to 3631 on average. Has a 30% speed modifier and a base accuracy of 200%.
Enemy Behavior:
-Yggdrasil Core has a variable countdown that starts from 32 that ticks down depending on how many buffs are on the party.
--0 to 3 buffs will not affect the countdown.
--4 to 7 buffs will subtract 2 from the countdown.
--8 to 11 buffs will subtract 3 from the countdown.
--12 to 15 buffs will subtract 4 from the countdown.
-Once this countdown reaches 0, if the party has 1 or more buffs on them by the time Yggdrasil Core acts again, King's Resolve will get cast, and the countdown resets back to 32.
-The turn after King's Resolve gets cast, it will cast Armageddon.
-Segment is used to signal the start of a phase, and will heal a variable amount of HP depending on which phase is started.
--Segment takes priority over Yggdrasil Core's actions and will override the attack it was planning to use if you reach the next phase in the middle of a turn, and it has not acted on the current turn yet.
--If phases are skipped, then Segment will add up the heals from any untriggered Segments and will use those unused heals to restore the Yggdrasil Core all at once.
--If you skip to phase 4 from phase 1, Segment will restore 43998 HP.
--If you skip to phase 4 from phase 2, Segment will restore 33999 HP.
--If you reach phase 4 without ever skipping phase 3, Segment will restore 24000 HP.
--If you skip to phase 3 from phase 1, Segment will restore 19998 HP.
--If you reach phase 3 without ever skipping phase 2, Segment will restore 9999 HP.
--Segment will restore 9999 HP upon reaching phase 2.
-On the 1st turn, Yggdrasil Core will always cast Necrosis.
-From here, Yggdrasil Core always operates on a set pattern. Any deviations from the pattern will simply pause it, and the pattern will resume on the next turn.
-Phase 1:
--Turn 1:
---On the first loop, cast Explode.
---If Explode was cast on the last loop, cast Freezing.
---If Freezing was cast on the last loop, cast Thunderstorm.
---If Thunderstorm was cast on the last loop, cast Explode.
--Turn 2:
---49% chance to cast Land Slash.
---51% chance to cast Demonic Rush.
--Turn 3: Yggdrasil Core will cast the skill it did not cast on turn 2.
--Turn 4: Cast Root Cyclone.
--Loop from turn 1.
-Phase 2 is triggered upon reaching 80% HP (72899 HP).
--Turn 1: Cast Activate.
--Turn 2:
---On the first loop, cast Tangling Ray.
---If Tangling Ray was cast on the last loop, cast Necrosis.
---If Necrosis was cast on the last loop, cast Ancient Pollen.
---If Ancient Pollen was cast on the last loop, cast Tangling Ray.
--Turn 3:
---49% chance to cast Demonic Rush.
---51% chance to cast Land Slash.
--Turn 4: Cast Cell Membrane.
--Turn 5:
---If Tangling Ray was cast on turn 2, cast Ancient Pollen.
---If Necrosis was cast on turn 2, cast Tangling Ray.
---If Ancient Pollen was cast on turn 2, cast Necrosis.
--Turn 6:
---If Tangling Ray was cast on turn 2, cast Explode.
---If Necrosis was cast on turn 2, cast Freezing.
---If Ancient Pollen was cast on turn 2, cast Thunderstorm.
--Loop from turn 1.
-Phase 3 is triggered upon reaching 60% HP (54899 HP).
--Turn 1:
---On the first loop, cast Explode.
---On subsequent loops:
----If an elemental attack was cast on turn 2:
-----If said elemental attack cast was Explode, cast Freezing.
-----If said elemental attack cast was Freezing, cast Thunderstorm.
-----If said elemental attack cast was Thunderstorm, cast Explode.
----If an elemental attack was cast on turn 3:
-----If said elemental attack cast was Explode, cast Thunderstorm.
-----If said elemental attack cast was Freezing, cast Explode.
-----If said elemental attack cast was Thunderstorm, cast Freezing.
--Turn 2:
---One of two routines is selected randomly here.
----Routine 1:
-----If the last elemental skill cast was Explode, cast Freezing.
-----If the last elemental skill cast was Freezing, cast Thunderstorm.
-----If the last elemental skill cast was Thunderstorm, cast Explode.
----Routine 2:
-----49% chance to cast Land Slash.
-----51% chance to cast Demonic Rush.
--Turn 3:
---If an elemental attack was cast last turn:
----49% chance to cast Land Slash.
----51% chance to cast Demonic Rush.
---If a physical attack was cast last turn:
----If the last elemental skill cast was Explode, cast Thunderstorm.
----If the last elemental skill cast was Freezing, cast Explode.
----If the last elemental skill cast was Thunderstorm, cast Freezing.
--Turn 4: Cast Root Cyclone.
--Loop from turn 1.
-Phase 4 is triggered upon reaching 40% HP (36899 HP).
--Turn 1:
---33% chance to cast Tangling Ray.
---33% chance to cast Necrosis.
---34% chance to cast Ancient Pollen.
--Turn 2:
---49% chance to cast Demonic Rush.
---51% chance to cast Land Slash.
--Turn 3:
---On the first loop:
----33% chance to cast Explode.
----33% chance to cast Freezing.
----34% chance to cast Thunderstorm.
---On subsequent loops:
----If an elemental attack was cast on turn 4:
-----If said elemental attack cast was Explode, cast Thunderstorm.
-----If said elemental attack cast was Freezing, cast Explode.
-----If said elemental attack cast was Thunderstorm, cast Freezing.
----If an elemental attack was cast on turn 5:
-----If said elemental attack cast was Explode, cast Freezing.
-----If said elemental attack cast was Freezing, cast Thunderstorm.
-----If said elemental attack cast was Thunderstorm, cast Explode.
--Turn 4:
---One of two routines is selected randomly here.
----Routine 1:
-----If the last elemental skill cast was Explode, cast Thunderstorm.
-----If the last elemental skill cast was Freezing, cast Explode.
-----If the last elemental skill cast was Thunderstorm, cast Freezing.
----Routine 2:
-----Cast Root Cyclone.
--Turn 5:
---If an elemental attack was cast last turn, cast Root Cyclone.
---If a Root Cyclone was cast last turn:
----If the last elemental skill cast was Explode, cast Freezing.
----If the last elemental skill cast was Freezing, cast Thunderstorm.
----If the last elemental skill cast was Thunderstorm, cast Explode.
--Turn 6:
---49% chance to cast Activate.
---51% chance to cast Cell Membrane.
--Loop from turn 1.
AI Script:
-Set counter 1 to 0.
-Set counter 2 to 0.
-If the party has 12 or more buffs, add 4 to counter 2.
-If the party has 8 or more buffs, add 3 to counter 2.
-If the party has 4 or more buffs, add 2 to counter 2.
-If flag 19 is active, cast Armageddon. Deactivate flag 19.
-Run this script at the moment of the user's turn.
-If HP is below 40%, and flags 4, 5, and 6 are not active, cast Segment (Heals 43998 HP.) Activate flags 1, 2, 3, 4, 5, and 6. Deactivate flags 13, 14, 15, 16, 18, and 18. Set counter 1 to 0. Stop running this script at the moment of the user's turn.
-If HP is below 40%, and flags 5 and 6 are not active, but flag 4 is active, cast Segment (Heals 33999 HP.) Activate flags 1, 2, 3, 5, and 6. Deactivate flags 13, 14, 15, 16, 18, and 18. Set counter 1 to 0. Stop running this script at the moment of the user's turn.
-If HP is below 40%, and flag 6 is not active, but flags 4 and 5 are active, cast Segment (Heals 24000 HP.) Activate flags 1, 2, 3, and 6. Deactivate flags 13, 14, 15, 16, 18, and 18. Set counter 1 to 0. Stop running this script at the moment of the user's turn.
-If HP is below 60%, and flags 4 and 5 are not active, cast Segment (Heals 19998 HP.) Activate flags 1, 2, 4, and 5. Deactivate flags 13, 14, 15, 16, 18, and 18. Set counter 1 to 0. Stop running this script at the moment of the user's turn.
-If HP is below 60%, and flag 5 is not active, but flag 4 is active, cast Segment (Heals 9999 HP.) Activate flags 1, 2, and 5. Deactivate flags 13, 14, 15, 16, 18, and 18. Set counter 1 to 0. Stop running this script at the moment of the user's turn.
-If HP is below 80%, and flag 4, cast Segment (Heals 9999 HP.) Activate flags 1 and 4. Deactivate flags 13, 14, and 15. Set counter 1 to 0. Stop running this script at the moment of the user's turn.
-Stop running this script at the moment of the user's turn.
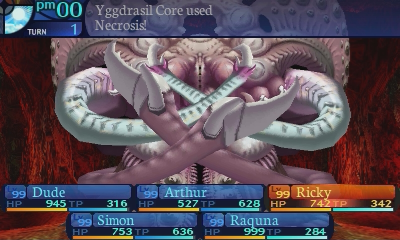
-If the turn count is equal to 1, cast Necrosis.
-If counter 2 is equal to or greater than 32, and the party currently has 4 or more buffs, cast King's Resolve. Set counter 2 to 0. Activate flag 19.
-If flag 6 is active, and counter 1 is equal to or greater than 5, set counter 1 to 0, then:
--49% chance to cast Activate.
--51% chance to cast Cell Membrane.
-Add 1 to counter 1.
-If flag 1 is not active:
--If counter 1 is equal to 1:
---If flag 13 is active, cast Freezing. Deactivate flag 13. Activate flag 14.
---If flag 14 is active, cast Thunderstorm. Deactivate flag 14. Activate flag 15.
---If flag 15 is active, cast Explode. Deactivate flag 15. Activate flag 13.
---Else, cast Explode. Activate flag 13.
--If counter 1 is equal to 2:
---49% chance to cast Land Slash. Activate flag 8.
---51% chance to cast Demonic Rush.
--If counter 1 is equal to 3:
---If flag 8 is active, cast Demonic Rush. Deactivate flag 8.
---Else, cast Land Slash.
--If counter 1 is equal to or greater than 4, cast Root Cyclone. Set counter 1 to 0.
-If flag 2 is not active:
--If counter 1 is equal to 1, cast Activate.
--If counter 1 is equal to 2:
---If flag 13 is active, cast Necrosis. Deactivate flag 13. Activate flag 14.
---If flag 14 is active, cast Ancient Pollen. Deactivate flag 14. Activate flag 15.
---If flag 15 is active, cast Tangling Ray. Deactivate flag 15. Activate flag 13.
---Else, cast Tangling Ray. Activate flag 13.
--If counter 1 is equal to 3:
---49% chance to cast Demonic Rush.
---51% chance to cast Land Slash.
--If counter 1 is equal to 4, cast Cell Membrane.
--If counter 1 is equal to 5:
---If flag 13 is active, cast Ancient Pollen.
---If flag 14 is active, cast Tangling Ray.
---If flag 15 is active, cast Necrosis.
--If counter 1 is equal to 6, set counter 1 to 0 then:
---If flag 13 is active, cast Explode.
---If flag 14 is active, cast Freezing.
---If flag 15 is active, cast Thunderstorm.
-If flag 3 is not active:
--If counter 1 is equal to 1:
---If flags 16 or 18 are active, cast Explode. Deactivate flags 16 and 18.
----49% chance to activate flag 13.
----51% chance to activate flag 14.
---If flags 14 or 17 are active, cast Freezing. Deactivate flags 14 and 17.
----49% chance to activate flag 15.
----51% chance to activate flag 16.
---If flags 13 or 15 are active, cast Thunderstorm. Deactivate flags 13 and 15.
----49% chance to activate flag 17.
----51% chance to activate flag 18.
---Else, cast Explode.
----49% chance to activate flag 13.
----51% chance to activate flag 14.
--If counter 1 is equal to 2:
---If flag 13 is active, cast Freezing.
---If flag 16 is active, cast Thunderstorm.
---If flag 17 is active, cast Explode.
---If flags 14, 15, or 18 are active:
----49% chance to cast Land Slash.
----51% chance to cast Demonic Rush.
--If counter 1 is equal to 3:
---If flag 14 is active, cast Thunderstorm.
---If flag 15 is active, cast Explode.
---If flag 18 is active, cast Freezing.
---If flags 13, 16, or 17 are active:
----49% chance to cast Land Slash.
----51% chance to cast Demonic Rush.
--If counter 1 is equal to 4, cast Root Cyclone. Set counter 1 to 0.
-If counter 1 is equal to 1:
--33% chance to cast Tangling Ray.
--33% chance to cast Necrosis.
--34% chance to cast Ancient Pollen.
-If counter 1 is equal to 2:
--49% chance to cast Demonic Rush.
--51% chance to cast Land Slash.
-If counter 1 is equal to 3:
--If flags 15 or 17 are active, cast Explode. Deactivate flags 15 and 17.
---49% chance to activate flag 13.
---51% chance to activate flag 14.
--If flags 13 or 18 are active, cast Freezing. Deactivate flags 13 and 18.
---49% chance to activate flag 15.
---51% chance to activate flag 16.
--If flags 14 or 16 are active, cast Thunderstorm. Deactivate flags 14 and 16.
---49% chance to activate flag 17.
---51% chance to activate flag 18.
--Else:
---33% chance to cast Explode.
----49% chance to activate flag 13.
----51% chance to activate flag 14.
---33% chance to cast Freezing.
----49% chance to activate flag 15.
----51% chance to activate flag 16.
---34% chance to cast Thunderstorm.
----49% chance to activate flag 17.
----51% chance to activate flag 18.
-If counter 1 is equal to 4:
--If flag 13 is active, cast Thunderstorm.
--If flag 16 is active, cast Explode.
--If flag 17 is active, cast Freezing.
--If flags 14, 15, or 18 are active, cast Root Cyclone.
-If counter 1 is equal to 5:
--If flag 15 is active, cast Thunderstorm.
--If flag 18 is active, cast Explode.
--If flag 14 is active, cast Freezing.
--If flags 13, 16, or 17 are active, cast Root Cyclone.
Grimoire Skill Data:
Land Slash: Deals 4 instances of melee STR-based cut damage to one enemy. Has no speed modifier and a base accuracy of 99% at all levels.

Activate: Multiplies all ailment/bind infliction chances for 6 turns. Has no speed modifier at all levels.

Armageddon: Deals ranged TEC-based almighty damage to all enemies. Has a 10% speed modifier and a base accuracy of 150% at all levels.

Drops:
-Normal: None. Please don't waste a Formaldehyde on this thing, the codex is lying to you.
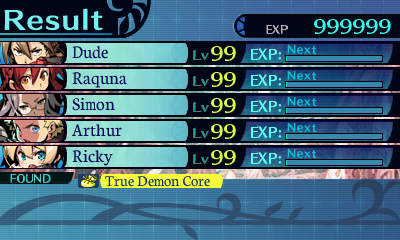
-Conditional:  True Demon Core. 100% chance. Sells for 1000000 en.
--Does not make anything.
The first thing I'm going to go over are the general rules and mechanics of the fight. For one thing, in practice, the Yggdrasil Core doesn't actually have 90,000 HP. It really has 133,998 HP.quote:
-Yggdrasil Core has a variable countdown that starts from 32 that ticks down depending on how many buffs are on the party.
--0 to 3 buffs will not affect the countdown.
--4 to 7 buffs will subtract 2 from the countdown.
--8 to 11 buffs will subtract 3 from the countdown.
--12 to 15 buffs will subtract 4 from the countdown.
-Once this countdown reaches 0, if the party has 1 or more buffs on them by the time Yggdrasil Core acts again, King's Resolve will get cast, and the countdown resets back to 32.
-The turn after King's Resolve gets cast, it will cast Armageddon.
-Segment is used to signal the start of a phase, and will heal a variable amount of HP depending on which phase is started.
--Segment takes priority over Yggdrasil Core's actions and will override the attack it was planning to use if you reach the next phase in the middle of a turn, and it has not acted on the current turn yet.
--If phases are skipped, then Segment will add up the heals from any untriggered Segments and will use those unused heals to restore the Yggdrasil Core all at once.
--If you skip to phase 4 from phase 1, Segment will restore 43998 HP.
--If you skip to phase 4 from phase 2, Segment will restore 33999 HP.
--If you reach phase 4 without ever skipping phase 3, Segment will restore 24000 HP.
--If you skip to phase 3 from phase 1, Segment will restore 19998 HP.
--If you reach phase 3 without ever skipping phase 2, Segment will restore 9999 HP.
--Segment will restore 9999 HP upon reaching phase 2.
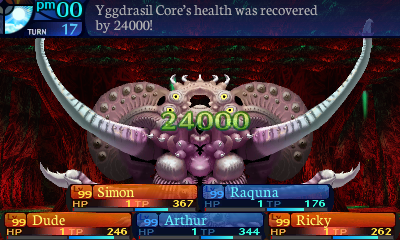
The Yggdrasil Core operates in phases (phase 2 begins at 80% HP, phase 3 begins at 60% HP, and phase 4 begins at 40% HP), and each time it reaches a new phase, it'll use Segment to heal itself. When transitioning from phase 1 to phase 2, and from phase 2 to phase 3, Segment will heal the Yggdrasil Core for 9999 HP. When transitioning from phase 3 to phase 4, it'll heal the Yggdrasil Core for 24000 HP instead. This heal can't really be avoided or stopped, as Segment does not use a body part. Though this skill is also its biggest downfall. More on that later. Much later.
The Yggdrasil Core also doesn't like it if you attempt to skip phases by bursting it down. You'll skip the phases, except all of the heals from any Segments you skip will be added up together, forcing you to deal with the later and more dangerous phases for a much longer time.
Another general mechanic of this fight is that the Yggdrasil Core doesn't like buffs too much. If you use 0 to 3 buffs, you're fine and can basically ignore this next section. If not, read on.
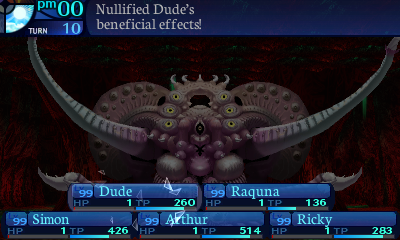
If you have 4 or more buffs on the party, you'll start a hidden countdown. With having 8 to 11 buffs and 12 to 15 buffs accelerating the countdown even faster. Though fortunately, the Yggdrasil Core doesn't care about debuffs at all, so use those as often as you want. When this countdown reaches 0, if you still have any buffs on your party at that time, it will cast King's Resolve, which will erase all your buffs, and the countdown resets. While you can stop King's Resolve itself from coming out by using a head bind, that won't help you at all with what happens next.
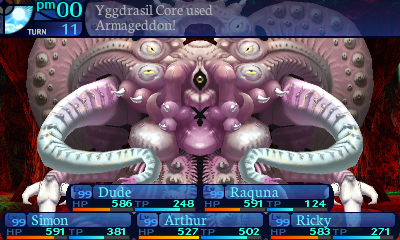
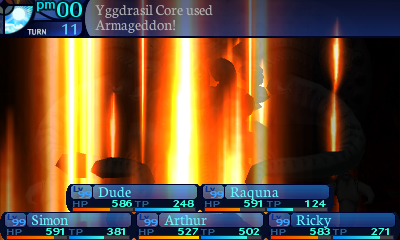
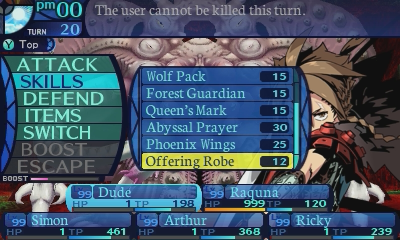
After casting King's Resolve, or attempting and failing to cast it, the Yggdrasil Core will always follow that up with Armageddon. It's an Almighty TEC-based attack that deals 800% damage to the entire party, has 200% base accuracy, a 30% speed modifier, and doesn't use a body part. Because there aren't really that many ways to stop this attack, if you use too many buffs, you effectively place a time limit on yourself for this boss fight.
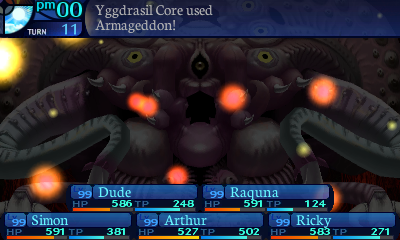
If you happen to run into the end of the countdown and trigger Armageddon, the trick is not to panic. This attack is going to kill you.
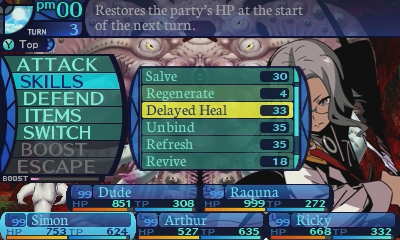
If only there was a skill that can stop your party from dying...
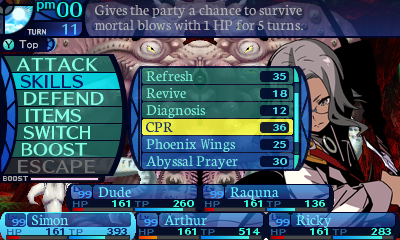
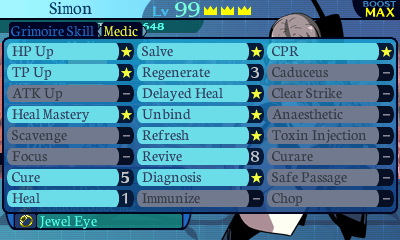
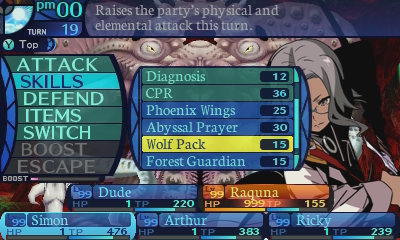
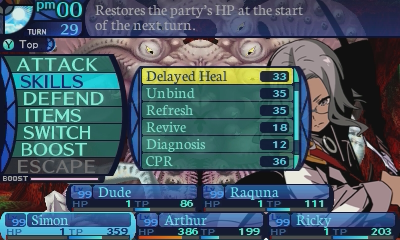
Oh wait, there is, and that's CPR! A level 10 CPR has a 70% chance of causing your party members to endure an attack. Which can get you through Armageddon, but that 70% activation rate doesn't make it entirely reliable.
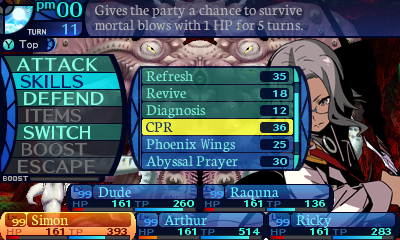
But a boosted version will have a 100% success rate, guaranteeing that everyone will survive this attack. If you know a King's Resolve is going to come out soon, but your Medic doesn't have their Boost ready, you can shovel down Axcelas down their throat, with each Axcela restoring 10 Boost per usage.
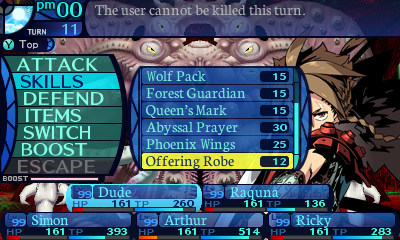
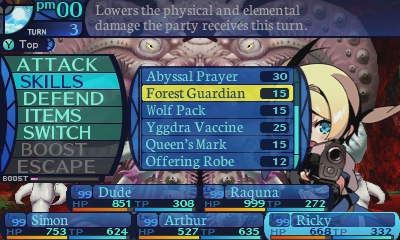
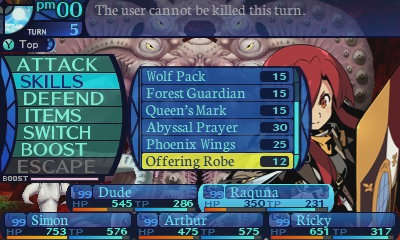
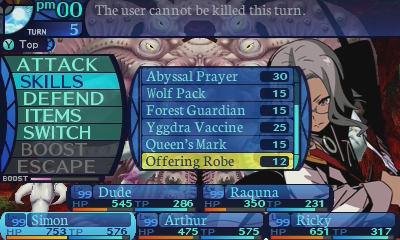
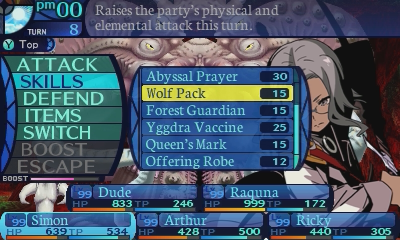
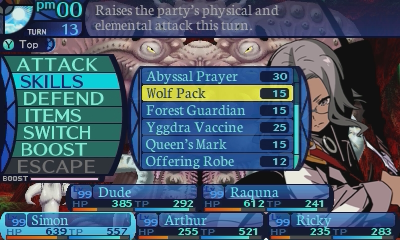
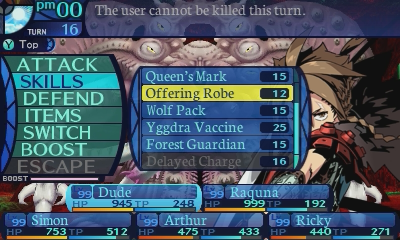
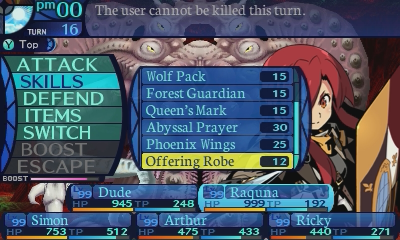
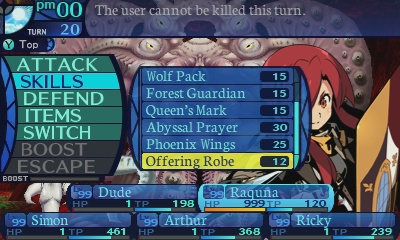
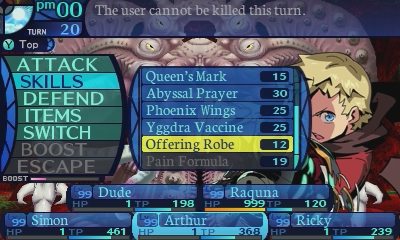
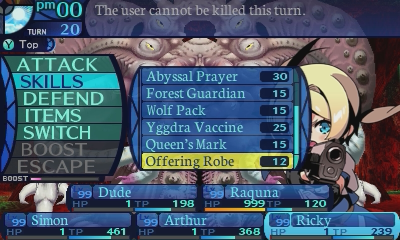
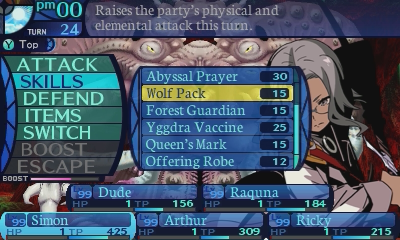
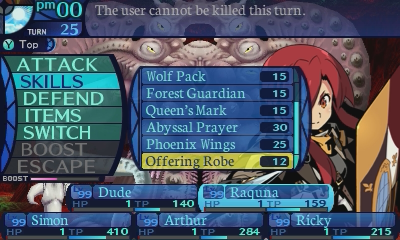
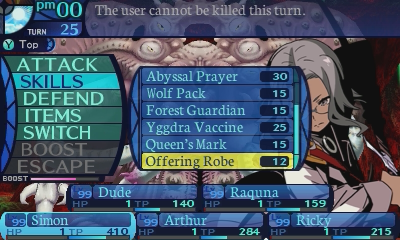
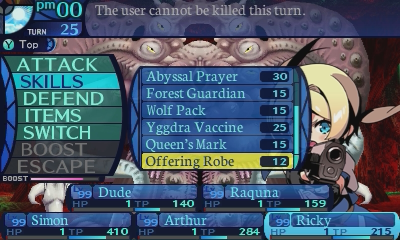
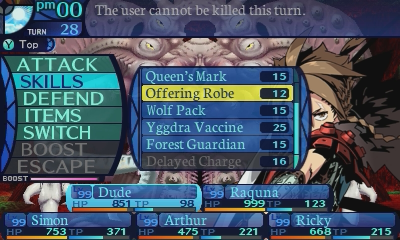
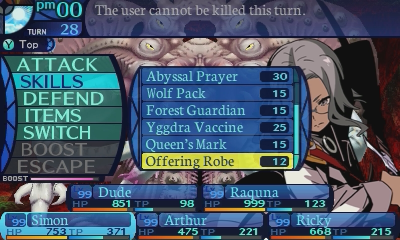
Another way to tank this attack is to farm up Offering Robe King Grimoires from Alraune, and put them on all your party members, and have everyone cast that skill on this turn.
Everyone will take a ton of damage, but it doesn't matter, as you'll survive the attack if you use the measures I've outlined.
And you'll have another shot to finish the fight.
Those aren't the only ways to get past an Armageddon turn, mind you. Armageddon goes through an accuracy check, so it's possible to make it miss. Though the best way to do that, is by Blinding the Yggdrasil Core, as 200% base accuracy is a lot to chew through. After all accuracy and evasion modifiers have been applied, the accuracy formula caps any accuracy above 150% to that value, then the penalty from Blind is applied, which is a 33% multiplier. This leaves Armageddon with a 49.5% accuracy modifier, meaning that it's possible to survive this turn because it didn't cause a party wipe. Not the most reliable method, but it is a method to get through this fight.
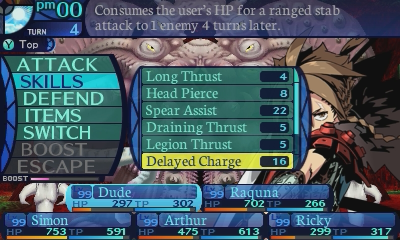
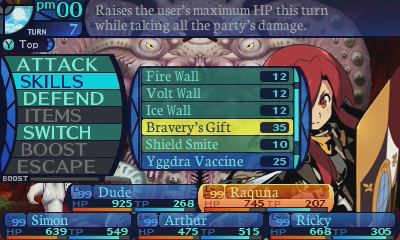
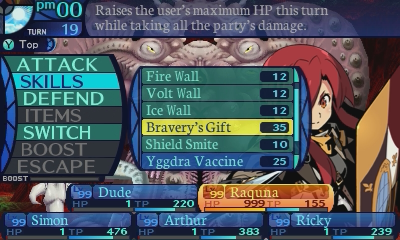
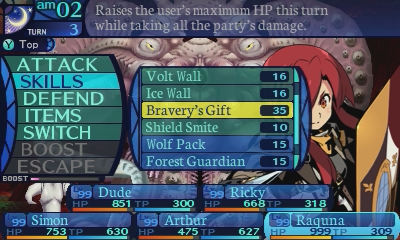
Another option you have is Bravery's Gift. Bravery's Gift ensures that at least 1 person will live through the attack, maybe more depending on how many times Aegis decides to proc. You'll likely be left with a very dead party in these cases, but the important part is that you're still in the fight. How you decide to recover is up to you.
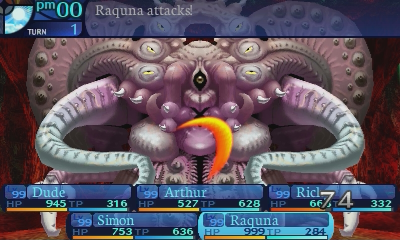
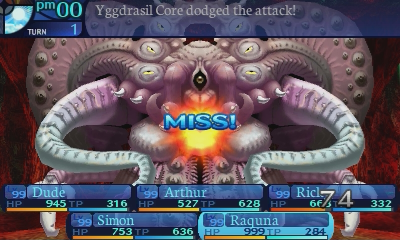
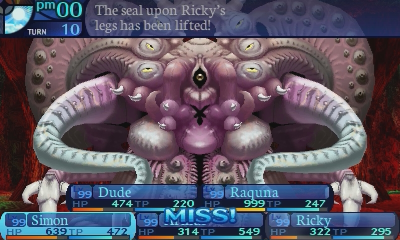
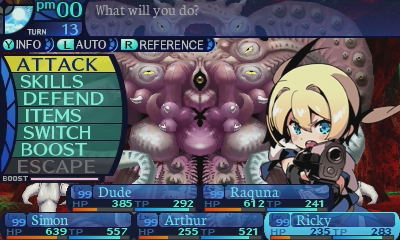
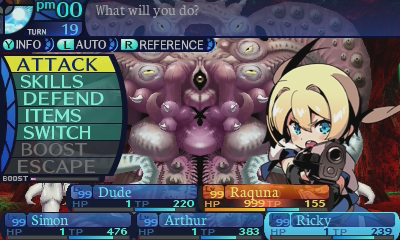
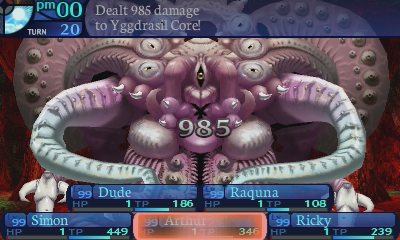
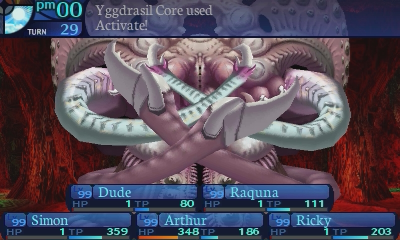
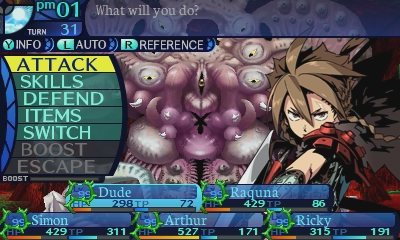
Now that we have all the general mechanics outlined, let's get into the actual fight.
Already this is a million times more involved than the original. The base concept is the same, if you had more than 9 buffs then it just wiped them and then went for a random elemental, or Segment. The path through this superboss was pretty standard, you could get a bit screwed by the nastier attacks in later phases, but its terrifying skills, which was basically a random elemental you had to guess to block, were in AI that triggered when you did something wrong. Otherwise, Slash was the biggest pain cause it often killed whoever it hit, but as far as superbosses go, pretty tame, if a looooooooong fight.quote:
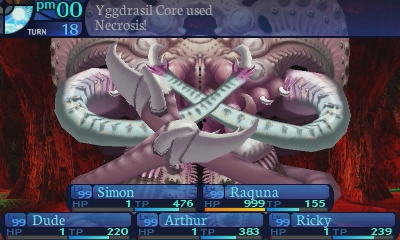
-On the 1st turn, Yggdrasil Core will always cast Necrosis.
-From here, Yggdrasil Core always operates on a set pattern. Any deviations from the pattern will simply pause it, and the pattern will resume on the next turn.
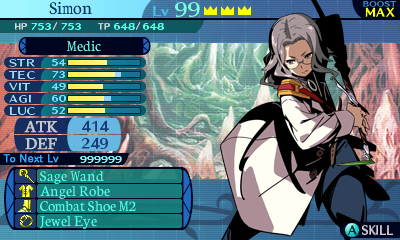
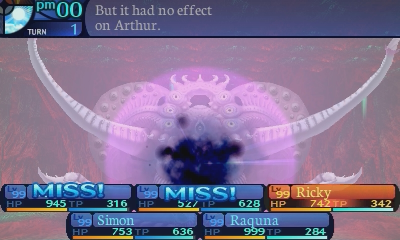
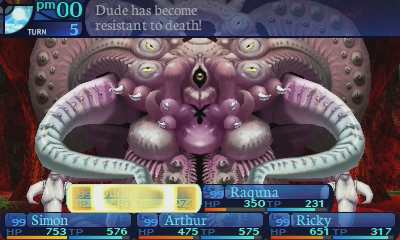
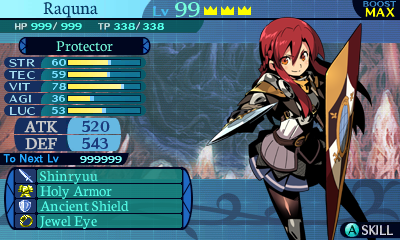
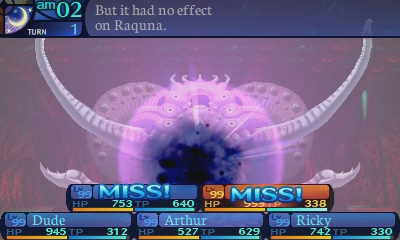
The Yggdrasil Core's opening attack is a very big thing to consider for most players, as Necrosis has a 15% chance of instantly killing your party members. It basically has a small chance of ending your run right there, so eliminating that chance is the first thing you need to figure out how to deal with. Offering Robe can neutralize this attack, but farming up 5 of those Grimoires is time consuming, and having everyone spam cast Offering Robe is effectively a turn where both you and the core are doing nothing. So instead, people typically just wear Jewel Eyes, which grants instant death immunity, to deal with this mechanic. Because I have everyone equipped with those, this 1st turn is a turn for me to do whatever I want.
And yeah, it basically operates in a fixed pattern. It's unfortunately a caveat for nearly every single superboss in the series. If you don't know the pattern, you're going to die.
With that said, if you're playing blind, you can lower the difficulty to scout the pattern, and work things out from there. It's how this pattern got found out, and it was done a lot more quickly than in previous games too since they lacked the option to lower the difficulty, so players had to keep throwing bodies constantly at the boss to figure out the pattern.
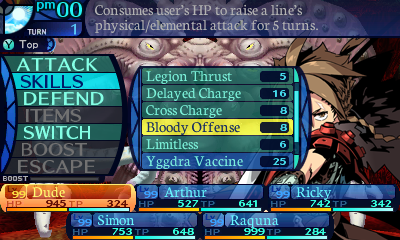
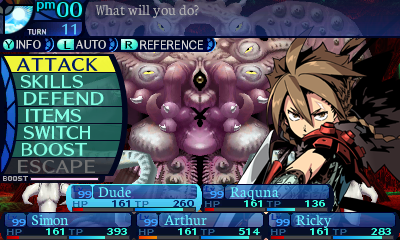
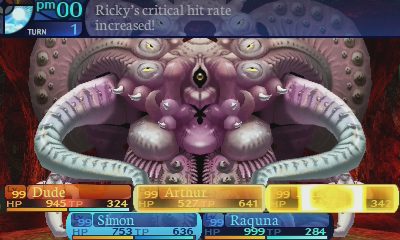
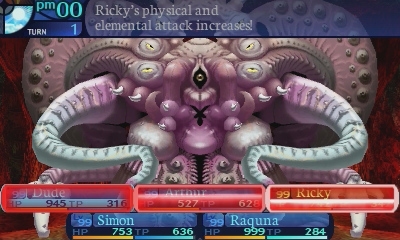
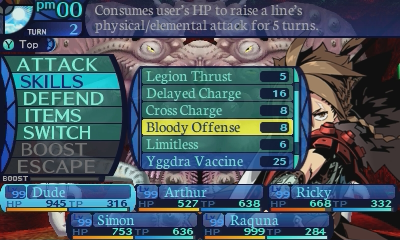
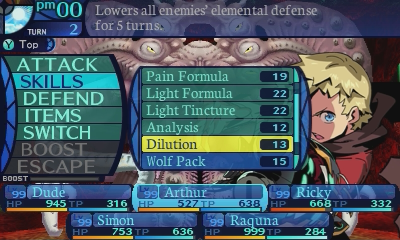
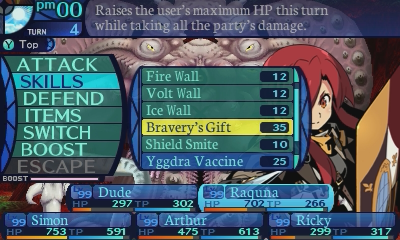
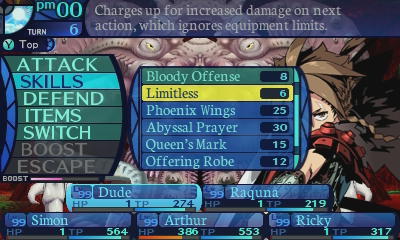
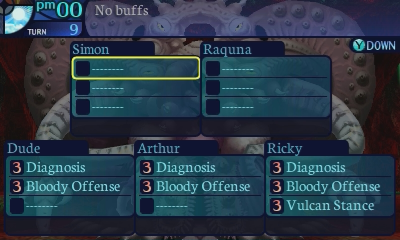
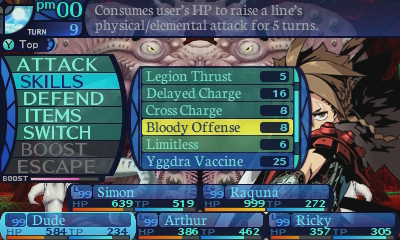
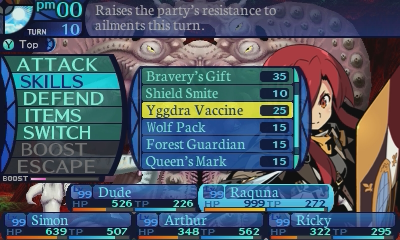
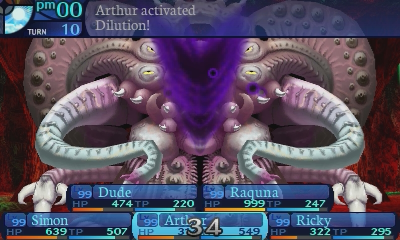
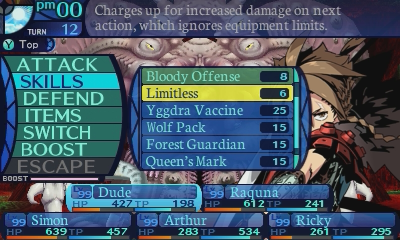
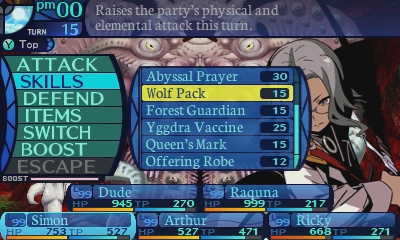
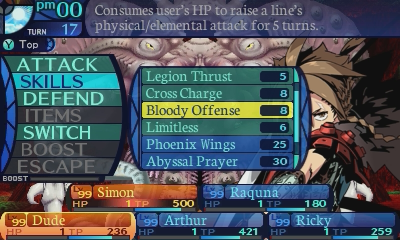
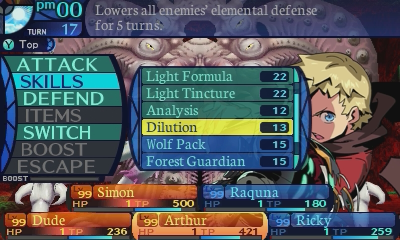
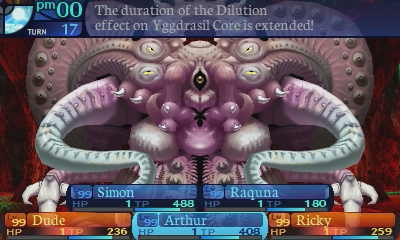
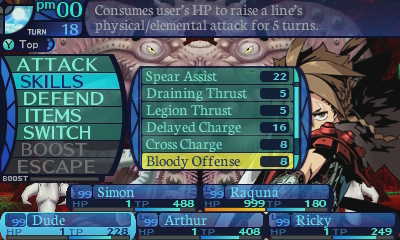
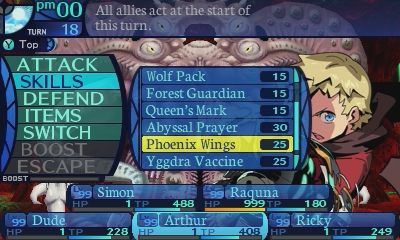
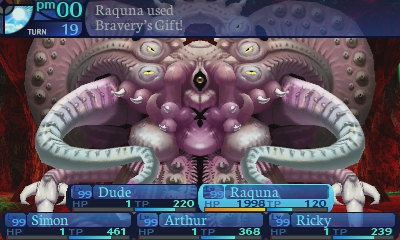
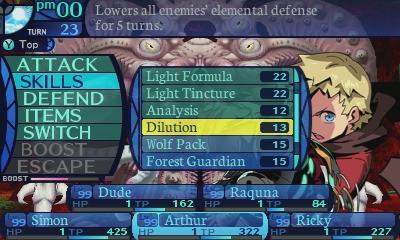
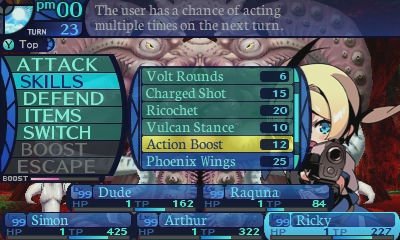
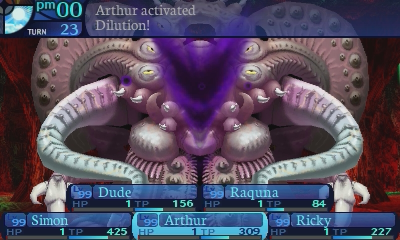
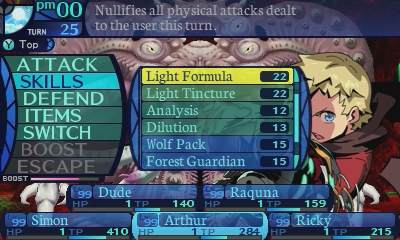
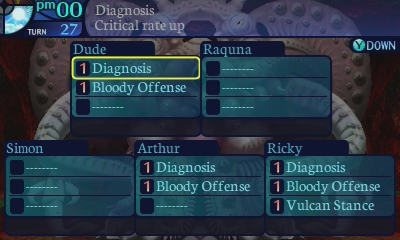
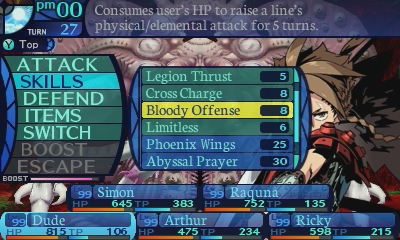
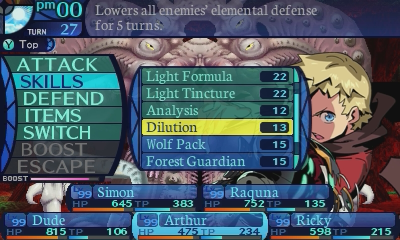
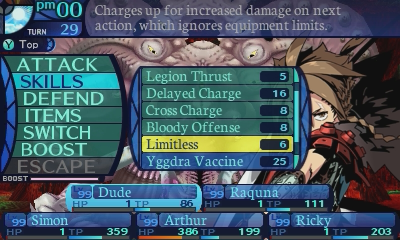
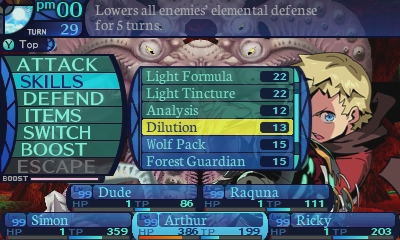
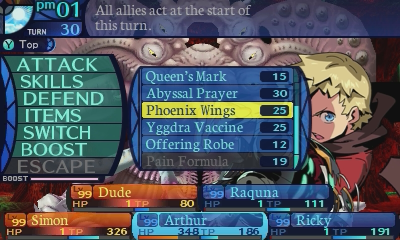
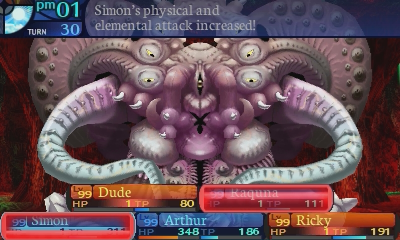
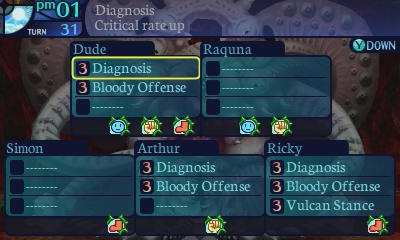
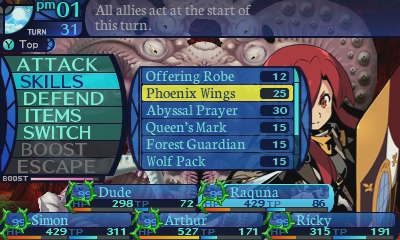
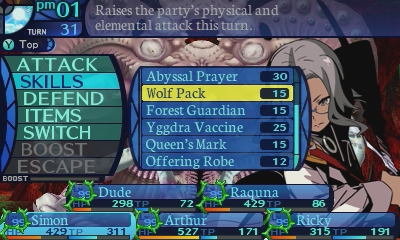
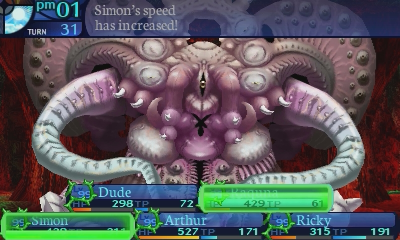
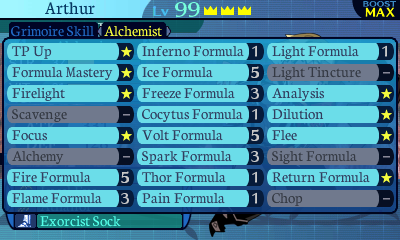
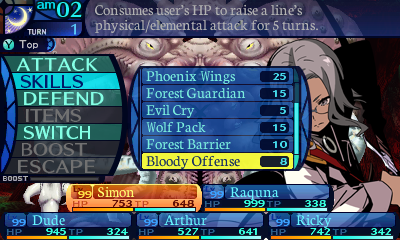
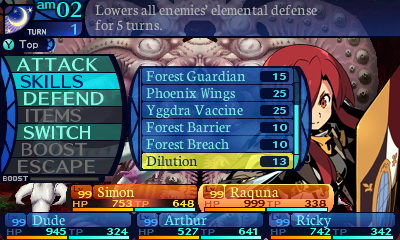
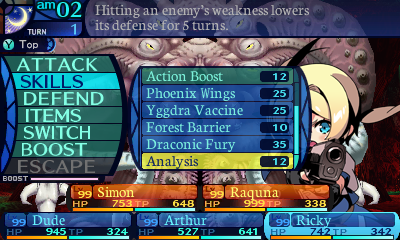
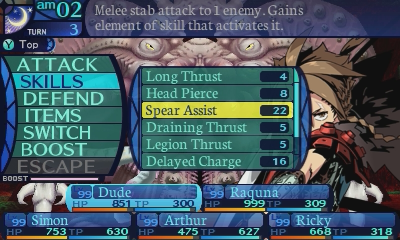
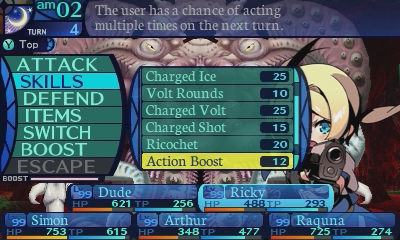
The first thing I'm going to do this turn is to buff up my party, using Boosted versions of the buffs. Bloody Offense increases a row's offenses by 70% instead of 50%, and a boosted Dilution increases elemental damage by 40% instead of 30%. I'm not bothering with Analysis, as that will cause the Armageddon clock to tick down faster than what I intend, and Dilution helps everyone out, not just Arthur.
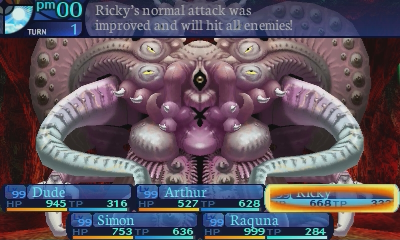
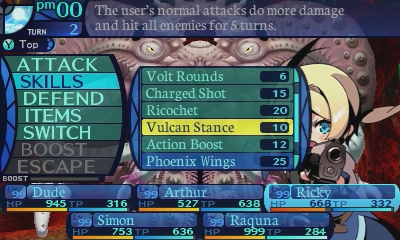
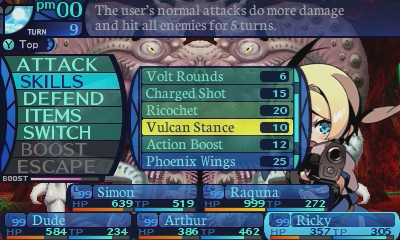
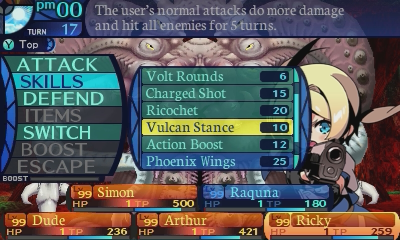
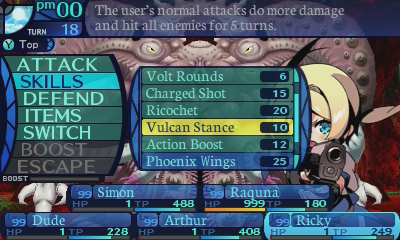
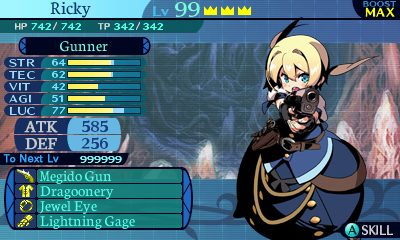
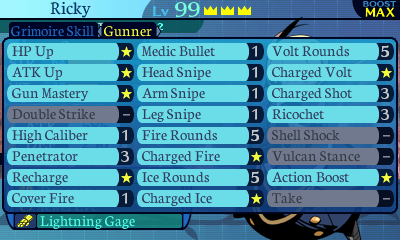
Yes, you are seeing this correctly. Throughout this entire series, regular attacks have been mocked for being useless and terrible for years. Any skills related to making regular attacks better were considered horrific. A complete waste of skill points. And for that matter, anything related to crits were also similarly derided and dismissed, as they only affected regular attacks a lot of the time. Well, no more. Today, you're going to see the true potential of regular attacks!
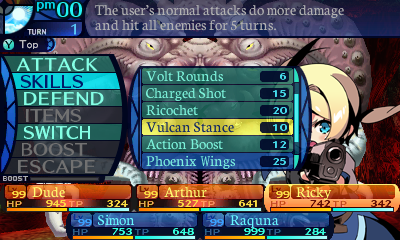
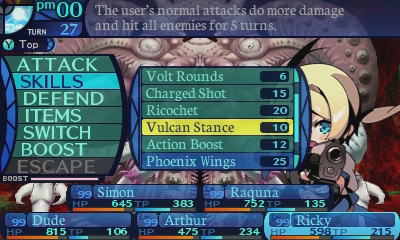
Vulcan Stance places a buff on Frederica that makes her regular attacks AOEs, and increases their damage by 55%. A Boosted version increases it to 90%. Which still isn't great, admittedly.
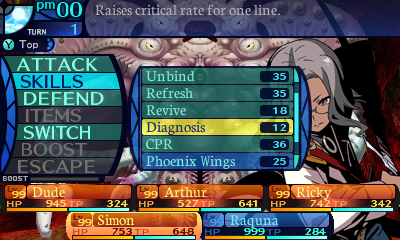
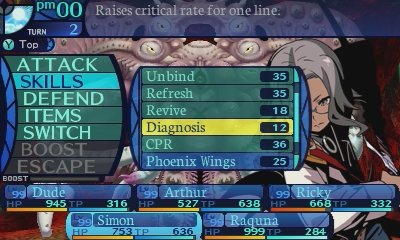
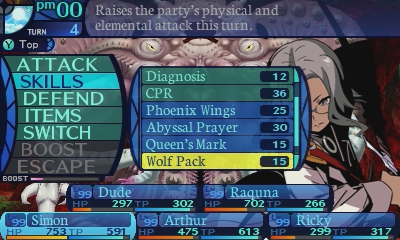
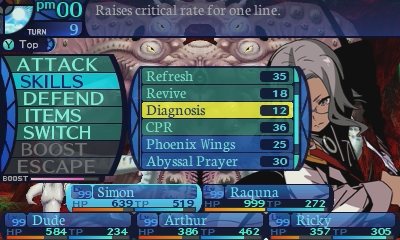
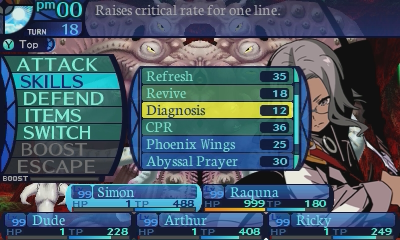
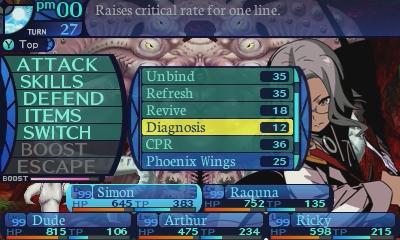
Enter Diagnosis. What this skill does is it places a buff on a row that adds 70% to their critical hit rate. But a Boosted version adds on 99.9% instead! And since the lowest crit rates can go is only 3%, a boosted Diagnosis always guarantees that regular attacks will crit.
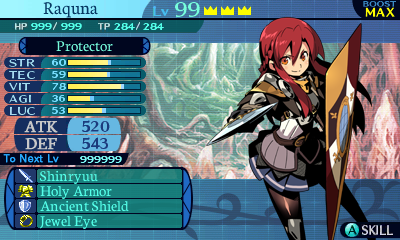
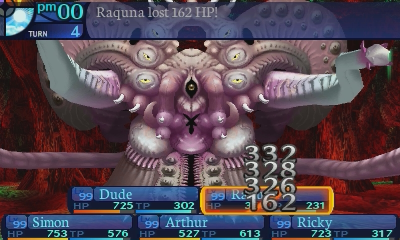
Raquna doesn't really have anything to do this turn, so she'll just, uh, use a regular attack, I guess.
You tried, Raquna.
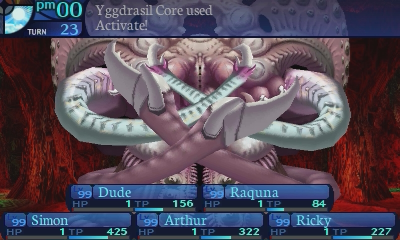
And now the fight really begins.quote:
-Phase 1:
--Turn 1:
---On the first loop, cast Explode.
---If Explode was cast on the last loop, cast Freezing.
---If Freezing was cast on the last loop, cast Thunderstorm.
---If Thunderstorm was cast on the last loop, cast Explode.
--Turn 2:
---49% chance to cast Land Slash.
---51% chance to cast Demonic Rush.
--Turn 3: Yggdrasil Core will cast the skill it did not cast on turn 2.
--Turn 4: Cast Root Cyclone.
--Loop from turn 1.
The Yggdrasil Core's first phase is pretty simple. It opens up with an elemental attack, and uses physical attacks for the rest of the phase, before looping back to the start.
This is the main issue with a lot of superbosses, if you don't count the elemental turns correctly, you fucking die. Been a thing since the first game, where you got very good at counting to 4, and it's been a staple ever since, woo.
Something very important to keep in mind about the buff and debuff for Etrian Odyssey Untold, is that if there's a buff or debuff already active, but you use a different leveled version of said modifier again, that differently leveled version doesn't replace it. All it does is extend the duration.
This is because of the Boost system in this game. This system allows you to maintain a boosted version of a buff or debuff without ever having to build up to a full Boost meter again, which is quite nice. However, this does mean that you can't just replace a buff or a debuff with a Boosted version, and will have to wait those turns out if you wish to apply a stronger version.
This mechanic isn't in any other EO game, as using a differently leveled version will outright replace it. Yes, even in the original Etrian Odyssey game, despite having the Boost system there.
In the first 2 games, it removed the buff and just replaced it with the same buff, so you had to go from turn 5 to turn 9, turn 13, etc, definitely caught me out a couple times.
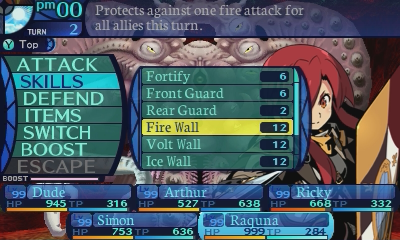
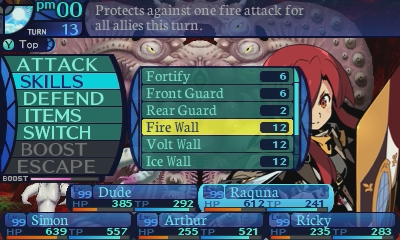
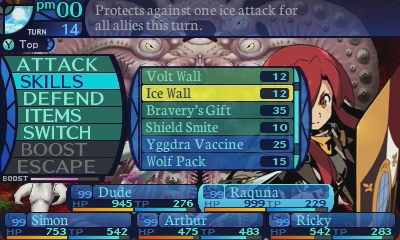
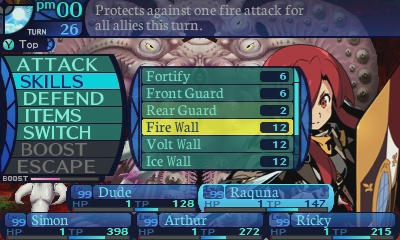
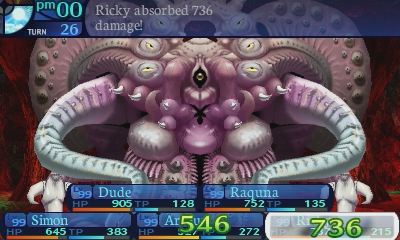
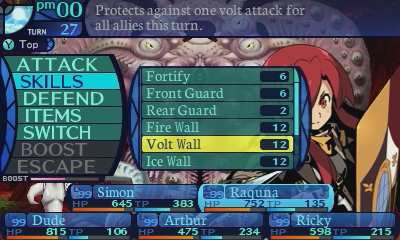
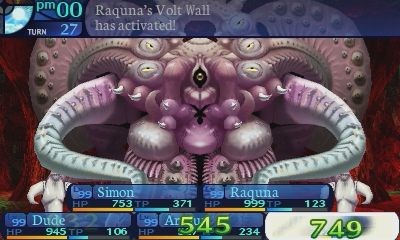
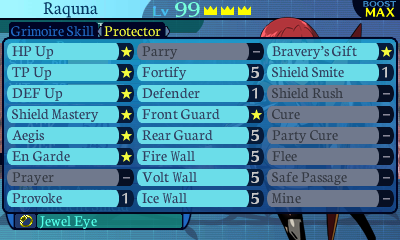
The biggest aspect you'll have to deal with in this fight, are the Yggdrasil Core's elementals. Remember what I said about Mists being your best friends for dealing with various elemental attacks before? Yeah, that doesn't really apply here anymore. It's nullify or die. And the Protector's Walls are by far the best way to deal with those. And the Yggdrasil Core will never cast the same elemental twice in a row within a given phase, switching out the element used for a different one whenever it reaches that turn again.
And yes, I do have all the walls at max level, causing them to heal my party instead of just blocking the damage. There's a very good reason for that, trust me.
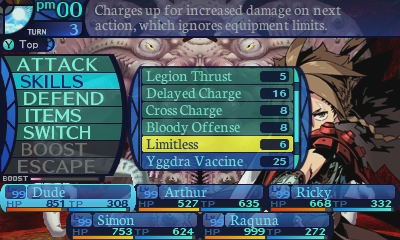
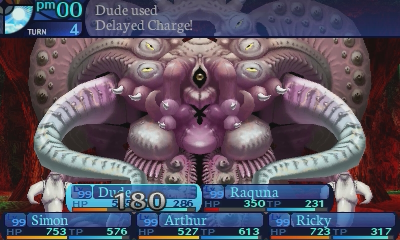
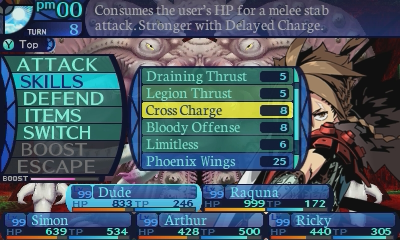
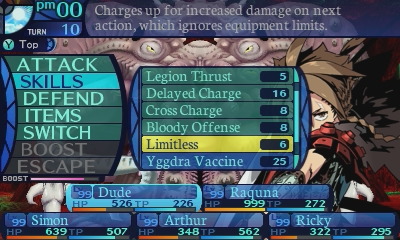
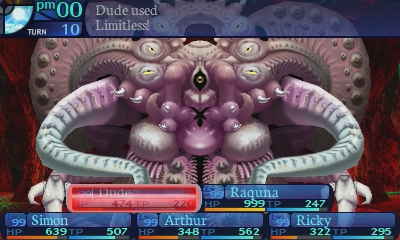
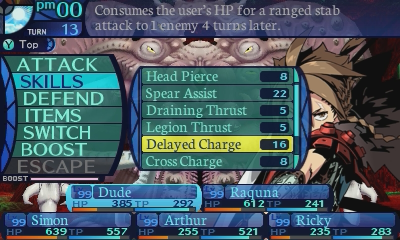
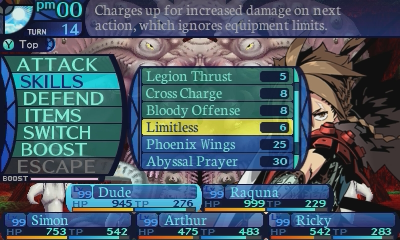
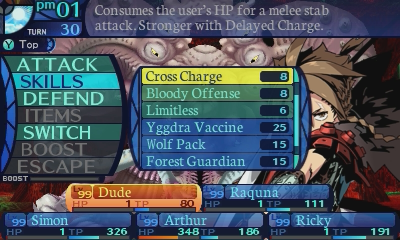
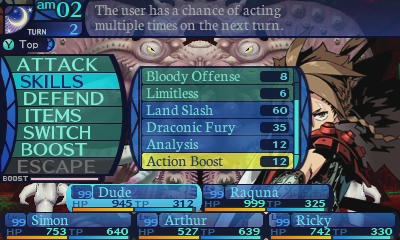
Now I'm going to have Dude begin his Delayed Charge rotation. But because I don't have access to Charge anymore, I'll have to make do with Limitless.
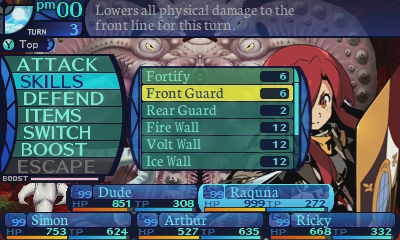
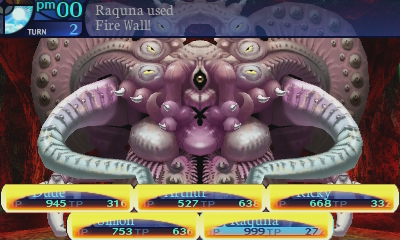
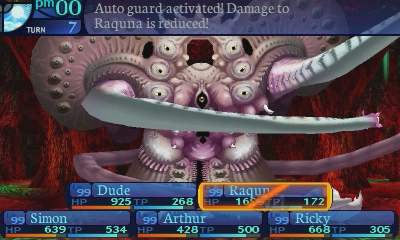
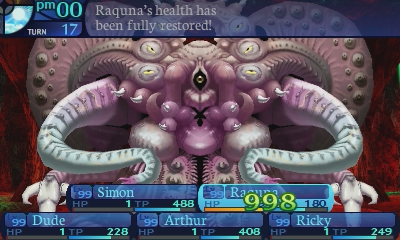
This is a turn where the Yggdrasil Core breaks out a random physical attack, so I'm going to have Raquna use Front Guard.
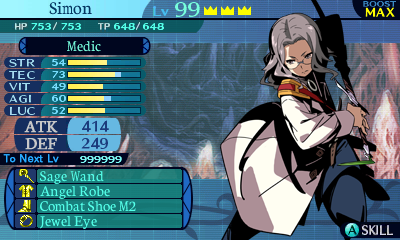
And Simon will hopefully undo the damage from whatever attack the Core decides to use.
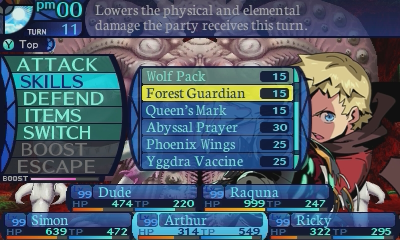
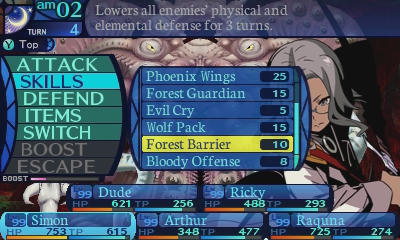
Arthur puts up a safety measure.
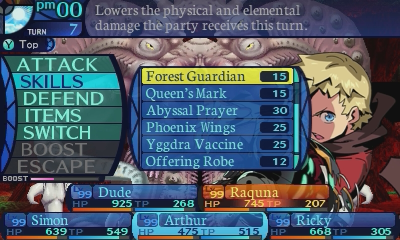
And I'll have Ricky use Forest Guardian, as that does stack with Front Guard, reducing the damage of the Core's next attack to the front row by a whopping 61%! Everyone else has the benefit of backrow protection, so they'll have to make do with a 67.5% damage reduction.
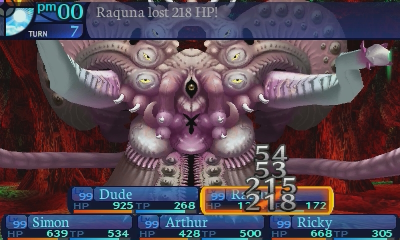
Okay, fortunately that Demonic Rush didn't do too much.
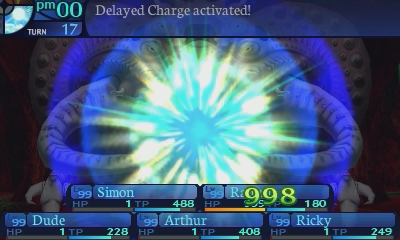
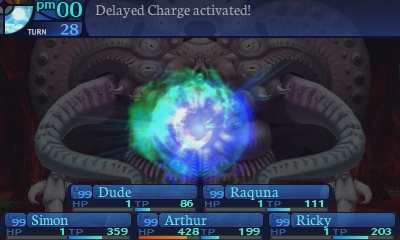
Now Dude will actually cast Delayed Charge this turn.
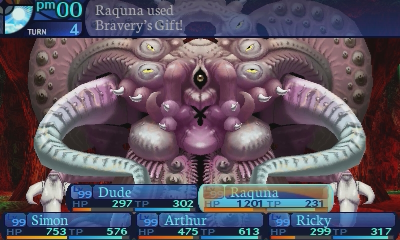
Because I know that the physical damage skill coming out this turn will be a Land Slash, I have Raquna use Bravery's Gift. I know for sure that she can tank an unmitigated Land Slash with this active, so this buys me a completely safe turn. The reason I didn't have her use it last turn is because while she can tank Land Slash, she can't tank Demonic Rush. As all 6 hits concentrated on her without any En Garde or Aegis procs will lead to a dead Raquna.
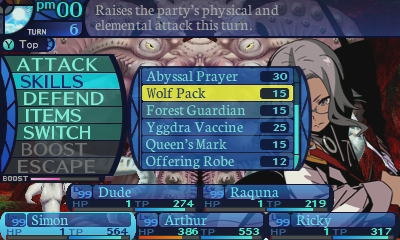
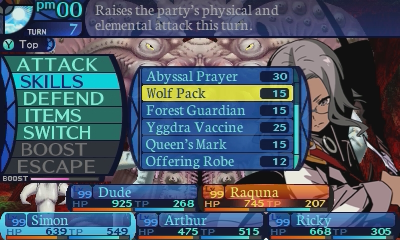
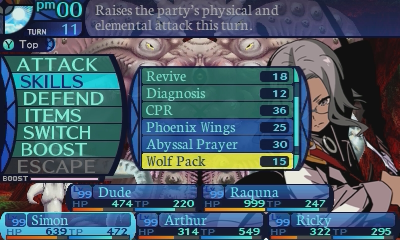
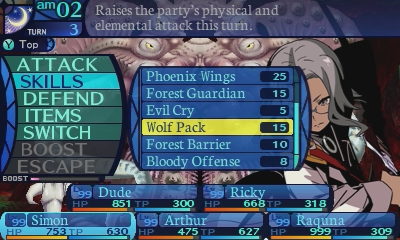
Simon will buff up our party's damage output with Wolf Pack, and it'll affect Delayed Charge's damage output as well when that finally fires off.
No, I don't really care about healing up Raquna at the moment, as you'll see why in a bit.
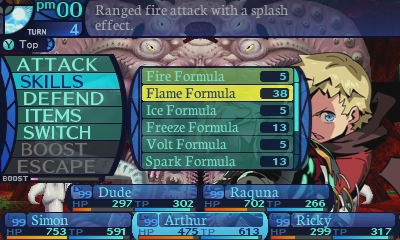
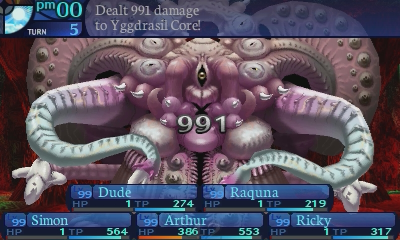
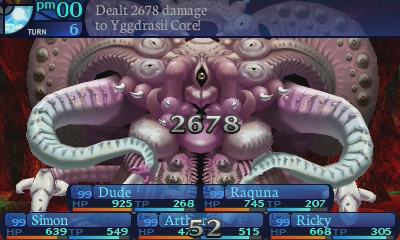
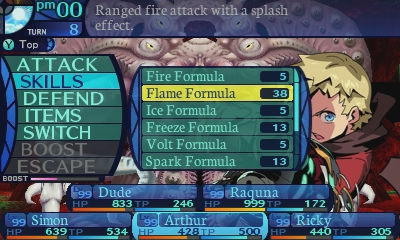
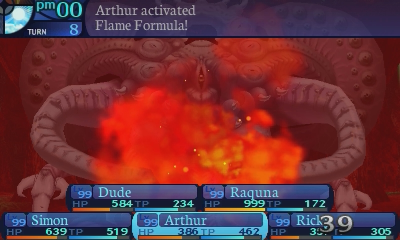
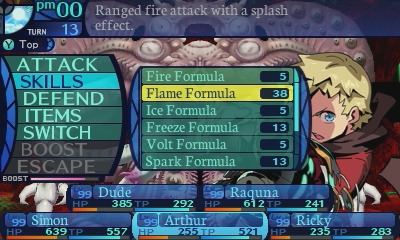
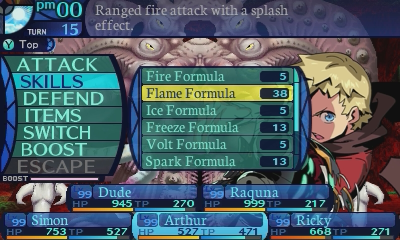
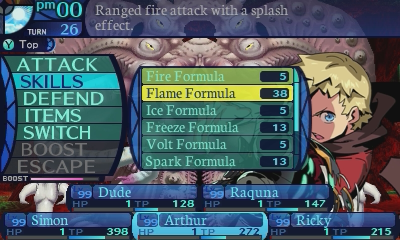
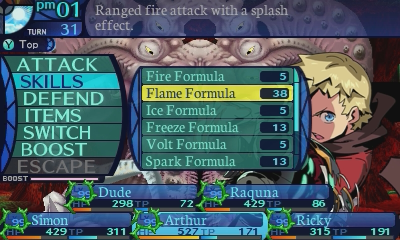
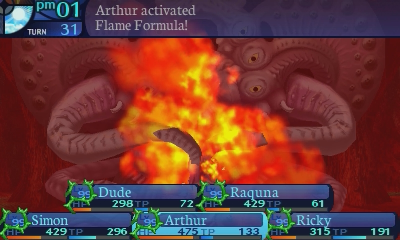
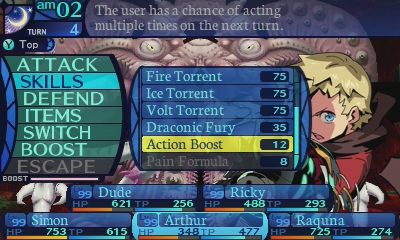
Arthur will deal some damage. Flame Formula is his highest damaging skill, as it deals 350% TEC damage compared to the tier 3 formulas dealing 330%.

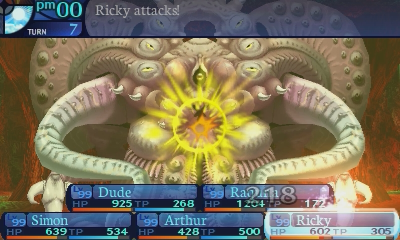
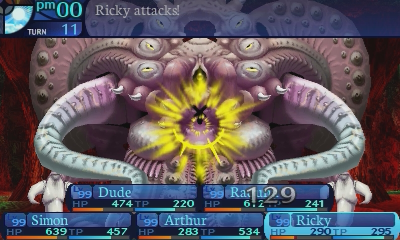
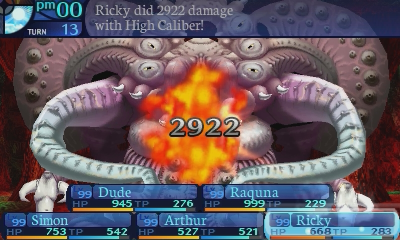
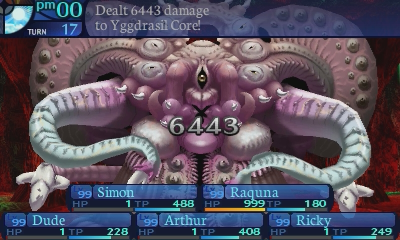
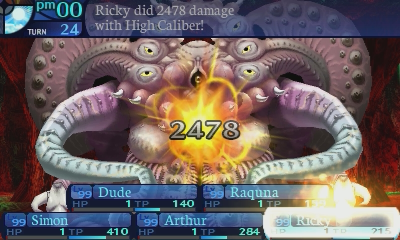
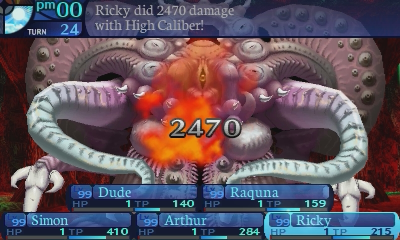
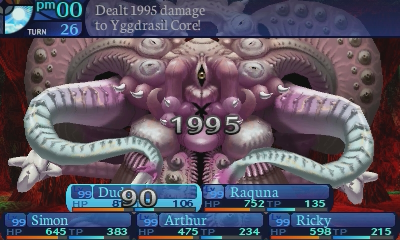
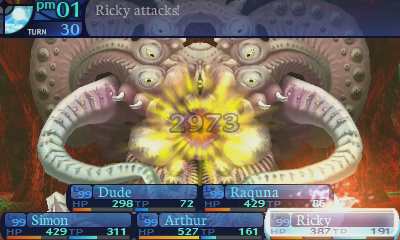
And now we get to see the power of the regular attack.
Told you she could take it!
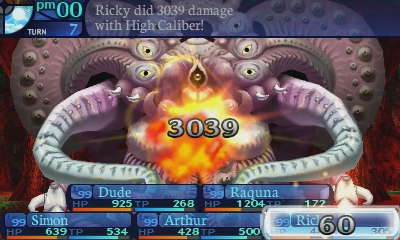
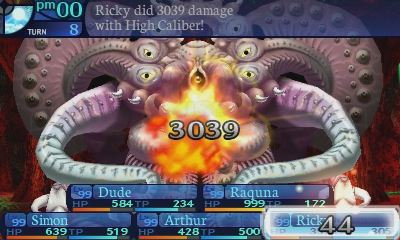
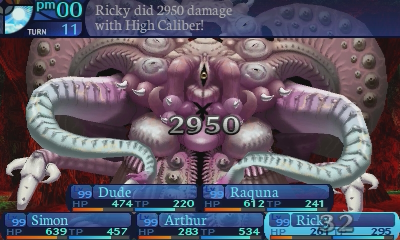
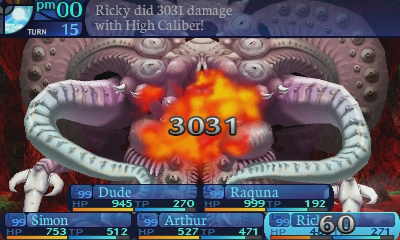
It ONLY did 1200HP, what's the big deal?
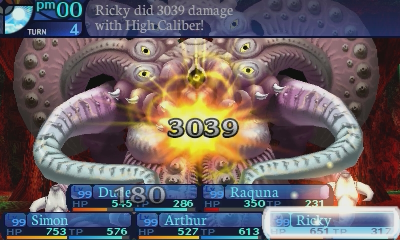
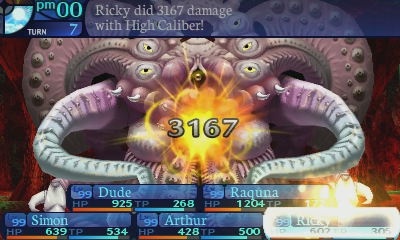
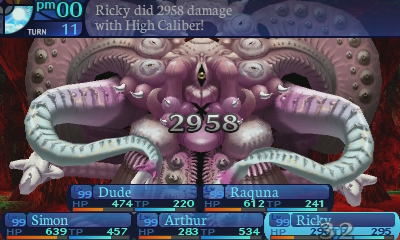
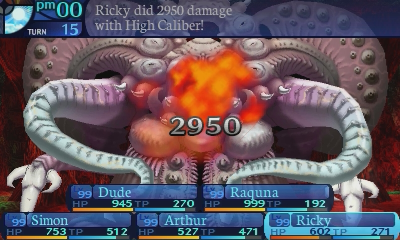
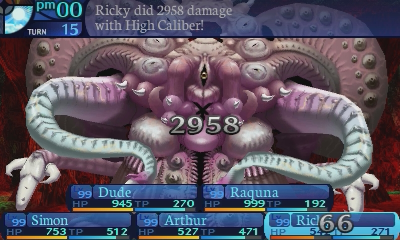
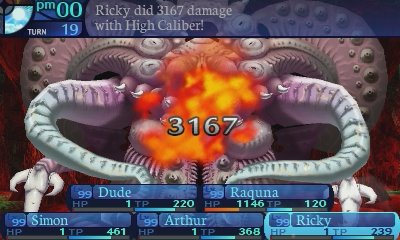
Behold! 3039 damage! From a regular attack! High Caliber increases critical hit damage from 150% to 255% at max level. And since Simon is basically always ÜberCharging Frederica with his Kritzkrieg, if you take into account Vulcan Stance's damage buff, this means that Frederica's regular attacks are dealing 484.5% damage! Which is more damage than a Boosted elemental Charged Shot, which deals 400% damage! And because these are regular attacks, this is all happening for 0 TP!
Unfortunately, regular attacks are doomed to being Stab damage only, so if you want to hit weaknesses, you'll have to eat up that last buff slot with just an imbue. Oh wait a minute.
Frederica's ultimate Gun comes with an automatic Fire imbue! Meaning this allows her to use up that 3rd buff slot on whatever else she wishes! And in this case, it's Dude's Bloody Offense!
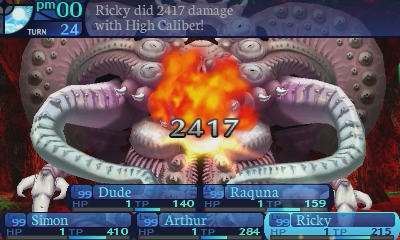
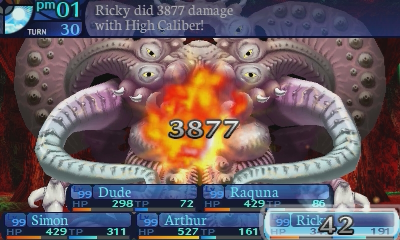
Oh don't worry. We haven't seen the full extent of how nuts regular attacks can become.
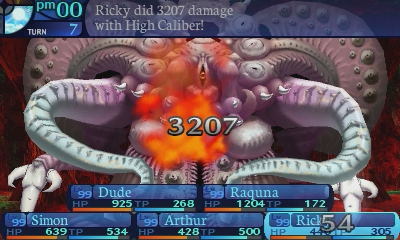
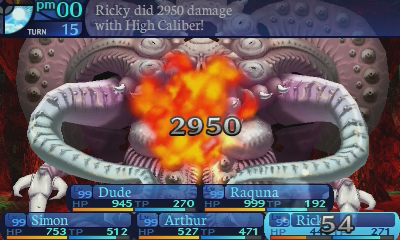
Thought Ricky had reached her limits? Well she'll just have to go even... further... yadda yadda.

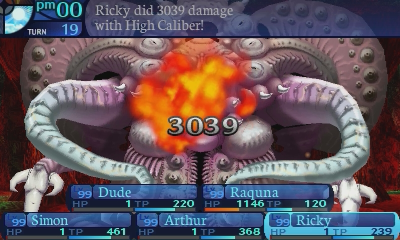
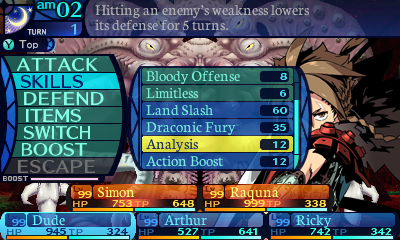
A regular attack, just outdamaged Arthur's best damage skill. Yeah. That said he doesn't have Analysis up, but that's not really a buff I can afford to use on him now, since I'll be accelerating the Armageddon countdown that way. And even with it up, there's one more thing that brings Ricky's regular attacks out on top even bringing Analysis into the equation.
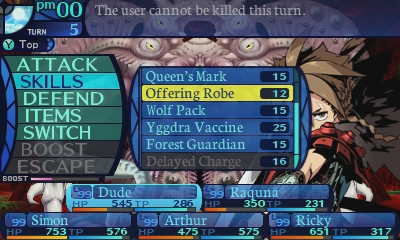
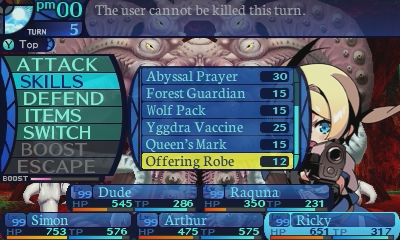
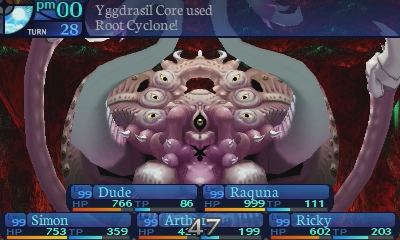
Root Cyclone comes out this turn, and it's the core's strongest physical attack. So I'm going to have everyone use Offering Robe to get past it, which is why I didn't care too much about healing up Raquna last turn.
For the record, the attack is perfectly tankable. I just lack the tools to do so with this setup. So Offering Robe is the option I chose to go with.
With that said, I have Arthur cast a very special skill I'll go over in just a bit.
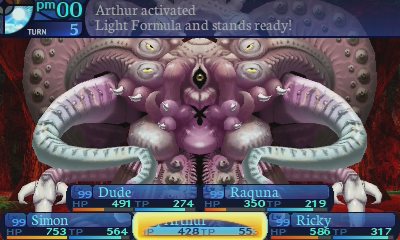
That's a lot of damage, though that's completely unmitigated. With the right skills and tools, you can survive Root Cyclone turns. But as I've said before, I don't have said tools, so I've had to make do.
Oh hey, Arthur didn't take any damage that turn.
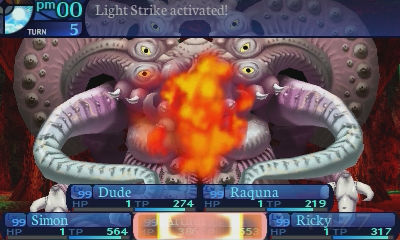
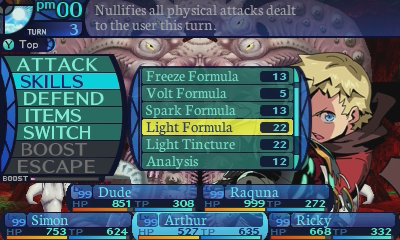
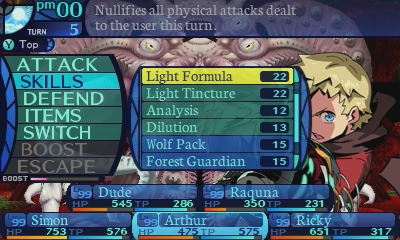
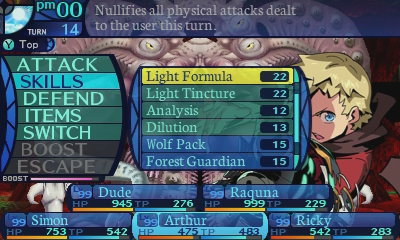
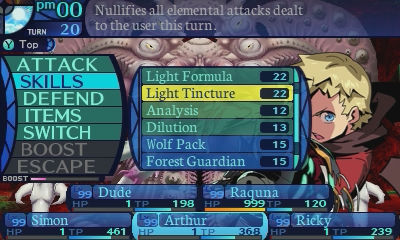
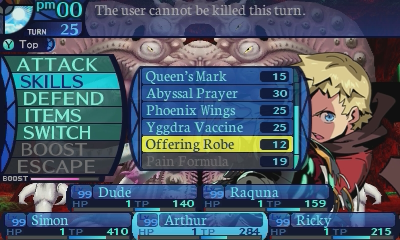
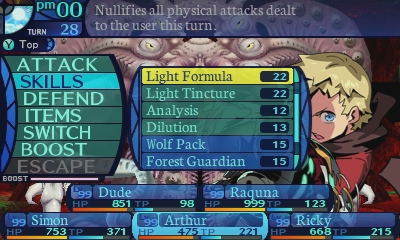
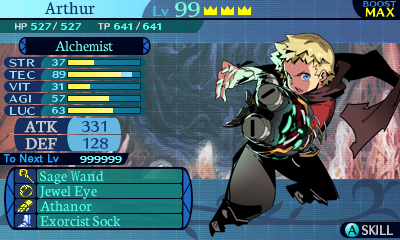
That brings up another point I want to go over. The Pain Formula branch in the Alchemist's skill tree is completely and utterly overpowered. And I am being dead serious when I say this. Don't get me wrong, the Alchemist's other skills are already super powerful and more straightforward! But these shouldn't be counted out as well. Light Formula and Light Tincture nullify a physical or elemental attack for 1 turn, possibly more times at higher levels.
Think about it this way. When you're a glass cannon, being able to create on-demand invincibility is a super strong skill! But there's something else that really takes them over the edge.
Firelight. Any time you use Pain Formula or an enemy activates a Light skill, Firelight will deal some incidental damage to any enemies who triggered the skill. Not only can you make yourself invincible, you can damage the enemy in the process! If that isn't completely nuts, then I don't know what is. Hell, multiple people have killed this boss with a solo Alchemist on expert by causing the Yggdrasil Core to effectively kill itself on the Alchemist's Light Formulas.
Even Pain Formula, while not really being busted, is still a pretty good skill. Benefits from physical attack buffs, and because it deals physical damage, it can be used in place of their elemental formulas in case an enemy happens to resist all elementals (Manticore is one such example.) Not only that, Pain Formula being a physical skill means it can be used in Sleep Bombing. You just need a good party that can support a front line Alchemist. (Hint, the Story party isn't it due to their terrible crowd control.) Only real issue is that it requires Formula Mastery at max level to access these skills.
Basically what I'm trying to say is that all this further supports my statements that Alchemist is the best class in the game. If you have a copy of EOU, give the Pain Formula skills a try sometime. Really the only skills that can be considered outright bad in their their skillset are Alchemy and Sight Formula, which is honestly quite astounding for an Etrian Odyssey class.
It's very tempting to have an Alchemist slinging spells, but if you know what the enemy is doing or you can physically buff your Alchemist, which is the weirdest sentence, then it does some impressive stuff. I've never really bothered since I like my Alchemists as spell slingers, but seriously, this is approaching EO2 Hexer levels, and that's not a light accolade to give. Obviously this is why Arthur is the best chara- srnk. Okay, let's not go that far.
Dude and Frederica are going to charge up for one big push next turn.
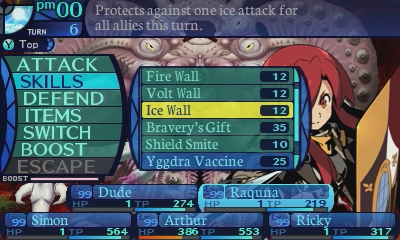
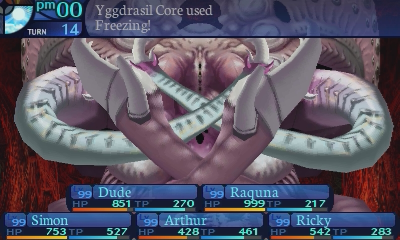
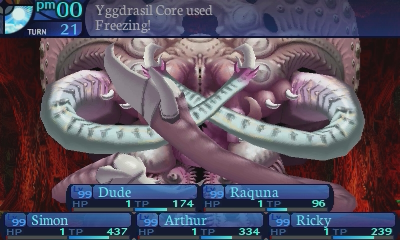
The phase has looped, and so the core will use Freezing this turn which Raquna will block.
Simon will buff up Arthur's Flame Formula because why not? I need to get in all the damage I can. I'm not really too concerned with Simon healing up anyone on this turn, even though a physical attack is coming out next turn.
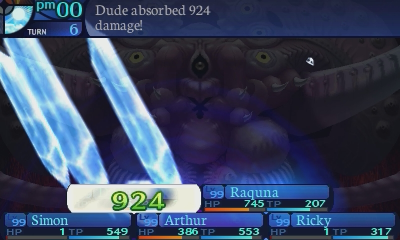
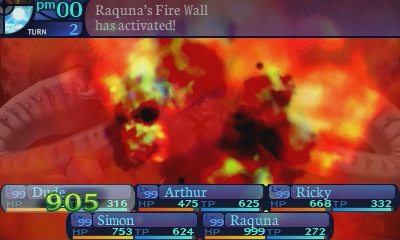
The reason for this is because the Yggdrasil Core will heal my party for me. This is why I have the Elemental Walls at max level. It turns those massive elemental nukes into big heals, which frees up Simon and the rest of the party to do whatever else instead of watching their own HP every turn.
Now it's time to go on the offensive.
I don't know which physical attack is going to come out this turn, but in case it's Demonic Rush, I'm going to have Raquna Boost Bravery's Gift so she can tank it.
And to ensure that she can endure a 6 hit Demonic Rush, I'm going to break out a very strong defensive combo into the mix. Bravery's Gift + Forest Guardian. Double the HP mixed with 35% damage reduction is a disgusting amount of bulk!
And Arthur already attacked last turn, so I don't feel guilty about having him do some support work this turn.
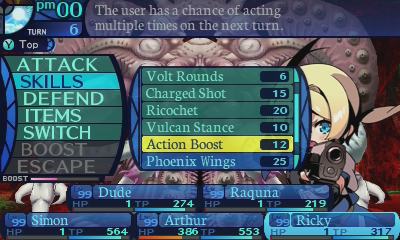
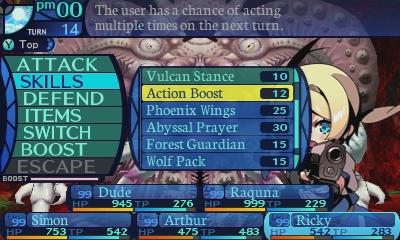
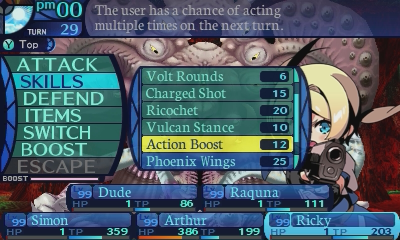
And yes, Action Boost works on regular attacks. 
Oh hey, it opted for Land Slash. Bravery's Gift was overkill, but it doesn't matter. Just having the safety net to guarantee my safety was enough for this turn.
Right there you can see that behavior I mentioned back in the Wyvern update about En Garde just being coded as using the defend command, as En Garde procs reduced the power of the Yggdrasil Core's dabs by 75% instead of 50%.
(I'm so sorry for pointing that out, but I saw it, so you all have to too.)
Well to the core, we are the haters it needs to dab on.
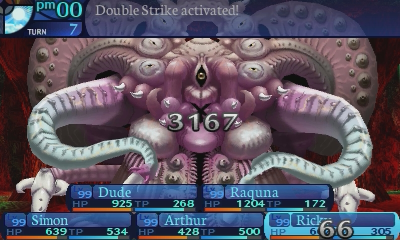
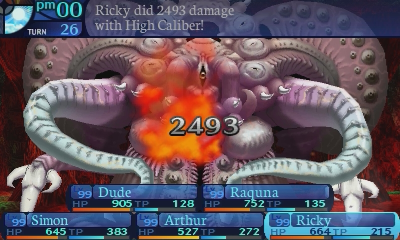
And there's another thing that just makes Ricky's regular attacks even stronger. Double Strike gives her regular attacks a 50% chance to attack twice! Meaning that her attacks can deal 484.5% to 969% damage, for an average damage output of 726.75%! To put things into perspective, this outdamages a max level Boosted Ricochet even if it landed every single hit, which would deal 610% damage total! Again, all this, for 0 TP!
You are reading this correctly. One of Frederica's strongest tools in her skillset, are regular attacks! Go ahead and verify the numbers for yourself. I'll be waiting here.
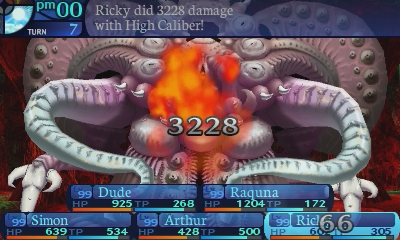
Also, Double Strike can activate for each hit of Action Boost. Potentially causing Ricky to get a total of 6 shots in per assault!
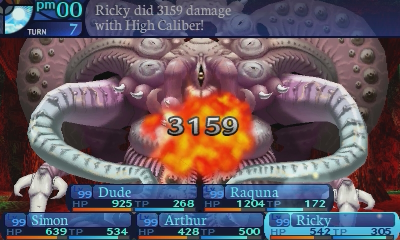
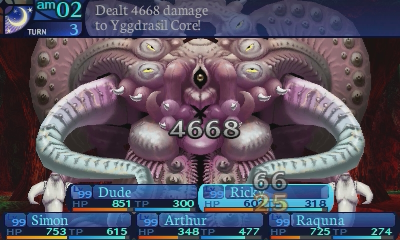
Holy fuck, Ricky! She dealt a total 15800 damaage! That's 17.55% of the Yggdrasil Core's HP! (Or 11.79% if you're counting its effective HP, but the former is a more important metric to know for phasing.)
Vulcan Stance is actually a really fun build. Its main weakness is that it costs a lot of SP to invest in, and weakens Frederica's earlygame. If you feel like playing Story Mode for yourself, try it out sometime. A shame it's such a hassle to get Gunners in Classic, because a Classic party can really accomodate such a build more easily.
Also something I kinda ignored, but again, EOU is a fun game to play, even if the Story, remakeness and locked in party have their limits. Power creep hit this series hard, but that makes it all the more enjoyable when other, uh, less than stellar series staples are in the way.

Okay we definitely phased the core right there.
Time to finish up that Delayed Charge rotation I set up a while back.
This fight can take a while, and the last thing I want is for Raquna to run out of TP, since she's keeping the entire party alive. If she goes down, that's very likely going to be the end of the run right then and there.
Since I know this is a safe turn, I'm going to go on the offensive to undo as much of Segment's heal as possible.
And with that, we're officially in phase 2.
The enemies had tiny health bars in the original so figuring out which phase you were in got a little tricky sometimes. Still, phase 2 is very similar to the original, a way to tell you about its most dangerous skills early in the fight. Still had to count elemental turns, don't forget those, but they did override most AI, so you were glad to see them!
That got rid of most of Segment's healing.

Really Ricky?
Oh Double Strike, how I love you!
quote:
-Phase 2 is triggered upon reaching 80% HP (72899 HP).
--Turn 1: Cast Activate.
--Turn 2:
---On the first loop, cast Tangling Ray.
---If Tangling Ray was cast on the last loop, cast Necrosis.
---If Necrosis was cast on the last loop, cast Ancient Pollen.
---If Ancient Pollen was cast on the last loop, cast Tangling Ray.
--Turn 3:
---49% chance to cast Demonic Rush.
---51% chance to cast Land Slash.
--Turn 4: Cast Cell Membrane.
--Turn 5:
---If Tangling Ray was cast on turn 2, cast Ancient Pollen.
---If Necrosis was cast on turn 2, cast Tangling Ray.
---If Ancient Pollen was cast on turn 2, cast Necrosis.
--Turn 6:
---If Tangling Ray was cast on turn 2, cast Explode.
---If Necrosis was cast on turn 2, cast Freezing.
---If Ancient Pollen was cast on turn 2, cast Thunderstorm.
--Loop from turn 1.
Now we're in phase 2, and this is where the Yggdrasil Core begins to bring out the other half of its skillset. It cuts back on its offenses for this phase in favor of just locking your party down, and then finishing them off afterwards.
Fun little fact. In the Cutscene Core version of the fight, turn 3 was a little different. The Yggdrasil Core had a chance of casting Root Cyclone on that turn in addition to its other physicals. But remember that it was a much weaker move there. And because Root Cyclone is much stronger in the true version of the fight, it was taken out of phase 2 entirely to be merciful.
My buffs are close to running out, so I'm going to have my party refresh their buffs this turn, as the core isn't going to be attacking at the moment.
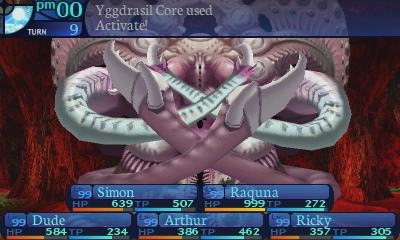
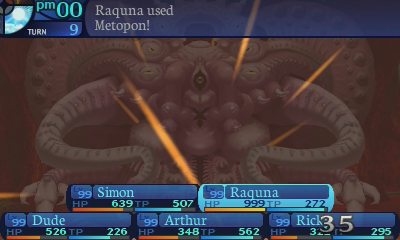
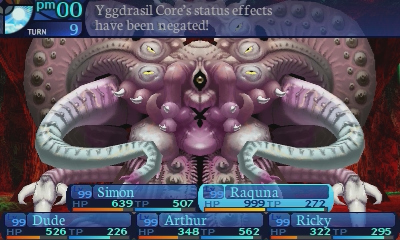
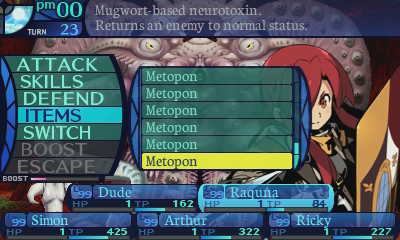
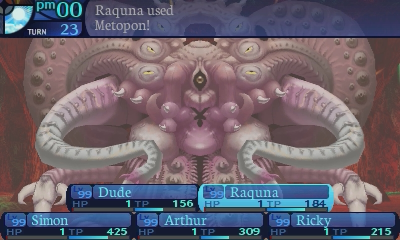
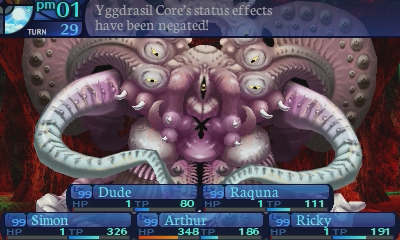
However, this turn can still be dangerous if handled improperly. The Yggdrasil Core will cast Activate, which places a buff on it for 6 turns that quintuples its infliction rates! Necrosis goes from a 15% instant death chance to 75%, Ancient Pollen goes from a 10% chance to 50%, and Tangling Ray goes from 30% to 150%. Definitely not a buff you want to leave on it. Fortunately, countering this mechanic is really easy.
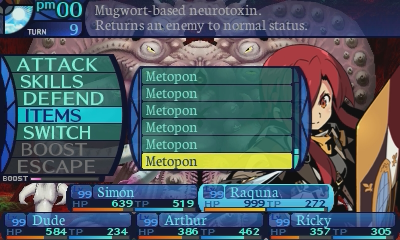
Just use a Metopon. It's that simple.
Of course if you have a Troubadour with Eerie Chorus, that's a better counter to this mechanic, as Metopons will erase any debuffs on the target as well, but Eerie Chorus doesn't.
Due to the 9 buff limit and how little Troubs could otherwise contribute, bringing one to the original fight was a terrible, terrible idea. Also most of the skills you're seeing in this phase were ones you'd only see if you fucked up, or in the final phase. Didn't have Activate either, not that it usually stopped the entire party from dropping dead or being fully bound.
Because Metopons erase debuffs, I can't have Arthur use Dilution, as he outspeeds Raquna, and that's just going to be a wasted turn on his part.
So I just have him restore his own TP instead. I could have Arthur contribute some chip damage with Flame Formula, but thanks to Ricky's rampage on turn 7, the Yggdrasil Core is actually really close to phasing here, and I don't want to phase it too early. This is one of the less dangerous phases for me, and I really want to prepare for phase 3 as much as I can right now.
Denied!
While everything is set up, I'm not starting a Delayed Charge rotation just yet, as I want to make preparations for phasing the core.
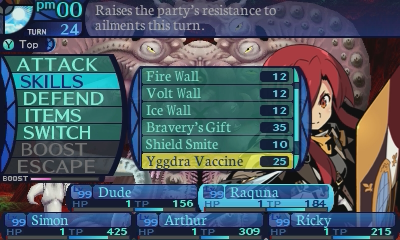
I really have no idea why I had Raquna cast Yggdra Vaccine here, as it was going to use Tangling Ray, not Ancient Pollen. Not a huge deal though, as she really didn't have much to do this turn. Though it would have been far better for me to have her Defend, as that was the best defense she had against Tangling Ray.
Fortunately, Tangling Ray never gets cast right before an elemental turn in the entire fight, aside from the end of the 2nd loop on this phase, and I don't really intend on staying in this phase too long anyways. Even if she got her arms bound, I have plenty of time to clear the binds.
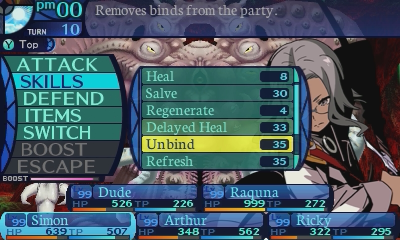
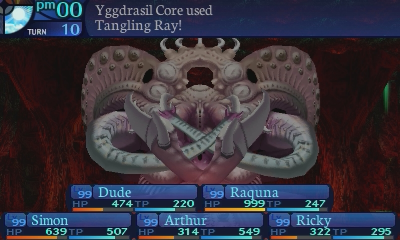
Since Tangling Ray is being cast this turn, I'm going to have Simon attempt to counter any binds the core inflicts with an instant Unbind. Unfortunately, Simon lacks Head bind protection, so if he gets his head bound, this won't work. Though ultimately, it's not a big deal. It's why I brought the Theriaca As.
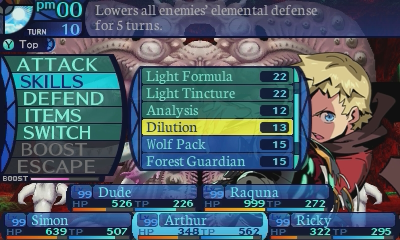
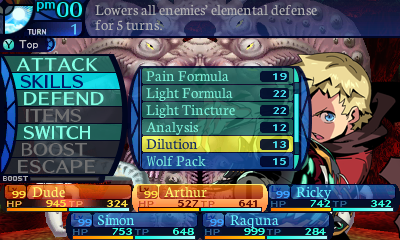
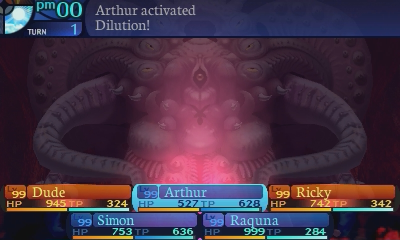
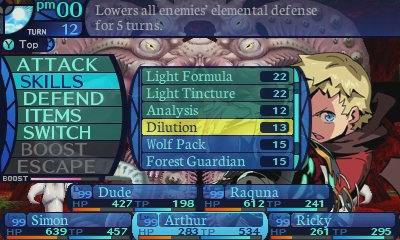
Arthur will reapply Dilution to the core. Sure it's not a boosted version, but a 30% damage boost is better than none at all.

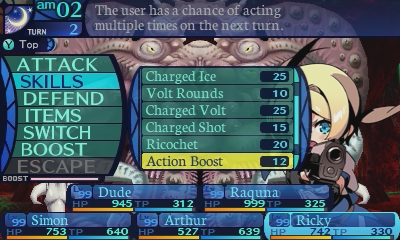
And Ricky will prepare to shoot even more holes in the core.
Uh oh. Ricky didn't get off Action Boost yet, so this just locked her out of doing it.
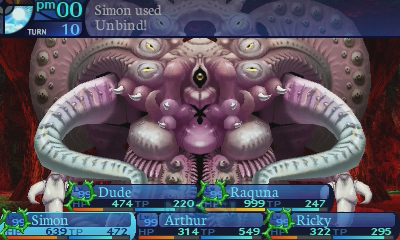
At least Simon didn't get his head bound, so he was able to clear the binds.

The combination of Front Guard and Forest Guardian should hopefully be enough to deal with the random physical attack this turn.

This turn is pretty much the only opportunity I can get in damage right now, as the Yggdrasil Core will cast Cell Membrane next turn. Cell Membrane nullifies all damage and causes my party to eat a very lethal counterattack if it activates. And like the Blizzard King's Mirror Shield, it has priorty, so I can't use Phoenix Wings to outspeed it. So Ricky is going to have to make do with no Action Boost behind her regular attack.
It had the counters in the original, but split into physical and elemental ones, the latter only Alchemists really cared about. They were specifically nasty since they lasted for FIVE TURNS, but thankfully the physical one, Wall, was bugged and was in unreachable AI tables. THANK FUCK, I legitimately have no idea how you were supposed to get around not being able to attack for 5 turns while the core picked your team apart, especially since it used Entangle immediately after that. Completely bullshit, which makes me think it being bugged was on purpose? Man it's been a while since that fight and I'm still getting angry over Wall lmao.
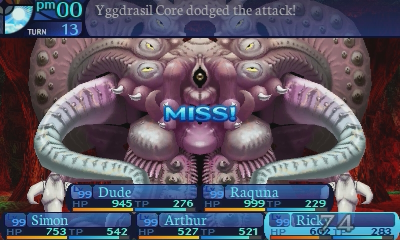
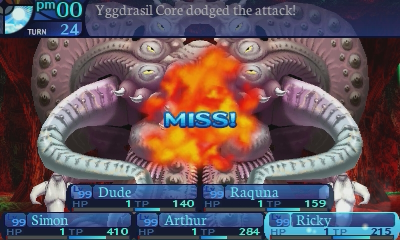
Those are some comically low numbers.
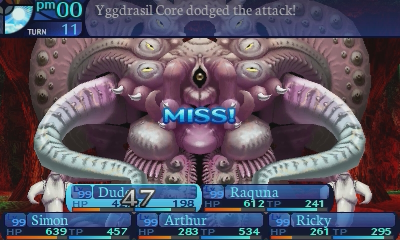
Are you kidding me!? That only had a 1.8% chance of missing! 
Either way, we phased the Yggdrasil Core, so Segment will be coming out this turn.
Now is when I start setting up another Delayed Charge rotation.
Right now is a free turn, so I'm going to make sure that Dude and Simon's batteries don't run out in the middle of the battle.

And these two continue setting the stage.
We're officially in phase 3 now.quote:
-Phase 3 is triggered upon reaching 60% HP (54899 HP).
--Turn 1:
---On the first loop, cast Explode.
---On subsequent loops:
----If an elemental attack was cast on turn 2:
-----If said elemental attack cast was Explode, cast Freezing.
-----If said elemental attack cast was Freezing, cast Thunderstorm.
-----If said elemental attack cast was Thunderstorm, cast Explode.
----If an elemental attack was cast on turn 3:
-----If said elemental attack cast was Explode, cast Thunderstorm.
-----If said elemental attack cast was Freezing, cast Explode.
-----If said elemental attack cast was Thunderstorm, cast Freezing.
--Turn 2:
---One of two routines is selected randomly here.
----Routine 1:
-----If the last elemental skill cast was Explode, cast Freezing.
-----If the last elemental skill cast was Freezing, cast Thunderstorm.
-----If the last elemental skill cast was Thunderstorm, cast Explode.
----Routine 2:
-----49% chance to cast Land Slash.
-----51% chance to cast Demonic Rush.
--Turn 3:
---If an elemental attack was cast last turn:
----49% chance to cast Land Slash.
----51% chance to cast Demonic Rush.
---If a physical attack was cast last turn:
----If the last elemental skill cast was Explode, cast Thunderstorm.
----If the last elemental skill cast was Freezing, cast Explode.
----If the last elemental skill cast was Thunderstorm, cast Freezing.
--Turn 4: Cast Root Cyclone.
--Loop from turn 1.
Phase 3 is one of the more simple phases in the fight, but it's also one of the most punishing, as the Yggdrasil Core goes fully on the offensive here, but also starts to get very erratic.
It's similar to phase 1, but instead of using 2 random physicals on turns 2 and 3, it'll use a random phyiscal and a specified elemental, with neither being cast twice in a row over the course of those 2 turns, and then finishes off the loop with a Root Cyclone. This basically means that your Protector basically has their hands tied being forced to cast the correct elemental wall on turn 2, as they really can't afford to let the party wipe.
Not only that, the way the core handles its elementals in this phase gets more erratic. This is the point where you really need to start paying attention to the fight if you haven't already, as the Yggdrasil Core's actions in this phase heavily start depending on what it did in the previous turns and previous loops. While it casts Explode on turn 1, that doesn't mean the next elemental that comes out is going to be Freezing. That's only if it decides to cast the elemental on turn 2. If it casts an elemental on turn 3, you're going to see a Thunderstorm instead.
And the next elemental it casts on turn 1 of the next loop depends on both the turn it decided to cast an elemental attack on, and which elemental it chose. Sounds daunting, but there's an easy way to keep track of its elemental rotation.
If it's going to cast an elemental on turn 2, the rotation is going to be: Fire > Ice > Volt, and then back to Fire, just like in the previous phases. If it's going to cast an elemental on turn 3, the rotation reverses, going Fire > Volt > Ice, and then back to Fire. And you should be able to work out the elementals from there as long as you keep track of what the Core does.
Another easy way to keep track of things is that on turn 1 of a given loop, the core cannot ever cast the last two elementals it cast on the last loop on this specific turn. If you saw it cast Explode and Thunderstorm on the last loop, that means you know the elemental attack coming out on this turn has to be Freezing, and you just have to keep track of that attack in order to deal with turns 2 and 3.
Phase 3 in the original was brutally simple, aside from the timed elementals, don't forget those! It used physical attacks and its regular attack since the table was bugged, and that's about it! A nice breather, but of course one slip up and you're fucking dead. Oh yeah, and I should mention that you needed to use Immunize to survive any of these attacks and make it an even playing field, so a Medic is mandatory.
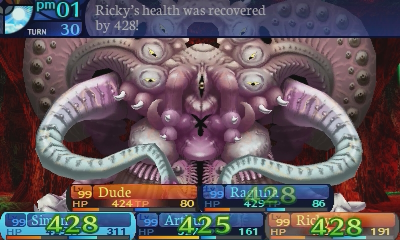
Raquna will give our party a big heal, which will be fortunate for dealing with the next turn if the Yggdrasil Core decides to use a physical attack there.
And like how with the Yggdrasil Core is going fully on the offensive, I too will dump all the damage I can onto it. This phase is so hectic that I actually really don't advise using any sort of charge skills, as depending on your party setup, you may not have that many guaranteed free turns during this phase and may be forced to go on the defensive often. Instead, I highly suggest bursting down this phase as quickly as possible, or just getting in whatever damage you can without trying to get too fancy with setup.

Seriously, these big heals just gives me so much momentum in this fight.
Ech. Not one of her better Action Boosted assaults. Double Strike never even procced.


Fortunately, the big heal from the Explode well prepared my party to deal with a potential physical if the core decided to toss one out this turn, with Simon casting Forest Guardian to mitigate that. Of course I still have Raquna cast Ice Wall just in case it decides to just nuke my party.

See? You can never be too careful in an Etrian Odyssey game.
Protectors only do one thing throughout the series and it's DISGUSTING!!!
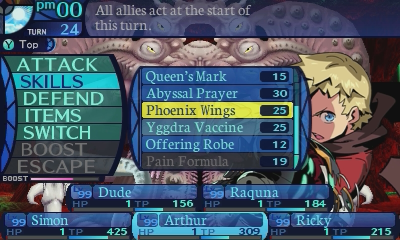
Now the Yggdrasil Core using an elemental attack last turn means it's going to toss out a physical this turn. But that's actually not the case. This is actually a free turn for me, though I have Raquna use Phoenix Wings to secure the free turn.
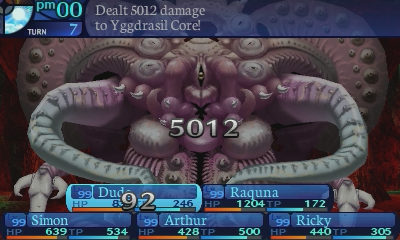
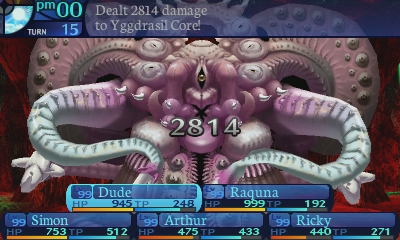
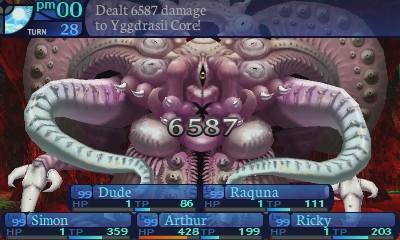
A total of 11889 damage! 13.2% HP lopped off right there!
As for how I know this is a free turn...
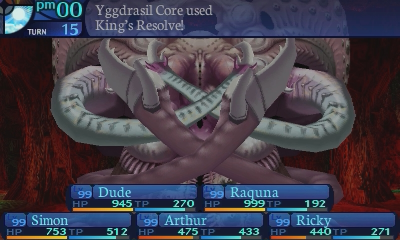
It's because the King's Resolve countdown reached 0 for me.
And now I'm going to be eating an Armageddon on the next turn.
While Simon's Boost meter is full and I can just have him cast a Boosted CPR to live through this turn, I want to be able to use his Boost to set Diagnosis back up, so I opted for everyone to use Offering Robe instead.
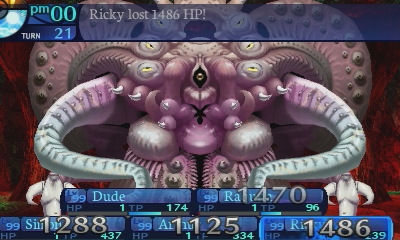
My party isn't in good condition after that attack.
But that doesn't matter. I'm still in the fight, with a second shot of taking down the core.
Overkill damage is always such a pain to deal with in long fights like these, so cheesing it is always great! Boosted Immunize in the original is the only way to survive one (1) elemental attack, which is helpful when your Protector gets bound or Necrosissed.
Not only that, but I've brought the Yggdrasil Core well below 40% HP, so it's going to cast Segment this turn. This is what I meant for preparing for phase 3. I wanted to stall out the phase a bit so the King's Resolve countdown would hit 0 during phase 3, granting me a free turn. And then backload a lot of the damage in phase 2 so I take out a good chunk of phase 3's HP in the process, so I can deplete the rest of phase 3's HP away quickly during this time I bought for myself. This allows me to head straight to phase 4, just as planned.
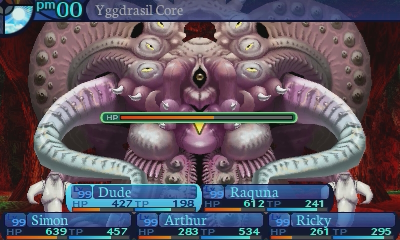
If you're wondering how I know it's going to phase, I don't mentally add up all the damage or anything during a fight, as that's just a lot of needless work. I just read the HP bars. And here are a few tips on how to read them properly, because there are some things that can get in the way of the infomation you can gleam from it. What I'm about to say applies to every game in the series, so this can really help with really gauging an enemy's HP. The first and most important thing to keep in mind is that the HP bar isn't actually proportional to the actual amount of health the enemy has. Because of this, you really shouldn't try to estimate how much HP a boss has left just going off of that, as eyeballing through that method can frequently lead you to overestimating or underestimating when a boss phases, and that can really throw your strategy off. The bar being half depleted doesn't mean the enemy is at 50% HP. In fact, it's quite the opposite, with a half depleted bar meaning they're considerably above that threshold. Also for that matter, you'd think the bar being right at the middle of the arrow means 50% HP as well, right? That's also not the case. Instead it means they're below that threshold, with the actual threshold for 50% HP being just to the right of the arrow. If the bar is red, that means they're at 25% HP or lower. From there, I'm sure you can work out ways to estimate proper HP thresholds.
Health bars are dumb and I hate them in this series.

Because this is a free turn, I'm going to take this time to set up all of my boosted buffs again, and the chances of me seeing Armageddon again are fairly unlikely.
Raquna will fully restore her HP to prepare for a specific turn in phase 4.
That final Segment can potentially bring the core's HP back up to 60899 HP, or 67.67%, so you'll have to deal with a lot of HP to chew through during this final phase.
Augh, I just wasted Arthur's Boost. Annoyingly, you can't keep track of enemy debuffs in this game (it took until EO2U for that to become a feature.)
That lopped off a good amount of its HP at least.
Though it has considerably above 50% HP left. And this phase is certainly a doozy!quote:
-Phase 4 is triggered upon reaching 40% HP (36899 HP).
--Turn 1:
---33% chance to cast Tangling Ray.
---33% chance to cast Necrosis.
---34% chance to cast Ancient Pollen.
--Turn 2:
---49% chance to cast Demonic Rush.
---51% chance to cast Land Slash.
--Turn 3:
---On the first loop:
----33% chance to cast Explode.
----33% chance to cast Freezing.
----34% chance to cast Thunderstorm.
---On subsequent loops:
----If an elemental attack was cast on turn 4:
-----If said elemental attack cast was Explode, cast Thunderstorm.
-----If said elemental attack cast was Freezing, cast Explode.
-----If said elemental attack cast was Thunderstorm, cast Freezing.
----If an elemental attack was cast on turn 5:
-----If said elemental attack cast was Explode, cast Freezing.
-----If said elemental attack cast was Freezing, cast Thunderstorm.
-----If said elemental attack cast was Thunderstorm, cast Explode.
--Turn 4:
---One of two routines is selected randomly here.
----Routine 1:
-----If the last elemental skill cast was Explode, cast Thunderstorm.
-----If the last elemental skill cast was Freezing, cast Explode.
-----If the last elemental skill cast was Thunderstorm, cast Freezing.
----Routine 2:
-----Cast Root Cyclone.
--Turn 5:
---If an elemental attack was cast last turn, cast Root Cyclone.
---If a Root Cyclone was cast last turn:
----If the last elemental skill cast was Explode, cast Freezing.
----If the last elemental skill cast was Freezing, cast Thunderstorm.
----If the last elemental skill cast was Thunderstorm, cast Explode.
--Turn 6:
---49% chance to cast Activate.
---51% chance to cast Cell Membrane.
--Loop from turn 1.
The final phase of the Yggdrasil Core is easily the most dangerous one. The Yggdrasil Core brings in all of its skills and behaviors together to create a long and hectic phase. This is easily the most erratic phase, as while the Core still follows a pattern, there is a lot more randomness involved that can easily throw you off your game.
The main part to this fight in the original was just praying it didn't use Entangle or Necrosis. If it didn't, you were in good shape to beat it, since it was in phase 4 at 25%. Even in the worst case, boosted Immunize meant you could survive an attack or two, but clawing out of those attacks is incredibly difficult if an elemental is coming up.
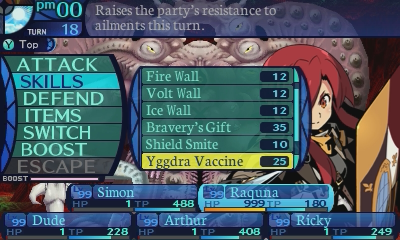
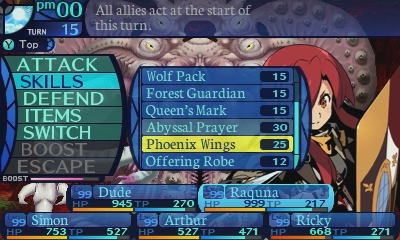
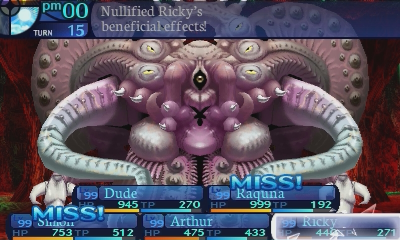
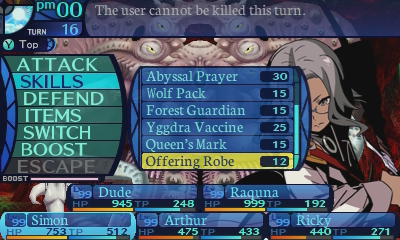
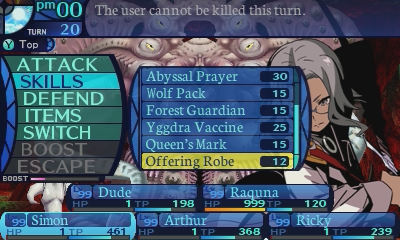
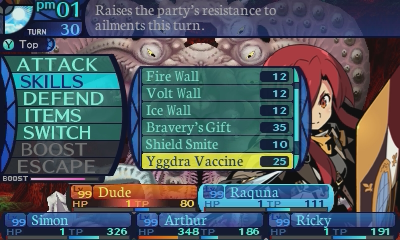
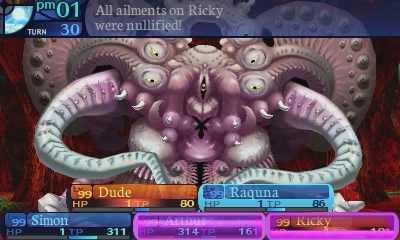
The first turn in this phase will involve it tossing out a completely random AOE disable. I'll take this time to extend my buffs, as this is basically a free turn no matter what the Core does. Necrosis will be a completely wasted action thanks to the Jewel Eyes that everyone is wearing. Ancient Pollen will be nullified by Raquna casting Yggdra Vaccine. And while I don't really have a way to stop Tangling Ray, Arthur casting Phoenix Wings will let everyone act before the Core can, so that even if it does bind the party, it'll be too late for it to matter.

Nothing like seeing a boss completely waste its turn.
Fuck you, Jewel Eyes are a 20% resistance in the original. Accessories are so bad...

I'm not going to have much of an opportunity to attack on this loop, so I'm just going to be patient, and get in whatever chip damage I can for now. Raquna will help with that by Boosted Bravery's Gift tanking whatever comes out this turn.
Look at that sweet 1998 HP! You can actually get that amount much higher. The highest amount of a class can have at a given time in EOU is 7992 HP.
Unfortunately for the core, Raquna is just too much of an ubertank to destroy.
Slowly but surely, we're getting through this fight.
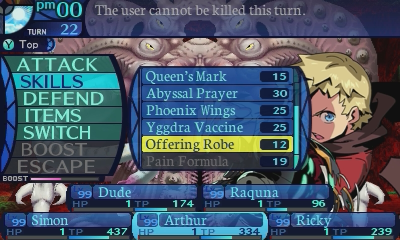
And now here comes a really huge dick move. The Yggdrasil Core casts an entirely random elemental skill on this turn. Basically if only 1 party member is capable of casting the walls, you have about a 2 in 3 chance of just losing the fight right then and there. Fortunately future loops are predictiable, but not this one, unfortunately.
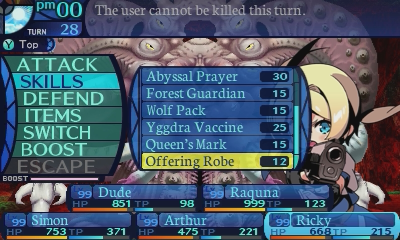
Your best defense is basically to bring multiple walls for this specific turn. Or to use CPR and hope for the best. If your Medic has a Boosted version ready to go, now may be the time to use it. As for me, I'm just going to spam cast Offering Robe. And do so for the next few turns because uhh, just look at the pattern. It speaks for itself.
lmao you can't use multiple anti skills in the original since the AI just starts spamming all the worst skills, including random elementals, if you do. It's a fun fight.
Wait, I should be having Arthur cast Light Tincture to get some more chip damage in on the core.
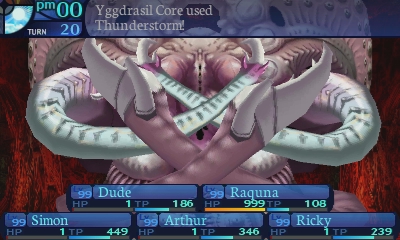

Okay, Thunderstorm came out this turn.
Like with the last phase, you need to keep track of the elementals used this turn and just when they get used. Though they try to trip you up and reverse the rotation compared to phase 3.
If it's going to cast an elemental on turn 4, the rotation is going to be: Fire > Volt > Ice, and then back to Fire. If it's going to cast an elemental on turn 5, the rotation reverses, going Fire > Ice > Volt, and then back to Fire.
Since it cast Freezing on the next turn, I have to be on the lookout for Explode on turn 3 of the next loop.
And since it used an elemental on that turn, it's sadly not a free turn for me here, as the phyiscals in this rotation got replaced with fucking Root Cyclone. I don't have much of a choice other than to stall out the turns with Offering Robe since my current setup doesn't have much of a defense against that attack.
As you can see, Offering Robe is also really overpowered. As you can just use it to stall out bad turns. All for a mere 12 TP per cast! The ability to prevent death is an extremely powerful one, and being self-cast only is the only thing that keeps it from being even more disgustingly broken than it already is!
That said since I knew Root Cyclone was coming out this turn, I really should have had Arthur cast Light Formula instead of Offering Robe to get some chip damage in. Unfortunately, I wasn't thinking too straight at this point in the fight.
The aforementioned multiple anti skills AI table is the only place Cyclone is used, thank god, since it ignores DEF modifiers, like Immunize. I'm glad they were able to clean up this fight for the remake, since the core is FUCKING BULLSHIT even if most of its stuff was bugged in the original.


Finally! Some turns where I can actually act! The Yggdrasil Core will either use Cell Membrane or Activate this turn. This means that it's never a good idea to attack here, and to just spend some time setting up as best you can.
I'll have Raquna chuck a Metopon at the core in case it uses Activate. Even if it doesn't, this is a precaution that's worth taking, and there's not much else you can typically do this turn anyways. And sure, I have measures against Necrosis and Ancient Pollen so Activate is useless on them, but I just can't take the risk of Tangling Ray guaranteeing a shut down on my party, especially not this late in the fight.
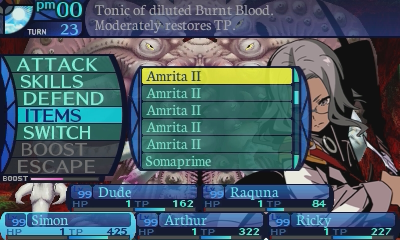
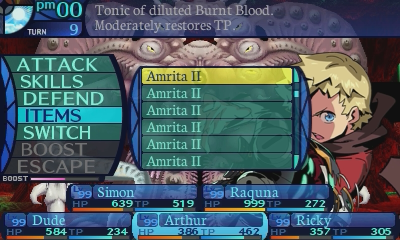
I noticed that Raquna's TP was looking scarily low, so I had Simon chuck an Amrita II at her.
Once again, I wasn't thinking straight in this fight, and start to get a bit panicky as this phase goes on. Because I knew earlier in the fight not to have Arthur cast Dilution at the same time Raquna chucks a Metopon, but I did it at this point anyways.
And once again, Ricky prepares to shoot an eldritch abomination.
Notice how throughout this entire fight, everyone else had to use up an Amrita II at least once, but not Ricky. Vulcan Stance is absurdly TP efficient due to how much of an emphasis it places on your regular attacks. It's so nuts.
Augh. Good going Araxxor, wasting Arthur's turn like that.
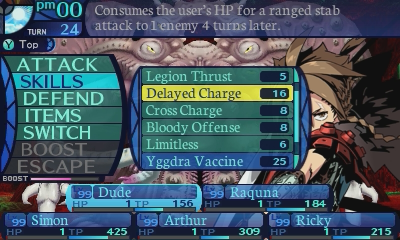
One final Delayed Charge rotation.
The Yggdrasil Core's pattern has looped at this point, so once again, I'm going to take the same precautions to deal with the random disable turn.
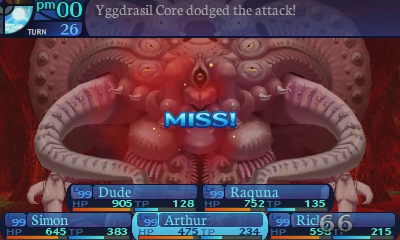
Seeing those misses are really annoying. Ricky does attack multiple times, so the misses don't sting as much as losing out on one big hit. Annoyingly, she has a 10.9% chance of missing with her stat spread. The Yggdrasil Core's evasion is just that high.

Always a relief to not see Tangling Ray come out. It's not really a run ending skill, but it's a huge annoyance I just don't want to deal with.

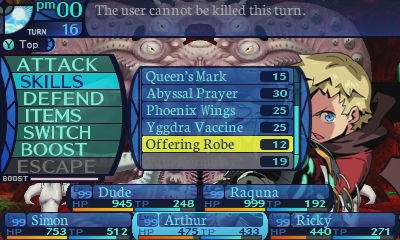
This is the turn where the core is going to use a random physical, but as you can tell by my party's state, I'm in absolutely no position to deal with it. So I just have everyone Offering Robe, aside from Arthur who's going to use Light Formula to get some extra chip damage in.
...Wait a minute. Oh my god, what am I doing!?
I really should be having Arthur using Offering Robe instead! Everyone is only at 1 HP, and Light Formula is only guaranteed to proc once. And since everyone is at 1 HP, they have similar chances of being targeted, so all the hits could potentially get concentrated on him and then I'd have a dead Arthur. It'll be worse if the core decides to Land Slash him, which is guaranteed to hit him 4 times, and him surviving that is incredibly unlikely. Offering Robe is by far the better choice here, as much as it sucks to lose out on that chip damage.

 Holy crap, that was way too close! Just goes to show you that you can never be too cautious in an Etrian Odyssey game!
You have to spam Salve II to stay healthy in the original, since there's definitely no way you're letting CPR do anything useful, being only a SIXTY TWO PERCENT CHANCE AT LEVEL FIFTEEN!!! Honestly being at 1HP for a good chunk of this fight is super nervewracking.

Raquna does her job by blocking the guaranteed Explode coming out this turn. But the rest of this turn ended up being a massive massive mistake on my part, and I don't know what in the world I was thinking here. If you don't get what I did wrong, you'll see shortly.

This is some nice chip damage and all, but...
I really should have spent that turn extending my buffs instead. Because now this is the turn where the core will toss out either Root Cyclone or Thunderstorm. And now I have a choice to make. I could play it safe and have everyone cast Offering Robe, but be forced to use unboosted buffs for the rest of the fight, which will severely slow down the kill, and open up the rest of the phase for even more mistakes I could make that could ruin the entire run. Or I could extend my buffs and hope Raquna blocks Thunderstorm, but I would be playing a huge gamble as Root Cyclone would cause a guaranteed party wipe. The worst part about this is that this was a position I could have avoided entirely if I played smart and made sure to check my buff durations before. But because of my negligence, I'm now at a huge risk of losing the fight, and I have absolutely no one but myself to blame if that happens.
After thinking about it for a while, I realized there was only one real option left to me.
I took the gamble.
YOU HAVE ABSOLUTELY NO IDEA HOW RELIEVED I WAS TO SEE THAT THUNDERSTORM COME OUT!
We're still in the fight! Let's fucking go!
You cannot fault Arax for any decision he's making, in these incredibly long fights where a big slipup forces you to toss away hour long recordings, you get stressed the hell out. The fact he's still standing at TURN TWENTY SEVEN just shows how cool he is.

Now that I know for sure that Root Cyclone is coming out, I can just have everyone defend themselves with Offering Robe and Light Formula.
I seriously cannot believe how close I was to losing that run to a goddamn coinflip I could have avoided entirely!
Especially with how close we are to winning this fight! It only has less than 22500 HP left. Let's not throw this now!
I have something very special planned for the core next turn!
This is a free turn, and I'm sure as hell going to take advantage of it!
No sense in leaving my party in such a dire condition for the later turns.
Great going, repeating the exact same mistake as last time, Araxxor! Totally not going to get that Dilution erased by Raquna's Metopon!
Nope!

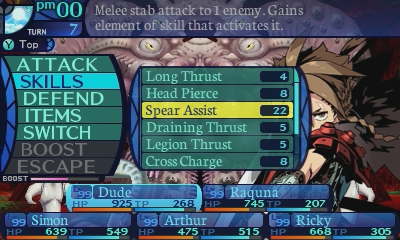
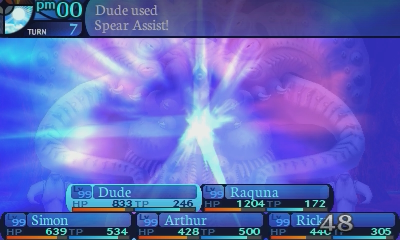
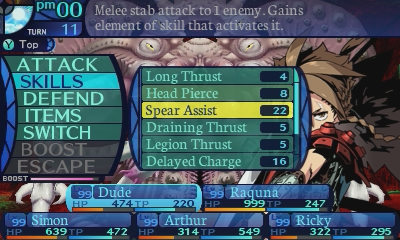
Now the pattern has looped again, and it's going to toss out a random disable. So it's time to go on the offensive with a Boosted assau- wait no no no no no.
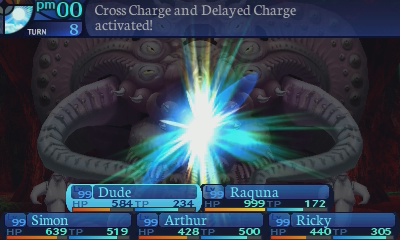
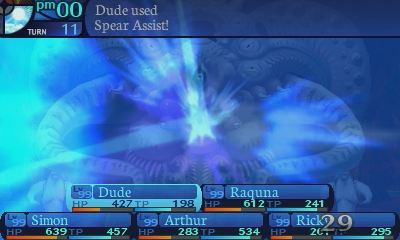
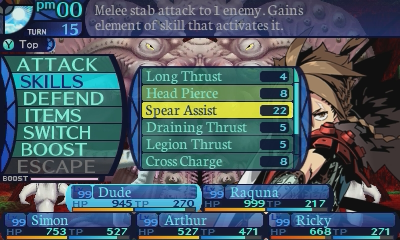
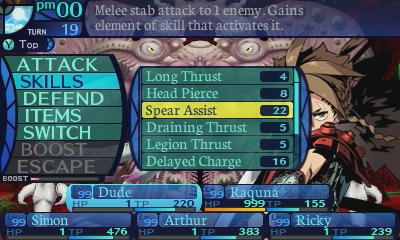
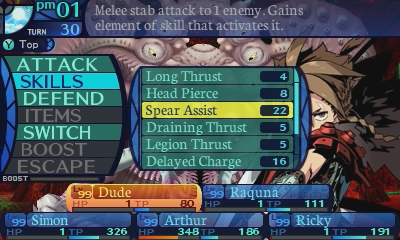
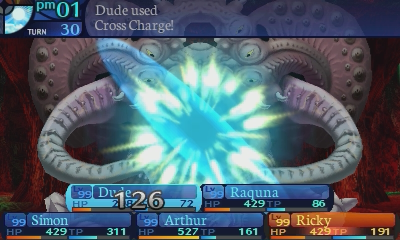
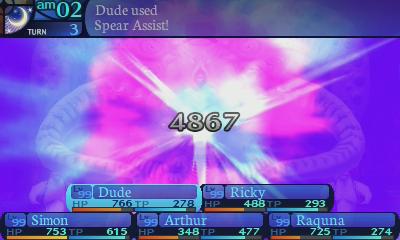
I really shouldn't be risking a Spear Assist cast here. Sure it does more damage than Cross Charge, but Spear Assist is always forced to go at the end of the turn, which Phoenix Wings can't change. Cross Charge is less damage, but it actually lets me get damage off in the first place.
Oh, and in case you're wondering, yes, you can Boost regular attacks!
Boosting gives an entire 50% damage buff to regular attacks, meaning that Frederica's regular attacks jumped up from 484.5% to 969% damage, to a whopping 726.75% to 1453.5% damage, for an average of 1090.125% damage! Once again, all for 0 TP!
For comparison, a level 10 Charged Shot effectively gets a 21.2% damage buff when Boosted, and a level 10 Ricochet effectively gets its average damage raised by 20.4% under Boost.

I'm all prepared for this turn and a later turn now.
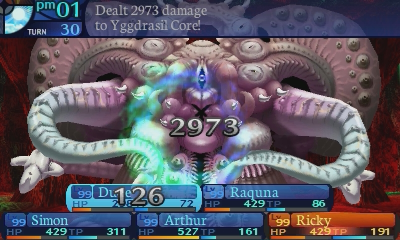

My god. That was a total of 15612 damage from Frederica! Keep in mind this was only a 4 hit Action Boost, and the Yggdrasil Core didn't have Dilution on it. Yeah.
Sometimes my foresight scares me. If I didn't catch myself trying to have Dude catch Spear Assist in time, that would have been a completely wasted turn on his part since the arm bind would have stopped Spear Assist from coming out. If you're wondering how I get through EO games as well as I do, thinking several steps ahead like this does wonders for getting through the game.
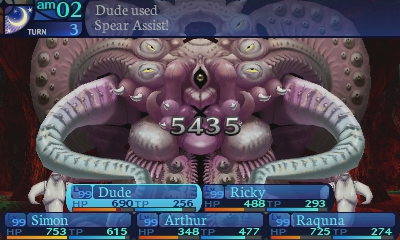
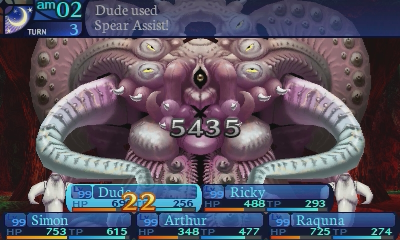
This isn't a good situation I'm in right now...
But it doesn't matter. I have the Yggdrasil Core dead to rights finished.
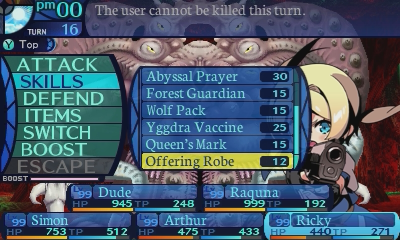
No matter what the Yggdrasil Core did, no bind in the entire series can ever stop a regular attack from coming out!

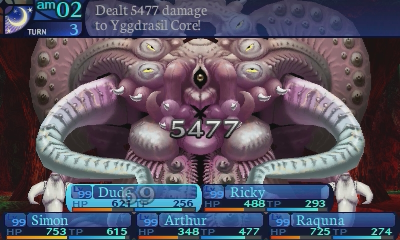
Or Arthur can light it on fire. That works too!


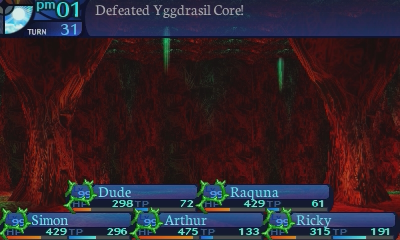
And with that, the battle with the Yggdrasil Core is at long last, over. It was a lot of fun putting that kill together! This was one of the first successful kills I got on the boss doing it the slow way here, and any wipes I ran into were my own fault. As daunting as this fight can be, it's admittedly one of the better designed superbosses in the series. (Which sadly isn't a high bar to clear.)
Superbosses rely on a lot of skill, and a little bit of luck. Doing it on Expert is hard, doing it with the Story party is even harder!
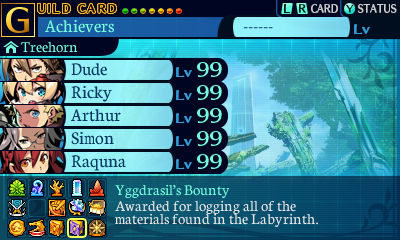
Now that we have the True Demon Core, we have every single item drop in the game, and have completed the Item Compendium. Rewarding us with this medal.
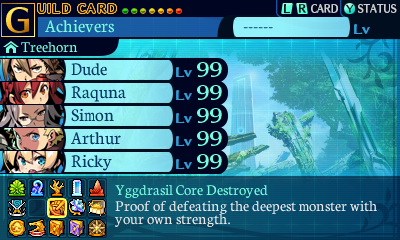
If you have successfully defeated the Yggdrasil Core on the Expert difficulty, you'll be rewarded with this medal as proof of a great accomplishment.
And with that, we have obtained all the medals possible in Story Mode. The missing medal is for defeating Etreant in Classic Mode, which I obviously can't get here, and requires a New Game Plus to obtain.
That being said... what if there was an easier way to defeat the Yggdrasil Core on Expert? And what if I just told you that everything I just did isn't what most players even bother with to get an Expert Core kill, and that it has a rather severe and easily exploitable weakness I couldn't take advantage of in this fight? Well, let's see that kill in action, shall we?
The only medal that completely requires Story is beating the game in it, obviously, and getting all the Gladsheim chests. Literally everything else, including one Classic exclusive enemy, is from Classic, so you really should drop Story as quickly as you can, I'd recommend it! But admittedly, this is also fun, you can see how each Story member can slot into their crazy role, they're all madlads in their own right.

The weakness in question, is burst damage. Yes, really. The same tactic that has worked for me all game works on the Yggdrasil Core. It's honestly kind of sad. That said you can't just go in guns blazing and just blow it up right away, as there are a few things you have to do differently. With that if you're doing this in Story Mode, you're probably going to have to do some Grimoire farming. Classic parties may or may not have to do some Grimoire farming depending on their party setup, but they have overall more tools to help pull this off.
I hesitate to even call this a cheese tactic, because a good amount of parties with significant burst capabilities may be capable of pulling this off with some adjustments, and the Yggdrasil Core does some very exploitable actions to allow this to even happen. Let's see it in action.
Video: Yggdrasil Core
It's honestly really sad. The Yggdrasil Core gave me one hell of a fight, and here I am about to reveal to it that I could have utterly crushed it at any time if I wasn't holding back.
I have Simon and Raquna Boost up their modifiers for maximum effect.

But I don't have Dude, Arthur, and Ricky Boost up Analysis, as that actually causes me to lose damage later on.
The Core will cast Necrosis, and miss everyone thanks to the Jewel Eyes.


The DPSers will charge up an Action Boost, Raquna will stop the party from dying, and Simon will pile on another debuff.
The core will waste another action trying to kill you.
Now I'm going to have my DPSers launch unboosted attacks, as dealing too much damage will send the fight into phase 4 right away, and I don't want that.
A random physical attack is going to come out this turn, which Raquna can easily cover with Bravery's Gift.
If Raquna happens to die, it's not really a big deal. You can just revive her on the next turn.
And watch as you deal a shitload of damage to the core thanks to the ridiculous amount of modifiers you slapped on.
I love the Action Boost, it's so bad. And funnily enough this fight goes the opposite way in the original, you can make Immunize, Sapping, Defender and Front Guard work so that the postgame superboss does SINGLE DIGIT DAMAGE. This doesn't stop Necrosis later in the fight, but it is very funny.

Have your DPSers charge up another Action Boost, while Simon and Raquna do whatever. If Raquna died, have Simon toss a Nectar II her way. If not... well I just had Simon extend Forest Barrier.
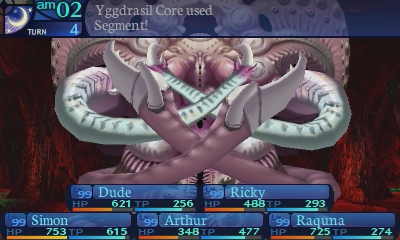
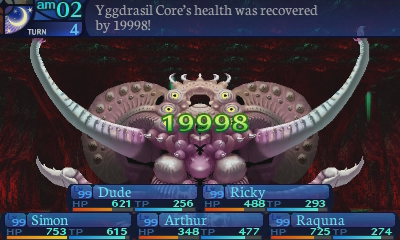
And Segment is the weakness I was referring to, and why I called this skill its greatest downfall. When you phase the Yggdrasil Core, it is guaranteed to not attack you on the next turn. Basically you can stagger your burst enough so that you clear each phase quickly, but not too quickly, so that the thing essentially stunlocks itself casting Segment those 2 times. And then right before the final phase you just unload all the burst damage you can before it can ever get the 24k heal off, and you've defeated the Yggdrasil Core. It's really that simple.
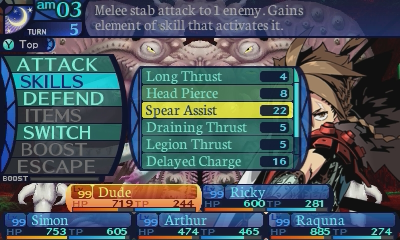
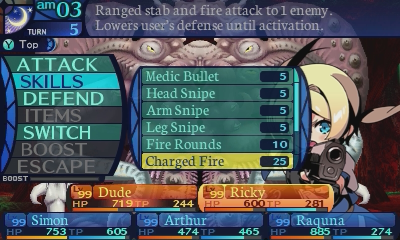
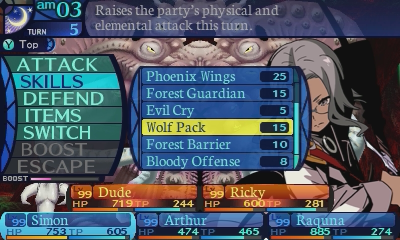
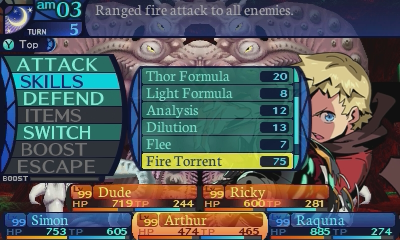
Now is when you unleash your Boosted barrage, as that should deal enough damage to wipe out the last of the Yggdrasil Core's HP in one go.
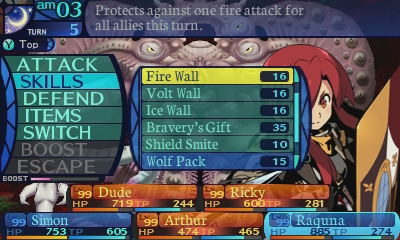
And because this poor thing is stuck in turn 1 of phase 3, it's stuck using Explode.
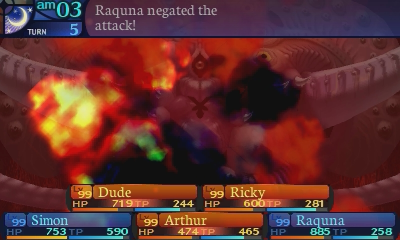
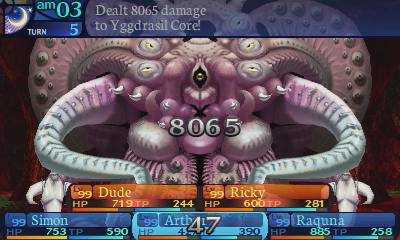
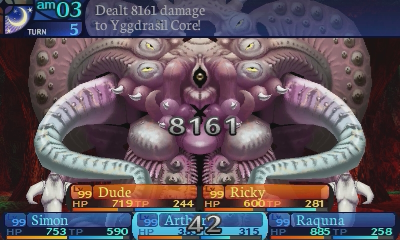

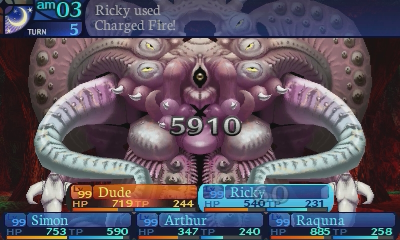
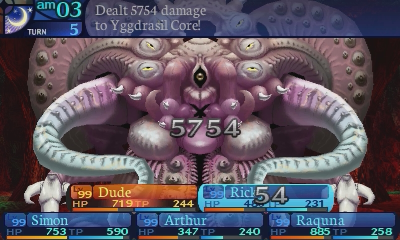
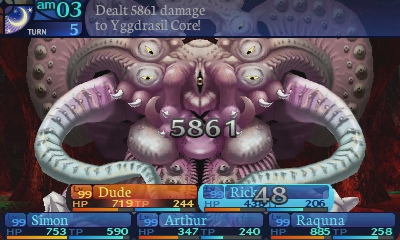
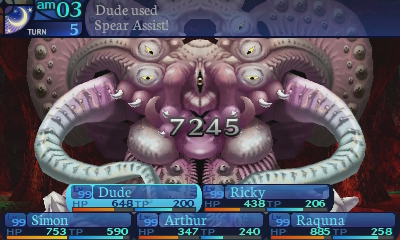
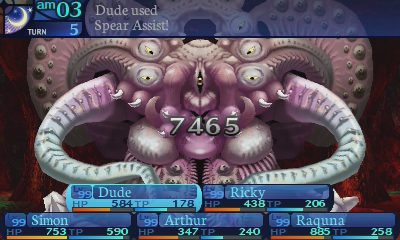
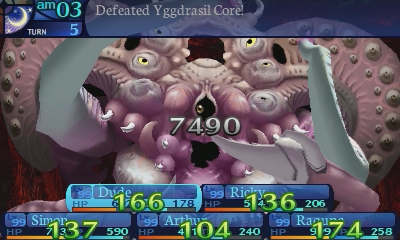
If this thing somehow survives on this turn, just use Phoenix Wings next turn to ensure the kill. Just make sure to use a damaging skill that isn't Spear Assist on the Highlander, as that always goes last and ignores Phoenix Wings, and you can risk throwing the kill if you do that.
My fastest clear in the original using unlimited cash and all unlocked gear was 21 turns with the highest DPS party I could get...
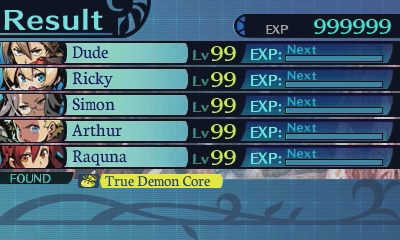
Congratulations, you have killed the Yggdrasil Core on Expert! Give yourself a pat on the back.
But... What if you wanted to kill the Yggdrasil Core even faster? What if you wanted to completely and utterly show your dominance over the game? If that kill wasn't enough for you, I have just the thing, you bloodthirsty sick fucks!
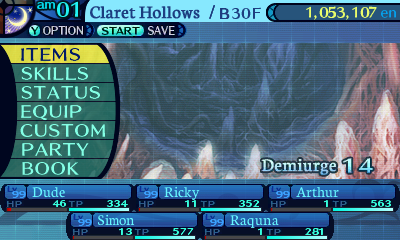
Most benefits you use here don't matter, but whatever you do, don't use Elderevenge. It'll ruin the kill. You'll want everyone at very low HP for this kill. You can easily accomplish this by just walking over a bunch of damage tiles in Claret Hollows.
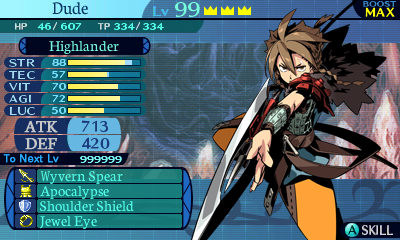
First off, you need to retire your units, so this is going to take hours upon hours of grinding to prepare.
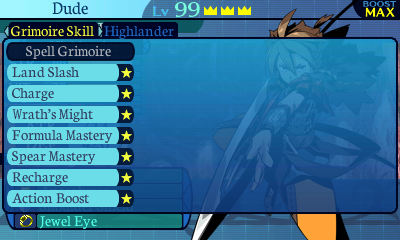
Next, you need to grab a shitload of Grimoires from Classic Mode classes, which requires playing through Classic Mode to get, and even more time to reach this point. Or you can reclass to Classic Mode classes and then grab those skills off of them, and then reclass back to their original classes for an even more stupid amount of grinding.
Hey I didn't say the road to complete and utter dominance was going to be quick.
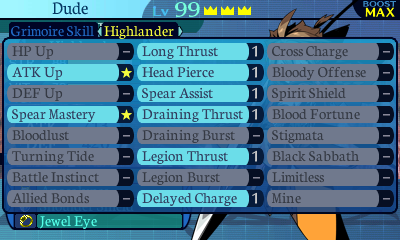
I also don't invest SP in the skills I don't need, because fuck spending 111 skill points at a time. Can't believe it took until Nexus for us to finally get multi-skill point spending.

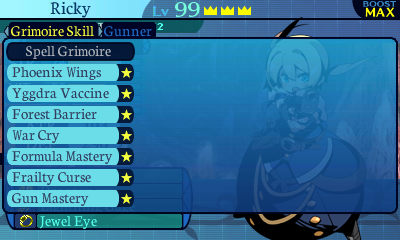

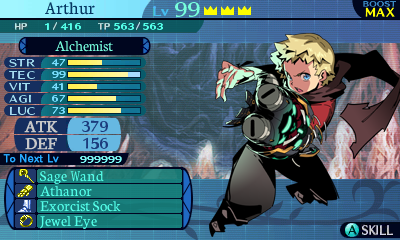

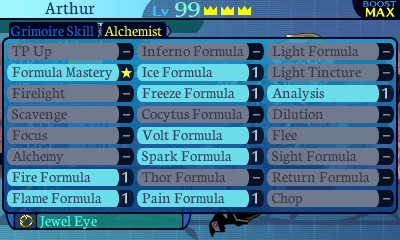
Oh yeah, so meet Wrath's Might. A stupidly broken Dark Hunter passive skill. When the user is under 50% HP, their damage is increased by 40%. Yes. 40%. From a passive! And passives are subject to smaller diminishing returns than active skills. Oh and if you're using a Dark Hunter, it stacks with itself, granting them a 90.4% damage boost after diminishing returns! This should clue you in that what you are about to see is going to be very very stupid.
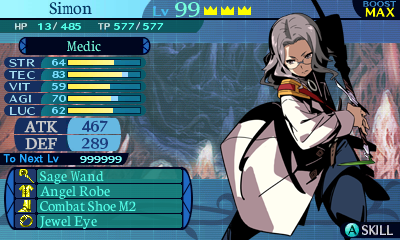

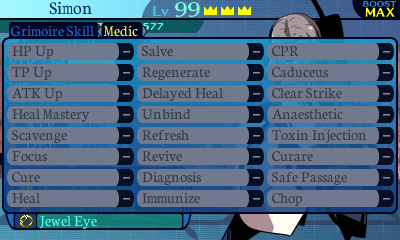
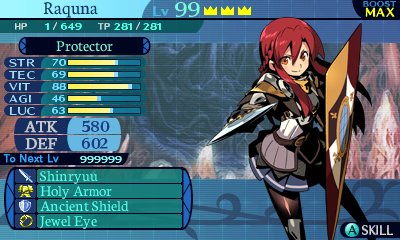
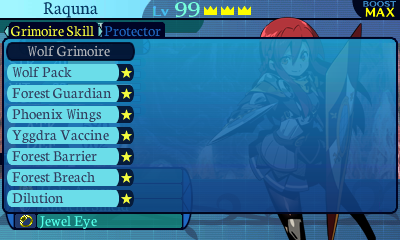
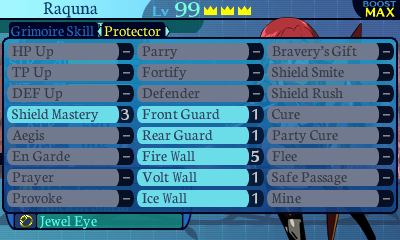
Okay now let's get to the part where we just kill the Yggdrasil Core.
Video: Yggdrasil Core
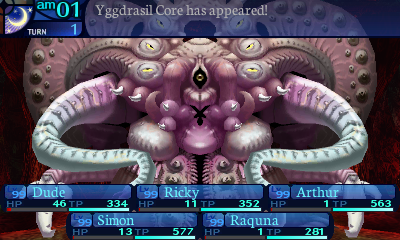
Are you ready to witness something very very stupid?
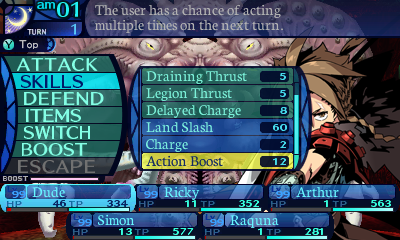
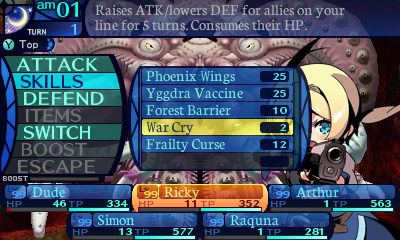
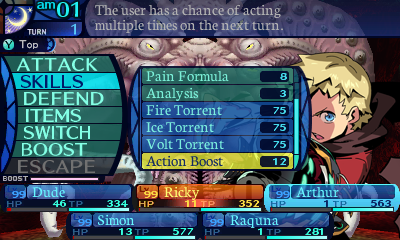
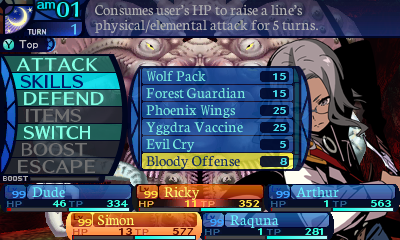
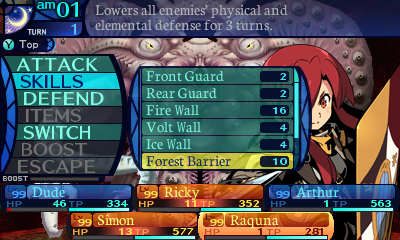
First, Dude and Arthur are going to prep an Action Boost.
Then everyone else piles on a boosted version of their buffs and debuffs onto the party and the Yggdrasil Core.
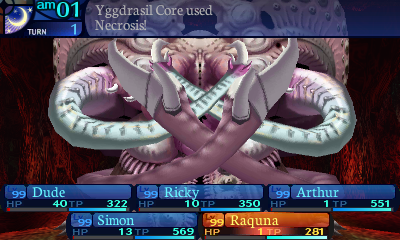
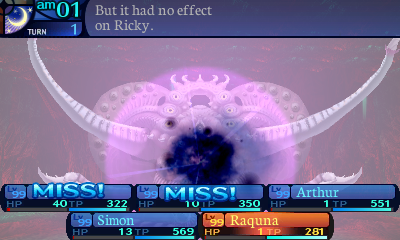
The Yggdrasil Core whiffs its Necrosis.
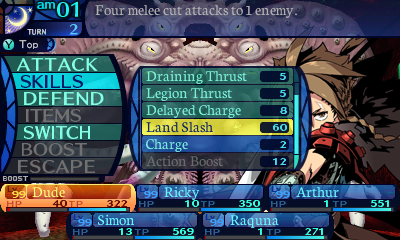
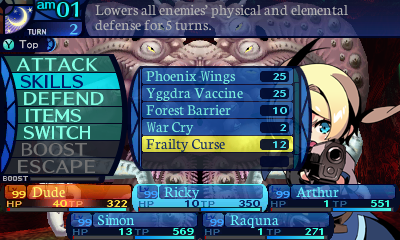
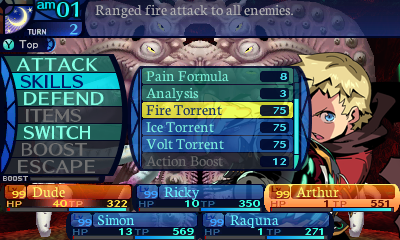
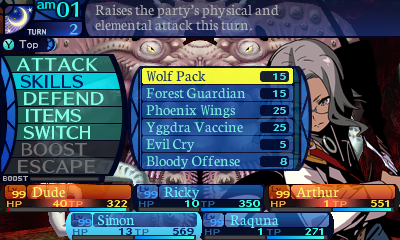
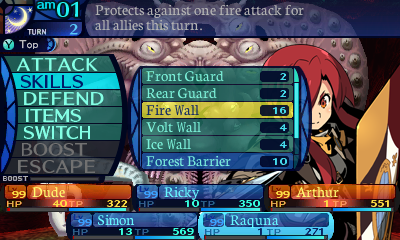
Then have Dude cast a Boosted Land Slash and Arthur cast a Boosted Torrent. Simon and Ricky will pile on even more damage modifiers, while Raquna prevents the party from taking a paid vacation to the game over screen.
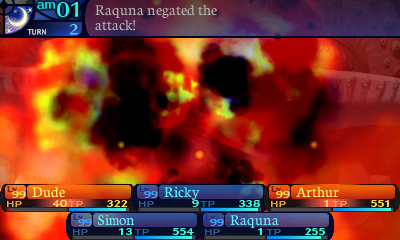

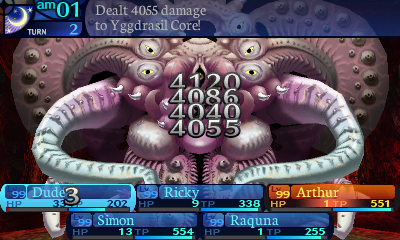
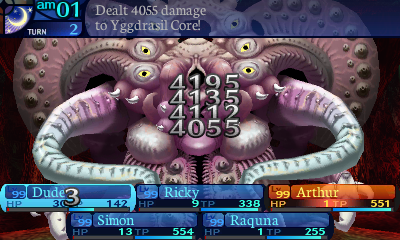
Pray that you only see 1 miss from Dude's Land Slashes (each hit has a 5% chance of missing with his stats.)
Fortunately Arthur's Torrents have too much accuracy, so they can't miss.
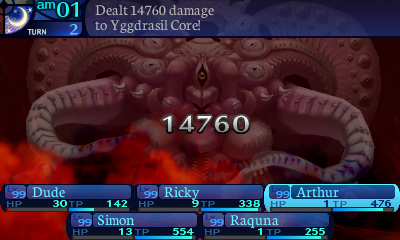


And watch as the core dies in fucking 2 turns. 2 turns on Expert! I told you this kill was stupid.
Of course if the core somehow lives, just Phoenix Wings and launch your attacks again to finish it off on the next turn.
the fuck
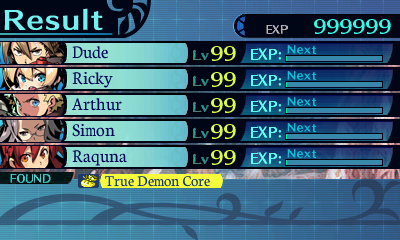
This kill isn't even practical to pull off because of the sheer amount of grinding you have to go through just to accomplish this. But it exists, so I showed it off anyways.


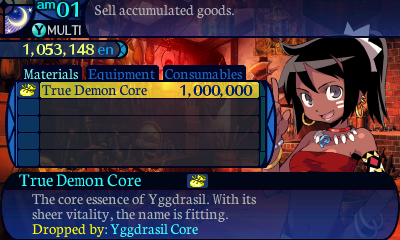
As for the True Demon Core, it doesn't even make anything. Just sells for 1 million ental. Thanks, I totally have things left to buy at this point.
Though the Yggdrasil Core does have 2 other Grimoire skills you can get your hands on.
Activate is a self-buff that increases the user's infliction rates of every single disable in the game by 42% for 6 turns, 60% if Boosted. Handy, but there's not much left to use it on unfortunately. Also it's one of 2 skills in the entire game that buffs infliction rates. The other being the Highlander's Blood Fortune skill, which is locked to Story Mode. Thanks for that, Etrian Odyssey Untold.
The final skill is Armageddon. What it does is deal 600% TEC-based Almighty damage to every single enemy on the field, 850% if boosted. It has a speed modifier of 10% and a base accuracy of 150%. Unfortuantely it also costs 99 TP per cast, making it very expensive to use. The skill is also terrible. It's more damage than the Torrents, but since Armageddon is Almighty damage, there's not much that actually buffs it up, and it can't hit weaknesses. Oh well.
Oh and there's no new dialogue for killing the Yggdrasil Core. Everyone just repeats their floor 30 line.


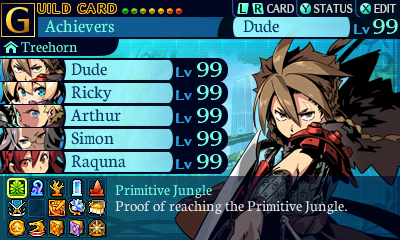
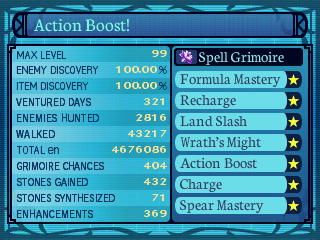
So here are my final guild card stats.

And this card's QR code, if you want a memento of this LP, I suppose.


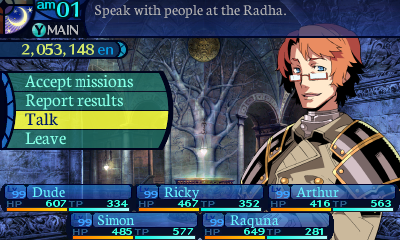
Now that we're done with every last thing in this game, we just need to talk to Quinn.
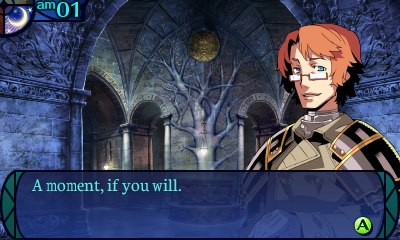
 It looks as though you have explored all of the Yggdrasil Labyrinth now. You have collected all the materials to be found, and seen every type ofcreature that dwells there. You have aided me greatly with your work. Now that the Yggdrasil Labyrinth has been conquered, I am sure the number of adventurers here will dwindle. ...To celebrate your accomplishment, I will give you this crown. Will you accept it?
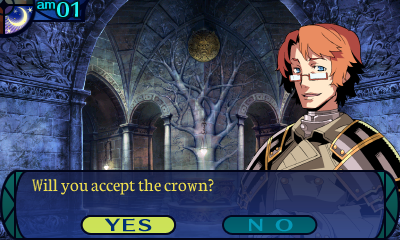
Saying yes will end the game. So let's wrap this up, at long last!
By all means, take it.
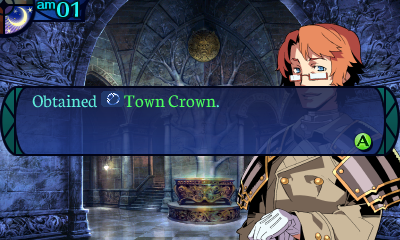
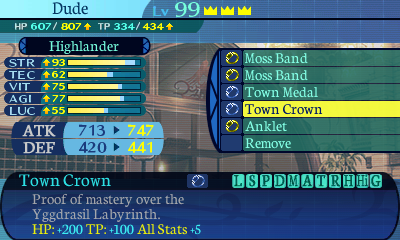
The Town Crown is the same as the Town Medal, also providing an additional 5 points of stats on top of the 200 HP and 100 TP boost previously given. How handy!
I am sure that somewhere far away from here... Your adventures will continue. I look forward to hearing more about you in the future.


The credits are the same as the maingame credits, just with this repetitive music playing over them instead.
The post-game was definitely an interesting experience to cover. It was by far the most brutal post-game in the entire series, and I'm sure Rea and my playthroughs got that idea across. Bloodily. Multiple times even. I didn't really feel right to gloss over that like I did with 2U's post-game, as it really bit back a lot more!
That being said, I had a ton of fun showing off the Yggdrasil Core fight without just skipping over a lot of its mechanics (even though it's really easy to do so in certain parties.) And when I discovered how nuts Vulcan Stance and the Pain Formula branch was, I just had to show those off! Just goes to show you that you should keep an open mind about the various skills in the series, even if they may look rather oddball at first glance, heh heh!
Many thanks to Rea for providing me the 3DS needed to cover this LP, after mine broke down. Once again, thanks to Kinu for suffering along with me intially, thanks to Crosspeice for taking up the role of co-sufferer, and for suffering with me through the post-game. And many thanks to kyasarintsu for saving me hours upon hours of grinding for the Yggdrasil Core fights.
Cheers for having me. I really don't like Story mode, but it was a lot of fun reliving the incredibly idiotic scenario and detailing how much the postgame enemies differed was a real blast! Also comparing how my postgame fights went in my LP really shows how the series has changed. In a good way, don't get me wrong, EOU is an amazing game, EO1 is absolute garbage, do not play it. At least we can cross this off the list, we're running out of Etrian Odyssey to show off! Thanks for properly suffering through this, you really deserve a break, my man, cheers to a rad LPer!
With all that out of the way, I've shown off everything the game has to offer on the Story Mode end of things. So...


Farewell!