Toggle Background Color
Hello everyone and welcome back! I'm sorry for taking such a long break again. I'd try and offer excuses, but they're all old and tired by this point and nobody really wants to read them. But the important thing is that we're back and ready to rock!
Last time, if you may recall, Ginger was called to a meeting by Merlwyb and given a special task that only she can be trusted on. I guess all that time as a Rogue has endeared her to the Admiral! Lemme recap real quick...
 Ginger, I will not beat around the bush. A group of reformists have seized control of an important port here on Vylbrand. Their list of demands include me repealing the Galadion Accord and then stepping down as Admiral of Limsa Lominsa, among other--more monetarily motivated--concerns. We've stalled them for this long, trying to get in contact with either you or one of Jacke's people. We've run out of time.
Your job will be to enter the town and put every last one of the whoresons to the sword. They have dozens of men guarding not only the town, but the land surrounding it too. Show these reformists that Limsa Lominsa does not treat with terrorists!
Her second in command then let Ginger have her pick of Limsa's arsenal of weapons. No seriously. She got one of every type of experimental firearm they have in development!
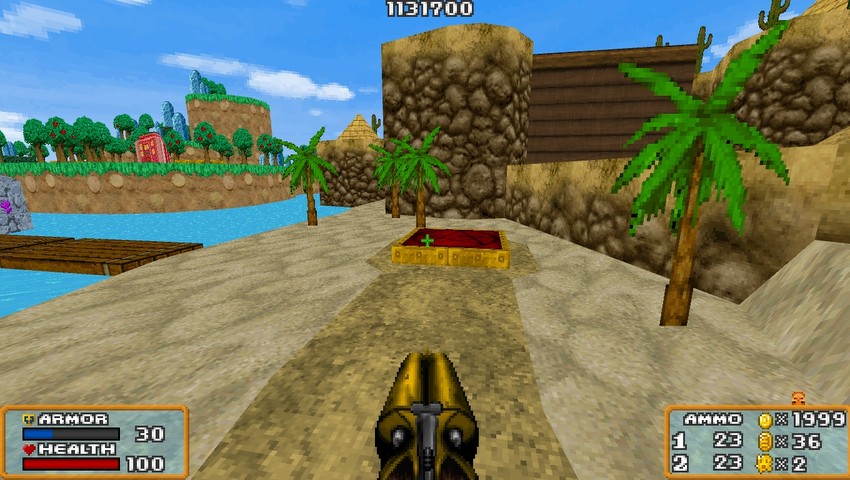
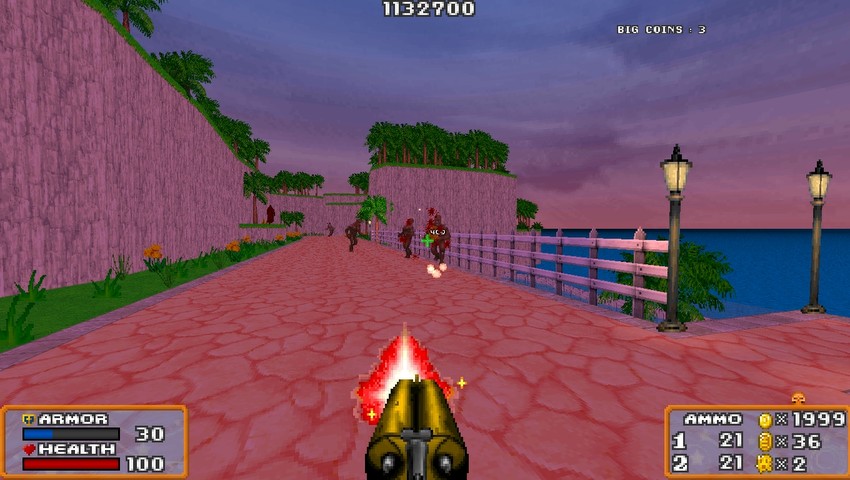
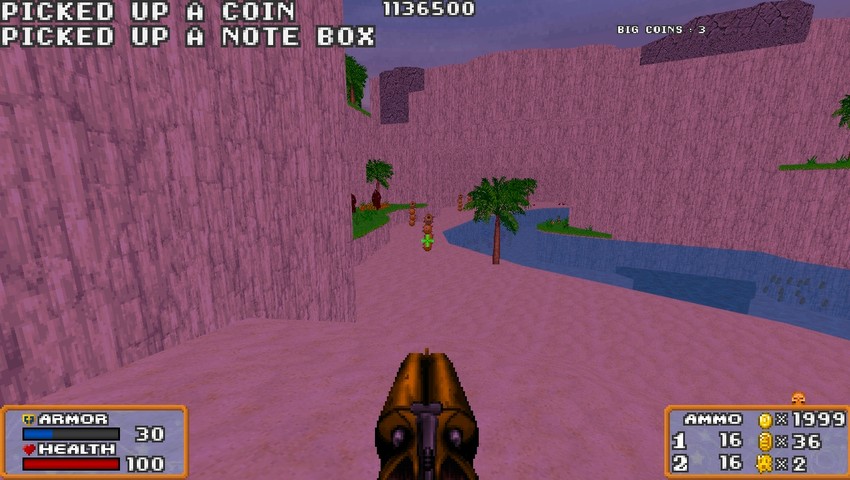
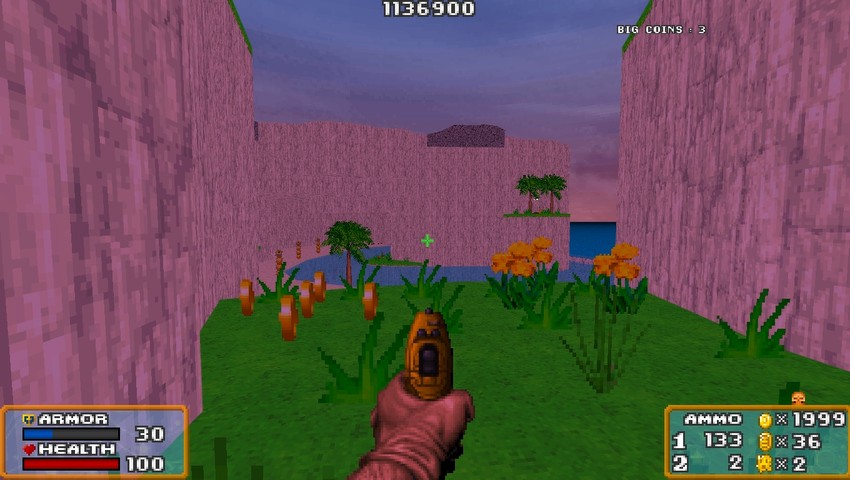
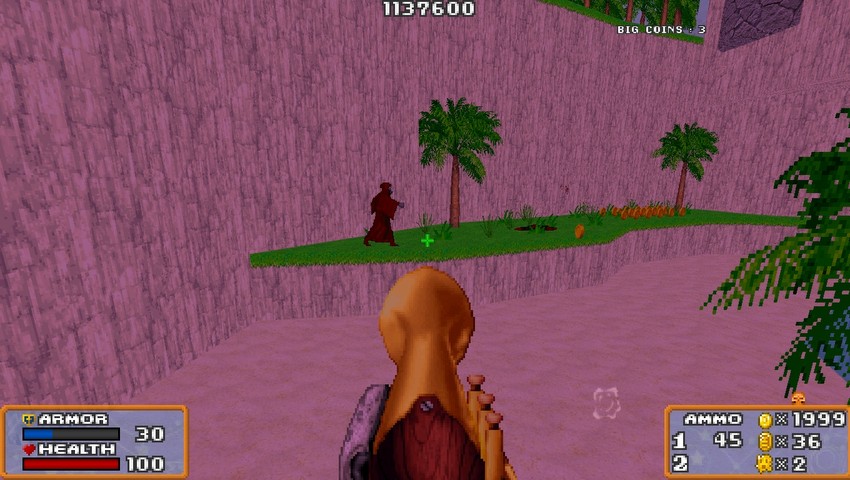
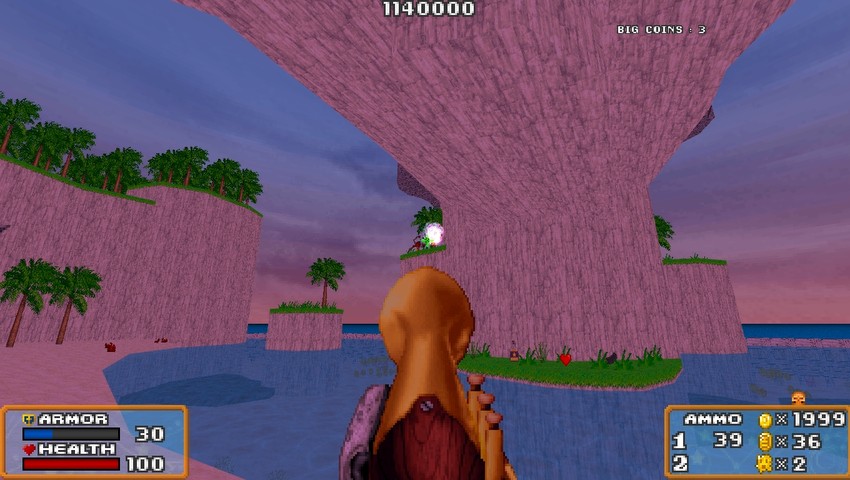
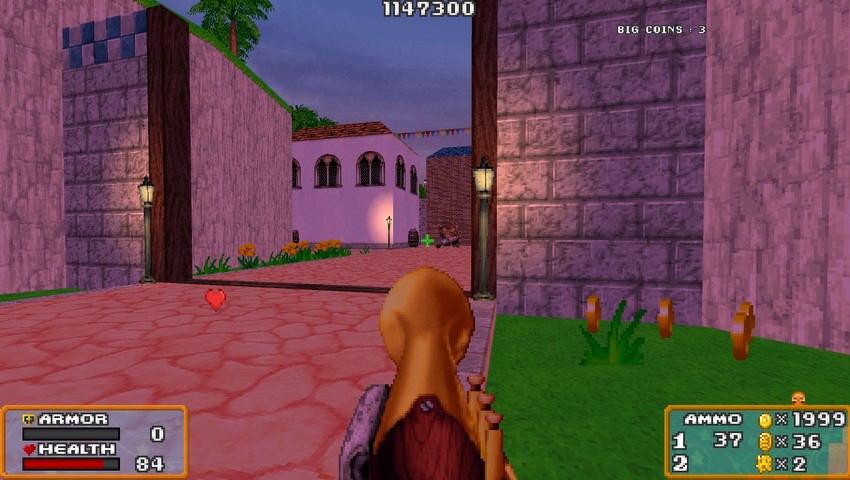
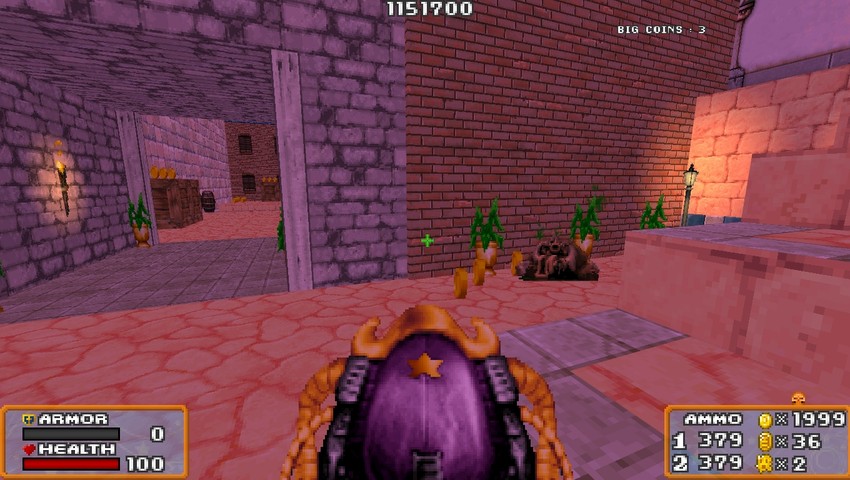
Here's the opening shot again. As you can see, Ginger is here on the outskirts of the town and the Duty Calls! glow is visible in the center of the screen.
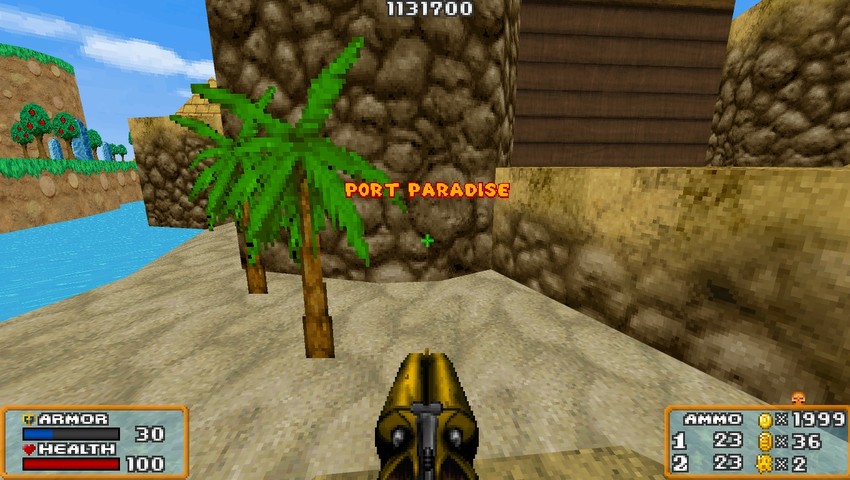
I love the early evening hours in this game, and it's wonderful that the devs set this pretty long solo duty entirely at twilight. I think we're supposed to infer that Ginger was inserted quietly at a small beach outside of the port.
We're starting off with a shotgun in hand, but Ginger has five other weapons available as well. We'll probably be cycling through them all before this duty is done with. They all have different functions and work best against different enemies.
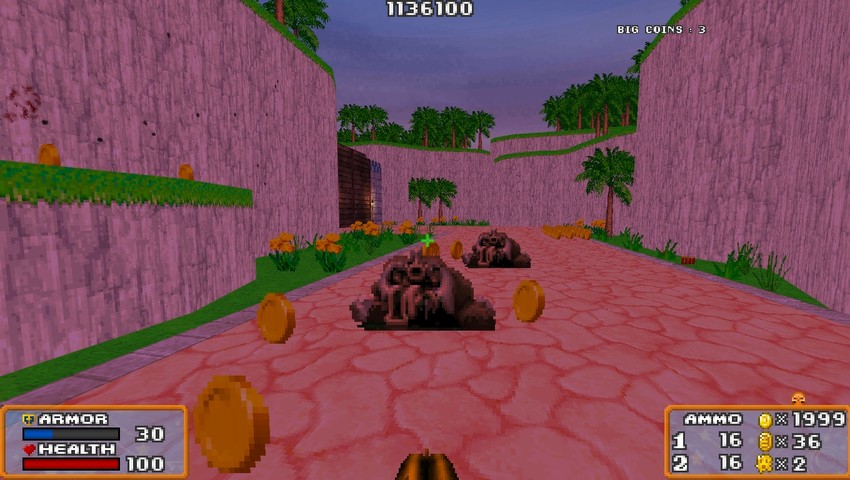
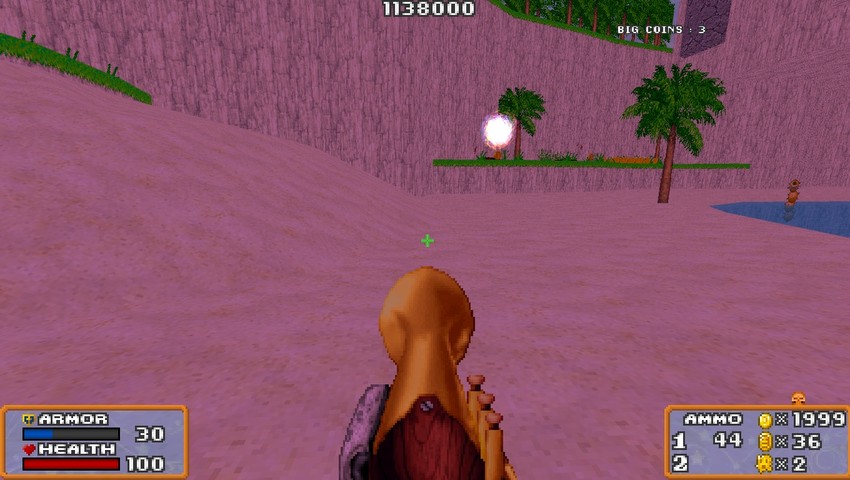
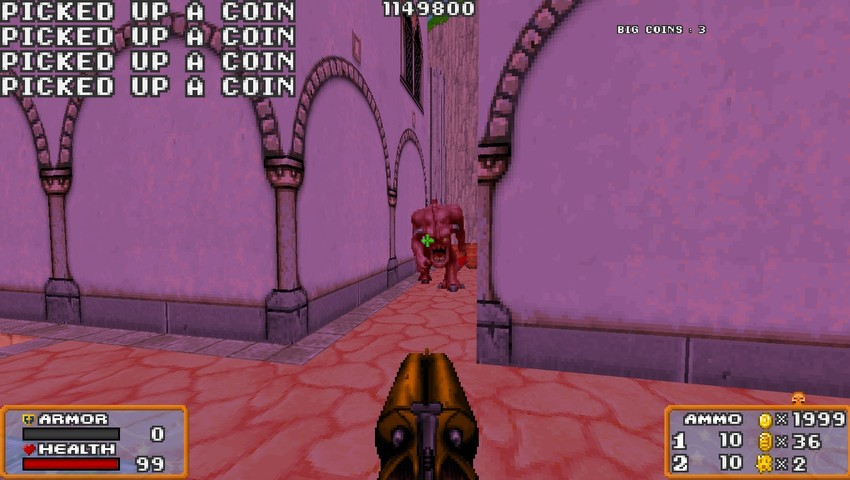
Enemies like these crabs. Technically they count, but they only really hurt you if you walk on top of them. So we'll just dance around them and get at an ammo resupply nearby.
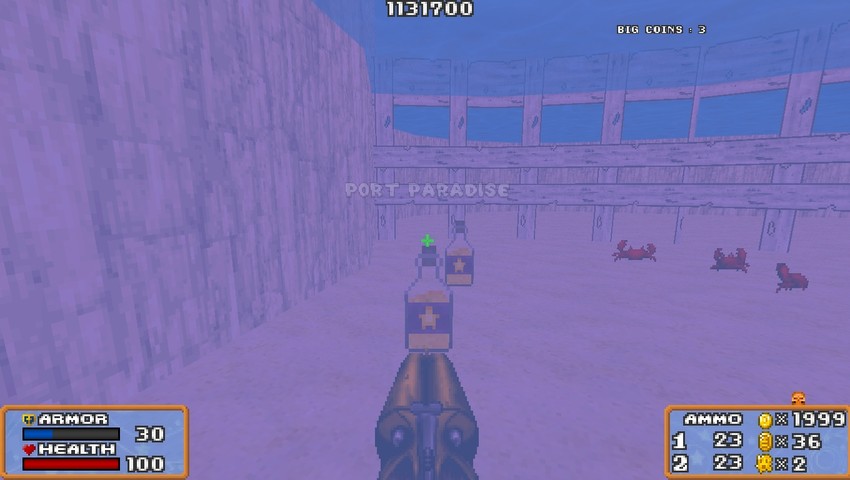
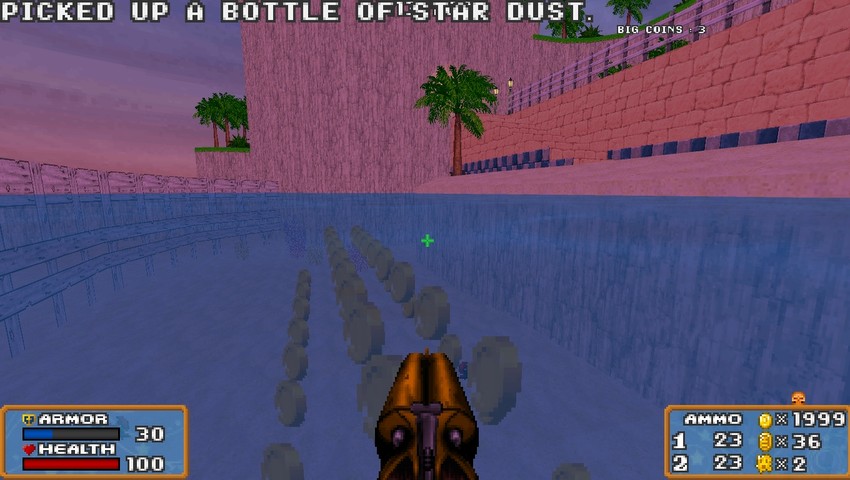
Don't ask me why this duty has a resupply for an experimental aether energy cannon, but it at least means we won't be running out. ...probably. Each bottle gives us 25 shots for our "star cannon" so... hey!
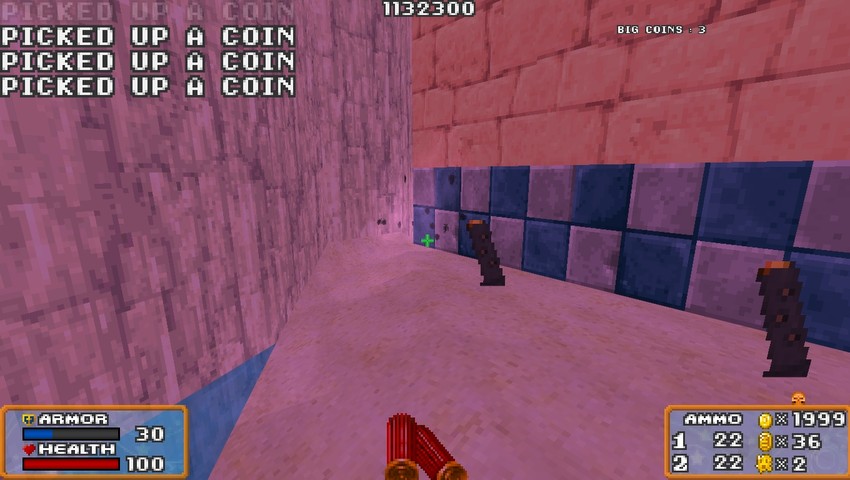
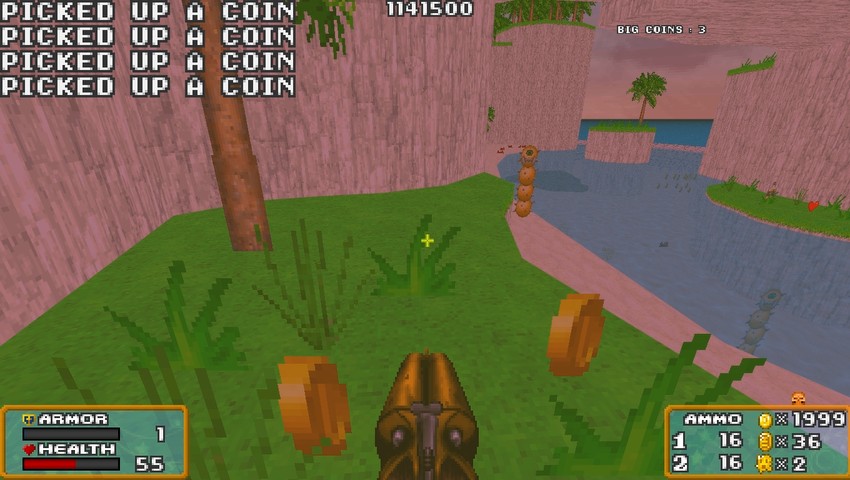
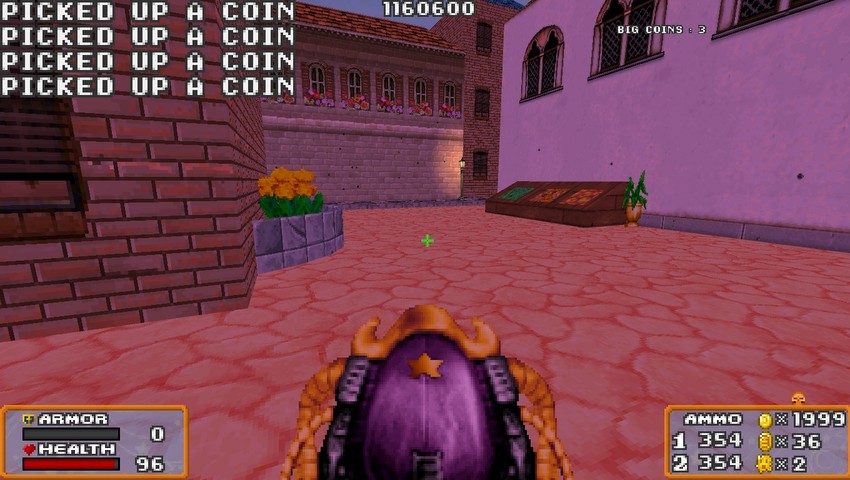
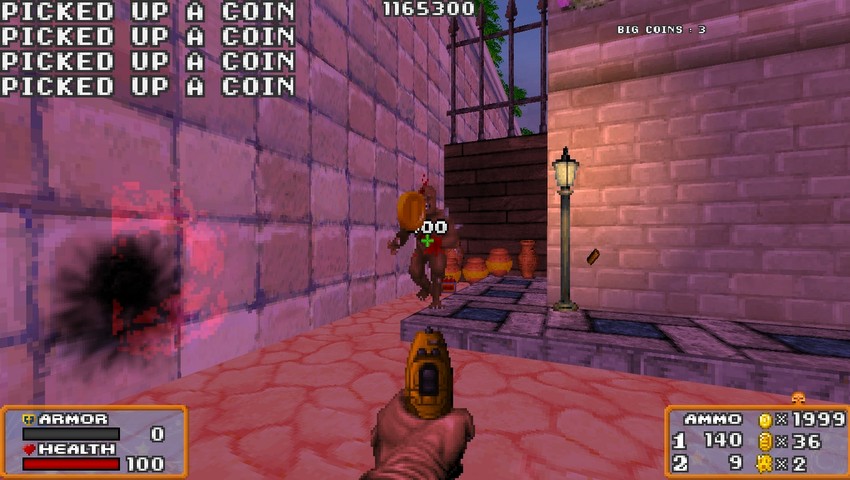
These coins aren't diegetic, and are merely a gameplay contrivance. They offer us a trickle of healing... each one we pick up gives 1 point of health back! Because we're maxed out, there's no need to get them. By the way I want to point out that for this duty, our max health has been reduced to 100! But healing is plentiful, so we shouldn't run into too many troubles.
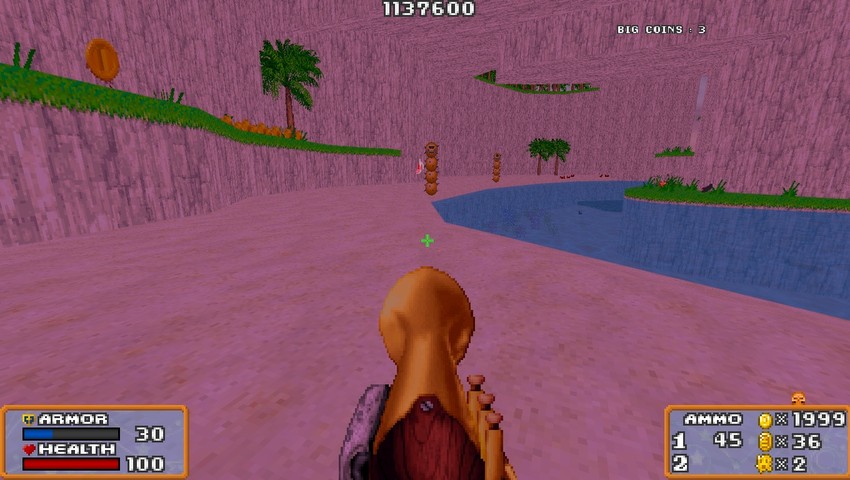
I won't call out every ammo resupply, but I do want to point out all the individual types at least once. This is a clip of ammo for the basic-ass "handgonne" weapon. It's just a standard pistol, but it's still really good for pinpoint accuracy in this gimmick duty.
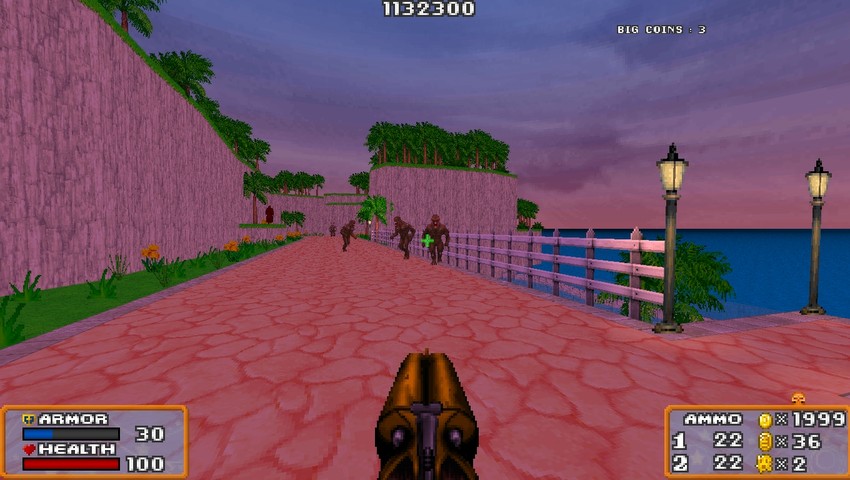
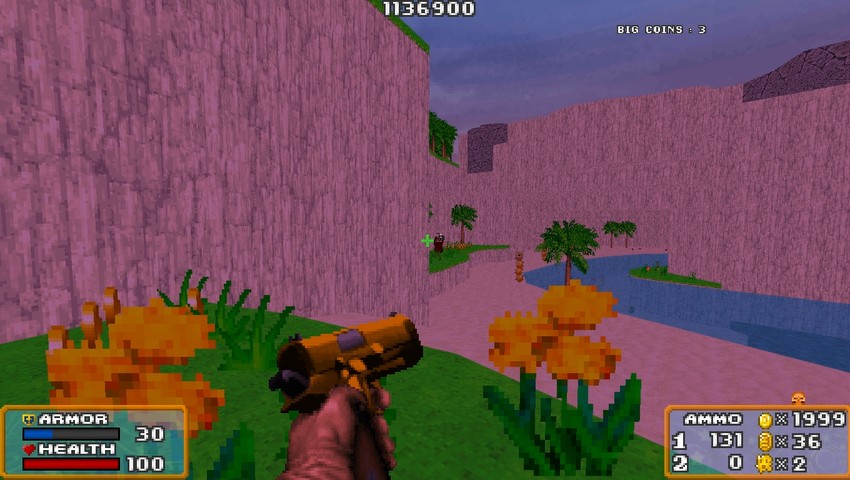
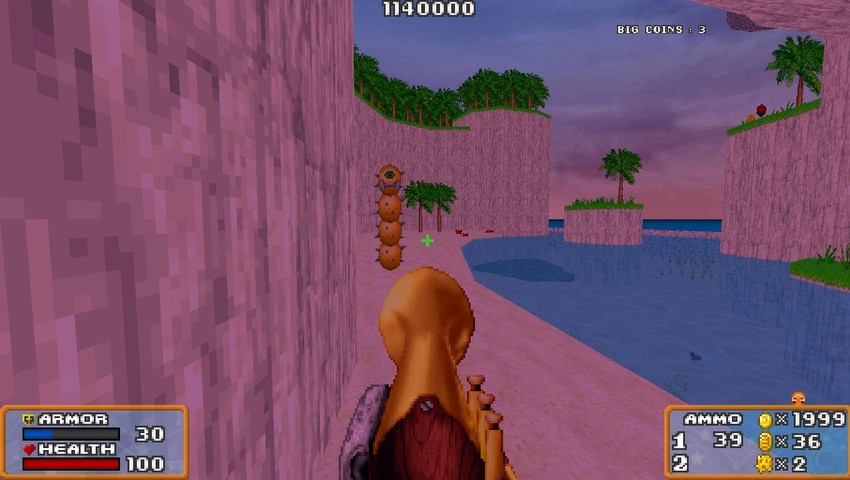
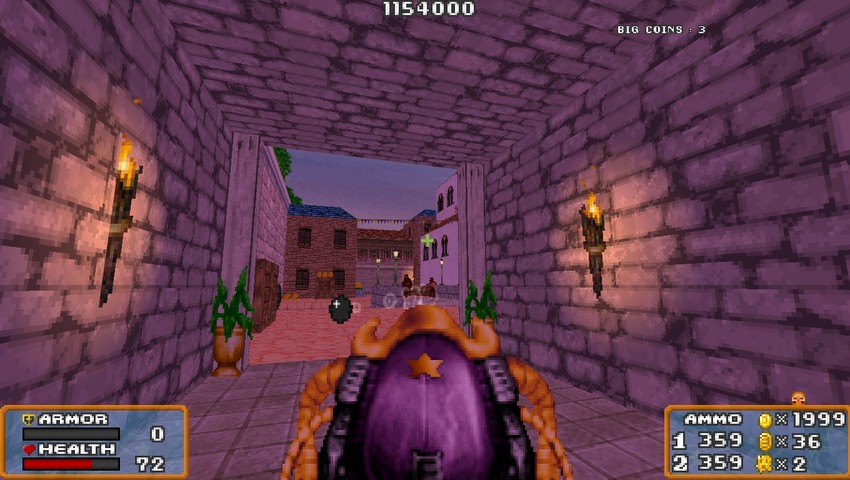
This far out there's only some basic sentries.
Our shotgun is gonna be the workhorse for most of this duty. It's effective at most ranges, but really shines at close range!
Also Ginger has a really stylish reload animation. Though I think they only modeled for male characters because I don't think her arm is normally that hairy.
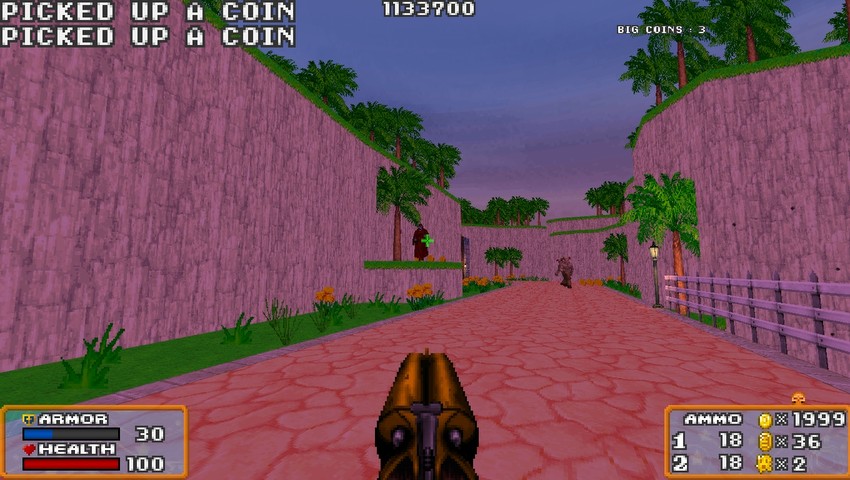
This guy in the cloak in the distance is a sniper style enemy. He likes to stand high up and fire really accurate, really painful shots. So let's just take him out before he becomes a problem!
God I love this shotgun.
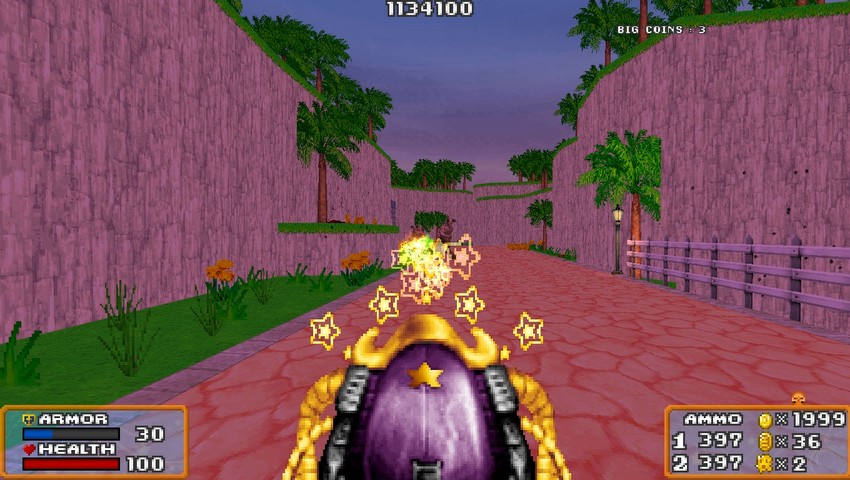
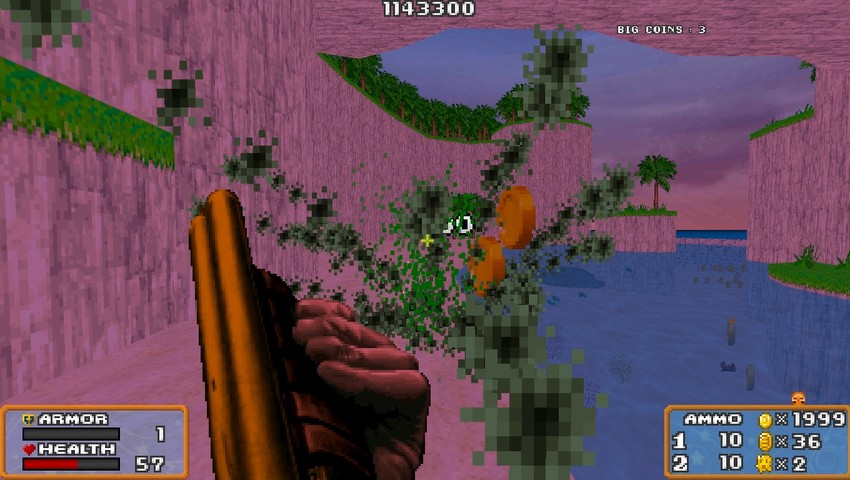
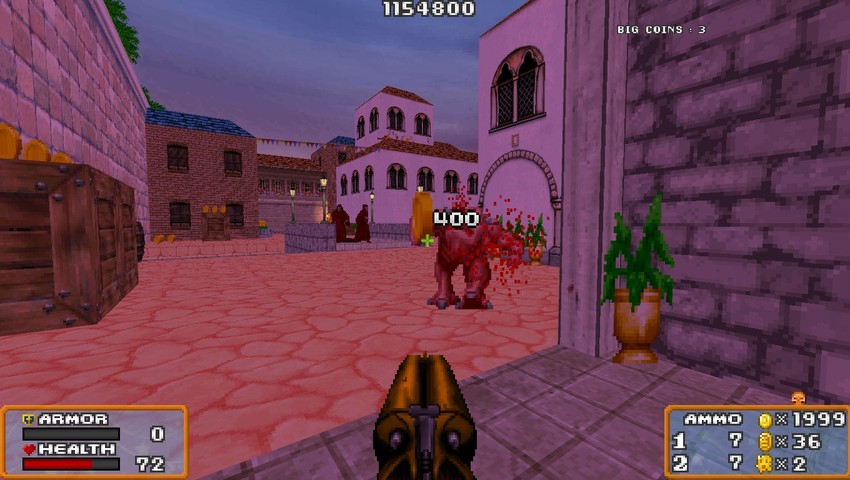
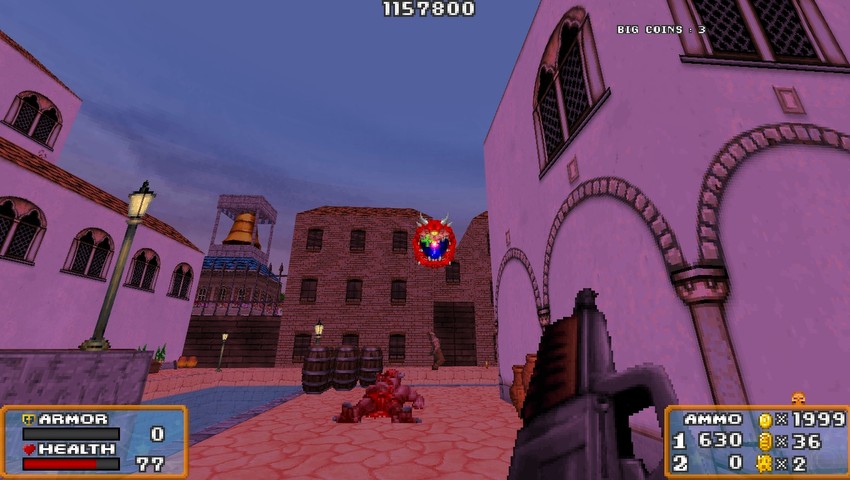
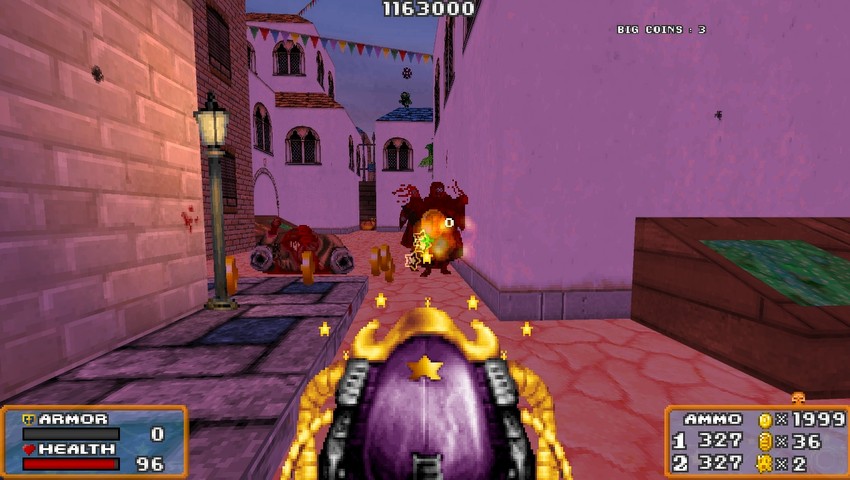
This is the experimental star cannon I mentioned before. Here we're facing some bruiser enemies who are probably the overseers of the patrol we're taking out.
They go down easily enough at least!
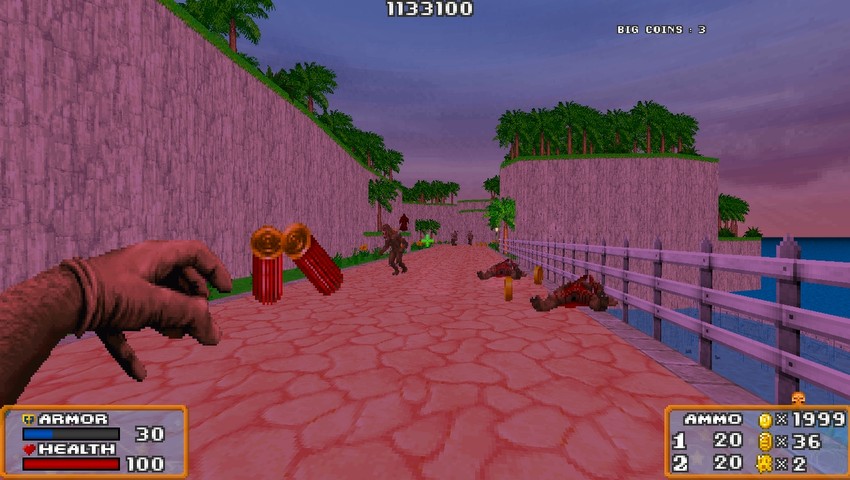
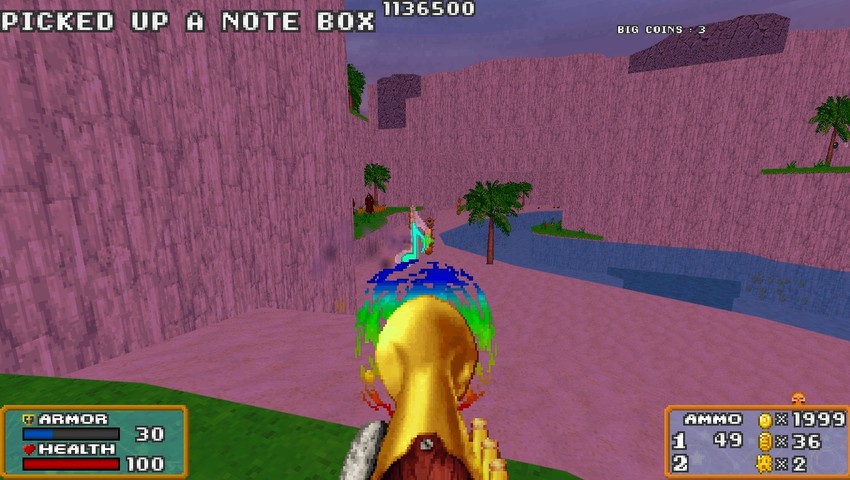
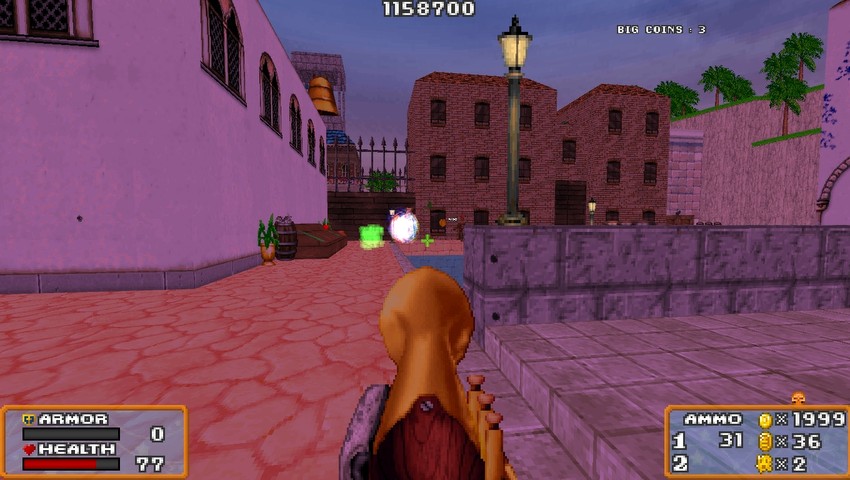
This here is an ammo drop for Ginger's Bardic Trumpet weapon. We'll be seeing that later, but it uses aether to deal explosive damage! Fitting for a bard weapon, huh?
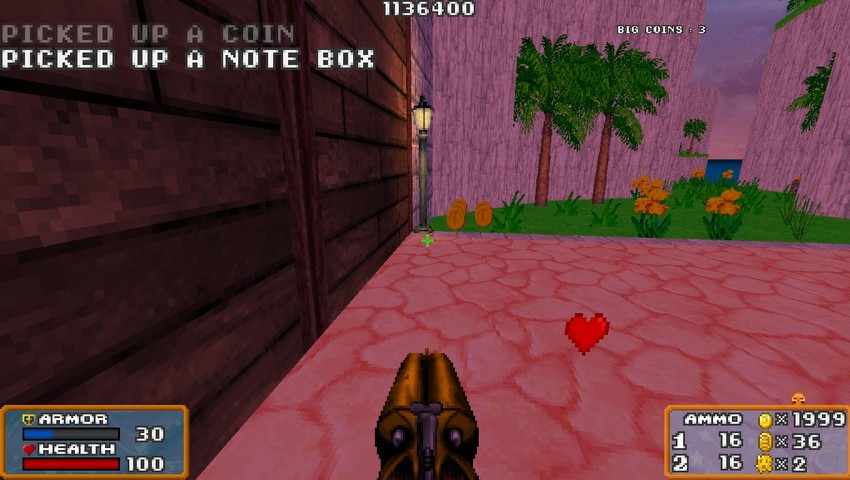
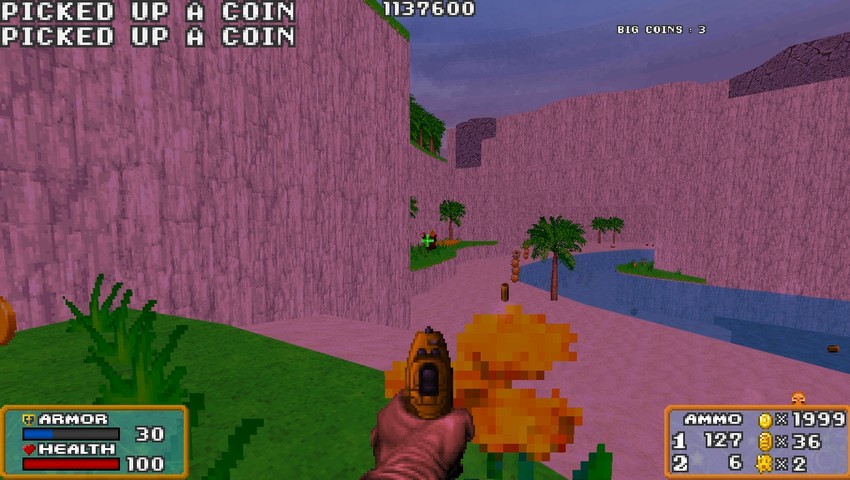
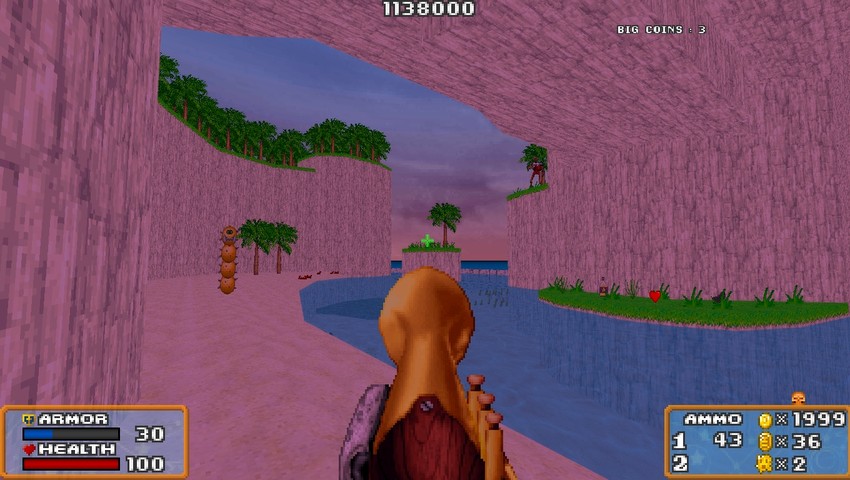
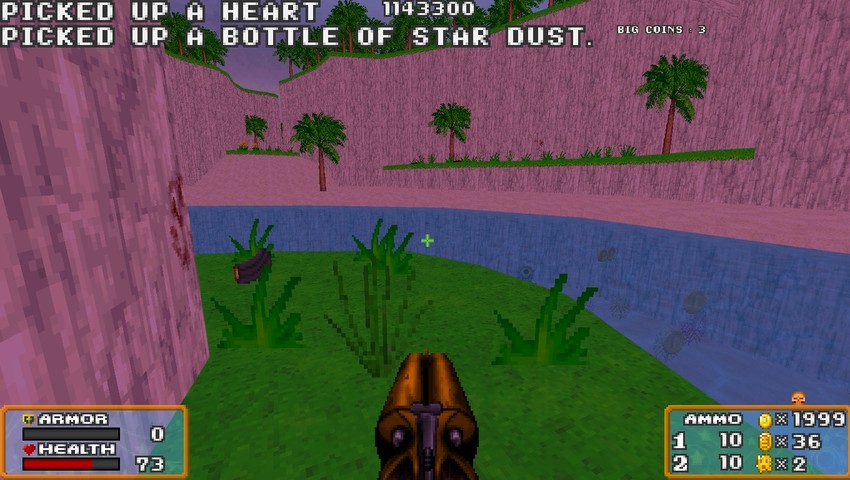
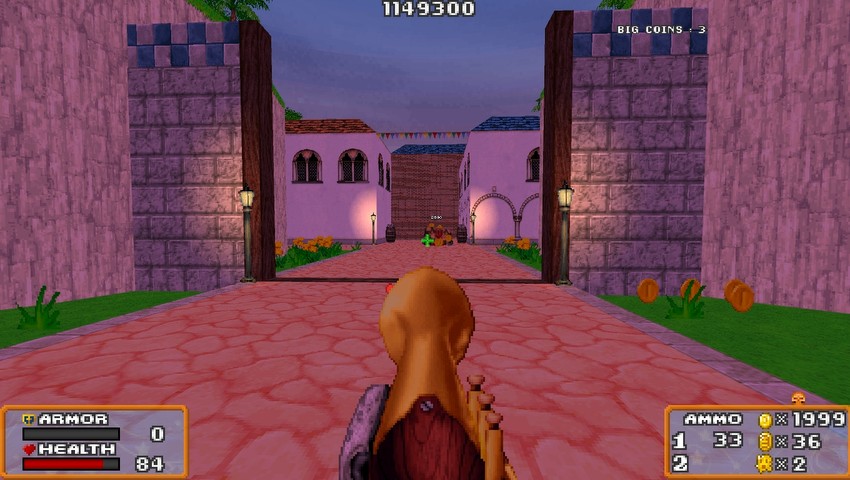
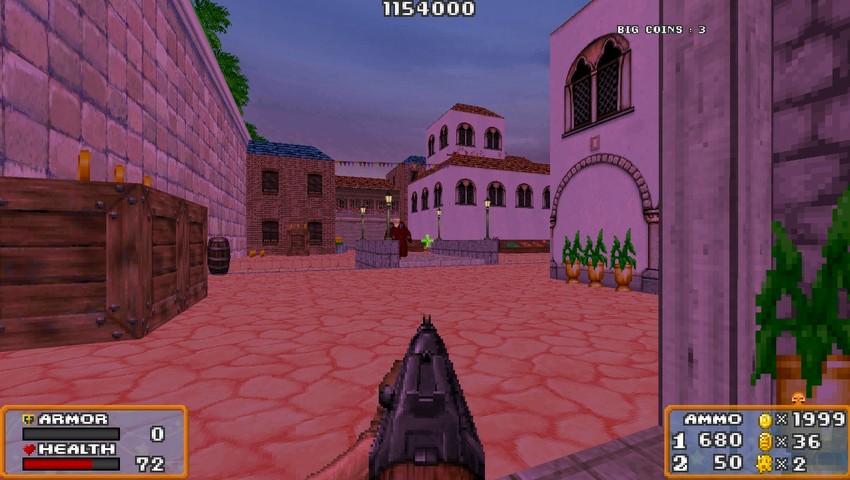
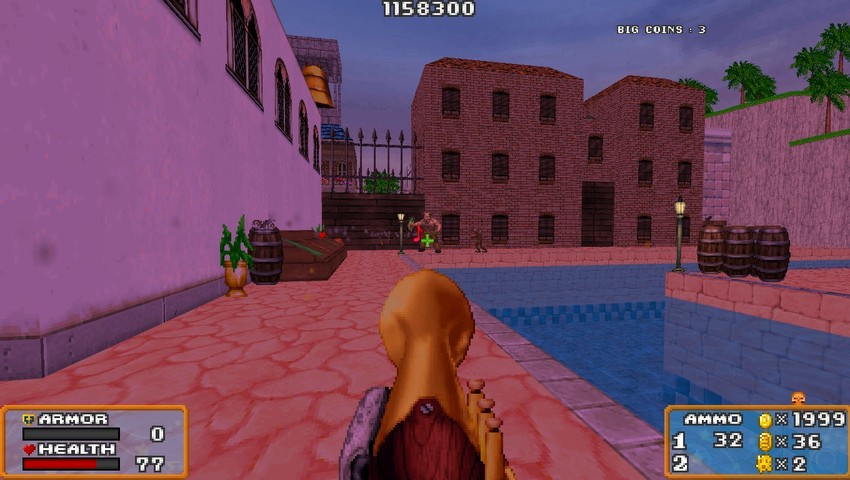
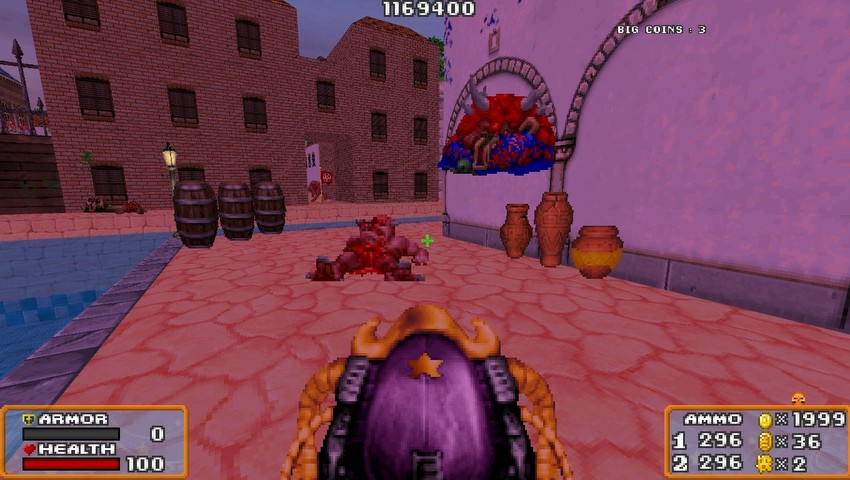
The gate into the port is shut, so we need to find the guy with the key. Also present in this shot is a health pickup. This restores 10% of Ginger's HP. We'll save that for when we need it. There's also a larger version that restores 25%!
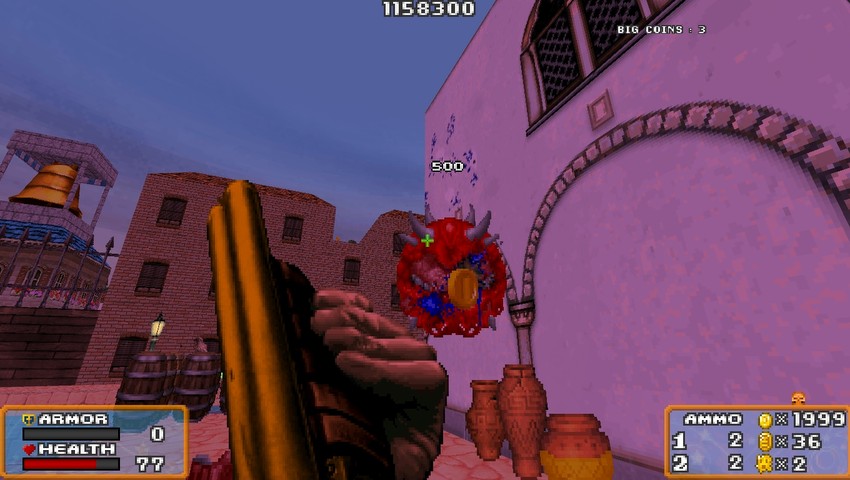
Down to this little hidden lagoon, we find a fucked up monster the pirates are using as guards. This thing is three small monsters in one, and it fires spines at you if you get close.
 No mercy!
There's a bunch of those sniper enemies in the distance, so we're backing away to avoid their shots.
In the distance is one of the snipers. So we'll use this opportunity to show off the pistol's sniping capabilities.
Three or four shots and he's gone. And this thing fires pretty fast for being semi-automatic.
It does have a low clip capacity, though. 10 shots isn't a lot!
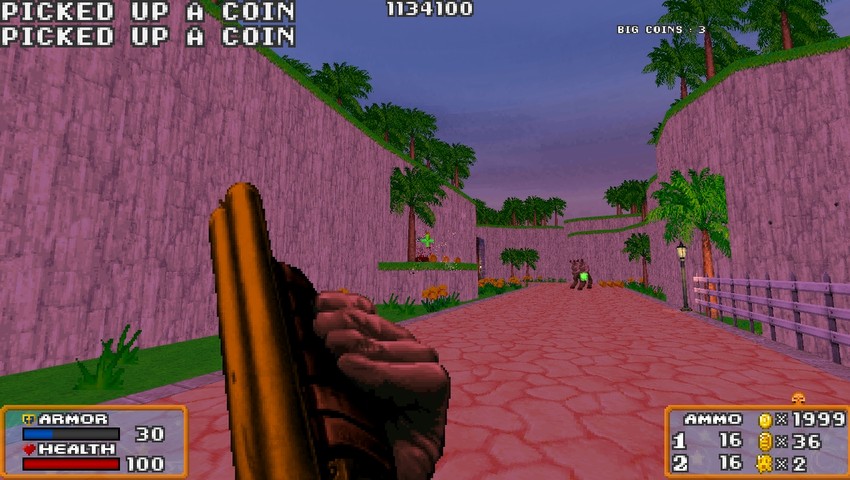
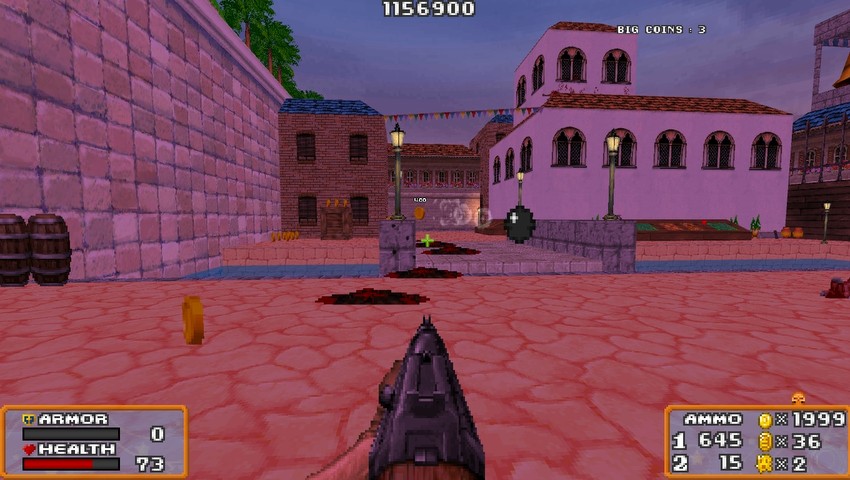
With the snipers down, we have more room to think.
There's several of those spiny enemies on the beach and...

Whoa! That's blind luck on my part!
I didn't see this sniper from my vantage point, so he nearly got the drop on us!
Thankfully he's made of wet tissue paper.
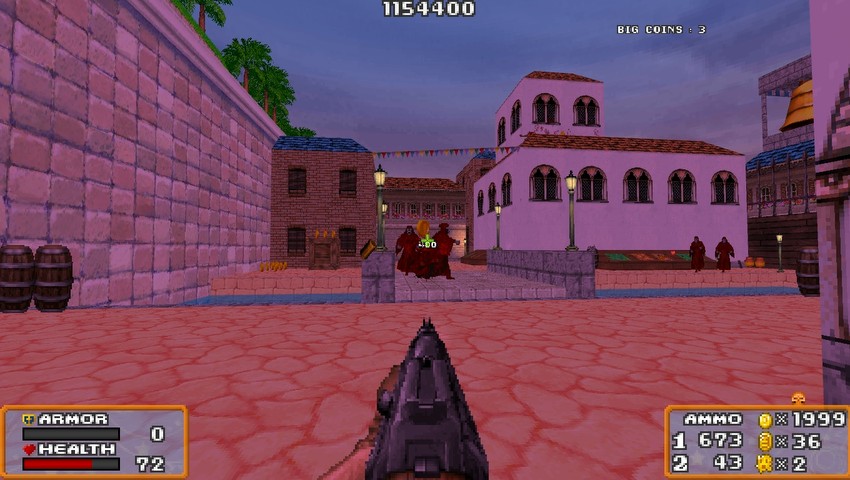
Look in the middle. See that guy standing up there? He's the guard with the back gate key. He's also a jerk with explosive shells!
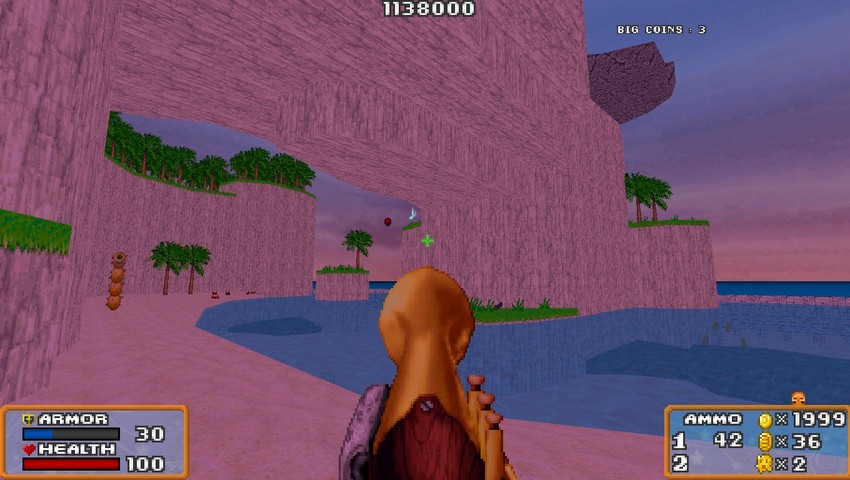
The red dot in the middle is a homing shell. So we have to run around and fake it out!
He goes down after a couple trumpet shots.
This spiny enemy is getting a little too close for comfort, so...
Fucking auto aim. The shot curved to the left! 
This at least lets me show off the coin healing I was talking about.
And then good old fashioned 12ga rounds take care of the spiny jerk. 
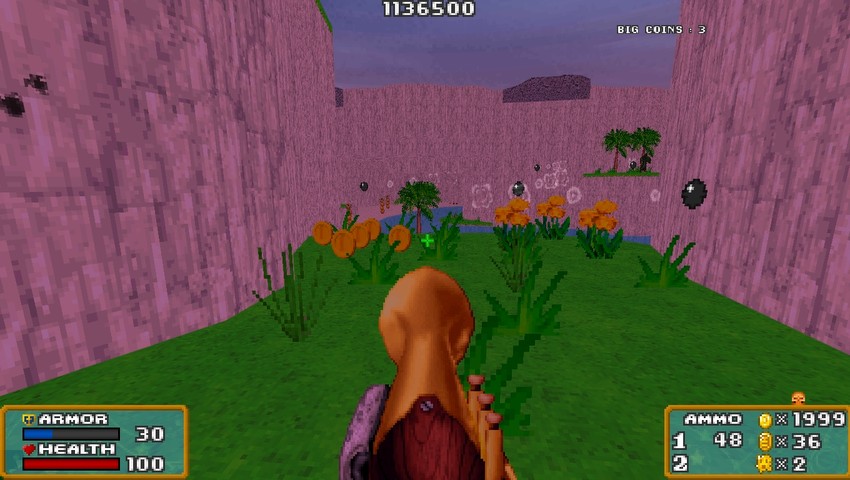
The black thing in the middle-left there is ammo for another of Ginger's weapons. It's a highly classified assault rifle analogue. If the Imperials got their hands on it, it would change the balance of power in Eorzea drastically!
The guy with the homing rockets was guarding this switch, which opens the gate we passed earlier!
The pirates are gonna be pretty thick on the ground once we get past this point. Everyone ready?
They have a flame trooper guarding the back entrance. This guy fires fireballs in a spread pattern in a burst of three shots. So he fires, fires again, and then fires again.
He's much too dangerous to mess around with, and we won't be so lucky as to be far away in the future!
These pink things are the reformists' attack dogs. They go down quickly but they're fast and deadly.
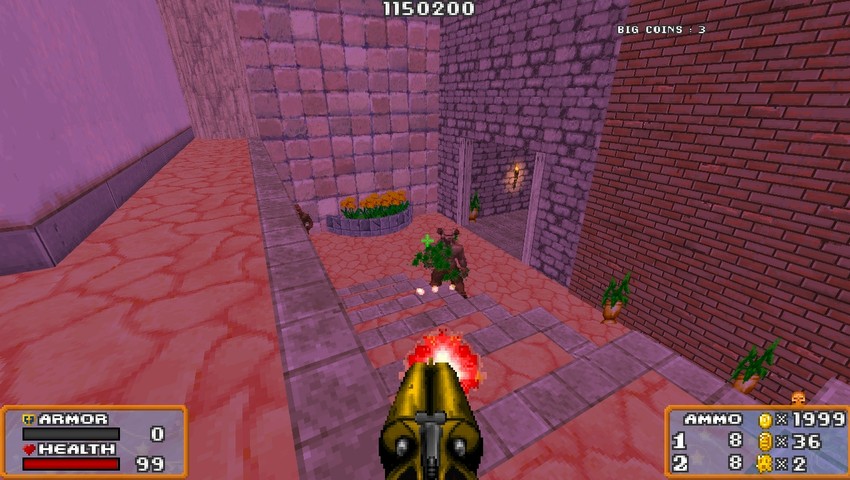
Like I said, the pirates are thick on the ground now. So we've gotta fight for every inch of ground we take back.

There's another rocket guy up on the roof of that building across the way. And there's also a horde of red cloaked snipers swarming across the bridge that's hidden by the experimental cannon.
Like so. They really don't want us to cross!
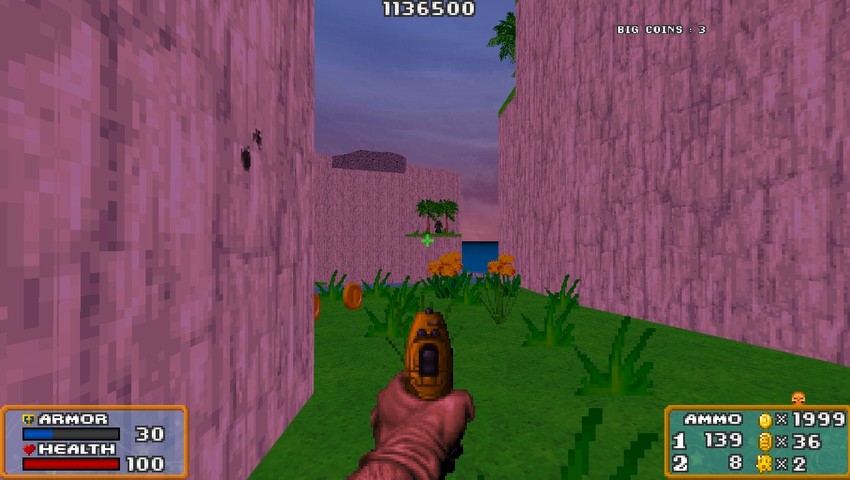
Time to show off the assault rifle. It... does what you might imagine.
Three snipers on the bridge, two more across the way, and as soon as we walk past this building, a pink thing is gonna rush at us. They REALLY want to stop our advance!
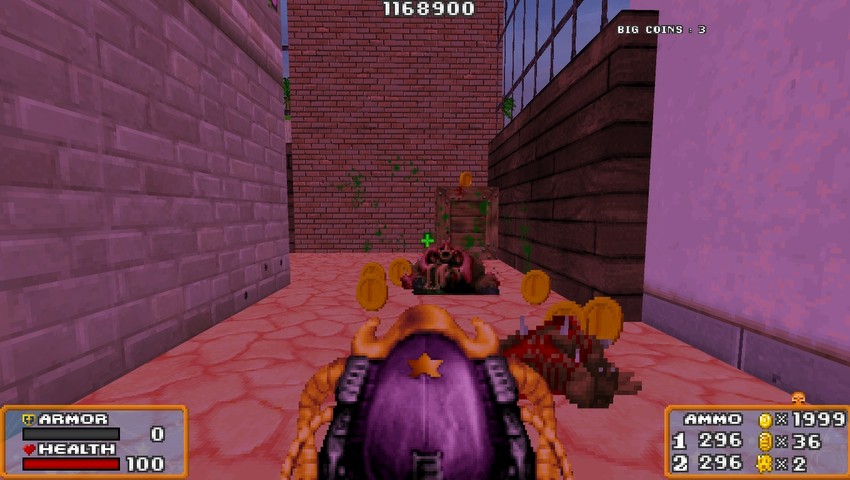
It's really easy to take damage in this duty. Thankfully when stuff dies, it drops some coins that fade after a few seconds. So there's at least a stream of healing going as long as we can keep the killing up!
A few moments later and we've won the battle of the courtyard!
Well for the moment anyway. That angry red tomato is gonna rush at us, and there's an immobile spiky sniper on the rooftop across the way. Oh and another bruiser and a generic pirate as well. This will take a moment...
The spiky ball sniper is the most dangerous. Taking him out gives us room to maneuver!
The flying not-Beholder isn't really dangerous so much as annoying. It's priority number two, though, because the bruiser only attacks occasionally instead of damn near constantly.
Nearly out of shotgun ammo and we haven't found any resupplies yet. It's startlingly scarce!
Two good trumpet blasts will kill a bruiser, so they're really not a threat.
Also the blast that killed the bruiser also took out the pirate behind him.
Believe it or not, but we're making good progress already! This duty is a notorious one because it has just so many enemies to kill and is so long. I know what I'm doing and minimized the amount of backtracking and this duty took 17 of the allotted 30 minutes!
Another flame guy.
Even better... he was backed up by red cloak snipers and a spiky ball jerk. The spiky guy can make those balls hit the back wall, so we're not safe even this far away!
Lying in ambush behind us was a regular pirate and... YES!

A box of 20 shotgun shells! I needed that!

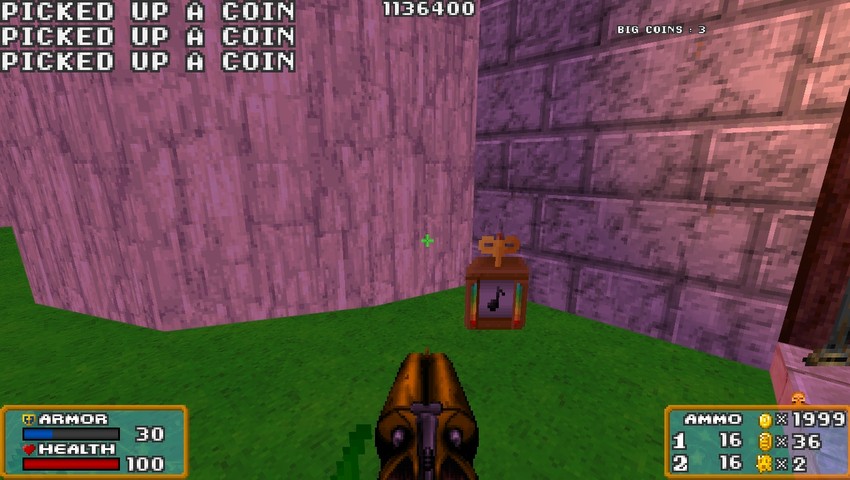
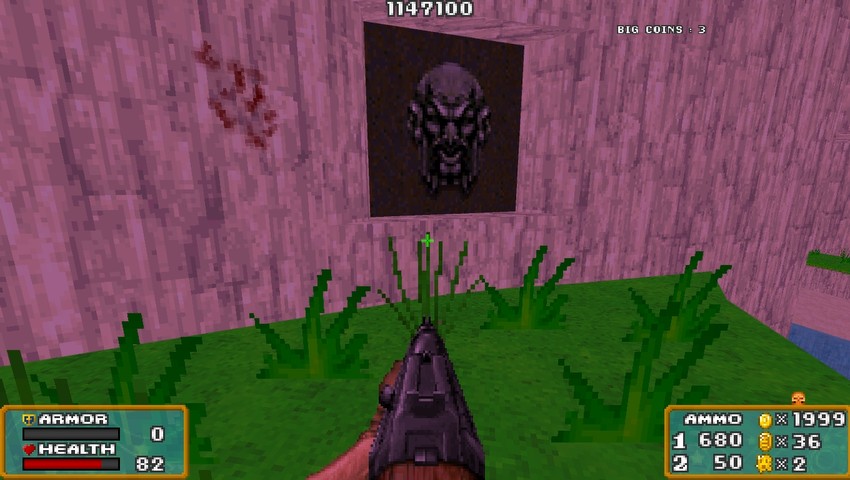
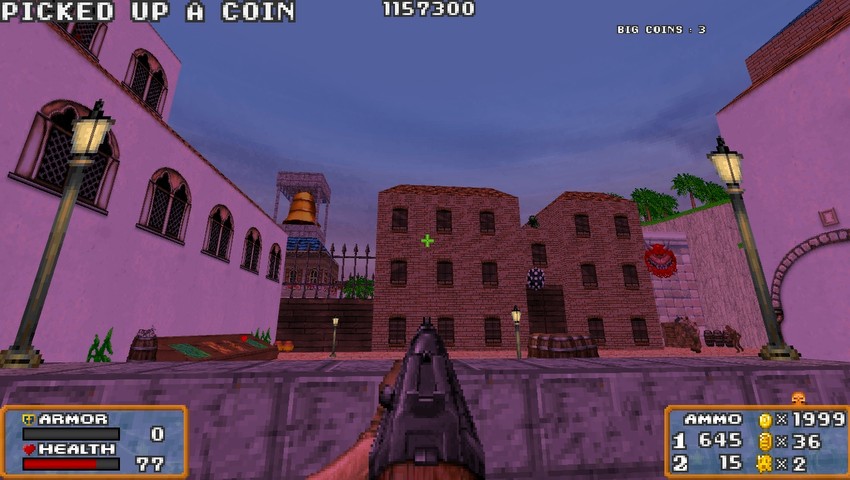
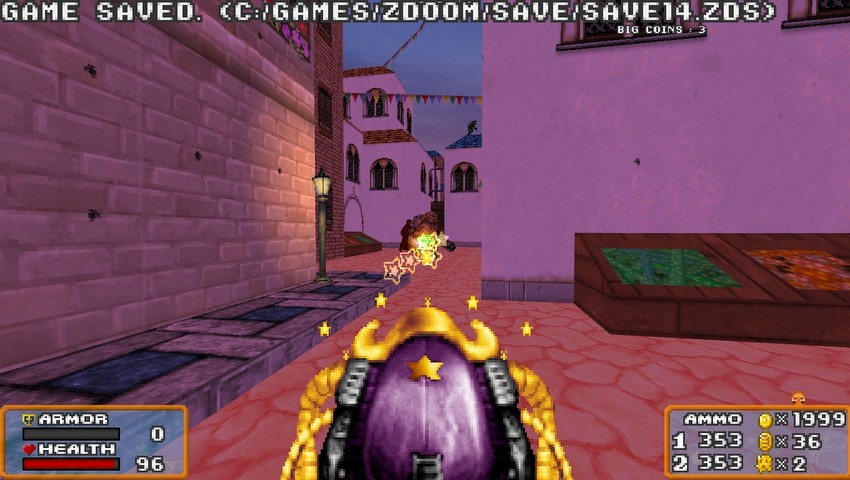
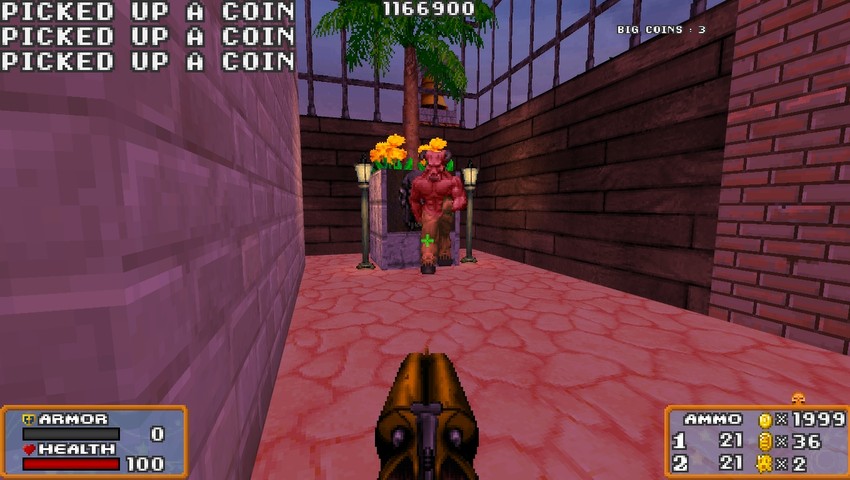
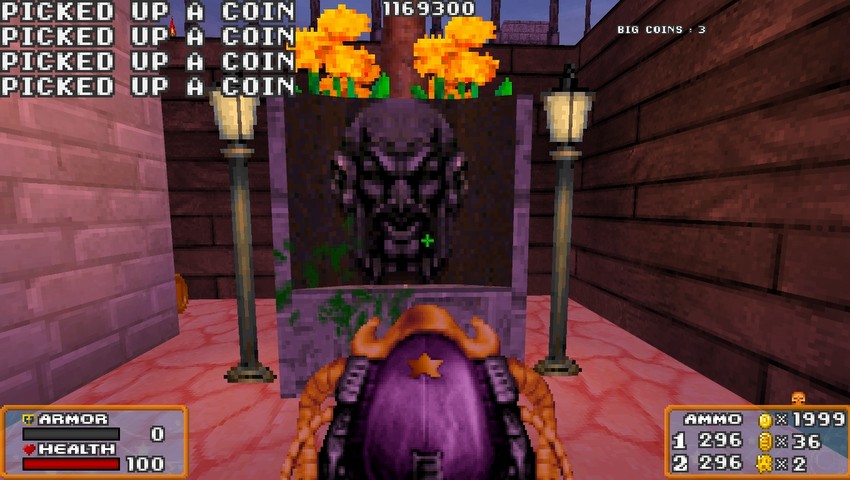
That bell isn't just a background object. It's part of a really involved secret. There's 4 bells in the town, and if we ring all four of them, we get a special bonus at the end of the duty!
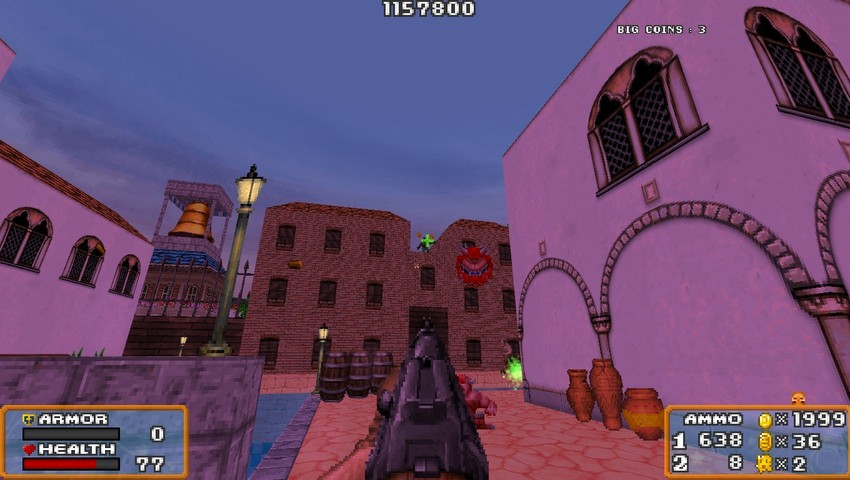
Turning the corner past where the spiky guy was guarding we find one of the ringleaders of the operation! This guy is an upgraded bruiser, but is super badass instead of being a wimp. He shrugs off most types of damage, so he takes a minute to take down. Naturally his attacks really fucking hurt! Like the bruiser he has a green energy ball, but if that hits us, it can deal up to 80% of our max health in damage!
The star cannon is probably better for taking out hordes of weak enemies like the cloak snipers, but I can't deny that it's satisfying to put dozens of shots into minibosses like that!
This opens a door we passed a few minutes back.
Back near the dead Beholder enemy we find the first checkpoint of the duty!
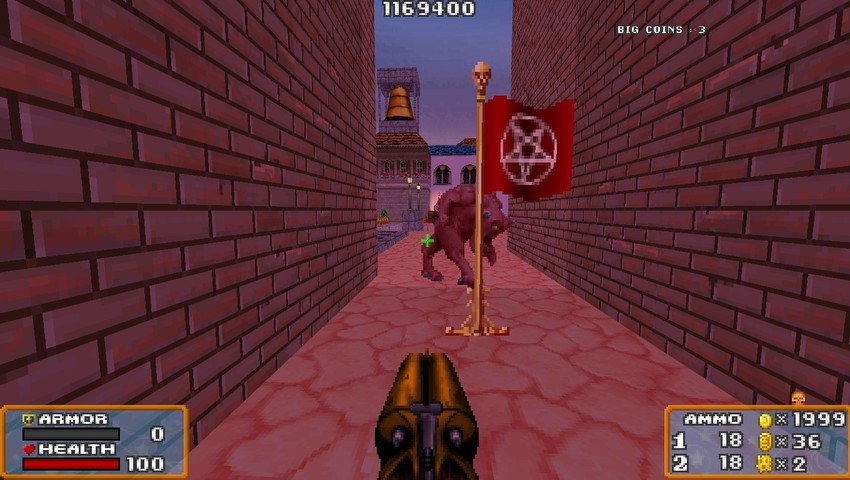
Because the duty is so long and so hard, we're pretty likely to die during the middle of it. So if we touch this flag (like we have a choice) then we can start from here instead of the beginning! And this checkpoint also makes a really good stopping point for now!
NEXT TIME: Well, Ginger has a lot of pirates left to kill!