Toggle Background Color
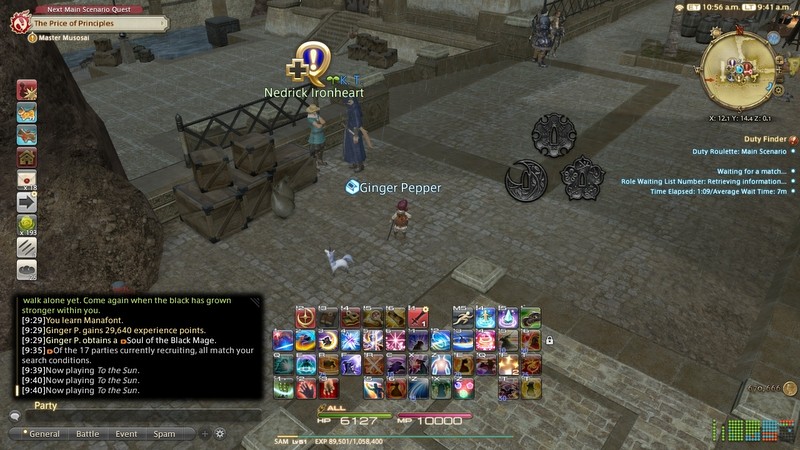
Hello everyone and welcome back. Even though she just learned how to be a black mage in the previous updates, in the next several Ginger will not have that knowledge yet. Instead, she'll be running around as either a SAM or RDM.
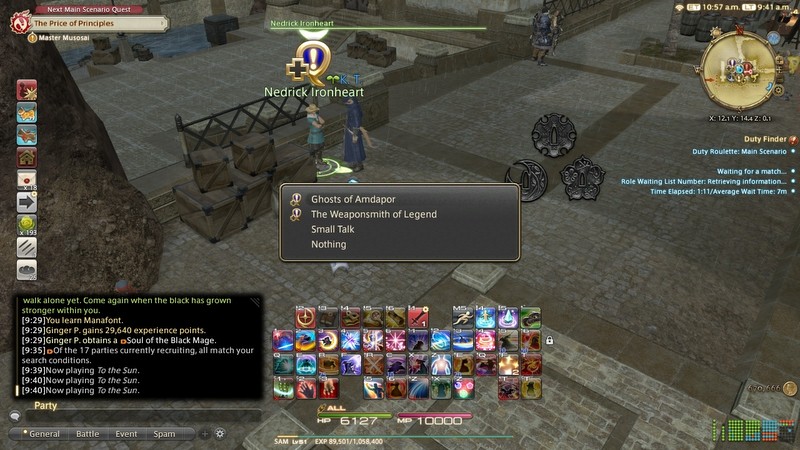
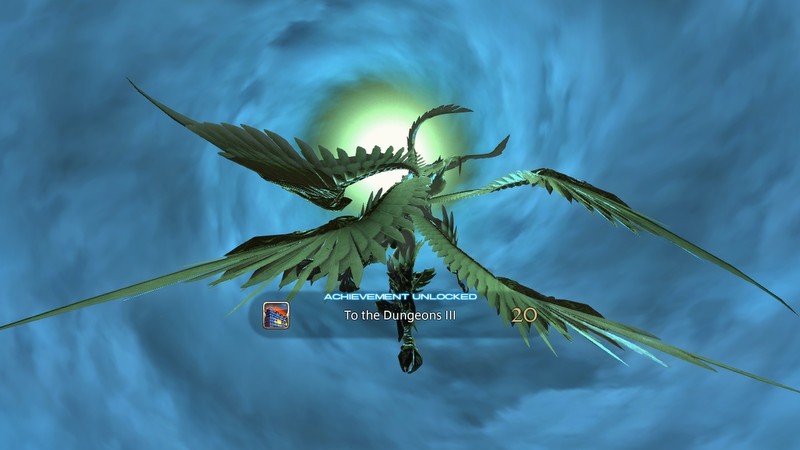
Ghosts of Amdapor is one of the quests that points us at the first postgame dungeons. The Weaponsmith of Legend starts us on the trek to earning a relic weapon. I'm going to be doing one of those and it's not the one that has an insanity grind attached to it.

The short version here is that Nedrick wants us to investigate Amdapor Keep, a set of ruins that dates back to the 5th Astral Era.
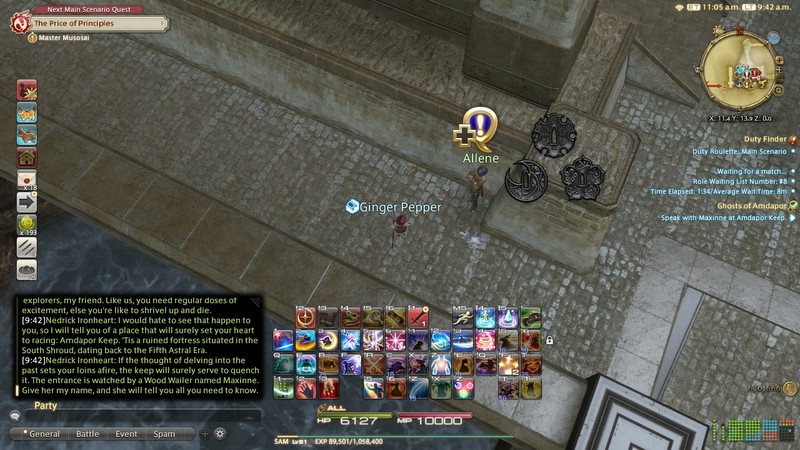
The short version here is that the Calamity drained the water from the lake in Upper La Noscea and revealed a set of ruins. Something in those ruins hurt this woman pretty badly and she wants us to investigate. We'll be dealing with Wanderer's Palace and Amdapor Keep in the next update.
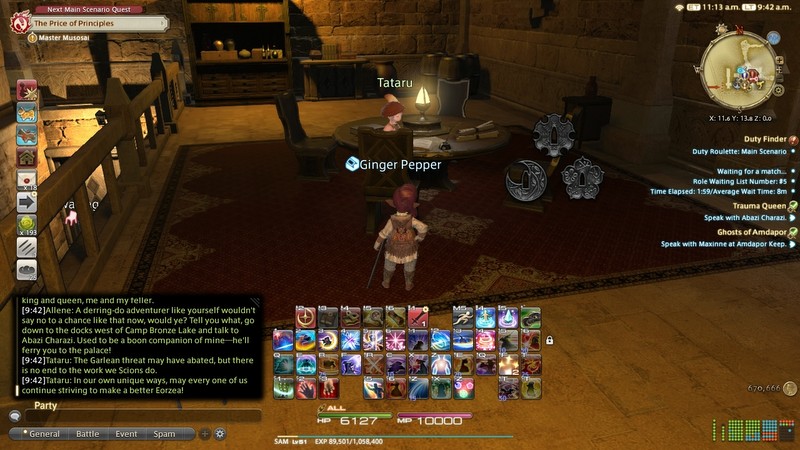
 The Garlean threat my have abated, but there is no end to the work we Scions do. In our own unique ways, may every one of us continue striving to make a better Eorzea!
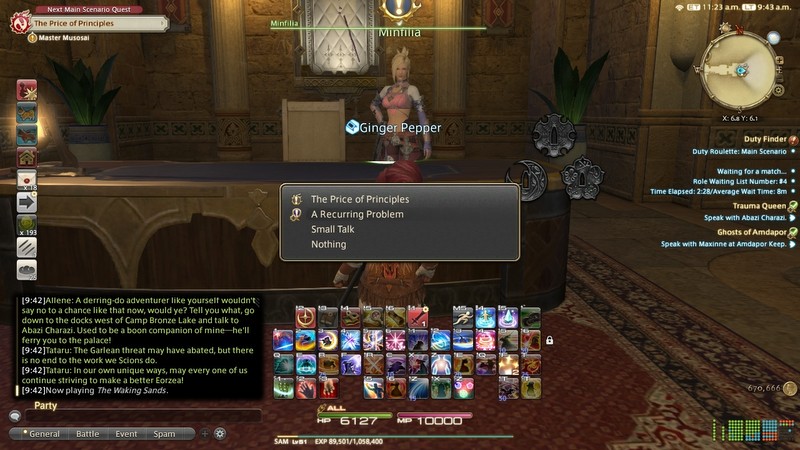
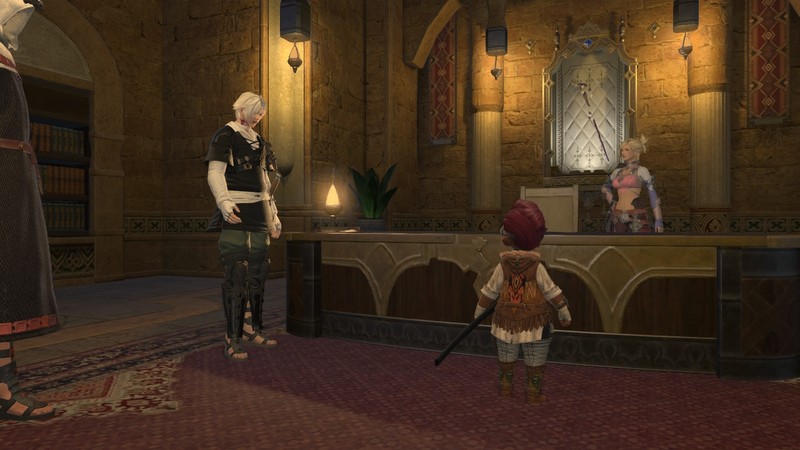
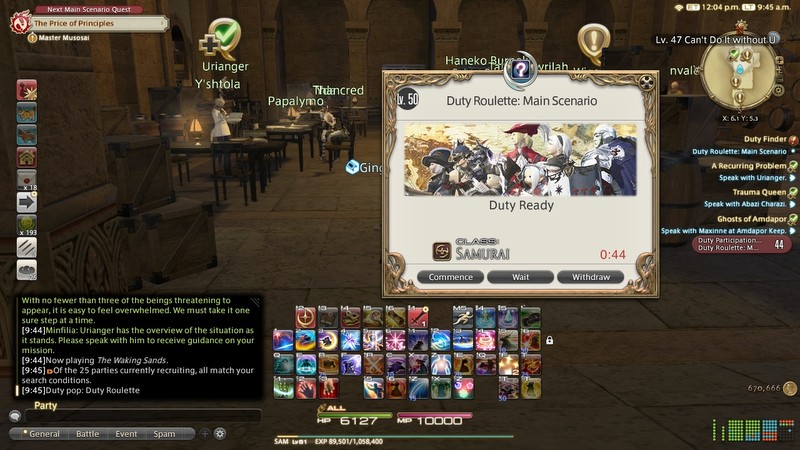
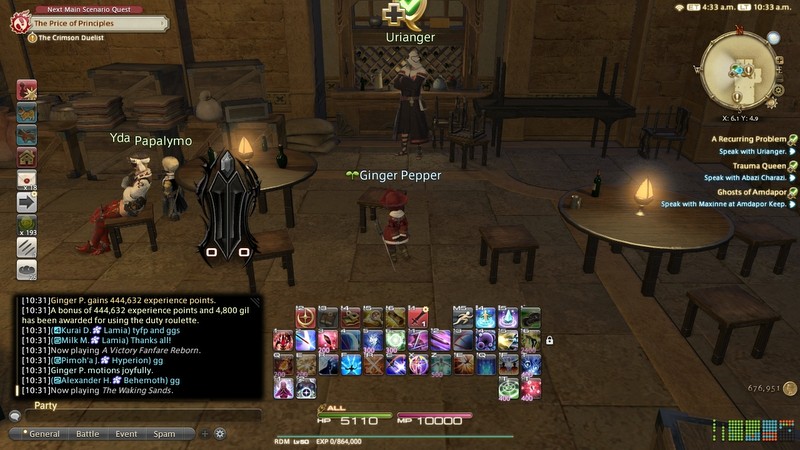
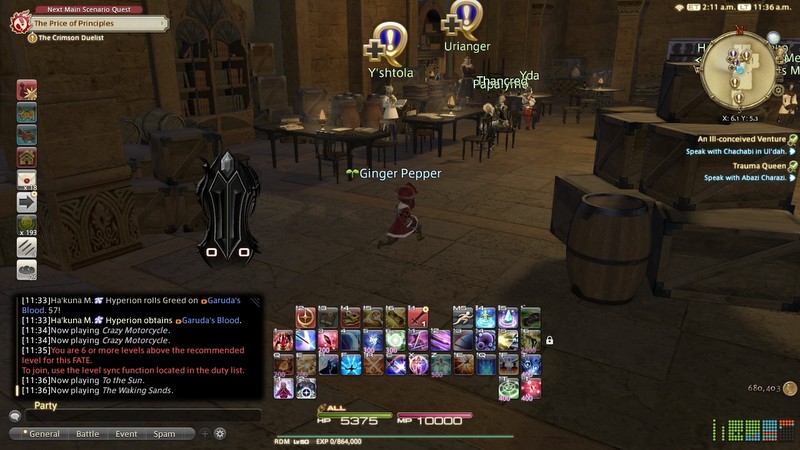
The Price of Principles starts the 2.1 MSQ. We want "A Recurring Problem" instead.
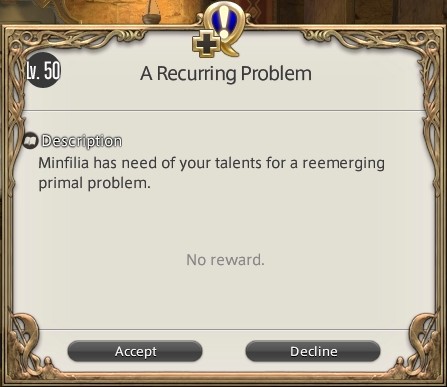
This quest is eventually required for the MSQ, and the dialogue as we're about to see, puts it right immediately after the end of The Ultimate Weapon.
 Canticle
 I know you have scarce had a chance to rest, but I am afraid there is still work to do.
 The Ultima Weapon's destruction, 'twould seem, has served to embolden the beastmen, who now seek to call down their gods once more.
 Even as we speak, the Amalj'aa, the Ixal, and the kobolds are making preparations for their respective summoning rites. And that is but the half of it. Much to our dismay, all three tribes were somehow able to procure vast quantities of crystals.
 ...Oh! My turn to say something? Ahem! Basically, this means the primals will be stronger than they were before!
Far, far stronger. Their previous incarnations will seem as pale imitations.
 The beast tribes, we believe, began hoarding crystals with a vengeance in the wake of the Ultima Weapon's maiden appearance. You will remember that as the time it devoured three primals in one sitting.
The Grand Companies are aware of the potential primal outbreak.
Alas, due to the losses they incurred to ensure the success of Operation Archon, they are ill equipped to take any meaningful measures.
 After deliberation, the leaders concluded that they must needs turn to us once more-to thee.

The aetheric waves that were observed in Mor Dhona do not appear to bear a connection to any beast tribe. Yet much and more still remains beyond our knowing. We must be prepared for all possibilities.
I am loath to send you into the midst of danger again so soon, but none have proven themselves more capable against the primals than you. Will you undertake this mission, Ginger?
 Damn right I will!
You have my thanks! I truly do not know what we would do without you! Go ahead, Thancred.
Ahem. With circumstances as they were, I haven't had the chance to properly express my gratitude. I owe you my life, Ginger. Thank you, from the bottom of my heart.

A string of failures had left me feeling powerless. I wanted to be stronger, that I might do right by my fellow Scions. But instead I caused you all no end of grief and suffering. I swear to you, it shan't happen again. Owing to everyone's ministrations, I am quite recovered now. I hope to return to my duties again soon.
Thancred's return marks the beginning of a new chapter for the Scions. Let us renew the fire in our hearts and continue to press ever forward! Now then, back to the matter of the primals. With no fewer than three of the beings threatening to appear, it is easy to feel overwhelmed. We must take it one sure step at a time.
Urianger has the overview of the situation as it stands. Please speak with him to receive guidance on your mission.

Like I said before, these harder primals are required for the story eventually. I'm not entirely sure when, but they were first made available after 2.0 so that's where we're going to be doing them!
Ah-- whoops! I forgot I queued for this. BRB in 45 minutes.
Such knowledge as I possess of the beast tribes and their primals is at thy disposal. Whether man or beastman, we are wont to seek power when plunged into the black depths of despair.
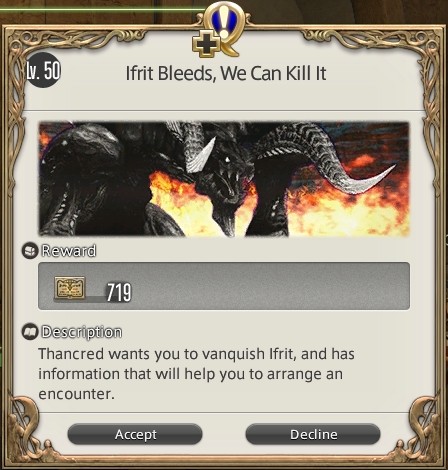
That despair doth begin with the Amalj'aa, who may have already summoned forth Ifrit. With our comrade Thancred now returned, thou wouldst do well to seek his counsel.

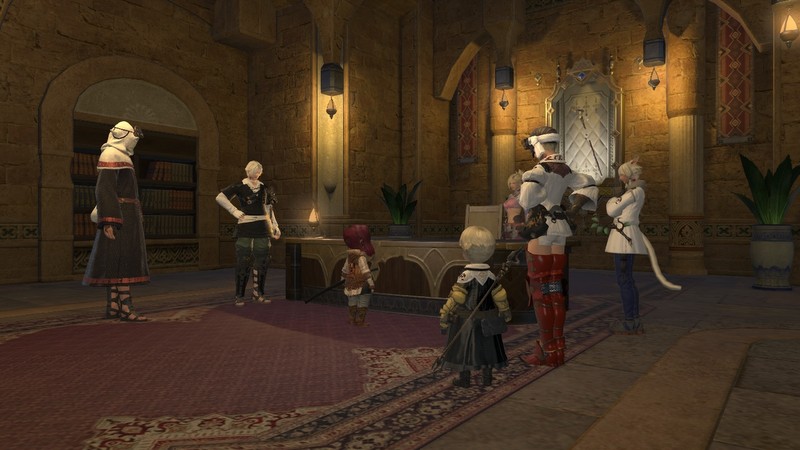
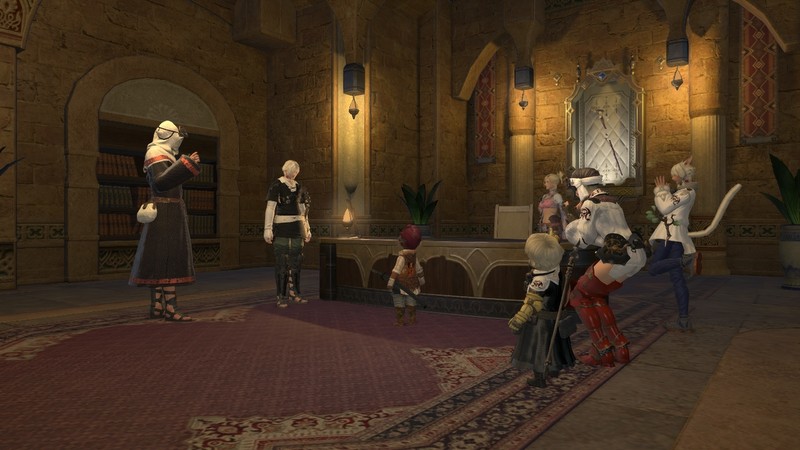
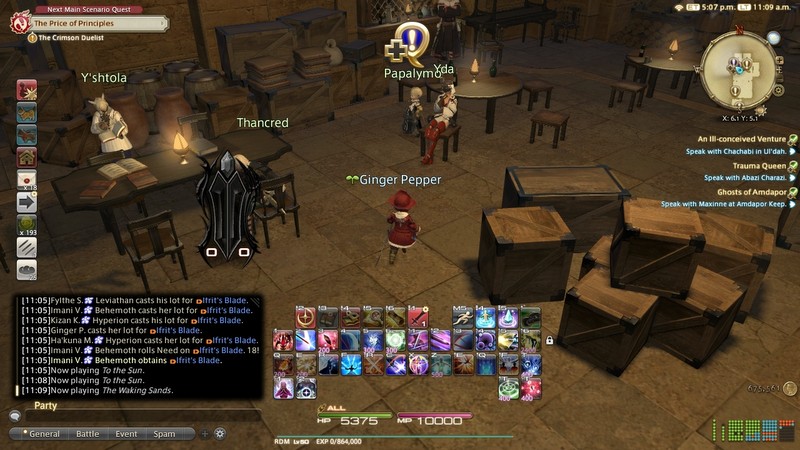
Thancred, Y'shtola, and Yda and Papalymo are all back here for reasons I'm sure you can quite easily guess at.
...fuck that's good.
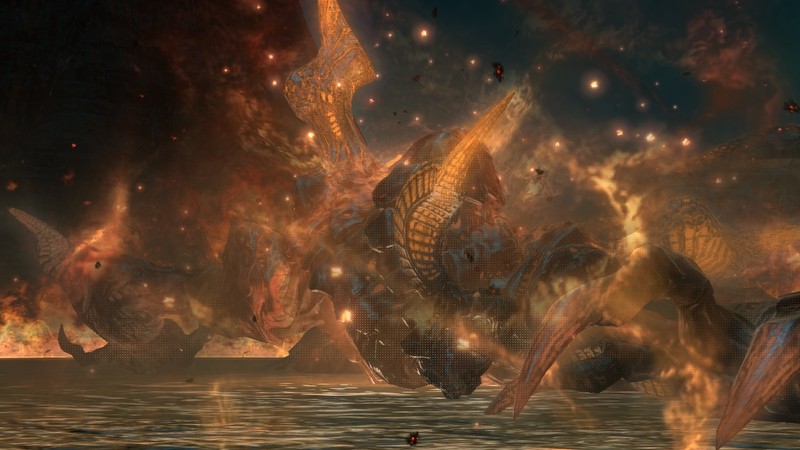
Confirmation has just arrived from the Immortal Flames. 'Tis as Urianger said, I fear-the Amalj'aa have already summoned Ifrit. A confrontation with the Lord of the Inferno is inevitable.
I would like nothing more than to lend you my blade, but the Students of Baldesion insisted that I refrain from taking to the field where it concerns primals. I know not the workings of it, but it would seem that recent events have left me especially susceptible to tempering.
As much as I hate missing out on the fun, for everybody's sake, I must sit this one out. Instead I will focus on gathering and analyzing data. Now, the Immortal Flames have already conducted a preliminary investigation into Ifrit.
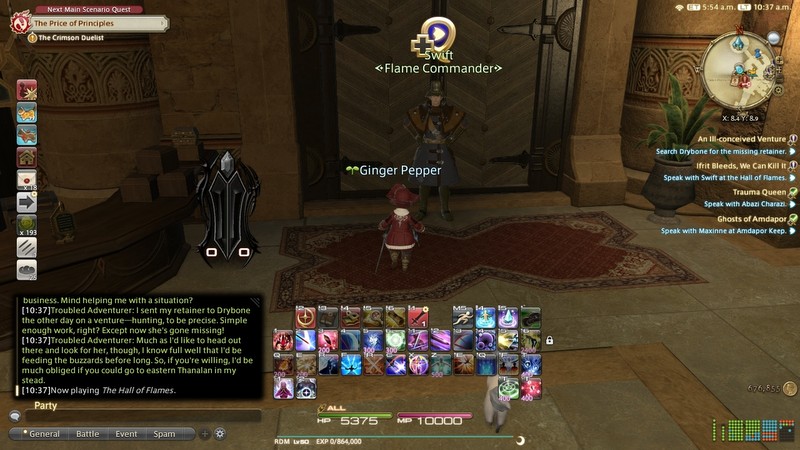
They may well have information that will be of use to you. Do pay a visit to the Hall of Flames and speak with Commander Swift. One last thing before you depart. Doubtless you remember Minfilia's words, but this Ifrit is a far cry from the primal you first defeated. You will want to assemble your most dependable comrades for the mission. Be safe, my friend.
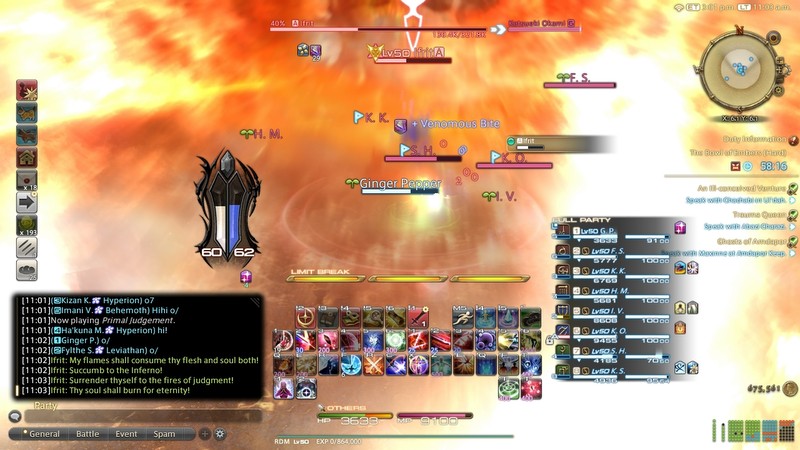
 Sergeant Pepper, we thank you for coming. The Flame General will be heartened to hear that you have answered the call. As we have already relayed to the Waking Sands, Ifrit is returned. For the sake of peace in the region, we humbly request that you vanquish him.
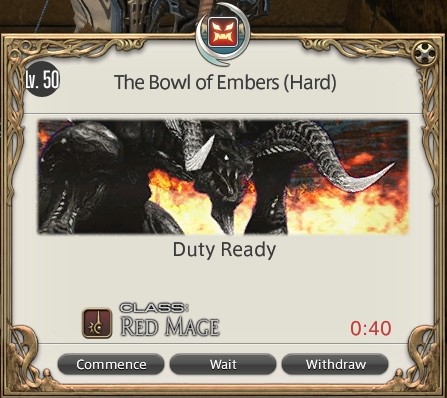
The primal is to be found in his domain, the Bowl of Embers. To get there, you must use the beastman aetheryte found within the depths of Zahar'ak, the Amalj'aa stronghold.
The Amalj'aa have constructed their own Aethernet from salvaged aetheryte shards. This being the case, you should be able to use it without problem. No doubt you already know this from your fellow Scions, but the present incarnation of Ifrit is far stronger than the last. Facing him with any fewer than seven of your stoutest comrades would be ill-advised.
That is all the intelligence we have to share-the rest is in your hands. I shall pray for your victory and safe return.
I joke that Ginger should no longer be allowed to advance in rank, but she's now a 2nd Lieutenant in the Flames. So she's now Lieutenant Pepper. Too bad she can't become the Flame General, because then she could be ordering Star Fox around! 
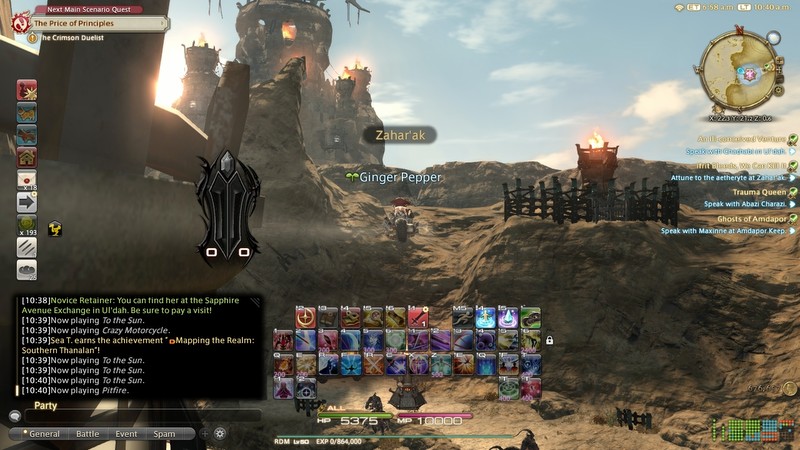
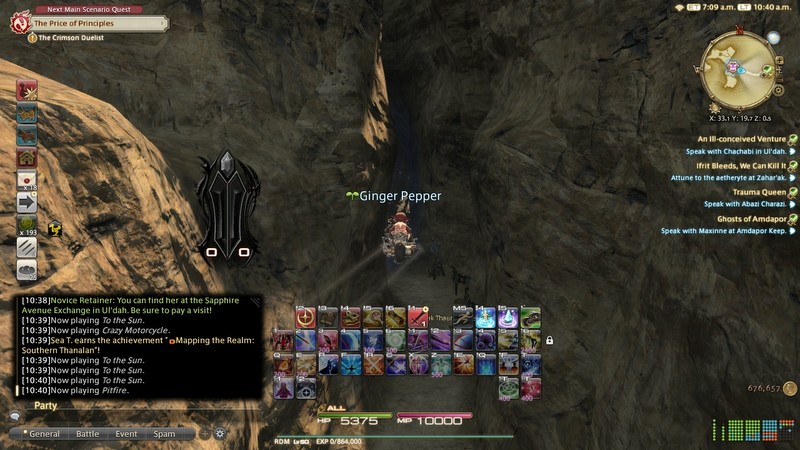
We're back here at Zahar'ak. We're heading really deep in!
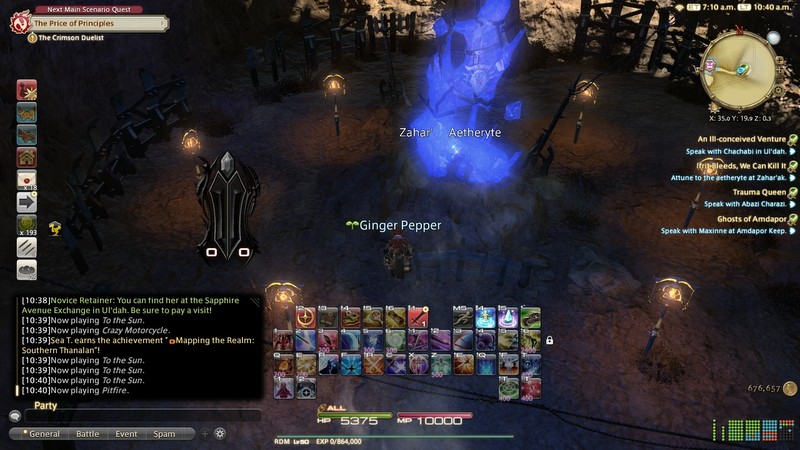
This huge aetheryte is where we need to attune.

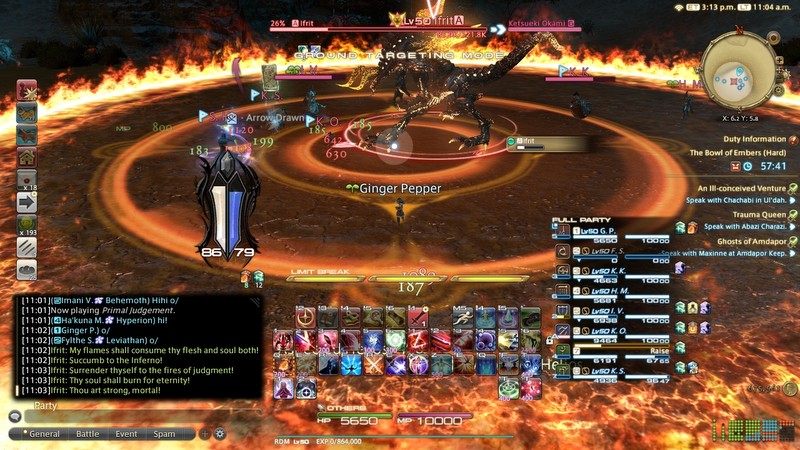
Ifrit HM, contrary to how it sounds, is not appreciably harder than story mode.
20 minutes later...
Primal Judgement


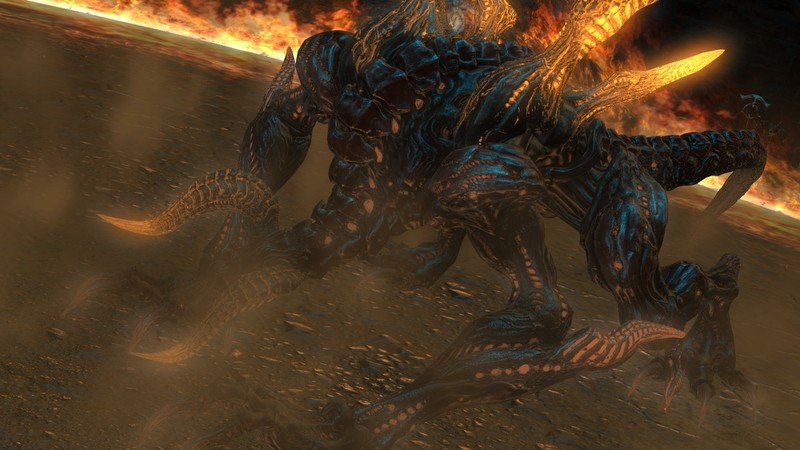

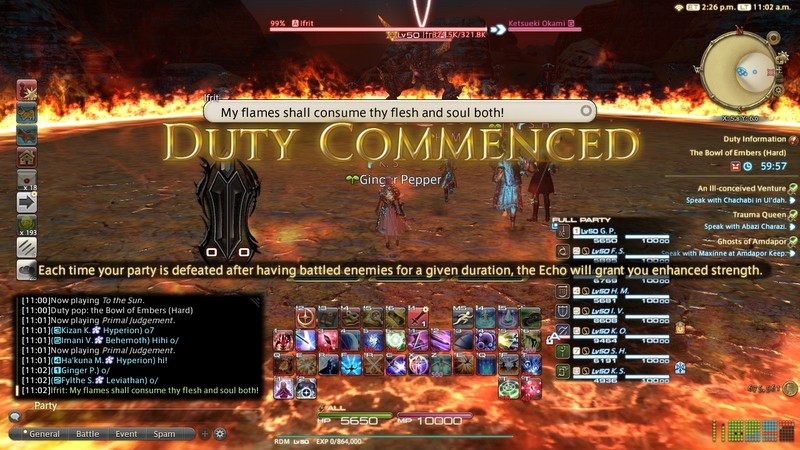
Ifrit is pretty easy still. It's mostly the same fight as before with a couple extras.
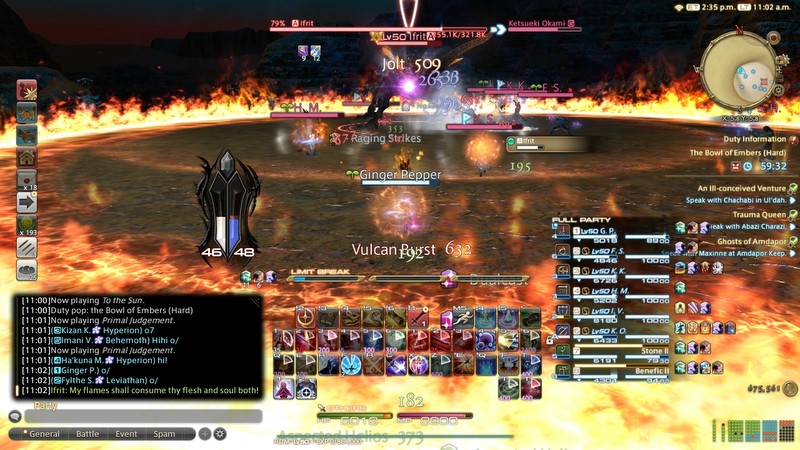
Vulcan Blast knocks pretty much everyone back against the wall.
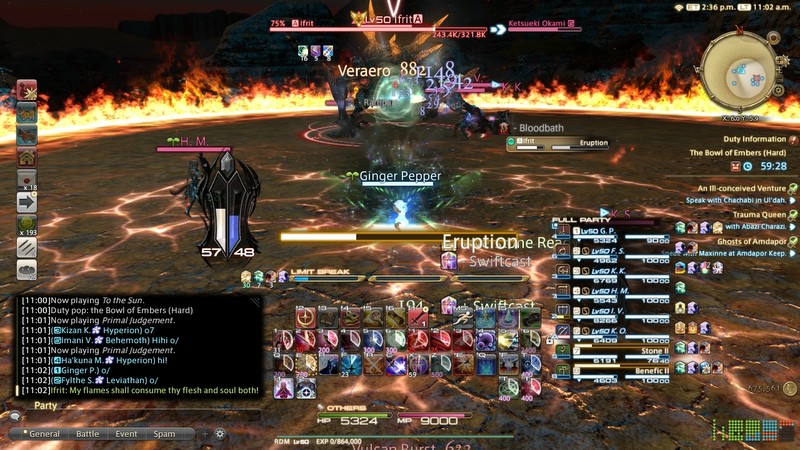
Eruption is back from before, but it has a wider radius now.
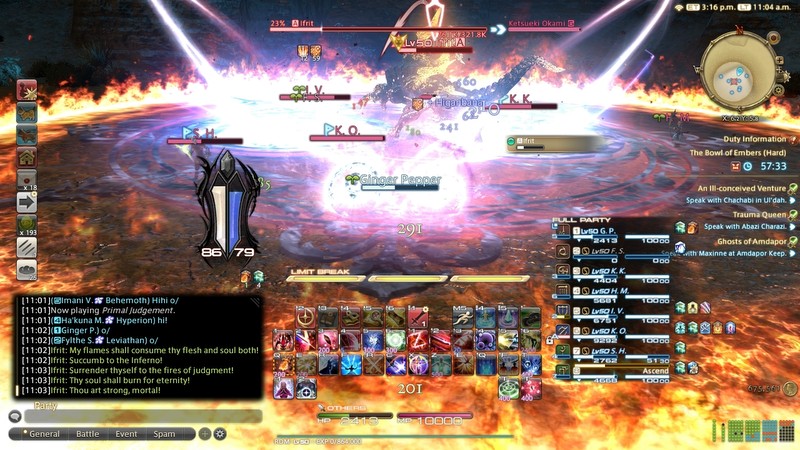
Ultima Weapon could technically use this attack. First the outside of the arena turns to lava...
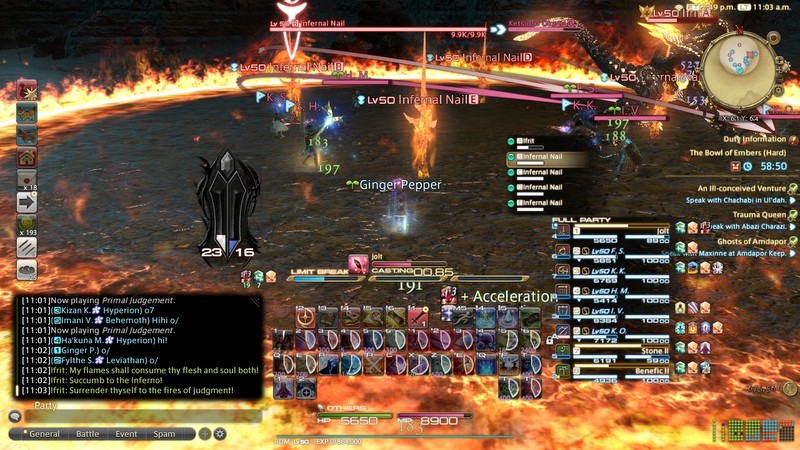
The inside is supposed to be next, but this group has a lot of DPS. So we just plowed right over his ass and forced him into the ult phase. Now we need to kill like four nails.
With eight people in the party, this is over with quickly.
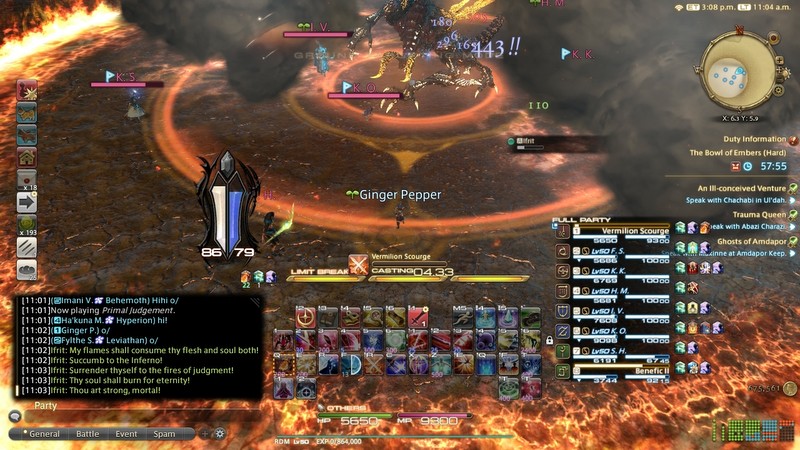
As Ifrit's HP dropped, I noticed something. Namely, we had a full limit break bar and neither the NIN or SAM were intent on using it.
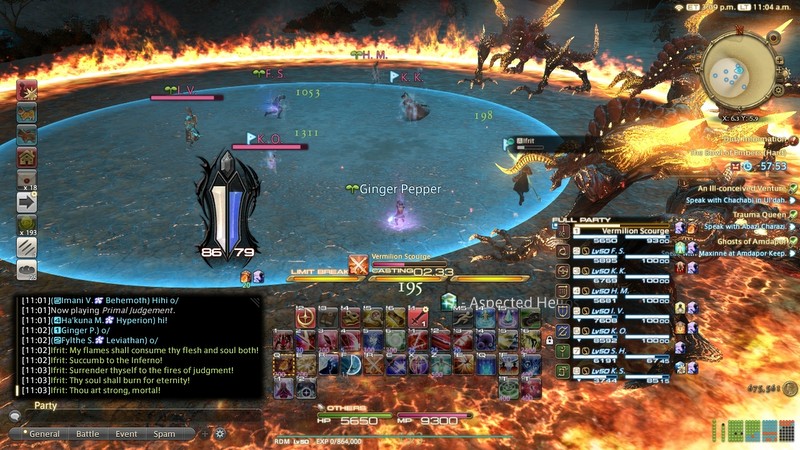
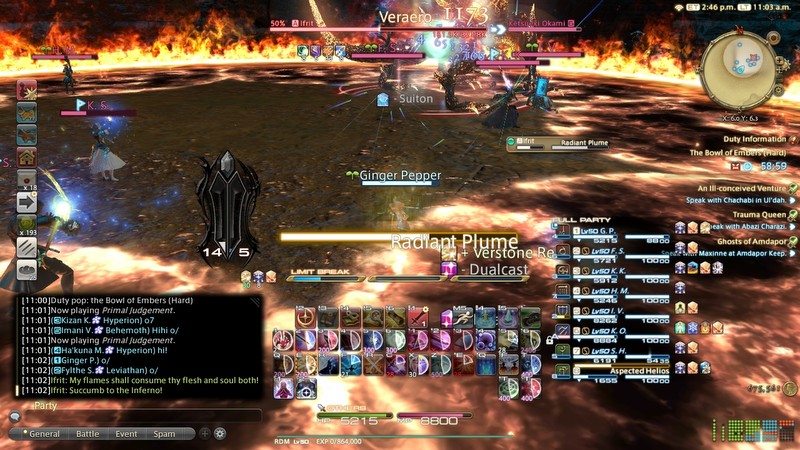
Sadly I had to pause my chicanery because Ifrit used this attack where a bunch of clones appear on the outside edge. It's easy enough to dodge. Just go next to the first one that appeared.
As the clones dash across the stage, just move to the next one in line so you don't get hit by its dash attack. Very easy!
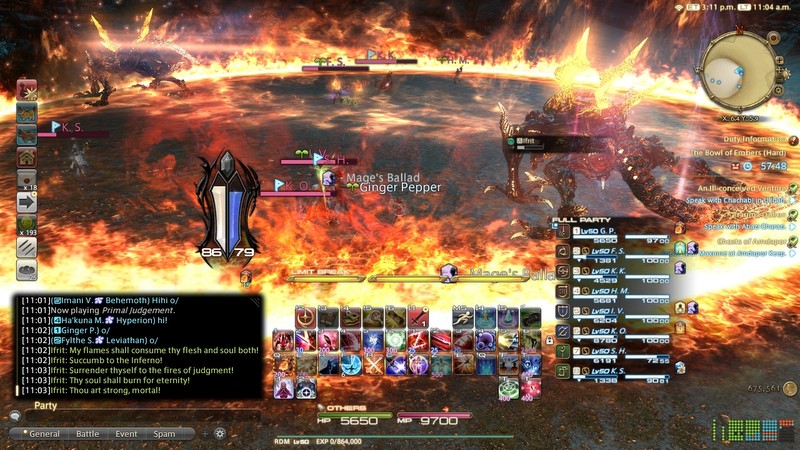
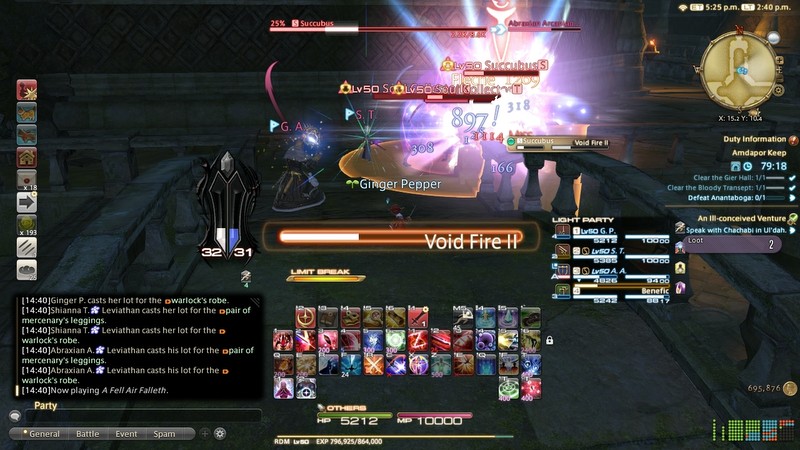
So... Ginger is a Red Mage. There's a full LB3 bar. No melee are keen on using it, and Ifrit is below 25% HP...
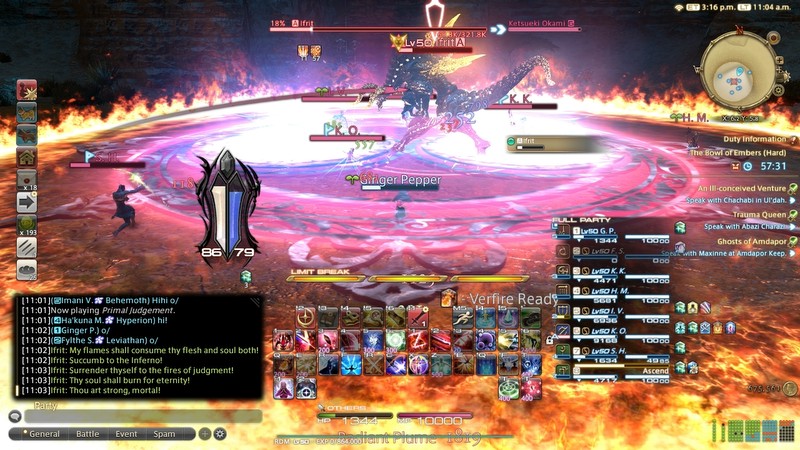
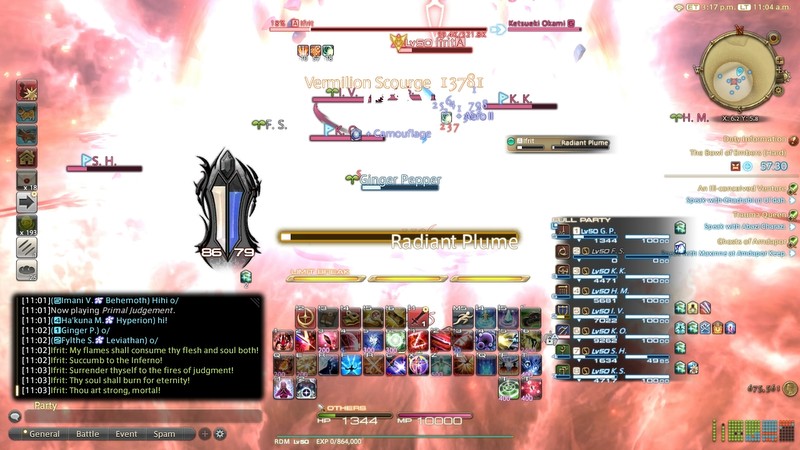
Vermillion Scourge is the best limit break in the game. 

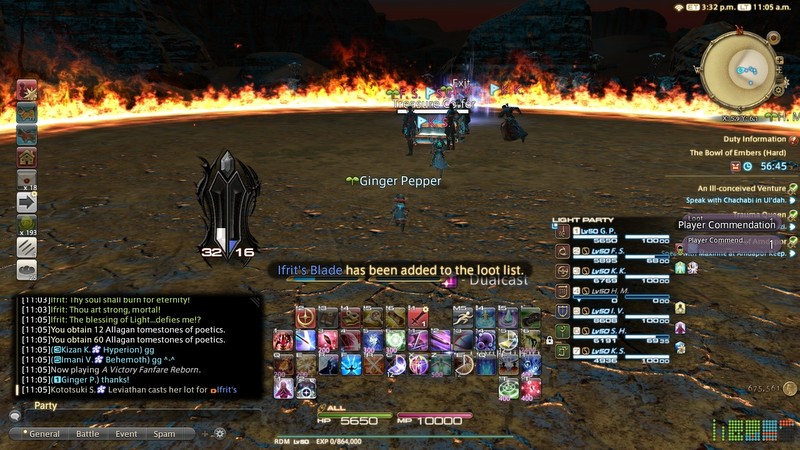
Ifrit went down pretty quickly! Next!
Yda and Papalymo are up next.
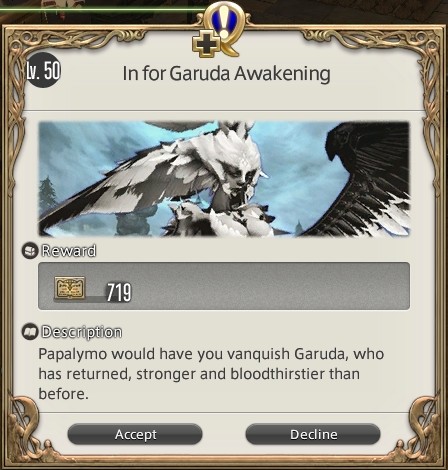
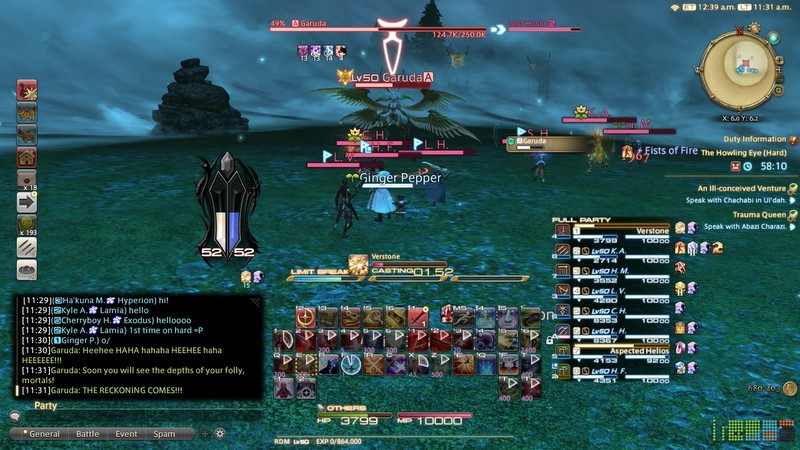
Ah, Ginger, I hear you have triumphed over Ifrit! Of course, this is no less a feat than I would expect of a Warrior of Light, but well done all the same! Now, I full had a mind to crack open a bottle of 1547 Bacchus, but the celebration must keep. Garuda, I am afraid to say, has also returned.
As you well know, Garuda's appetite for destruction far exceeds that of other primals. Not to dishearten you, but in her latest incarnation, that appetite has become nigh insatiable. In the short time since her return, she has already wreaked tremendous havoc. You must send her back to the aether before she can do any more damage.
In the meantime, Yda and I will assist the Order of the Twin Adder in their recovery effort. When you previously faced Garuda, 'twas the Enterprise that bore you through the storm that shielded her domain. Well, that storm is as a spring breeze beside what she has raised this time; no airship could hope to penetrate it.
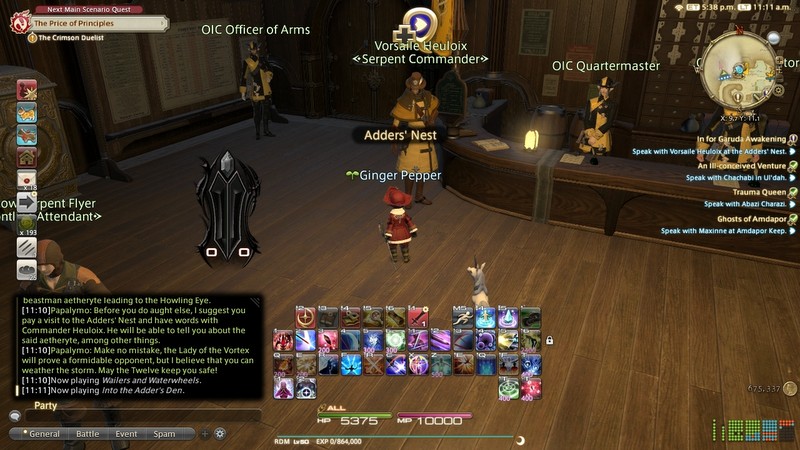
And so we must count ourselves fortunate that the Order of the Twin Adder chanced to discover a beastman aetheryte leading to the Howling Eye. Before you do aught else, I suggest you pay a visit to the Adders' Nest and have words with Commander Heuloix. He will be able to tell you about the said aetheryte, among other things.
Make no mistake, the Lady of the Vortex will prove a formidable opponent, but I believe that you can weather the storm. May the Twelve keep you safe!
Off to Commander Vorsaile we go!
 Ah, Ginger of the Scions! We are grateful for your aid! As you will already know, the accursed Ixal have summoned Garuda once more. Since her return, she has wasted no time unleashing her fury upon the region. Extensive damage has been reported in both the Twelveswood and Coerthas.
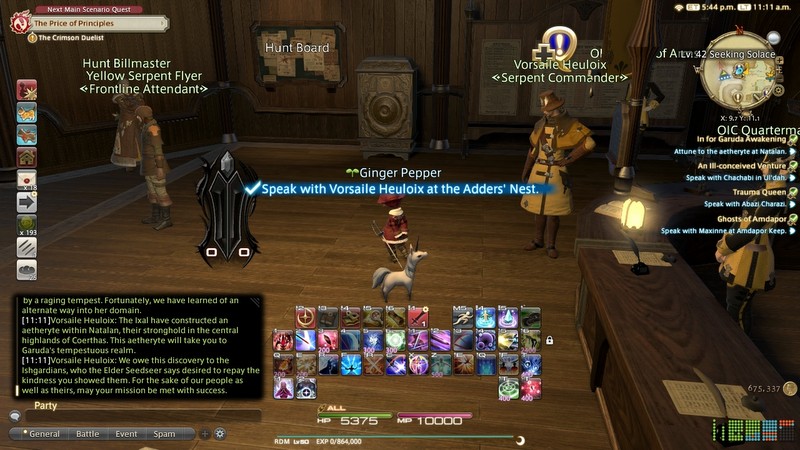
She must be stopped, and soon, lest more lives be lost. In the name of the Elder Seedseer, I humbly request you put an end to her reign of terror. As in the past, Garuda keeps her court within the Howling Eye, which is perpetually protected by a raging tempest. Fortunately, we have learned of an alternate way into her domain.
The Ixal have constructed an aetheryte within Natalan, their stronghold in the central highlands of Coerthas. This aetheryte will take you to Garuda's tempestuous realm. We owe this discovery to the Ishgardians, who the Elder Seedseer says desired to repay the kindness you showed them. For the sake of our people as well as theirs, may your mission be met with success.
 Ginger's already building bridges between the disparate nations.
It's so weird looking at ancient recordings. These things were only recorded two weeks ago and already so much stuff is out of date. Like Vorsie here's quest. That's for the Sylph beast tribe.
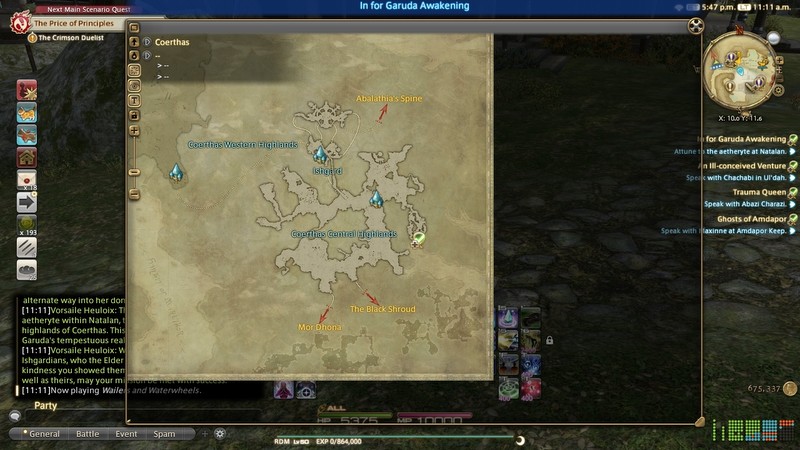
Natalan is the very high level area in Coerthas. Not to be confused with the middling high level area to the west where Piss Vale is located.
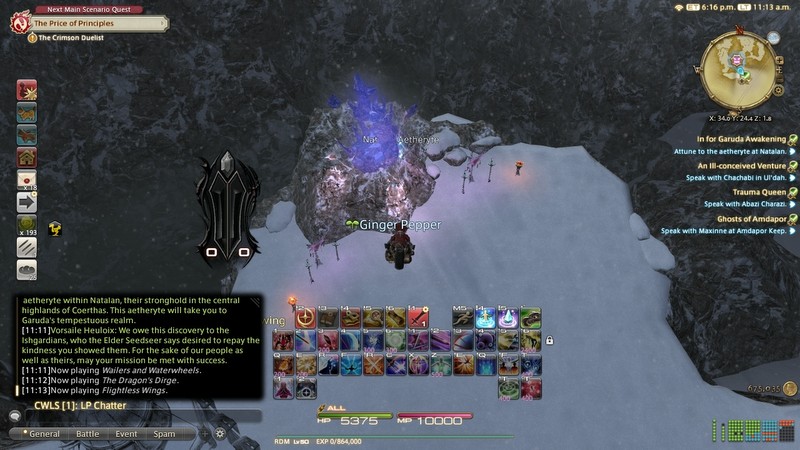
The aetheryte is pretty easy to find at least.


15 minutes later...

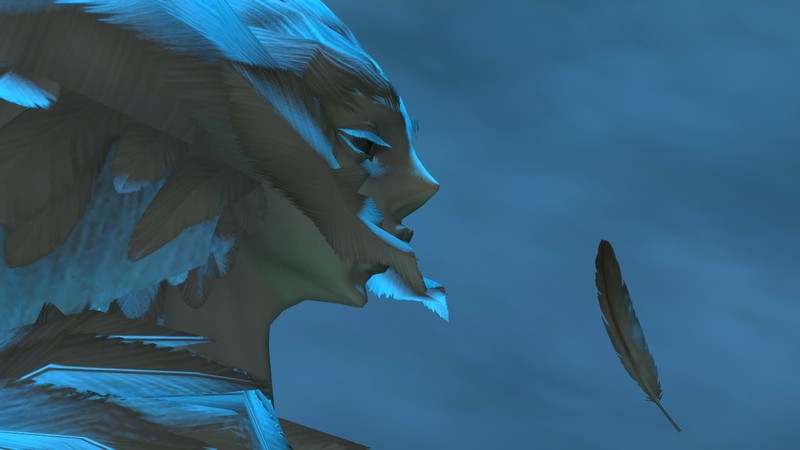
Fallen Angel
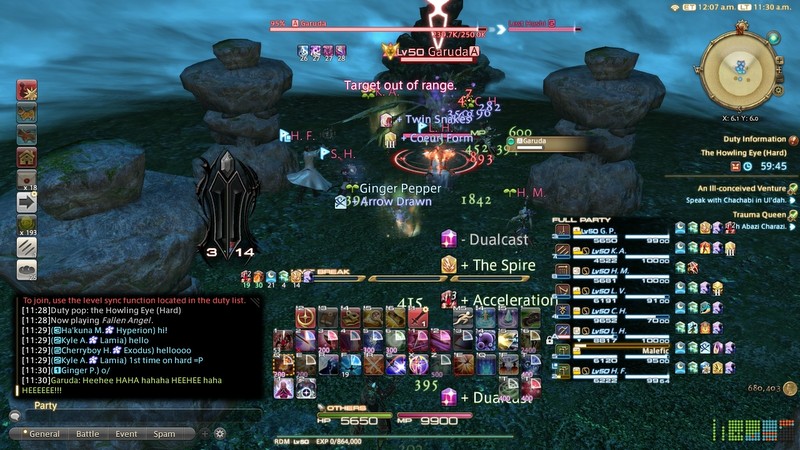
Garuda has less health than Ifrit and is actually much the same for most of the fight. So the same description from like 15 updates ago still holds true.
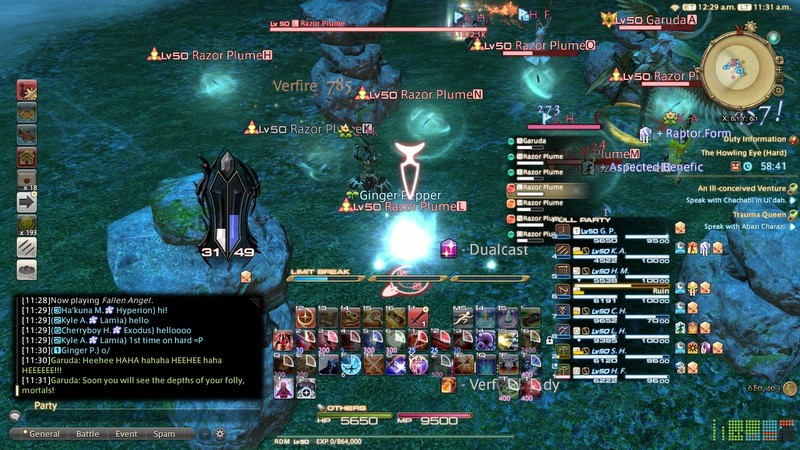
Because this is Primal duty finder, naturally the group was the absolute cream of the crop and 100% knew what they were doing. This is an abject lie. They were terrible.
After her ult, the fight changes a little.
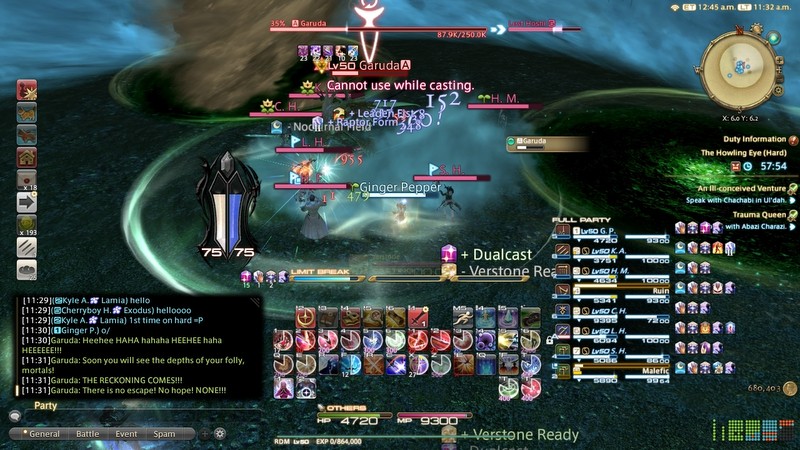
First, she drops down huge AOE markers for tornadoes that you have to avoid.
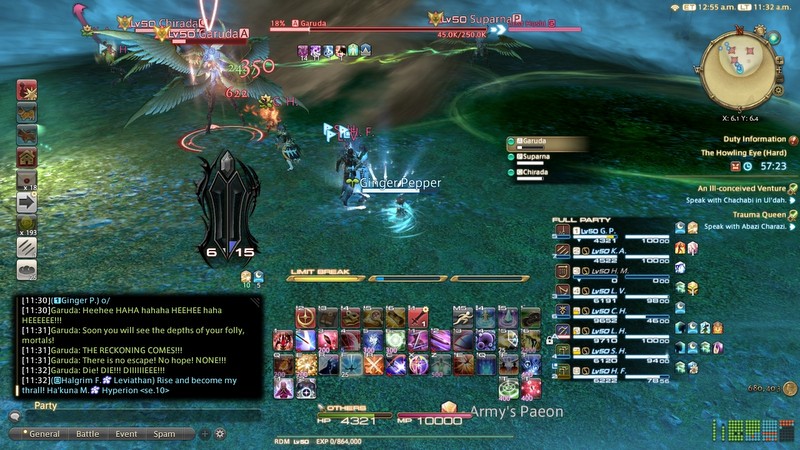
Eventually she spawns two adds, Suparna and Chirada who buff her in some fashion. They don't have a lot of health, so kill them. Or ignore them and burn her down. The fight is really easy.
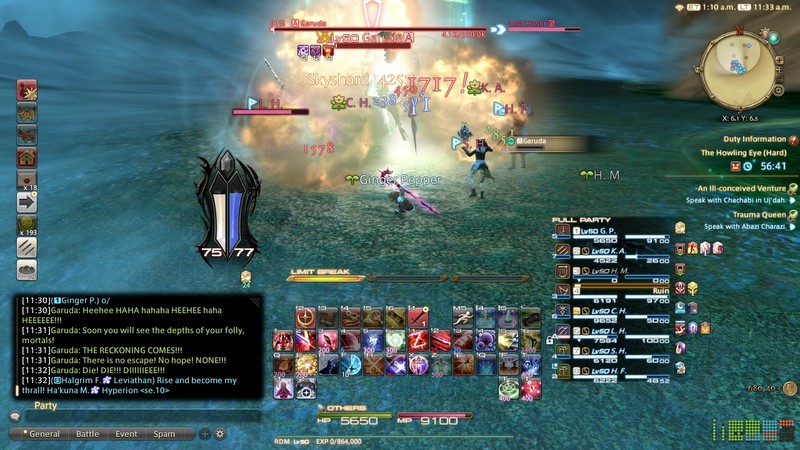
No LB3 here, but Ginger did manage to drop a Skyshard on top of Garuda.
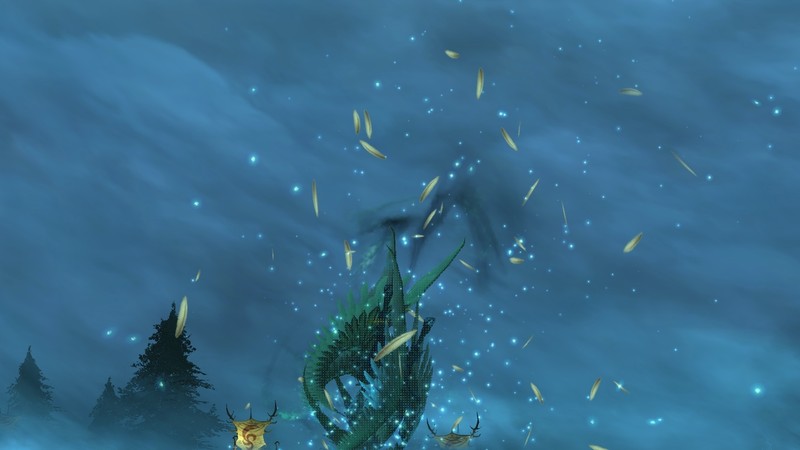
Unlike last time, Ultima Weapon doesn't need to come and bail Ginger out. She's now badass enough to beat the stuffing right out of Garuda.
Back at the 'Sands, Y'shtola is up next, which can only mean one thing...
Koji's power is too great.
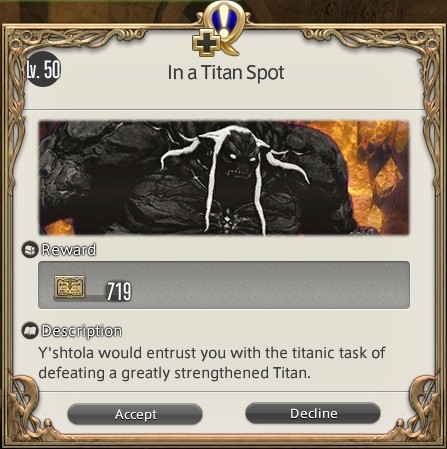
So both Ifrit and Garuda are now vanquished by your hands. Truly, you have earned yourself a rest. Would that you had the luxury of time to enjoy it. It pains me to say that Titan is also returned, and with a vengeance. As was the case with his primal brethren, he is grown stronger than he was before.
When I went about my investigation, all indications suggested that the kobolds were nowhere near ready to resume their summoning rites. But it turns out they were deceiving us. I should have known better. The kobolds' subterranean domain runs deep, and they can easily hoard crystals with our being none the wiser. And a vast hoard it must have been.
Till now, Garuda was the most powerful among the three recently active primals. But according to our latest readings, Titan has usurped that honor. A primal's might is determined by two factors: the amount of crystals it has gorged upon, and the fervor of its believers. I would like nothing more than to measure precisely how strong the Lord of Crags has become, but I fear the time for such prudence has run out.
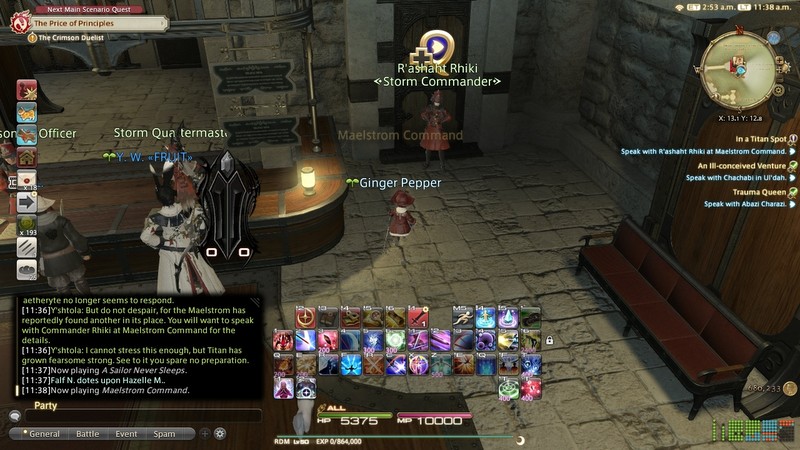
We have already received an official request for assistance from the Maelstrom. And as you might expect, it is addressed to you. For your previous encounter with Titan, you traveled to his demesne by way of the aetheryte first discovered by the Company of Heroes. Sad to say, this aetheryte no longer seems to respond.
But do not despair, for the Maelstrom has reportedly found another in its place. You will want to speak with Commander Rhiki at Maelstrom Command for the details. I cannot stress this enough, but Titan has grown fearsome strong. See to it you spare no preparation.
I'm pretty sure the playerbase (or just me) would riot if we had to deal with Wanker's Cramp again. Spoilers, we will have to deal with Whiskey Cat again. Not in this quest, but in the future. In general.
Off to the catgirl in Limsa.
 Ah, Ginger of the Scions, your presence is most welcome. I'm chagrined that we must turn to you again to lay Titan low. No doubt this is yesterday's news to you, but the Lord of Crags has returned more ferocious and formidable than he was before. We cannot fathom how the kobolds were able to obtain such vast stores of crystals, and in so short a time. We will learn the answer in the coming moons, I suspect, but first things first.
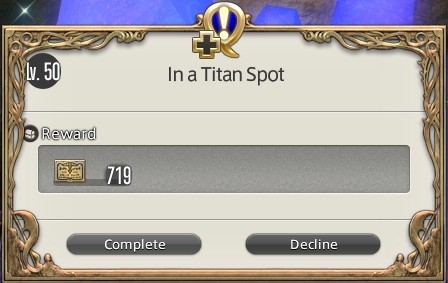
We need you to vanquish Titan before he and the kobolds have a chance to wreak havoc on Limsa Lominsa. You have felled the primal before, and we believe that you can emerge victorious once more.
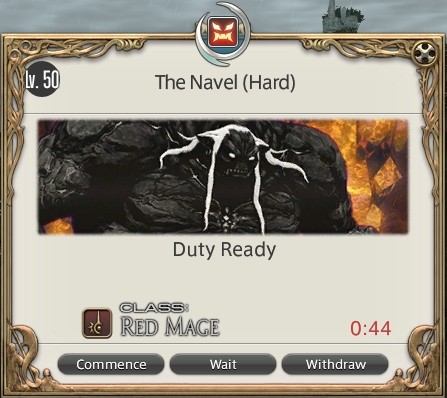
We've learned of a new aetheryte that will take you to the Navel. It's situated deep within U'Ghamaro Mines-not the most convenient of locations, admittedly-so you will have cut yourself a path. Please make all haste-Titan's mere presence emboldens the kobolds, and 'tis only a matter of time before they move in force against us. May the Navigator guide you on your way, Ginger.
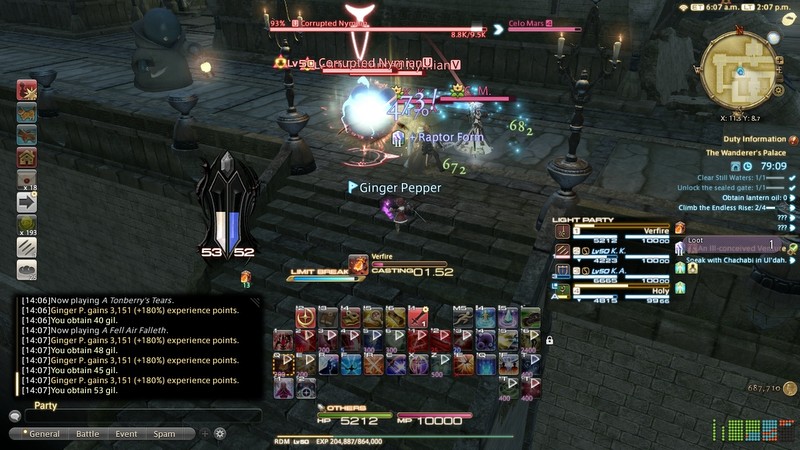
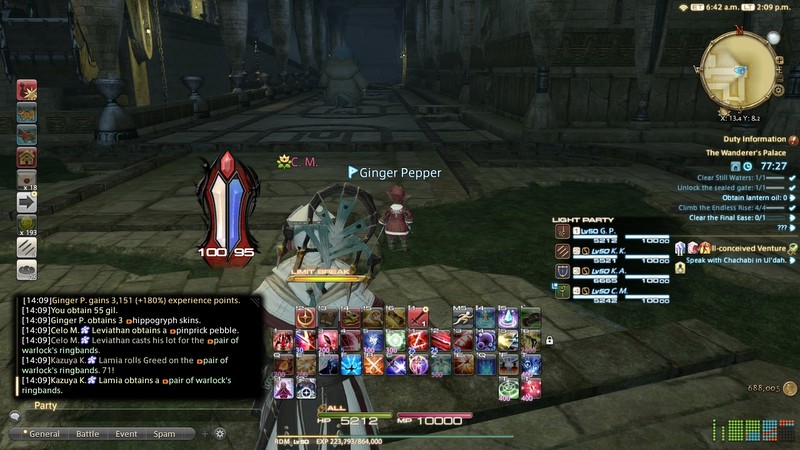
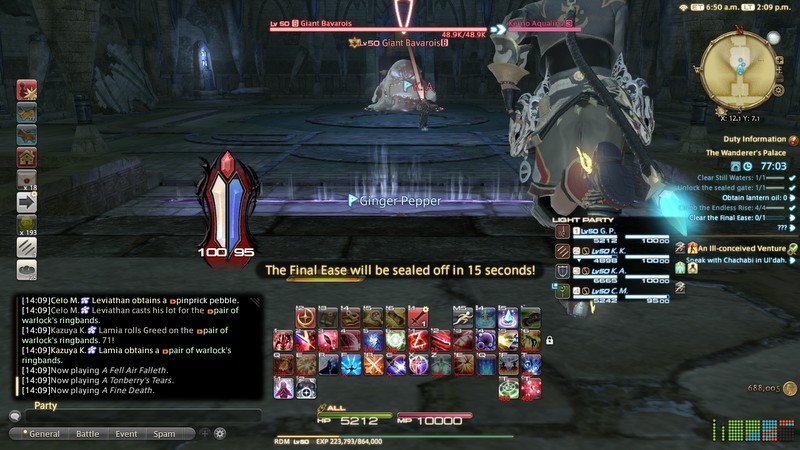
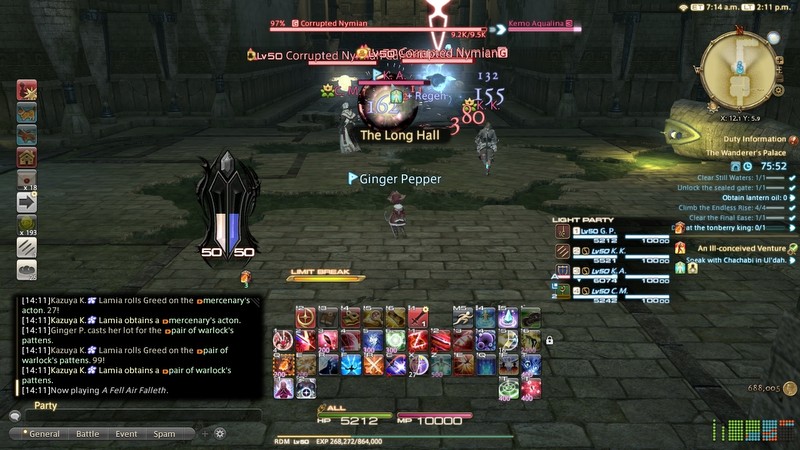
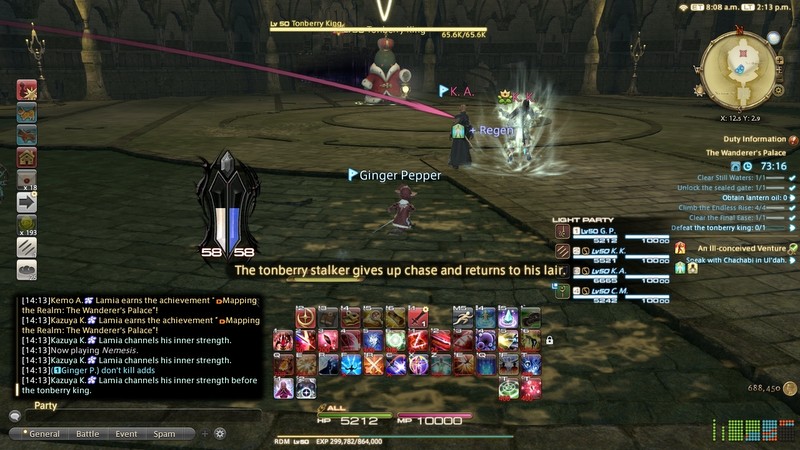
On our way up to O'ghomoro, we stop by Wanderer's Palace to turn in the quest.

Wanderer's Palace is infested with tonberries.

The "how and why" is covered in the Scholar questline. We'll eventually tackle that. Eventually.

Unlike last update, we have to go deep in the mines.
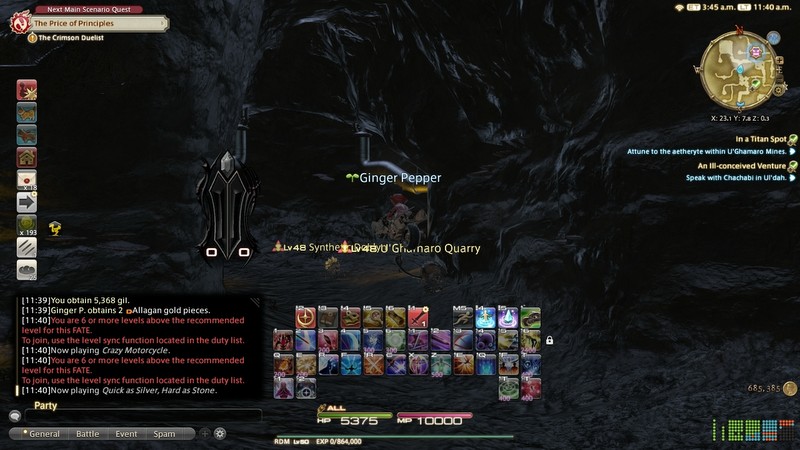
Look at the minimap in the upper right corner. We need to navigate this small maze. Thankfully I know my way around from doing all the kobold beast tribe quests.


We're making good time today!
This one only took 9 minutes.
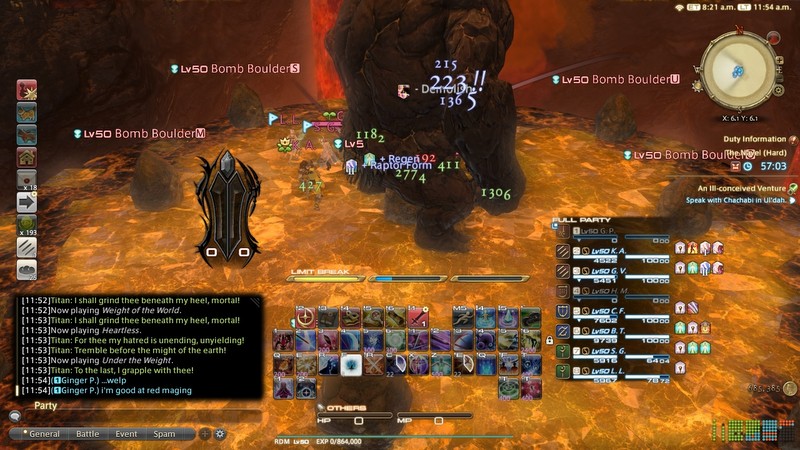
Titan's Theme (All Phases)
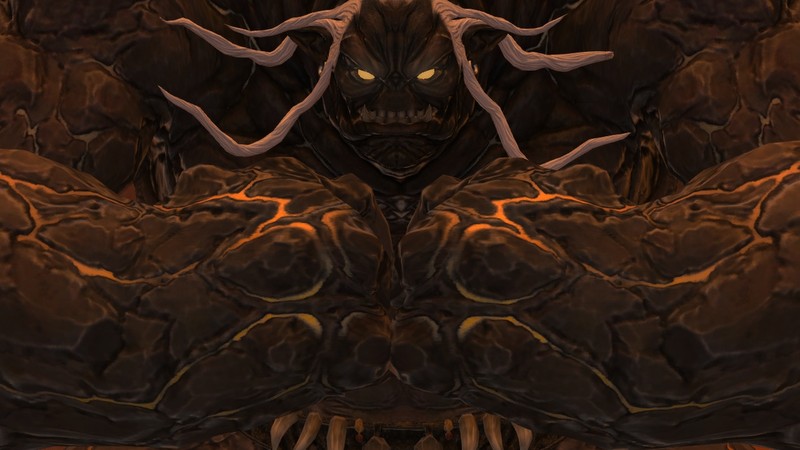

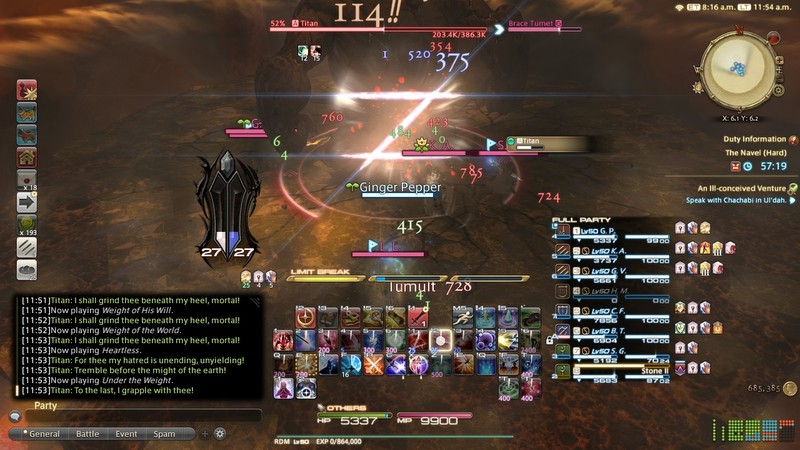
Titan isn't really any harder despite the claims. He just has more phases. The big thing to watch out for is that if you get hit by most any AOE, you're going to die and be unrevivable.
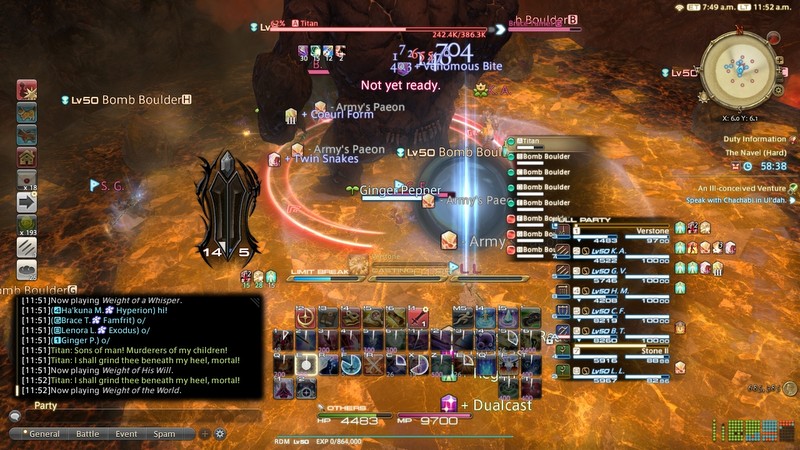
The first big change is the bomb boulders attack. These are really easy to dodge. Just watch which ones were put down first. They explode in the order they were created and have a few patterns.
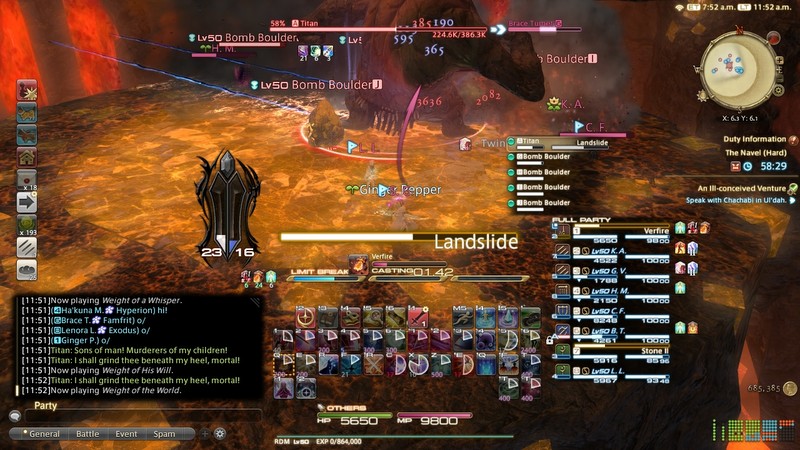
This pattern here has the boulders in a circle around the outside and then in the middle. So it's as easy as waiting in the middle until the first one explodes and then moving to where it was to dodge the rest.
It's about here that I make a mistake. Red mages, you see, stylishly zoom in to melee to unload their charged up mana. They then backflip away from the boss like a badass.
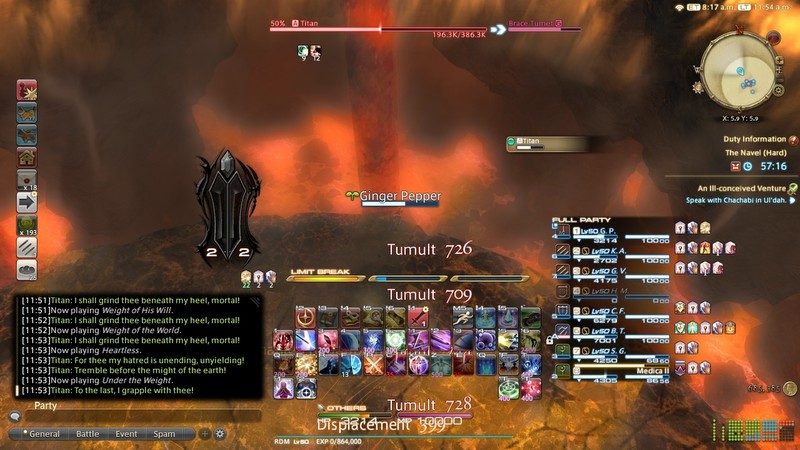
So I do.
Right off the edge.
This gives me a good view, at least, of the other boulder layout where it's three colums/rows of them. It's still just as easy as waiting for the first to explode and dodging into the new safe zone.
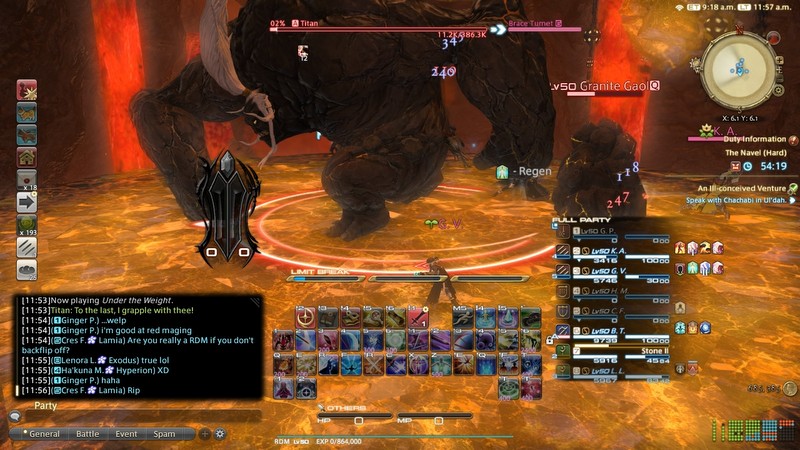
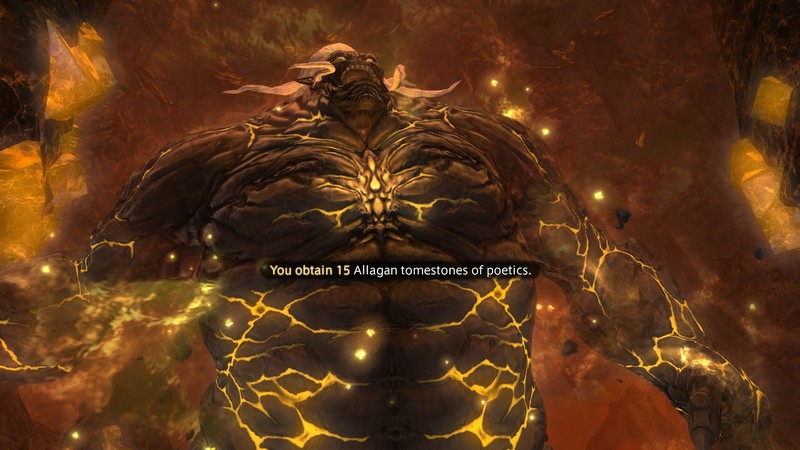
Titan is pretty much the same after that. And now I have no room to talk about how good or bad the group was because I red maged myself right off the damn platform. 
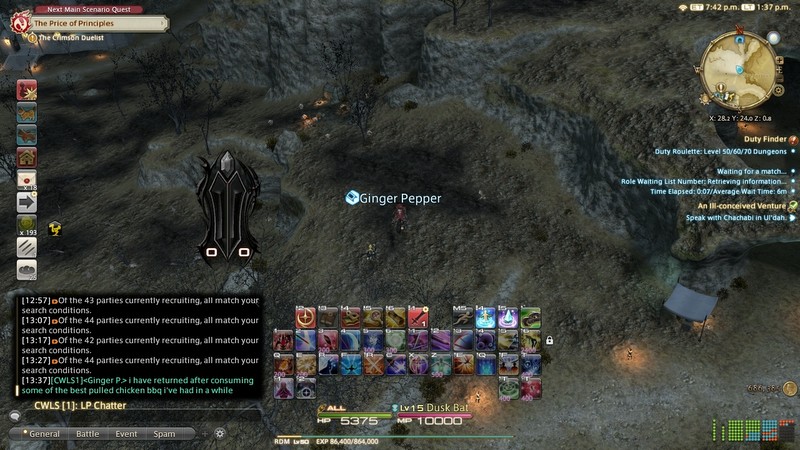
Regarding the chat, it was really, really good pulled chicken BBQ. I tried to order some have some this past weekend and they weren't accepting to-go orders. 
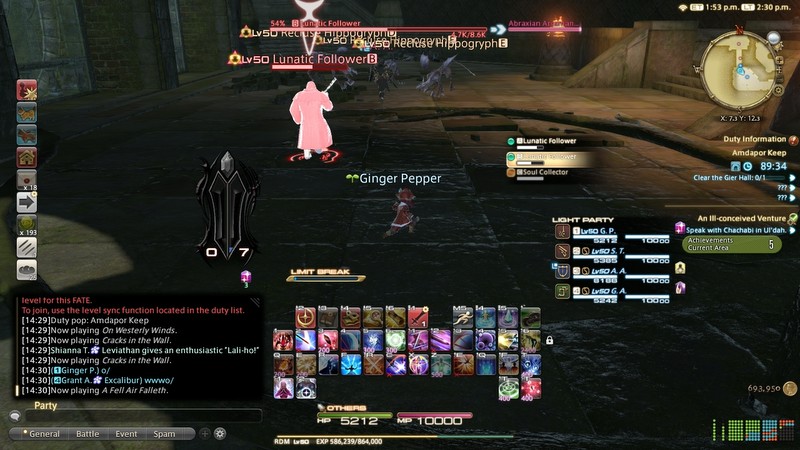
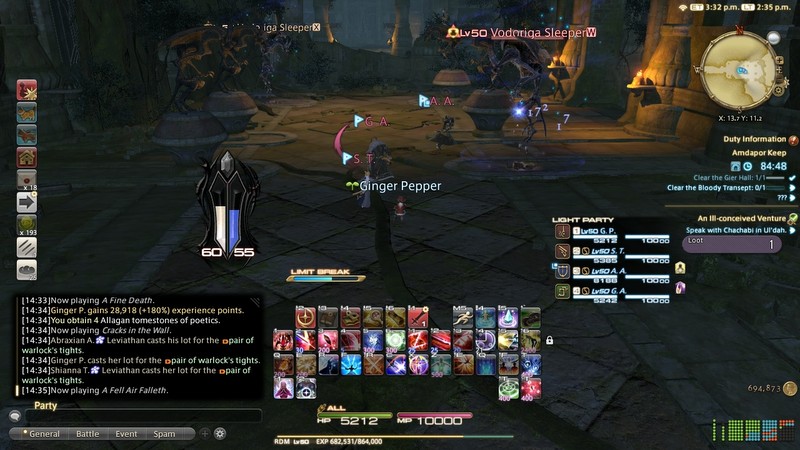
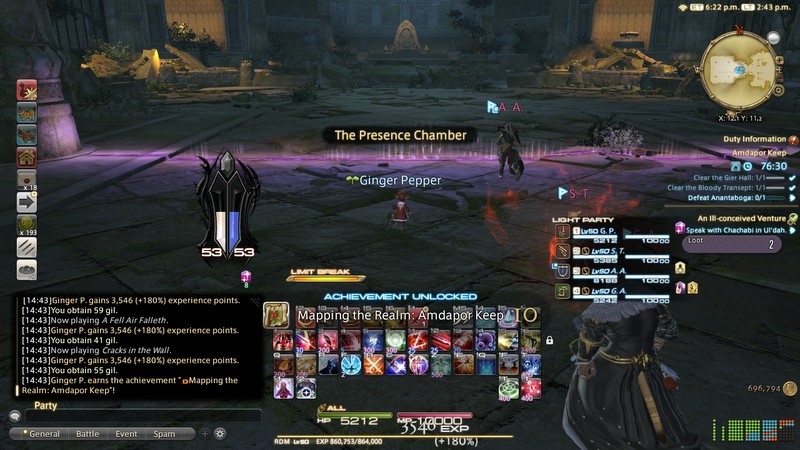
I unlocked Amdapor Keep offscreen, and having at least two postgame dungeons unlocked gives us the Numbers Roulette. Every postgame dungeon from level 50, level 60, and level 70 is in this roulette. And once Endwalker launches, the level 80 postgame dungeons will be in there too.
It's one of the most critical roulettes for veteran players to run because if they don't, then new players are up shit creek. As we progress through the postgame MSQ, we'll unlock several mandatory dungeons we have to visit and we'll get players for those dungeons through this roulette. So it's utterly baffling that the rewards for running it are so small. All you get at level 80 are like 100 poetics and some uncapped tomestones, if even that.
Every other roulette in the game, at max level, gives you a tiny amount of the weekly capped tomestones. Numbers Roulette, arguably the most important one, does not.

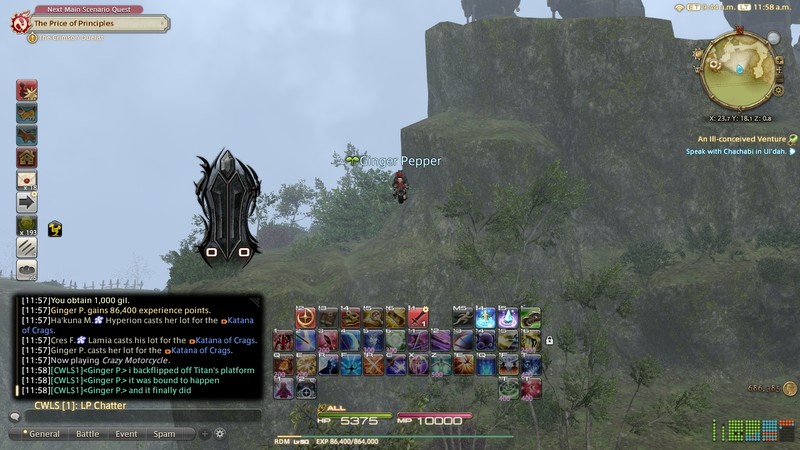
Well... it wasn't 90002 at least. Not sure what happened here. 
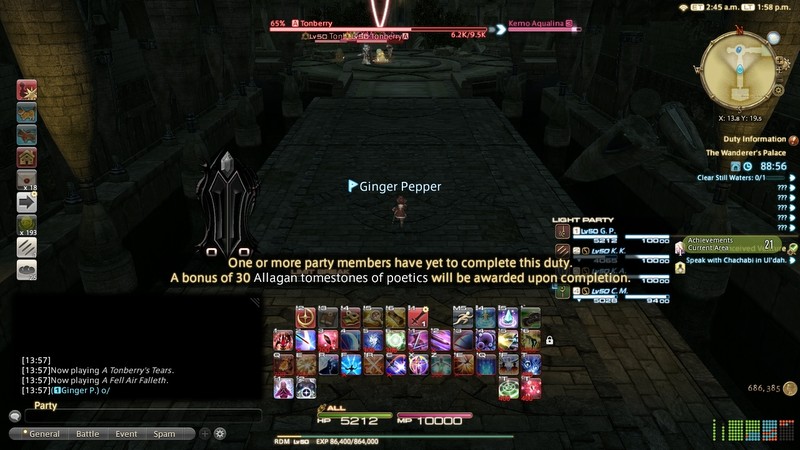
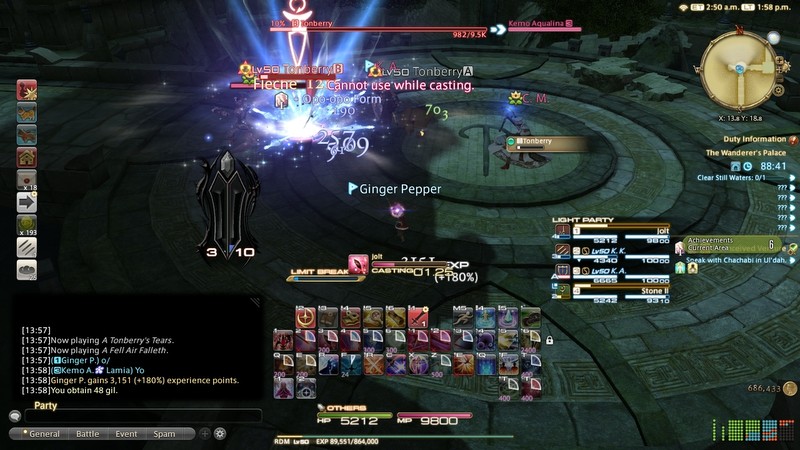
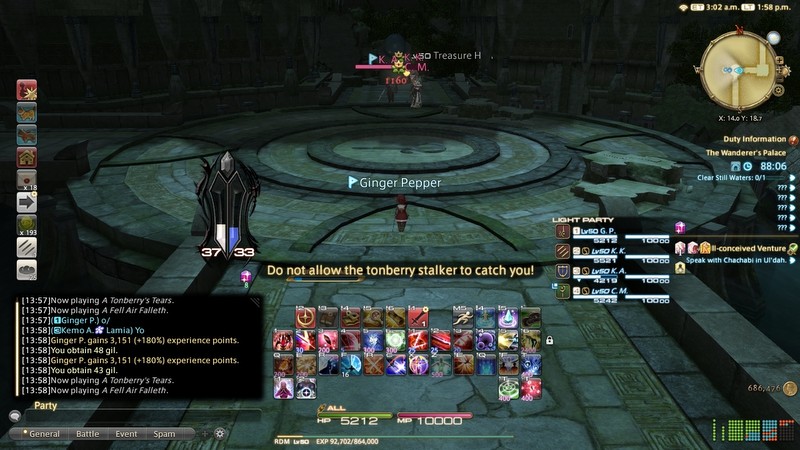
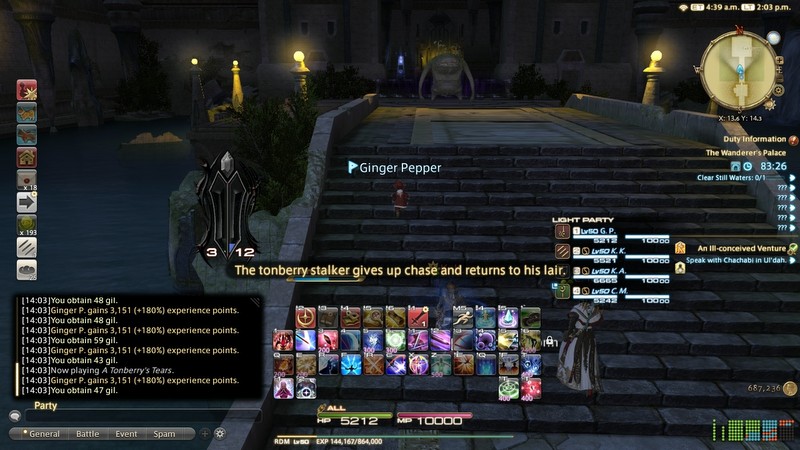
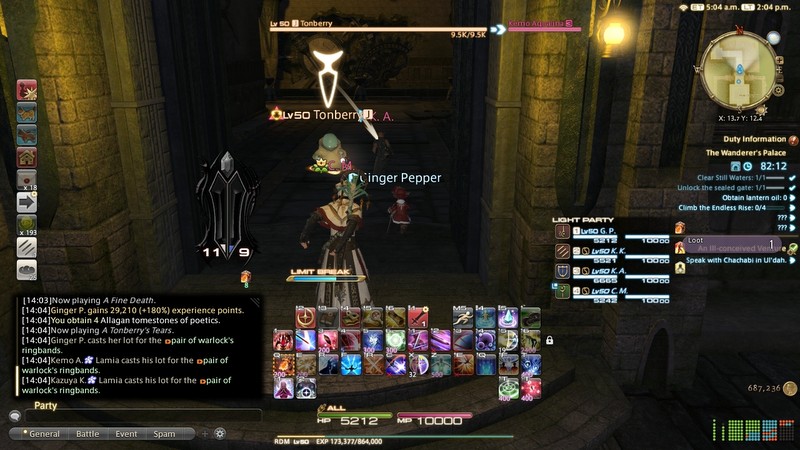
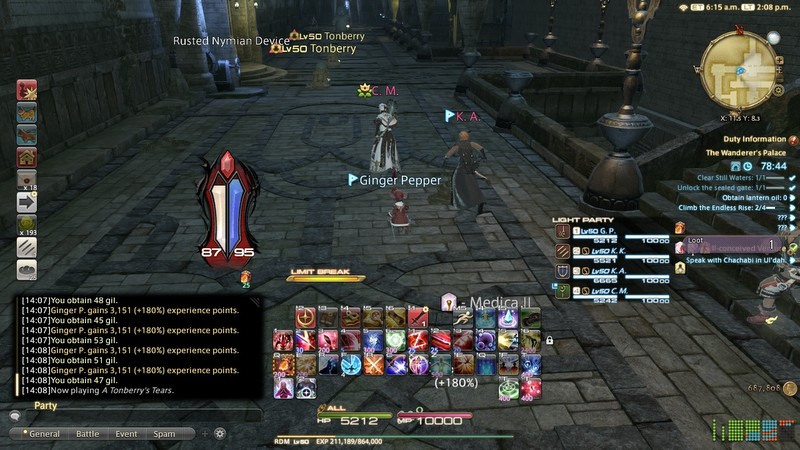
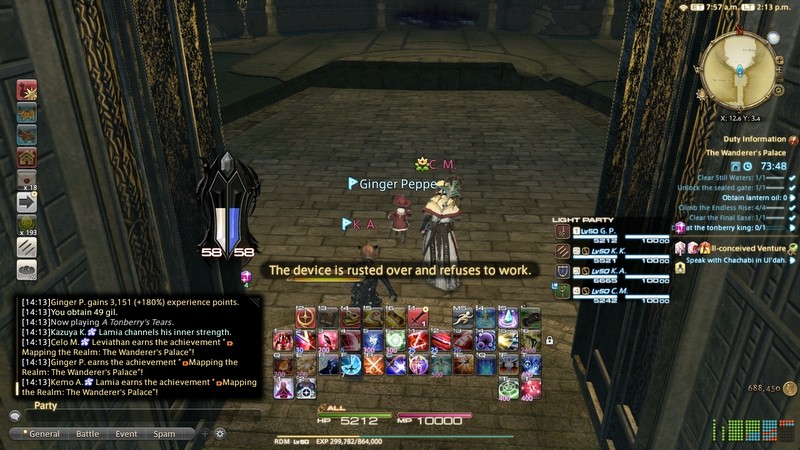
A Tonberry's Tears
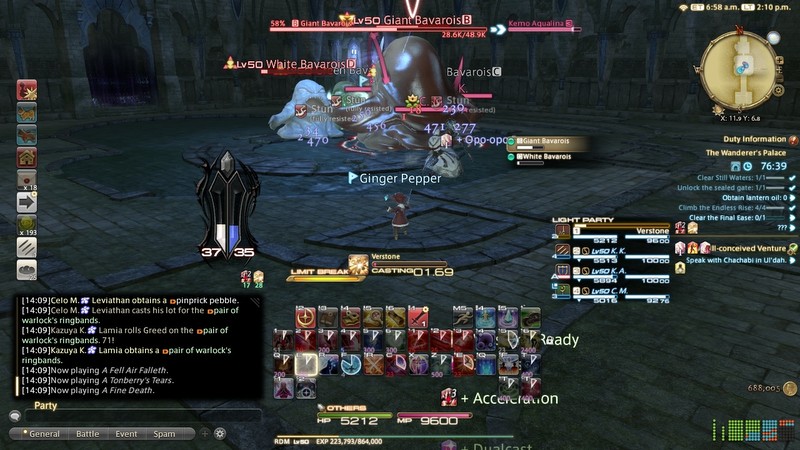
We miss the intro flyby but I don't care enough to go get it. So welcome to the Wanderer's Palace. We have to deal with tonberries.
You can tell this is not a group full of veterans because the tank stopped here. Anyone experienced with WP knows that you start chain pulling as hard as possible from the word "go."
A very large tonberry will spawn and start slow walking toward the party. If they catch up, they can't be targeted, so they can't be killed. They will start "throat stabbing" anyone who gets nearby. This really fucking hurts.
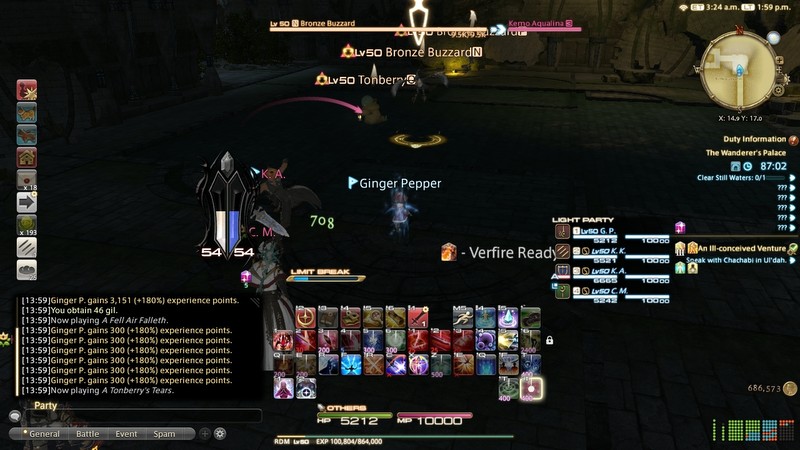
The tank is slow pulling, but at least our damage is good. We're ripping through the trash like a hot knife through butter. Slower groups will struggle and have the Stalker hot on their heels the whole time.
The healer takes this opportunity to go AFK. We're still in the Stalker's danger zone, by the way. So this is a pretty ballsy move.
The first boss is at the end of the large hallway. The Stalker will give up the chase once we get through the boss door.
Like so.
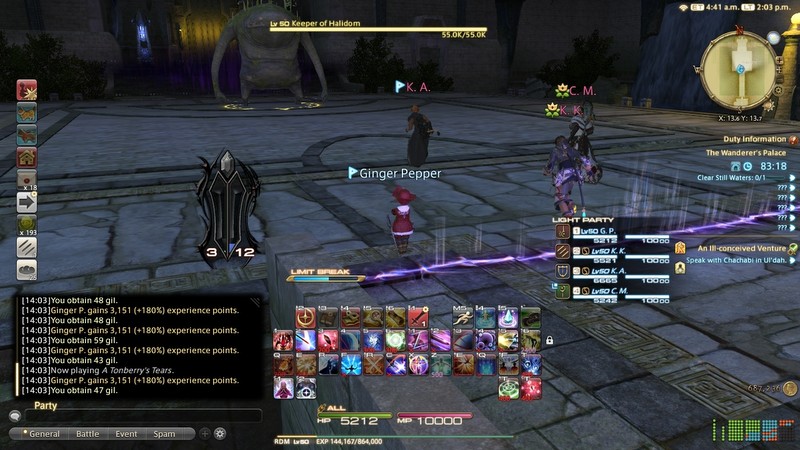
I'm not actually sure what this guy's mechanics are. He barely has any health, and a group that's paying a moderate amount of attention will melt him quickly.
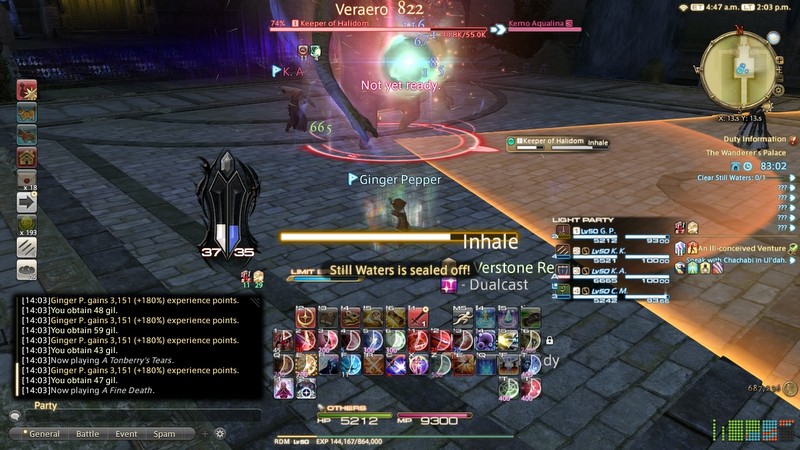
At one point he'll inhale, which I assume does something bad. But it's easy enough to get out of the cone before he finishes the move.
Ginger does her best Zorro impression and puts the goobbue down.
There's no stalker in this second hallway. Instead, the tonberries will drop items.
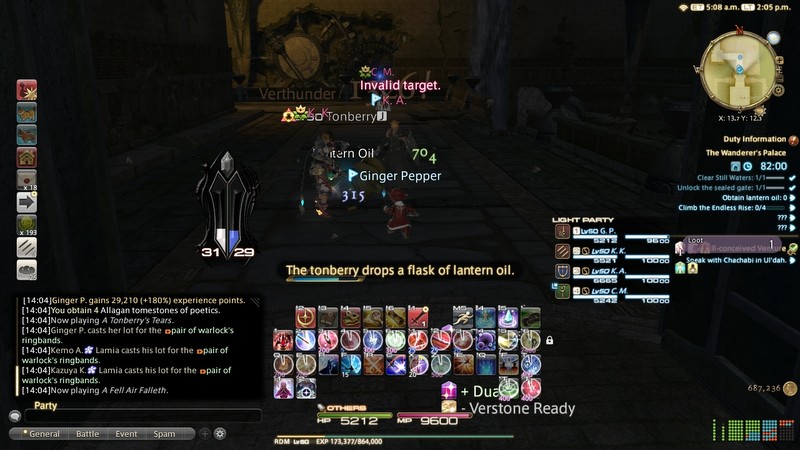
We'll need this lantern oil to loosen a few chains later on. There's a bunch of it throughout the dungeon and we'll need all of it by the end.

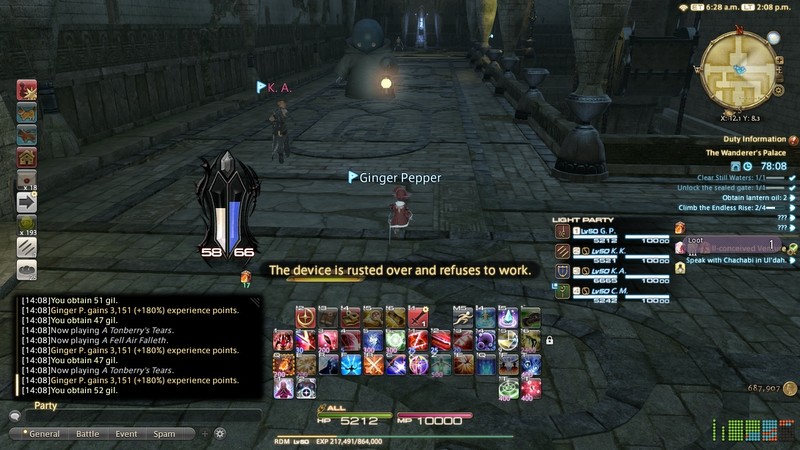
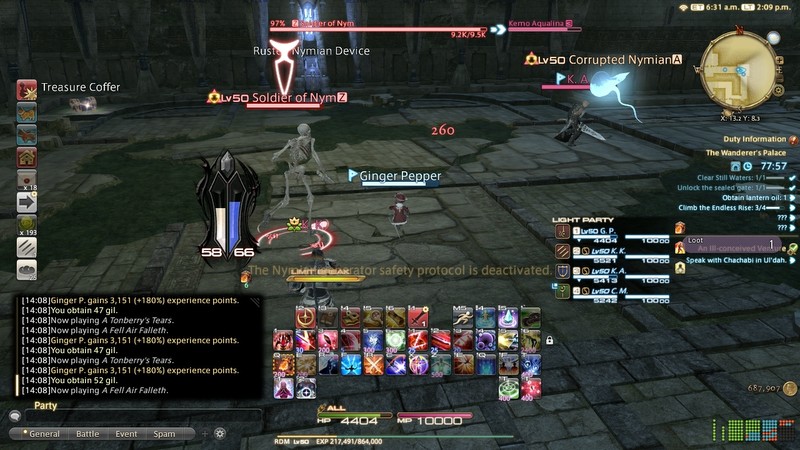
There's Nymian Devices on either side of the hallway here. We need both things of lantern oil from the hallway to proceed. One is used on a rusted device by the door...
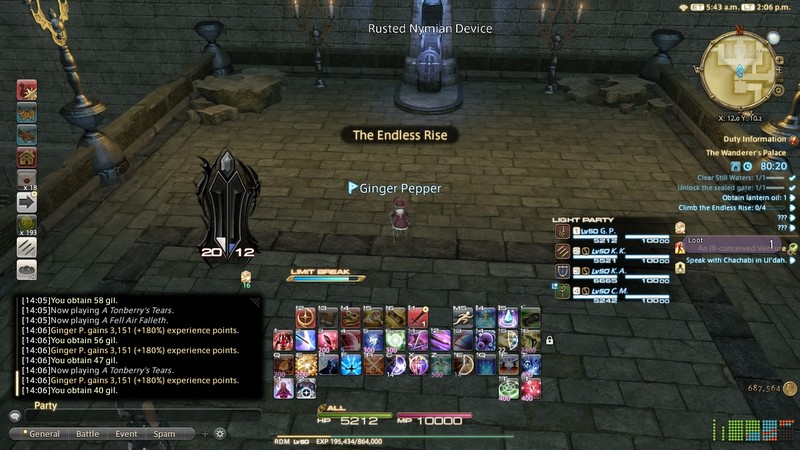
This switch here is the first of four in this very large central area. It's rusted, so we need oil to loosen it up.
The next switch is up these stairs and into the room you can just barely see in the upper left of the screenshot.

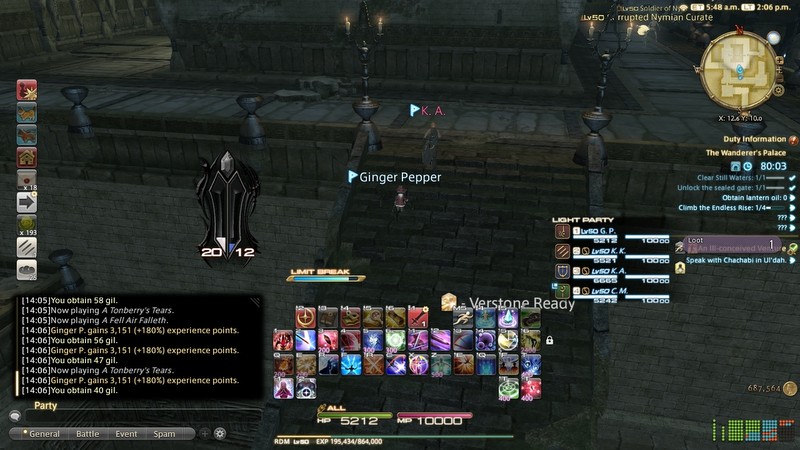
This area is incredibly dangerous. There are 4 or 5 tonberry stalkers patrolling around the area, and if one sees you it will follow for a very long way.
The staircase Ginger's standing on is the way to go from here. She's looking backward at the room we just came from.
In the back of the room are two switches. One is by the door to the second boss, which we'll get on the way over. The tonberries near the switch drop oil to lubricate its hinges.
Past the tonberry stalker against the far wall is the second switch. There's more baby tonberries by it that drop oil.
This large room is as easy as that!
Like I mentioned, the second boss room is by the third switch, just a short ways back up the path.
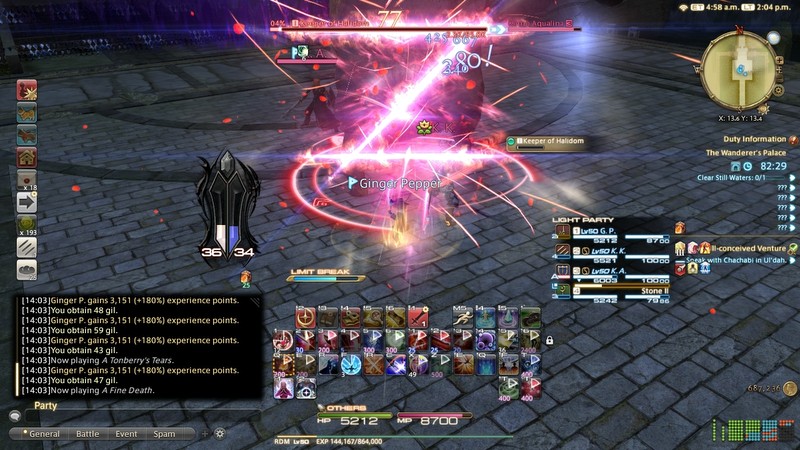
This huge flan probably has mechanics. Maybe.
A bunch of smaller ones spawn occasionally and I'm sure they do something. But they have barely any health.
Yeah, it's that easy.
This next stretch is a dangerous one. A tonberry stalker will spawn pretty quickly and chase you all the way to the final boss's door. So tanks have to be ready to chain pull as hard as possible.
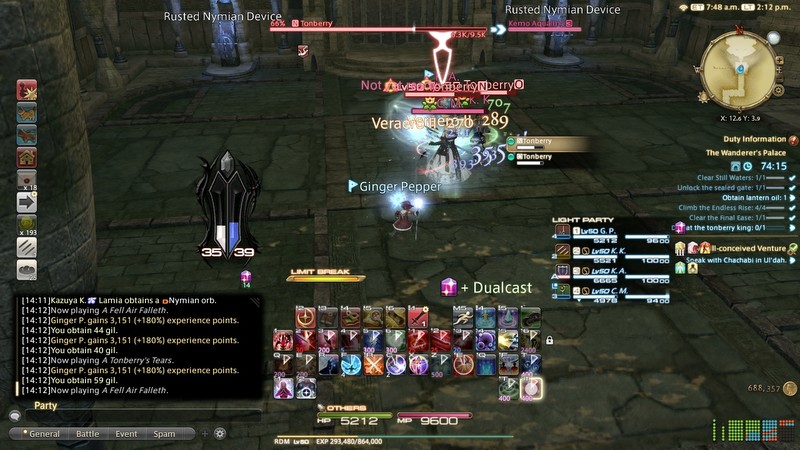
Two more rusted devices guard the boss gate. The tonberries along the path have been dropping oil, so as long as someone's on the ball this is no problem.
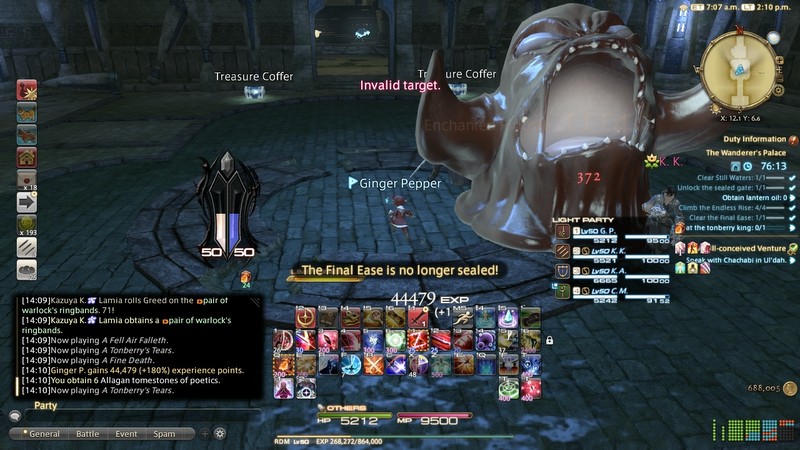
Now the final boss...

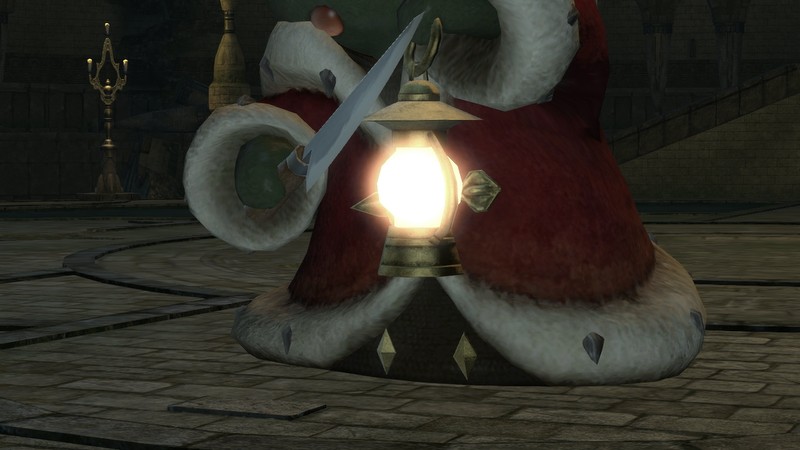

This is an add rush fight with a twist. The tonberry king will eventually use a move called Everyone's Grudge. The more tonberries you kill in this fight, the more damage that move does. You, uh, don't want to kill a lot of tonberries.
Eevee has also informed me that each one you kill powers up his next tankbuster attack. So just ignore the tonberries and let them mill around. Unless your group is 100% clueless, the king will die long before they become a problem.
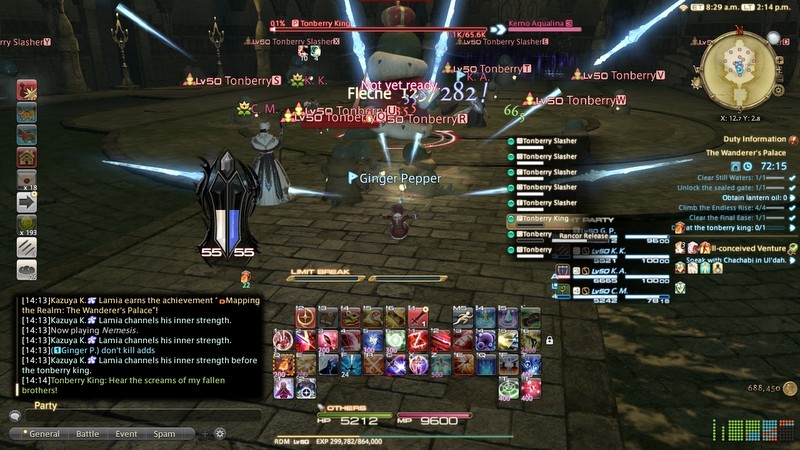
It's an easy fight. It was created assuming you had, at best, item level 50 gear. The dungeon syncs to item level 110. So assuming you know how to buy the really good shit (right in towns!) you'll be fine.


That was easy enough! Now on to Amdapor Keep...
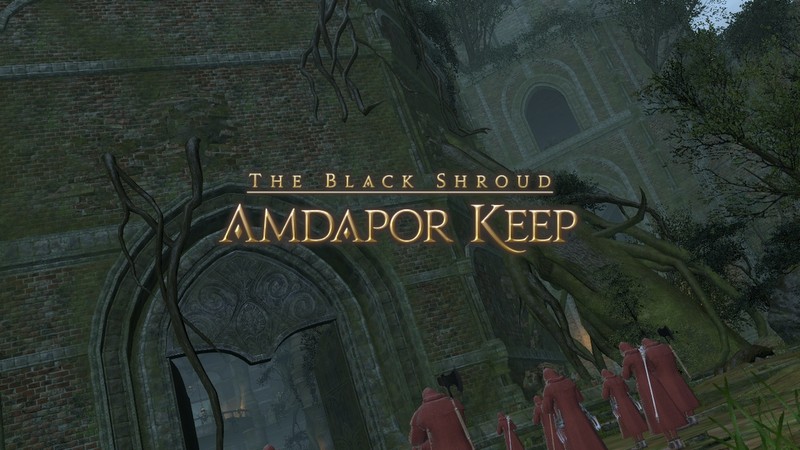
So this is a bit weird. Do you remember way back when I covered the Tam-Tara Deepcroft? If not, then the important takeaway is that there was a doomsday cult called the Lambs of Dalamud. They all but vanished after that point.
Turns out they've been holed up here the whole time.
To contrast the previous tank, this guy definitely knows what he's doing. He grabs the first group and takes off at a dead sprint to get a bunch more.
We're moving fast today!
The entrance to the keep itself is sealed by these jerks.
We're not putting up with their shenanigans today. So they go down hilariously quickly.
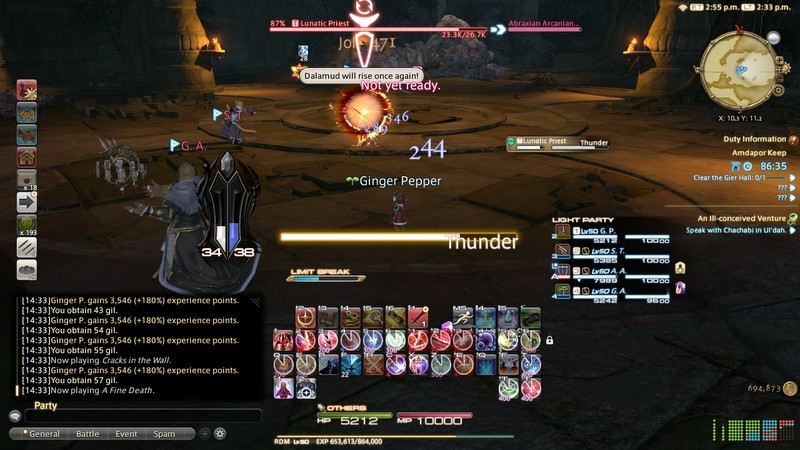
The first boss is not the Lunatic Priest. He's just the first phase of the fight.
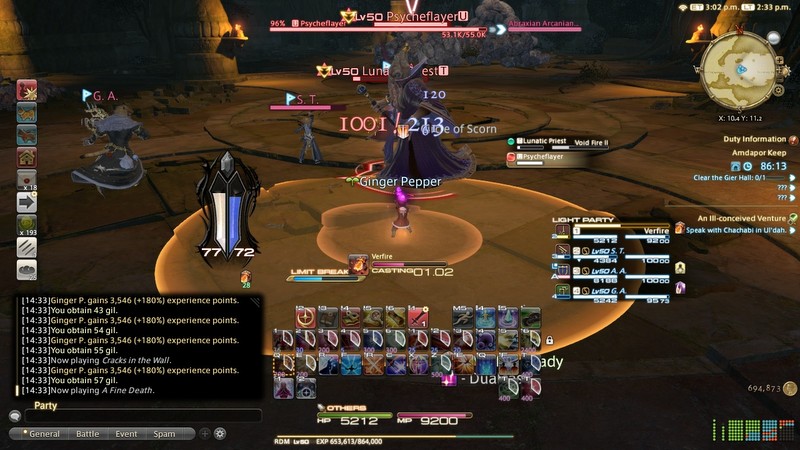
No, the first boss is a mindflayer.

All he really does is channel his power into a gigantic golem.
To be fair, the golem does area denial really well.
I'm sure that fight was more threatening back in the day. Item level inflation has rendered it toothless.
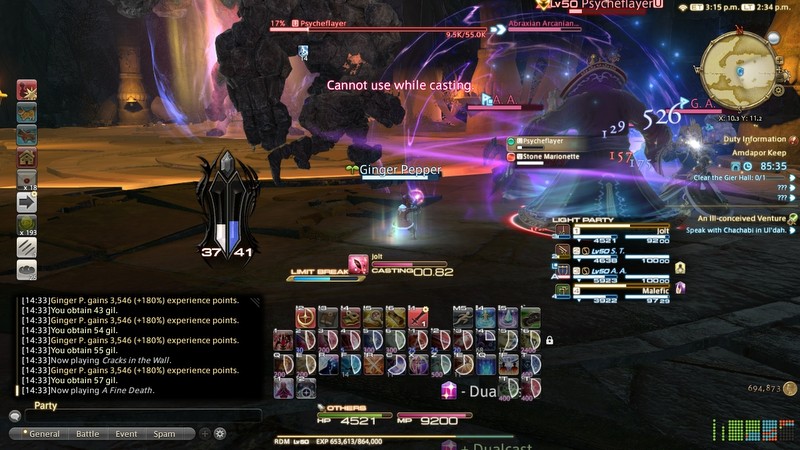
This next area is just a long series of hallways with a bunch of enemies. So let's just skip to the second boss.
You seriously didn't miss anything. Just like 30 enemies.
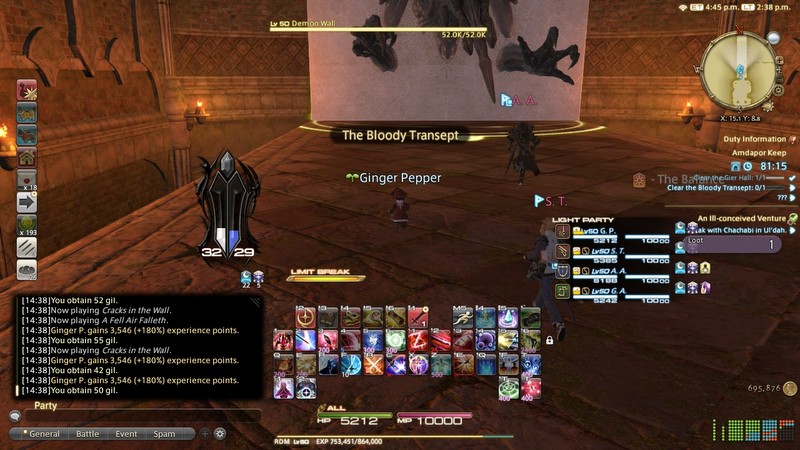
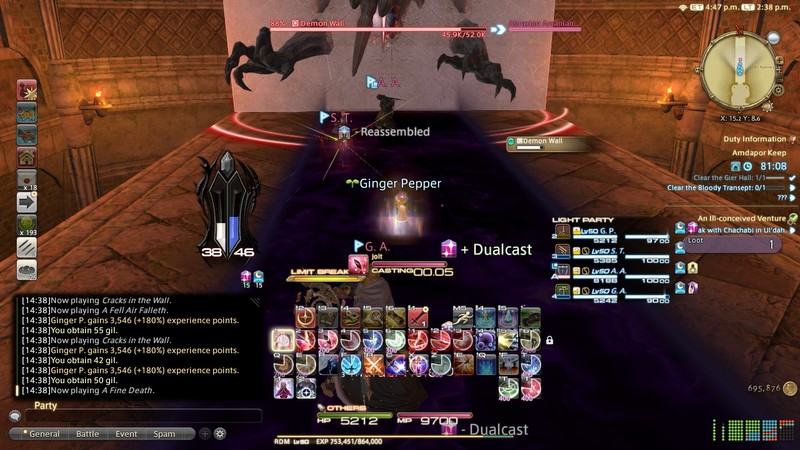
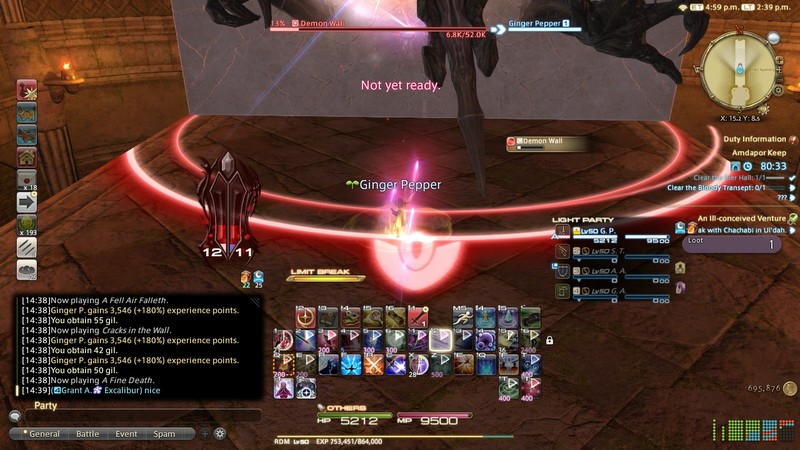
Demon Wall is the second boss and it's just a living wall.
Though it does have a mechanic you have to be aware of. See the purple zone in the middle? Get out of that.
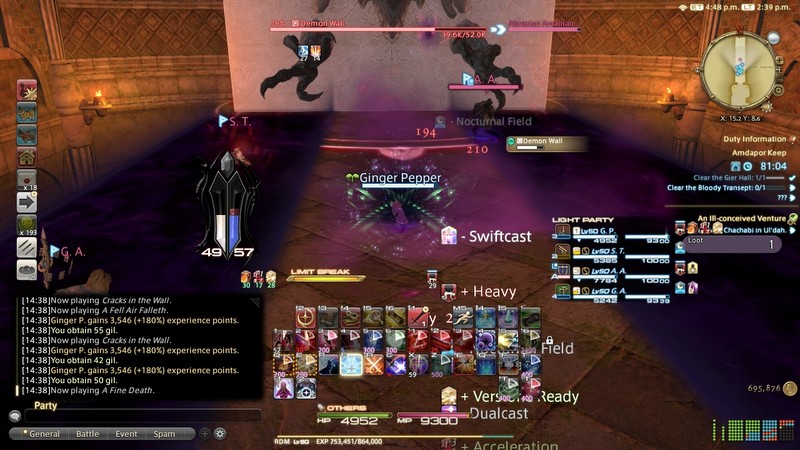
It's middle and then sides. If you get hit, you get afflicted with a 30 second heavy which makes you move slower. The mechanic repeats a few times so you have to be on the ball!
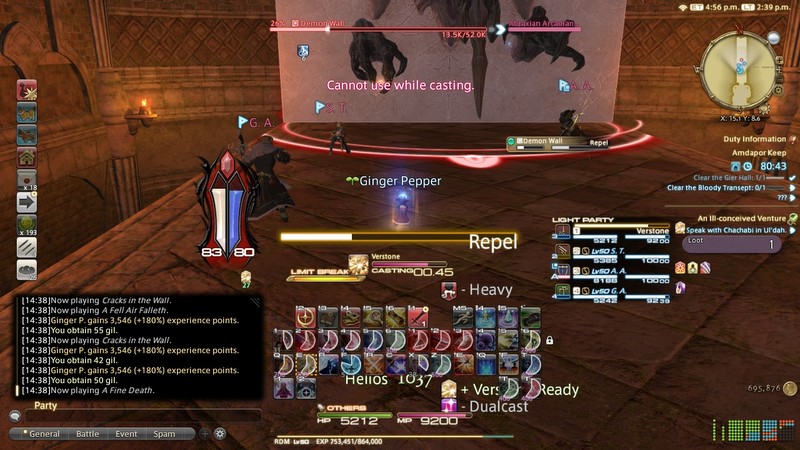
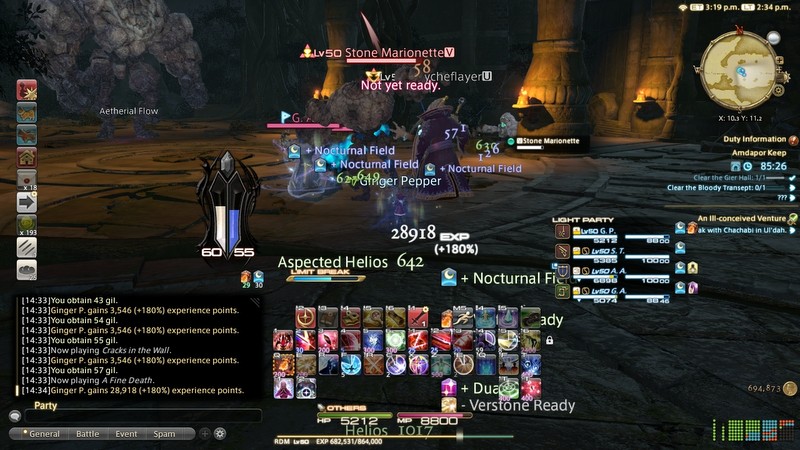
Oh boy. Repel is the dangerous one. Everyone gets sent flying back opposite the way their character is facing.
So now Ginger is very alone.

The way to the third boss is more endless hallways, this time directly above the previous floor. So let's skip to the end.
Not a problem!

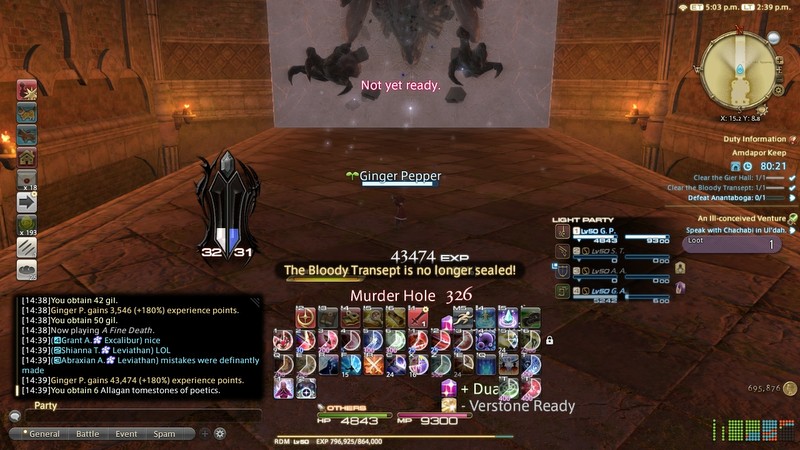
Oh hey it's Gaping Dragon!

Anantaboga is very easy.

Just don't be directly behind him.
At one point he does a move and you're supposed to hide behind a statue to avoid the damage. But we smoked his ass.


That's finally enough of that. Did you all know this was originally its own update? Turns out it's less than 10k characters long. So I just stapled it onto the previous update.
NEXT TIME: The Binding Coil of Bahamut