Toggle Background Color
Update 34: Fault Lines


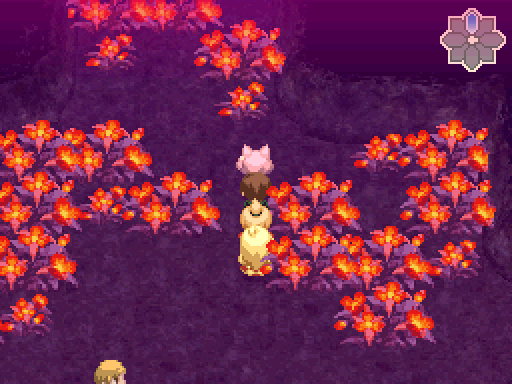
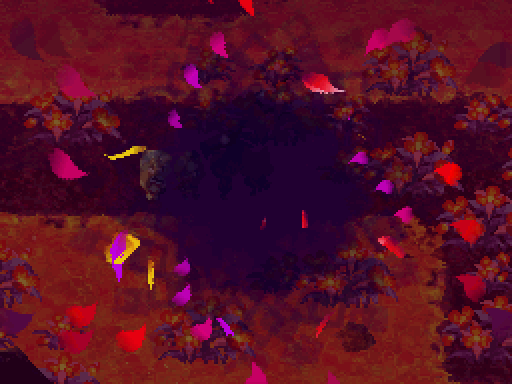
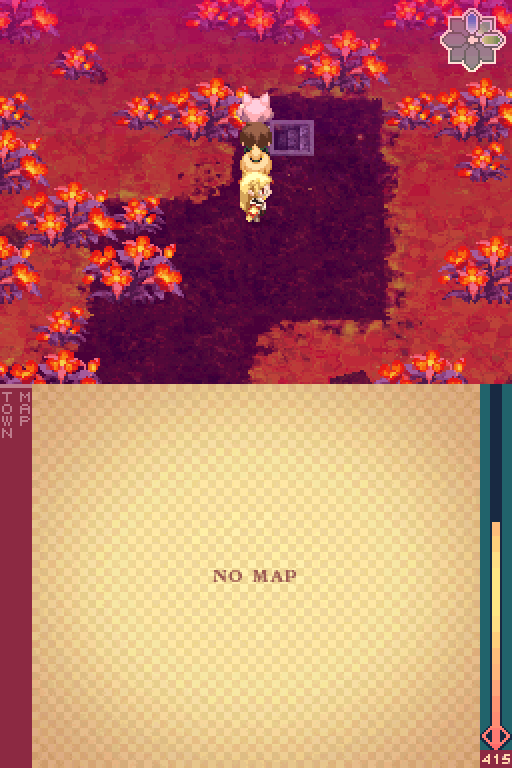
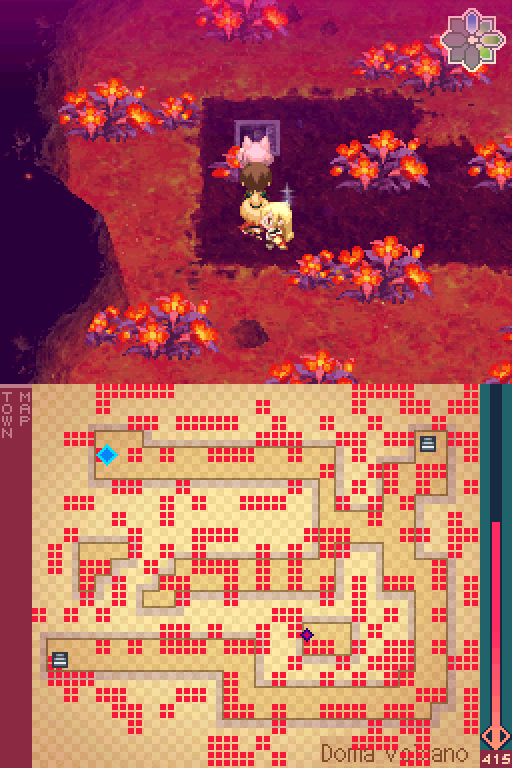
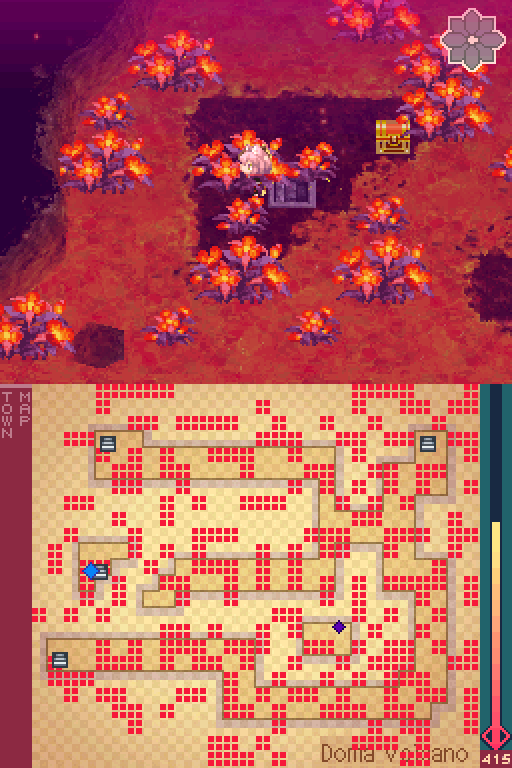
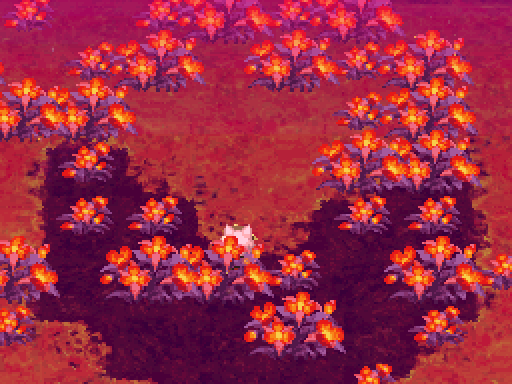
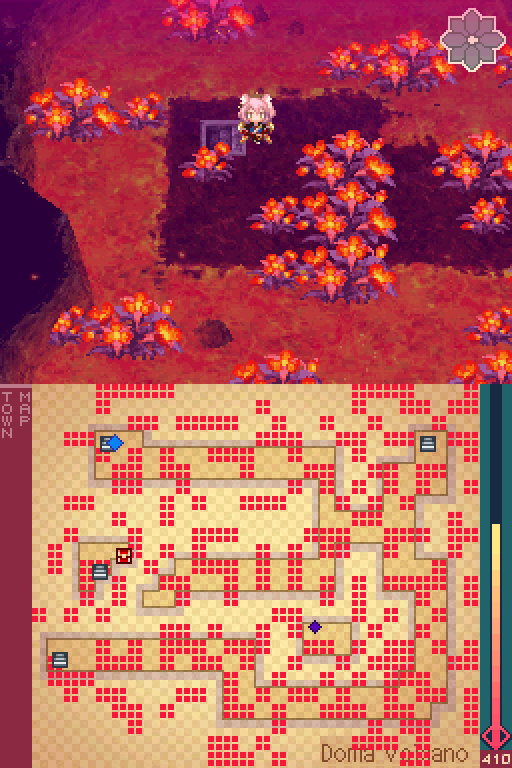
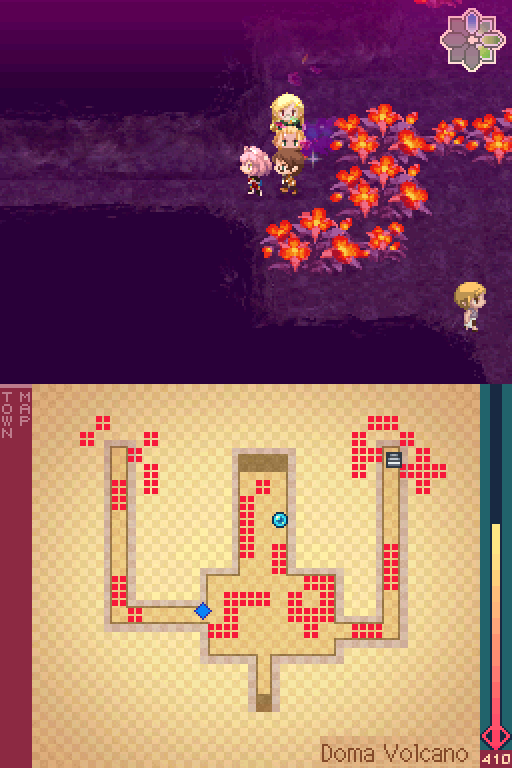
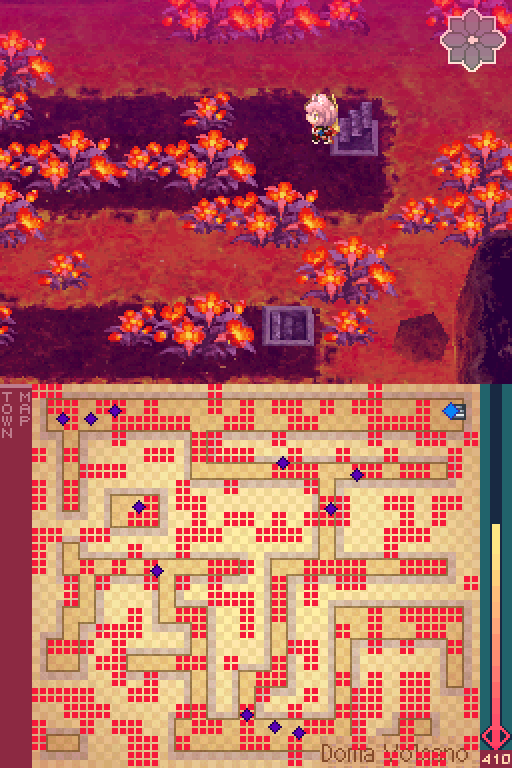
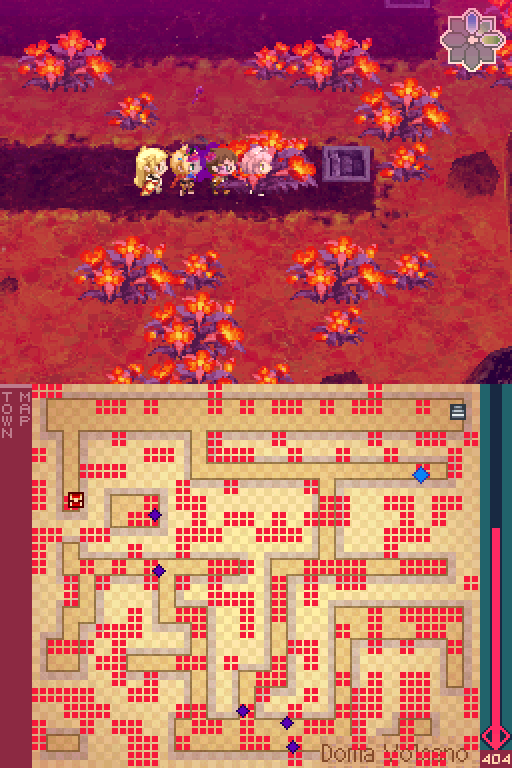
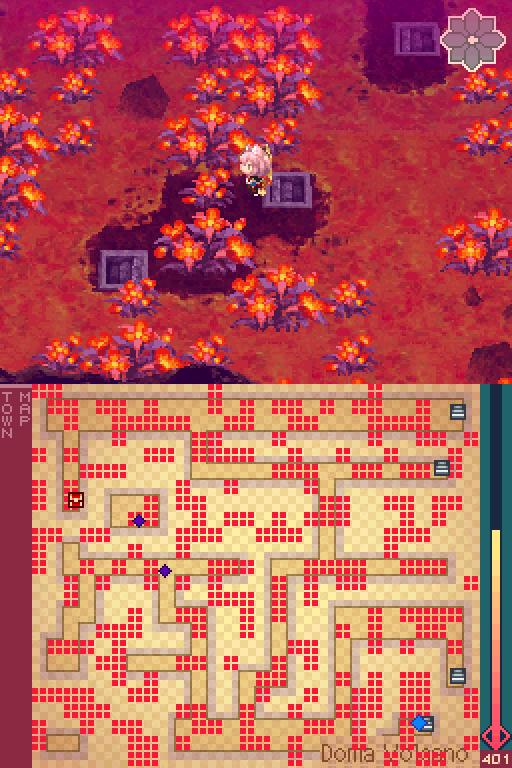
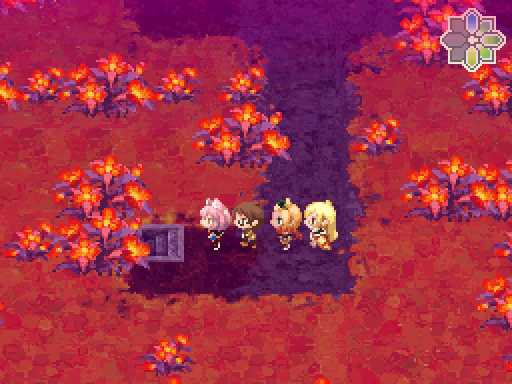
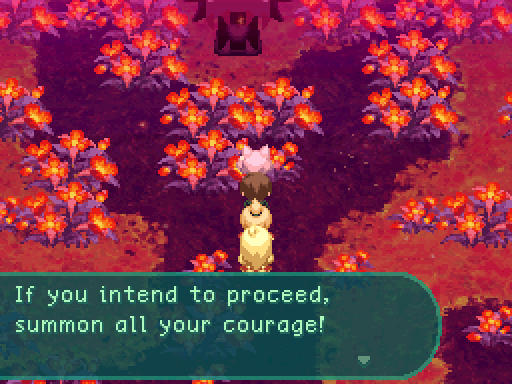
Aside from the center path straight to Flame Eater, there are paths to the left and right you can also go to. The healing spring also makes it very convenient to heal up while you’re in this dungeon since it’s placed right at the beginning.
I heavily advise going to the right path first.

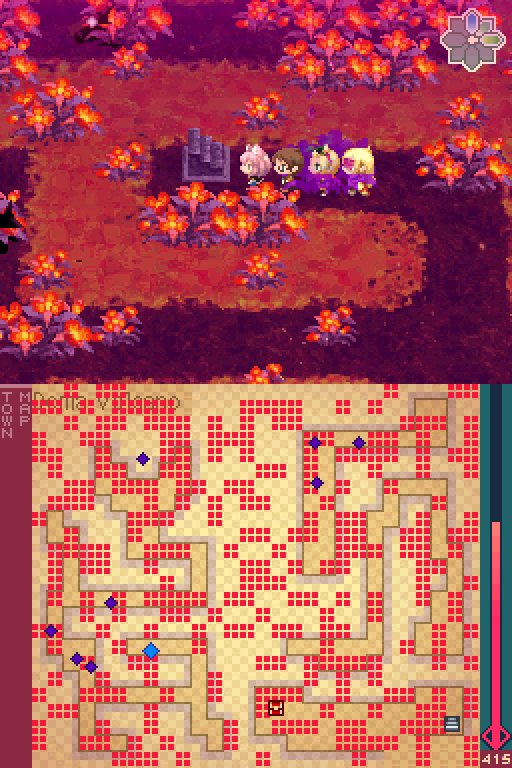
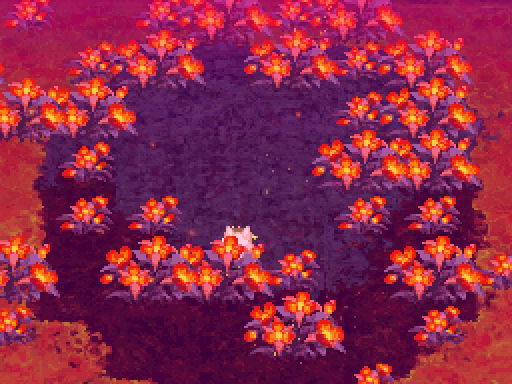
Most of the dragons in this area move around in a circle, though a handful roam around randomly after a few seconds.
You may notice that gathering point with a dragon on it that’s cut off from the rest of the floor. We can’t reach that one for now, so don’t worry about it.
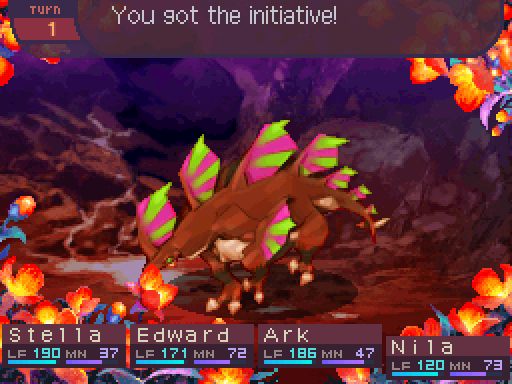
As for the dragons wandering around...


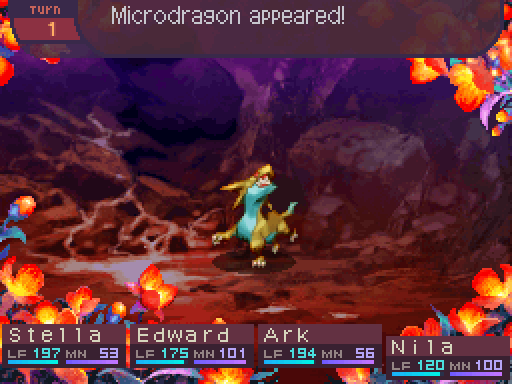

Microdragon
Level: 49
LIFE: 1300
ATK: 145
DEF: 88
INT: 76
SPD: 68
Attack Type: Blunt
Attributes: Small, Dragon, Death Resistant
Exp: 10944
Gold: 148
Item Drops:
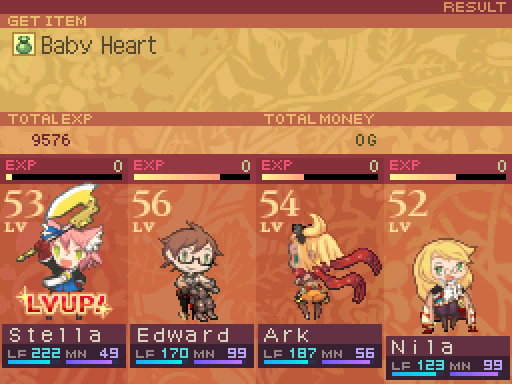
-Normal: Baby Heart - 30% Drop Rate.
--Heart of a Microdragon.
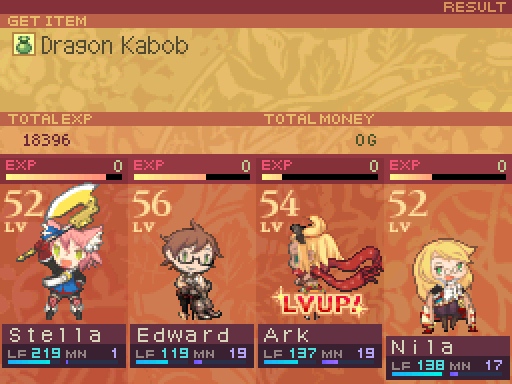
-Rare: Dragon Kabob - 10% Drop Rate.
--A predator's meat. For carnivores. Increases POW for the day.
Damage Multipliers:
Slash: 100% Blunt: 100% Thrust: 100%
Fire: 50% Ice: 125% Lightning: 100%
Ailment Susceptibility:
Death: 10% Masked Pain: 100% Skill Seal: 25%
Fear: 25% Curse: 50% Bleed: 25%
Poison: 50% Sleep: 25% Confuse: 25%
Paralysis: 50% Blind: 25% Stun: 100%
Skills:
Gnaw: Randomly attacks the party with Blunt damage 2 times, dealing 120% melee ATK-based damage per hit. Has a speed modifier of 90%.
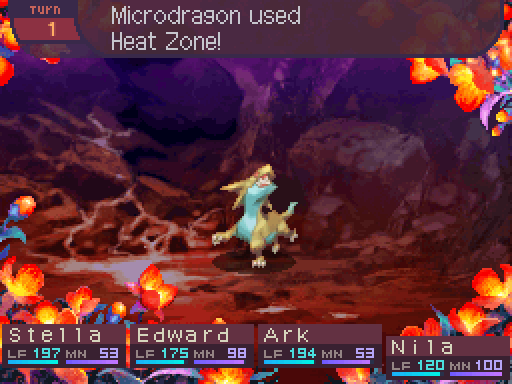
Heat Zone: Applies a 150% multiplier to the entire party’s Fire damage multipliers for 5 turns. Has a speed modifier of 80%.
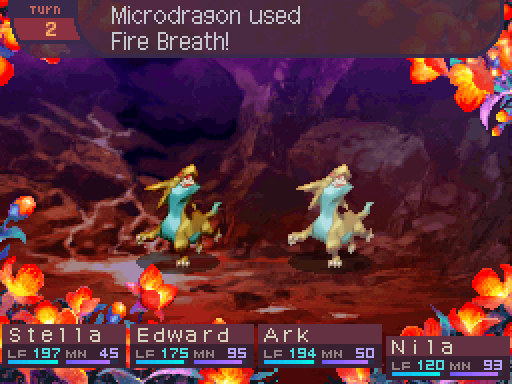
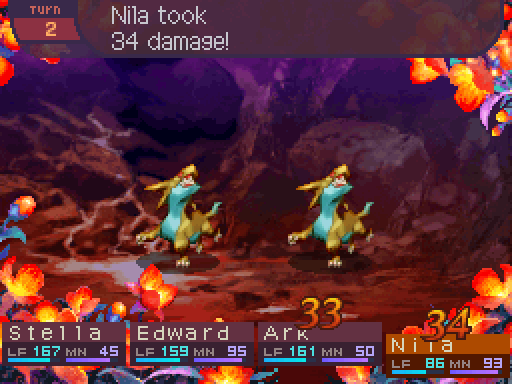
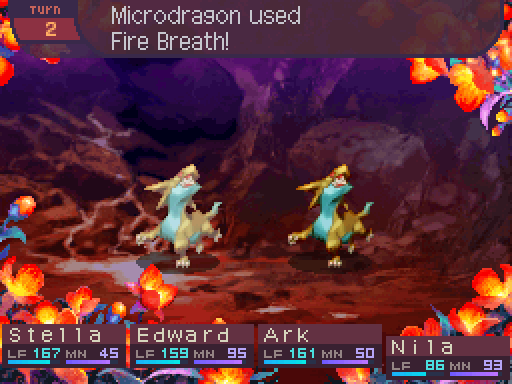
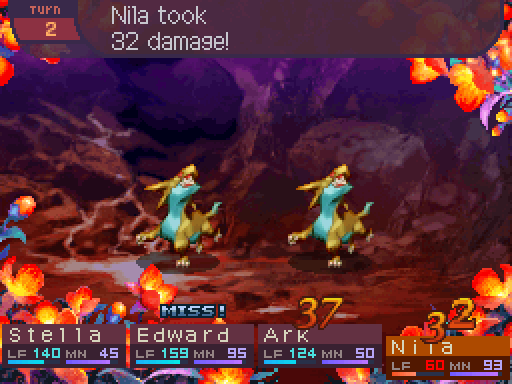
Fire Breath: Deals ranged INT-Based Fire damage to all party members. Has a base damage of 75. Has a speed modifier of 80%.
Microdragons are actually stronger versions of another dragon we haven’t seen yet due to going “out of order” with the midgame.
They either like to try to bite your faces off with Gnaw, or weaken your party with Heat Zone before following up with Fire Breath.
These dragons aren’t super strong by themselves. Killing them shouldn’t take more than a few turns due to their low LIFE, but the reason for that will be pretty evident soon enough.

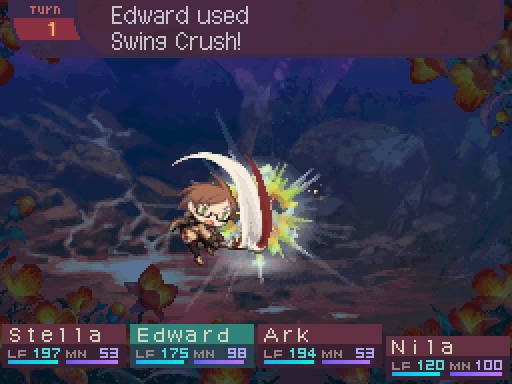
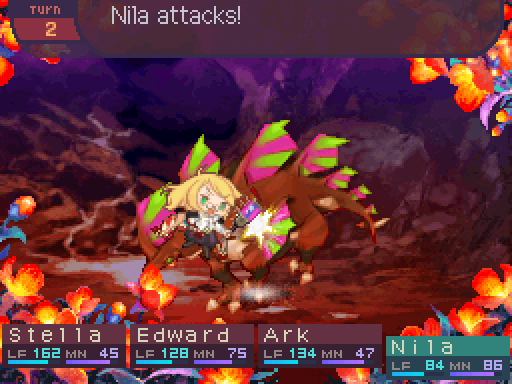
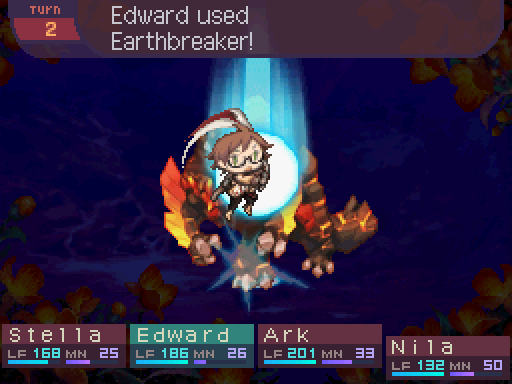
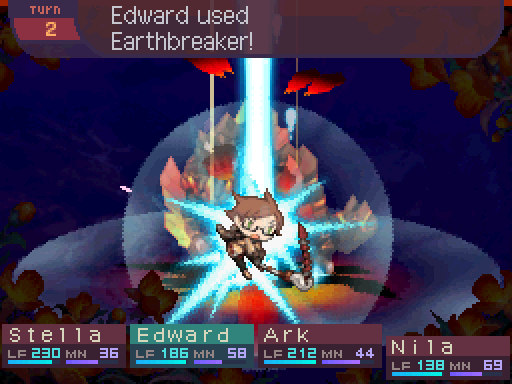
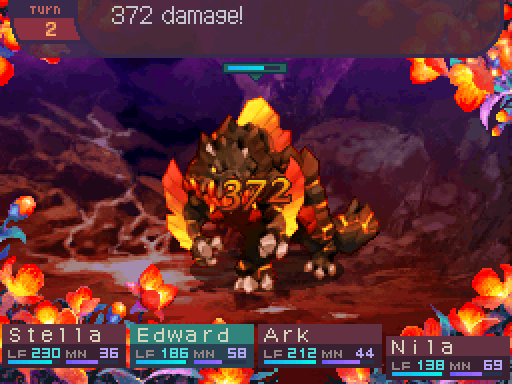
 Slash and stab!
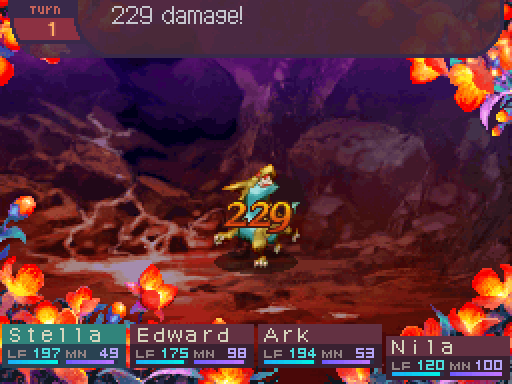
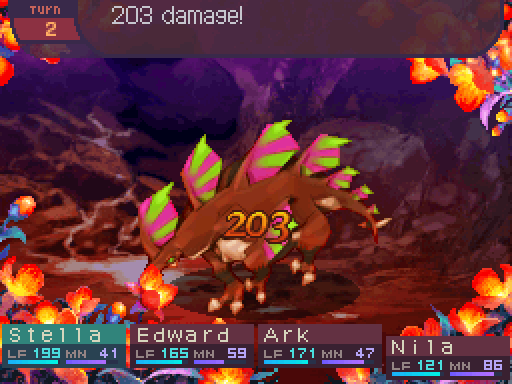
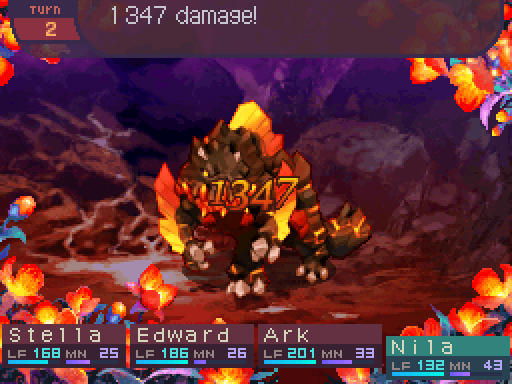
Ooh, that is a very respectable amount of damage! That’s more than Dual Shot would have dealt, and I don’t have to worry about the accuracy penalty on top of that! Skulldaggery is nuts. Dagger Rogue is just nuts.
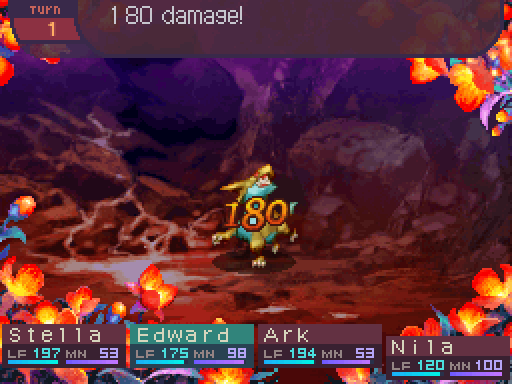
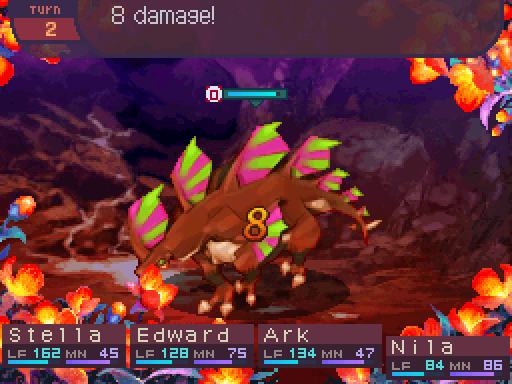
 Phew! Doesn’t seem like these’ll be too tough to take down.
I think these are babies, so they shouldn’t be too tough to kill in the first place.
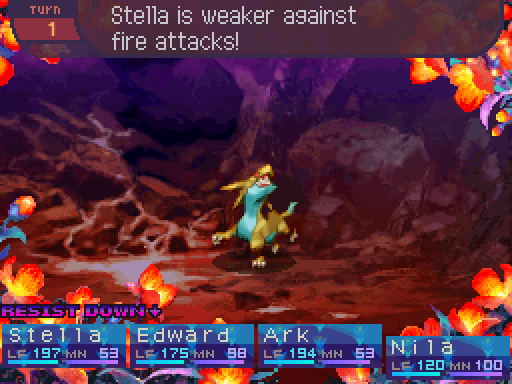
For some reason, I feel like cooking oil just got poured all over me.
 Whew! It feels even hotter in here than it already was before!
Aww... Do we have to kill the widdle bwaby dwagon? This seems kind of cruel.
That “widdle bwaby dwagon” is trying to kill us! Like every other dragon we fought!
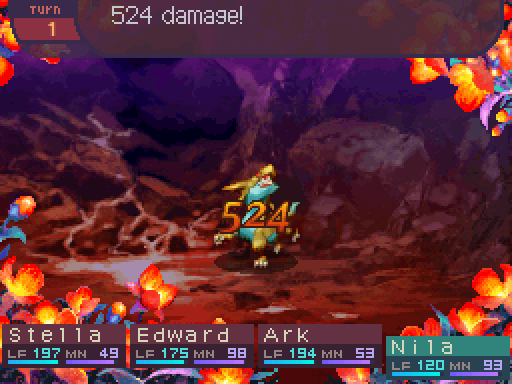
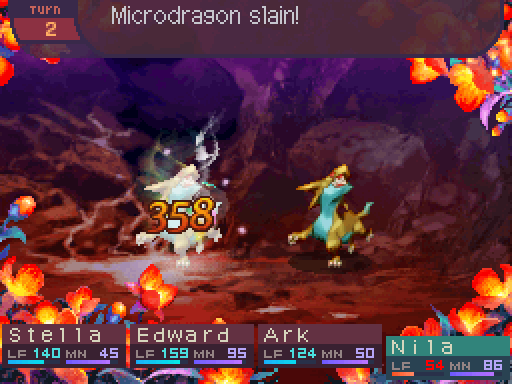
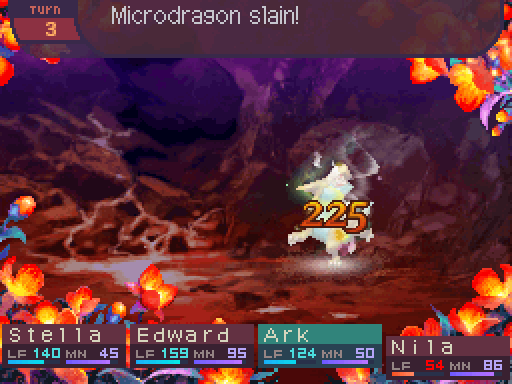
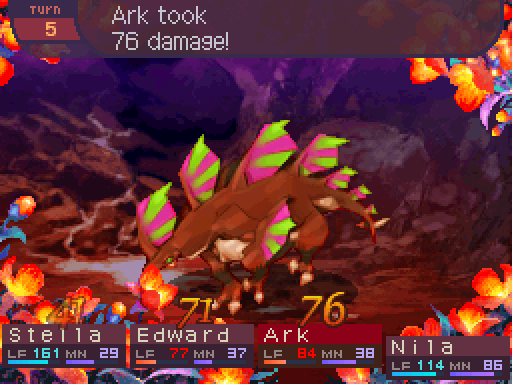
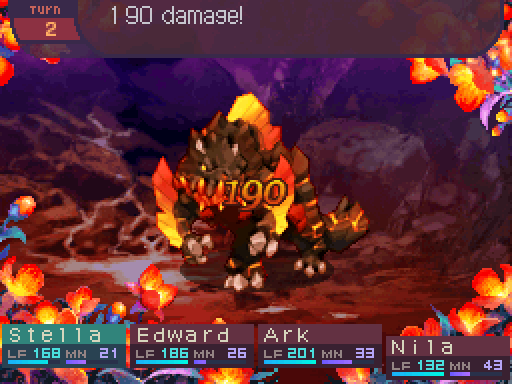
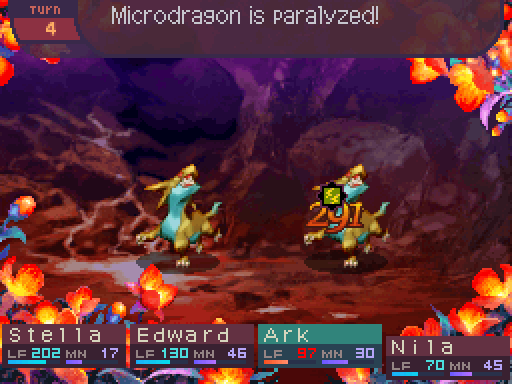
 Hahaha! Well that didn’t last too long. One more strike should- oh.
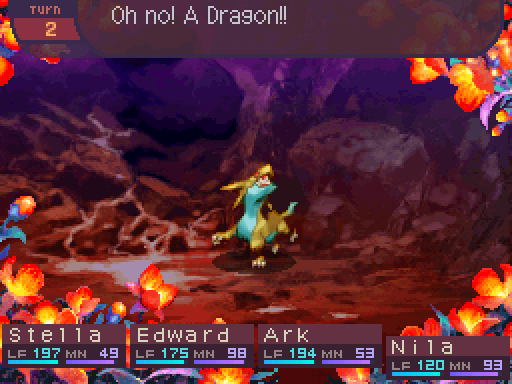
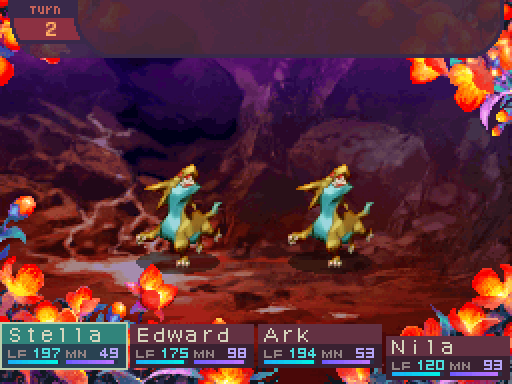
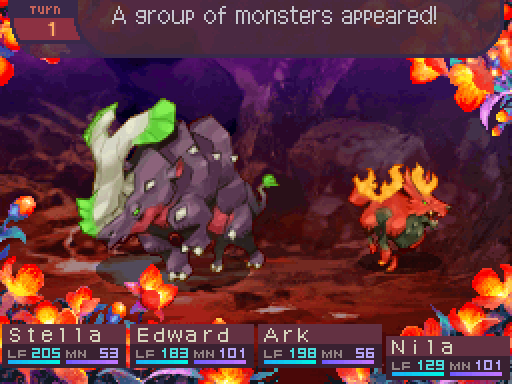
Oh great, it brought friends.
Feh! We’ll just take it out fast, like with the other dragon!
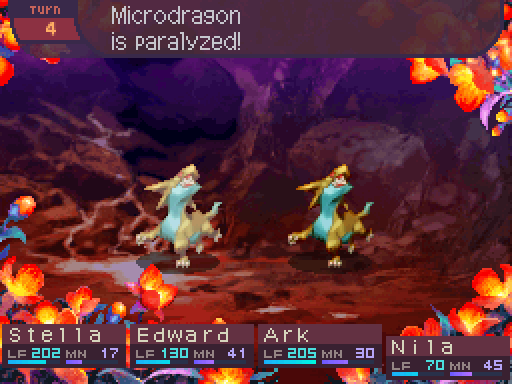
The main reason they’re weak is similar for the dragon trains all the way back in Hiyoron Grotto. Microdragons are meant to be fought in groups, and it actually works out better here, as since they aren’t in a train, they’re far more likely to join in immediately instead of being forced to wait 1 additional turn.
Still, if your party has a good damage output, they should be able to dispatch them pretty fast. Just focus one down at a time, since you’ll likely be able to get one of the Microdragons down to pretty low LIFE before any other dragons join in. Try to kill them in one turn if you can. Or set up and burst them all down if they join in. That also works.
Ooh hot hot hot!
I’M MELTING!
FIRE! FIRE! FIIIRE!
Oh that’s going to be annoying to clean off later.
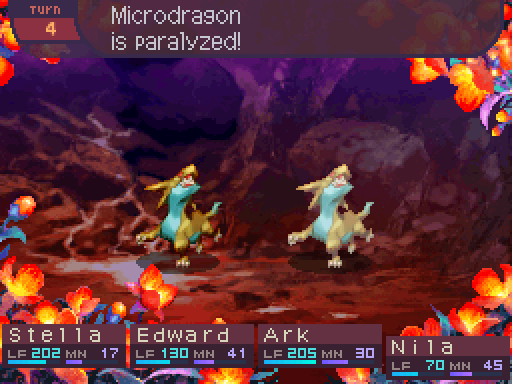
That being said, try not to let battles last too long. Microdragons ganging up on you can end up causing a lot of damage. Knights with Firebreak can heavily neutralize Fire Breath, and the shielding skills can deal with Gnaw if you’re looking for ways to mitigate their damage. Heat Regulators can also shield against the debuff, but they're only single target so they're not exactly a great counter to these dragons.
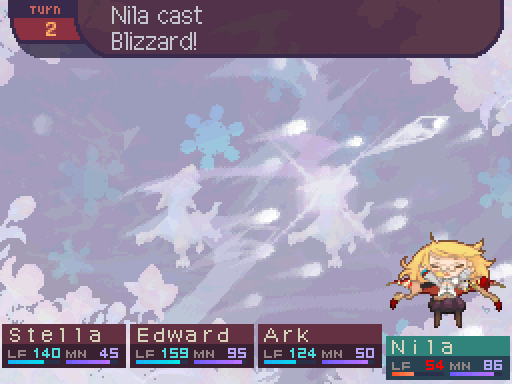
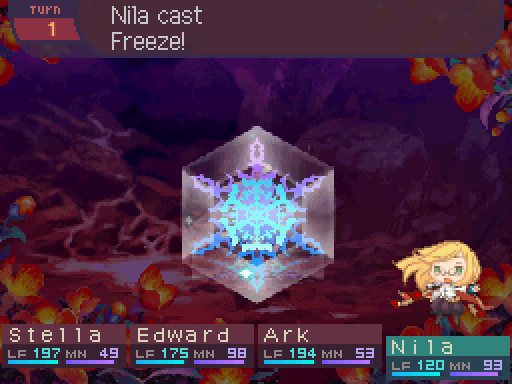
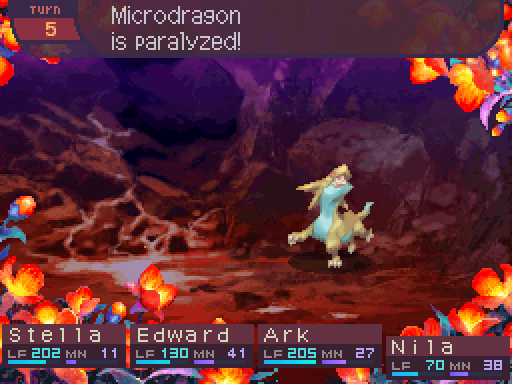
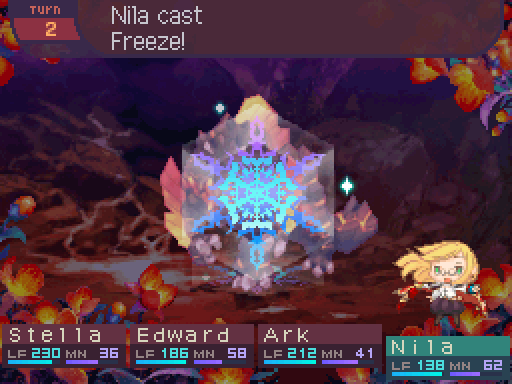
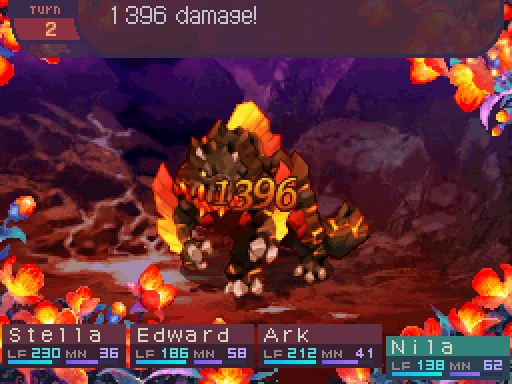
Feel winter’s fury!

Part of me kind of wonders what they would have grown up into. The other part’s glad she doesn’t have to deal with that.


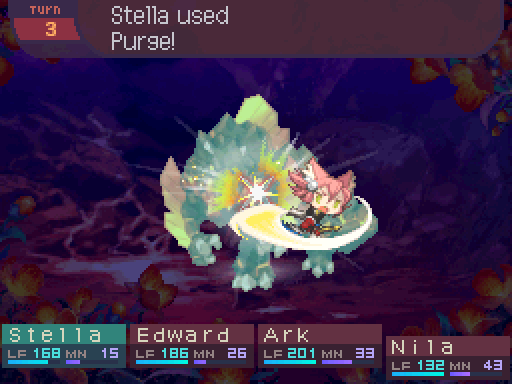
Microdragons namely rely on power in numbers, so the best counter to that is killing them as fast as possible since they’re very fragile by dragon standards.
Oh and you’ll definitely want to clear out the dragons in Doma Volcano since they give out a ridiculous amount of experience.
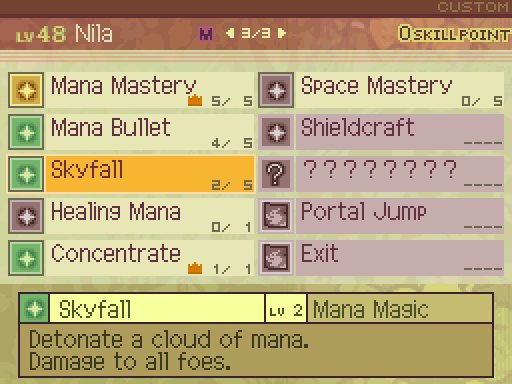
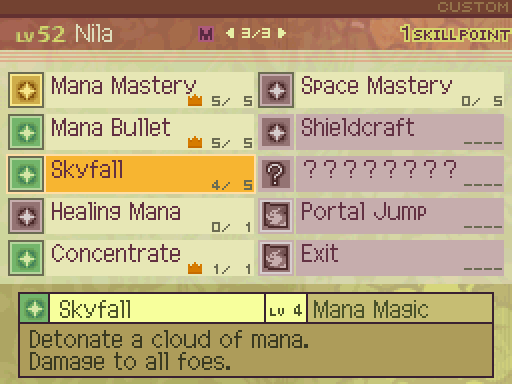
Skyfall now has a spell power of 235%, and a damage multiplier of 160%.
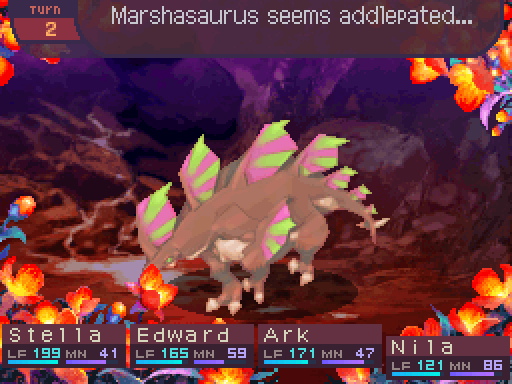
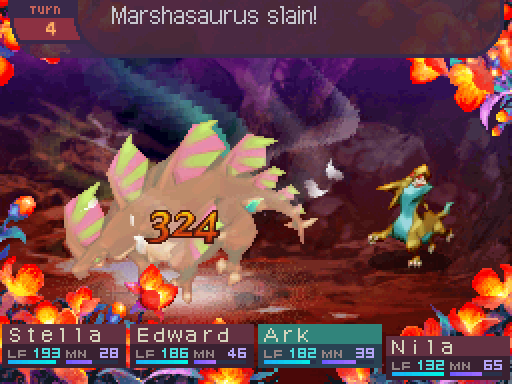
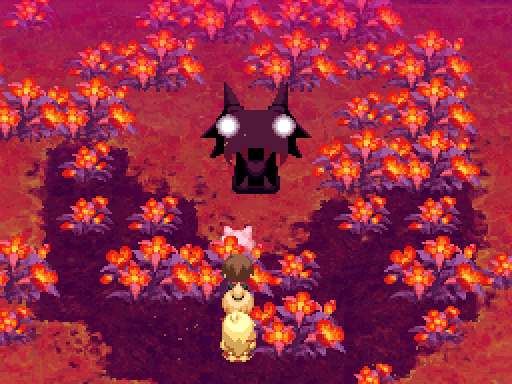
Let’s check out the other dragon that was in the vicinity.
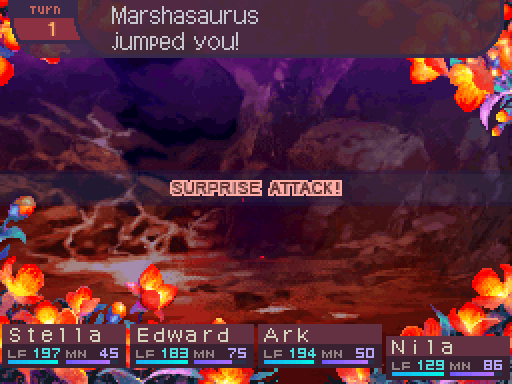
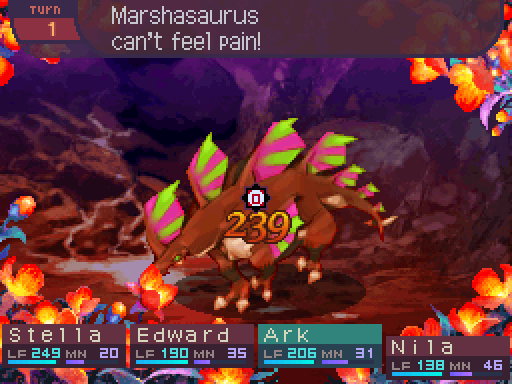
Are you serious!?

Off to a great start.

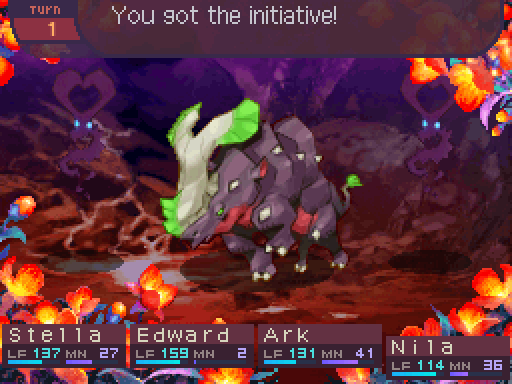
Marshasaurus
Level: 47
LIFE: 3500
ATK: 165
DEF: 100
INT: 30
SPD: 54
Attack Type: Blunt
Attributes: Large, Dragon, Death Resistant
Exp: 10080
Gold: 142
Item Drops:
-Normal: Bloom Seed - 5% Drop Rate.
--A seed with the power of the Bloom. Restores the Bloom to an area.
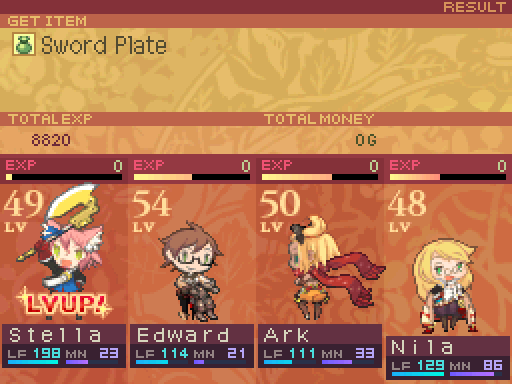
-Rare: Sword Plate - 100% Drop Rate. Don’t damage with INT-based attacks at any point. 1 needed to unlock the Conquerer Axe. (Axe, +130 ATK, -8 SPD, +20 LIFE.)
--Greatplate of a Marshasaurus.
Damage Multipliers:
Slash: 100% Blunt: 100% Thrust: 100%
Fire: 100% Ice: 100% Lightning: 100%
Ailment Susceptibility:
Death: 10% Masked Pain: 100% Skill Seal: 25%
Fear: 25% Curse: 50% Bleed: 25%
Poison: 50% Sleep: 25% Confuse: 25%
Paralysis: 50% Blind: 25% Stun: 100%
Skills:
Do Nothing: Wastes a turn.
Bumble: Deals 35% melee ATK-based Blunt damage to one party member. Has a speed modifier of 90%.
Assault: Deals 100% melee ATK-based Thrust damage to the entire party. Has a speed modifier of 80%.
Tail Swing: Deals 140% melee ATK-based Slash damage to party members in the front row. Has a speed modifier of 80%.
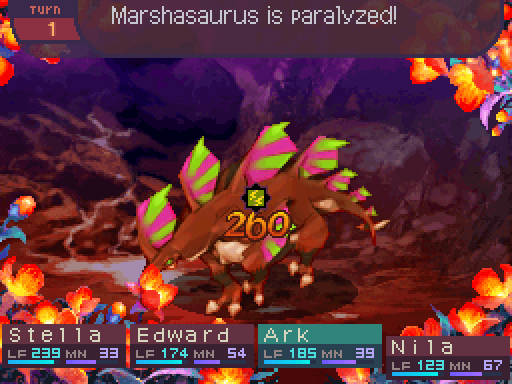
Marshasauruses are the only other dragon type we’ll be encountering in this dungeon. Remember the Stegosauruses? These are basically just stronger versions of them. Only Marshasauruses picked up Assault for even more AOE damage. They’re also prone to attacking a bit more often, which can be dangerous if you’re fighting them and the Microdragons at the same time.
Like with the Stegosauruses, they’re basically a giant waste of time to fight if you don’t have a Mage. Unlike Stegosauruses though, that actually makes them a threat since Microdragons will join in on the battle ASAP and you’ll have to deal with multiple dragons AOEing your party down.
Ideally try to kill the Microdragons on the map before tackling a Marshasaurus, as you really do not want to be taking a lot of AOE damage, and it will add up. This is why the dragons you see in Doma Volcano are clustered together, it’s to overwhelm you with sheer numbers.
If you do happen to get into a fight with these things and the Microdragons at the same time, focus down the Microdragons first. Marshasauruses can take a while to kill with purely physical attacks, which just gives time for the Microdragons to damage you as much as possible. Not only that, Marshasauruses get more aggressive the lower their LIFE is, so you’ll be seeing a lot more Tail Swings and Assaults. That can easily be shrugged off if they’re alone, a lot less so in groups.
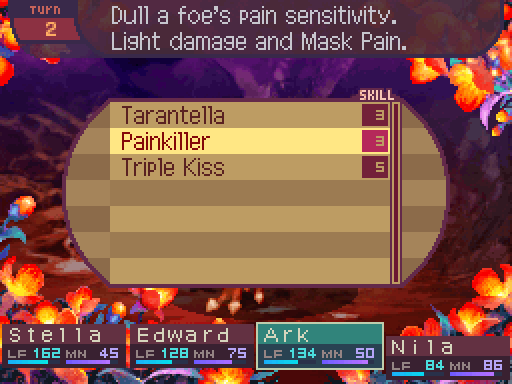
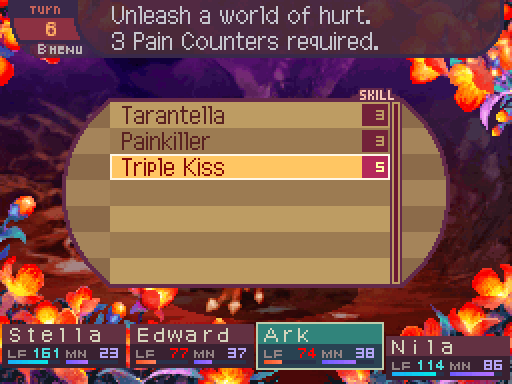
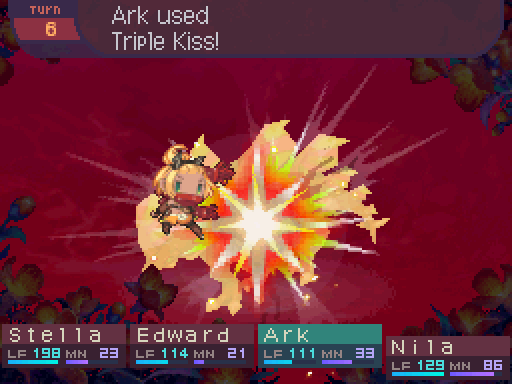
Now you might’ve noticed that like the Stegosaurus, this dragon has a conditional drop that basically bans the use of Mage spells, but is heavily susceptible to them. Unfortunately, unlike the Stegosaurus’s conditional, the Marshasaurus’s conditional unlocks a piece of equipment, so I’ll be gunning for that. My main strategy will be to explode this dinosaur with Triple Kiss to get this battle over with as fast as possible.
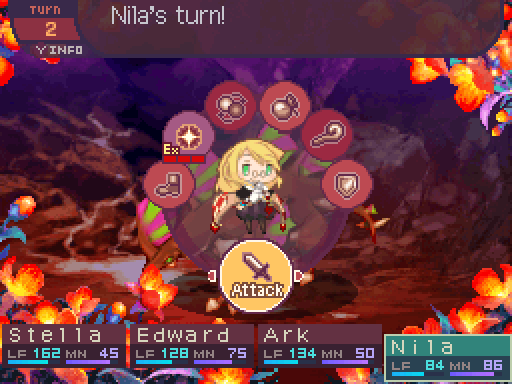
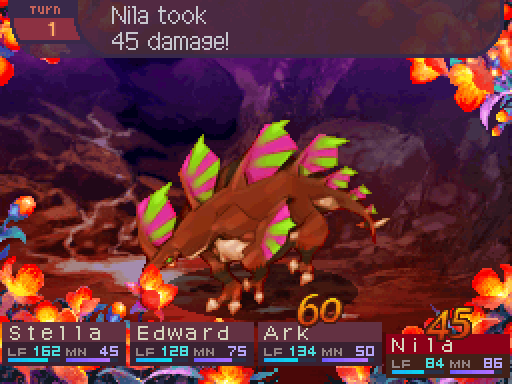
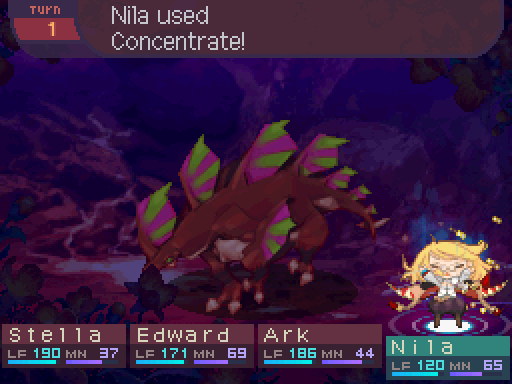
Because spells are banned, Nila will contribute by hitting the dino with a stick.
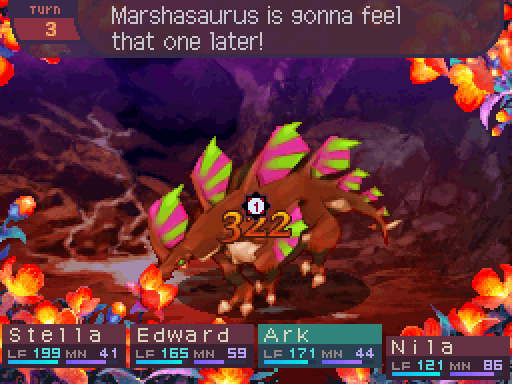
This might kill ya a little.
Don’t mind me. I’m just here to provide moral support! Hooray for slightly magical sticks!
Yeah, without a Mage they’ll take a while to kill, which is why I resorted to the Triple Kiss strat.
Fortunately they’re pretty prone to wasting their turns when attacking at high LIFE. And like with their weaker versions, a regular attack will never get used. They just prefer to use Bumble.
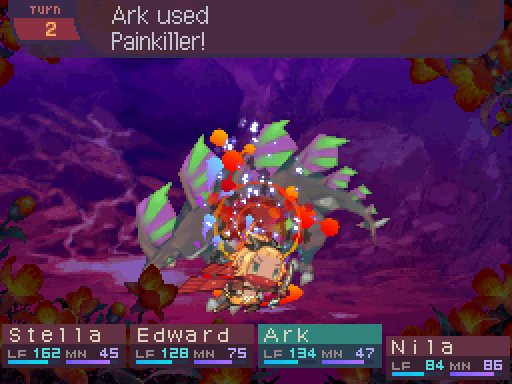
Pay no attention to the girl stabbing ya in the legs.
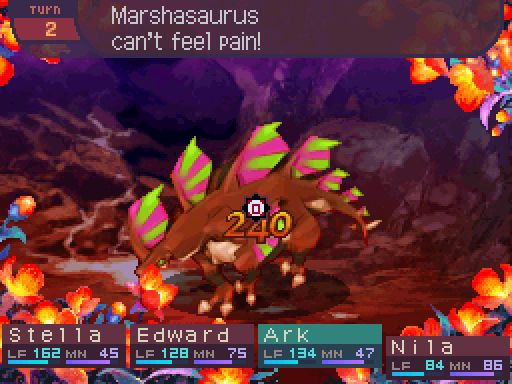
Incidentally, I like the text for increasing Pain Counters. It’s just “[Enemy]’s Pain Counter increased!” in Japanese.
Oh and Ark has a 48% chance to land Paralysis, or rather increase the Pain Counter in this case thanks to dragons having a 65% multiplier to it after cleaning up the Bloom, where it would be a 37% or even a 33% chance if we didn’t bother to lawnmow the Bloom. So it’s basically a coinflip, which are pretty good odds for landing it. You can see why cleaning up the Bloom is important.
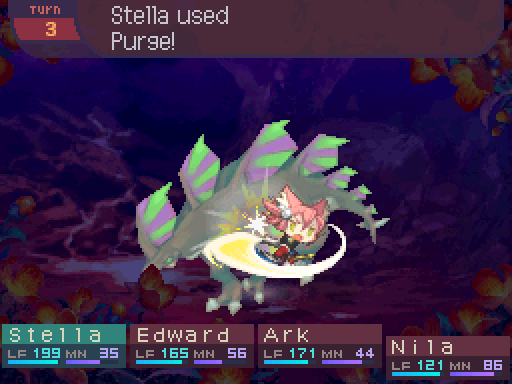
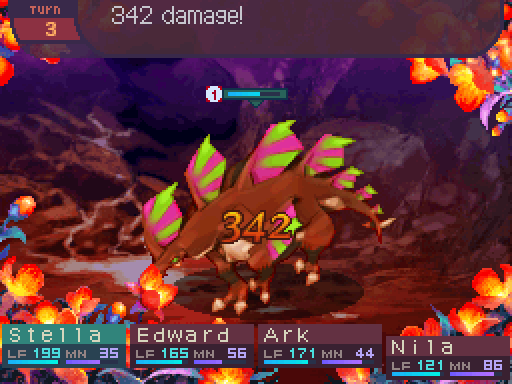
Plate breaker!
Yeah whittling it down is going to take a while.

Just think of it like akapuncture. Or whatever the hell it was called.
Oh, now it’s on!
I’m surprised she succeeded at all those coinflips. The thing with Masked Pain is that you kind of need support for it, as by herself, Ark isn’t super great at racking up Pain Counters. This isn’t the most ideal party for one, as more inflictors would make it much faster on average for Ark to start going hog wild with Triple Kisses.
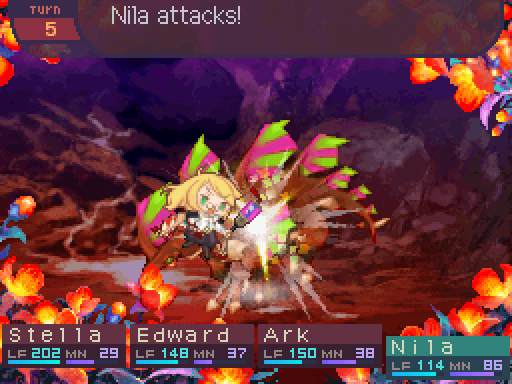
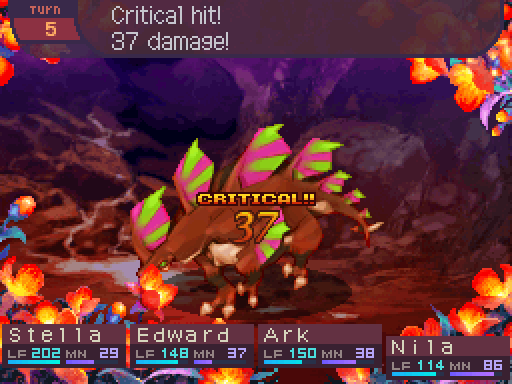
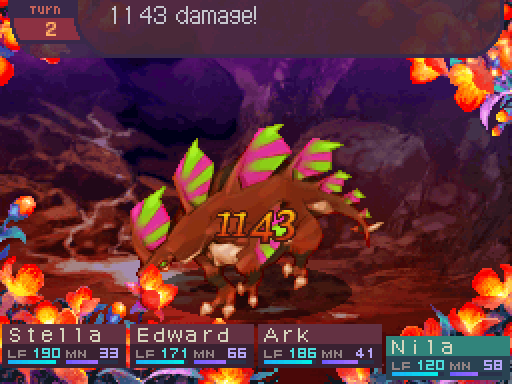
A clever strike, if I do say so myself!
A critical hit from Nila allowed her to quadruple her damage. A truly terrifying sight.

Gah! This one’s nowhere near as adorable as the ones in the desert!
Unlike the Stegosauruses, these things actually hit pretty hard. So try not to trigger their berserk mode if the Microdragons are around.


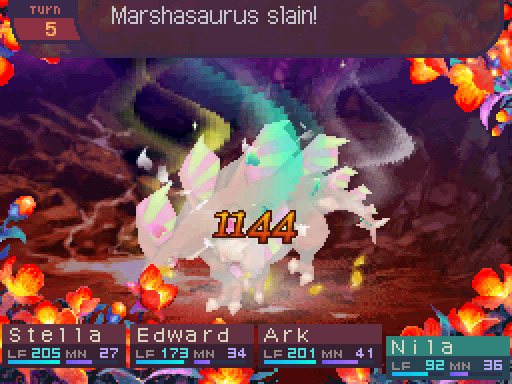
Ding ding ding, motherfucker!
Such beautiful carnage.
If you want the conditional drop, be prepared for fights to take a while and have enough defense and healing to hold out through their assault. Otherwise just fling magic at them if you can, since their low INT really makes Mages annihilate them fast, and there are several of these Marshasauruses throughout the volcano. Fortunately only 1 drop is needed to unlock the weapon, so I never have to fight these dragons the slow way again.
Try staying focused after this!
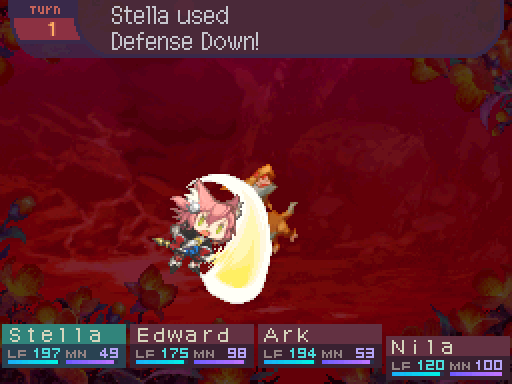
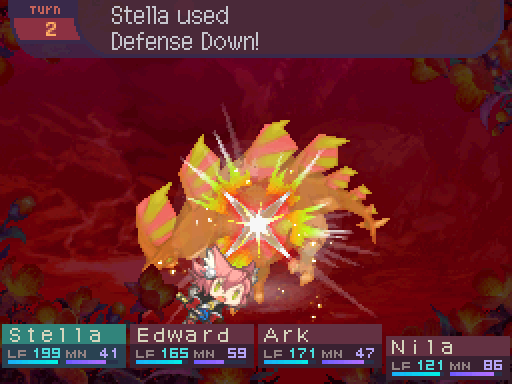
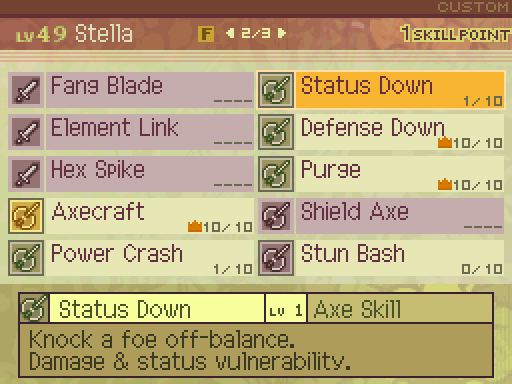
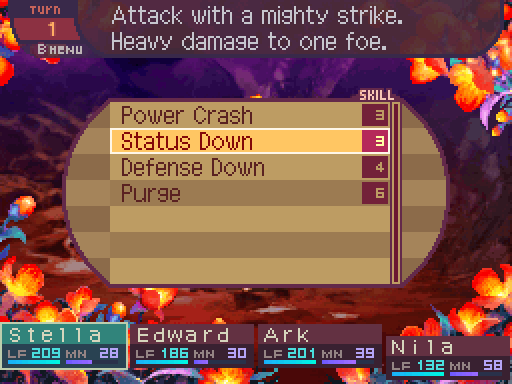
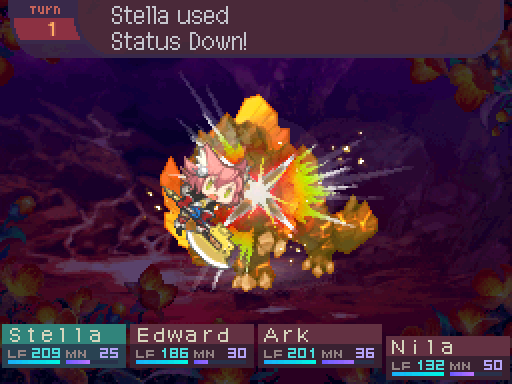
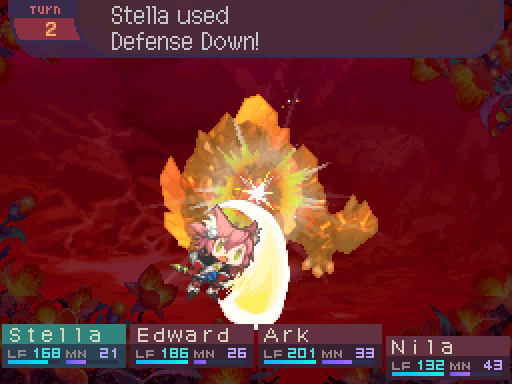
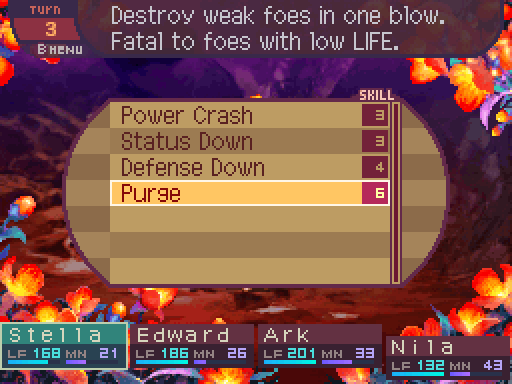
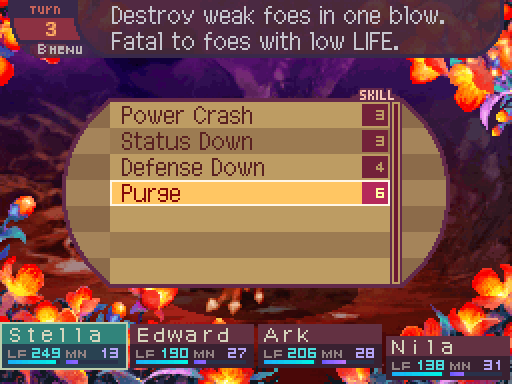
Now that I have Ark actually having to inflict ailments, I pick up Status Down so Stella can support her. It’s pretty much the same attack as Defense Down, has a 90% speed modifier, and 110% to 132% damage.
But instead of inflicting a DEF debuff, it inflicts a status resistance debuff for 10 turns, making ailments more likely to land. The skill isn’t too much by itself, but combined with the Bloom bonus weakening dragons if you clear out enough of it on the overworld, it can really add up and make ailments so much easier to land. At level 1, it applies an 110% multiplier to an enemy’s ailment multipliers.
I think I just got smarter!
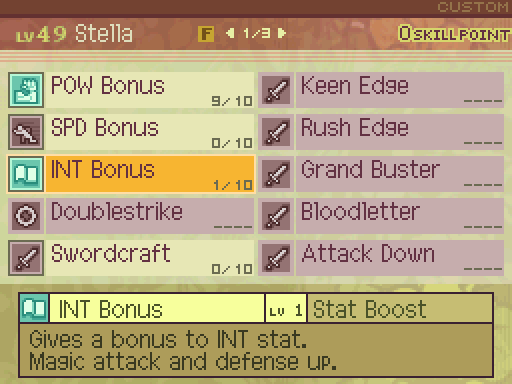
I also pick this up for Stella, as 1 point in INT Bonus is a prerequisite for unlocking Meat Eater, which I want to pick up soon.

Oh yeah, the encounters in this dungeon. They’re similar as the ones right outside the dungeon on the overworld, though there are two new enemies to encounter here. Though Stone Owls and Turquoise Fans aren’t found in this dungeon.

Red Wolf
Level: 53
LIFE: 350
ATK: 147
DEF: 80
INT: 58
SPD: 65
Attack Type: Blunt
Attributes: N/A
Exp: 1040
Gold: 53
Item Drops:
-Normal: Redwolf Fur - 30% Drop Rate.
--Fur of a Red Wolf.
-Rare: Predator Meat - 15% Drop Rate. Hit with Slash damage at some point.
--A predator's meat. For carnivores. Increases POW for the day.
Damage Multipliers:
Slash: 100% Blunt: 100% Thrust: 100%
Fire: 100% Ice: 100% Lightning: 100%
Skills:
Intimidate: 30% chance of inflicting Fear on the entire party. Has a speed modifier of 80%.
It’s basically a weaker version of the Plant Rhino. AOE Fear, but no AOE damage so they’re far less threatening.
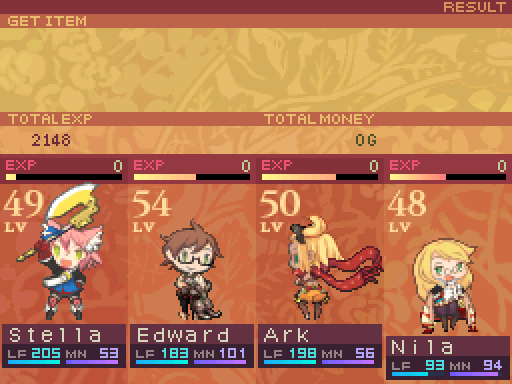
There’s nothing much to say other than randoms are basically an even bigger complete waste of time to be fighting at this point in the game because look at those tiny exp payouts! Randoms barely pay out more exp while dragons give out so much more, it’s ridiculous!
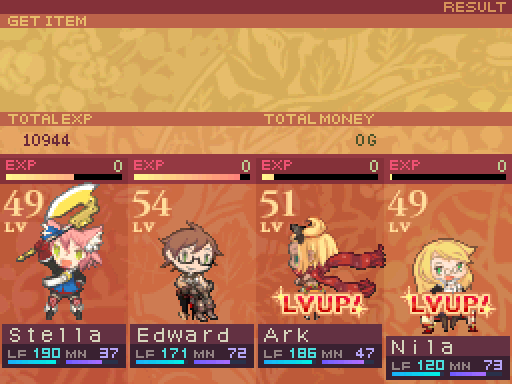
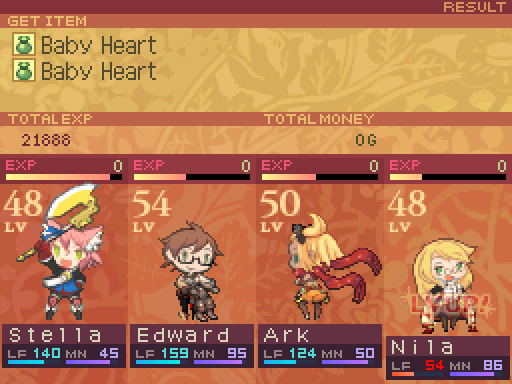
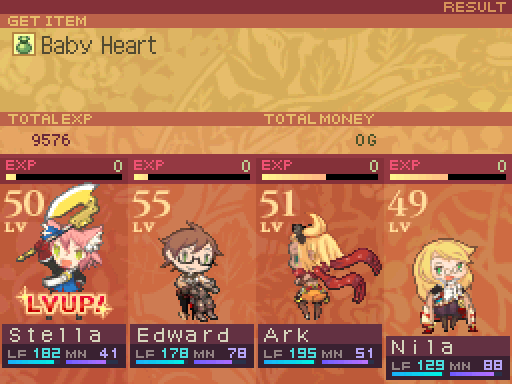
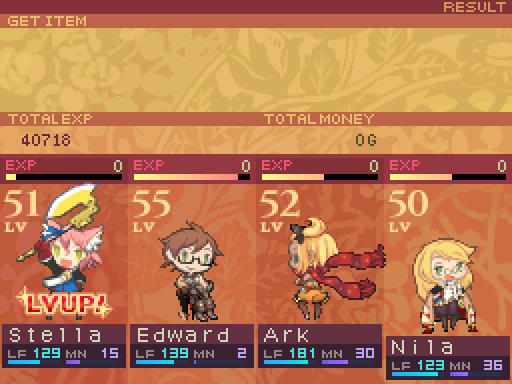
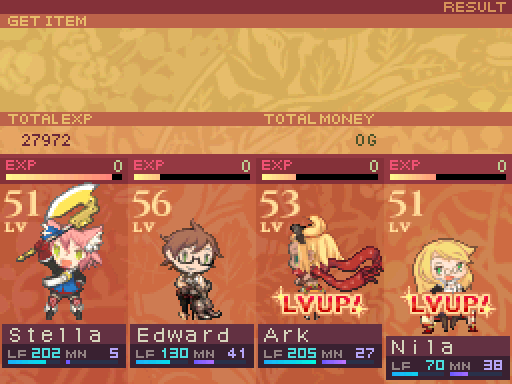
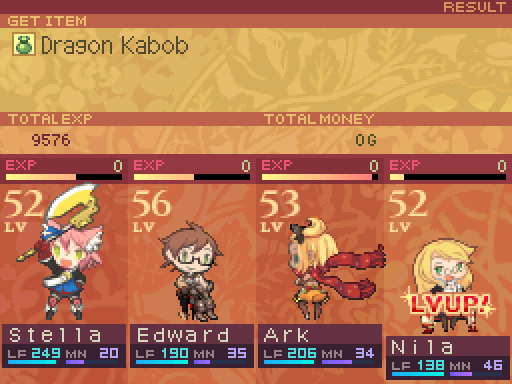
Clearing out the Microdragons on that floor gave some level ups.
Assume that Ark is just working back towards regaining Act Natural, as there’s not really anything else she wants.

Nila on the other hand, will keep powering up her neutral attacks. Skyfall has a spell power of 255%, with a damage multiplier of 170%.
Now that we don’t have to hold Nila back from totally annihilating attacking these dragons, let’s see just how well she fares against them.
Show em what you got this time, Nila!
Gladly!
BRIMSTONE SPARK!
U-um... N-Nila?

AHAHAHAHA!
Nila?
Nila you can stop! It’s already dead!
AHAHAHA- oh. Ahem. Well as you can see, sulfur makes an excellent ingredient in creating such mega blasts as you’ve seen here. Hmm, wonder if I can add any of this magma to the mix somehow.
Ooh! Ya gotta teach me how to shoot giant laser beams outta your hands like that sometime!
Later. The technology is still being tested.
L-Leaving giant sideways craters around isn’t enough- oh who am I kidding!? It’s never enough for you.
I’m glad you understand, Edward!
That pure carnage is just oh so delicious!
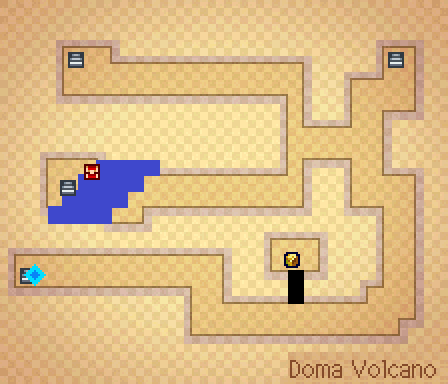
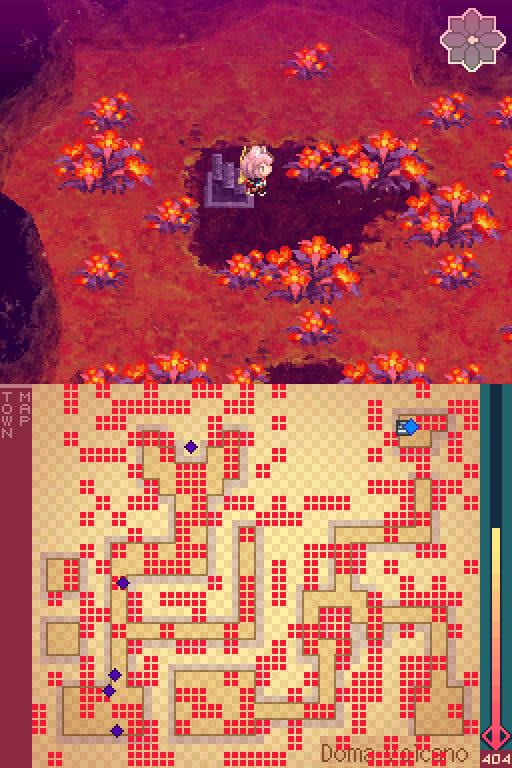
We’re taking the northeastern exit to the next floor.
The dragon movement pattern for this floor. There’s one dragon in the northwest that’s staying completely still.
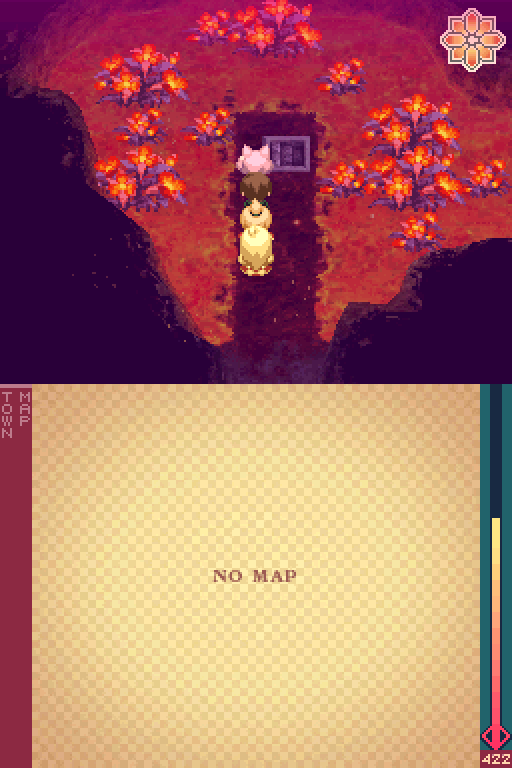
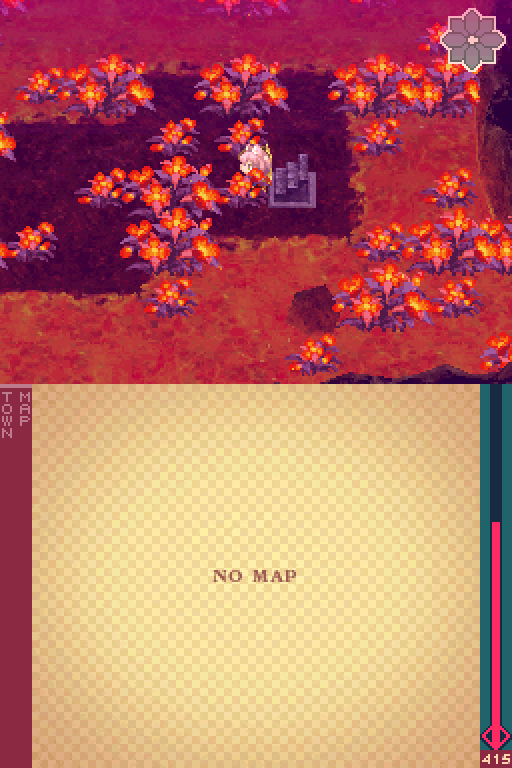
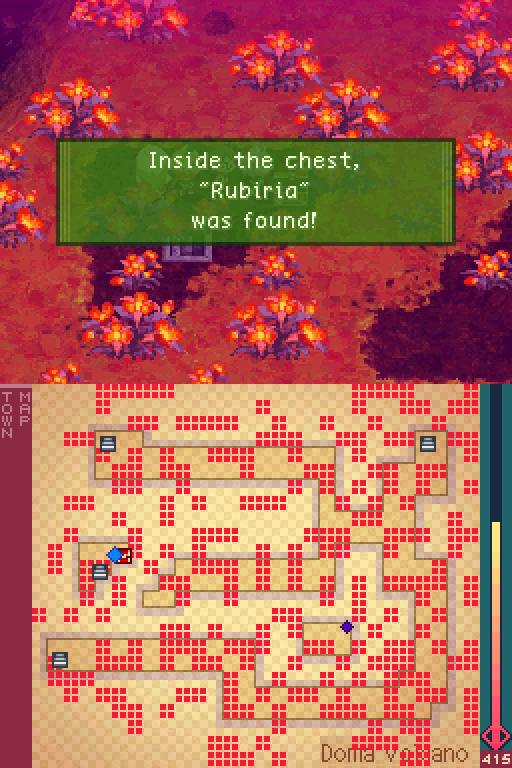
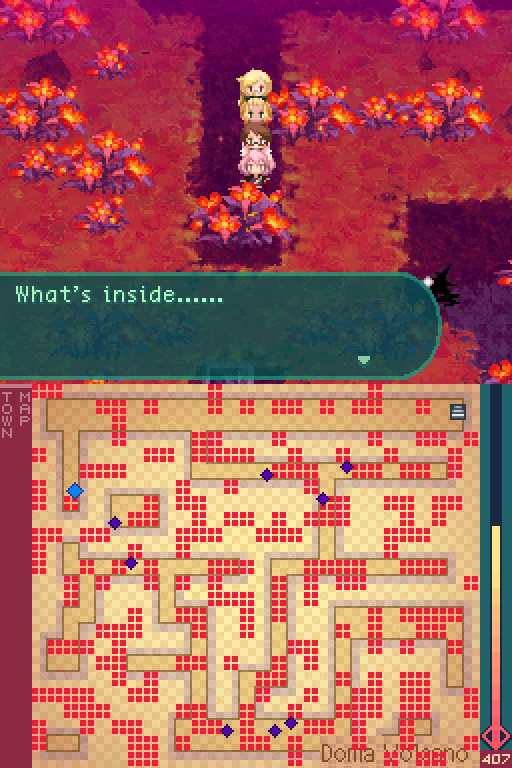
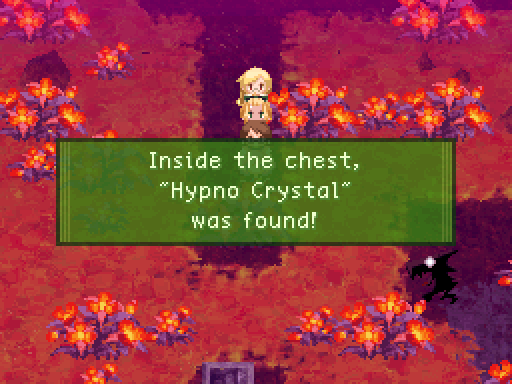
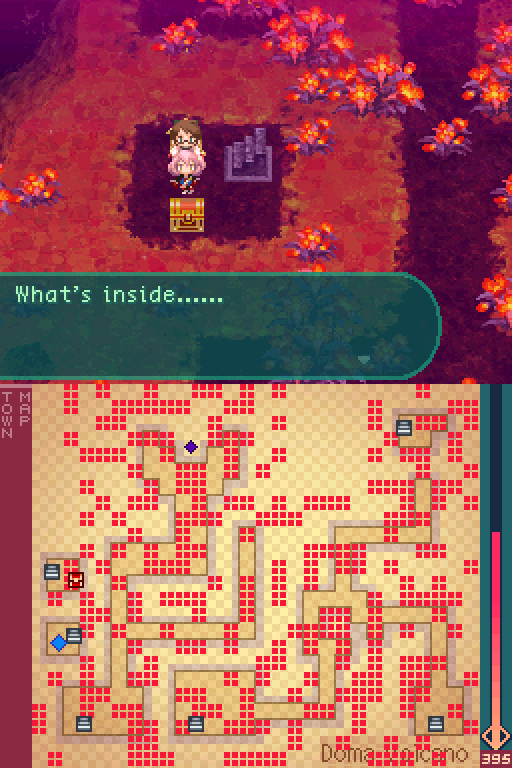
This part of the floor doesn’t lead anywhere other than a chest.
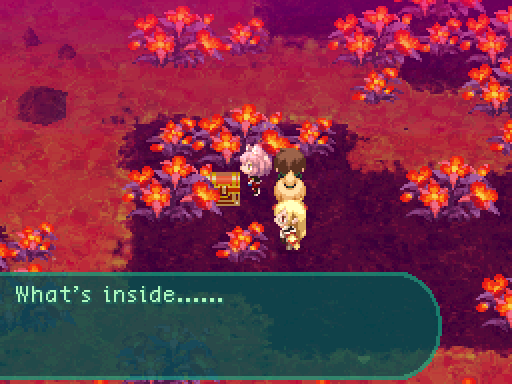
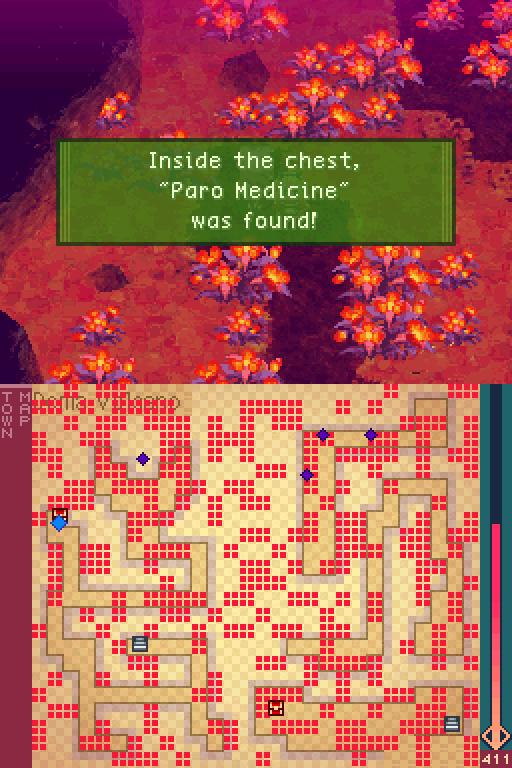
Said chest on the other hand, contains the map of this dungeon. Which is one of the reasons I told you to explore this side first.
Like I told him, we’d be fine without his map. See?
Tch. Of course he’d try to take us for more rides.
Rrrgh! Even as lava, the rocks mock me!
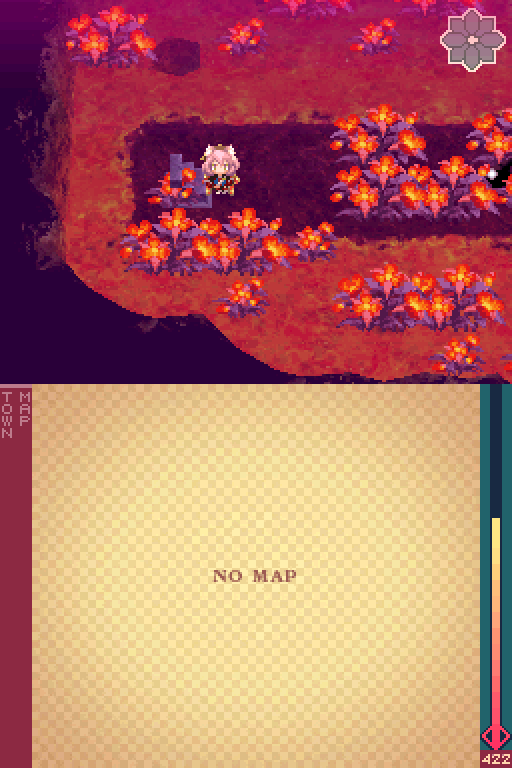
There’s a chest on that island to the west, but we can’t get there right now.
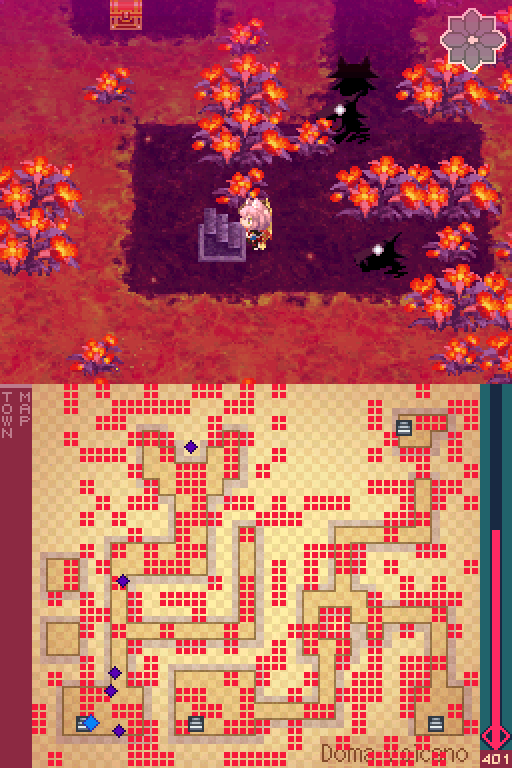
And here’s the final new encounter for this dungeon.

Heartshadow
Level: 53
LIFE: 240
ATK: 130
DEF: 76
INT: 85
SPD: 58
Attack Type: Blunt
Attributes: Small
Exp: 729
Gold: 53
Item Drops:
-Normal: Enchanting Clothes - 30% Drop Rate.
--Raiment of a Heartshadow.
-Rare: N/A
Damage Multipliers:
Slash: 100% Blunt: 100% Thrust: 100%
Fire: 100% Ice: 100% Lightning: 100%
Skills:
Black Curtain: 30% chance of inflicting Sleep on the entire party. Has a speed modifier of 75%.
Negative Fake: Applies a 150% multiplier to one party member’s ailment susceptibility multipliers for 5 turns. Has a speed modifier of 80%.
Heartshadows can be a bit threatening since they can shut down your party, and make it easier for all enemies to inflict ailments on your party. Definitely take them out first if possible. Though they aren’t durable, so they should go down fast.
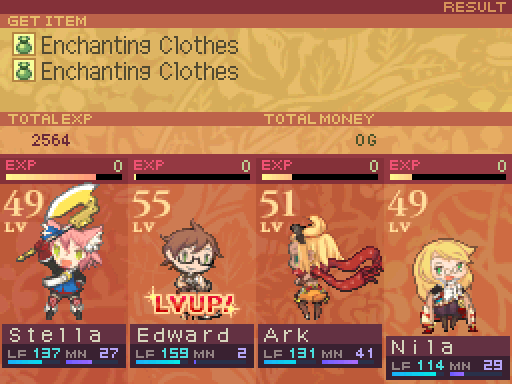
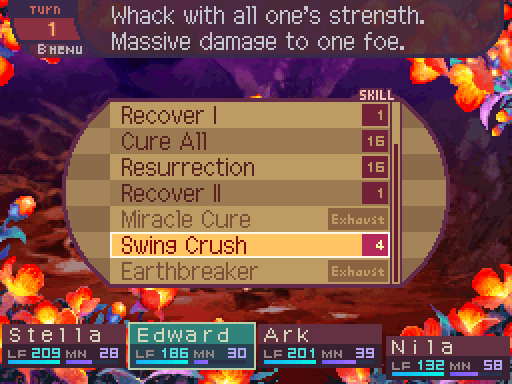
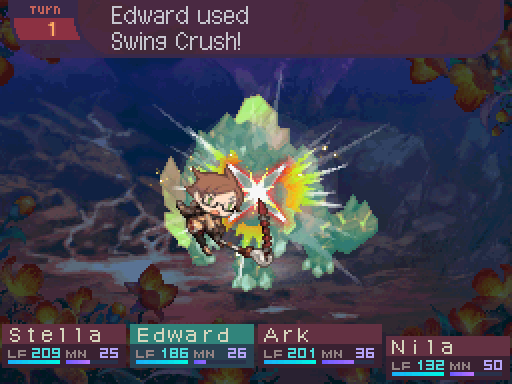
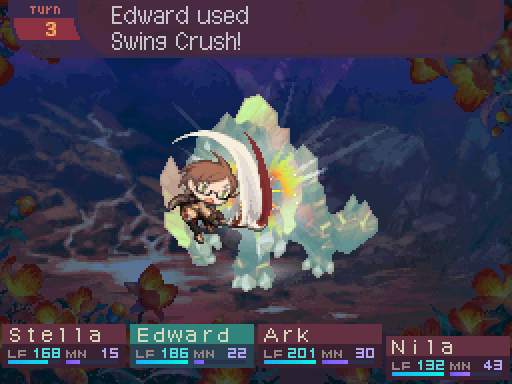
Edward was so close to a level up, a random battle actually pushed him up there despite the meager amount of exp.
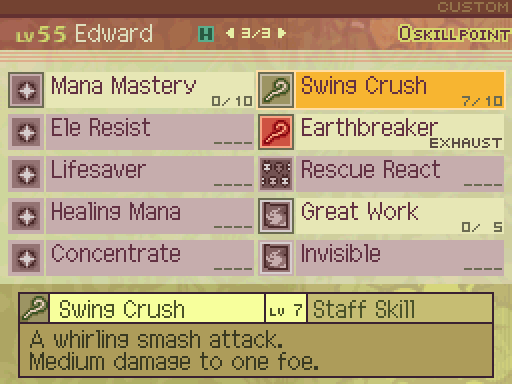
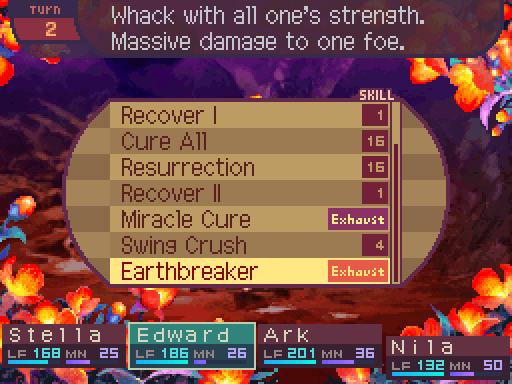
Swing Crush now deals 160% damage.
Hitting up the northwestern exit this time.
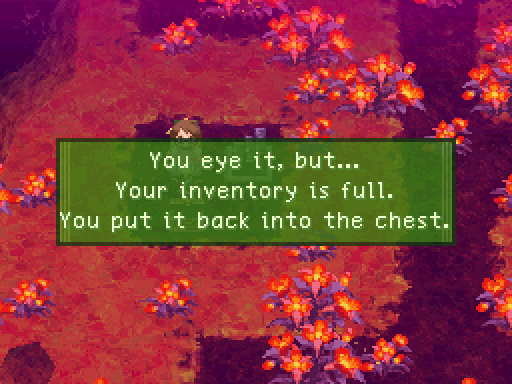
Just a bit up north there is this staircase.
...On second thought, those lava rocks can keep this trash.
Which leads to a rather crappy chest.
More level ups from our baby slaying rampage. Stella needs 3 SP to learn Meat Eater though, so I need to wait for her to gain 1 more level to do so.
With Nila being able to go full blast, it only takes this party 4 turns to kill this dragon instead of 6. Definitely makes engagements with them a lot more bearable.
An alright supply refill for something that’s coming up I guess.
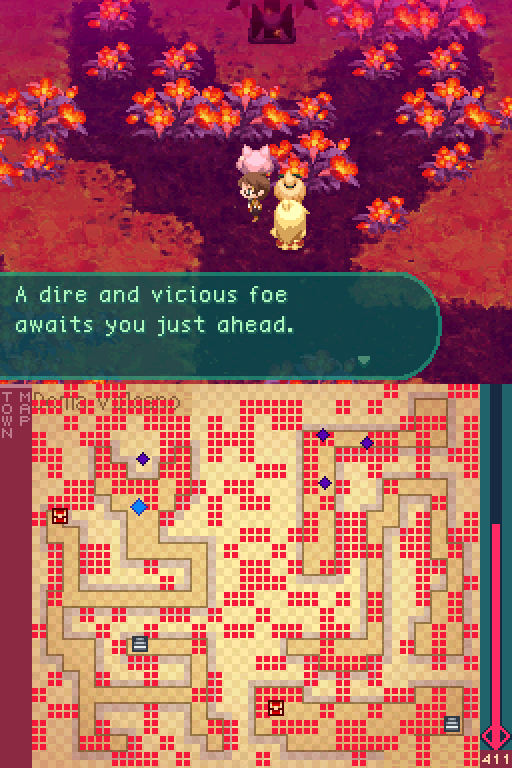
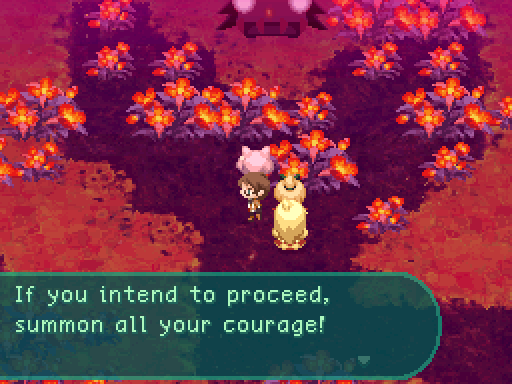
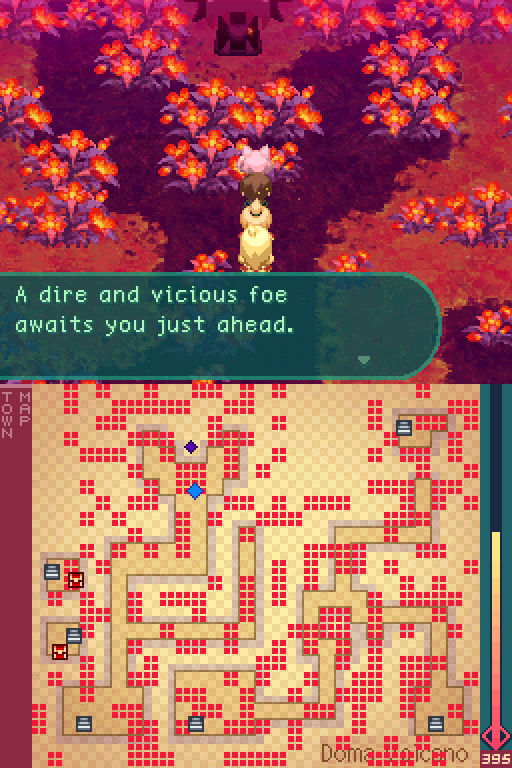
As for the main objective in this dungeon, these dragons waiting at the end of these sections of the floors are it. Defeating these minibosses will make the battle against Flame Eater easier.
I advise packing Petrification dispels of some kind before tackling them.
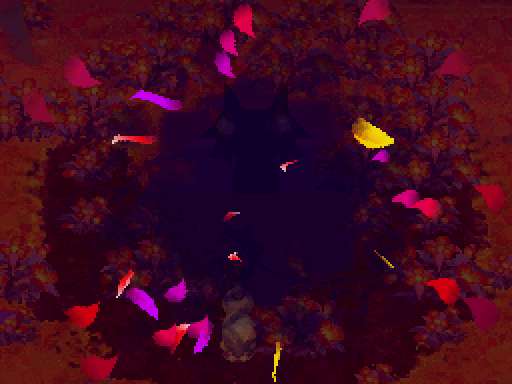
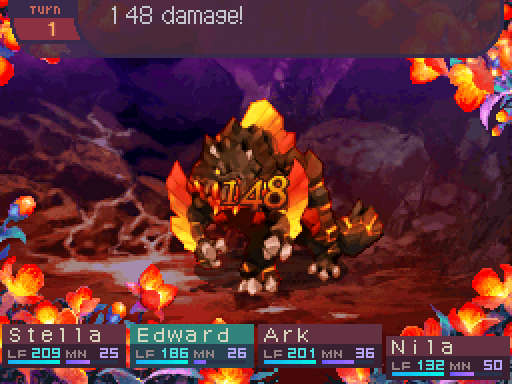
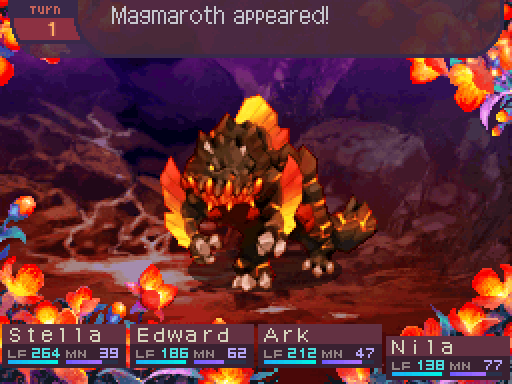
 Video: Magmaroth

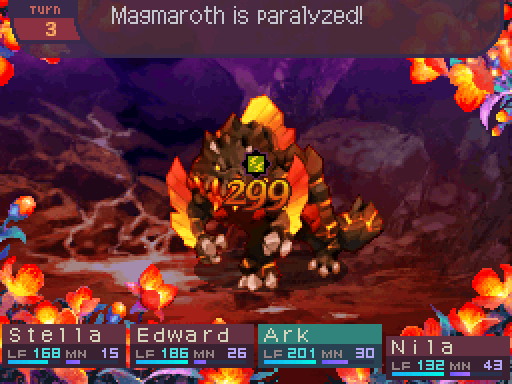
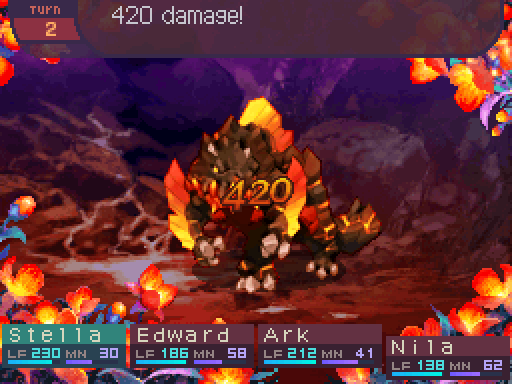
Whoa! Look at that! There’s so much lava coming out of that dragon!
Think if we take it out, it’ll cut off some of the lava flow here?
It’s worth a shot! Let’s shut down this fountain of magma!

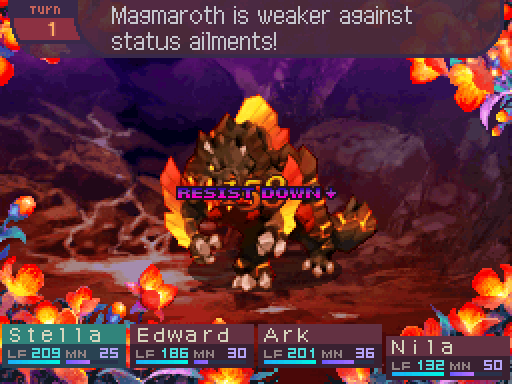
Magmaroth
Level: 52
LIFE: 3800
ATK: 170
DEF: 110
INT: 65
SPD: 50
Attack Type: Blunt
Attributes: Dragon, Death Resistant
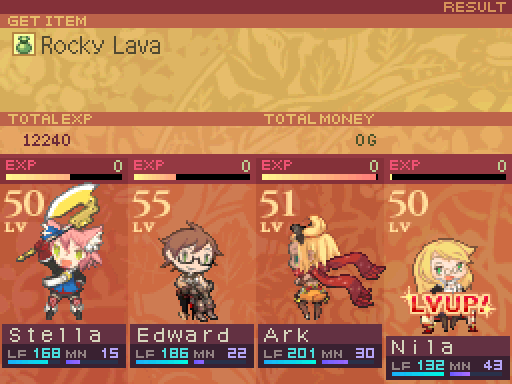
Exp: 12240
Gold: 156
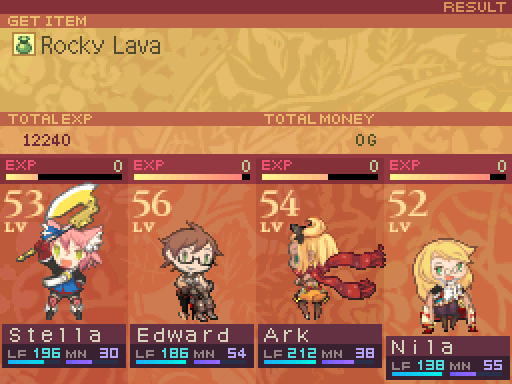
Item Drops:
-Normal: Rocky Lava - 30% Drop Rate.
--Lava from a Magma Dragon.
-Rare: Bloom Seed - 5% Drop Rate.
--A seed with the power of the Bloom. Restores the Bloom to an area.
Damage Multipliers:
Slash: 50% Blunt: 100% Thrust: 100%
Fire: 0% Ice: 150% Lightning: 50%
Ailment Susceptibility:
Death: 10% Masked Pain: 100% Skill Seal: 25%
Fear: 25% Curse: 50% Bleed: 25%
Poison: 50% Sleep: 25% Confuse: 25%
Paralysis: 50% Blind: 25% Stun: 100%
Skills:
Rock Cannon: Deals 130% ranged ATK-based Blunt damage to one party member. Party members adjacent to the initial target take 80% damage instead. Has a speed modifier of 90%.
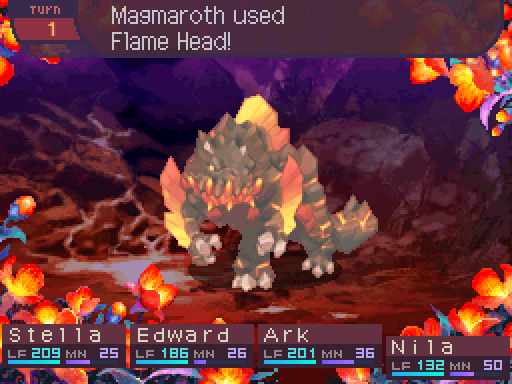
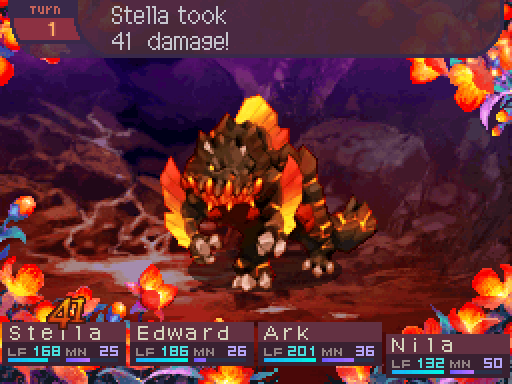
Flame Head: Deals 120% melee ATK-based Fire damage to one party member. Has a speed modifier of 90%.
Stone Breath: Deals ranged INT-Based Fire damage to all party members. Has a base damage of 90. Has a 15% chance to inflict Petrification. Has a speed modifier of 70%.
Fireball: Deals ranged INT-Based Fire damage to one party member. Has a base damage of 130. Has a speed modifier of 80%.
Magmaroths are heavily souped up Armanoses, with a flavor of Fire added to the mix, and boy did they get a sizeable upgrade! Not only are their stats way better, they picked up several new skills. Rock Cannon got an upgrade, just hitting even harder overall. Magnum Head got replaced with Flame Head which swapped out the Blunt damage type for Fire, and lost the Stun for whatever reason. The bigger changes though are Stone Breath and Fireball. Fireball is another single target attack in its arsenal, but Stone Breath is easily the most threatening attack to deal with. It’s an AOE Fire attack but with a small chance to inflict Petrification! An unlucky series of procs from that can end a run, so definitely pack ways to get rid of that ailment!
Fire resistance is a one way to make this miniboss less threatening, so a Knight with Firebreak can deal with Stone Breath and Fireball, though it can’t protect the party from Flame Head since that uses the ATK stat. That being said, no matter how many levels Firebreak has, it won’t be able to nullify the Petrification from Stone Breath. Shield Front can be at least used to deal with Rock Cannon and Flame Breath. Heat Regulators on the other hand, will deal with every single Fire attack since it's a resistance debuff, though like with Firebreak it can't do anything about the Petrification from Stone Breath. Otherwise, just try to exploit the Ice weakness if you can, and do your best to live through this battle.
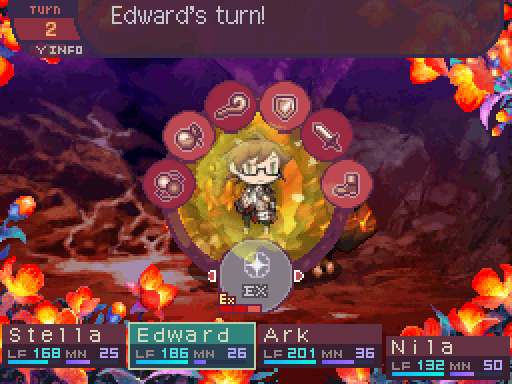
I’m going to have Stella open up with Status down this time, namely so that Ark can have an easier time inflicting Paralysis if she fails on her attempt this turn.
The nice thing about battle Healer is that even if the damage isn’t super impressive, it’s still something they can do to contribute when they don’t have to heal.
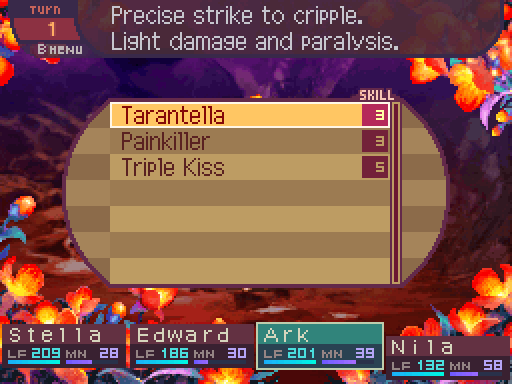
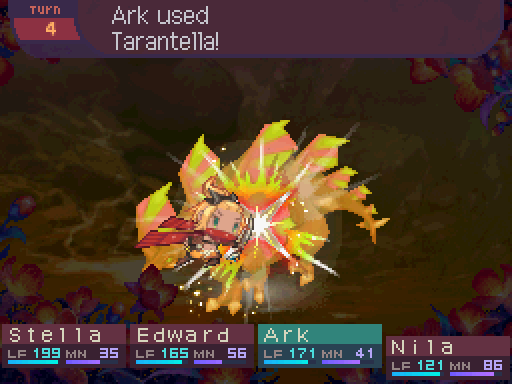
I won’t be going for the Masked Pain strat on this boss, as I just want Ark to be spamming Tarantella for the Paralysis, and with Nila, we’re really not lacking for damage. The less I see of Stone Breath, the better.
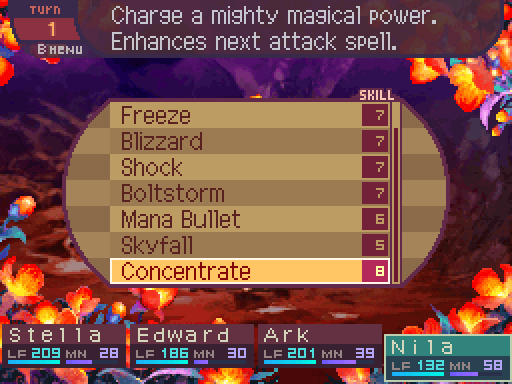
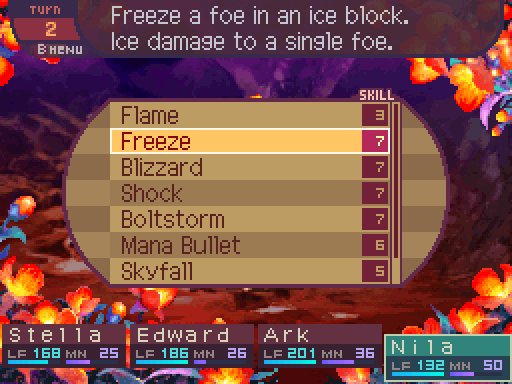
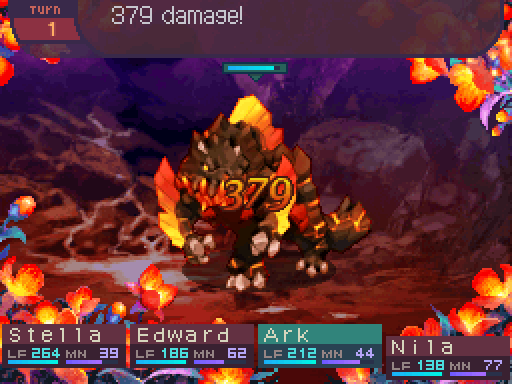
Nila will be preparing a frosty grave for the Magmaroth.
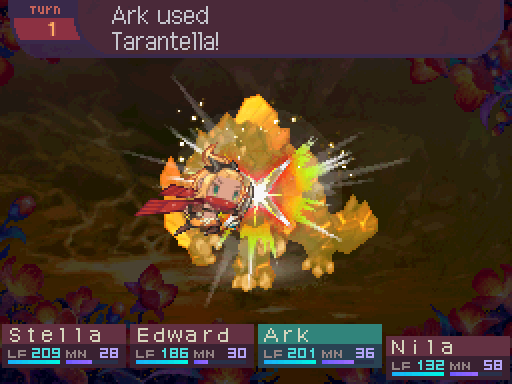
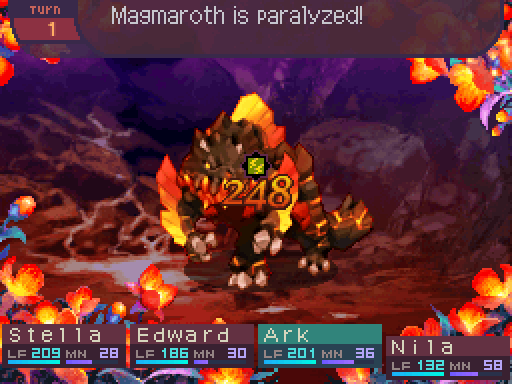
Oh sorry, I didn’t realize ya needed those kneecaps! Nyahahaaaa!
That’s an excellent start to the battle!
This shouldn’t be too much trouble.
I... guess you didn’t need my help after all. Eh heh.
Eh. It’s appreciated.
Oh well.
I... think I’m helping. Maybe.
Oh don’t worry! You’re helping a lot!
Eh heh. Uh, thanks Stella.
Um. A-Are you alright, Stella?
I’m fine! Don’t worry about me. Just keep on attacking!
If you say so!
Knife sharpened...
Ready for a deep freeze!
Time to fire things off!

That was probably overkill, but I don’t care!
You can actually reinflict the same ailment on an enemy even if they already have it. It’ll reroll the duration it lasts for, though due to how the ailment duration mechanics work in this game, it’s actually possible to shorten the duration of the ailment from what it used to be. Just something to keep in mind.

Magmabreaker!
Very nice damage.
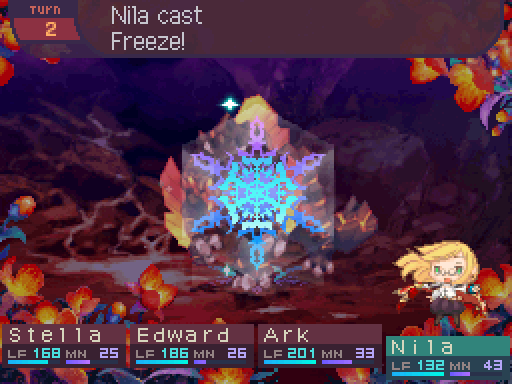
Frigid coffin!
Goddamn, Nila!
That lava won’t save you now!

Awww, how sad for you!
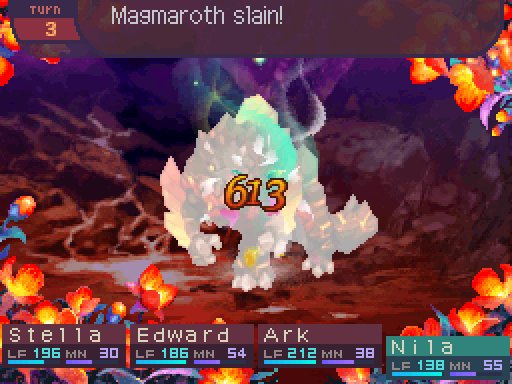
Time to end this!
And with this, it should be going down this turn.

Beat that, you two!
When did this turn into a competition?
Hahahaaa! I’m running circles around ya!
Jesus Christ, Ark! She’s just out for blood!
Your uh, eruptions stop here! ...Eh.
Don’t worry about it too much, Edward. It’ll get easier as you do it more.
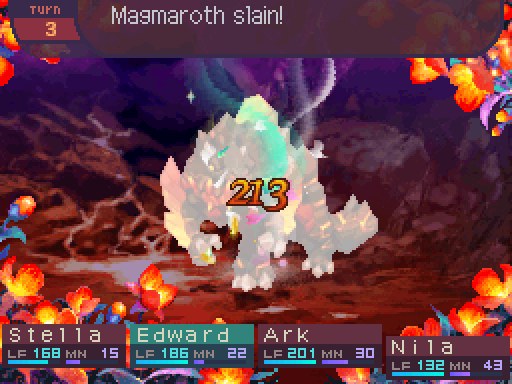
Definitely not a fight you want to drag out too long, as the Magmaroth can hit pretty hard and instantly take party members out of the fight with Petrification.

Oh! Looks like killing that dragon cooled down the volcano a bit.
Um. Considering that Flame Eater’s basically doing the same thing, isn’t that the opposite of what we’re supposed to be doing!?
Yeah, it’ll make the inn’s business harder to keep up. What a real tragedy, I know.
So basically, no collateral damage that actually matters is on our consciences. Besides, what’s he going to do? Pay us nothing?
Oh yeah. Be a real shame to lose 100% of our one gold piece profits there.
I guess that’s true.
Taking down the Magmaroth did a few things. There are 2 of them in this dungeon, one on each side. Each dead Magmaroth will reduce Flame Eater’s regeneration by 150 LIFE, with both dying getting rid of it entirely.
I’m surprised this is cool enough for us to walk over.
Then we should be able to get around this volcano easier!
Not only that, killing one also cools down several of the lava tiles opening up previously inaccessible paths.

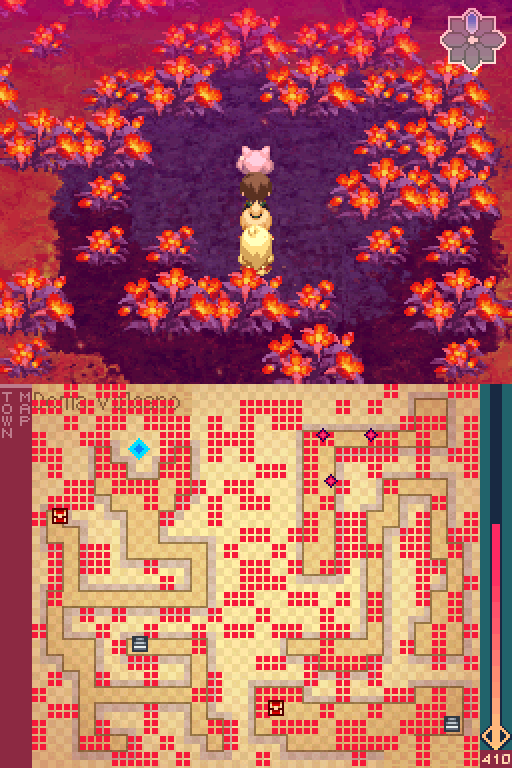
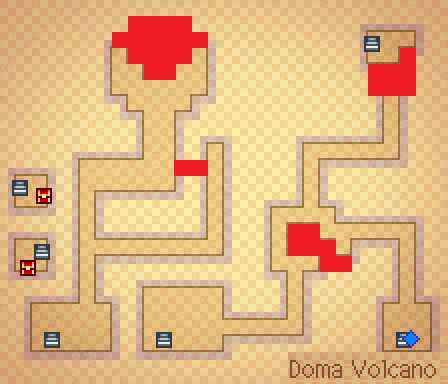
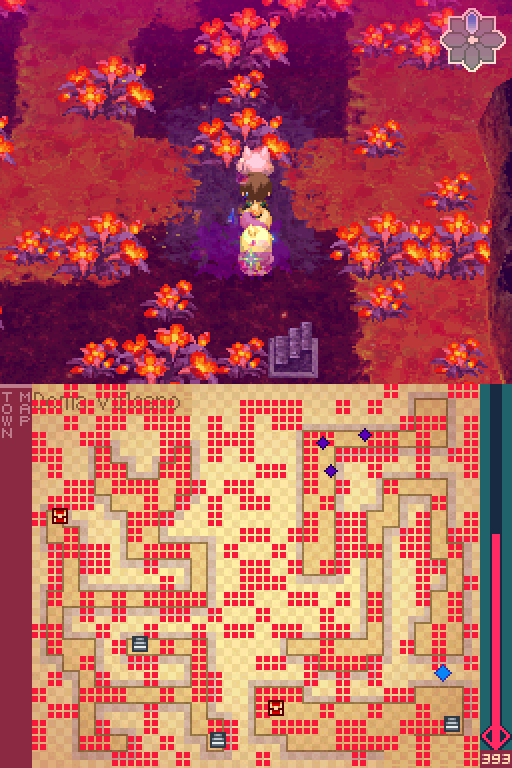
Now that we know what this dungeon’s gimmick is (other than mass dragon swarms), I’ll show you the true maps of this dungeon. Tiles marked in blue will be accessible once the Eastern Magmaroth is dead. The tiles marked in red will be accessible once the Western Magmaroth is dead. And the tiles marked in black become walkable once you kill both Magmaroths.
We’ll have to come back to this floor later to kill off the other group of dragons here.
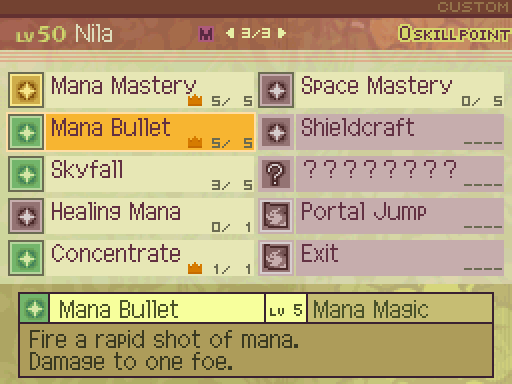
Mana Bullet is now maxed out, having a spell power of 360%, and a damage multiplier of 200%.
Not much really changed on this floor, as the island to the west was already accessible from the lower floor. We can’t reach that gathering point or dragon for now, unfortunately.

A timely Bloom Seed spawn strengthens my party a bit more.
Okay. Now once again. Hold it by the white part. Bring it a little to your left.
Like this?
Good, good. Now uh, chomp down on the- no no, that’s the bone! The brown part Stella, the brown part! That’s the actual food... part... thing...
Oh. Mmmm! That’s real yummy!
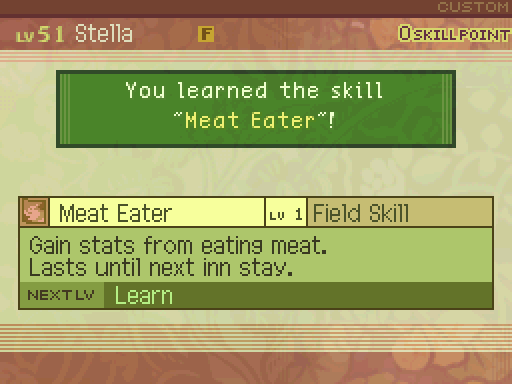
And congratulations! You finally learned how to eat meat! Sheesh! That took way longer than it should have...
Now Stella has the capability to eat meat. They’re items that drop from a lot of enemies, and frequently you have to follow a conditional drop to get them, and even then the chances of snagging a piece of meat can be low. Meat Eater is essentially a cost efficient way of increasing the Fighter’s stats SP wise.
All you have to do is select the desired meat outside of battle to feed to your Fighter and...
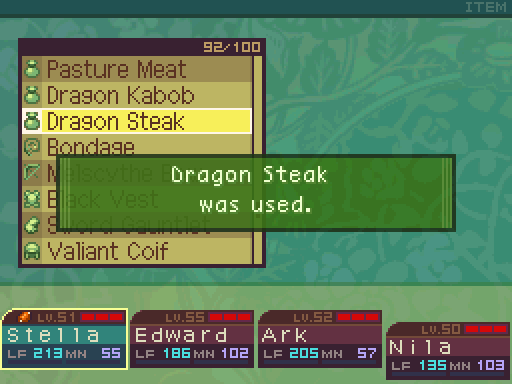
OMNOMNOMSNRAGHFLLKRRT!
Wow, she is just tearing into that thing!
BWRAAAAAAAP! Ahhh... Ahem, excuse me. Ah, that was a good meal! I feel pretty energized!
Was it really that good?
Yep! Just a heavenly dish! O-Oh. I uh, should have saved some for the rest of you. S-Sorry about that.
Oh it’s fine. Eat as messily as you want! We’ll get our nutrition elsewhere.
Your Fighter will be buffed, with a little meat icon on their bar to indicate that. This buff will last until your Fighter rests at an inn. Healing springs or other healing stations won’t get rid of it. You can even drop off your Fighter at the guild while everyone else rests at an inn to ensure the meat buff stays on them. However that does come with the problem of them not being able to restore their EX meter as easily.
You also cannot stack meat effects, as only one can be active at a time. You can have multiple Fighters each with a meat buff, but that’s about it. Now as for all the meat items and what they do... The meat effects are as follows:- Light Meat: +5 SPD.
- Bird Meat: +8 MANA, +3 SPD.
- Predator Meat: +3 POW.
- Fish Meat: Decreases Fire, Ice, and Lightning damage multipliers by 20%.
- Crab Meat: +3 DEF.
- Pasture Meat: Decreases ailment susceptibility by 25%.
- Hawk Meat: +5 INT.
- Piggy Meat: +6 ATK.
- Horse Meat: +16 MANA.
- Buffalo Meat: +20 Life, +3 ATK.
- Dragon Kabob: +10 SPD.
- Dragon Filet: +10 INT.
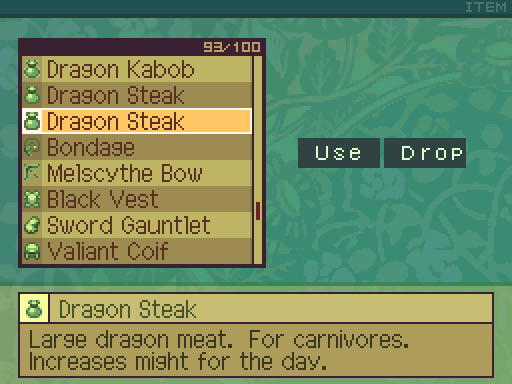
- Dragon Steak: +50 Life, +7 POW.
They’re all some kind of stat boosts, with some meat effects being straight up superior to others. The dragon meat generally offers the biggest stat boosts, though some of the meat from the smaller monsters are also really good to have.
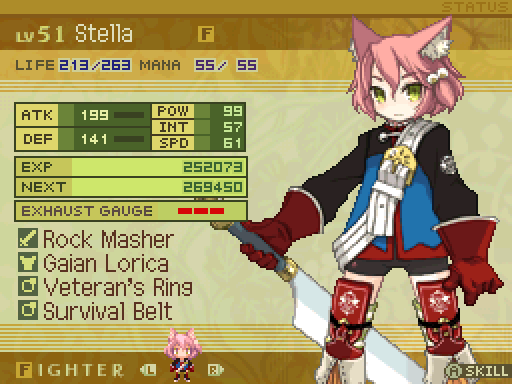
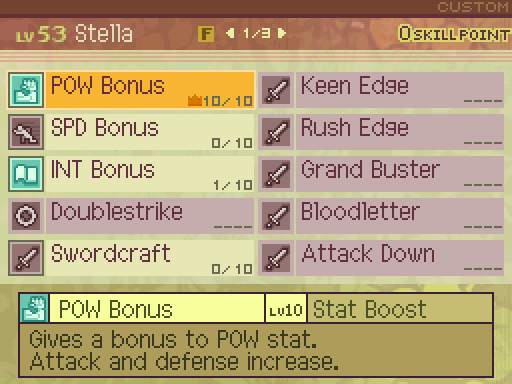
Stella is very beefy now. +50 LIFE vastly increases her durability by a shit ton. And +7 POW is just a really nice increase to have what with both ATK and DEF getting a sizeable increase. All of this essentially for the cost of 4 SP. (Which would be +2 POW for comparison.)
Anyways, now that we’ve done all we can on the right side of the dungeon...

Let’s check out the left side.

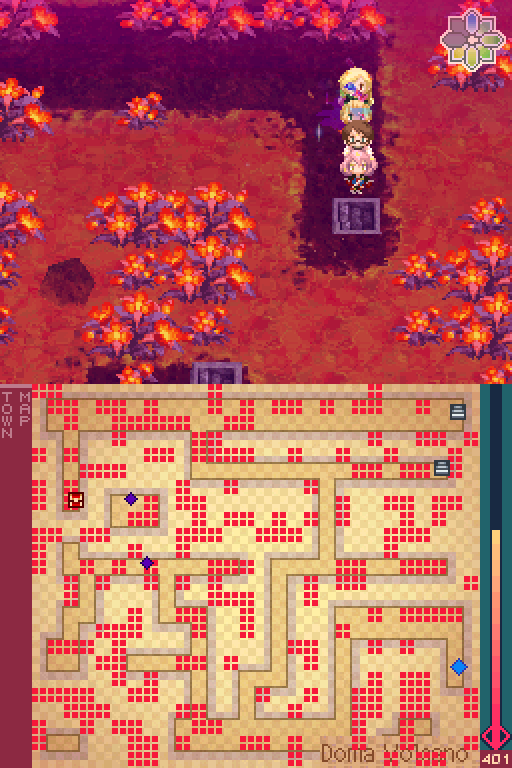
Here’s the dragon movement pattern for this part of the dungeon.

And the full floor map. This is also why I said to tackle the right side first, as not only does that place contain the map, killing the eastern Magmaroth opens up pathways on the left side of the dungeon. While killing the western Magmaroth doesn’t do anything of the like on that front for the right side for some reason.
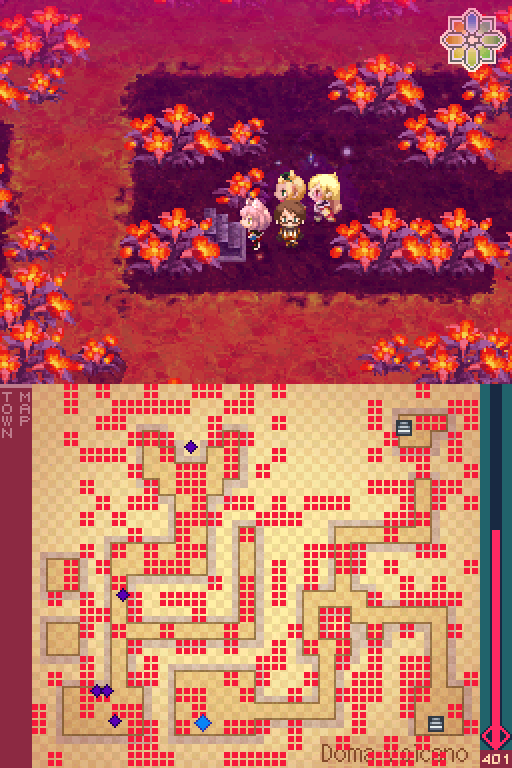
Ooh, always a welcome sight!

Don’t mind me, just having a nice little candlelit dinner date with lady luck! Now, anyone else want some more!? Come at me ya jerks!
Whoa. I can’t believe just how many dragons you’ve stopped in their tracks!
I know, right? Heh heh, I uh, really appreciate ya’ll helping me out like that. I don’t think I would have even thought about trying this out if it weren’t for you all!
Oh don’t forget that you’re doing a great job with that kunai! You’re doing all the work there, you know.
Throughout this entire dungeon, I’ve started to understand just how much of a fucking monster Ark is! There are plenty of moments off camera where she just stunlocked the opposition and it’s just a sight to behold. 
The funny thing is, this isn’t even the peak of her bullshit. She can get even stronger.
That entire slaughter fed my party so much exp. Though I hold onto Nila’s skill points for now.
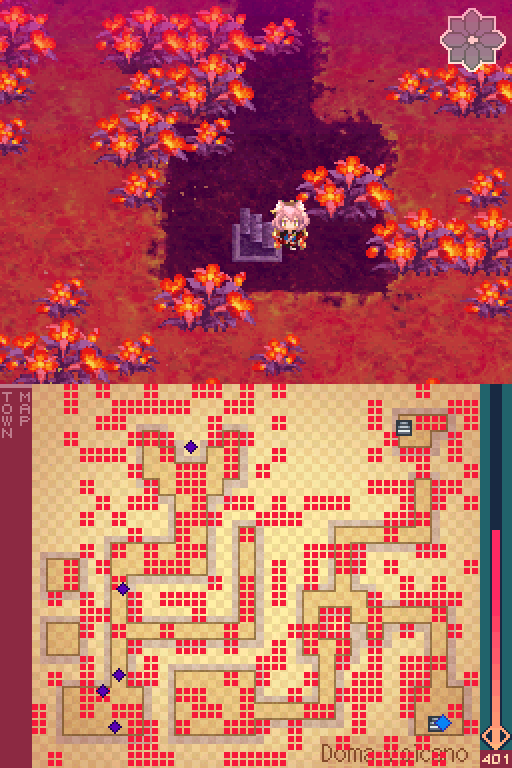
There’s a staircase right below the one we came down.
It leads to an island we can’t get out of.

Might as well show off the dragon movement patterns while we’re down here. That Magmaroth is waiting at the end of the western path.
And here’s the full map of the place. We can use this staircase as a path back, but since that Magmaroth is still alive, we can’t do that right now.
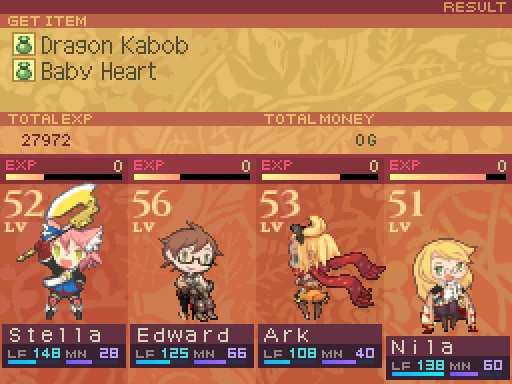
This entire dungeon is one massive exp pinata fest with how easy the dragons are to kill here. I hold onto Stella’s SP for now.
That series of staircases is how we reach the western side of the bottom floor on the left side, as the other staircases up there lead to side areas.
More dragons for the slaughter made me remember that Nila had some SP to spend.
Skyfall now has a spell power of 270% and a damage multiplier of 180%.
For the most part, this fight goes swimmingly until...
Huh!? What a disaster!
Ehehhehh... Oops. S-Sorry about that.
WHAT!? 
I did not know that death increased Pain Counters! Well uh, that screwed up a whole bunch!
Holy shit, talk about a disaster kill!
It’s okay, we managed to salvage that. It’s all good!
With another level up, Stella has now maxed out her POW. Aside from more level ups, this is about as hard as she can hit.
Before I move onto kill the Magmaroth, I realized there were some side areas I left behind.
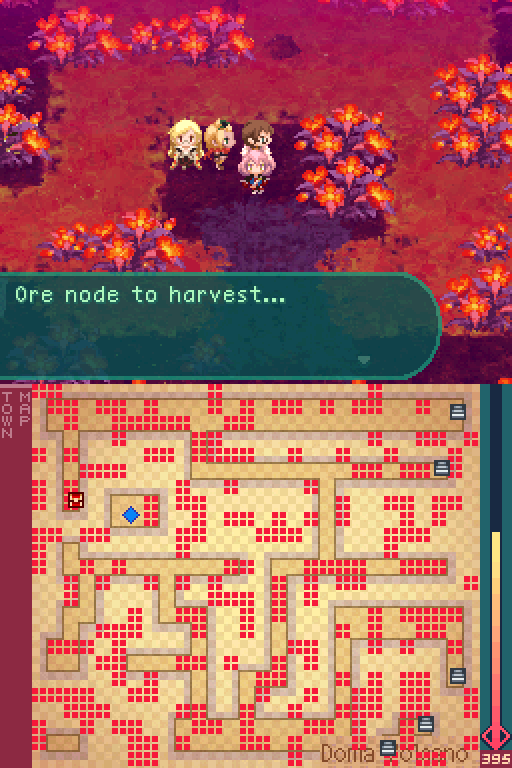
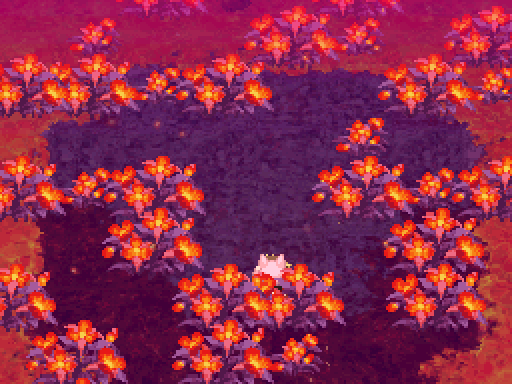
Ore Node:
-Tamafite: 59% Gather Rate. 5 needed to unlock the Shiranui. (Katana. +118 ATK.)
--Can be found almost anywhere. Easy to work with, but a bit frail.
-Little Stone: 40% Gather Rate.
--Just a stone.
-Dragon Egg: 1% Gather Rate.
--Translucent egg of a dragon. Recovers one level of EX Gauge.
Not much to find here, though there’s a very rare chance of snagging a Dragon Egg if you want to try for that.
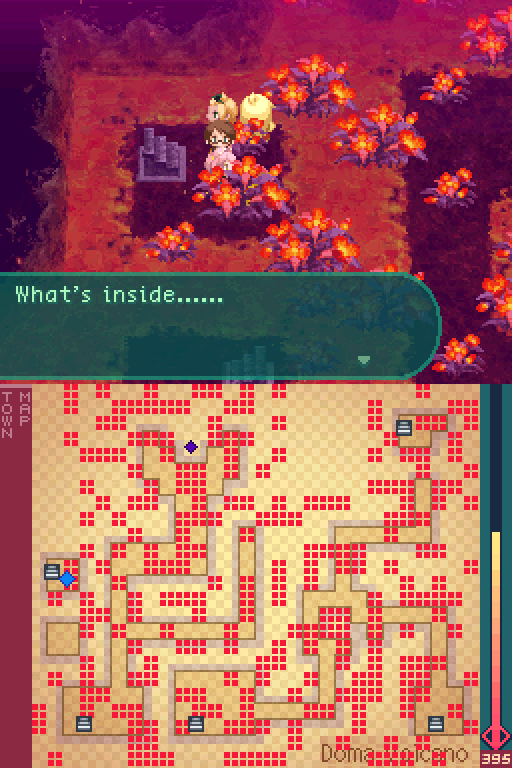
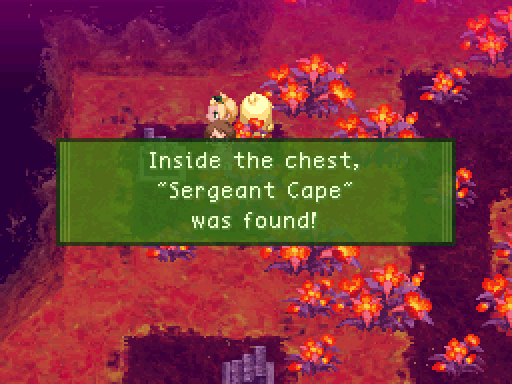
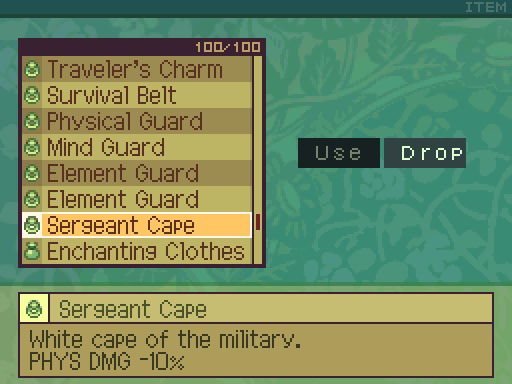
We get a nice little accessory, though it’s somewhat irrelevant for this dungeon. Still could be a good way to increase survivability on your squishier party members.

For something that required exploring half the dungeon to unlock, that sure is a crappy reward.
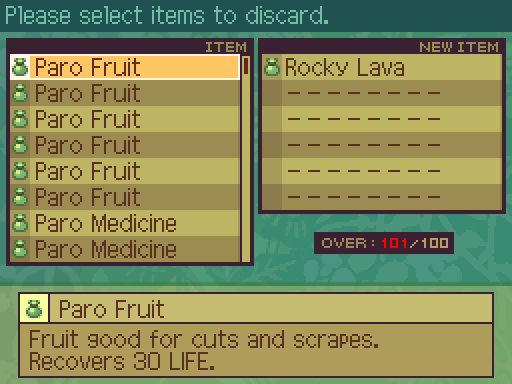
Yo Stella, you mind tossing out some junk in there? The pack’s about to burst wide open!
Uh, oops. Right, let’s sort these out...
Whoops. Because of that healing spring at the beginning of the dungeon, I forgot to go and sell my items since I didn’t have to go back to a town. I toss out some unneeded supplies and pick up that Mana Water.
Now, back to that Magmaroth.


This Magmaroth is identical to the other one we fought.
What do you know? Ice is super effective against fire!
It dies even more horribly than the first due to our party being way stronger with all the exp that was injected into them.
Um...
We... should probably dump all this at the nearest shop before we explore anymore of this place.
Oops. I forgot to clean out the inventory some more.


Whoa! This place is really cooled down now!
Flame Eater’s sure not going to like that! Let’s hurry before he recovers!
Now the entire dungeon is open to us. Let’s go back to the right side, as there were a few things we had to leave behind there on our initial visit.
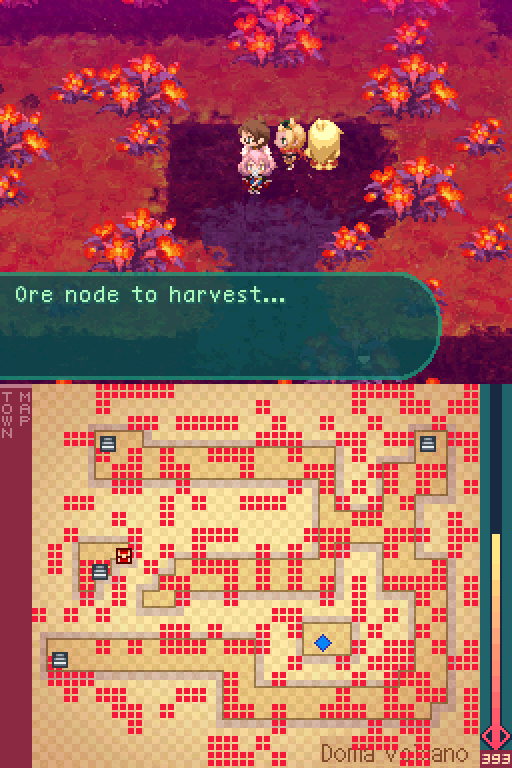
Eastern Gather Point:
Ore Node:
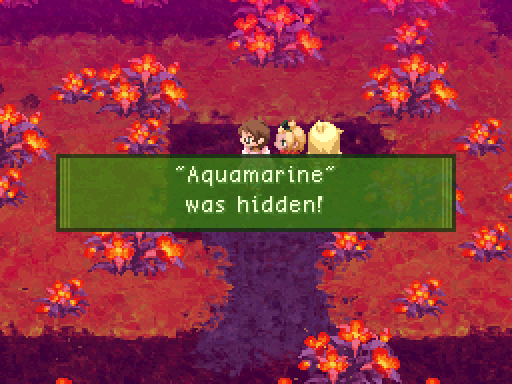
-Aquamarine: 40% Gather Rate.
--A sea blue mineral. Widely used as a gemstone.
-Tamafite: 30% Gather Rate. 5 needed to unlock the Shiranui. (Katana. +118 ATK.)
--Can be found almost anywhere. Easy to work with, but a bit frail.
-Little Stone: 20% Gather Rate.
--Just a stone.
-Crystal Shard: 10% Gather Rate. 10 needed to unlock the Noble Tunic. (Armor. +30 DEF, +15 MANA.)
--A clear, colorless shard of crystal. Catches the light strangely at times.
Only thing really notable here is the Noble Tunic unlock, however that requires a bunch of other lategame materials to unlock, so don’t fret about getting 10 of those.
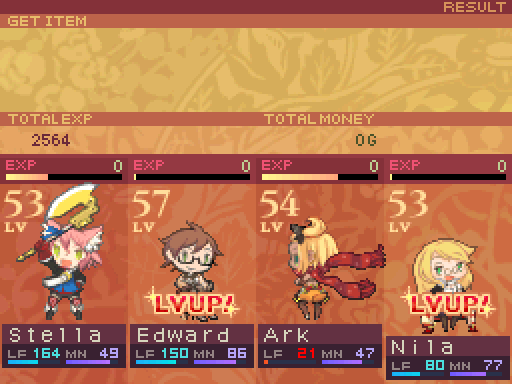
And the party continues to grow ever so stronger.

Swing Crush now has a 165% damage multiplier.
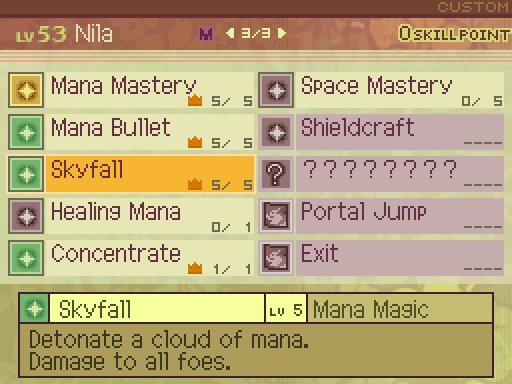
With Skyfall maxed out, it has a spell power of 290%, and a damage multiplier of 200%. Nothing can truly stand in Nila’s way now!
With this path open, we can finally clear out the dragons here, and see what waits for us at the end.
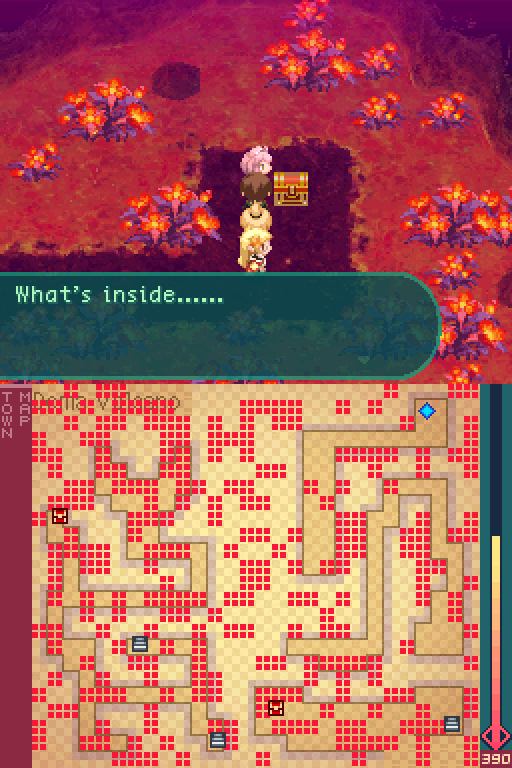
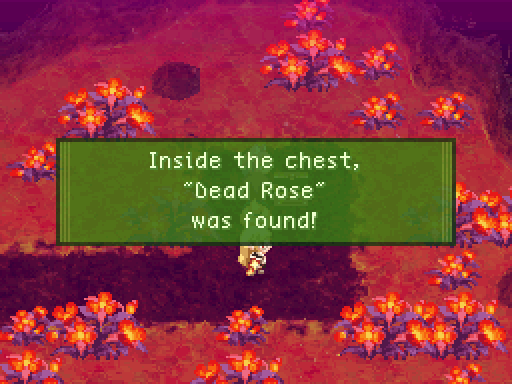
That’s... kind of disgusting.
I’m amazed they haven’t burst into flames already.
Hmm, I think this might make for a great present for Telos!
...Are you sure about that? I’m not really sure how well a demon, or even Dia, would react to being given a bouquet of dead flowers.
Ohhhh, I get it! Heh heh, Stella, if ya want to warm up with Telos, ya gotta get her something a little nicer!
Oh my, I see we may need to educate Stella on other matters. A pile of dead roses isn’t a great way to confess! We’ll have to find you a better present to give to her!
Uhhhhh, I just thought it’d make for a nice weapon. It’s pretty thorny, see? Ow! Mmph. Might hurt whoever gets slapped with this.
Ha ha ha. Come on, quit teasing her. I’m not sure how much of that she understands, or if Telos really feels the same wa-quote:
 YOU WILL CEASE SUCH CHATTERING AT ONCE IF YOU KNOW WHAT’S GOOD FOR YOU!
Iiiiiii, guess that’s a no. Sorry, Stella.
It’s okay. I think. I’m not sure what really happened...
Oh, never you mind, heh heh! Let’s just get ready to take down Flame Eater. He won’t be getting away this time!
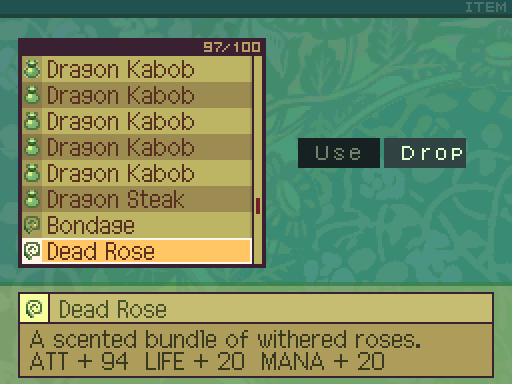
The Dead Rose makes for a nice stat stick for a Princess.
And with that, we’re basically done with Doma Volcano. All that remains is to take out Flame Eater. Which we’ll do next time.