Toggle Background Color
This is less of a ‘character sprite’ guide and more of a general ‘screenshot LP’ guide, but since you’re completely new to it, it might be best to start from the beginning. Let’s use a snippet of Megaman Battle Network 3’s opening as an example.
To start off, you’re going to need:
- A word processor (Notepad or Microsoft Word is fine)
- An image editor (Irfanview is recommended, and it works as a screenshotting tool as well)
- An account on a picture hosting site (the commonly used one around here for LPs is Lpix.org)
- Rightload with the LPix plugin. Not strictly necessary, but certainly helps when uploading a lot of pictures in one go.
- The game you plan to LP
Once you’ve got all that ready, begin playing your game, recording your gameplay and writing your commentary. There’s no hard and fast rule to how to do that – some people like writing as they play, some people like taking brief notes and writing a full update later, some people record the whole thing as a video and screenshot the relevant parts later, some people just screenshot liberally. It’s all up to you.
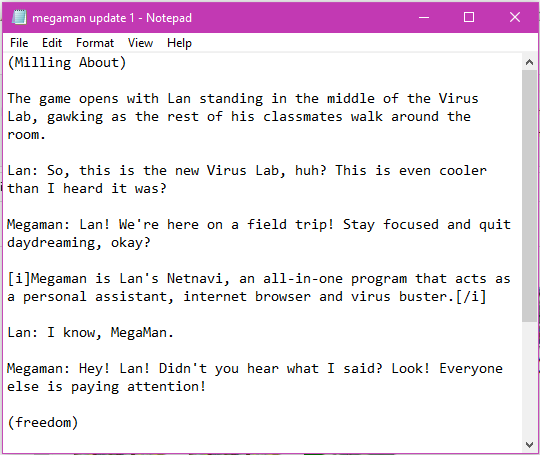
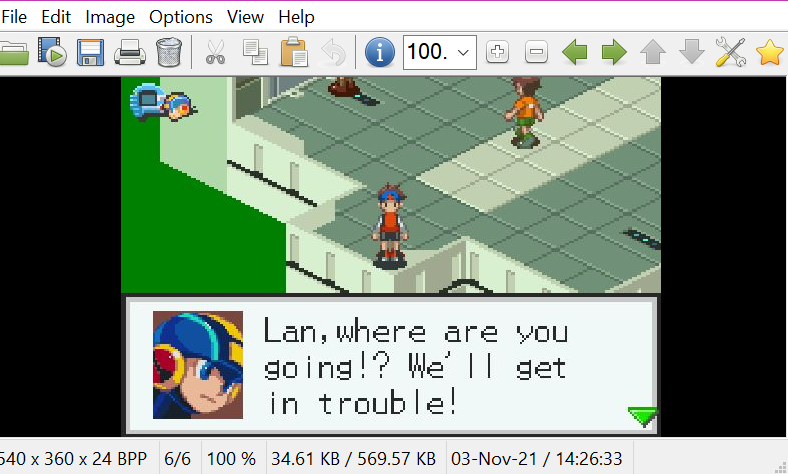
Generally speaking, regardless of which method you use, you should end up with a text update like this:
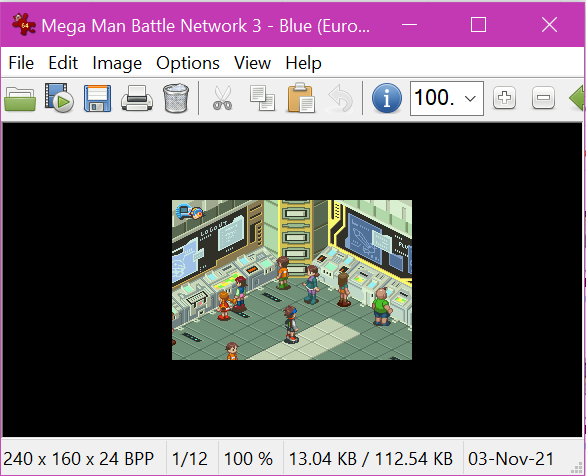
And a bunch of screenshots from the game.

These screenshots were taken via VBA’s inbuilt screenshotter. They’re a little sharper than external screenshots, but as you can see they’re a bit small by default.
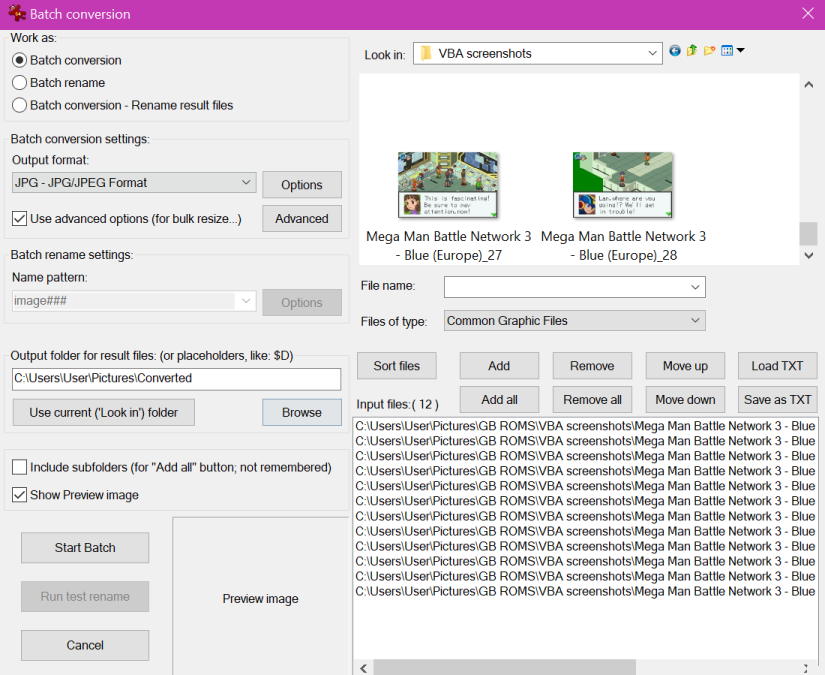
We can upsize them with Irfanview. We’ll add them to the batch converter….
…and upsize them to about 225%.
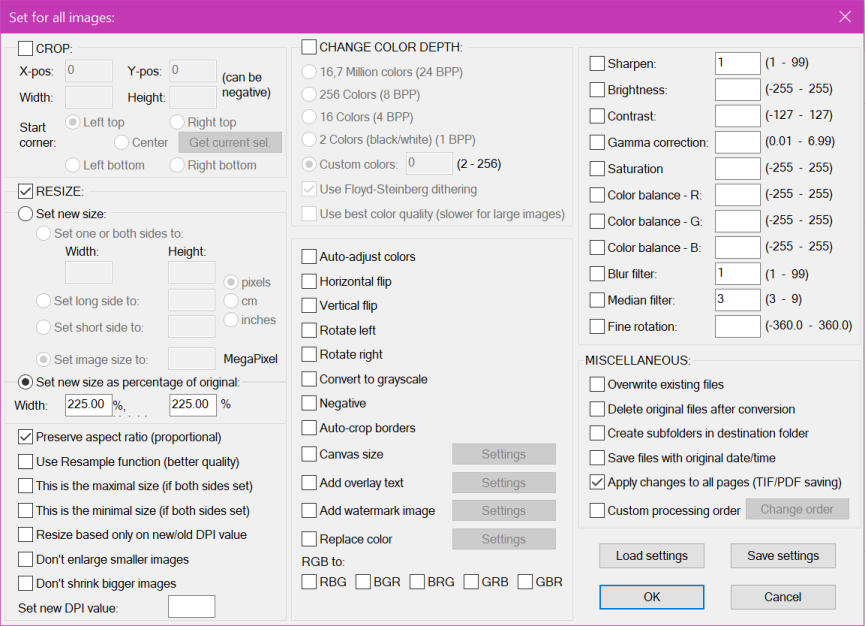
The upscaled size is a little better, as you can see.
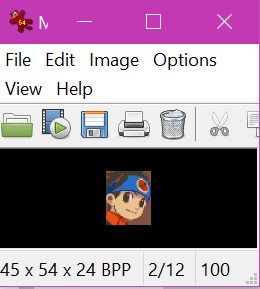
Now we need to crop the character sprites (that’s where the sprite sheet you found for SRW J comes in, since you don’t need to do that from the screenshots like I’m doing). We’ll crop Lan’s head, and shrink it down by about 50%.
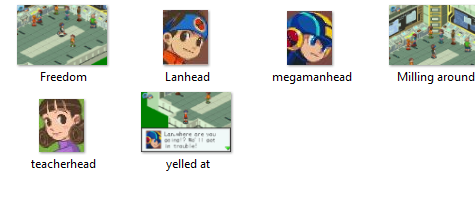
Then once we’ve acquired all the talking heads we need, it’s just a matter of paring it down to the screenshots we’re going to actually use for the update.
We now toss them onto Rightload, and upload them to an LPix folder.
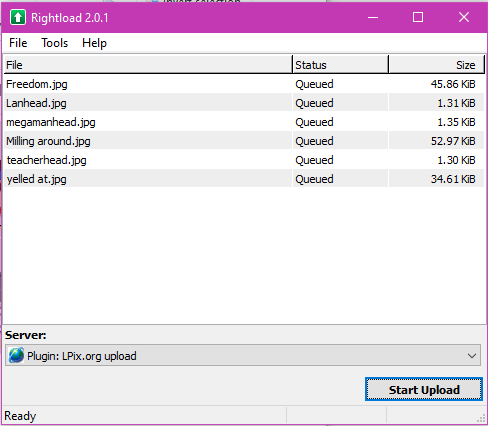
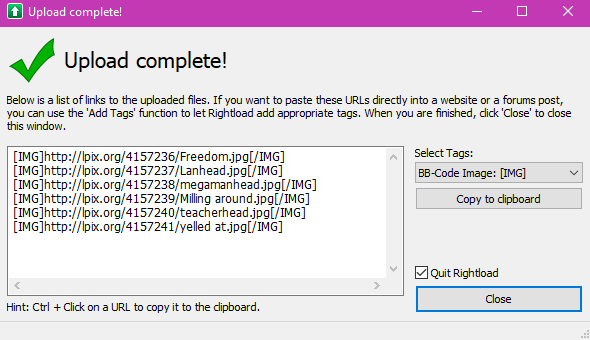
Once they’re uploaded, Rightload will spit out a bunch of URLs for image links. We’ll add the [timg] tag so they’ll show up as images on SA, and copy them to another document so we don’t lose them.
[IMG]http://lpix.org/4157249/replace.PNG[/timg]
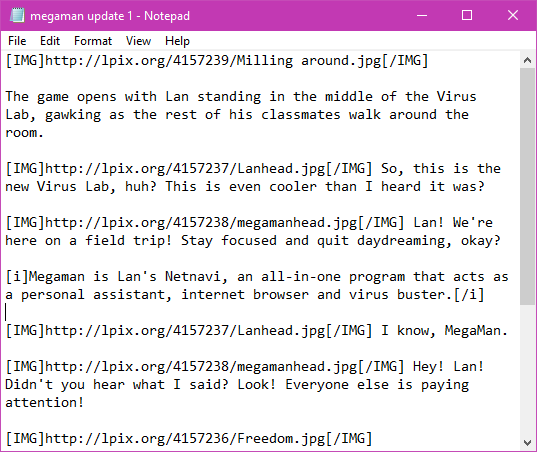
After that, it’s just a matter of replacing all the placeholders and dialogue tags with the images you uploaded. You can try this utility someone linked for that, though I like doing it manually to make sure I didn’t miss anything out myself.
Once you’re done with all that, the update should look like this. Now to test it out, we’ll toss it onto the SSLP Test Poster to make sure nothing’s broken.
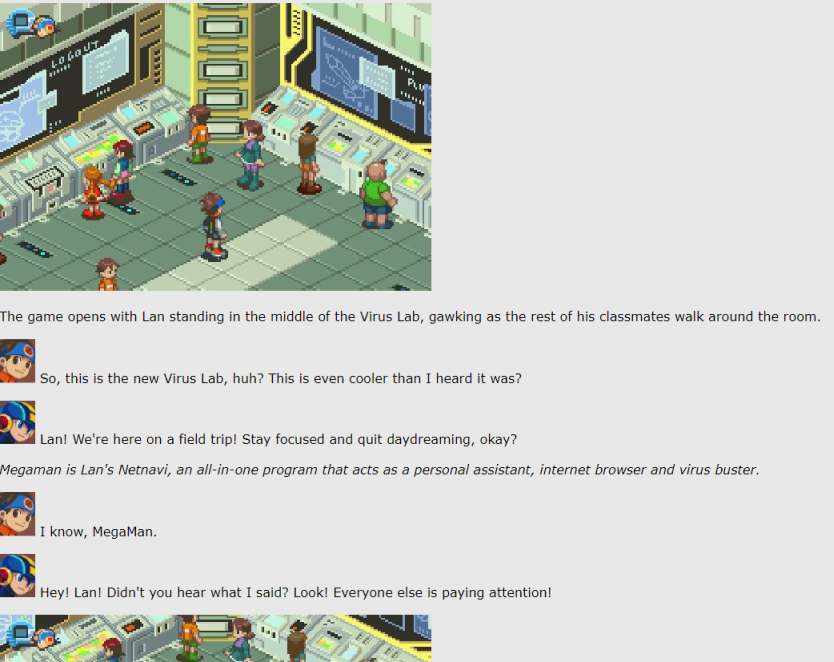
Give it a once-over for broken images, spelling mistakes, etc. and if everything looks good, you can go ahead and post it as an update.