Toggle Background Color
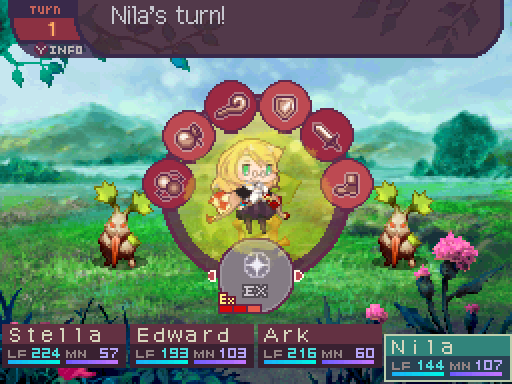
Game Mechanics: Battle Actions
This update will go over the actions you can use in battle, as well as all of the items you can use in the game.
All actions listed here, unless stated otherwise, have a speed factor of 100.

Attack
Deals a basic attack to one enemy. The attack does 100% damage, which is generally considered the baseline damage that all attacking skills are compared to. Most attacks in this game, including this one, have a base accuracy of 100%. The ones that do not, bypass the accuracy check and are guaranteed to hit in most cases. Accuracy is only affected by SPD, Blind, and the use of EX, so no skill comes with higher or lower base accuracy. That being said, if the damage output of an attack is calculated as dealing less than 10% of the user’s ATK stat, it will have a 25% chance to miss. This even affects attacks that bypass the accuracy check. Anything that doesn’t use the ATK stat however, such as spells or the Princess’s Punishment skill, will never go through this check.
Basic attacks, and only basic attacks, also have a chance to deal a critical hit. No skill in the entire game can deal a critical hit. Player units have a 5% chance to deal a critical hit, while enemy units have a 3% chance. Players can increase this chance through the use of the Healer’s Microanatomy or Macroanatomy passives, which increases the critical hit rate up to 18% on small or large enemies, respectively. Though some enemies in the game count as neither, and won’t allow for that as a result. When a critical hit occurs, the target’s DEF stat is multiplied by 2/3 for that attack.
Most skills in the game generally have a speed factor that’s lower than 100, so if you want to get a quick hit in, you could use a regular attack for that purpose, I suppose.
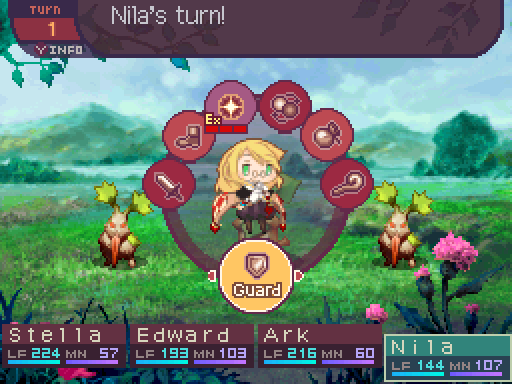
Guard
Sacrifices the user’s turn to give them increased defenses for that turn. The effects of Guarding are as follows:- ATK-based attacks will have their damage multiplied by 0.5.
- INT-based attacks will have their damage multiplied by 0.7.
- Ailments will have their infliction rates multiplied by 0.9.
The actual effects of Guarding are instantaneous and take place at the start of the turn. Though oddly enough, the message that the unit is guarding has a speed factor of 100 and takes place accordingly. So doing something to “disrupt” the “X is guarding.” message does not actually disrupt the actual guard effect.
Generally, use guard if you have nothing else you want that party member to do, it’s a bad idea for them to attack that turn, or if their survival is more important than whatever other action they could be doing that turn.
Guarding also has its effects enhanced by EX, but for more details on that, read the section in EX on guarding.
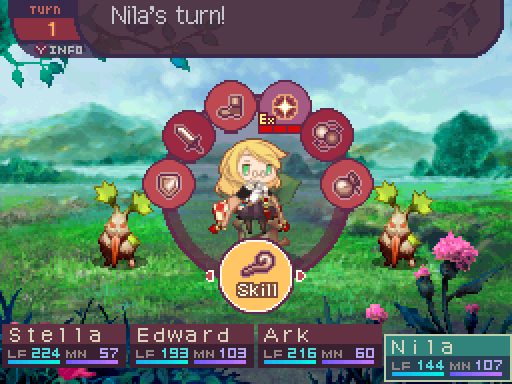
Skill
Allows for the usage of a skill. However, Exhaust Skills cannot be used without having EX active. This action can’t be selected at all if the party member is inflicted with Skill Seal. The properties of a skill heavily varies from skill to skill. For more information on a class’s skills, read the respective Class Showcase.
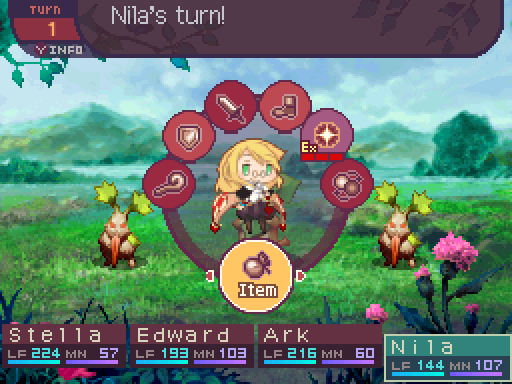
Item
Lets a party member use an item. All consumable items are usable in battle, though some can’t be used on the field. This action can always be selected unless you have no consumable items whatsoever. As such, the only other way a party member can’t use this action is if they cannot act period, through being inflicted with ailments such as Sleep, Confusion, etc. locking them out of a turn. For more information on items, read the item update. Remember that all items have a speed factor of 100, so if you’re trying to save, it may actually be better to throw out an item instead.

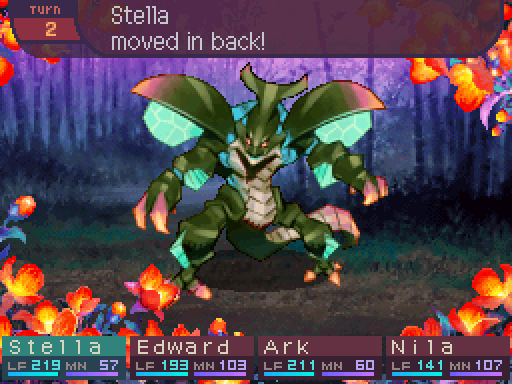
Front/Back
Moves the user to the row they are not currently in. Front moves them to the front row, and back moves the user to the back row.
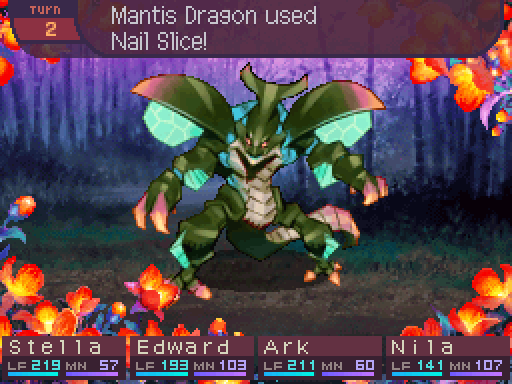
Might as well talk about row mechanics while I’m here. The back row is generally less likely to be targeted by enemies than the front row, so it’s an overall safer place to be. Not only that, but when enemies attack a party member in the back row with an ATK-based melee attack, the damage output from the attack will be halved. This even stacks multiplicatively with Guarding. However, it’s not all sunshine and rainbows, as if a party member from the back row uses a melee attack on an enemy, their damage output will be halved as well. So you can’t just stick everyone there for safety. Only party members who aren’t penalized by being in the back row should ever be placed there.
Most weapon types in the game are also considered melee attacks. The sole exception to this is the Bow, which is the only weapon that fires off ranged attacks. So it avoids the back row penalty as well as avoiding triggering counterattacks that activate on melee hits.
Whips are technically another exception but they’re pretty... weird. Attacks from a Whip and all attacking skills associated with Whips completely ignore the back row penalty, allowing them to deal full damage to an enemy no matter what. However, they’re still flagged as melee attacks. What this means is that despite essentially ignoring the biggest downside of being in the back row, they’ll still trigger counterattacks that activate from melee hits. Yeah. On the plus side, they don’t trigger counterattacks that activates from ranged ATK-based attacks! Absolutely no enemy in the game has access to such a skill by the way. Yet another one of 7th Dragon’s oddities, I suppose.
If everyone in the front row goes down during battle, the back row moves to the front row at the end of the turn. However, 7th Dragon memorizes your row setup during battle, so if a knocked out party member in the front row gets revived, all of the back row party members that were forcibly moved to the front, living or dead, will return to the back row. Mind you, this only occurs for the battle that the front row goes down in. 7th Dragon forgets about your row position after that, and reviving the front row afterwards won’t apply this convenience.
There’s also an odd quirk with row targeting skills that should be kept in mind for some cases too. Skills that target the front row or the back row, can only target those rows. If an enemy tries to attack your back row, but you don’t have a back row, the attack won’t be redirected towards your front row.
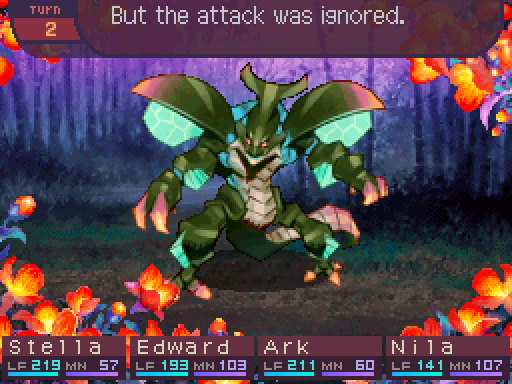
Instead, it’ll just vanish into thin air. Weird but you can actually make one enemy in the entire game safer to fight by just moving your backliners to the front row for those fights. This also means that the Front/Back action can actually be used as a makeshift, roundabout dodge move in some very rare cases. Front row attacks can also be avoided in this manner by having everyone move to the back row for that turn.

But doing this will drag the entire party to the front row at the end of the turn, so be very mindful of doing this.
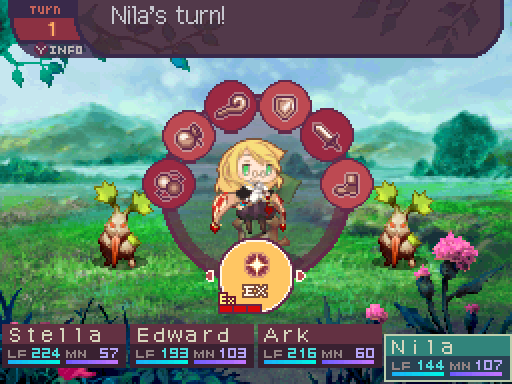
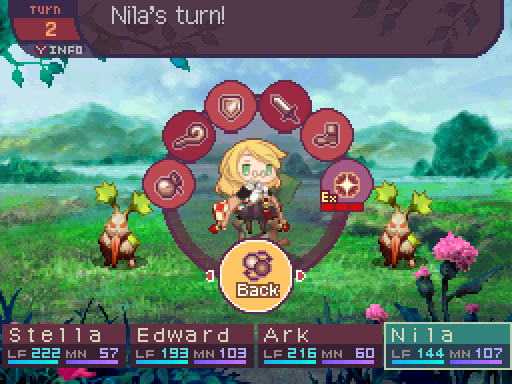
EX
Enhances an action. The exact effects depend on the action being used. Each party member starts out with 3 uses of EX. EX does not replenish on its own and only 2 methods work for restoring EX. Using a Dragon Egg, which only restores 1 point of EX to one party member. Or resting at an inn, which fully restores EX for all party members that rested. Healing springs don’t work for this, and party members that were stuck at the guild won’t benefit from an inn rest.
As for the benefits of using EX, the possible effects are as follows:- Allows for the usage of Exhaust Skills.
- Any action with a priority level of 3 (which are most actions in the game) will be raised to a priority level of 2. Actions that have a priority level of 1 or 4 are completely unaffected.
- Damaging attacks have their damage output multiplied by 1.5. This takes place after damage randomization.
- Negates the 25% chance for an ATK-based attack to miss due to the damage output on the enemy being calculated as less than 10% of the user’s ATK stat.
- Accuracy for skills that have accuracy checks is multiplied by 2.
- Guarding’s effects are enhanced in the following ways:
- ATK-based attacks will have their damage multiplied by 0.25 instead of 0.5.
- INT-based attacks will have their damage multiplied by 0.35 instead of 0.7.
- Ailments will have their infliction rates multiplied by 0.8 instead of 0.9.
LIFE restoration skills have their healing multiplied by 1.2.
MANA restoration skills, items that restore LIFE, and items that restore MANA, all have their restoration multiplied by 2.
Infliction attempts will do a second roll if the first one failed. This means that say, a skill with a 60% infliction rate, effectively has an 84% chance to land when used with EX, since only 1 of 2 of those 60% rolls needs to succeed for the ailment to be applied to the enemy.
Escape rates are multiplied by 2. This stacks with the 2x multiplier from the Rogue’s Ready To Run skill, resulting in a 4x multiplier at most.So there’s quite a lot this can do, and proper usage of EX can really make fights go in your favor, or guarantee some form of safety if something goes wrong. Keep in mind it doesn’t affect everything equally, and generally buffing skills don’t really benefit from this unless you really want that priority.
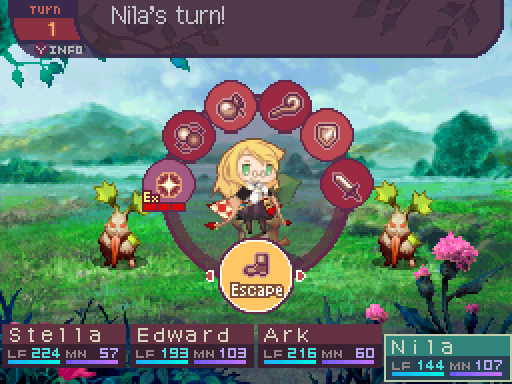
Escape
Allows for a chance to escape from battle. Once the turn starts, all escaping units (this includes enemies as well), are flagged as escapees, meaning that any damage they take for that turn will be multiplied by 1.3, and lasts until the unit succeeds at escaping, or the turn ends, whichever occurs first. If the Rogue’s Ready To Run skill is active, the escape penalty multiplier is nullified for party members. This makes Escaping kind of dangerous as you’re very much banking on making it out of the battle. And if not, you’ll take extra damage for your troubles.
There are a few steps the game takes to see if an escape attempt will be successful or not.
First, the game checks to see if at least 1 living enemy in the battle has the "Disables Escape" attribute. If so, escape attempts will always fail until no enemies remain in the battle that disables escape. After which, escape attempts can succeed again. Failed escape attempts from this reason do not count towards increasing the number of failed escape attempts for that party member.
Next, the game checks to see if the battle started out as a Preemptive Attack and the turn being escaped on is the first turn. If so, escape attempts on that turn will always succeed.
Then the game checks to see if anyone had 4 or more failed escape attempts. If so, that party member’s next escape attempt will automatically succeed.
If none of these conditions are true, then the game calculates the escape rate for the escaping party member. The escape rate formula is as follows:
Escape Rate = [((Failed Escape Attempts * 10) + 30) * (Character Level + Character SPD)] / (Enemies' average Level + Enemies' average SPD)
Failed Escape Attempts only increases after the formula finishes running calculations, so it starts off at 0. The failed escape attempts is also only counted per party member, not for the entire party. So everyone failing to escape on turn 1 would only count as 1 failed escape attempt for each of them. The rest of the stats should be self-explanatory. This counter will not increase if the cause of the failed escape attempt was due to an enemy having the “Disables Escape” attribute.
Then, the game checks to see if EX is active. And if that’s the case, the Escape Rate is multiplied by 2.
If the Rogue’s Ready To Run skill is active, multiply Escape Rate by 2. This can stack with EX to multiply the Escape Rate by 4.
Escape rate is then capped between 20% and 100% inclusive.
What this formula means is that on average, the escape rate will start out at around 30% if the party member is on par with the enemies in the area. (In this case, if a party of 4 attempts to escape, that results in about a 76% chance to successfully escape on the first attempts.) Each failed escape attempt increases the escape rate further and further. Mathematically it works out like this:- Your second escape attempt is about 1.33x more likely to succeed than your first attempt. (With a 30% base, it would be 40% in this case.)
- Your third escape attempt is about 1.67x more likely to succeed than your first attempt. (With a 30% base, it would be 50% in this case.)
- It is 1.25x more likely to succeed compared to your second attempt.
Your fourth escape attempt is 2x more likely to succeed than your first attempt. (With a 30% base, it would be 60% in this case.)
It is 1.5x more likely to succeed compared to your second attempt.
It is 1.2x more likely to succeed compared to your third attempt.So trying to escape more will make it more and more likely to get away, and you can only fail 4 escape attempts per party member at most before the game forces the 5th one onwards to succeed.