Toggle Background Color
Update 43: The Samurai’s Trial

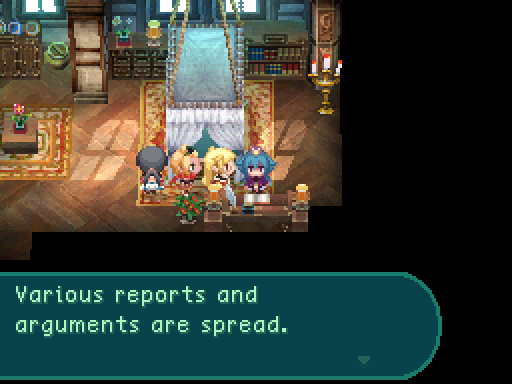
Starting off this update here as I realized I forgot a little secret in this town.
 We’ll see about that...
 Oh no. You’ve piqued her curiosity. I hope you know what you brought on yourself.
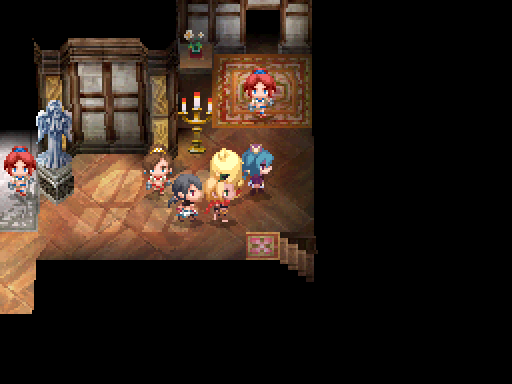
Remember how this guard won’t let us go past her?
As it turns out...
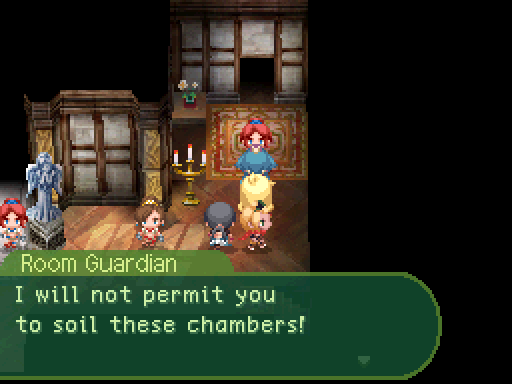
 Oho? What’s this now?
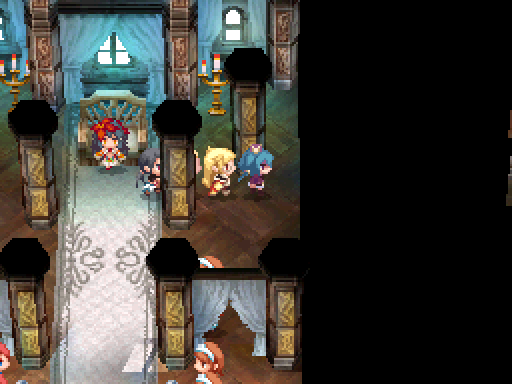
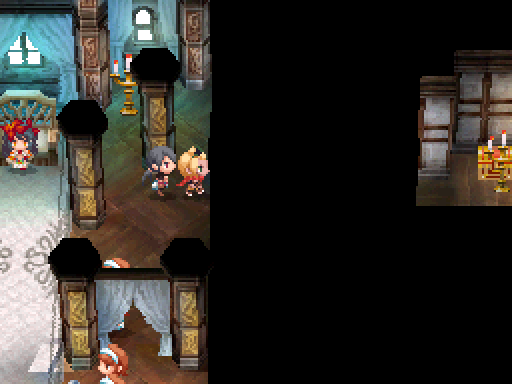
There’s a secret passage to the east in the throne room. There’s no western secret passage if you’re wondering.
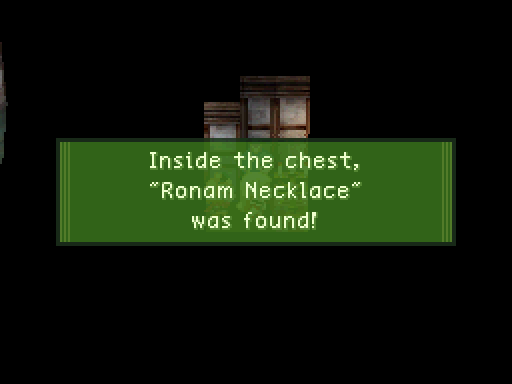
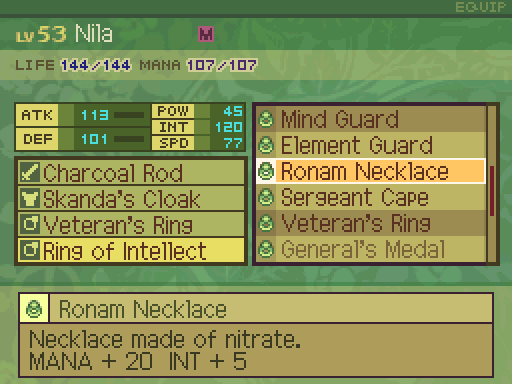
It contains this very nice piece of equipment. I immediately put it on Nila.
Oh but that’s not all.
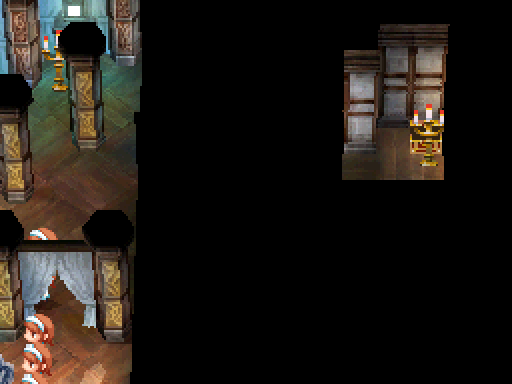
After walking 4 tiles in (A four person party should disappear from sight at that point), start walking south to find another hidden passage.
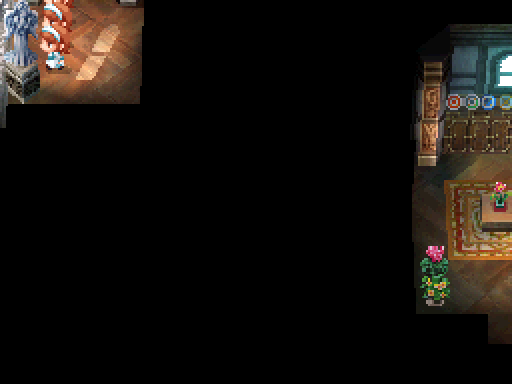
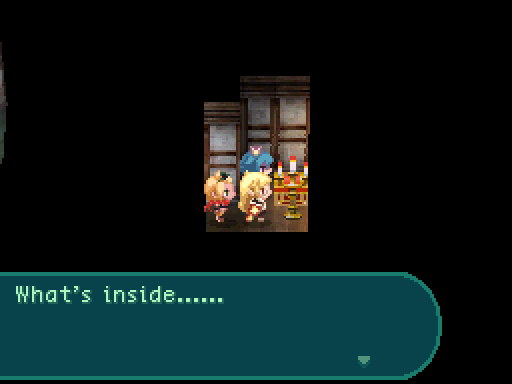
 This is what she was guarding? I don’t see what’s the big deal.
I can’t believe I let you rope us into doing this.
 Butting into random homes wasn’t enough, now you’re intruding on one of the royal rooms?

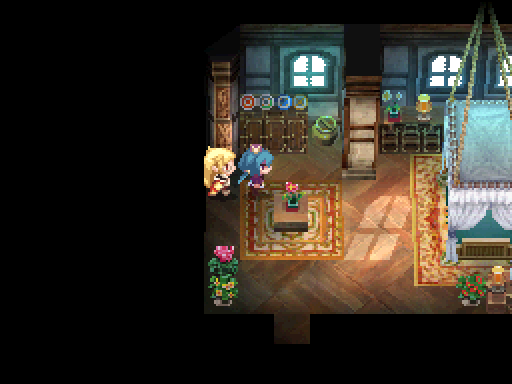
No variation in clothing? Really?
Even by royal standards this is a pretty boring wardrobe. It just gets old if it’s all the same thing. I had waaay more clothing types than this back in my kingdom.
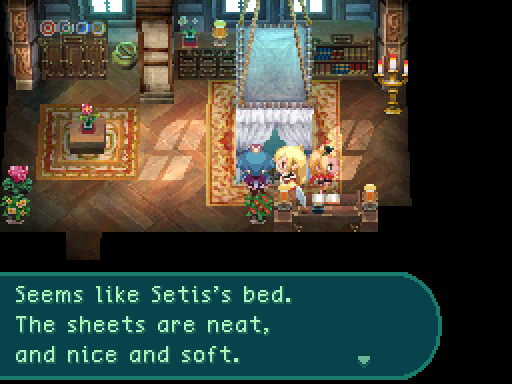
I guess the bed’s kinda fancy. But wow this looks like any other room otherwise. Boring!
Just what exactly were you expecting from this trip?
Piles of gold. Riches. That kinda thing.
Why in the world would that be stored in a bedroom instead of a dedicated vault or chamber for that?
I’ve seen the royal types do far more dumb stuff than that.
Yawn. It’s all business and crap. Where’s the juicy stuff?
You know I should have expected this. She’s a queen after all and there’s a lotta boring royal leadership stuff you have to do in that position. Say Telly, did you have to do this kinda stuff back when you were world ruler or something?
Aside from inciting fear constantly, yes there was a lot of paperwork involved, especially since I had to control things on a global scale. Supply chains, all sorts of economic snoozefests. Frankly I did not miss that part of the job.
Dare I ask how that went for the entire world back then? And I suppose you by extension, for that matter.
Considering there was an uprising that ended with me being overthrown, what do you think the answer is? Granted my failures in economics paled in comparison to the sheer destruction and burning countrysides I inflicted on the masses. Ahhh, I can still remember their screams so clearly...
On second thought, forget I asked. Going from saving the planet from the dragons to ruling it with an iron fist and causing wanton destruction is certainly quite the career change...
...Let’s just say humans aren’t meant to live for several thousand years. Not that anyone who pulls off such a feat can even be called human anymore. If anyone managed to remain the same person after all that time, I’d be quite impressed.
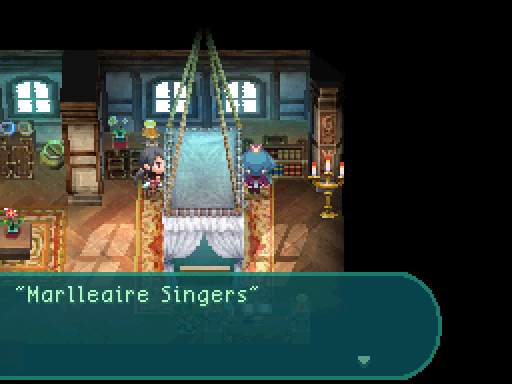
If you don’t know the Marero language, you won’t be able to read this book.
Once upon a time, a beautiful maiden had a voice filled with power. Marlleaire's first queen Ana Marie moved the heavens. ...That's what it says.
...Riveting.
So the only thing we got from this was finding out what the first queen was named. Bah!
The only point of interest in here is lore. There’s nothing else here otherwise.
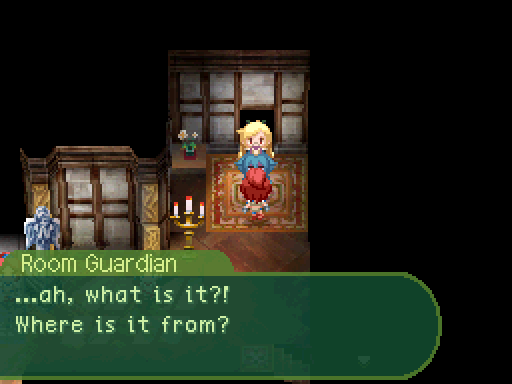
 Please, come here right now please ~
Okay wow this entire sequence of events was mistranslated. Let’s fix that up real quick.
Ahh! Where did you come from? Please get over here quickly!
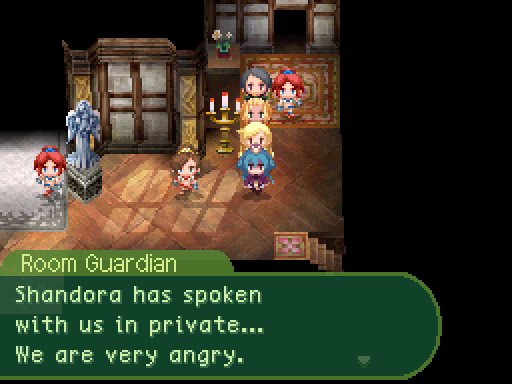
Then after ushering us from the queen’s room...
Please keep this a secret from Shandora. She’ll be so angry.
That’s better. If we try to go back in through the normal way...
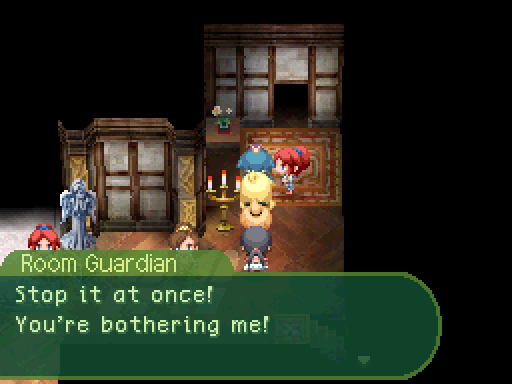
Well that’s not too far off, but her dialogue is actually:
Stop it at once! You’ll get me in trouble!
Now that we’ve broken into the queen’s room, this guard actually switches to having normal dialogue if we speak with her.
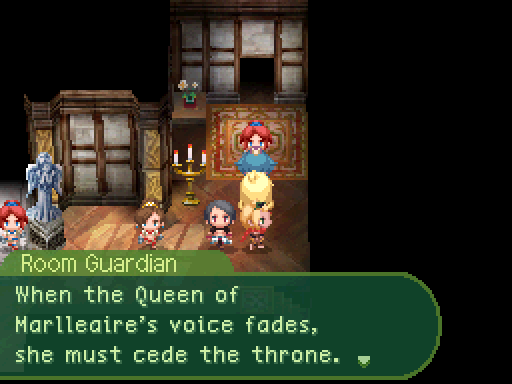
If her voice gives out, and we must have a new Queen... oh, Goddess!
A rulership based on singing prowess? That’s... unique.
I guess it’s not too far fetched with the queen’s singing powering the barrier, and with how these islands were founded.
Add in basic leadership and management skills and you probably have a well maintained set of islands on your hands.
I should hope they have good voice trainers on hand to ensure the protective barrier stays up.
She also has some other bits of dialogue I missed due to not getting this little secret until now. Her post-Eclipse defeat dialogue:
Queen Setis is so very beautiful! Surely, her room must be beyond elegant... I should like to see!
And her post-Flame Eater 1 defeat dialogue:
In an emergency, I might be required to enter the Queen's room. I'm just thinking ahead! I haven't gone in yet ~
I’m not going to show off the rest of the dialogue in this town just yet, as the town is pretty much in it’s final world state, so there’s no rush to show it all off. I just came here to grab a pretty decent upgrade for Nila.
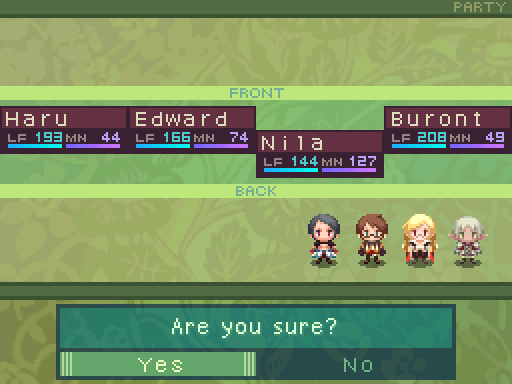
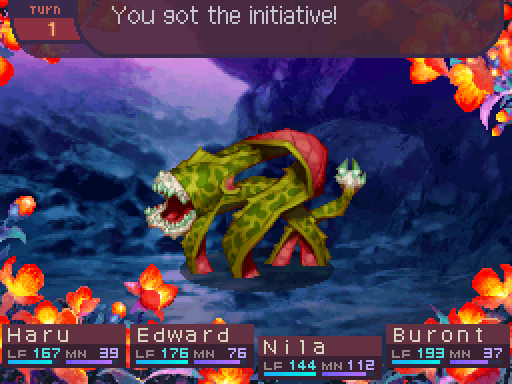
Swapping over to this party for the next side dungeon.
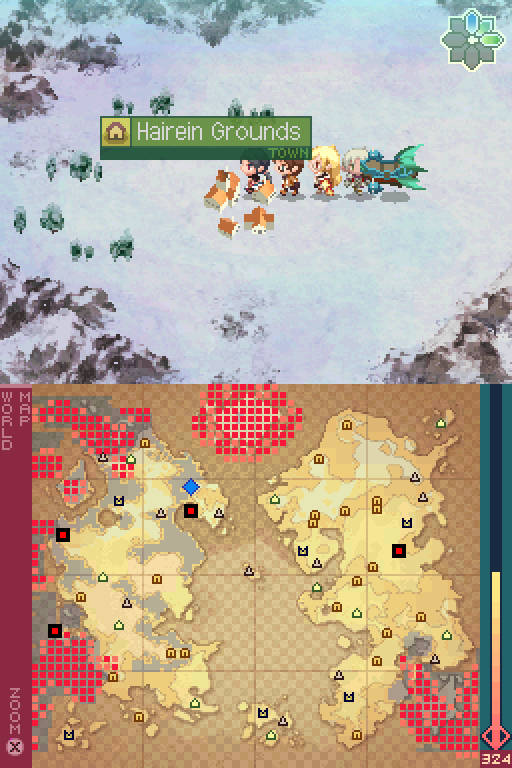
We’re going to tackle the Hyuro Ice Cave in this update. We could have done this at any time after Zesu issued us a trial to tackle that dungeon, though I decided to do other things first. Now we’re finally tackling the dungeon, but first let’s make a pit stop at the grounds and see how well everyone’s dealing with Niara’s arrival.


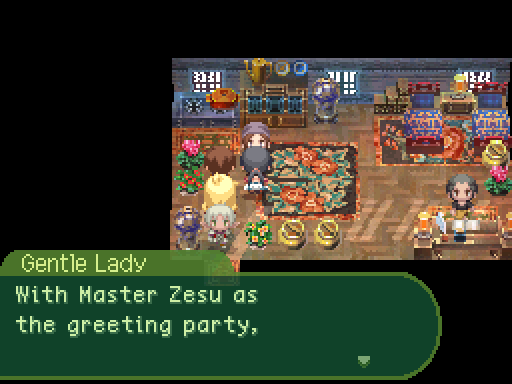
 this village does not fear the Dragons.
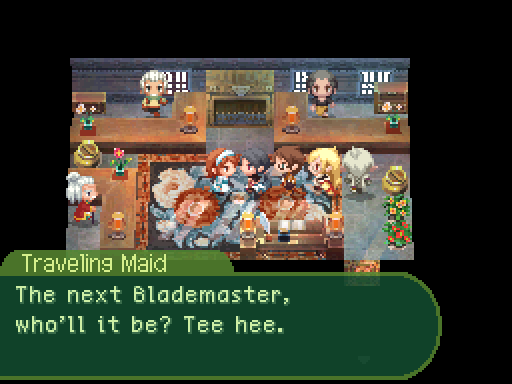
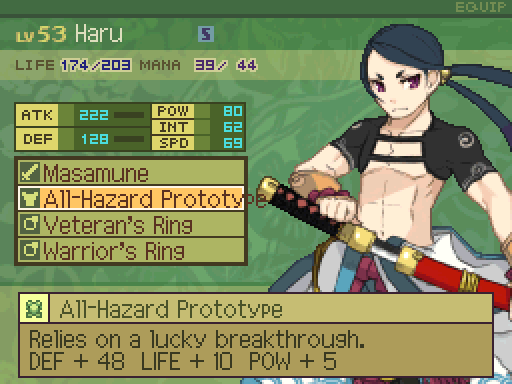
 Thinking about giving his trial a go, Haru?
No harm in trying I suppose.
Blademaster Haru. That does have a bit of a nice ring to it.
 Blademaster Stella... Snrk. Yeah the title would definitely fit him better.
You don’t need a Samurai for this segment, as your qualifications as Doris’s chosen was enough for him to allow you to tackle the dungeon.
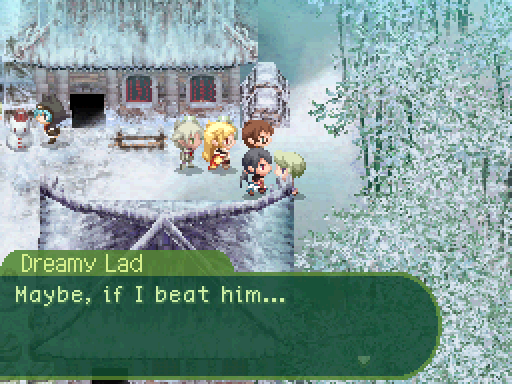
 Maybe, if I beat him... But, I don't think anyone else has managed to, yet.
Oh that might not hold true for long. Especially with the likes of me backing Haru up.
Your faith in our abilities is certainly something, I suppose.
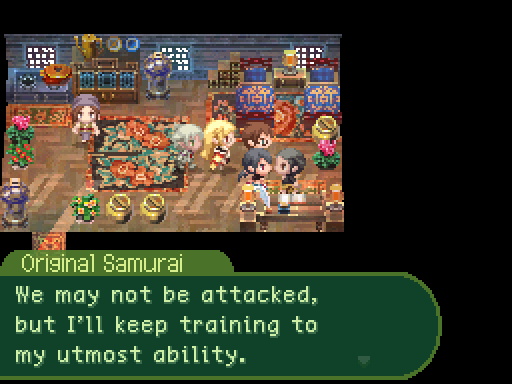
Oh good. Seems like Sougen is really keeping to his promise.
A relief to hear that he didn’t turn tail the moment Niara attacked.
If you didn’t light a fire under Sougen’s throne by this point, she says this instead:
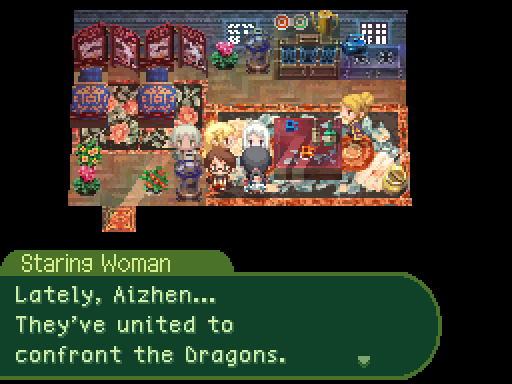
 Aizhen... When will we realize our mistakes?
 Not to thank the Dragon, but... it was fortuitous.
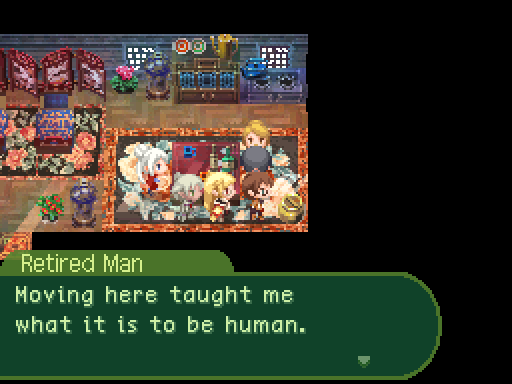
Sometimes the simple life just suits people better.
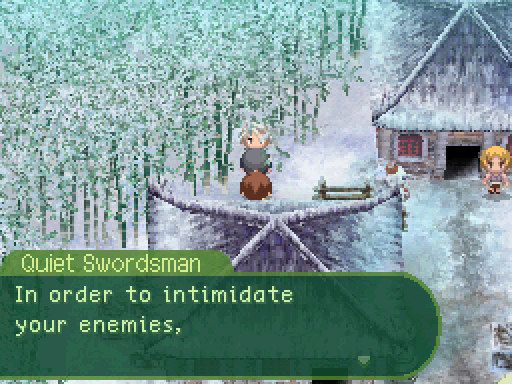
 you have to exude raw confidence.
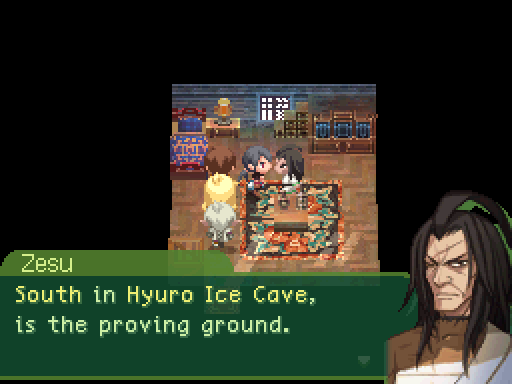
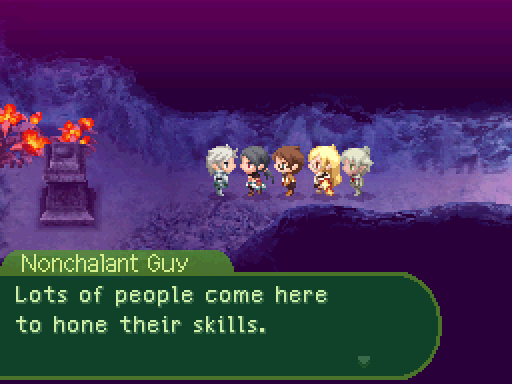
 Since ancient times, our Blademasters have trained there. ...If you can win over the spirits within, I will acknowledge you. However, no one as of yet has passed through the trial to succeed me. ...Odyssey! Endure the ordeal! Then I will know you are Agouto's choice, not some minister's!
Very well. We accept your challenge.
Ho ho! Then I guess we’ll be the first to conquer it!
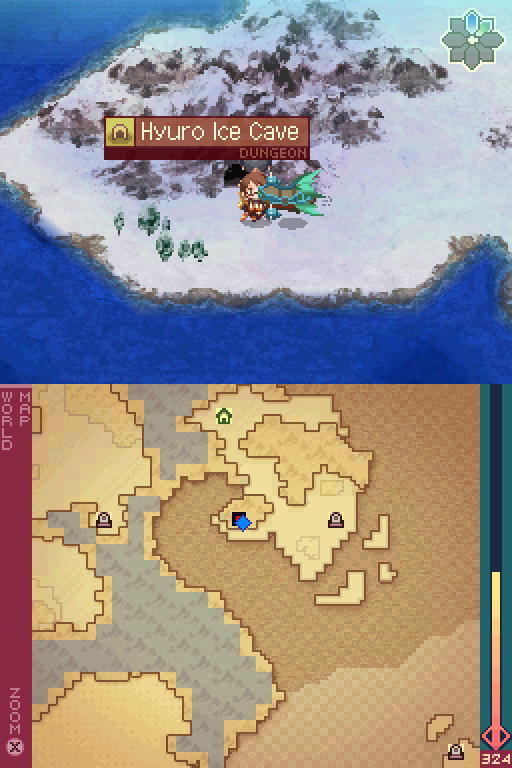
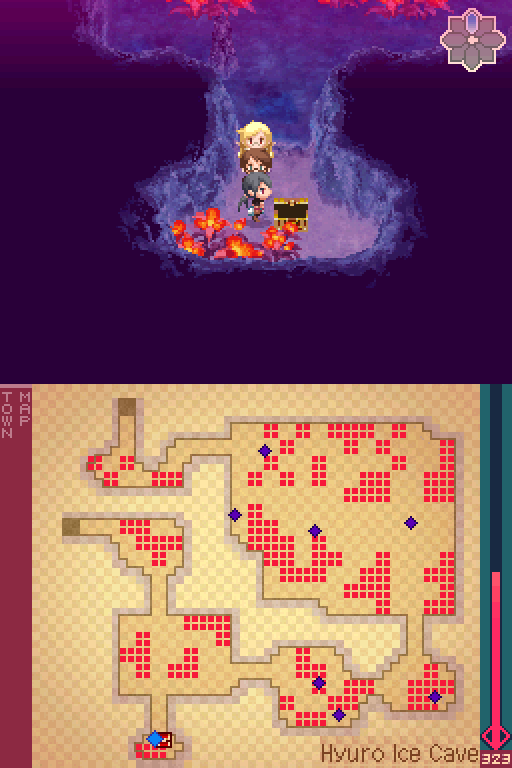
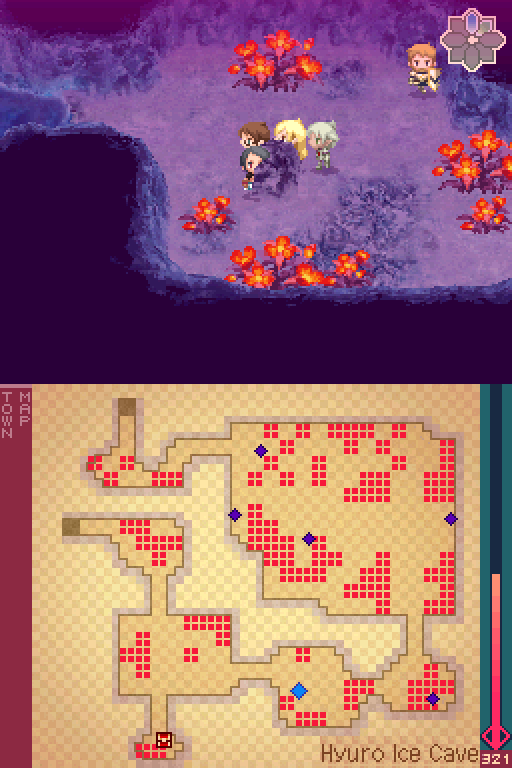
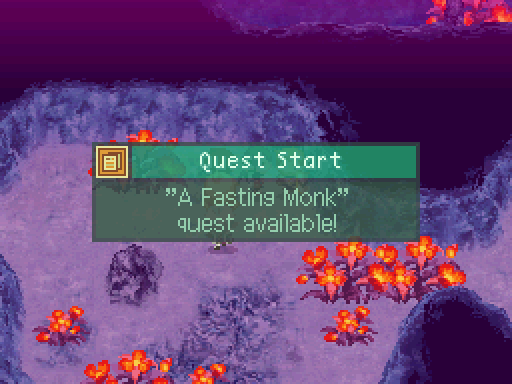
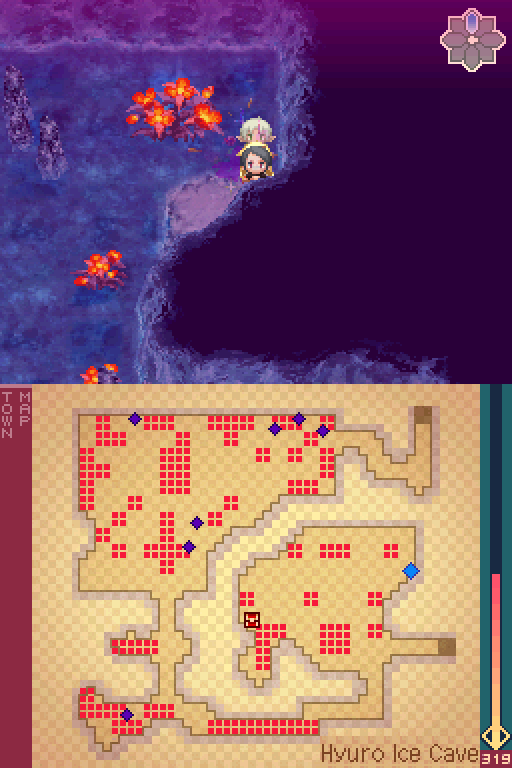
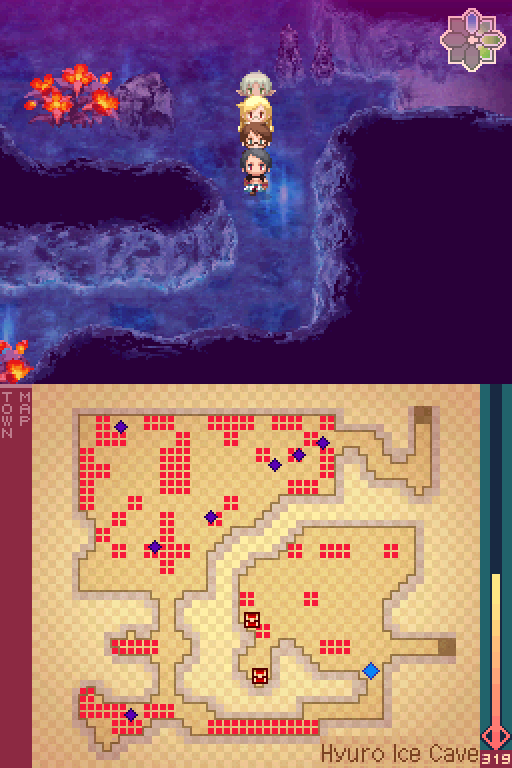
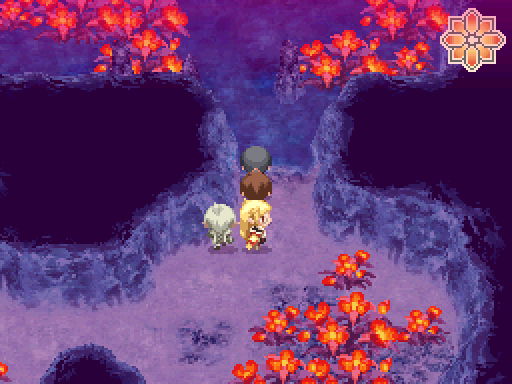
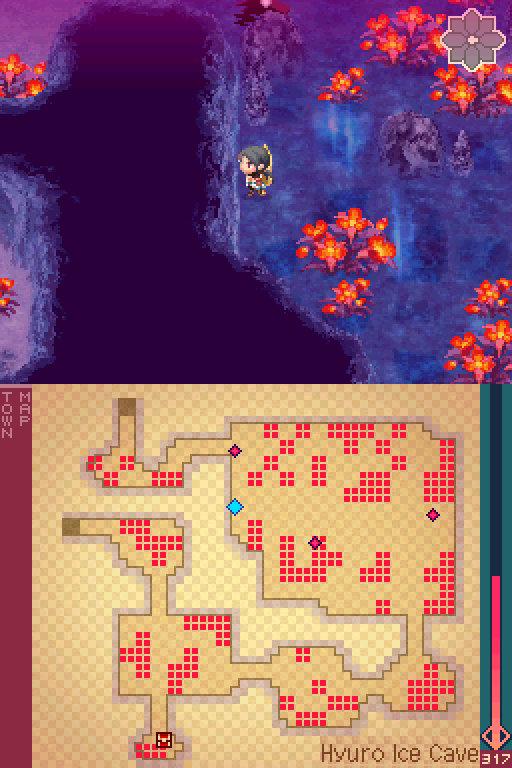
Here’s the main attraction for this update, the Hyuro Ice Cave. The reason I’m tackling this dungeon now is that some interactions are missable if you do it too late. Nothing gameplay wise, just bits of writing and story that become inaccessible, which I want to show off before that point.

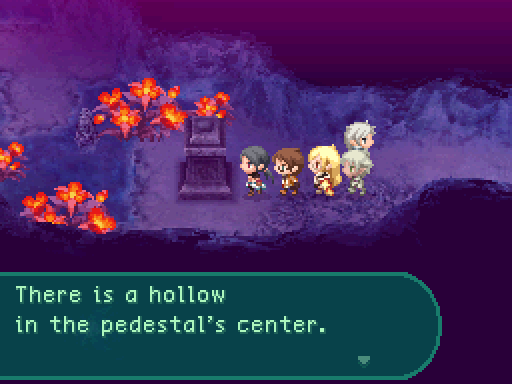
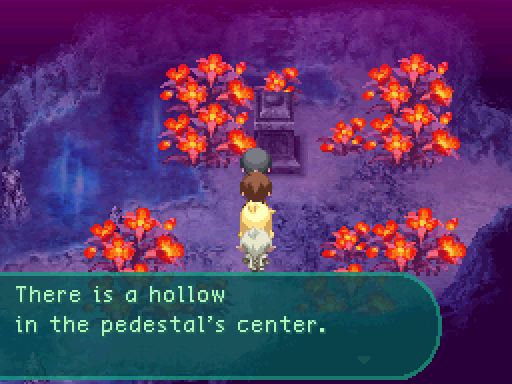
I guess our trial has something to do with these?
Looks awfully a lot like that pedestal in Eclipse’s grotto.
Here’s one of the main mechanics of this dungeon, we need to do something about that pedestal.
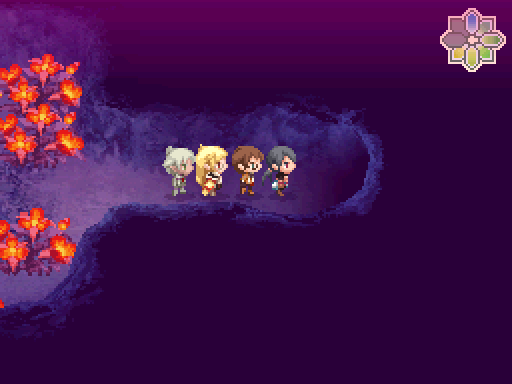
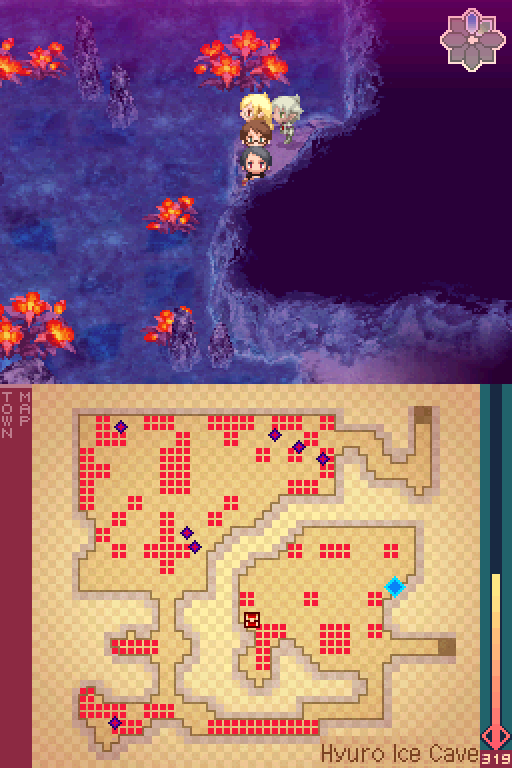
GAH!
Whoa whoa whoa, slow down!
I would if I could!

Everyone okay?
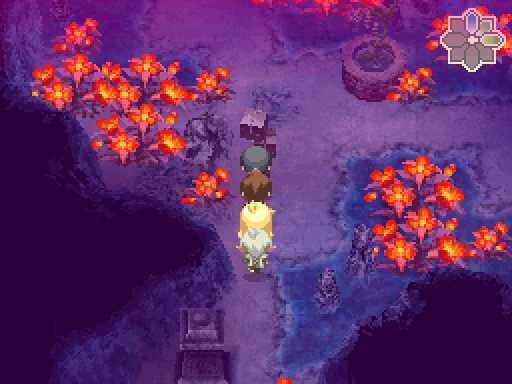
Y-yeah. Oh geez, this ice is everywhere. We’re just gonna be slipping and sliding all over the place, aren’t we?
Let’s just grab onto each other tightly, so we don’t get separated. Like a big old conga line! Haru can be the pilot since he’s in front.
Oh joy. I suppose I am namely the one trying for the Blademaster title though. Very well. I’ll try not to steer you wrong.
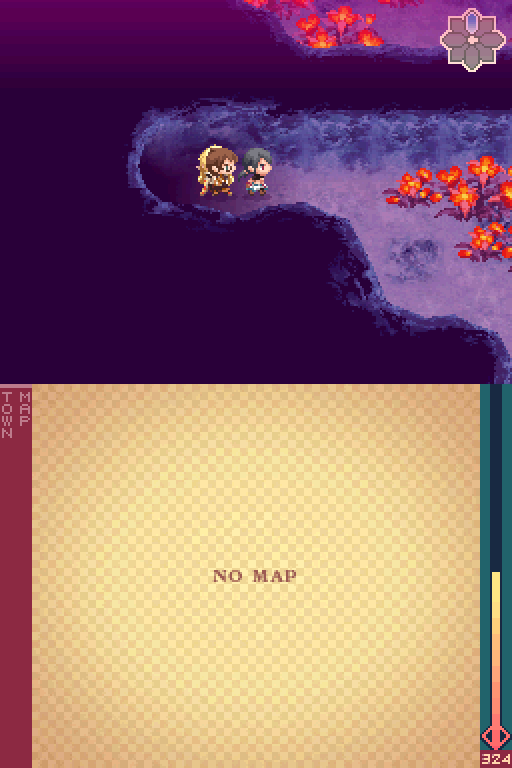
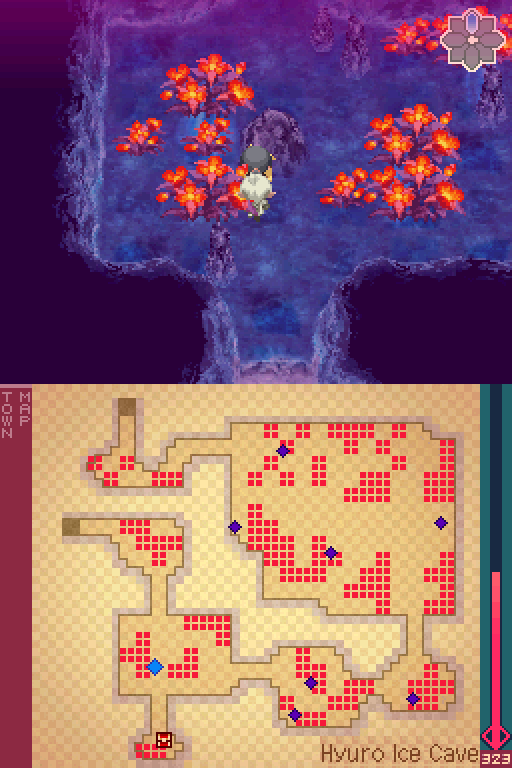
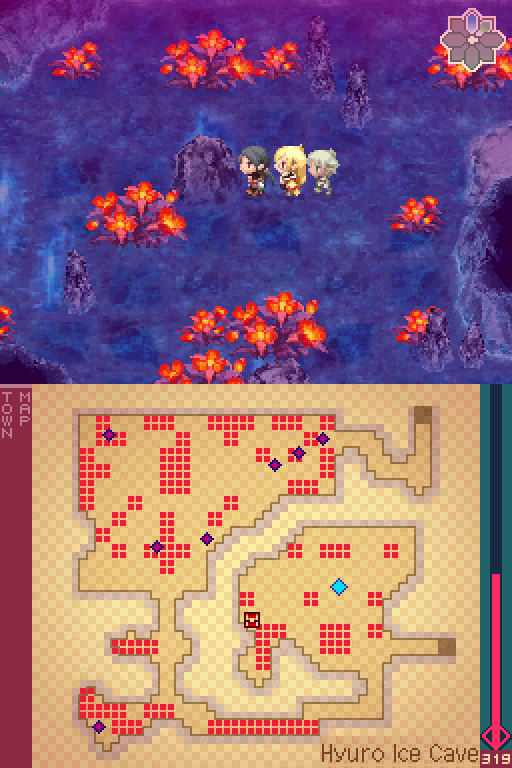
And here’s the other main mechanic. Ice sliding puzzles! Yeah this dungeon is full of them. Once you step on an ice tile, you’ll be sent forwards until you bump into an obstacle or on regular land.
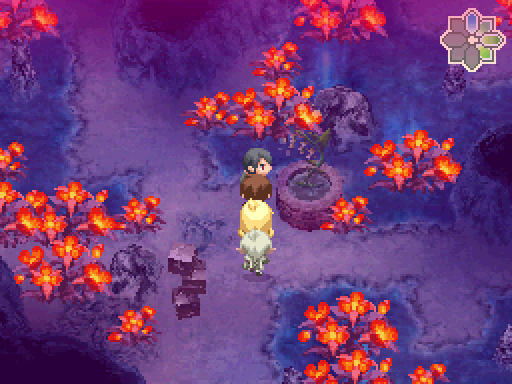
For the record, you’ll take damage for every Bloom tile you stomp out while sliding, and you can get into encounters on ice tiles due to how 7th Dragon’s engine works. Thankfully only the first step counts as a step taken, the rest of the movement is counted as forced movement so those won’t eat up step counters on skills such as Walk Safe nor contribute to the encounter meter.
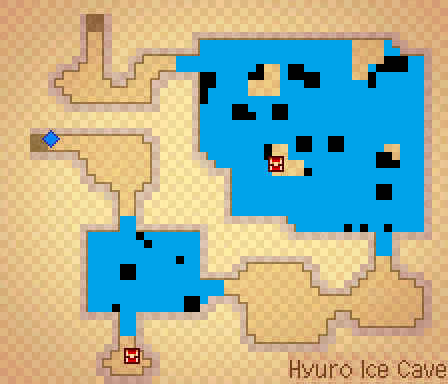
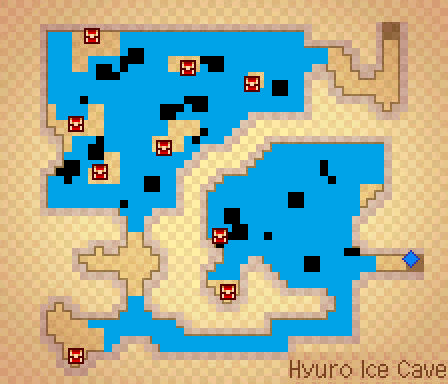
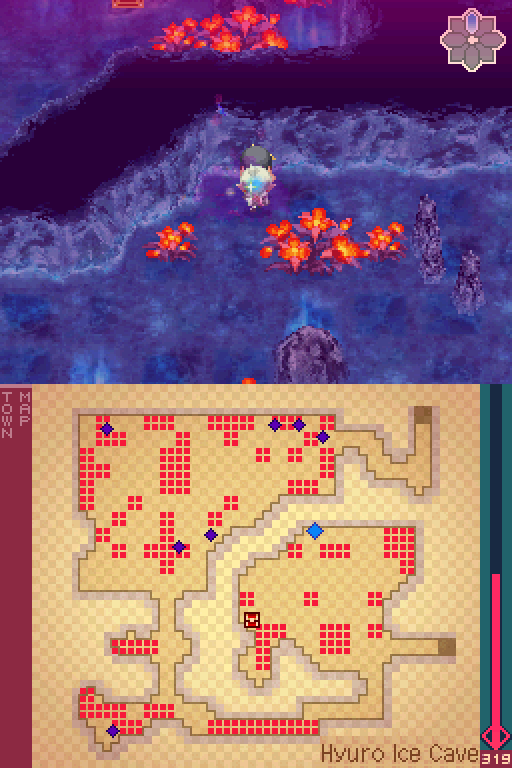
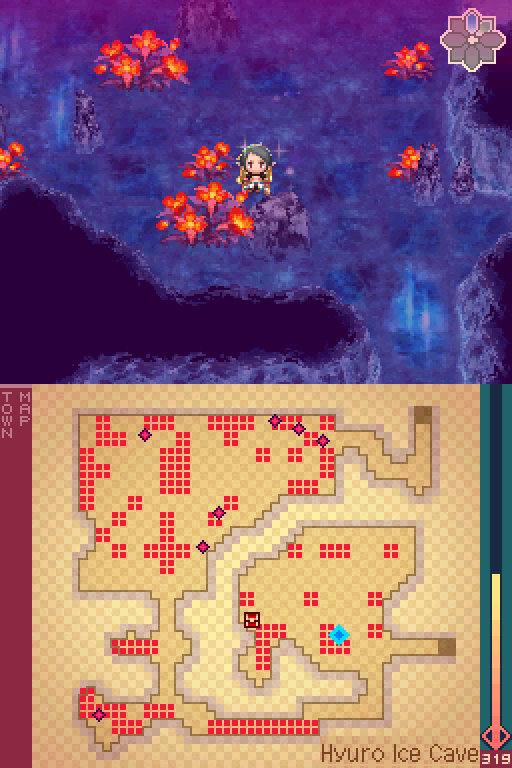
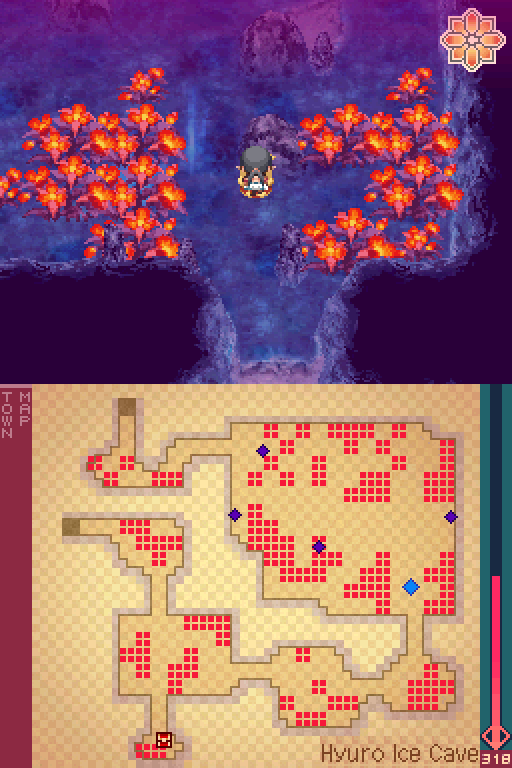
The entrance of this dungeon basically serves as a central hub for the dungeon due to how it’s laid out, and that a save point and a healing spring are placed here. Allow me to show a more detailed map of this place.
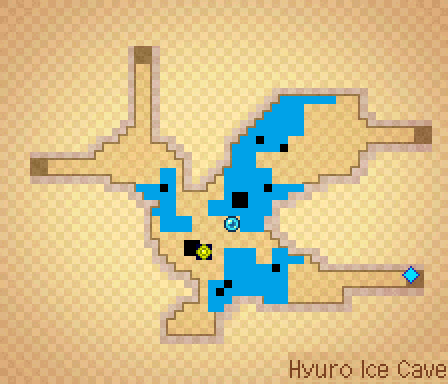
The tiles I marked in blue are ice tiles, while the tiles I marked in black are obstructions. You can use these as a reference to help solve all the upcoming ice sliding puzzles in this dungeon.
Something to bear in mind is that in a few cases, the tile visually in the game itself sometimes doesn’t actually match up with the tile type it actually is. That is to say a few ice tiles are actually solid ground due to coding mistakes. So if you’re wondering why these maps aren’t matching up with what’s going on visually in your copy of the game, that’s why.


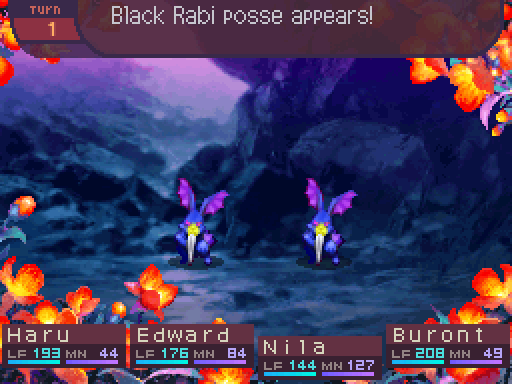
As for the random encounters here...

Black Rabi
Level: 48
LIFE: 190
ATK: 120
DEF: 66
INT: 45
SPD: 64
Attack Type: Blunt
Attributes: Small
Exp: 659
Gold: 48
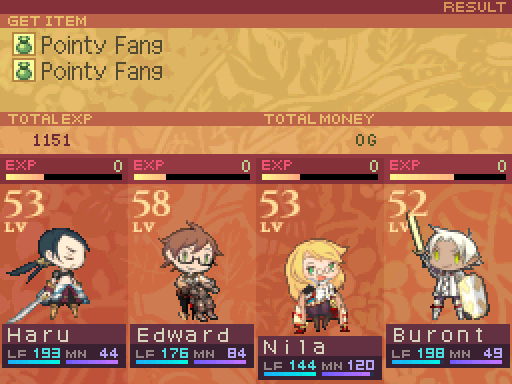
Item Drops:
-Normal: Pointy Fang - 30% Drop Rate.
--Fang of a Dark Rabi.
-Rare: Light Meat - 15% Drop Rate. Hit with Slash damage at some point.
--A small animal's meat. For carnivores. Increases SPD for the day.
Damage Multipliers:
Slash: 100% Blunt: 100% Thrust: 100%
Fire: 100% Ice: 100% Lightning: 100%
Skills:
Jump Step: Applies a 150% multiplier to everyone’s SPD on the user’s side for 5 turns. Has a speed factor of 80.quote:
Ooh, think those teeth could used as a makeshift shiv?
Possibly? Though you may want to add a handle of some kind somewhere unless you want it to slip out of your hands and fly into and then impale some random bystander.
Not gonna lie, that sounds kinda awesome.
The item description being mismatched with the actual enemy name is actually how it is in the game.
Black Rabis have a 30% chance of speeding up every enemy each turn. Unless they have a SPD buff active, in which case they’ll just smack you with weak basic attacks. Not much to em, take em out first to save yourself some annoyance if possible.
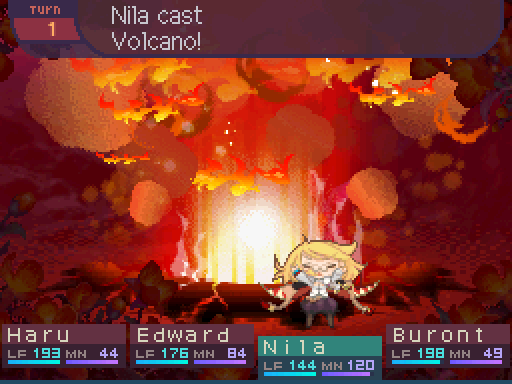
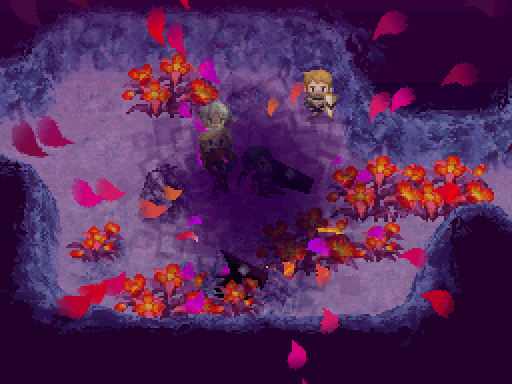
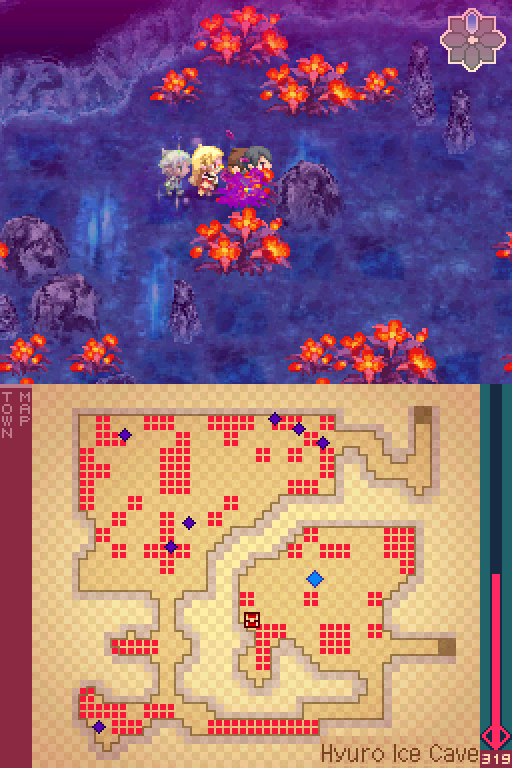
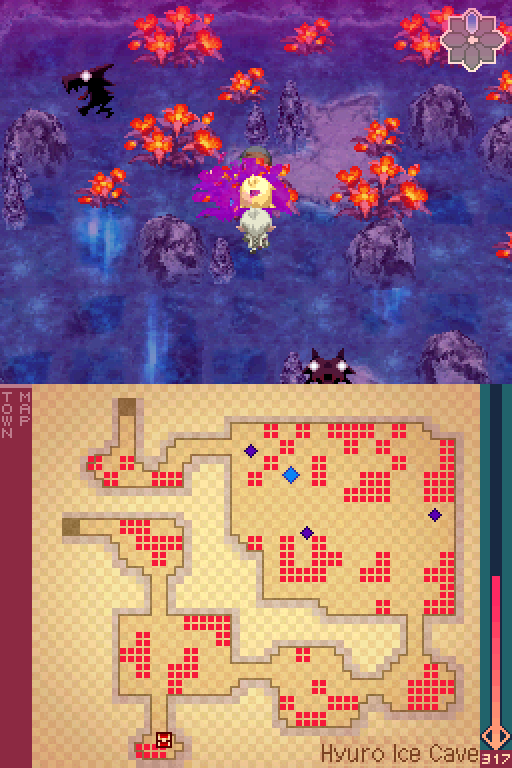
ERUPTION!
Mt. Nilas eruptions can pretty much eliminate any encounter here.
As for the encounters here, the enemies are pretty much pulled from the northern part of the eastern continent. You can encounter Noble Crowns, Ribis, Whitewings, Bloomcrabs, and Giant Pincers in this dungeon. The Black Rabi is the only new enemy you can encounter here, for now anyways.
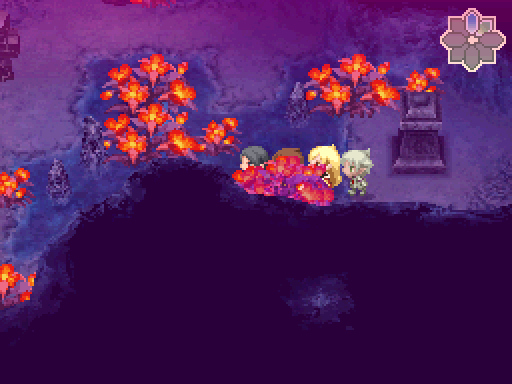
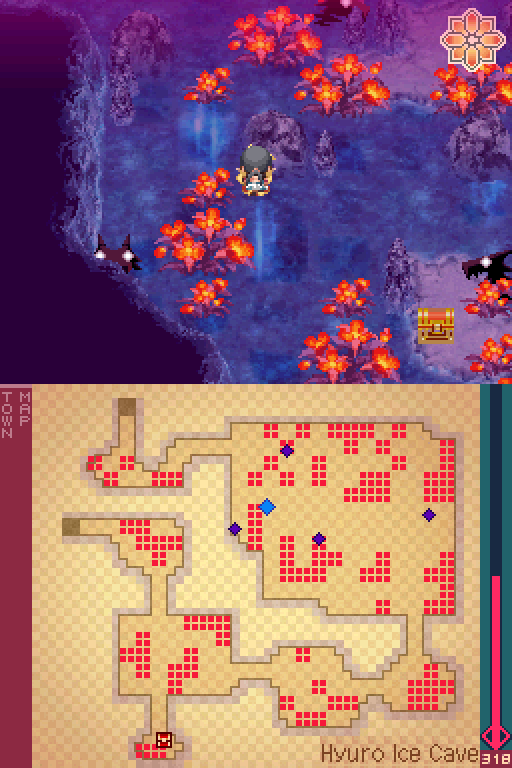
Another pedestal at the northeastern part of the room.
I’ve decided to head through the northeastern exit for now.
There’s the detailed map for this room. This dungeon can be very irritating to go through if you don’t know how to solve the ice puzzles, which isn’t helped by the fact that the game doesn’t mark which tiles are ice or not. You’ll have to memorize the layout on your own, which can get fairly irritating. However if you use the maps I’ve made, solving the ice sliding puzzles should be far less headache inducing, as it’s a lot easier to plan out your moves when you’ve got the whole picture to work off of instead of essentially having to guess where to go.
Oh but there’s one other thing to take into consideration as well.
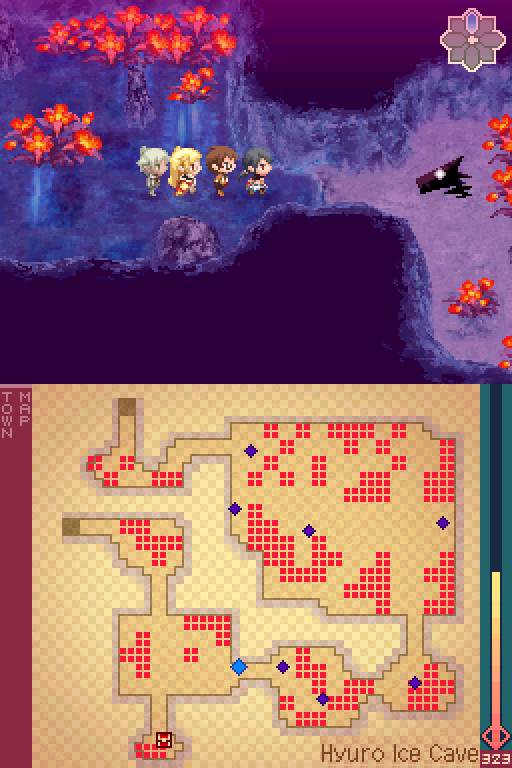
Yep. This dungeon is infested with dragons, and they will get in your way during the ice sliding puzzles. Better bring the best dragon killers you have. If you escape from a dragon battle, it’ll work like escaping from a dragon battle while on the moving sand currents in Yoba Sand Flats and Gopher Desert. You’ll just be reset back to where you first started sliding while the dragon is frozen in place, but you’ll still be forced to slide until you reach your destination or run into another dragon to fight.
There are two varieties of dragons in this dungeon. One kind either moves back and forth, or patrols a set path. Either way, that kind never stops moving. The other kind moves erratically, stopping in place every now and then. None of the dragons in this dungeon are aggressive.
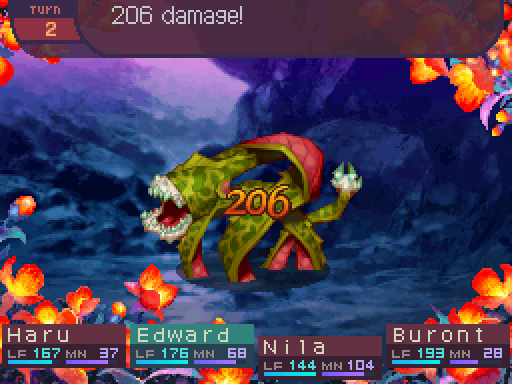
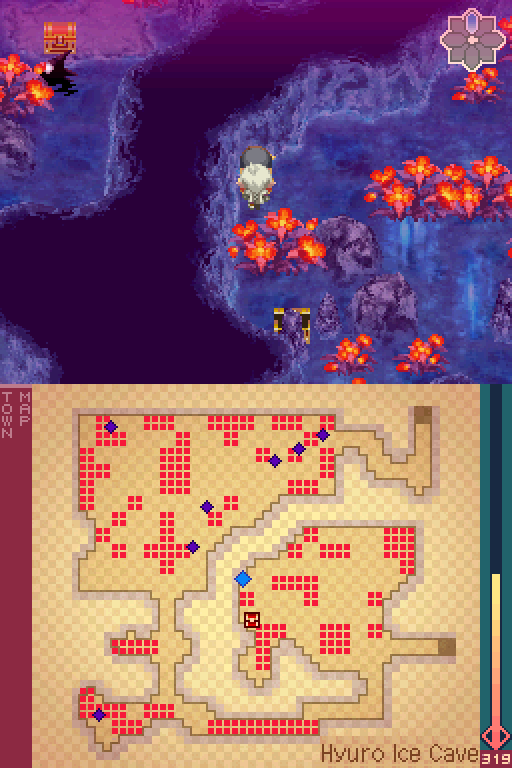
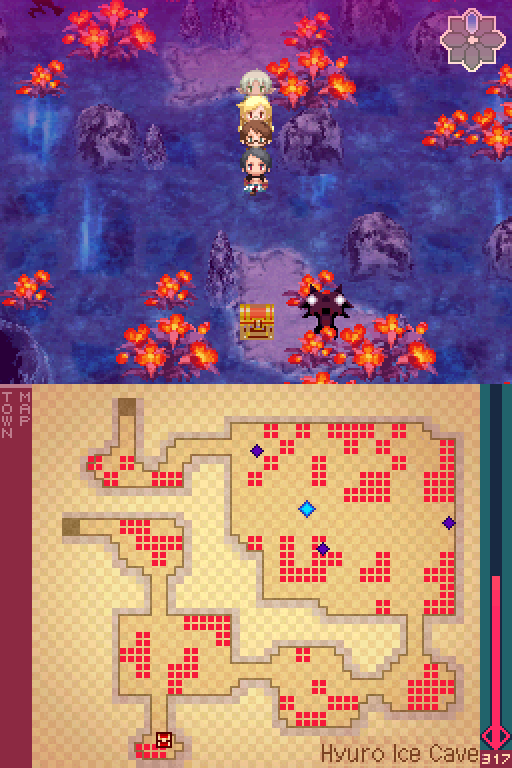
Incoming!
Sorry to disrupt your skating practice, but we really need this place to ourselves!
You can dodge the dragons with good timing, but frankly it’s just easier to kill them with how much they’ll get in your way in this dungeon. As for the ones that move non-stop, let’s check them out.


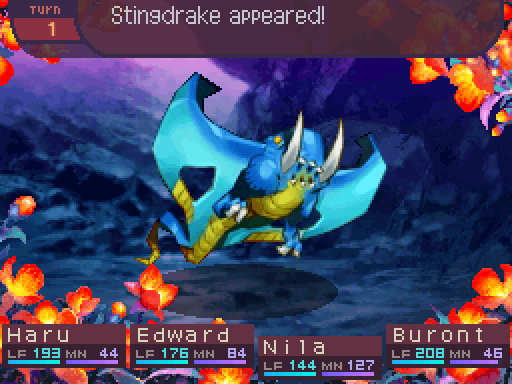

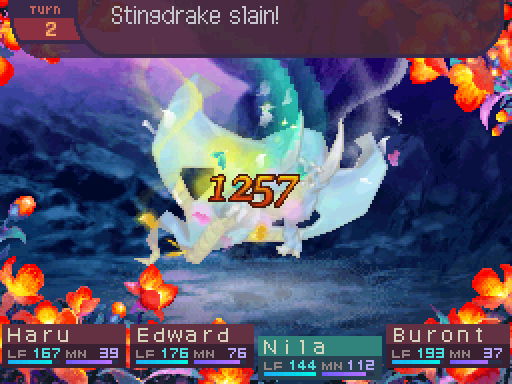
Stingdrake
Level: 45
LIFE: 2400
ATK: 137
DEF: 85
INT: 68
SPD: 66
Attack Type: Blunt
Attributes: Large, Dragon, Death Resistant
Exp: 9072
Gold: 136
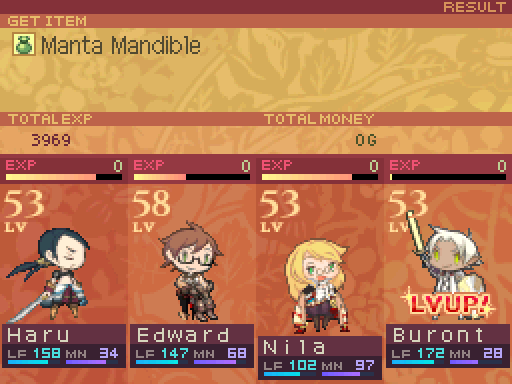
Item Drops:
-Normal: Manta Mandible - 100% Drop Rate. 2 needed to unlock the Conqueror Axe. (Axe. +130 ATK, -8 SPD, +20 LIFE.)
--Jaw of a Stingdrake.
-Rare: Bloom Seed - 5% Drop Rate.
--A seed with the power of the Bloom. Restores the Bloom to an area.
Damage Multipliers:
Slash: 100% Blunt: 100% Thrust: 100%
Fire: 125% Ice: 0% Lightning: 125%
Ailment Susceptibility:
Death: 20% Masked Pain: 100% Skill Seal: 25%
Fear: 25% Curse: 50% Bleed: 25%
Poison: 50% Sleep: 25% Confuse: 25%
Paralysis: 50% Blind: 25% Stun: 100%
Skills:
Frozen Fang: Deals melee 120% ATK-Based Ice damage to one party member. Has a speed factor of 90.
Poison Tail: 70% chance of inflicting Poison on one party member. Has a Poison power of 200% (Deals 43 Poison damage.) Has a speed factor of 85.
Icicle Rain: Deals ranged INT-Based Ice damage to all party members. Has a base damage of 80. Has a speed factor of 80.
There’s not much to Stingdrakes. They mostly specialize in single target damage, which kind of really lessens how threatening they are, especially if you can counter their toolkit. Poison removal can easily deal with Poison Tail since it can only target 1 party member at a time. Icicle Rain is the only AOE it has, and it’s very likely to use it on the first turn they’re in a battle, but aside from that they really don’t like using it for 2 turns in a row, and will try to avoid that situation if they can. Same goes for Poison Tail, though it’s more willing to use that skill more often. Frozen Fang is the only skill where it’s perfectly willing to spam it whenever. And if you can deal with that, you can deal with Stingdrakes.
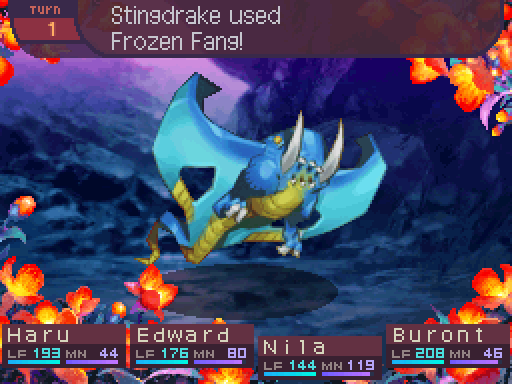
I will not be suffering from any frostbite today!
Okay I’m kind of a bit overleveled, but even then, Frozen Fang is just 20% stronger than a basic attack. It’s nothing really special even if we were at level.
Quite rude to interrupt our training, don’t you think?
KABLOOEY!
Not really worth showing much of these battles in detail since I kill them in 2 turns.
If anyone got Poisoned, I could easily have Edward cure it with Recover I, which is part of the reason I had him come along.


The poison is pretty much the most annoying part about them, as that’ll linger onto the field and it’s one of their more damaging attacks. I definitely recommend packing a lot of Somanels for this dungeon. And yes there’s a reason I said Somanels instead of Poisonols. Namely cause Poison isn’t the only annoying ailment we have to deal with here.
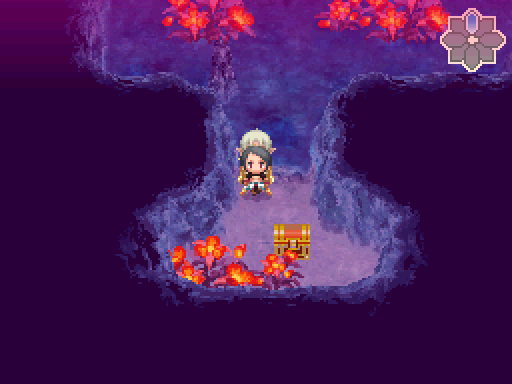
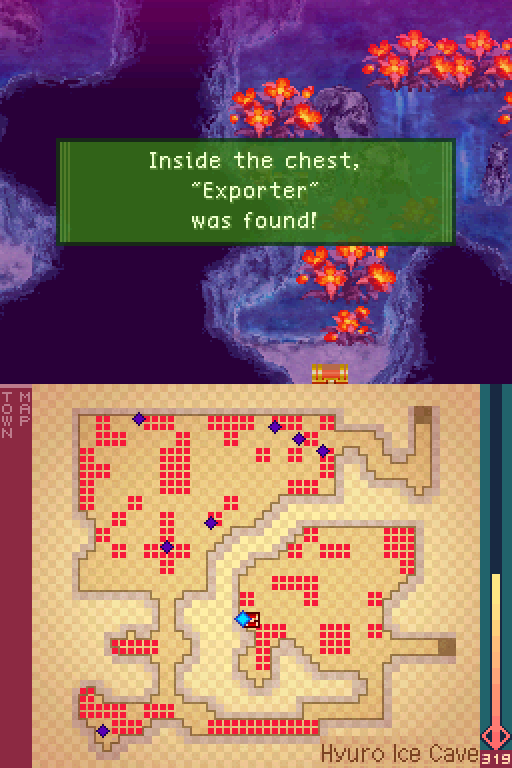
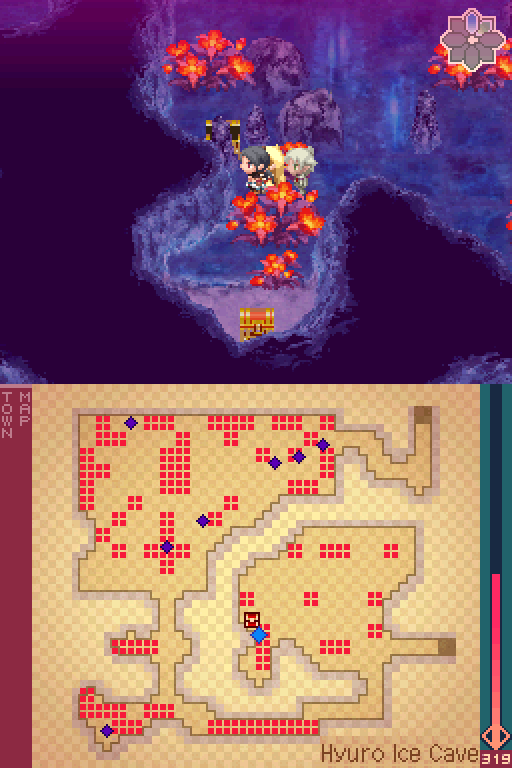
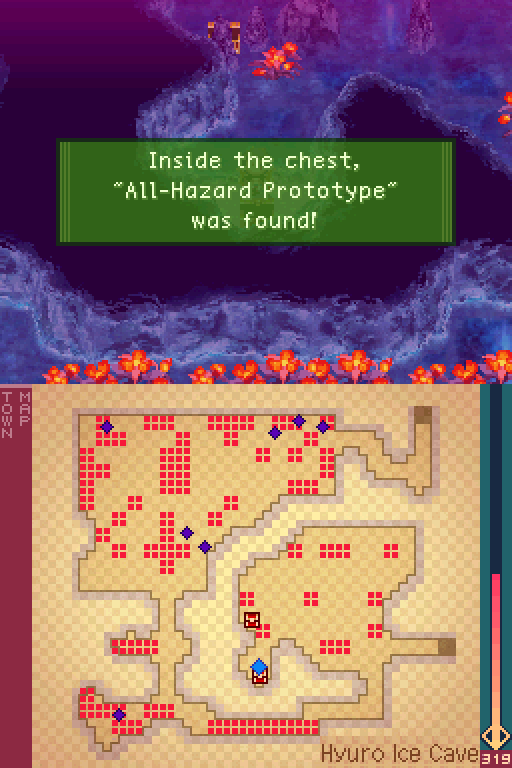
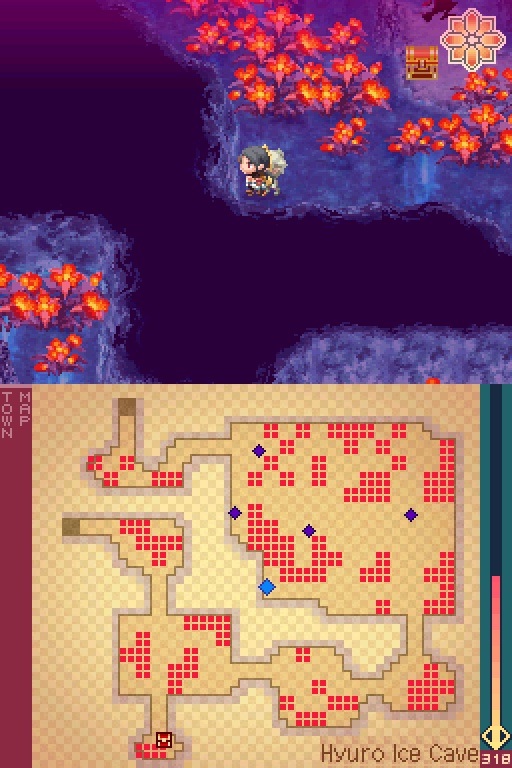
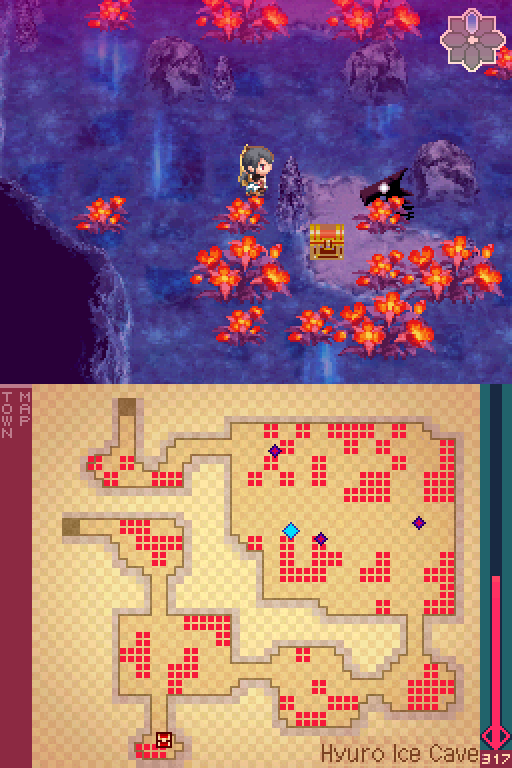
This chest is pretty easy to reach, just move to the right as you move down.
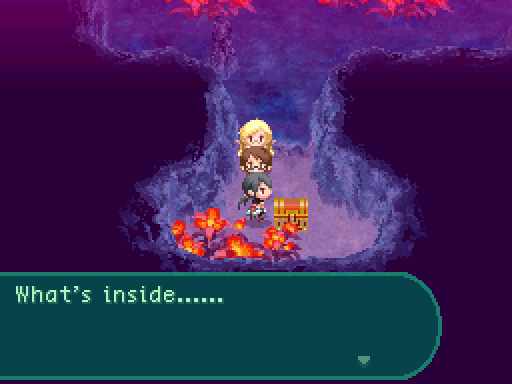

And this is why I came to this part of the cave first, as this contains the map. There’s another reason I went this way first, but I’ll show that off in just a bit.
Even if you ignore the chest, moving to the east exit of this little ice rink isn’t all that difficult to do. Just keep moving right as best you can really.
Now as for those dragons that move erratically...

Molewyrm
Level: 46
LIFE: 2500
ATK: 140
DEF: 87
INT: 82
SPD: 52
Attack Type: Blunt
Attributes: Dragon, Death Resistant
Exp: 9504
Gold: 138
Item Drops:
-Normal: Wriggly Strip - 30% Drop Rate.
--Sinew of a Molewyrm.
-Rare: Bloom Seed - 5% Drop Rate.
--A seed with the power of the Bloom. Restores the Bloom to an area.
Damage Multipliers:
Slash: 100% Blunt: 100% Thrust: 100%
Fire: 100% Ice: 100% Lightning: 100%
Ailment Susceptibility:
Death: 10% Masked Pain: 100% Skill Seal: 25%
Fear: 25% Curse: 50% Bleed: 25%
Poison: 50% Sleep: 25% Confuse: 25%
Paralysis: 50% Blind: 25% Stun: 100%
Skills:
Cursed Howl: Has a 35% chance to inflict level 5 Curse (50% damage reflection) on the entire party. Has a speed factor of 75.
Bind Slash: Deals 120% melee ATK-based Slash damage to one party member. Has a speed factor of 90. Bug: Applies a SPD debuff that does absolutely nothing otherwise for 5 turns. (Missing buff data so it does nothing other than eat up a buff slot.)
Tail Swing: Deals 140% melee ATK-based Slash damage to the front row. Has a speed factor of 80.
Molewyrms are basically stronger versions of Worm Dragons. They picked up a new skill in Tail Swing to deal more multi-target damage to your party. Aside from that they behave pretty similarly to Worm Dragons. Molewyrms are the reason why you want Somanels as they are guaranteed to cast Curse Howl on the first turn, unless you managed to score a preemptive attack on them, which is pretty easy to do with how often they stop moving. Like with its weaker counterpart, it will only cast Bind Slash on the back row if you have one. Otherwise it’s used on a random party member.
Wriggle wriggle little worm!
Batter up!

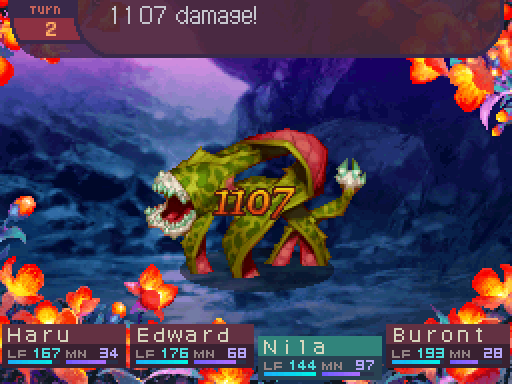
Oh, who’s on fire now?
I’m a bit overleveled for these, but they die so fast they’re not really worth showing here either, especially since they’re pretty much stronger versions of Worm Dragons.
The Curse is pretty annoying to deal with, but Edward can easily dispel that with Recover II, letting Nila incinerate them with Concentrated blasts.

Nothing much to this dragon either, but they’re the reason you wanna pack Somanels so they don’t stall out your offense for several turns.
For whatever reason this rock has no collision.
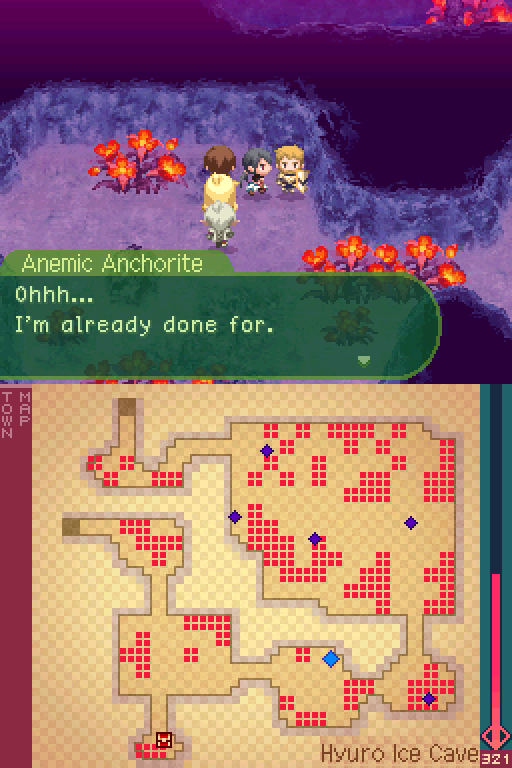
Do you mind telling us what you exactly need?
Hm, judging from his state, he hasn’t eaten in a while. Is there any kind of food you really want or something?

We can complete this quest now. Though I’ll tackle this at a more convenient time.
I head back to the entrance room to heal up at the spring. Nila’s Exit skill is really convenient for this dungeon.
You can see another pedestal in this part of the room, as well as a set of metal doors blocking our path. There are 4 pedestals in this room, each in a separate corner of the room, that we have to do something with.
Now let’s see what lies past the north western exit.

The detailed map for this room. If you look at the bottom of the map, you can see that no matter what, it’s impossible to reach the northern side of the room from the south. We can get the 3 chests on the southern side, but that’s about all we can do here, which is why I went to the eastern room of this dungeon first.
And here are the movement paths for the dragons in this room.
Reaching this chest is pretty easy, just head left as much as you can, and you’ll eventually reach this chest.
However reaching the 2nd chest in this segment will be a bit more tricky.
From the first chest, just head north as much as possible.
Then head east towards dry land.
Head to the southernmost patch of solid ground you can, then slide west.
Then head southwest.
I must say this trial has been quite rewarding already.
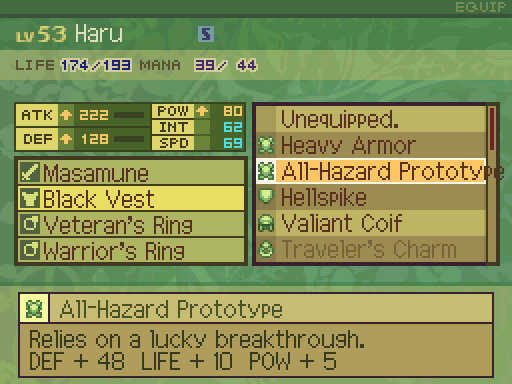
Your reward is this hefty piece of armor that has some great secondary stats. Only Fighters, Samurai, and Knights can equip this.
A perfect fit!
I slap it on Haru. This is pretty much one of his possible choices for best in slot armor, as no other piece of armor provides great secondary stats such as this for Samurai. Another possible choice is the Skanda’s Cloak, but the LIFE and POW upgrades will be far more relevant to Haru. Fighters and Knights have more choice on the matter when it comes to the best armor to wear.
Yes name spills out of the textboxes. There are a couple of issues like this, but equipment names overflowing through textboxes is a known issue that isn’t in high priority of being fixed, nor is there any interest in fixing them. So this is the only time I’ll point this particular issue out. Any other cases of this I’ll pretty much ignore and won’t comment on at all for that reason.
Reaching the bottom half of this room really shouldn’t be that difficult compared to snagging that handy piece of armor.
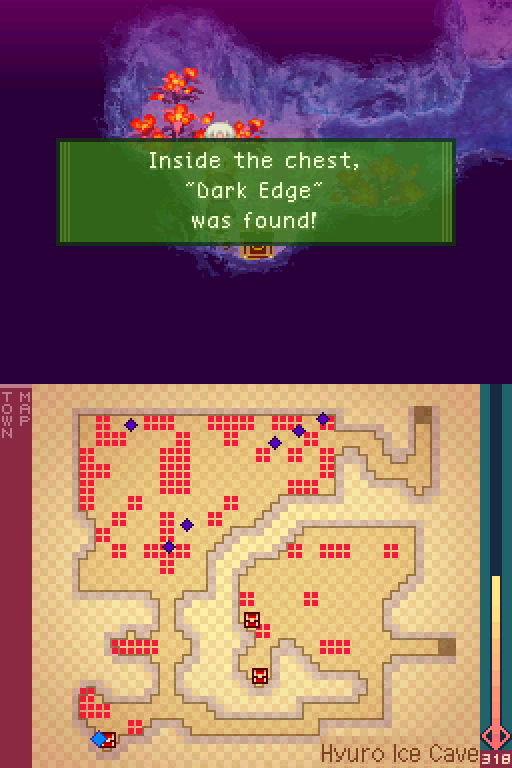
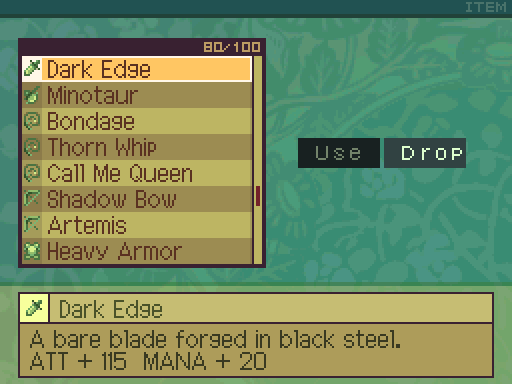
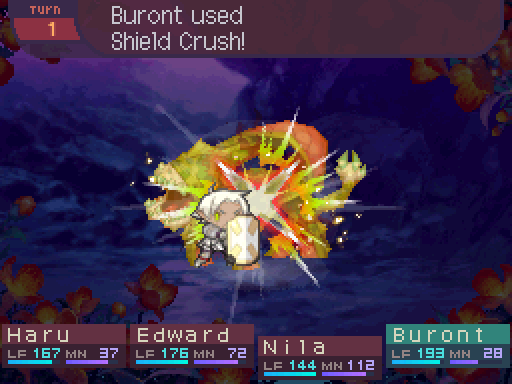
Down here we also get another nice equipment handout. The Dark Edge is a Sword that provides a very nice MANA boost. Buront would have gotten a ton of usage out of this, as it would have allowed him to spam Shield Crushes more often, on top of upgrading his attack a bit. Oh well, not a huge deal that I forgot.
Since we can’t progress any further, it’s time to head back to the eastern room.
Now we really want to reach that chest in the middle of the room.
Starting from the western side of the ice floor, head north and west until this point.

Then head south, then east.
Head north to this patch of dry land.
Then move 2 tiles east, then head south to reach the chest and a dragon.
Buront got a level up from that dragon’s death.
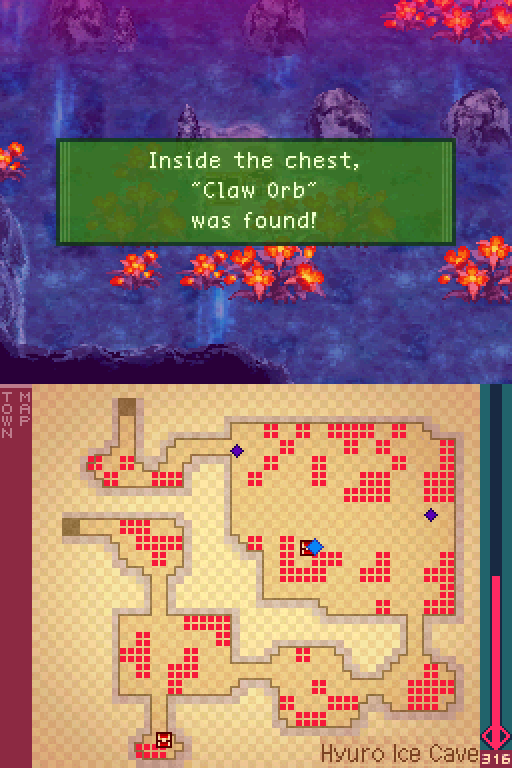
And this is the reason you really want to reach this chest, as it’s needed for the first room.
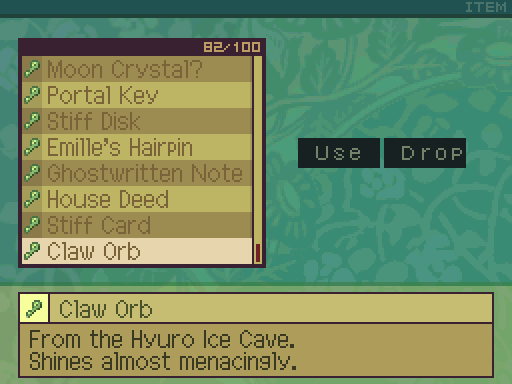
Ah, just like in the grotto. An orb that we could place on a pedestal.
Hmm, there were 4 of those pedestals back at the entrance. I guess we place this there?
So it looks like we’ll have to find 3 more of those before we can get past those doors.
There’s quite a bit of the cavern left unexplored. Perhaps the orbs are waiting in the very depths.
Reaching the exit really should be pretty easy. Just keep on heading northwest as much as possible.
And for the sake of pacing, I’ll end off the update here. We’ll finish the dungeon and Zesu’s trial next time.