Toggle Background Color
23-World's Most Dangerous Travel Destinations
 Get in the car, it's time to go on a road trip.
To explain, we're doing most of Eastern Sun's extra content today. Eastern Sun continues to be a top tier mod because all of the extra maps it puts in are all balanced for the difficulty they're on, more or less. That means we can do all the mod content on Normal! When normally we'll be waiting until Hell.
As such, this is our first update where I get to talk about the mods themselves. Eastern Sun has probably been a wild ride for you as well if you've played it. I mean, there's the difficulty spike of the immediate beginning, followed by Act IV, and then a lil bit of a spike at the end. I don't mind this because the rest of the game goes down smooth, because it knows what the fun parts of the game are and it's not gonna keep you from getting to Hell. At least, that's what I think.

Eastern Sun, however, is not just a fast and hard Diablo II. Now is the time to revisit something I have long since written off as a "time waster". That's because most of them have been turned into the mod's endgame areas. I don't think there's a normal optional dungeon in Eastern Sun. Any side areas not there have probably just been folded into the endgame areas.
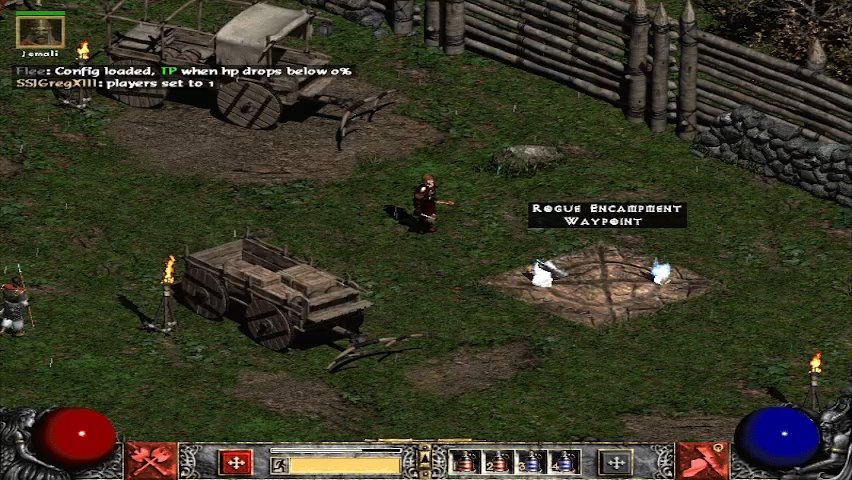
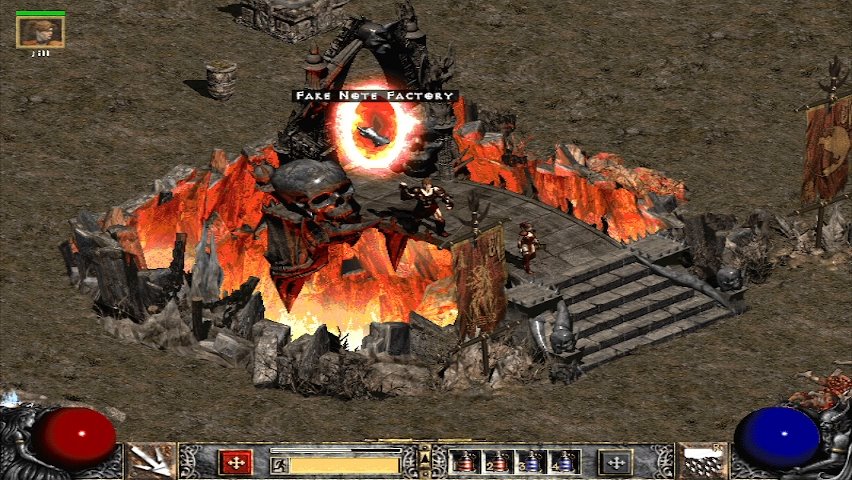
Let's start at the very first, located in the Tamoe Highlands. Normally, there's a hole in the Tamoe Highlands, just outside the monastery, that has a nondescript side dungeon. Though, "nondescript" isn't quite accurate because the Hole, as it's called, is a popular grind spot when you get to Hell, since it's max area level, (if your Diablo II cared to make more than one area level 85) has a good chunk of enemies, and awards you with a gold chest at the end. Here in Eastern Sun, you may notice it's not called the Hole. It's max area level for whatever difficulty you're on, has a good chunk of enemies,

and is completely different.
Woe be to you if you think about poking your head in here early. You absolutely can, and in fact, if you get some good answers to what Blood Raven's Workshop has in store for you, you can do this fairly early. But uhh, it's around level 40 or so, and the first time you're here you're not level 40 or so.
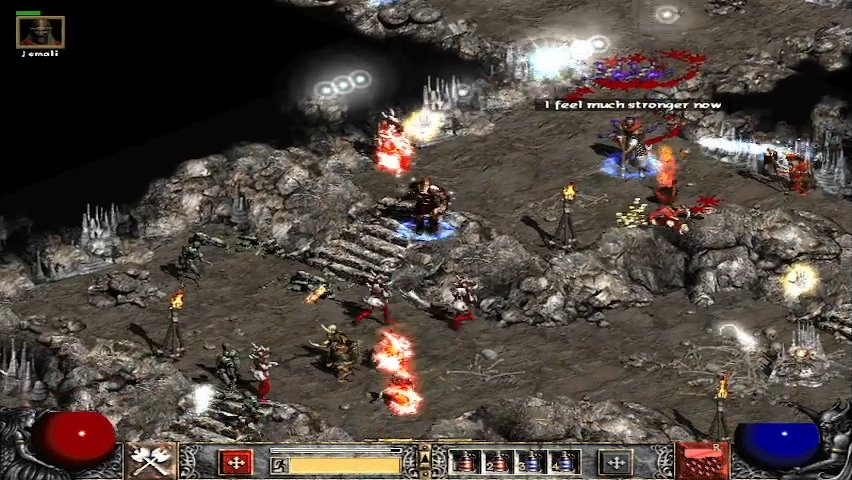
Hey. I remembered to grab warcries. Ancient's Call is a new skill that lowers the magical resistances of any enemies in range of the cry. You may think this is a fancy way to say "Lower Resist", and for the most part you're right. It's basically Lower Resist. Heck, you can't stack this and a curse on enemies. Did I mention Barbarians in Eastern Sun have gone from bottom tier to top tier? They honestly deserve it.
Another skill worth mentioning in passing is Battle Orders, which more or less functions the same as it did in vanilla: it's a buff to your party that multiplies your maximum life and mana. It isn't quite as massive a stack as Oak Sage but it's basically free and longlasting. It keeps you and your friends alive. That skill among other support skills is why, despite Barbarians being really bad at killing enemies themselves, they were godsends in parties where someone else can do the killing but would very much like the buffs Barb can give.
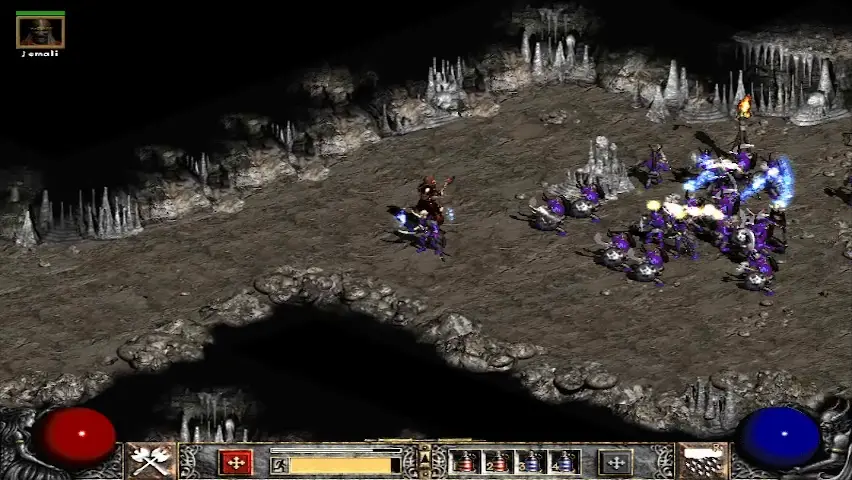
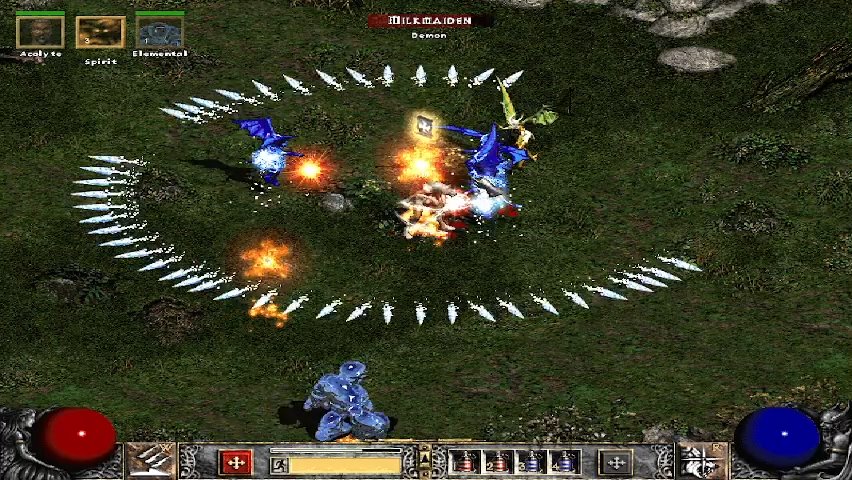
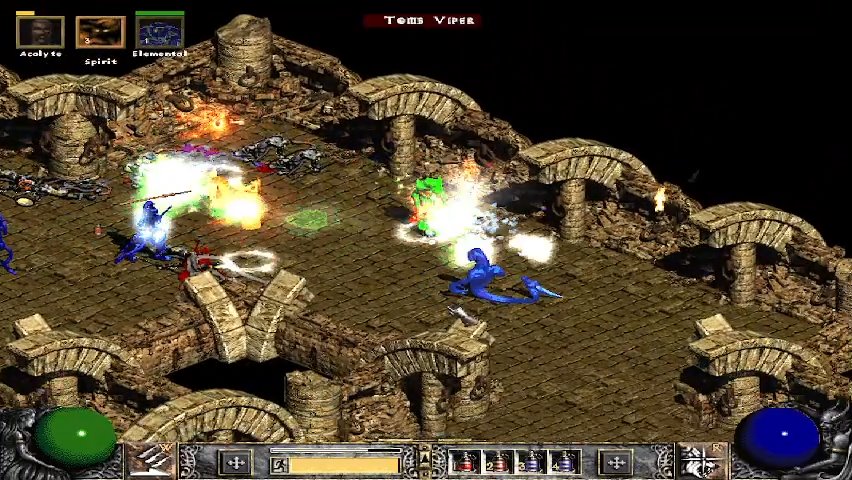
Anyway, Blood Raven's Workshop. If you ever wanted Fallen that can threaten you...well Raven Imps aren't it, but the Shamans can be nasty. The projectile they shoot when they're not ressing Fallens is an ice projectile, which can slow you down enough that the Fallen recolors become a threat.
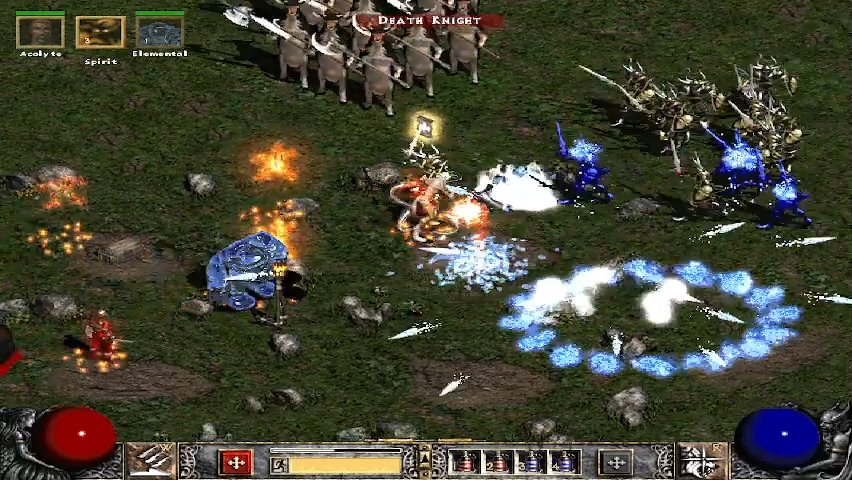
This is a problem because the monster on display here are skeleton archers with ice arrows. They're nasty customers. They spawn in large packs and they will sit there and shower you with arrows. You've also seen Wendigo recolors that are functionally the same as big meat slab has always been. Just a bit faster to be somewhat competitive. For some odd reason there's Devilkins here as well, but even at high levels they're still pushovers. I guess they're just there for variety.
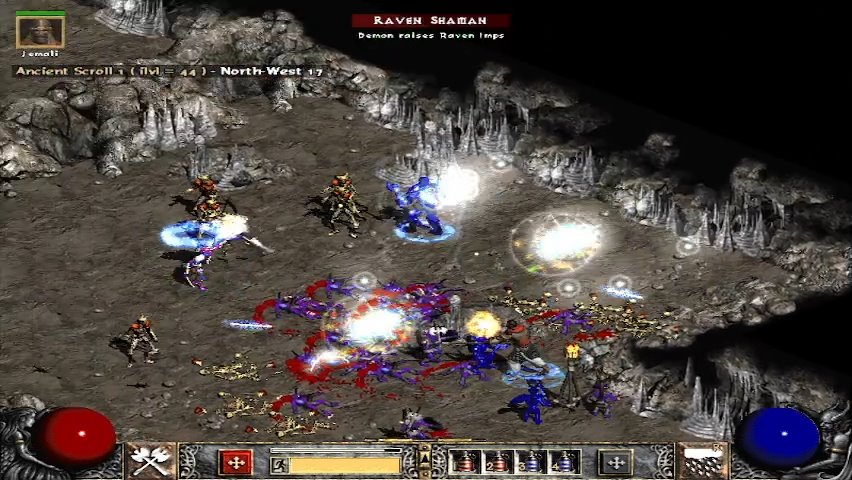
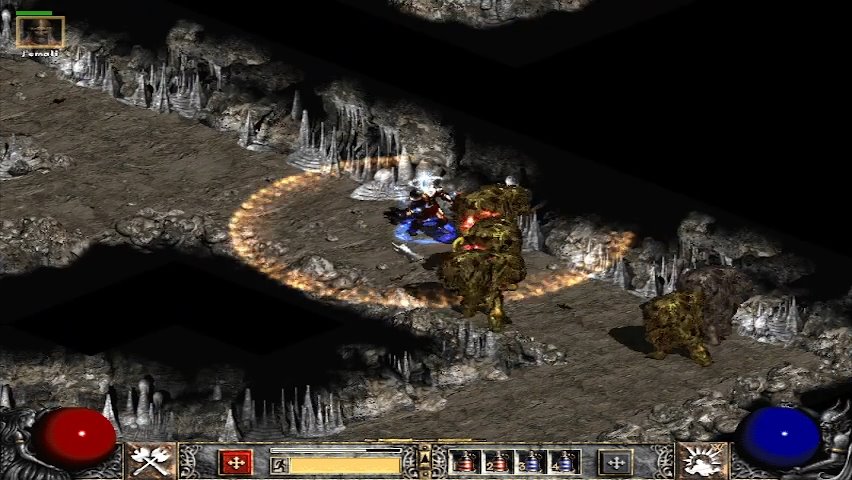
The thing that's scary about this dungeon though is Returned Archers, which have been modified to shoot ice arrows. It's all the fun of Burning Dead Archers but they can also coldlock you as well. This is why, even when you have max Cold resist, you do not want to walk in here. They do sizable damage in both physical and cold, and 75 cold resist? Well that doesn't mean a whole lot when a firing squad of these things would drop you in an instant. Now that just takes around 3 or 4 instances.
This is why coming in here early without proper gear is a bad idea. If you can't deal with these you will get stonewalled by them. They're no joke.
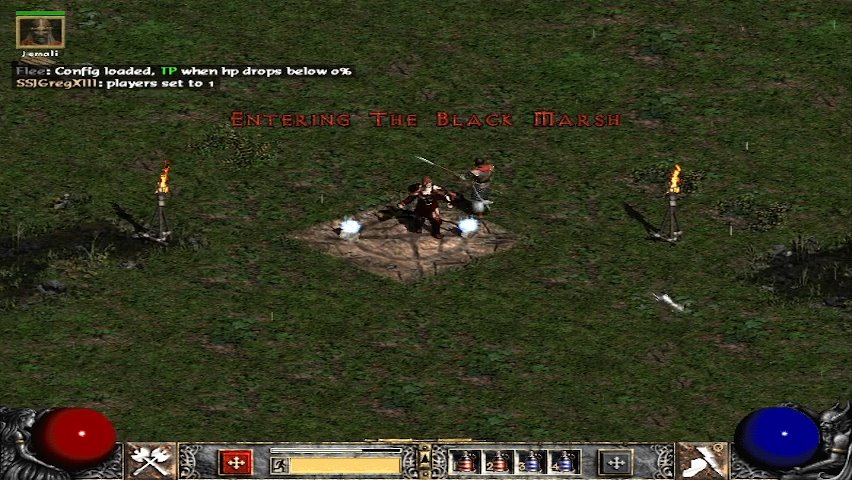
Like other optional dungeons, it's two levels deep. This isn't a universal rule but most Eastern Sun endgame areas are something like 2 floors deep. One as a warmup, the next with the main course.
The fun fact for today is that Hole level 2 is always the same layout. I'm pretty sure all the bottom floors of the side dungeons in Act I are fixed layout.
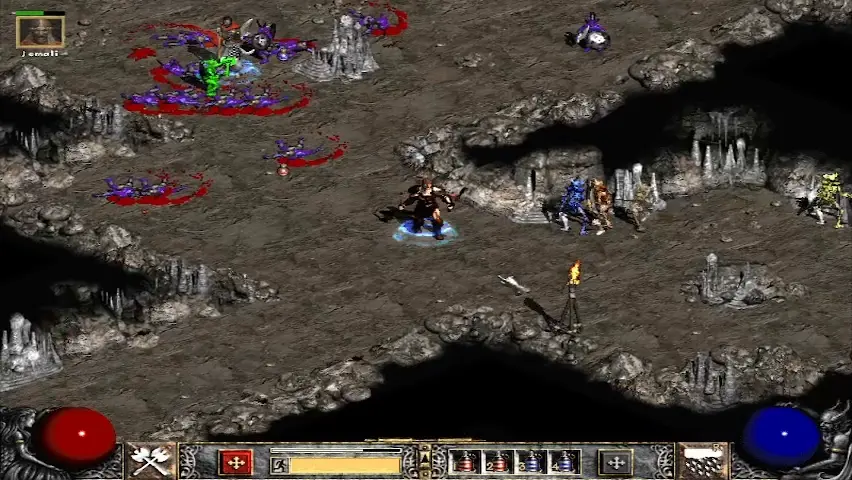
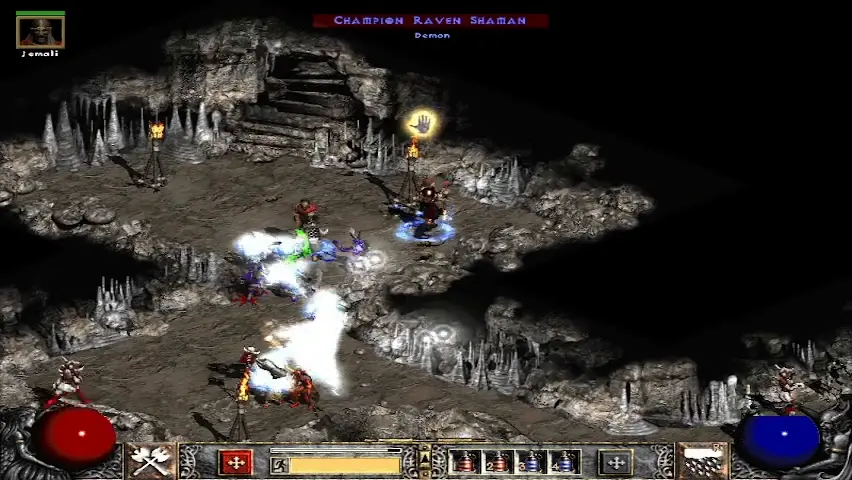
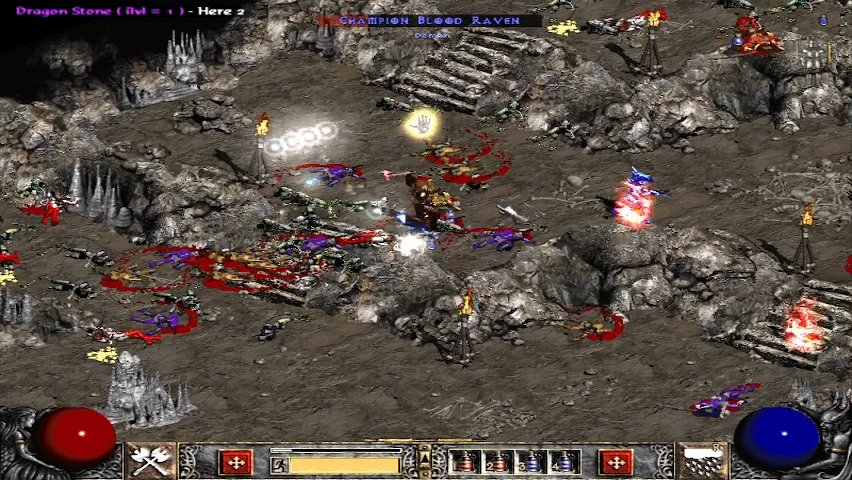
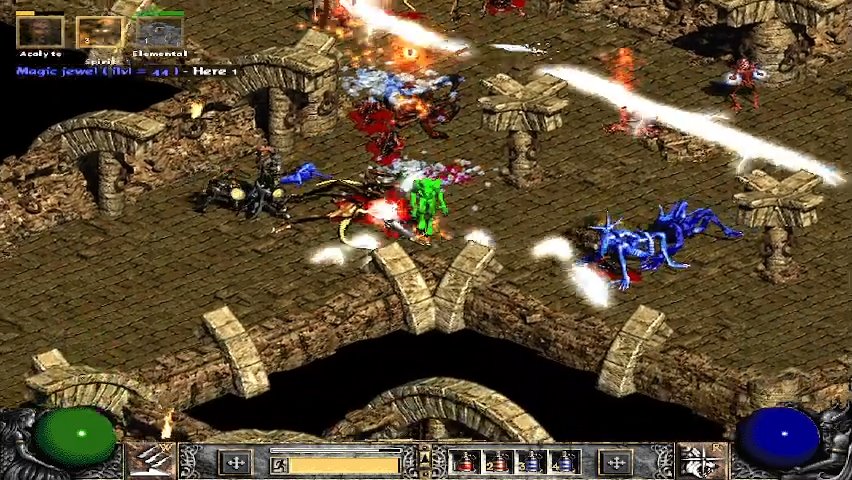
Also you may have noticed Blood Raven in the corner. Yeah. She's back.
She and her many doppelgangers.
It's still Blood Raven. They'll still run around, raise zombies, and shoot you with arrows, some of which are on fire. They can just be tanky. Very tanky, because now they spawn as normal, champion, or unique monsters. It's also not really a good idea to leave the opening room and walk past the chokepoint, because it's all cliffs and stairs which mean all the Blood Ravens will not be impeded with hitting you.
On the flipside, every Blood Raven still has the sort of drops you would expect out of a superunique, not to mention experience. Combine all this with the area level and you can get some very good stuff, not just for the other endgame areas, but for the next difficulty as well.
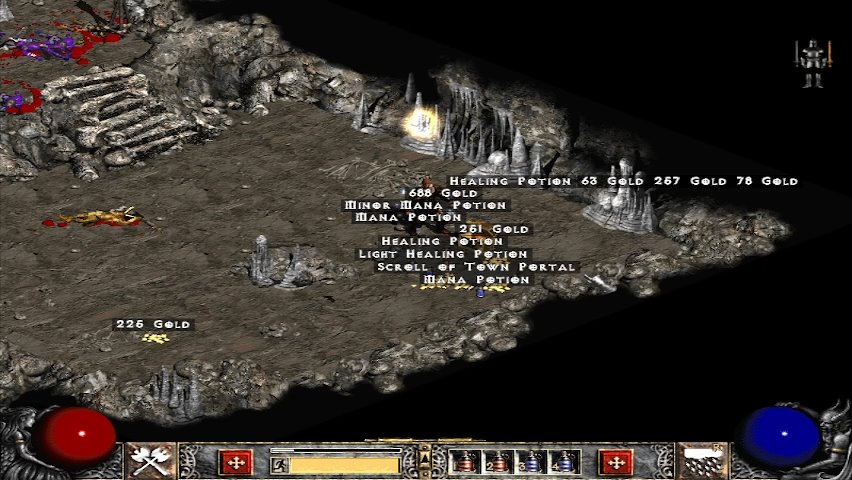
And that's really the only reason you would come here. The gold chests tend to pale in comparison and I wouldn't be surprised if they were nerfed. It's the monsters inside Blood Raven's Workshop that makes it worth doing. They're pretty good, but Blood Ravens aren't amazing loot pinatas. However, depending on how your character is doing, you may want to pick them over other options if you need high level gear. They'd be the ones who drop it.
In fact, it's about now that we can start finding skills on gear. As item level goes up we'll get better and more options for skills we find on gear, but remember when I talked about how some skills are so good to have for anyone? Since sets tend to leave space for other items and uniques (most of them) aren't necessarily strictly best in slot, it's ideal to read through the ES database to see if there's any oskills or skill pluses that would benefit you. Since jewelry have class-specific additions for both rings and amulets, and unique jewelry is still extremely hard to get a hold of, jewelry to grant you supportive skills or more to your skills is ideal here. Or just whatever really. It's your build. I'm not the expert here.
Anyway, there's only one other endgame area to go to in Act I.
 And yes, it's the cow level.
So, many things to process in this picture. The first and most important that I really hope you catch is that there is a waypoint directly below the entrance. Please touch it. Eastern Sun does not fix getting locked out of the cow level. Touching that waypoint is the only way you get back in.
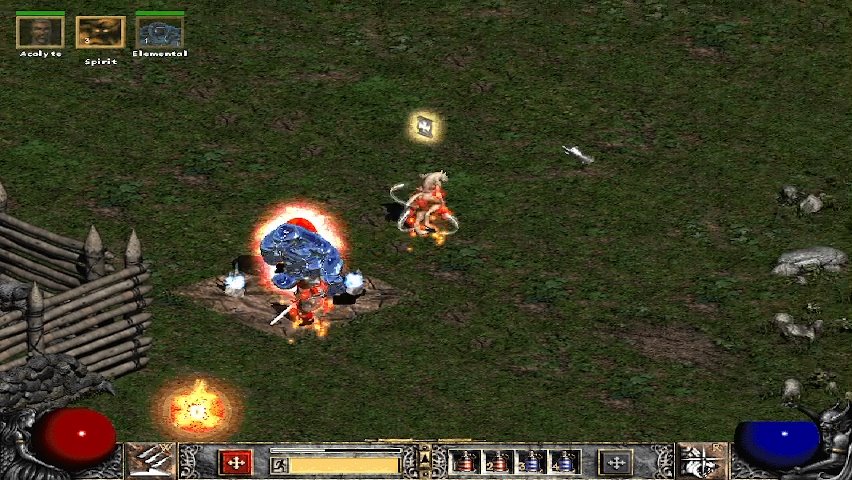
Second, I heavily retooled Bob now that I have a good enough bank of levels. Tossing out Firestorm and instead leaning towards summons a bit more, he now has a Water Elemental buddy. It's just a buddy to take hits. I have him because the more meatshields to distract enemies the better, because I'm still melee.
However, I am now using a much better skill to melee monsters with.
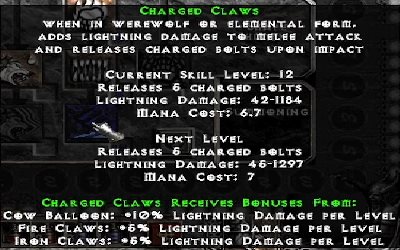
Charged Claw is a melee attack with Charged Bolt stapled on it. Simple. I don't even think you have to hit, but since you are hitting something in melee with physical damage it means you get some return out of improving weapon damage and running leech. Make no mistake though, this is a lightning skill, and increasing lightning damage is the way to go, especially since the bolts are very damaging. Basically, we are hitting monsters with point blank Charged Bolt all day every day. We're Werewolf as well so we're doing this very quickly, and will only do it quicker as I stack up attack speed. Because it's Charged Bolt on attack, there's no need for cast speed, because attack speed is what makes it better. The bolts, I'm pretty sure, do not hit whoever you smack, but that's okay, because Bob's problem has never been against single targets. The bolts are there to solve the problem of crowd control, very effectively.
Which leads into the last thing to digest here that you may be very confused about. My werewolf is using an Iron Wolf.
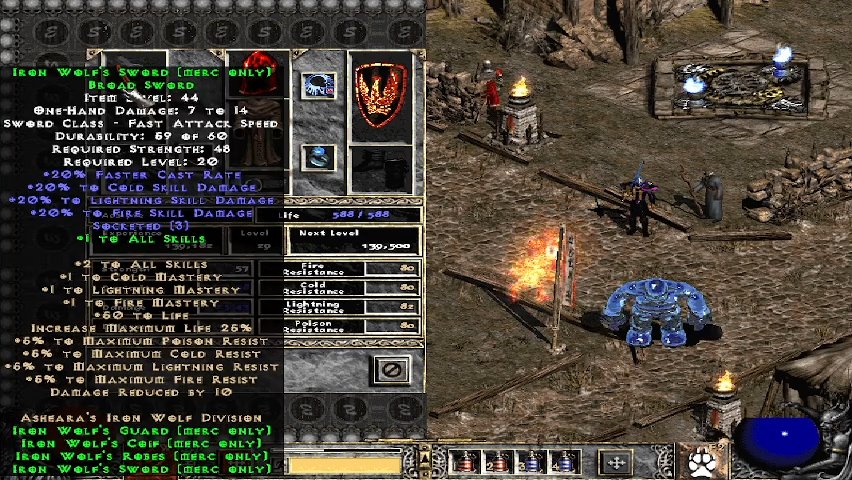
I've described what Eastern Sun does to improve them, considerably. Their existence (or rather their aura) boosts my lightning damage. I can't say no to that, and from my experience, with the mercenary set for Iron Wolves they are very good at not getting blown apart. It may also help that I have plenty of other meat shields so he can comfortably shuffle around, sit back, and spam lightning spells including Lightning Hydra and Time Stop, which remember, those are two really good spells he has.
Anyway, the cow level. We've seen it in action, and ES does add a couple of additions. My favorite monster is here as well to be slightly faster slightly less tanky monsters.
But they also went and got some ladies for the cows.
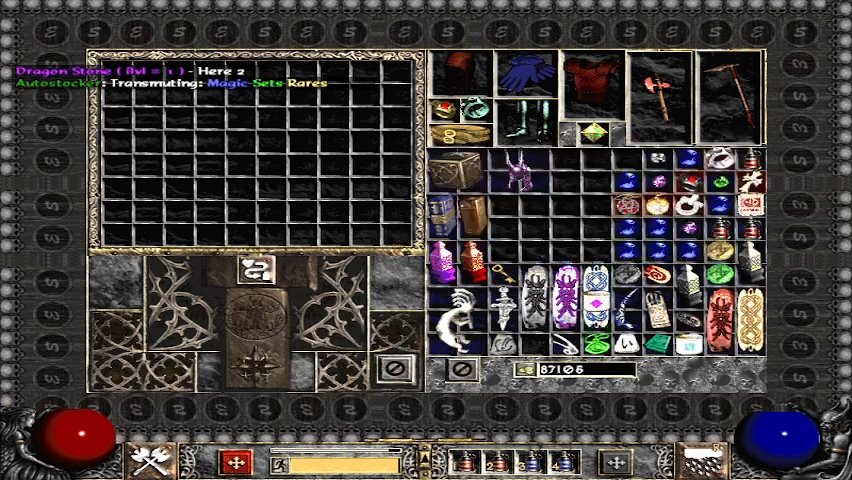
As for why you would come here...aside from the normal reasons you come here, you get a lot of a special organ.
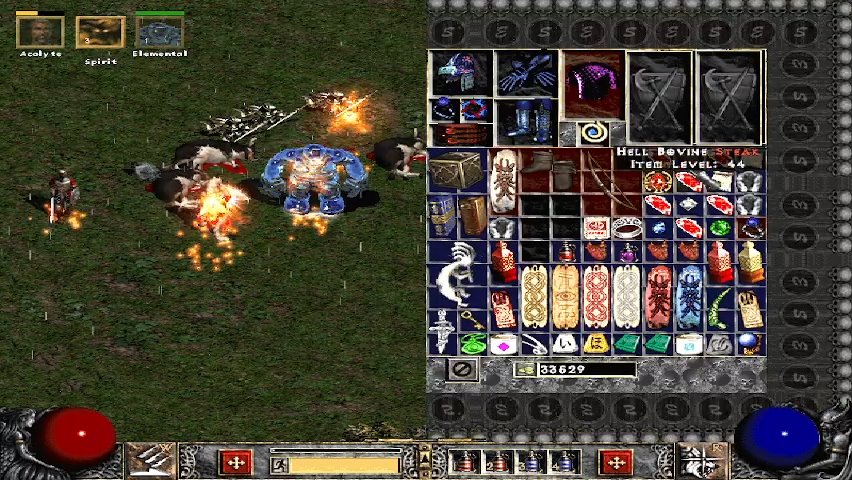
Steaks have a lot of uses. None of them are tinkering which you would expect out of an organ. The basic use is to be boring and convert 3 of them into Ancient Decipherers, which will give you 3/8ths of a Dragonstone. There's better uses though, and not all of them are limited to Secret Recipes. (Though they are vital in certain secret recipes, like making Elixirs, which is a component for a lot of them.) You can also take 3 steaks and a blemished dimaond to turn them into brains (or a blemish skull to turn them into souls) which you can turn 3 of into rare amulets. (the souls are used for mana tinkering) What do I use them for? Nothing. They honestly just live in my stocker and I forget about them.
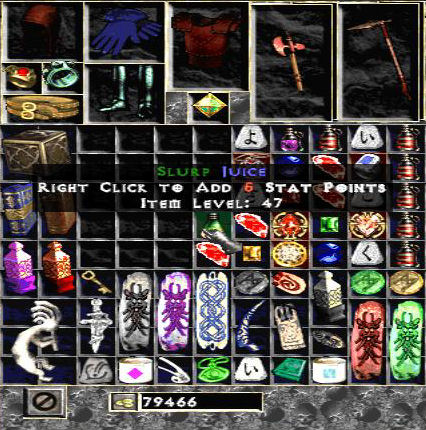
But also, cows are the only monsters that can drop this stupid thing. Slurp Juice is something you just pour on your stat points and suddenly you have 5 more, thanks to the magic of slurp juice. These are very rare, to be fair. I have to turn on players 8 and/or do the VERY endgame content to be able to reliably see them, but their existence means you can have infinite stats, because there is no limit to how many cans of slurp juice you can slam on your character, and they just drop from cows. I'll have more to say about this later when it becomes very apparent that there is no power ceiling in Eastern Sun.

Anyway, calling the cow level an endgame area may not feel right, but the cow level has always been an endgame area in Diablo II. Nothing's really different here, just some additions to add a little spice.
Next up, we're going into the desert. Did you notice that we completely skipped it in Eastern Sun? We never had a reason to go over land. That underground maze just takes us to the shaft and the head we need for the act. As a result, the act's optional dungeons are there.
Now, you can for a moment be silly and run through the desert and it won't blow you up right away. However, try not to play Act II as normal. You'll see why in a bit.
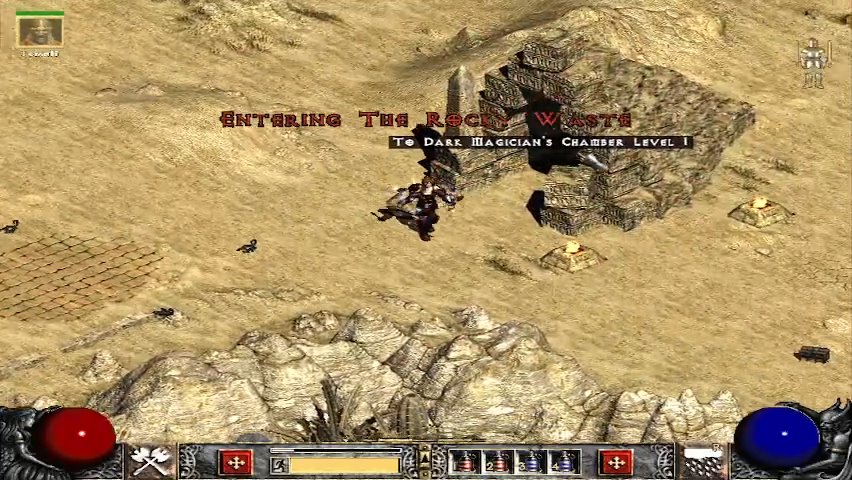
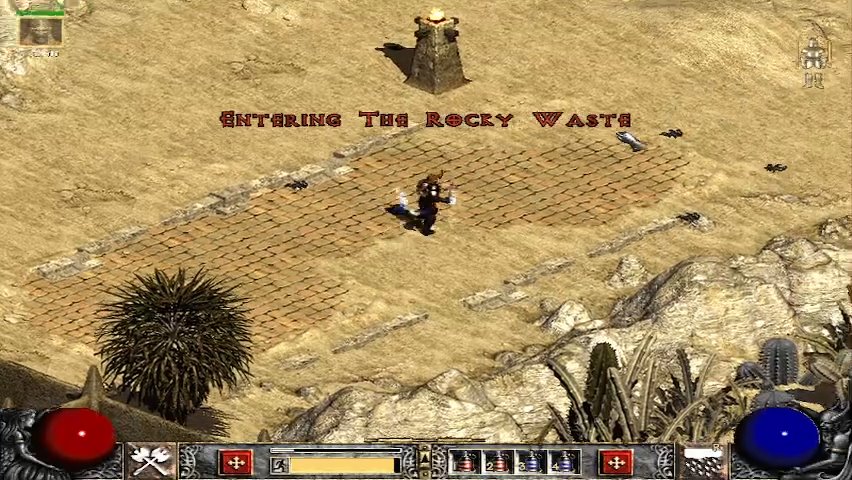
For now, the side dungeon in the first area, the Rocky Waste, contains the next endgame area to sample.
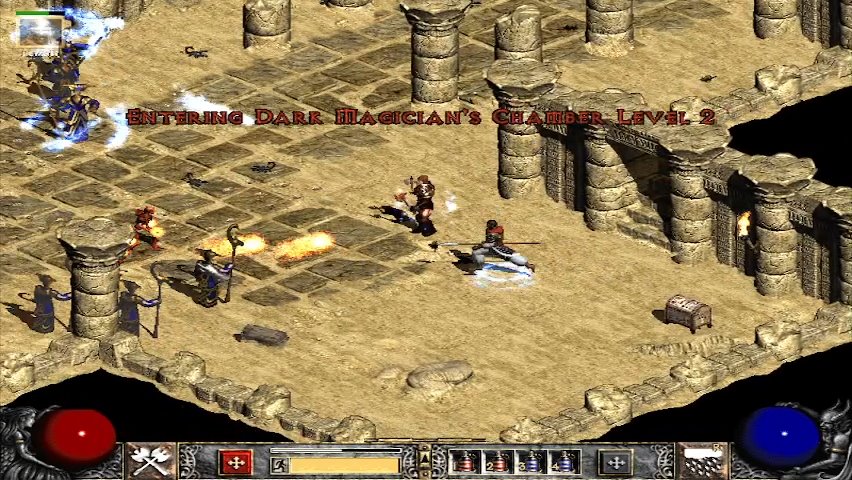
...Why yes, this time it's literally right outside town. I don't think that's always the case but it is funny.
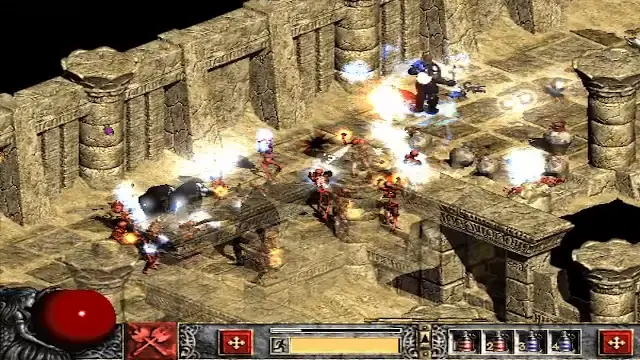
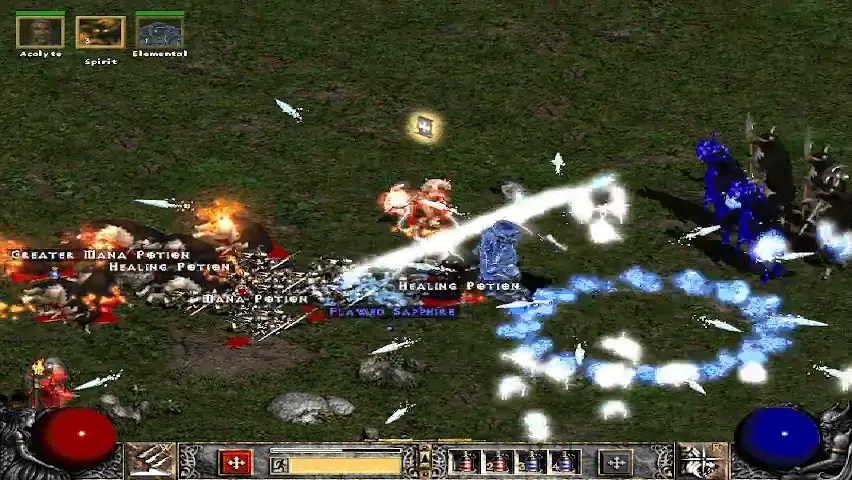
The Dark Magician's Chamber, level 1 at least, is going to be jam packed with caster skeletons, and Greater Mummies to support them. The gimmick of this dungeon is that there is a lot of dark magicianing.
This means two things. One, you are getting hit a lot, but two, it's mostly just elemental damage. I have been saying "You don't have to cap resistances in Eastern Sun. The game hands you gear that does it for you," for the longest time, but there's enough spells getting slinged that even with max resists, they do some decent damage if you don't bob and weave through them.
Course, there's plenty of ways to raise your maximum resistances, which is something I didn't cover in the affix mechanics talk. That's because they're rare to find, and normally you only ever see them on uniques. However, being able to raise the ceiling from 75% all the way up to 95% can be useful. (even like, 5% more, means you're taking 20% less per hit.) Just keep in mind that the actual resist is sold seperately.
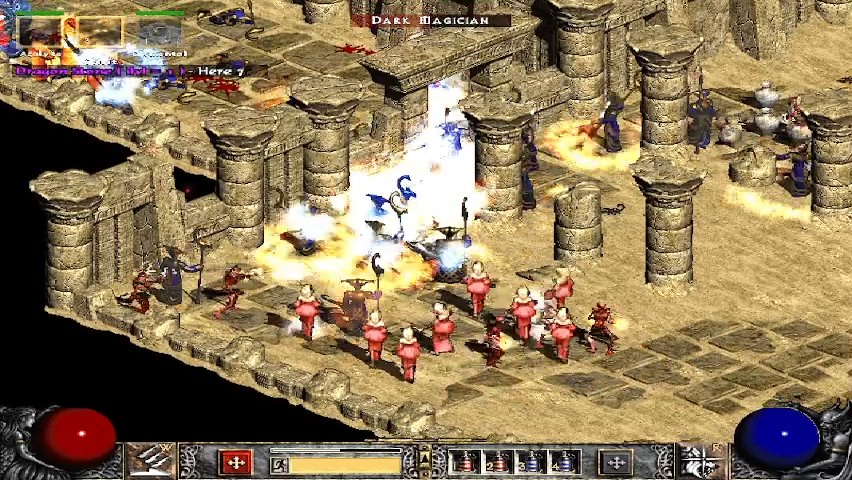
(Also on the one hand that's a lot of Greater Mummies in that pic but also there's like no mages next to them.)
That's really all there is to this floor as well. To be fair, it's uhh, very, very effective...maybe in other diablo mods though. Despite this, I still do not believe you should be in here early. While max resists are easy to get, the bulk of life required to brush this stuff off is not something just handed to you.
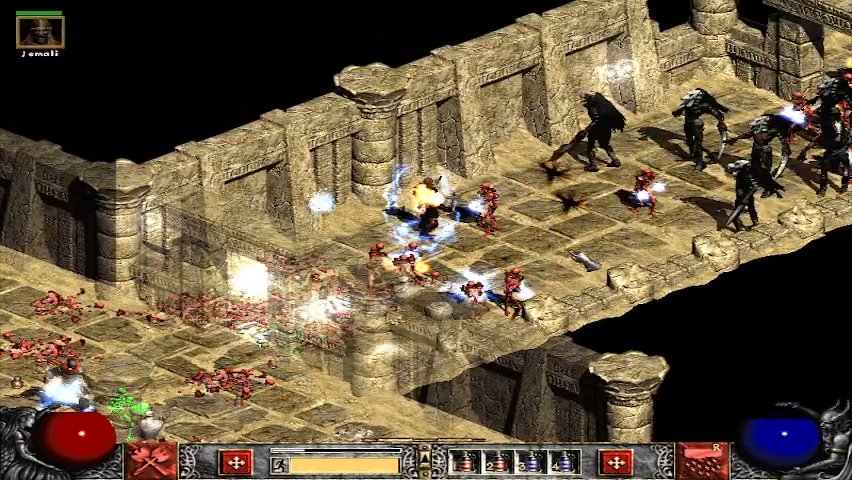
Head down into level 2 and get some fun new additions.
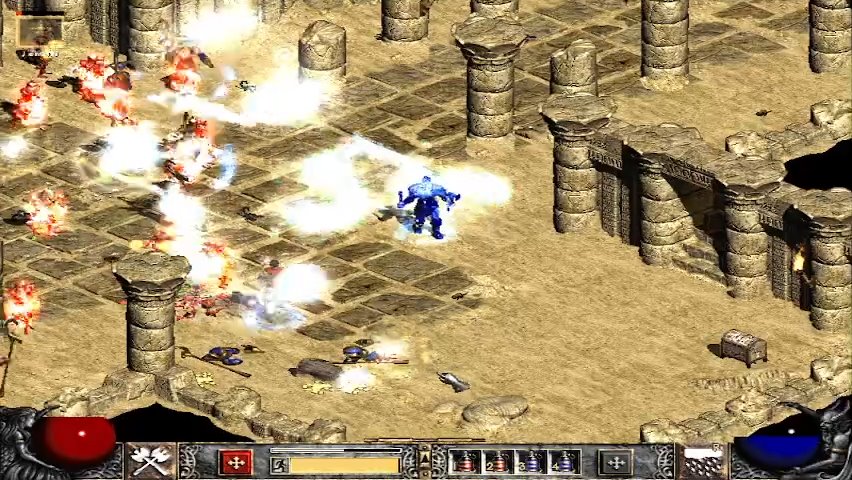
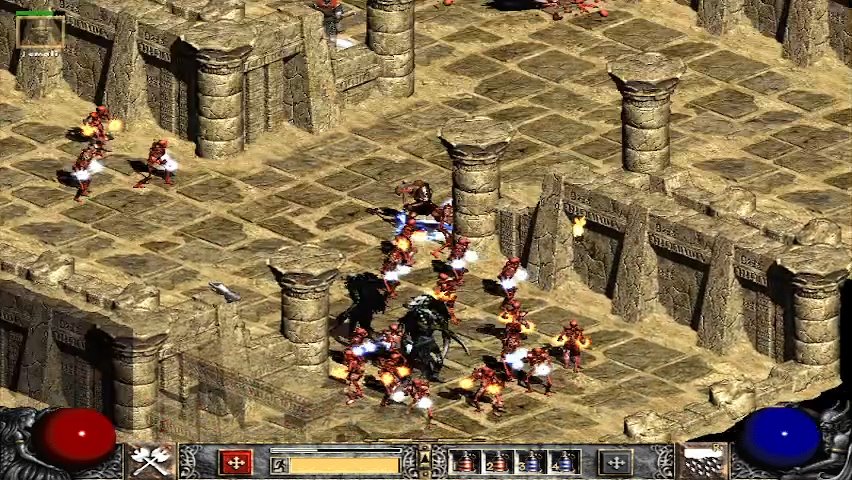
Instead of Greater Mummies, Summoners are here in bulk, and they still do Summoner things. I am honestly slightly disappointed that they still mainly just throw fire and ice projetiles. They're not super dangerous and, since they're not Greater Mummies, they're easier to deal with. However, because they are a superunique that's just being spawned in packs, they're this dungeon's high value target.

They do hit substantially harder than caster bones, and their projectiles are notably faster, so they are more dangerous than the Greater Mummies they replace.
I do have to swap to Bob for the end though, because there is a special superunique on the bottom floor. Harukoma Dayuu and the Komusumes she spawns with are to get even further beyond Summoners. They'll throw cold projectiles and those will do quite a bit of damage as well. I'm not too certain if they drop anything particular, but it is nice that this side dungeon gets its own superunique, more or less.
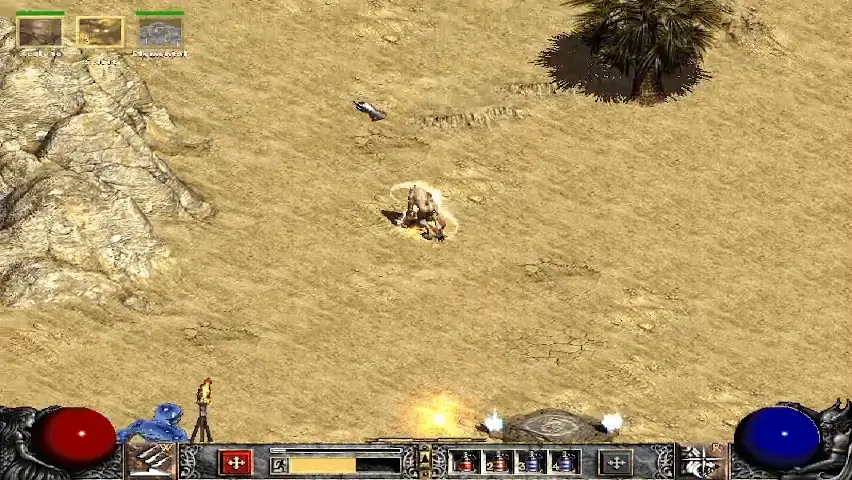
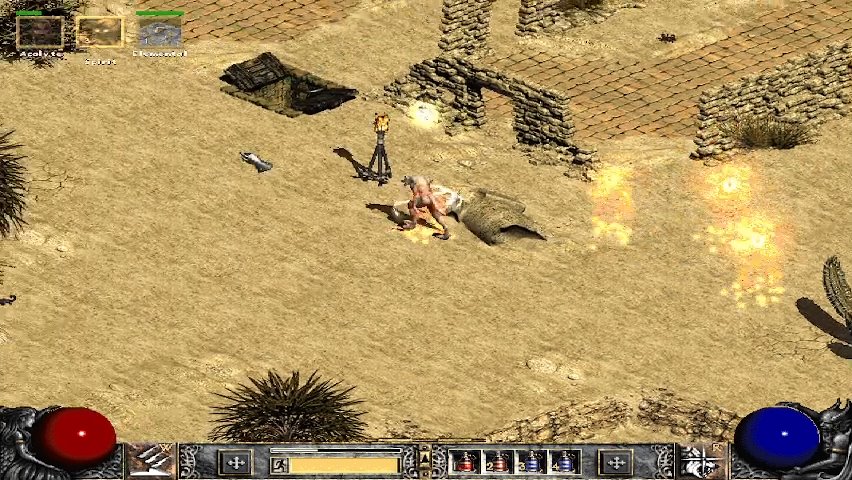
Now then, out into the sands we go. We're heading into Lost City.
Not to, go into a dungeon or anything.
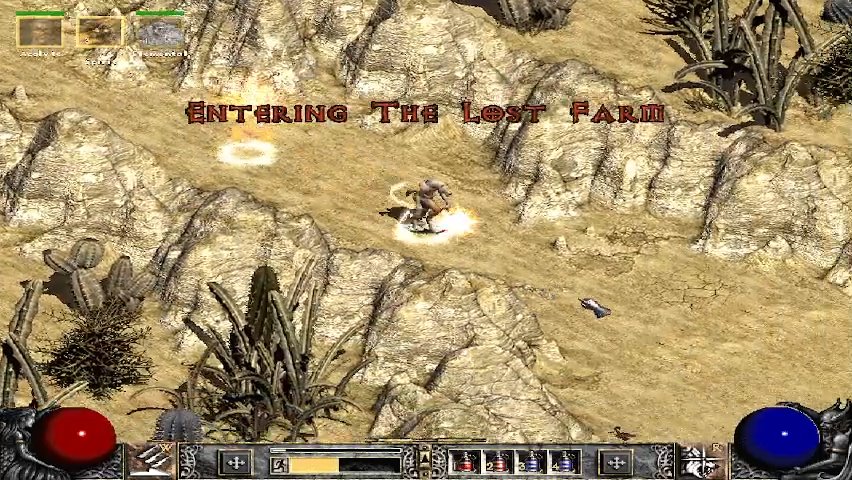
But because Eastern Sun has decided this is an ancient cow burial ground.
Which means, it's another cow level.
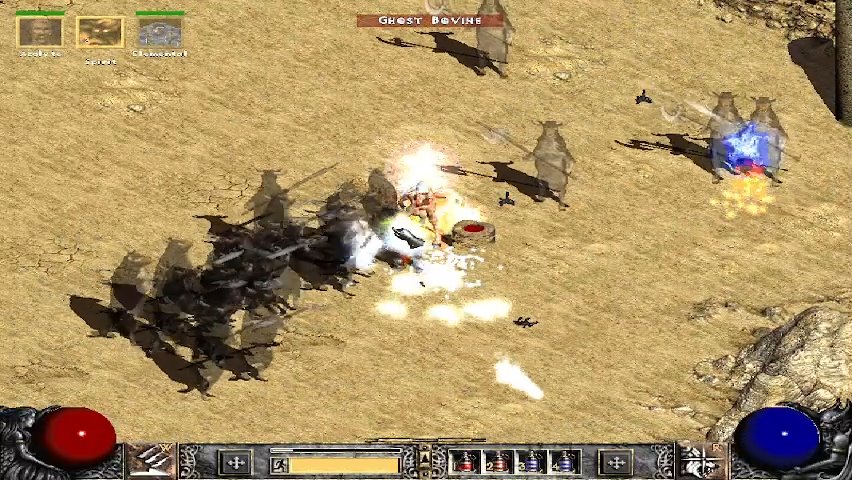
Ghost Bovines are actually quite similar to living bovines, but they are faster, and I want to say they're more physically resistant but I can't tell, the Eastern Sun community actively discourages using physical damage.
There's several reasons for this. There's the usual suspects: having to deal with Defense and Block, having to deal with physical resistance which can't be reduced in anyway, (All the lower resist stuff doesn't target physical. Only Amplify Damage/Decrepify does.) but then there's also exciting issues Eastern Sun introduces by jacking all the numbers up.
You see, several numbers in this game are not designed with getting really really large in mind. This is programming talk, but the gist of it is, depending on how you define a number to be used by a program, it will have a variable limit to how large or small of a number that can be held. The cap is 83885. (I think. It might be 65335 but I have conflicting sources of information. The math's weird.) You may think if you go out of that range it just sticks to the range. That's something you have to program yourself to catch that from happening. Normally, when happens when you do that is you overflow the data that stores the number, and it wraps back to 0. (It doesn't actually wrap back to 0. Since it's signed, the damage becomes something like -83,886, but thankfully you don't heal monsters overflowing. They at least got that part right.)
Now, keep in mind, normally, if you hit something for nearly 80,000 damage, it's dying quickly unless it's one of the very last bosses you can face in this game. However, Eastern Sun, as you have seen, is very gratuitous with its numbers. You very well might hit that cap playing this game long enough to extremely stack up damage.
The actual mechanics of not hitting getting rollover is for modders, not for me, and especially not for the game, who was not expecting you to ever do over 83,885 damage with a single hit. This is why physical is not great: your solution is to instead get more hits than hit hard and hit once, which most physical stuff is not good at doing. Elements, far as the Eastern Sun community implies, does not have this issue. I can't confirm if elemental damage has rollover but I don't think that's an issue. Magic/elemental damage is easier to get higher DPS with than physical because of things like oh crowd control, hits per second.
There's some other fun caps as well, like Life for some reason you can have over 8 million of. The life display will glitch if you hit 32,767, but rest assured, you have more than that life. Same with mana.
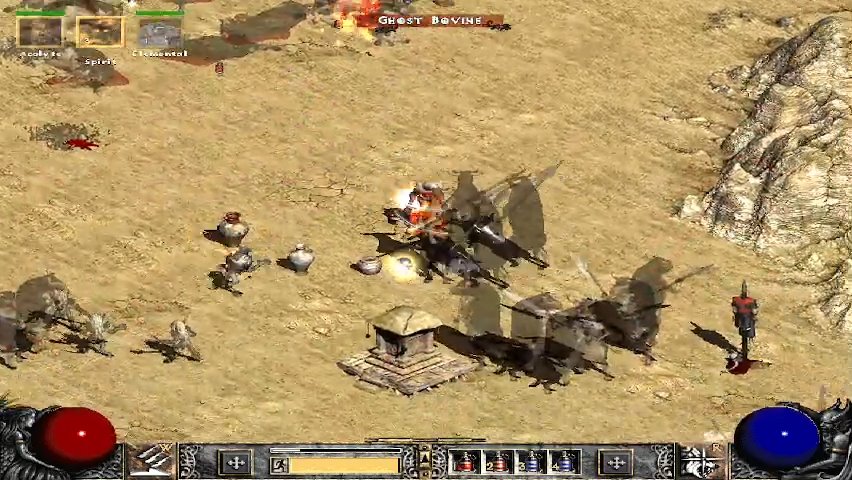
Anyway, the ghostcows are backed up by ghostimps. (Named Cowfly. Because cowflies.) It's otherwise the same cow flavor, down to the chance for them to drop Slurp Juice. (They are cows after all.) Just remember to grab the waypoint here so you can come back later with no fuss.
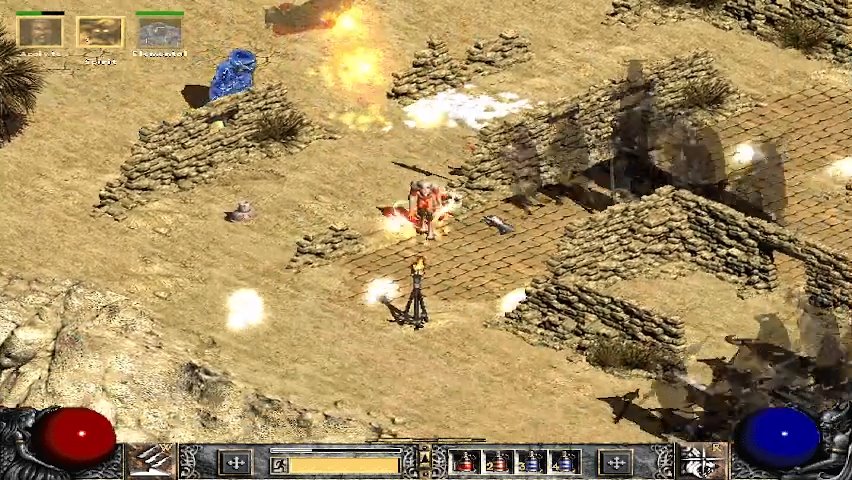
I might have lied when I implied there was no side dungeon. There is. In fact there's always been.
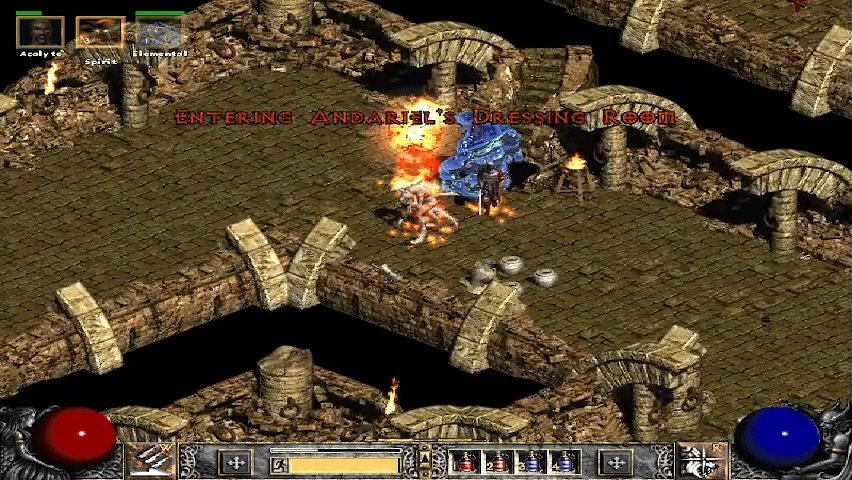
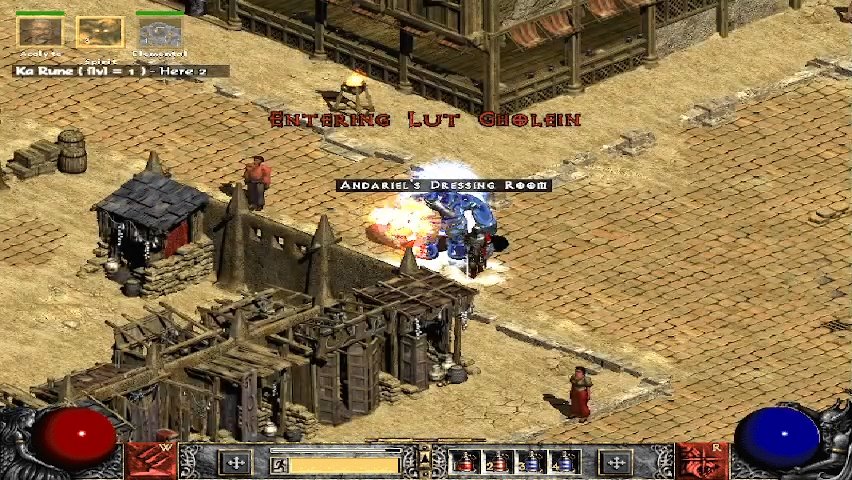
It's Andariel's now.
And that means we get hordes of spiderladies.
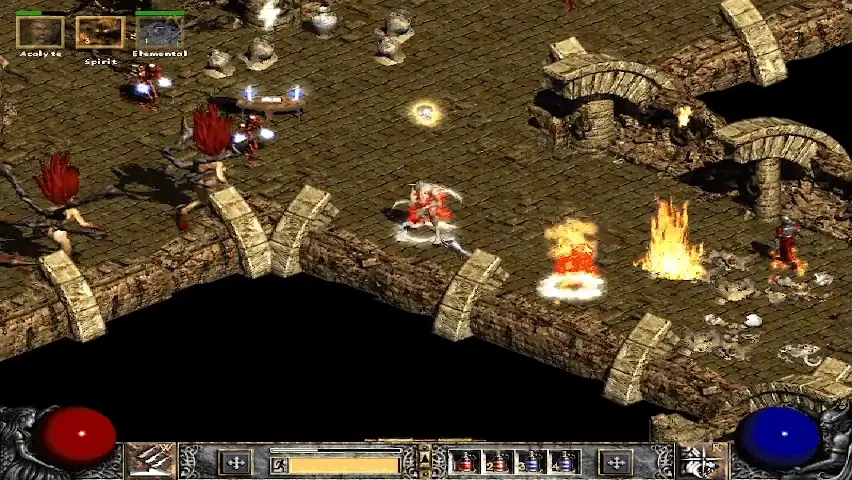
It can get pretty hectic because it's not just Andariels. There's also cats (Hairdressers) with ranged weapons, and those Vile Mothers again. (Harridan) I think they're actually better because they seem more proactive, both them and their children. (Harridan's Cuss)
You can also find these jerks here. You're not supposed to find them until much later, because they're claw vipers that only show up in Nightmare and up, and they shoot poison projectiles that leave poison trails.
It's hard to track but I have heard that poison trail, like everything else involving tick damage in this very good game, being really bugged and as a result really lethal at some point. I haven't really had an instance of getting destroyed in it yet. Probably because, it's poison, and, the projectile itself isn't bugged.
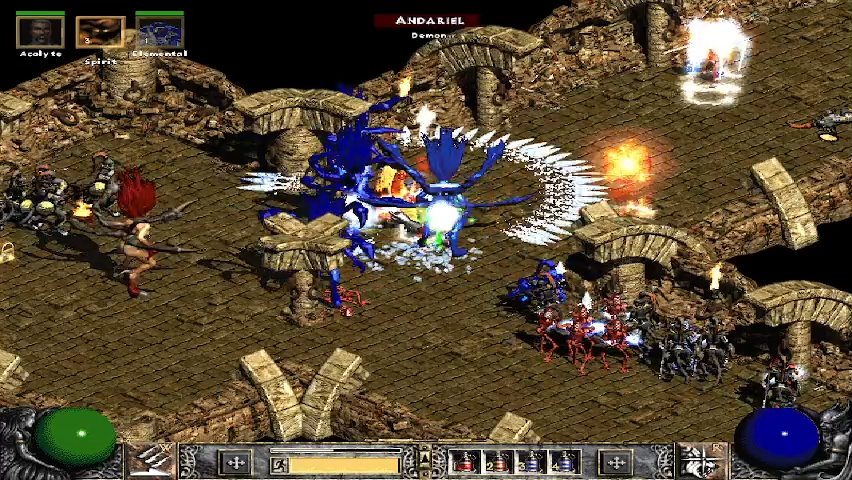
Now, of the dungeons being showcased today, Lost Farm and Andariel's Dressing Room are two of my favorites. The first because it's a cow level and those are lucrative. The second is, when you throw a bunch of act bosses as normal demons, you get paid in fat stacks of experience and loot.
Case in point. I get a lot of Dragonstones out of doing those side dungeons. You know, that very vital crafting ingredient. Dragon Stone drop rate scale off player amount, (only that as well) so /players 8 and tearing through these endgame areas should help you get all the dstones you need to pimp out your gear.
The basics of that are going to be covered in the next mechanics talk. For now, this update is coming to a close because I'm about 1/3rd done with endgame content for Eastern Sun. For me to continue doing Eastern Sun updates, I have to pace these out. I'm sorry.
However, because I'm obligated to. Hey. This dungeon.
Go into it.
Get your sippy. In fact hell just go into all of these shiny red portals in Eastern Sun. They're all fun good.
Next time: Enter nightmare.