Toggle Background Color


So far the game has mostly played itself, but now we have to face facts: one of our characters is hot trash, the other isn't the most consistent, and the total sum of our healing items is a sleeping bag and one (hi) potion. Not great!

Fortunately I only run into two fights on the way to Figaro.


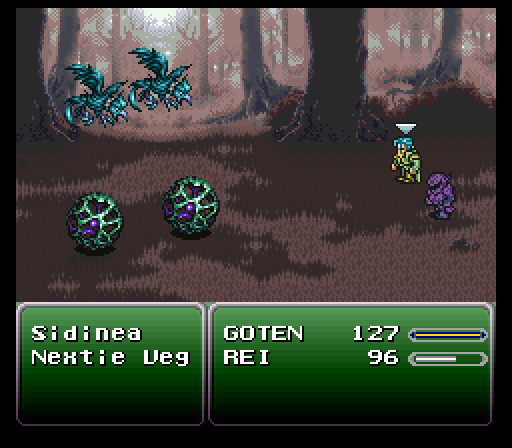
I do encounter a bit of weirdness in the first one, though. You've probably noticed that Rei's random bushidos don't display a name when they fire. Well, this one did. Not the right name, but still. My best guess is that this is actually supposed to be Retort, but something about the way R-Sword is programmed doesn't play nice with the counterstance, so it just skips straight to the attack and calls up the name of, apparently, Joker Doom.
Assuming this is correct, I'm gonna amend my previous evaluation, because not having to get hit first to trigger Retort makes it pretty good, actually. This leaves Dragon as solidly the worst result from R-Sword, not just because of the undead interaction but because it can only deal as much damage as Rei's missing HP.


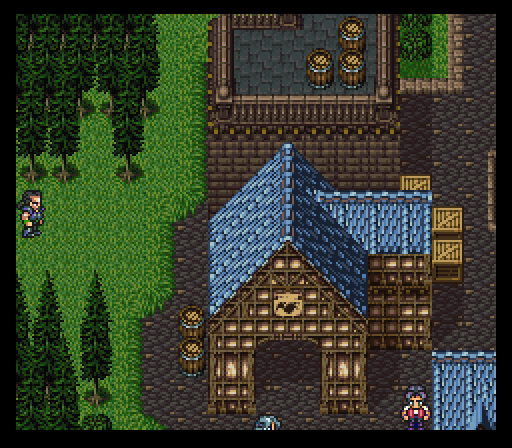
Ah, Figaro. Gotta love those Mountain Dew chocobos.


What the hell is this bullshit? That's just Cyan's regular color palette! I want my money back! 


Sadly, the castle doesn't have much to offer. All the chests are stuff we already have.


And the shops are full of stuff we can't use, with the only healing item being more sleeping bags.
...I'm desperate enough that I buy a few.


Oh, and Sabin's replacement appears to be sharing a color palette with Rei.


Speaking of color palettes, this look works surprisingly well on Kefka. Anyway, let's find out what Cell's about now that they're under our control.


Cell's a bit of a weird one, honestly. I wouldn't call them good exactly, but they're no Goten, that's for sure. In vanilla FF6, sketch is kinda bad even when it's working properly, just because so many enemies resist their own attacks. Obviously that's less of a problem in a randomizer, but still, not the sort of thing you want to rely on. And with R-Lore, the inconsistency doesn't stop! Not only does lore have a much larger pool to draw from than bushido, but there's also some real stinkers in there. Like, you know, explode! I will say, though, that it's fantastic for learning lores, and if we ever find someone with the normal command, they can potentially pull out way ahead of the power curve with Cell's help.


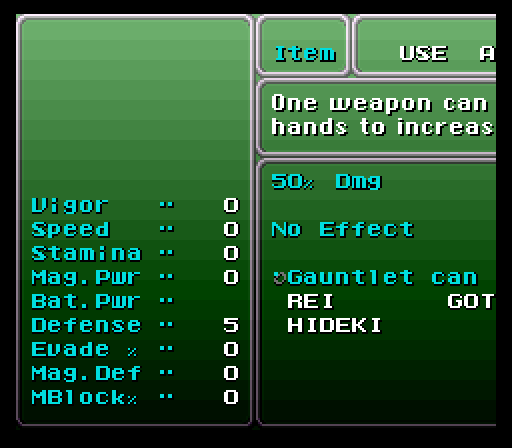
Two things to note on the equipment screen. Well, three if you count the fact that we've found our shuriken user. First is that while Cell's armor is a cut above what we've seen so far, they've also just got weirdly high base defense. Second is that their vigor dropped way down while naked. What gives? Well, not only does equipment have random stats, it can also roll into the more unique passives. In this case, the tiger mask has hyper wrist's +50% vigor effect. These won't always be clearly communicated in menus, so it pays to experiment!


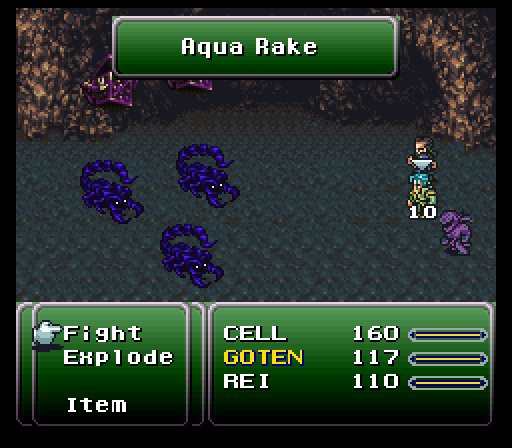
The party makes their escape, and are beset by... eels? Sure, why not.


Cell's first spin of the roulette wheel could have gone better. Whatever level Opalavs are, it's not divisible by 3.


Still, they fall easily enough, and our collection of lores begins to grow.


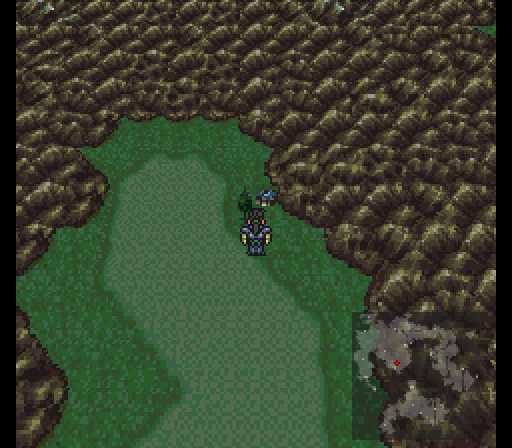
Does anyone actually like FF6's attempts to show off with mode 7 for chocobo and airship travel? Be honest.

Surely we could just, like, fill some empty bottles with the healing water and take it with us? No? 
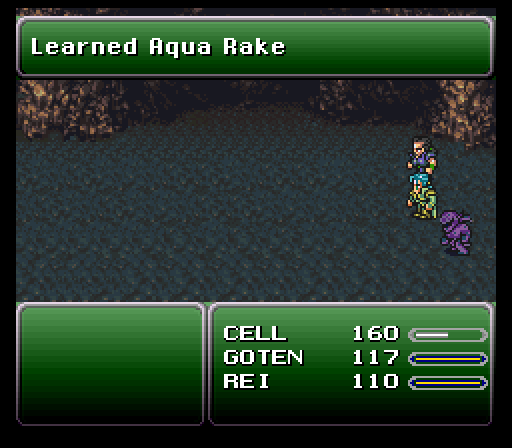
R-Lore's second roll is a big improvement.


That encounter also drops an armor upgrade for Rei.


And a chest has another one.


The other chests are less exciting, though I certainly won't say no to a fenix down.

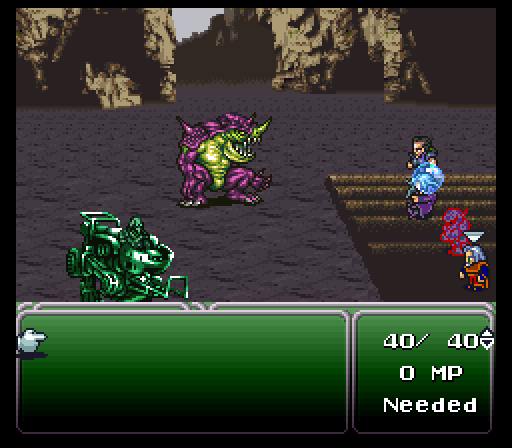
The last type of enemy in the cave is these guys, who love to spam this. Apparently they're secretly gamblers, because Egg Pin throws a dart, and the one time I saw them do a normal attack it used the dice animation.


And here's all the lores we learned along the way. A decent haul, I'd say.

SabinHideki's house is a total bust.


I think we have enough shurikens now, game.

South Figaro is a veritable treasure trove of free shit. At least some of it has to be worthwhile, right?


Not off to a great start.


Ah, here's something we can use! That's pretty much it though, at least outside. There's still the secret passages to check, but let's hit up the shops first.


OH THANK FUCK. Take my money!!!


Less exciting, unfortunately. Nobody can equip any of the weapons, and the armor is all either stuff we already have or a downgrade. I buy the silk robe anyway though, just in case.


The relic shop looks mostly vanilla. We're a little short on cash, but after selling off some junk I scrounge up enough for a star pendant and jewel ring.


Incredibly, neither of them have any stat bonuses (or penalties) at all, making them our first entirely vanilla pieces of equipment.


Hey look, it's the other character from the save screen! Also rocking the purple and gray color scheme.

I'm hoping the treasure under the manor will prove more valuable than what we found topside, since you're not really meant to explore down here until LockeGoten's scenario. The first stop is more dangerous than valuable though.


Unfortunately in FF6 rewards from trapped chests are given out as a drop from the encounter itself, so in a randomizer you're not guaranteed to get anything for your troubles. We pick up another lore at least.


Now we're talking! This is a much bigger upgrade than the kotetsu was.


...This may have been a mistake.


Luckily it wastes several turns casting Dischord instead of trying to kill us.

We still come pretty close to a wipe though, thanks to getting fucked over by Dragon.


But Cell pulls out the win regardless! 


Oh for fuck's sake-


Welp.

The good news is that there's a save point down here, so very little progress was lost.

Hey, did you know that sleeping bags can't revive characters? You do now!


One trip out to the inn later...


...Oh, that was easy. And that's it for South Figaro!


Or is it? Somehow I missed this one on the way in. In an amusing reversal of fortune, the reason this doggo is confused is because Cell also cast Stone.
Wait. Those look a hell of a lot like Iria's dog... 


Meh, I'm sure it's fine. On to Mt. Kolts!


Well, it was bound to happen eventually.


Yeah, this isn't very surprising. When was the last time I saved again?
FFFFF-


I do learn a couple interesting things on the return trip, though. For instance, Vickns are actually pretty scary when they get to cast Stone on not-themselves. Also, they only have enough MP to cast it once. 

I even get to see a desperation attack out in the wild! This is Locke's, I'm pretty sure, so I'm guessing the randomizer hasn't touched them.
Now, I lost some footage at this point due to not paying attention to how much storage space I had to work with. Luckily I noticed before overwriting my save, so the only effect this'll have on your end is that I wasn't able to go back for a shot of Goten actually doing Mirager. I did have to replay pretty much the whole dungeon, though.


Mt. Kolts, take 2 3!


Here's a fun fact! See how Cell is kneeling down despite being mostly healthy? Turns out "near death" is a status just like any other, which means it's possible for enemies to have attacks that inflict it, like SlayerHour here. It only lasts a couple ATB ticks before the game realizes your health isn't actually that low, but in theory if you're quick enough on the draw and very lucky, you could exploit this to cheat out a desperation attack. I assume it also triggers things like the mithril glove, which casts protectsafe when the character wearing it hits critical.


For as much of a disappointment as South Figaro's loot was, it's looking like Mt. Kolts might make up for it. This is a great armor upgrade! Rei could equip it too, but Goten needs the help more. That cotton robe they've been stuck with was actually giving them negative evasion.


Ah shit, not again.

We pull through this time though, and I use up our one and only fenix down.


 Auto-haste? For me? You shouldn't have! Now Rei can carry the team even more than they already were.


Neither of these enemies are all that interesting; I'm mostly showing them to demonstrate just how many Cleaves Rei is getting. It wouldn't surprise me if the RNG gets a little sticky sometimes.


I try using sketch a couple times, but it never really pays off.

One of the randomizer's flags is always on sprint shoes, so you'd think as a relic they'd be even more pointless than they normally are. That's where you'd be wrong.


You know how the paladin shield teaches ultima after you uncurse it? Yeah, that's another trait that gear can roll into. End of battle rewards don't display AP gains until after you have access to espers, but I'm 90% sure you still get the AP regardless, so give it some time and we'll be in business.


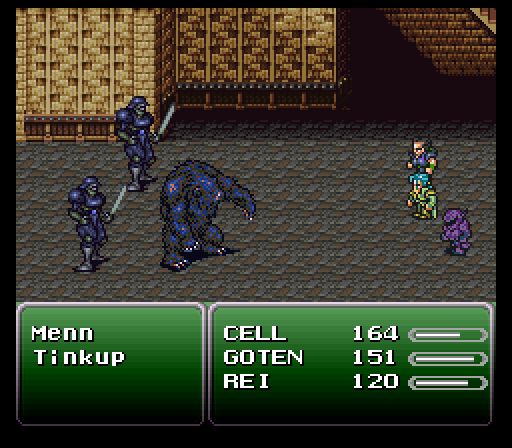
It got overshadowed by Cell's fuckup, but that encounter that wiped us the first time around was already a huge pain in the ass on its own, entirely because of these guys.


The problem is that they love to use revenge. If you're not familiar, it's a lore that does damage equal to your missing HP. And they have more max HP than we do. We don't have enough consistent damage to burst them down in a single round, either. So, now Goten's dead. No great loss tbh.


The good news is that I lucked out with encounters and didn't run into them until just before the save point. The bad news is that I never got around to buying any tents, so Goten's gonna have to stay dead for Vargas.


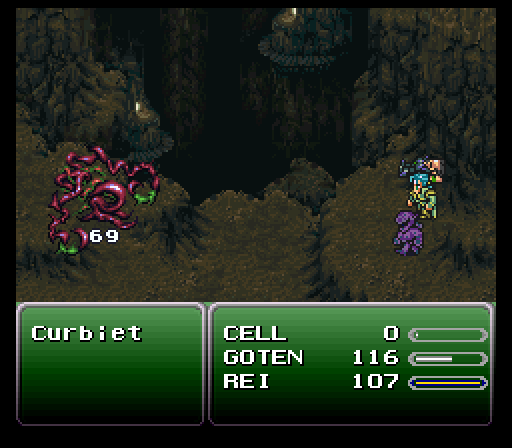
Rei and Cell can handle themselves for the most part, but I run away from any formations with more Rogens in them. This is slightly more annoying than it needs to be, because Curbiets (the plant things) have the "can't run" status, so it needs to die first.


Eventually though, Vargas is within our sights. Time for the first "real" boss of the run.
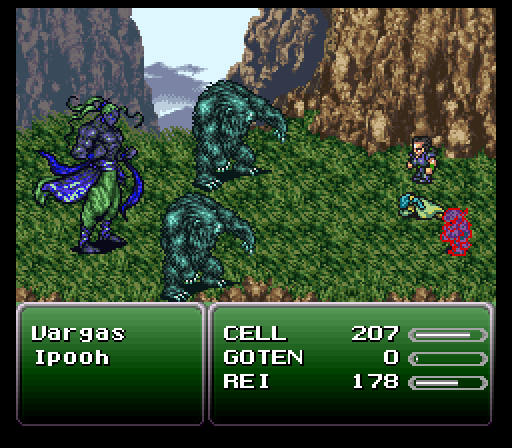
Vargas and his bears are both looking rather blue today. Maybe we can cheer them up, through violence.


Cleave does have the rather unfortunate drawback of being useless during most boss fights.


Vargas still likes his Gale Cuts, and in a nice bit of accidental theming, his normal attacks use the boomerang animation.


The first attempt takes out both Ipoohs, but I get too reckless and eat dirt.


Let's try that again, paying a bit more attention to our health this time.


Success! 


Now for the solo portion of the fight!

...Oh, I guess it's over already.

So there's a few things to unpack here. I'm sure you noticed that the command menu never popped up for Hideki. One of the flags for Beyond Chaos is Umaro Risk, paying homage to FFV's Four Job Fiesta. With this flag on, one character inherits Umaro's permanent berserk status. Depending on what other abilities that character rolls, they could end up either much better or much worse than vanilla Umaro. We'll find out which Hideki is in a second.
Now, a berserker is bad enough, but a solo berserker? Under most circumstances, this'd be all but a death sentence. Luckily, Vargas is a special case. Normally, the only reasonable way to defeat him in the duel phase is to use a blitz. Obviously your Sabin replacement isn't going to have blitz in all likelihood, so the randomizer tweaks things so that Vargas basically just rolls over and dies.


I dunno Hideki, could you?

Oh. Oh no.  Hideki isn't just bad, they are impressively bad. The kind of terrible where the only thing you can really do about it is laugh and say, "Good one game, you really got me this time." Back in the day, meeting Hideki was the moment I first realized this seed was going to be something special. Runic is a questionable enough command as is, but on an uncontrollable character? Hope you aren't planning on using any magic while Hideki is in the party, because they can and will fuck up your plans without warning. Their one saving grace is their solid base stats, but that's an incredibly small mercy.


One advantage Beyond Chaos berserkers have over Umaro is that they have actual equipment options, but even here Hideki falls down on the job. They can't use anything we have sitting around in our inventory, and the stuff they start with... isn't great. The mithril blade in particular is by far the worst weapon we've seen yet.


In another bit of tragic irony, the last chest before we return to the world map is a tent, of all things. I guess we could get Goten back on their feet now, but meh, it's just a quick stroll to the Returners' hideout.


Aw, that's cute, Banon and Kefka are still sharing a color palette. 


It's not quite as much of a buffet as South Figaro, but there's still a fair amount of free stuff to be had here. We start by continuing the trend of shuriken weapons that nobody can equip yet. Once we find someone who can though, that attack power is the best we've seen so far.


AAAAAA


Fortunately, Rei is able to sandbag long enough to land a cleave.


None of the other chests have much of interest. Once again, nobody we have yet can use the thunder rod.


Always leave the paper. 


After a quick stop to restock on healing items, it's time for the million dollar question:


Do we say yes, or no?


Both items are the same; I'm guessing stuff that gets given to you through unique circumstances like this doesn't get randomized. Likewise, I'm pretty sure an autocrossbow still got silently added to our inventory when Cell joined the party.

And nothing about their stats is really changing the calculus. No it is, then! Good riddance, gauntlet.


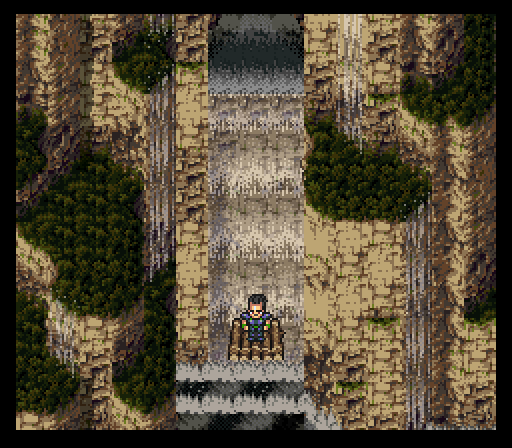
Time for a river ride! ...After a quick nap, of course. Not sure I ever realized before that you're allowed to just turn back around.


Banon's abilities are... fine, I guess, but of all the temporary party members, he's probably got the most ridiculous equipment loadout yet. Why must you tease me like this, game?


To my eternal shame, I've never committed to memory the routes for either the river OR the Serpent's Trench. I think I blunder into the optimal path this time around, though.


All of the encounters here are some combination of these three enemies. None of them do anything very notable, but apparently one of them can drop green berets, so that's nice.

Sad news on the Banon front: his lore menu is empty for some reason. Maybe it's for the best; he doesn't have enough MP for most of the good stuff anyway.


Oh, also: the failed slot result is, you guessed it, Exploder!


So uh, let's not do THAT again.

I assure you, this is not the only time Hideki wasted a turn using Runic. It's just the only time I managed to get a screenshot of it.


Made it! RIP that green beret, though.


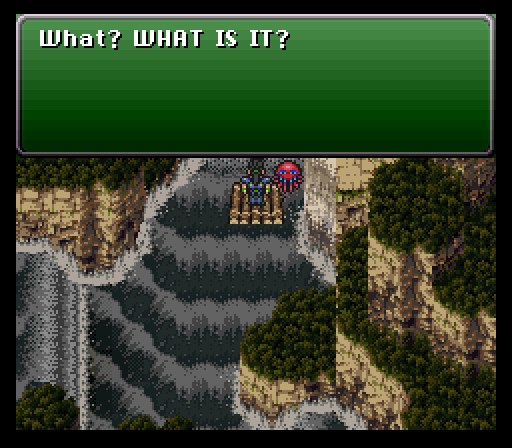
I'll be honest, the Ultros fight is pretty boring. Nothing but regular attacks and Tentacle, and halfway through he stops attacking entirely for some reason.


The ending is very silly, though. Notice how Rei is standing in the water? That's because they killed Ultros in the middle of one of the multihit bushidos.


Which apparently means they keep the afterimages for the entire post battle cutscene.


It's very surreal to watch, and at first I thought my eyes were playing tricks on me.


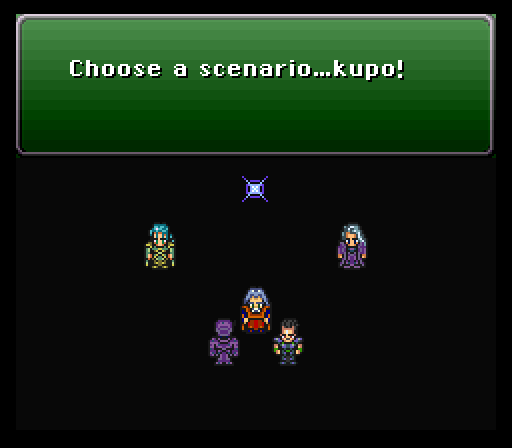

Weirdly, Mog actually gets to be Mog on this screen, despite still using Relm's sprite. Anyway, that's all for today. Next time I'll hopefully run through all of Hideki's scenario!